
The Legend of Zelda: A Link Between Worlds Guide Walkthrough Great Explorations, Part II (in progress)
Lorule Field
One Big Bomb
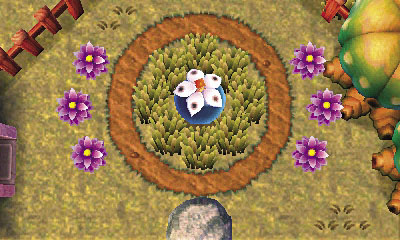
Save at the Thieves’ Town weather vane and then take the southern trail out of town. A small building called the Bomb Shop stands just south of Thieves’ Town, and some sort of massive bomb seems to be growing in the nearby field. How unusual! You’d better check this out.
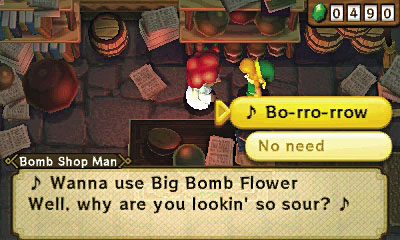
Head inside the Bomb Shop to speak with the Bomb-Shop Man. This happy guy just sings away all day as he grows his gigantic bombs in the field near his shop. Listen to the Bomb-Shop Man’s tune, then pay him 200 Rupees to gain access to his Big Bomb Flower.
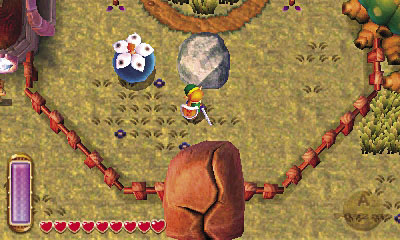
Exit the Bomb Shop through its east door to reach the Big Bomb Flower garden. Approach the Big Bomb Flower and press  to get it to follow you. Now there’s something you don’t see every day!
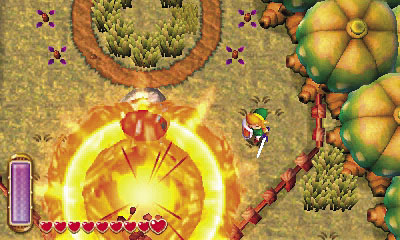
Lead the Big Bomb Flower to the nearby large cracked rock to the south. Once the Big Bomb Flower is positioned near the large cracked rock, whack it with Link’s sword to ignite it—then run! The Big Bomb Flower soon goes boom, and the large cracked rock is blown to bits.
Big Bomb Flower Fun
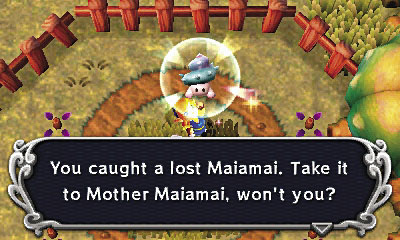
After the Big Bomb Flower has gone boom, another one sprouts up from the garden. Neat! Approach the new Big Bomb Flower, and this time, simply strike it to set it off without pressing  to make it follow you. This time, when the Big Bomb Flower explodes, a hidden Maiamai pops out!
The Great Rupee Fairy
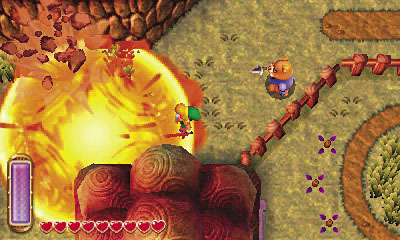
After collecting the Maiamai, press  to lead the next Big Bomb Flower that sprouts up. Bring the Big Bomb Flower around the Bomb Shop, heading north toward another large cracked rock. Use the Big Bomb Flower to blast this rock to bits just as you did before, then enter the cave you discover.
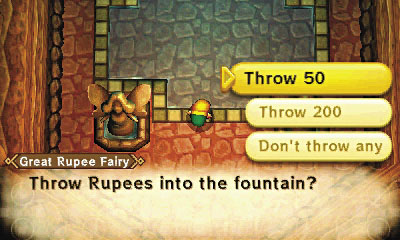
Inside the cave, a voice calls out to Link. It’s the Great Rupee Fairy! You’re asked to donate some Rupees to her fountain. If you have plenty of Rupees to spare, then you can receive a bottle from the Great Rupee Fairy—but you’ll need to donate a whopping 3,000 Rupees to receive this precious gift!
Bottle #4
Can hold many different things. You'll need one to buy potions.
Rupee Rush Returns
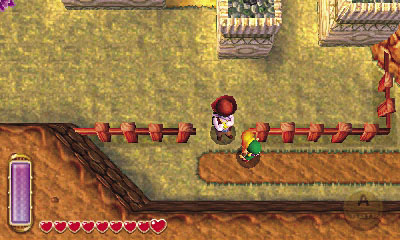
Let the Big Bomb Flower be for a moment and travel west from the Bomb Shop, heading for Lorule’s Rupee Rush game. The rules are exactly the same as the Rupee Rush game that you’ve played in Hyrule, with an entry fee of 100 Rupees per play.
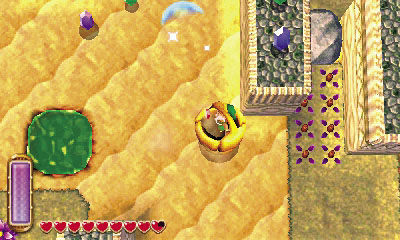
Beware: Lorule’s Rupee Rush arena features several devious Rupee Likes in disguise! It’s worth battling these dangerous Rupee-stealing monsters, as long as you’re careful not to let them grab you when they spring out in ambush. Identify Rupee Likes by the larger shadows cast by their Rupee lures; get close enough to make the monster emerge, then run away and stun or slay it with ranged attacks so you may collect the valuable Rupee that it drops.
As in Hyrule, you can score big bonuses at the end of Lorule’s Rupee Rush by speaking to the Rupee Rush Guy just before your 30 seconds of playtime are up. Your Rupees are doubled when there’s less than three seconds on the clock, and tripled when there’s less than one second remaining at the game’s end. Score more than 100 Rupees, and you’ll rush off with a piece of heart!
 Piece of Heart #17
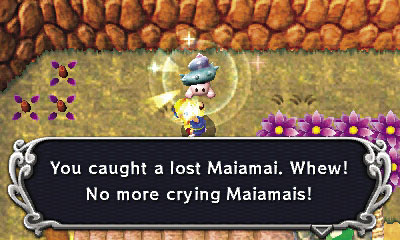
Even if you’re flush with Rupees, there’s another good reason to try Rupee Rush: you can find lost Maiamai in the playing field! Pay the 30 Rupees to get inside the playing area, then merge into the north wall and knock down the little fellow.
 Lost Maiamai #46
Lorule’s Pastime
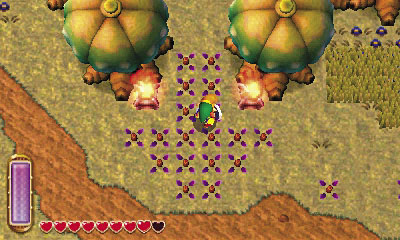
After you’ve filled Link’s pockets with Rupees at Rupee Rush, go east from the Bomb Shop and head for the circular woods that served as Gulley’s favorite hiding spot back in Hyrule. Cut through the southern bushes to enter these woods just as you’ve done before in Link’s world.
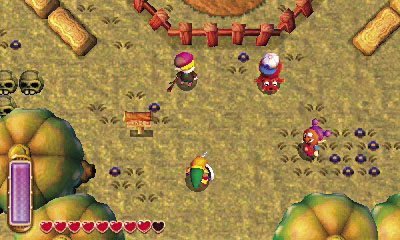
These woods are a lot more lively in Lorule, because some playful kids have set up a baseball field. You’ve just discovered Lorule’s national pastime: the great Octoball Derby!
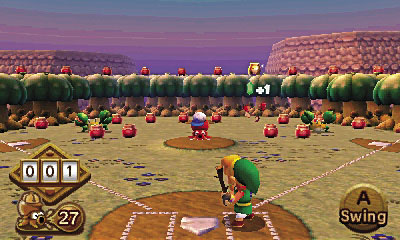
The rules are simple: Pay 50 Rupees to step up to the plate, then hit the Octorok’s rocks back at the many pots set up around the field. Each pot you break earns you 1 Rupee—gold pots are worth 5. Press  to swing, and hold
  to hit pop flies while swinging and
  to hit ground balls. (Don’t touch
  to hit line drives.) Swing early at the ball to hit it to your right, and swing late to knock it to your left.
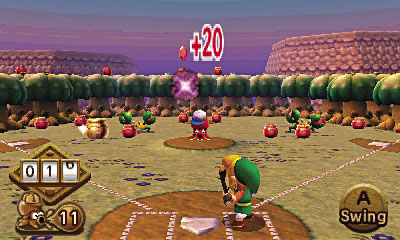
Though Octoball Derby has a greater learning curve, the secret to success at it is similar to that of Rupee Rush: go for the bonuses! If you hit three pots in a row without missing, a Crow will fly by. Nail that dirty bird to score a big 20 Rupee bonus!
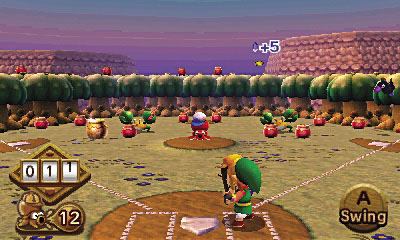
When you’re low on pots, hold  while swinging to hit ground balls, and try to hit one of the Sand Crabs that scuttle back and forth. Hitting either crab resets all of the pots, giving you a fresh set of targets to aim for. This is important, because it makes it easier to keep your Crow combo going. Finish with a score of 100 Rupees or more, and you’ll walk away with a healthy prize: a piece of heart!
Piece of Heart #18
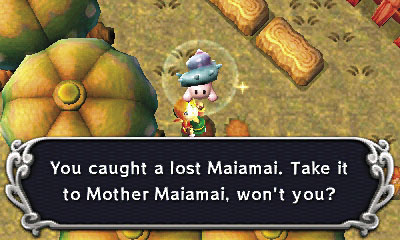
Whether or not you choose to join in the fun of Octoball Derby, be sure to visit the playing field and chop down the bushes in the wood’s southwest corner to discover a hidden Maiamai. Sorry, little guy—this isn’t a spectator sport!
Lost Maiamai #47
More Fun with Big Bomb Flower
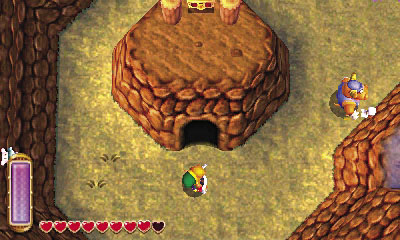
Surely you’ve noticed the tempting chest to the south of the Octoball Derby woods—it sits on high near a large cracked rock. Return to the Bomb Shop and collect a Big Bomb Flower, then carefully lead it down to this cracked rock, being careful not to let any enemies damage the Big Bomb Flower and set it off along the way. (Return for another if this occurs.)
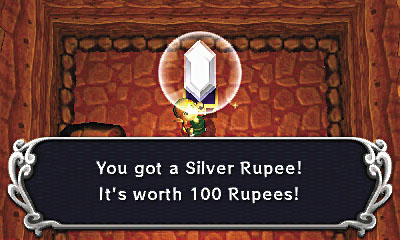
Blast the large cracked rock to bits with a Big Bomb Flower, and you discover a cave. Head inside to find another chest. Unlike the one on the ledge above the cave, this chest is within your reach. Open it to score a shiny Silver Rupee.
 Lorule Chest #1: Silver Rupee
Fissure Switching

Exit the cave and notice the fissure in the south wall. Merge into the south wall and slip through this fissure to return to Hyrule.

When you emerge from the fissure back in Hyrule, you find yourself up on a high ledge, near a circle of stones. What a rush!
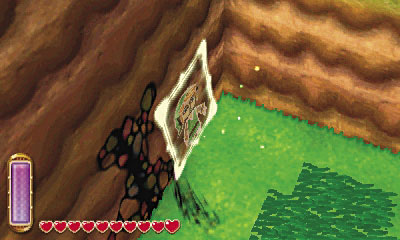
If you’ve been following this walkthrough faithfully, then you’ve already explored the Treasure Hunter cave near the circle of stones. Ignore the cave and drop from the cliff, then look for another nearby fissure in the southern wall. Travel through this lower fissure to return to Lorule.
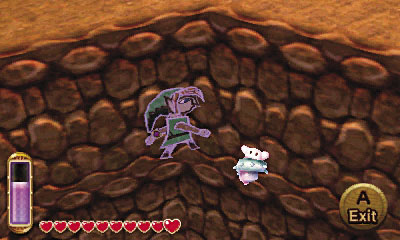
When you arrive back in Lorule, you find yourself standing atop a high ledge. Wild stuff! Merge into the south wall and travel westward to reach a Maiamai that’s stuck up high.
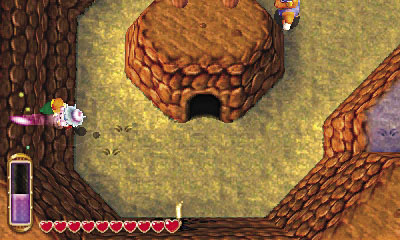
Pop out of the wall to knock down the little Maiamai, then add it to your collection.
Lost Maiamai #48
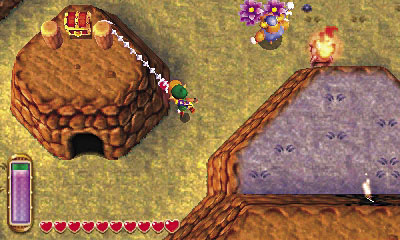
It’s great that you’ve found a Maiamai, but the chest above the cave is still tempting you. Reenter the southern fissure to return to Hyrule’s high ledge, then drop down again and enter the lower fissure to reach the high ledge back in Lorule. This time, fire the Hookshot at one of the pegs near the chest to zip over and claim its contents.
Lorule Chest #2: Silver Rupee
Nobody’s Home
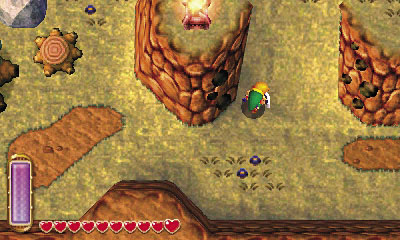
Now that you’ve looted the high chest, drop down and follow the northeast trail, heading to the place where Link’s House is found in Hyrule. Beware the dangerous Taros that you encounter along the way!
Taros
Damage:1 Heart
These burly bulls stamp about Lorule’s fields, serving Yuga in much the same fashion as Moblins. Taros come in red and blue varieties, with the red ones being a bit tougher to chop down. Taros wield either spears or practice spears, both of which are long enough to provide them with both offense and defense. It’s best to stun or slay these dangerous minions with ranged weaponry from a safe vantage.

Sure enough, a small house stands right where Link’s House is found in Hyrule. There’s another fissure on the nearby cliff, but ignore the fissure for the moment and save at the weather vane here instead, which identifies this place as the Vacant House.
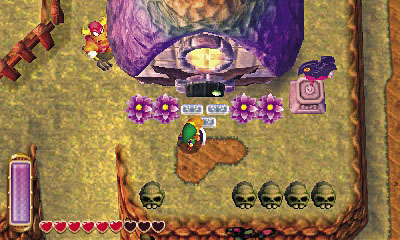
Sure enough, the house is unoccupied—but there’s also a chest near the back wall. Unfortunately, a thick wall of clutter prevents you from discovering what might be inside. What pack rat used to live here, anyway?
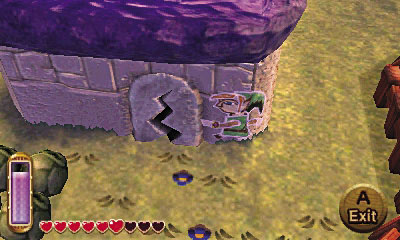
Leave the Vacant House and merge into its exterior wall. Slide around behind the house to discover a secret entrance on the back side. Sneaky!
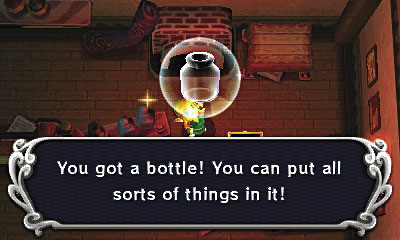
Enter the secret door on the Vacant House’s back side, and you’ll be able to reach that tempting chest. Flip it slid to score a precious prize—the fifth and final bottle!
Lorule Chest #3: Bottle
Bottle #5
Can hold many different potions. You'll need one to buy potions.
Into the Cliff

Leave the Vacant House and notice a Maiamai that’s stuck to the side of the north cliff. Drop down and merge into the cliff to rescue the little fellow.
Lost Maiamai #49
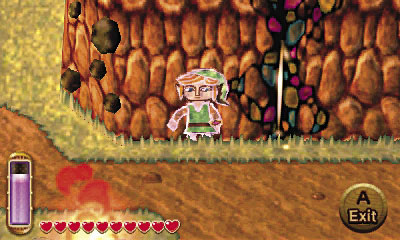
Now go around to the front of the Vacant House and merge into the southern cliff. Slip into the fissure here to return to Hyrule.
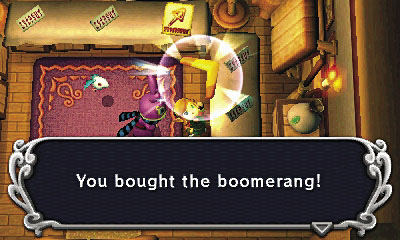
As you might have suspected, you emerge from the same cliff back in Hyrule, right next to Link’s House. And what’s this? Sahasrahla is waiting here for you! The wise man takes a moment to explain how the fissures work, but you’ve already figured it out by now. Save at the weather vane and take stock of your gear before heading back into the fissure and returning to Lorule.
Treasure Hunter Cave #5
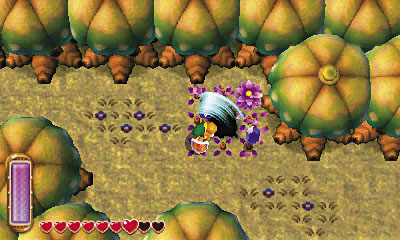
Back in Lorule, travel west from the Vacant House, heading into a nearby forest that’s filled with Like Likes. Cut down the northern bushes here to discover a small hole that serves as the secret entrance to another Treasure Hunter cave.
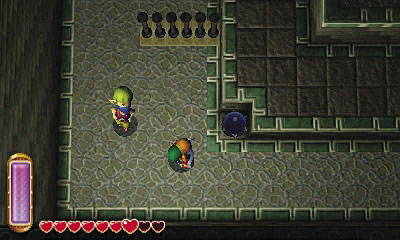
Drop into the hole to enter the Treasure Hunter cave. Here, you must use bombs and the Pegasus Boots in a mad dash for treasure. There are varying solutions to this puzzle, but here’s one that certainly works.
The First Switch
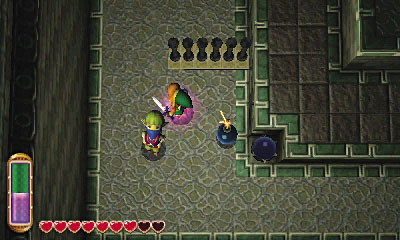
The switches control the bars. Begin by placing a bomb near the southwest crystal switch.
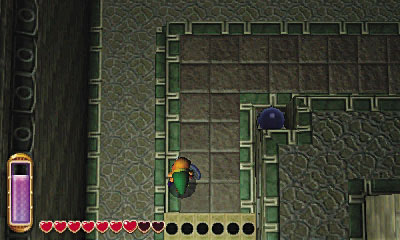
Run north, around the first set of bars, and hurry past the second set of bars when the bomb explodes and triggers the switch, lowering the bars.
The Second Switch
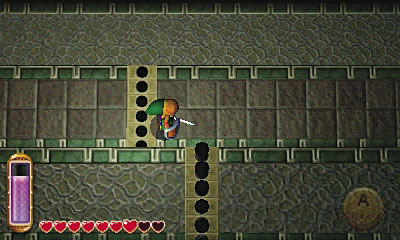
Strike the next crystal with Link’s sword to activate it, then run east, past some more lowered bars.
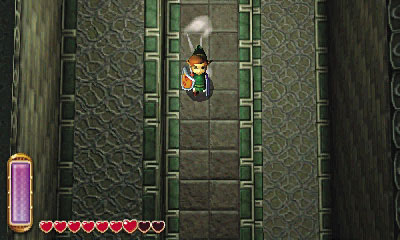
The moment you reach the northeast corner, face south and hold  to dash with the Pegasus Boots.
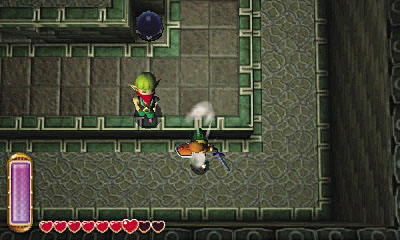
Press  to stop dashing the moment you pass by the next set of lowered bars. Be sure you don’t dash off the southeast corner, or you’ll have to start over!
The Third Switch
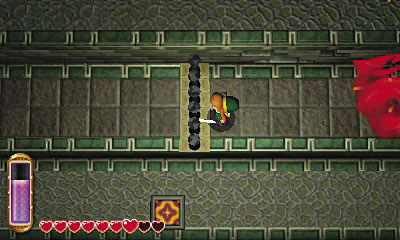
Catch your breath, then place a bomb near the third (and final) switch. Run into the west bars afterward, so that you start running westward past the bars the moment that the bomb goes off.
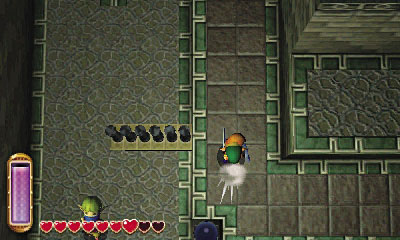
The moment you reach the southwest corner, face north and dash with the Pegasus Boots.
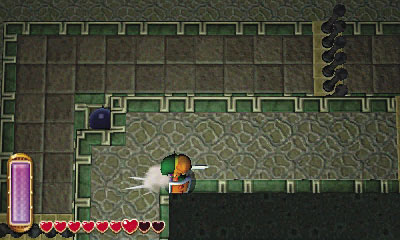
Press  to stop dashing as you near the northwest corner, then immediately face right and use the Pegasus Boots again to dash eastward.
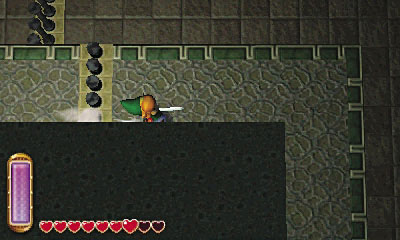
If you time it right, you’ll dash past the final set of bars just before they rise. Press  to stop dashing before you reach the northeast corner.
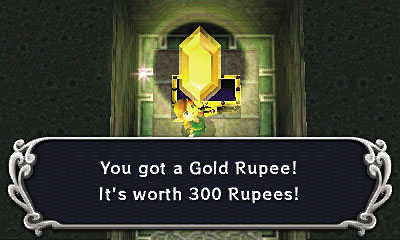
You’ve done it! Stroll around the path to reach a big chest that contains a glorious Gold Rupee. Not a bad haul!
Lorule Chest #4: Gold Rupee
Critters Around the Castle

Use the warp tile to exit the Treasure Hunter cave and return to the surface, then save your game again at the nearby Vacant House. Go northeast and dash into a nearby standalone tree to knock down a hidden Maiamai.
Lost Maiamai #50
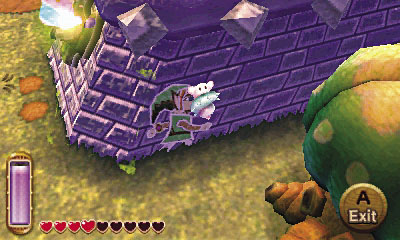
Go north a bit from the Maiamai tree to reach the southeast corner of Lorule Castle’s outer wall. Another little Maiamai is stuck to the castle’s wall here. This is no place for such a helpless creature, so merge into the wall and knock it down, then rescue it.
Lost Maiamai #51
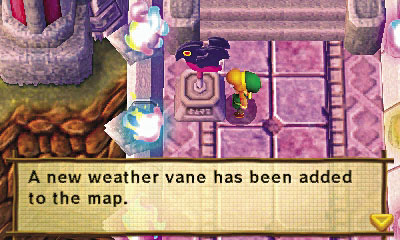
As long as you’re exploring the castle’s grounds, go north across the drawbridge and activate the Lorule Castle weather vane. This will come in handy later!
Mother Maiamai Time
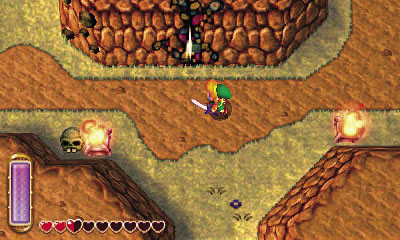
That’s everything you can do around Lorule Castle for now, so return to the Vacant House. You’ve found another 10 lost Maiamais, so consider traveling through the fissure to return to Hyrule, and heading east to pay Mother Maiamai a visit.
Southern Ruins Romp
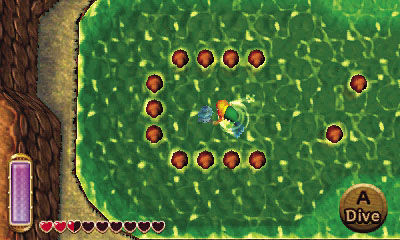
Save your game at the Vacant House after you return to Lorule, then go south, into the Southern Ruins. Go west when you enter the Southern Ruins and dive to scoop up an underwater Maiamai from the murky depths of the ruins’ green pond.
Lost Maiamai #52
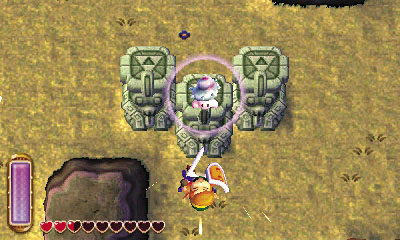
Go southeast from the pond, slaying any Karat Crabs you encounter on your way to another lost Maiamai that’s perched atop a stone pillar. Dash into the pillar to knock down the little tyke.
Lost Maiamai #53
Karat Crab
Damage:1 Heart
These sinister shellfish are similar in every way to Hyrule’s Sand Crabs, except they’re a bit more powerful. Continue to dispatch them from afar whenever possible, and if you must approach one, do so from the north or south to prevent it from sprinting sideways at you.
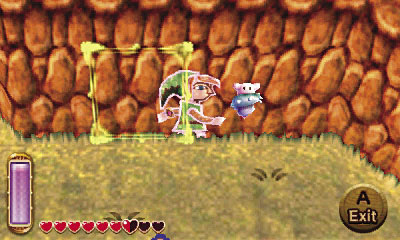
Can’t get enough of those Maiamais? Go north and check the ruins’ northeast corner to find another one stuck to the side of the cliff. Merge and help the little Maiamai out of its predicament.
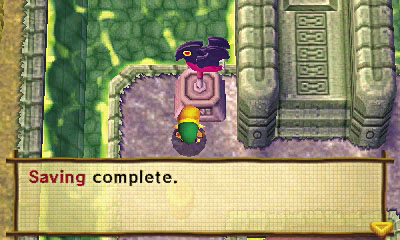
Go southwest next, heading for the entrance to a large palace that’s surrounded by water. This is the Swamp Palace, but you can’t do much here until you destroy the large cracked rock nearby. Still, it’s worth activating the weather vane here to add it to the map and save your progress.

Now travel east as if you were heading for Lake Hylia back in Hyrule. Descend into a basin to find another large cracked rock. Test your skills against the troublesome Zirro here.
Zirro
Damage:1 Heart
These flying foes pursue Link from the safety of the sky, flying low only to throw their bombs at him. Zirros are vulnerable to any of Link’s weapons when flying low, but while hovering on high, they can only be hit by the Fire Rod, Ice Rod, and Tornado Rod. Dodge their bombs and slay them before they take flight, or simply wave one of Link’s magical rods to knock them from the sky.
Big Bomb Flower’s Big Journey
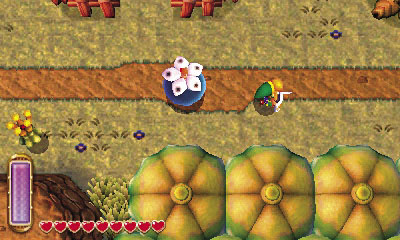
You’ve seen two large cracked rocks around the Southern Ruins by now. To destroy them, you need to go back for Big Bomb Flowers. Return to the Bomb Shop and lead another Big Bomb Flower eastward, heading to the Vacant House and then traveling south into the Southern Ruins. Be careful not to let any enemies detonate the Big Bomb Flower along the way!
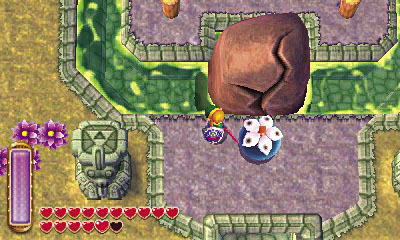
When you reach the Southern Ruins, head southwest and use the Big Bomb Flower to blast away the large cracked rock near the Swamp Palace. With this obstacle out of the way, the palace’s water drains out, allowing you to enter and explore the Swamp Palace dungeon via the Hookshot. Flip ahead to page 239 if you feel like delving into this dungeon right now; read onward if you’d prefer to explore more of Lorule.
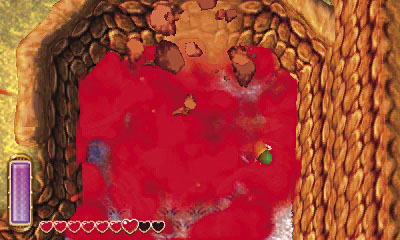
One large cracked rock down, one more to go! Return for another Big Bomb Flower, and this time, lead it all the way to the Southern Ruin’s southeast basin, where the other large cracked rock stands. Beware the Zirro that flies around here as you move to blast the rock with the Big Bomb Flower.
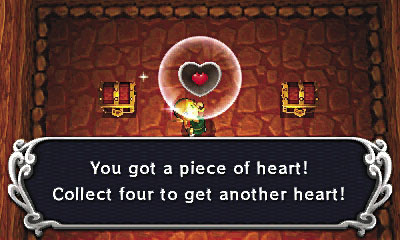
Blow the large cracked rock to bits, and you’ll discover a cave. Head inside to find not one, but two treasure chests, along with a piece of heart. Now that’s a healthy treasure cache!
Piece of Heart #19
Lorule Chest #5: Silver Rupee
Lorule Chest #6: Gold Rupee
Reaching the Skull Woods
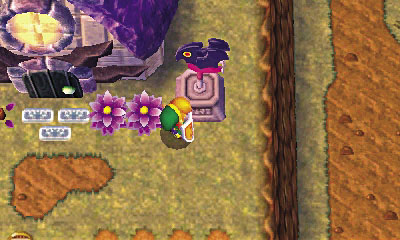
You’ve seen and done everything there is to see and do around this central region of Lorule, so it’s time to explore new ground. Ring the bell and set the Vacant House as your destination, and Irene’s broomstick promptly arrives to take you there, just as it does back in Hyrule. That’s one clever broom!
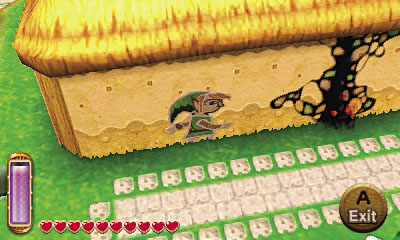
Save your game when you arrive at the Vacant House, then enter the nearby fissure to return to Hyrule. Call for the broomstick again and fly to Kakariko Village, then merge around the back of Sahasrahla’s house to discover another fissure. Travel through this fissure to begin your exploration of the Skull Woods in Lorule.