
The Legend of Zelda: A Link Between Worlds Guide Walkthrough Great Explorations, Part II (in progress)
Dark Ruins Region (Lorule)
Goodies Around the Ruins
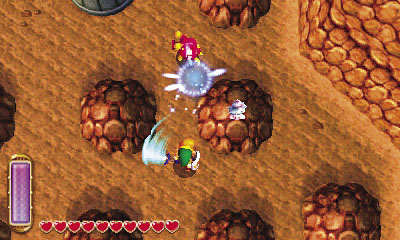
Lorule’s Dark Ruins region features many items of interest, and you don’t have to go far to find the first. Just southeast from the fissure pillar, a baby Maiamai is perched atop a tall rock. Dash into the rock to knock the tyke down.
 Lost Maiamai #69
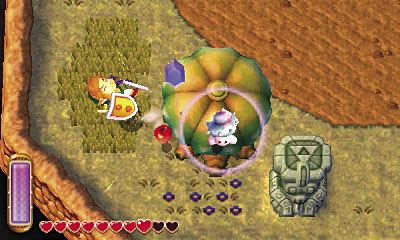
Go south after rescuing the Maiamai, but beware: A bomb-tossing Hinox roams down here! Notice the soft cries of another baby Maiamai coming from the tree in the region’s southwest corner. Dash into the tree to discover the hidden creature.
 Lost Maiamai #70
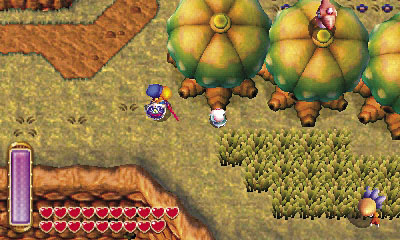
Pocket the Maiamai and go east, traveling past some pillars on your way to the Dark Ruins’ entrance. Don’t go north into the ruins just yet—there’s another Maiamai nearby! Dash into the trees south of the Eastern Ruins’ entrance until you knock the little guy loose.
 Lost Maiamai #71
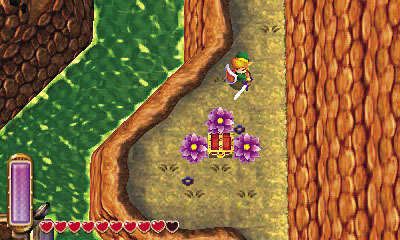
You’ve collected another 10 Maiamais, but let’s press on for the moment. Head south from the trees, following a narrow path along the river’s east bank. Keep going until you reach a chest at a dead end that overlooks Lorule Lake. Raid the chest to claim a Silver Rupee.
 Lorule Chest #9: Silver Rupee
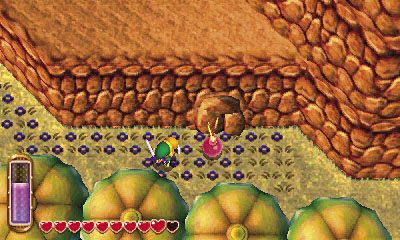
You’ve come to a dead end, so backtrack northward, heading back toward the Dark Ruins. Before you enter the Dark Ruins, notice a cracked wall on the cliff just east of the ruins’ entrance. You’d better blast this suspicious wall with a bomb!
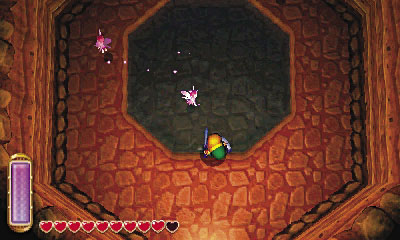
Aha! The bomb’s blast reveals the entrance to a Fairy Fountain. Head inside to recover your strength and bottle a few fairies.
Into the Ruins
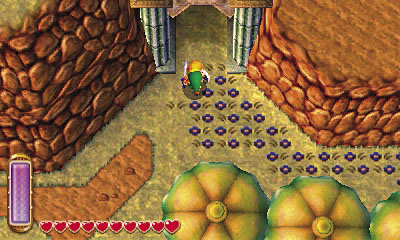
All right, it’s time to see what the Dark Ruins have in store. Go north, past some tall columns, and enter the Dark Ruins.
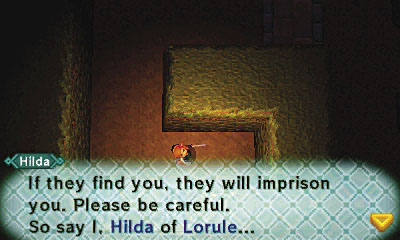
Princess Hilda calls out again as you enter the Dark Ruins. She says that you’re nearing the Dark Palace, a foreboding place filled with the fallen soldiers of Lorule Castle. Princess Hilda warns Link that these soldiers will imprison Link if they find him. Sounds like a scary place!
Just Visiting!
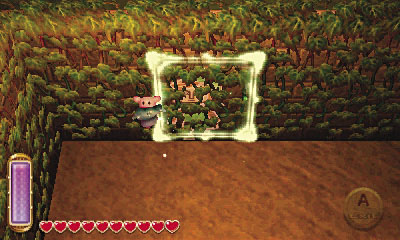
We recommend that you save the Dark Palace dungeon for later, but it’s worth exploring the Dark Ruins right now, because you can find many items here, along with a weather vane that makes for fast travel back to the Dark Palace in the future. Begin by heading north and merging into the wall to free a little Maiamai that’s gotten itself stuck.
 Lost Maiamai #72
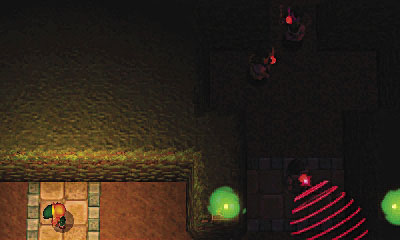
Go east to encounter the first of many fallen Lorule Soldiers that patrol the Dark Ruins. These sentries won’t attack Link, but instead lock him away in prison if they catch sight of him. Avoid captivity by keeping out of the soldier’s red sensors.
Lorule Soldier
Damage:Special
These once-noble knights used to serve Princess Hilda at Lorule Castle, but have long since fallen into darkness. Now they stand a constant vigil over the Dark Palace, a shadowy temple where the soldiers gather to worship a terrible beast. Keep out of sight of Lorule Soldiers, for they’ll lock Link away if they spot him!
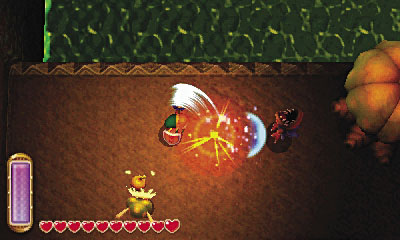
A Lorule Soldier stands watch over the northern passage. Ignore this passage for now and go east, behind a wall, where no Lorule Soldiers will spot you. Slay a Zirro and Snap Dragon here before taking the southern passage out of the ruins.
Southeast Basin
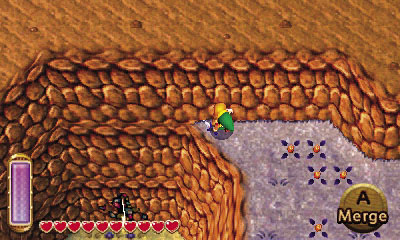
You emerge back in the gray daylight of Lorule field. Cut down the Zirros and Octoroks that roam around this basin, then merge into the high north wall.
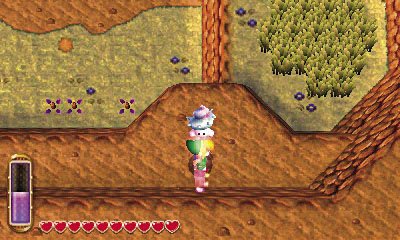
Go counterclockwise around the basin, heading for the high southern ledge. Exit from the wall and collect the long line of Green Rupees on your way to a stuck Maiamai. Merge into the wall again and free the little fellow.
 Lost Maiamai #73
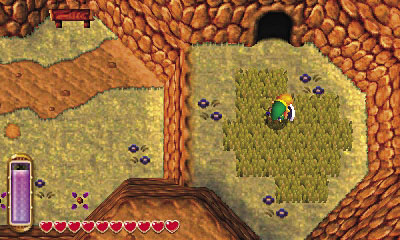
Drop from the high ledge after rescuing the Maiamai, landing on the lower ledge to the east. Head into the north cave.
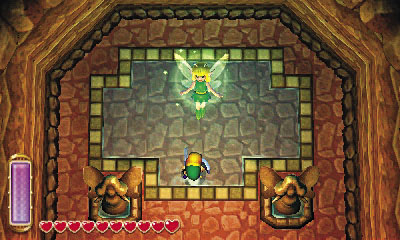
You’ve discovered a Great Fairy Fountain! The Great Fairy kindly restores Link to full health before sending him on his way.
Slipping Past the Soldiers
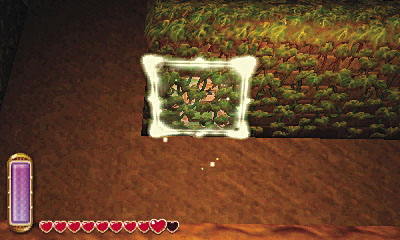
Return to the Dark Ruins and backtrack toward the first Lorule Soldier. To slip past this first sentry, merge into the wall that’s just south of it.
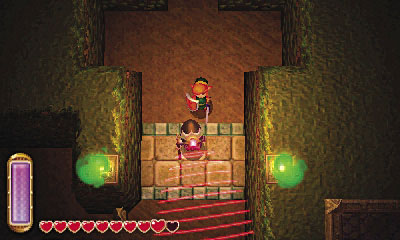
Lorule Soldiers can’t detect Link while he’s merged. Wrap around the south wall, moving east and then north, slipping past the soldier. Exit from the wall without fear once you’re safely past the soldier—he won’t turn around.
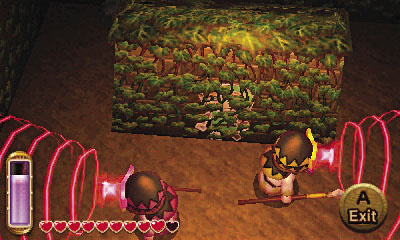
Two more soldiers patrol the passage to the north, presenting a more challenging obstacle. Again, merge into the wall that’s south of the soldiers and slip around to its north side.
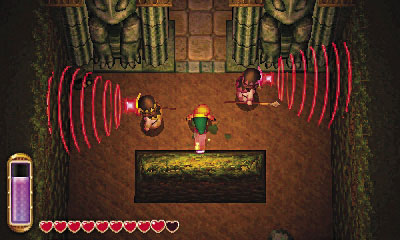
Pop out of the wall when the soldiers cross paths, leaving you an opening. You’ve got to be quick! Hurry north to safety once you’re past the soldiers.
Guarded Treasure
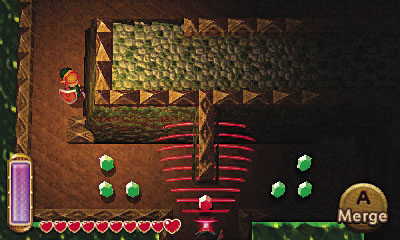
Go west to find more soldiers patrolling to the north and south. The north passage can wait; approach the soldier to the south instead, monitoring its movements carefully.
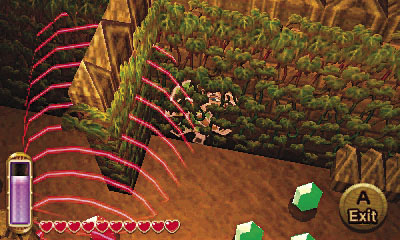
Make your move and merge into the wall that’s directly north of the soldier while the soldier is staring straight ahead (northward). Slip straight past the soldier, moving right by its field of view while remaining safely merged into the wall.
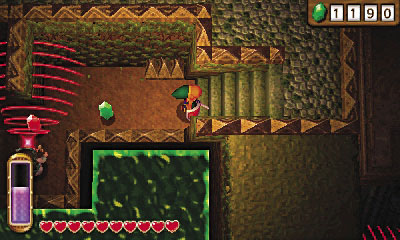
Wait patiently once you’re past the soldier, watching its movements again. While the soldier is facing northward, quickly exit from the wall and bolt up the nearby stairs.
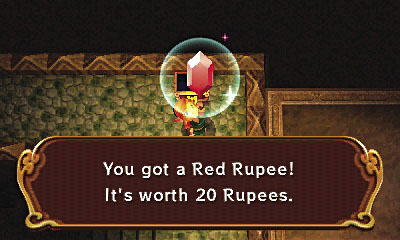
The stairs lead up to a ledge with a treasure chest. You’re safe up here, so relax and collect your prize.
 Lorule Chest #10: Red Rupee
The North Passage
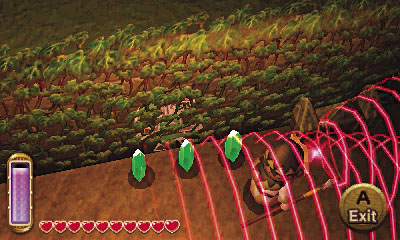
Go west from the chest and drop from the ledge. It’s now time to slip past the soldiers to the north. Merge into the corner of the wall that’s just south of the soldiers’ patrol and then slip around the corner, heading into the passage. Go north along the passage’s west wall, moving toward a line of Green Rupees.
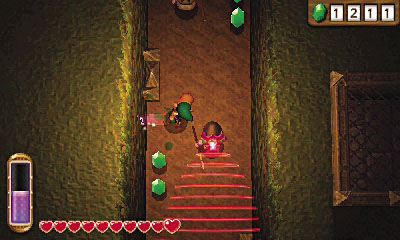
An obstacle prevents you from merging all the way down the passage’s west wall. Wait near the obstacle until the soldiers’ paths cross, granting you an opening.
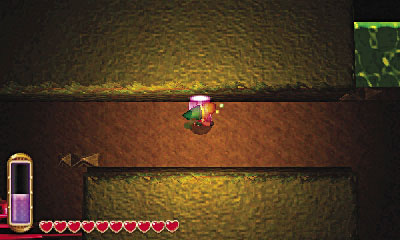
Exit from the wall and move past the obstacle, then quickly merge back into the west wall once you’re past the obstruction. Once you’ve merged back into the west wall, simply wrap around the corner and travel a safe distance along the north wall before popping back out.
Take the Low Ground
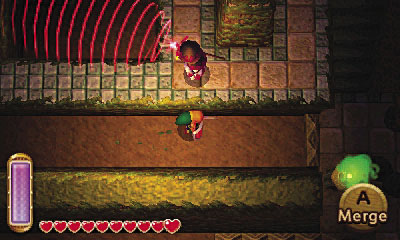
The soldiers ahead patrol high ledges and walkways, but they can’t see Link while he’s traveling on the low ground. Ignore the first set of stairs and go east along the low southern passage. You don’t need to worry about merging through here.
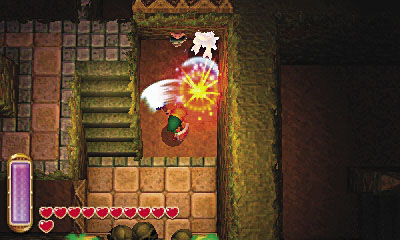
You soon reach more stairs and a Snap Dragon. Ignore the stairs and slay the monster, then go north.
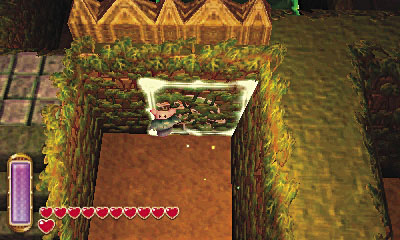
A little Maiamai is stuck to the north wall near the stairs. Merge into the wall and knock it free.
 Lost Maiamai #74
Heart on the High Ground
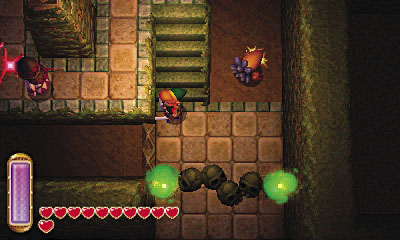
Now go up the nearby stairs, waiting to climb them until the nearby patrolling soldier starts moving southward.
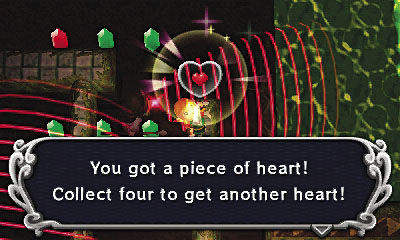
Hurry across the narrow beam to the north before the soldier returns and claim the piece of heart that’s precariously perched at the beam’s end. Take a moment to catch your breath afterward—you’re safe while standing at the end of the beam.
 Piece of Heart #23
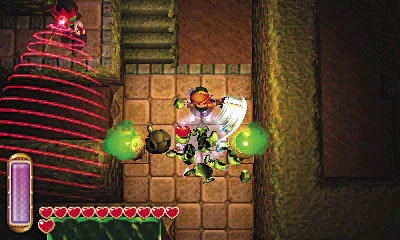
Rupees lie on the nearby low ground, but more soldiers patrol down there—go after the Rupees only if you feel like chancing it. Otherwise, cross the beam and go back downstairs while the patrolling soldier is moving southward again, returning to the low ground where you found the previous Maiamai. Smash the south skulls and proceed southward—the Dark Palace isn’t far now!
Dark Palace Approach
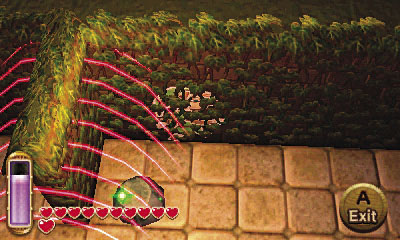
A few more soldiers are poised to prevent you from reaching the Dark Palace. After smashing through the skulls, merge into the east wall and slide southward, slipping past the first sentry.
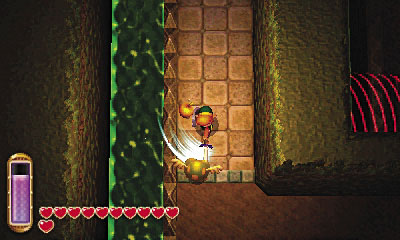
Pop out of the wall and dispatch a Zirro, then go east to reach the final group of soldiers. (Ignore the soldier to the south; it can’t see you.) Watch the soldiers carefully, and wait until the first two soldiers cross paths before bolting past them and merging into the north wall.
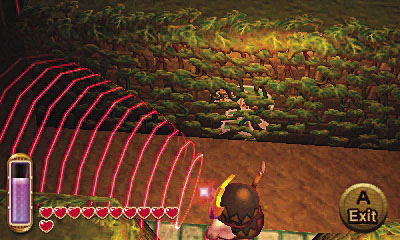
Slip around to the wall’s north side, then wait until the northern soldier stares directly ahead (southward). Pop out from the wall where the soldier can’t see you, then quickly merge into the next wall to the north before the soldier glances in your direction.
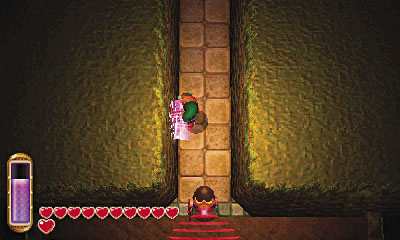
Nice work! Now simply round the corner and slip into the north passage, exiting from the wall once you’re past the soldier. Only one more soldier to go!
The Final Soldier
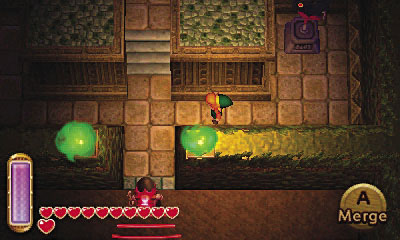
The last soldier is easy to sneak past, provided you don’t care much for the Rupees it guards. Just merge into the north wall while the soldier is facing southward and slip around the corner, and you’ll find yourself at the foot of the Dark Palace. (If you must have those Rupees, try standing close to the west and east walls, and using the Hookshot to snatch them from afar.)
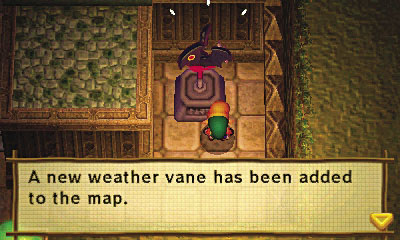
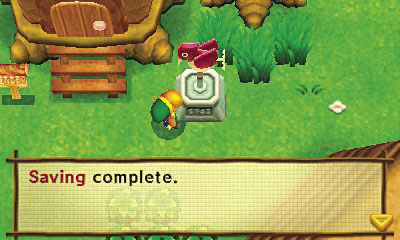
At last, you’ve made it to the Dark Palace! Activate the nearby weather vane to save your progress, and to ensure that you never have to navigate those awful ruins again. Turn to page 228 if you’d like to attempt the Dark Palace dungeon now—we recommend that you read on however and continue this epic exploration of Lorule.
Reaching Ku’s Domain
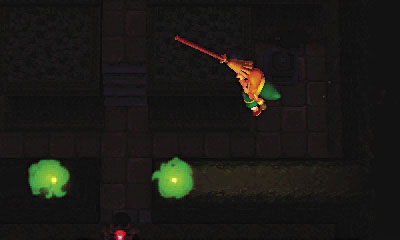
You’ve found the Dark Palace, but there’s more to explore in the Dark Ruins region—specifically, the area to the north, where the Witch’s House would be found in Hyrule. After activating the Dark Palace weather vane, fly to the Vacant House by way of broomstick, then travel through the fissure there to return to Hyrule.

When you arrive back in Hyrule, summon Irene’s broomstick again and fly to the Witch’s House. You’ve likely gathered plenty of monster parts by now, so consider paying the Witch to brew up some potions. Sure, fairies are great to have, but you just can’t beat blue potions now that Link’s life gauge has begun to grow!
 Blue Potion
Restores all of your hearts. You can never go wrong with one!
 Yellow Potion
Drink it to make yourself invulnerable for a brief time.
 Purple Potion
Drink this to deal out damage to all enemies in the surrounding area.
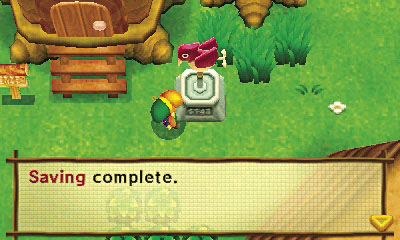
After visiting the Witch, save at the weather vane near her house and then merge along the southern cliff, crossing the river on your way to Zora’s Domain.
Go east once you’re across the river and descend into the southern pit near the large rocks. Hey, there’s a fissure down here! Merge into the wall and pass through the fissure to return to Lorule.
Northern Explorations
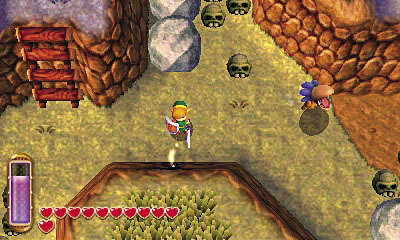
You’re now back in Lorule, north of the Dark Ruins. This is still considered part of the Dark Ruins region, so Princess Hilda does not advise you when you arrive. Let’s wrap up our exploration of this region before moving on to the final region: Death Mountain.
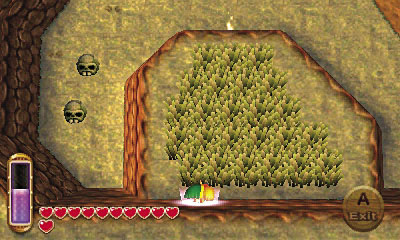
After exiting the fissure, you hear the cries of a nearby Maiamai. Climb the northern ladder and merge into the cliff, then make a counterclockwise journey to reach the grassy ledge above the fissure.
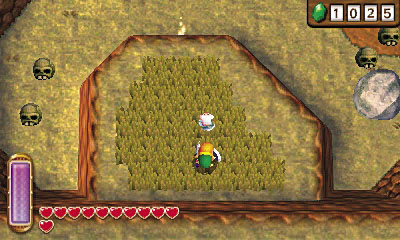
Pop out of the wall and cut down the ledge’s tall grass to discover the Maiamai. Let’s get you home, little guy!
 Lost Maiamai #75
Merge back into the wall after collecting the Maiamai and continue your counterclockwise journey. Exit from the wall when you reach the high northeast ledge, and slay a few Karat Crabs as you head northward.
Ku’s Domain
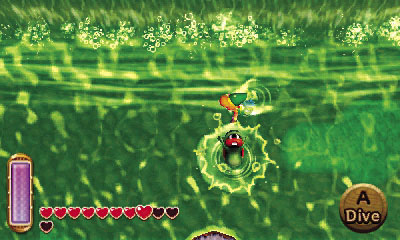
You soon come to a large waterfall. Beware: The murky lake here is home to those vicious Kus! Slay any Ku that dares to challenge you on dry land. It’s possible to avoid the Ku in the water, but you gain a Silver Rupee if you defeat them all.
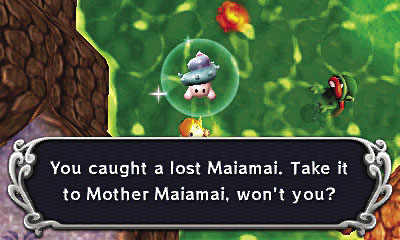
Take a quick dip into the Kus’ lake to discover an underwater Maiamai near the southern waterfall. Dive and scoop up the little tyke before swimming back to dry land.
 Lost Maiamai #76
Into the River
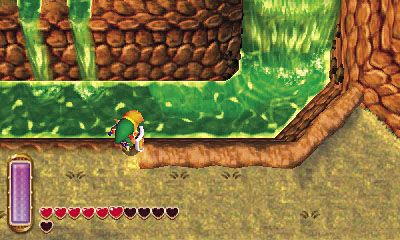
Backtrack to the south, away from Ku’s Domain, and drop from the high ledge. Go west a bit and look for an opening in the low north wall. Drop from this opening to splash down in the river.
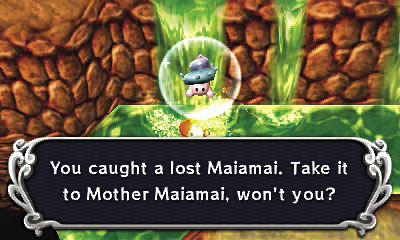
Swim west to find another waterlogged Maiamai at the river’s end. Hang on, little guy! Dive and rescue the Maiamai before swimming back eastward.
 Lost Maiamai #77
The Cowardly Giant
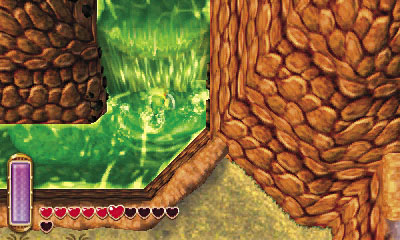
Swim east to reach a waterfall. Move into the waterfall to enter the hidden cave of a cowardly Hinox. Have no fear of this trembling tyrant—instead, if you want, demand that he pay you off with Rupees!

Continue to harass the Hinox, and he’ll give you a Blue, Red, Purple, and even two Silver Rupees (you can get the second if you have more than 50 Rupees in your wallet). Once you’ve swiped the monster’s Silver Rupee(s), it’s best to quit while you’re ahead—for asking for more Rupees sends the Hinox into a furious rage!
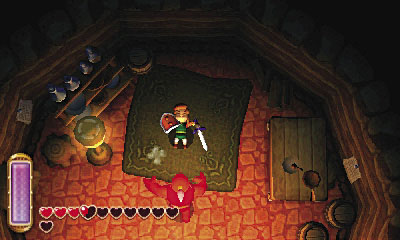
The rampaging Hinox cannot be stopped, so don’t even bother fighting it. Instead, flee from the cave with your ill-gotten wealth. The enraged Hinox does a whopping 5 hearts of damage if it rams you, so get out of there on the double!
One More Maiamai
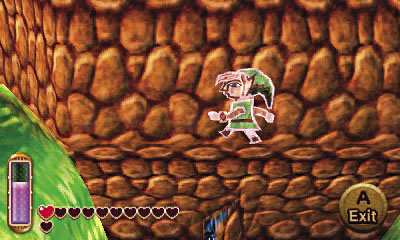
After exiting the Hinox’s cave, merge into the north cliff and slide westward along the river. Cross a wide chasm to reach the neighboring river to the west.
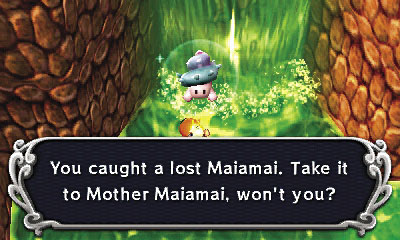
Pop out of the wall and plunge into the west river. Swim westward to find another underwater Maiamai near a waterfall. Better scoop up the little guy!
 Lost Maiamai #78
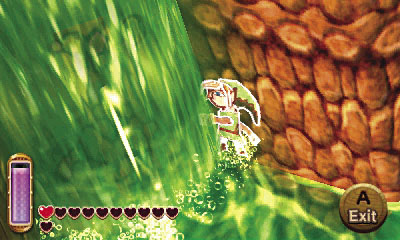
This concludes our tour of the Dark Ruins region. Swim east to reach shallow water, then merge into the north cliff. Go west to reach a fissure that’s hidden behind a nearby waterfall, and travel through to return to Hyrule.
Reaching Lorule’s Death Mountain
You’ve covered just about all of Lorule by this point, but there’s one scary area you’ve yet to explore: Death Mountain! As you might expect, Lorule’s version of this treacherous peak is even more brutal than Hyrule’s, so be sure that you’re well prepared for the journey. We strongly recommend upgrading the Fire Rod if you haven’t already—it’ll come in handy!
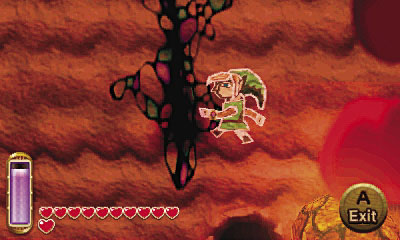
Back in Hyrule, have Irene’s broomstick whisk you away to the Death Mountain weather vane. Save your game and then merge into the north wall, heading west into a nearby fissure.