
The Legend of Zelda: A Link Between Worlds Guide Walkthrough Tower of Hera
Tower of Hera
Entering the Dungeon
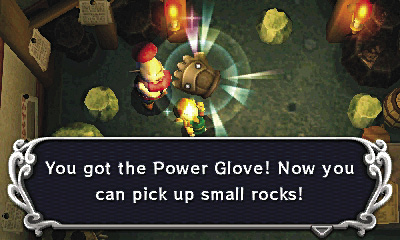
The Tower of Hera lies atop Death Mountain, and with thirteen floors to explore, it certainly lives up to its name. To reach the Tower of Hera, you must obtain the Power Glove from Rosso (p. 85), the miner who lives just north of the Blacksmith. Go south from Rosso’s afterward, searching for a nearby cave that’s blocked by small rocks. Use the Power Glove to lift and toss the small rocks aside, then enter the cave and begin your ascent up Death Mountain.

When at last you arrive at the Tower of Hera, use the hammer to pound down the pegs out front. Save your game at the weather vane, then head into the tower.
Tower of Hera 1F
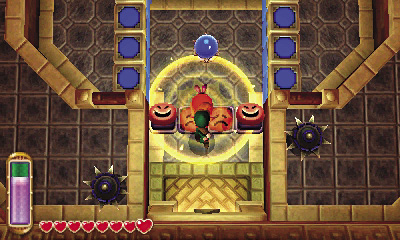
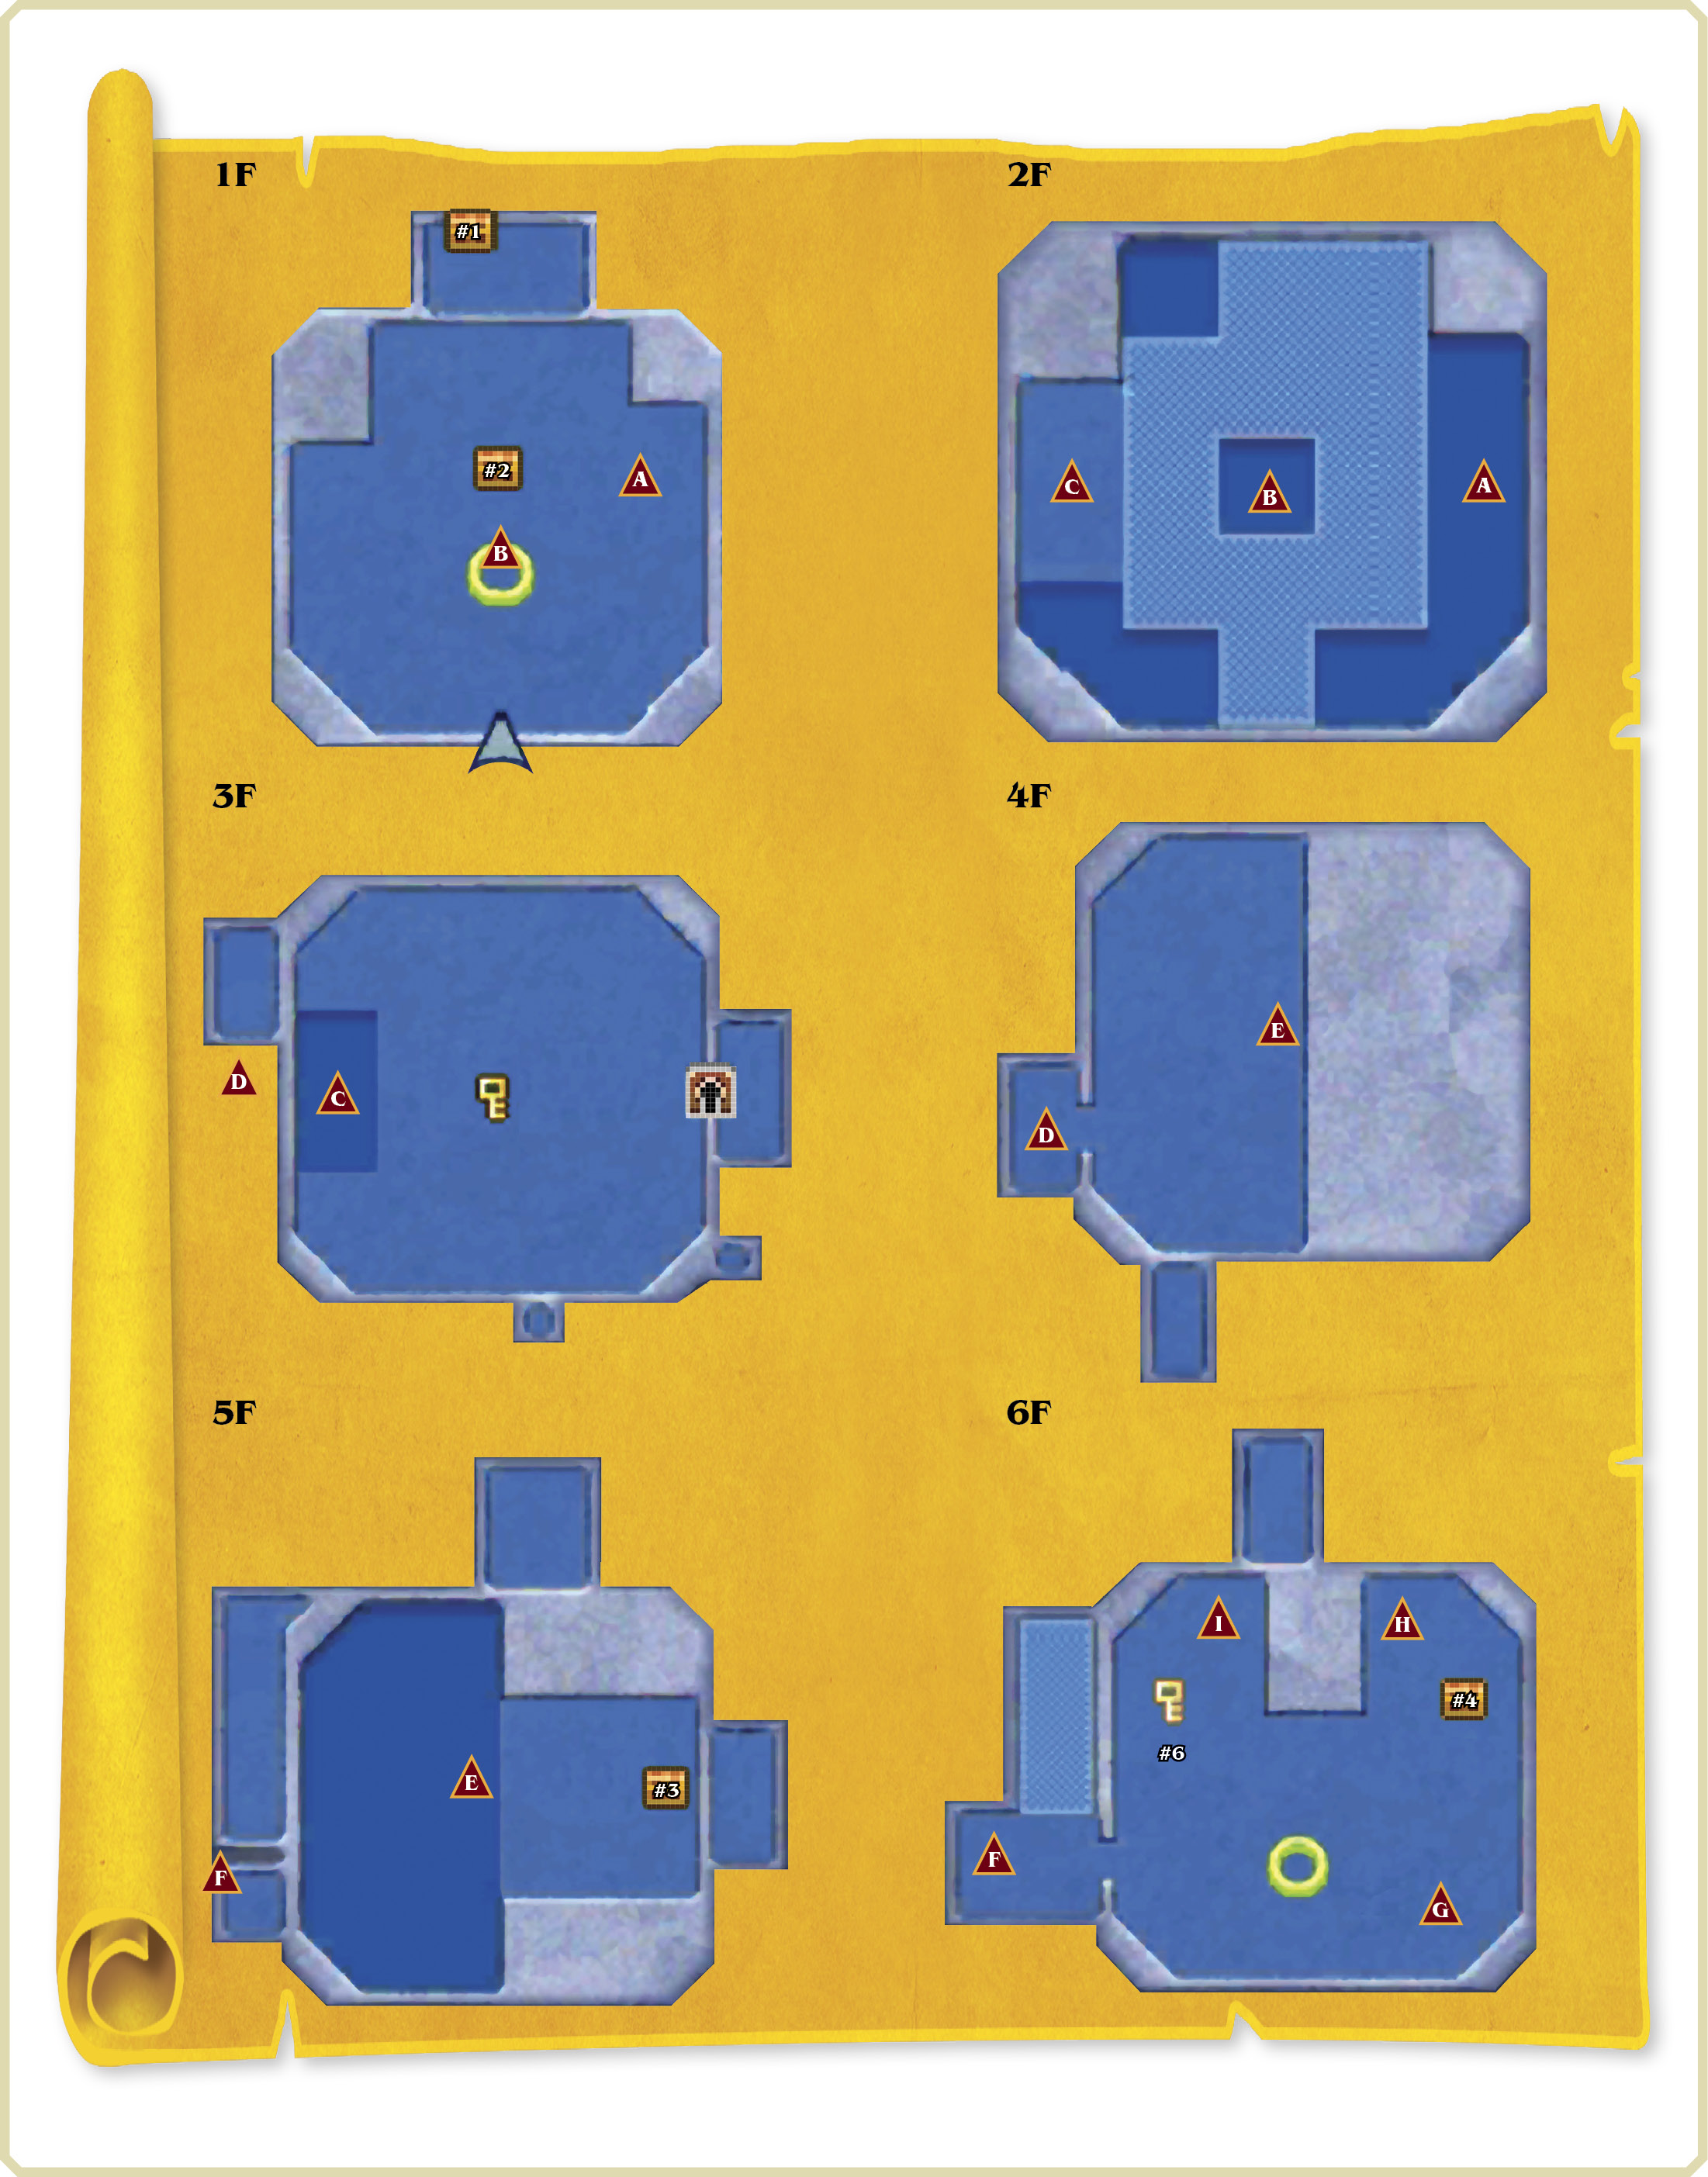
Unlike the House of Gales, the Tower of Hera’s first room has a whole lot going on. Begin by using the hammer to pound down the small red buttons near the entry. Quickly move past these little buttons before they pop back up.
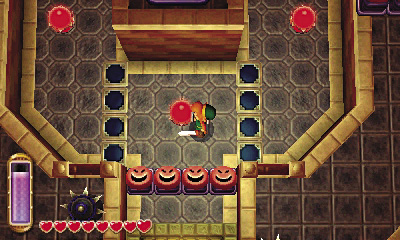
There’s a blue crystal just beyond the buttons. Strike this crystal with Link’s sword to change its color to red. This causes all of the blue blocks in the room to lower, and all of the red blocks to rise.
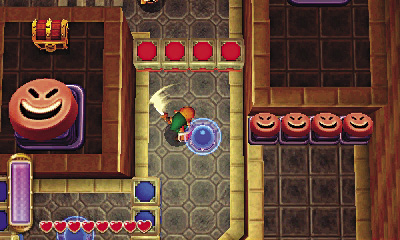
Move past the lowered blue blocks to reach a red crystal. Strike this one to change its color to blue. All of the room’s blue blocks rise back up, and all of the red blocks lower once more. Neat!
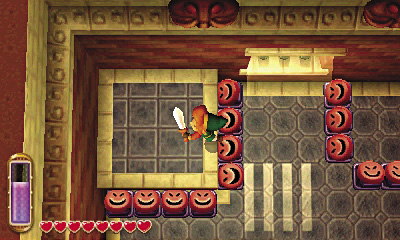
Use the hammer to help you defeat the Terrorpins that roam up north. Pound down the northwest buttons with the hammer afterward, then move onto the flattened buttons. When the buttons pop back up, you’ll be launched up onto the northwest ledge.
Terrorpin
Damage:1/2 Heart
These evil turtles stalk Link while remaining hidden in the safety of their thick, hard shells. Terrorpins are tough nuts to crack while hiding in their shells, so use the hammer to flip them onto their backs! Now they’re easy prey for Link’s blade.
Outdoor Loot
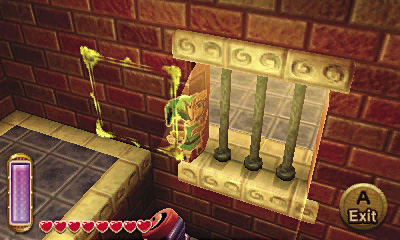
After bounding up to the northwest ledge, merge into the north wall and go east, slipping through a window to reach a small outdoor ledge.
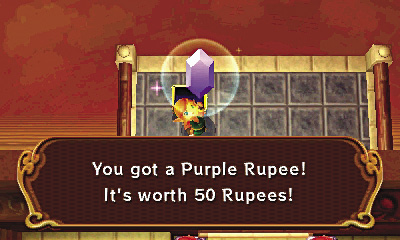
Hey, there’s a chest out here! Lift its lid to score a Purple Rupee.
 Tower Of Hera Chest #1: Purple Rupee
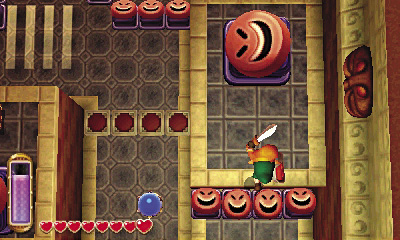
Return to the northwest ledge, and this time, merge into the west wall and make a long counterclockwise journey around the room. Keep going until you reach the room’s southeast ledge, where you discover more buttons.

Use the southeast ledge’s buttons to bound up to the higher ledge above. This ledge sports a much bigger button, similar to the ones you saw inside Death Mountain’s cavernous volcano on the way to Rosso’s ore mine. Hammer down this big button and then step on it, and you’ll be sent flying up to the second floor. (Don’t worry, you’ll come back for Room 1’s central chest soon!)
Tower of Hera 2F
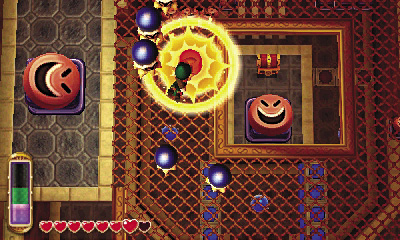
Beware the Hardhat Beetles that patrol this floor—they bump Link backward each time he strikes them with his sword, potentially knocking him back down to the first floor! The northern bumper will also send Link flying if he touches it. Move Link close to a wall if you feel like combating the Hardhat Beetles.
Hardhat Beetle
Damage:1/2 Heart
Few enemies are better at bouncing Link around than Hardhat Beetles. Though Link can harm these hard-shelled foes with his sword, each strike sends him flying backward, potentially landing him in a hazardous position. Try stunning Hardhat Beetles with the hammer or Ice Rod so that you may move Link to a safe attack position (like putting his back to a wall) before striking.
Tower of Hera 1F (Revisited)
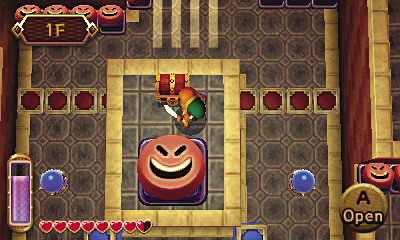
After busting up the Hardhat Beetles, drop through the hole in the middle of the second floor. Link lands on the first floor’s central platform, right next to a chest. Crack it open to claim the Tower of Hera’s compass.
Tower Of Hera Chest #2: Compass
Tower of Hera 2F (Revisited)
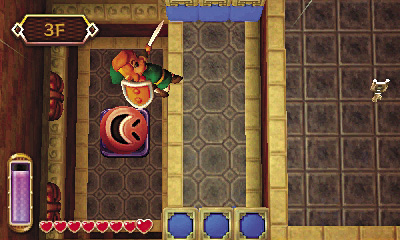
That about wraps up these first two floors. With the compass in hand, hammer the nearby button to fly back up to the second floor, then use the second floor’s west button to bound up to the third floor.
Tower of Hera 3F
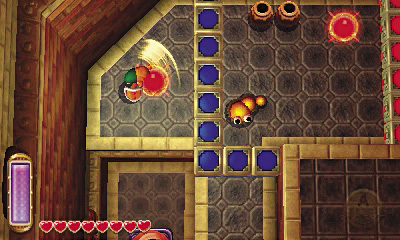
Up on the third floor, merge into the blue blocks and slide around them to reach a blue crystal. Whack the crystal to lower the blue blocks and raise the red ones, just as you did back on the first floor. Just beware the Mini-Moldorms that roam beyond the blue blocks!
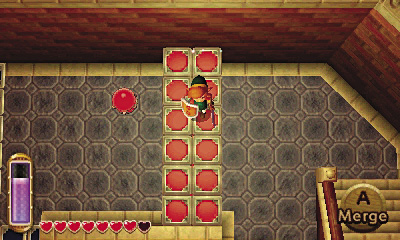
Move past the blue blocks, then activate a red crystal to lower the red blocks ahead. Stand atop the lowered red blocks afterward and strike the same crystal, which has now turned blue, to change it back to red and raise the red blocks that you’re standing on.
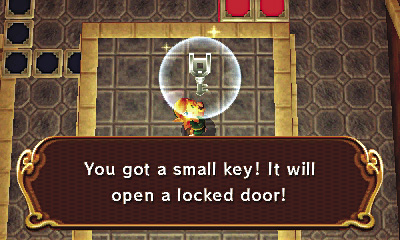
When the red blocks rise, they lift Link along with them. Stroll onto the central platform and claim the small key.
Outdoor Excursion
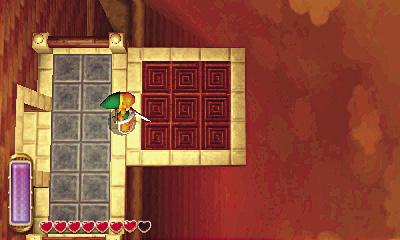
Use the small key to open the east door, then head through to reach a small outdoor ledge. Wait for a platform to drift past, then step aboard.
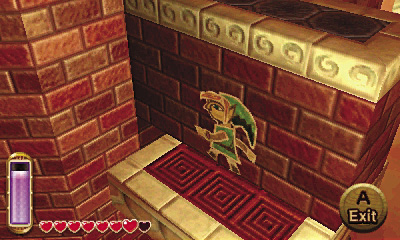
Relax and enjoy the ride as the platform takes you around the tower. When the platform slides under a wall, merge into the wall and slip around it, popping out to land on the platform as it emerges from the other side.
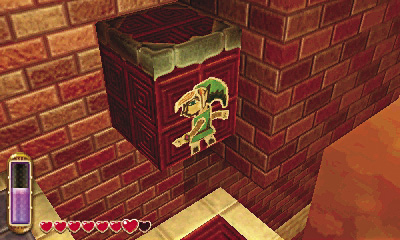
Keep going until the platform ferries you to a small ledge on the tower’s west side. Step off and collect a couple of hearts, then merge into the tower and go south to reach an elevator block.
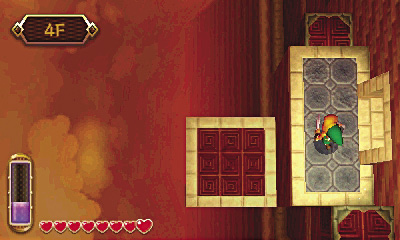
Move from the tower wall onto the elevator block, then ride up to the fourth floor. Exit onto a small ledge and pass through a door to return to the tower’s interior.
Tower of Hera 4F
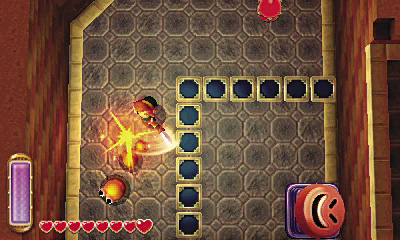
The tower’s fourth floor is defended by Stalfoses and Mini-Moldorms. Dispatch the Stalfoses first, then smack the blue crystal to lower the blue blocks and battle the Mini-Moldorms.
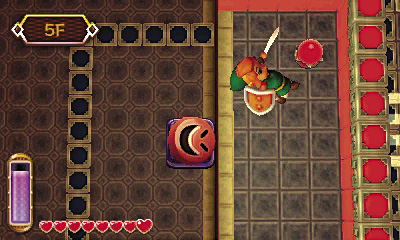
After clearing the room of enemies, hammer the big button and soar up to the fifth floor. You’re getting there!
Tower of Hera 5F
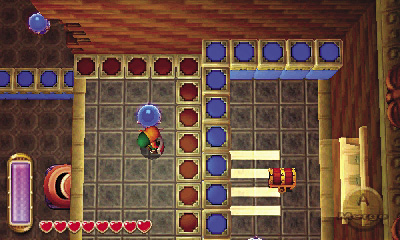
After bounding up to this floor, you land near a red crystal. Strike it to lower the nearby red blocks to the east and raise the blue ones.
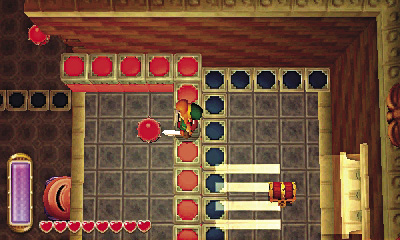
Stand on the lowered red blocks, then smack the same crystal again (which is now blue) to raise the red blocks and lower the blue ones. Link is hoisted upward by the red blocks; drop down to the east and loot the nearby chest.
Tower Of Hera Chest #3: Blue Rupee
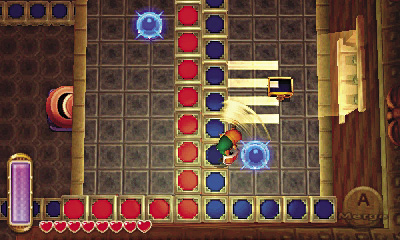
After pocketing the chest’s Blue Rupee, stand on the lowered blue blocks and strike the red crystal that’s south of the chest. The blue blocks rise, elevating Link.
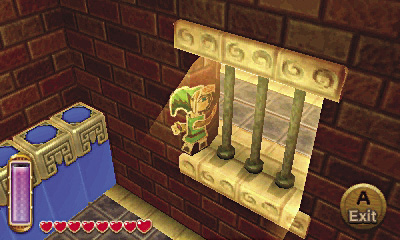
While standing atop the raised blue blocks, merge into the tower’s wall and slip through the east window, exiting the tower once more.
More Moving Platforms
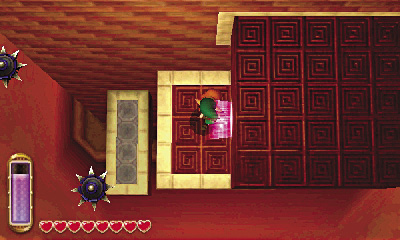
Hop onto another moving platform and ride it around the tower. You’ll need to dodge spiked balls this time, so stay mobile on your platform. Merge and slip past any blocks that get in your way, just as you did before.
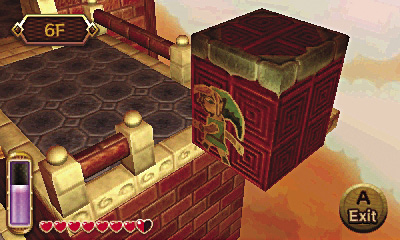
When you reach the tower’s west side, merge over to a small ledge with a heart, and a larger ledge with some Rupees. Merge onto the elevator block when you’re ready to travel up to the sixth floor.
Tower of Hera 6F
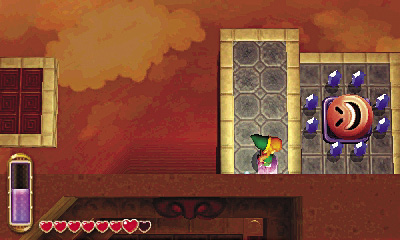
Before reentering the tower, go north and merge into the tower’s outer wall once more. Wrap around to the north wall, and you can drop down to a lower ledge back on the fifth floor, where a cluster of Blue Rupees is hidden.
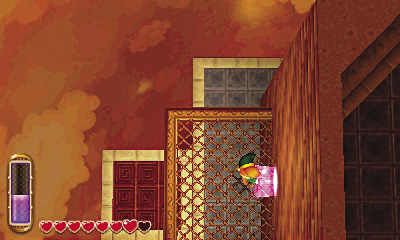
Fill your pockets with Blue Rupees, then hammer the nearby button to boost back up to the sixth floor. Merge into the tower again and backtrack to the previous ledge, then enter the tower.
Red Stalfos Ambush
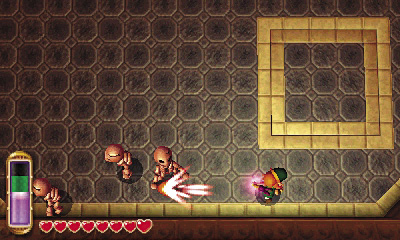
Link becomes sealed in the tower’s sixth floor, faced with a mob of red Stalfoses. These nimble skeletons hurl bones at Link from range, making them more dangerous than regular Stalfoses. Dodge or block their bones with the shield, and use Link’s range of weaponry to defeat the red Stalfoses more easily, stunning them with the hammer or Ice Rod, or picking them off with the bow from range.
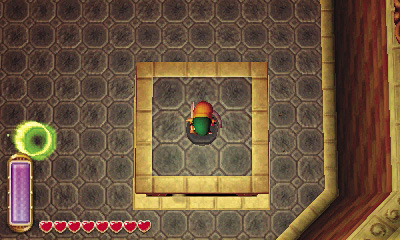
The room unseals after you’ve slain all of the red Stalfoses, and a portal appears. A nearby elevator also activates. Use the portal to warp back to the tower’s entrance and save your progress, then return through the portal and ride the elevator up to the seventh floor.
Tower Of Hera Chest #4: Monster Guts
Tower of Hera 7F
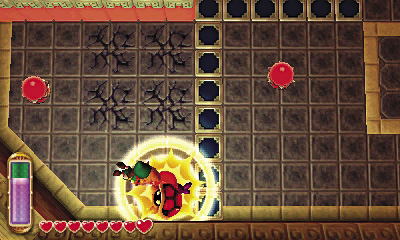
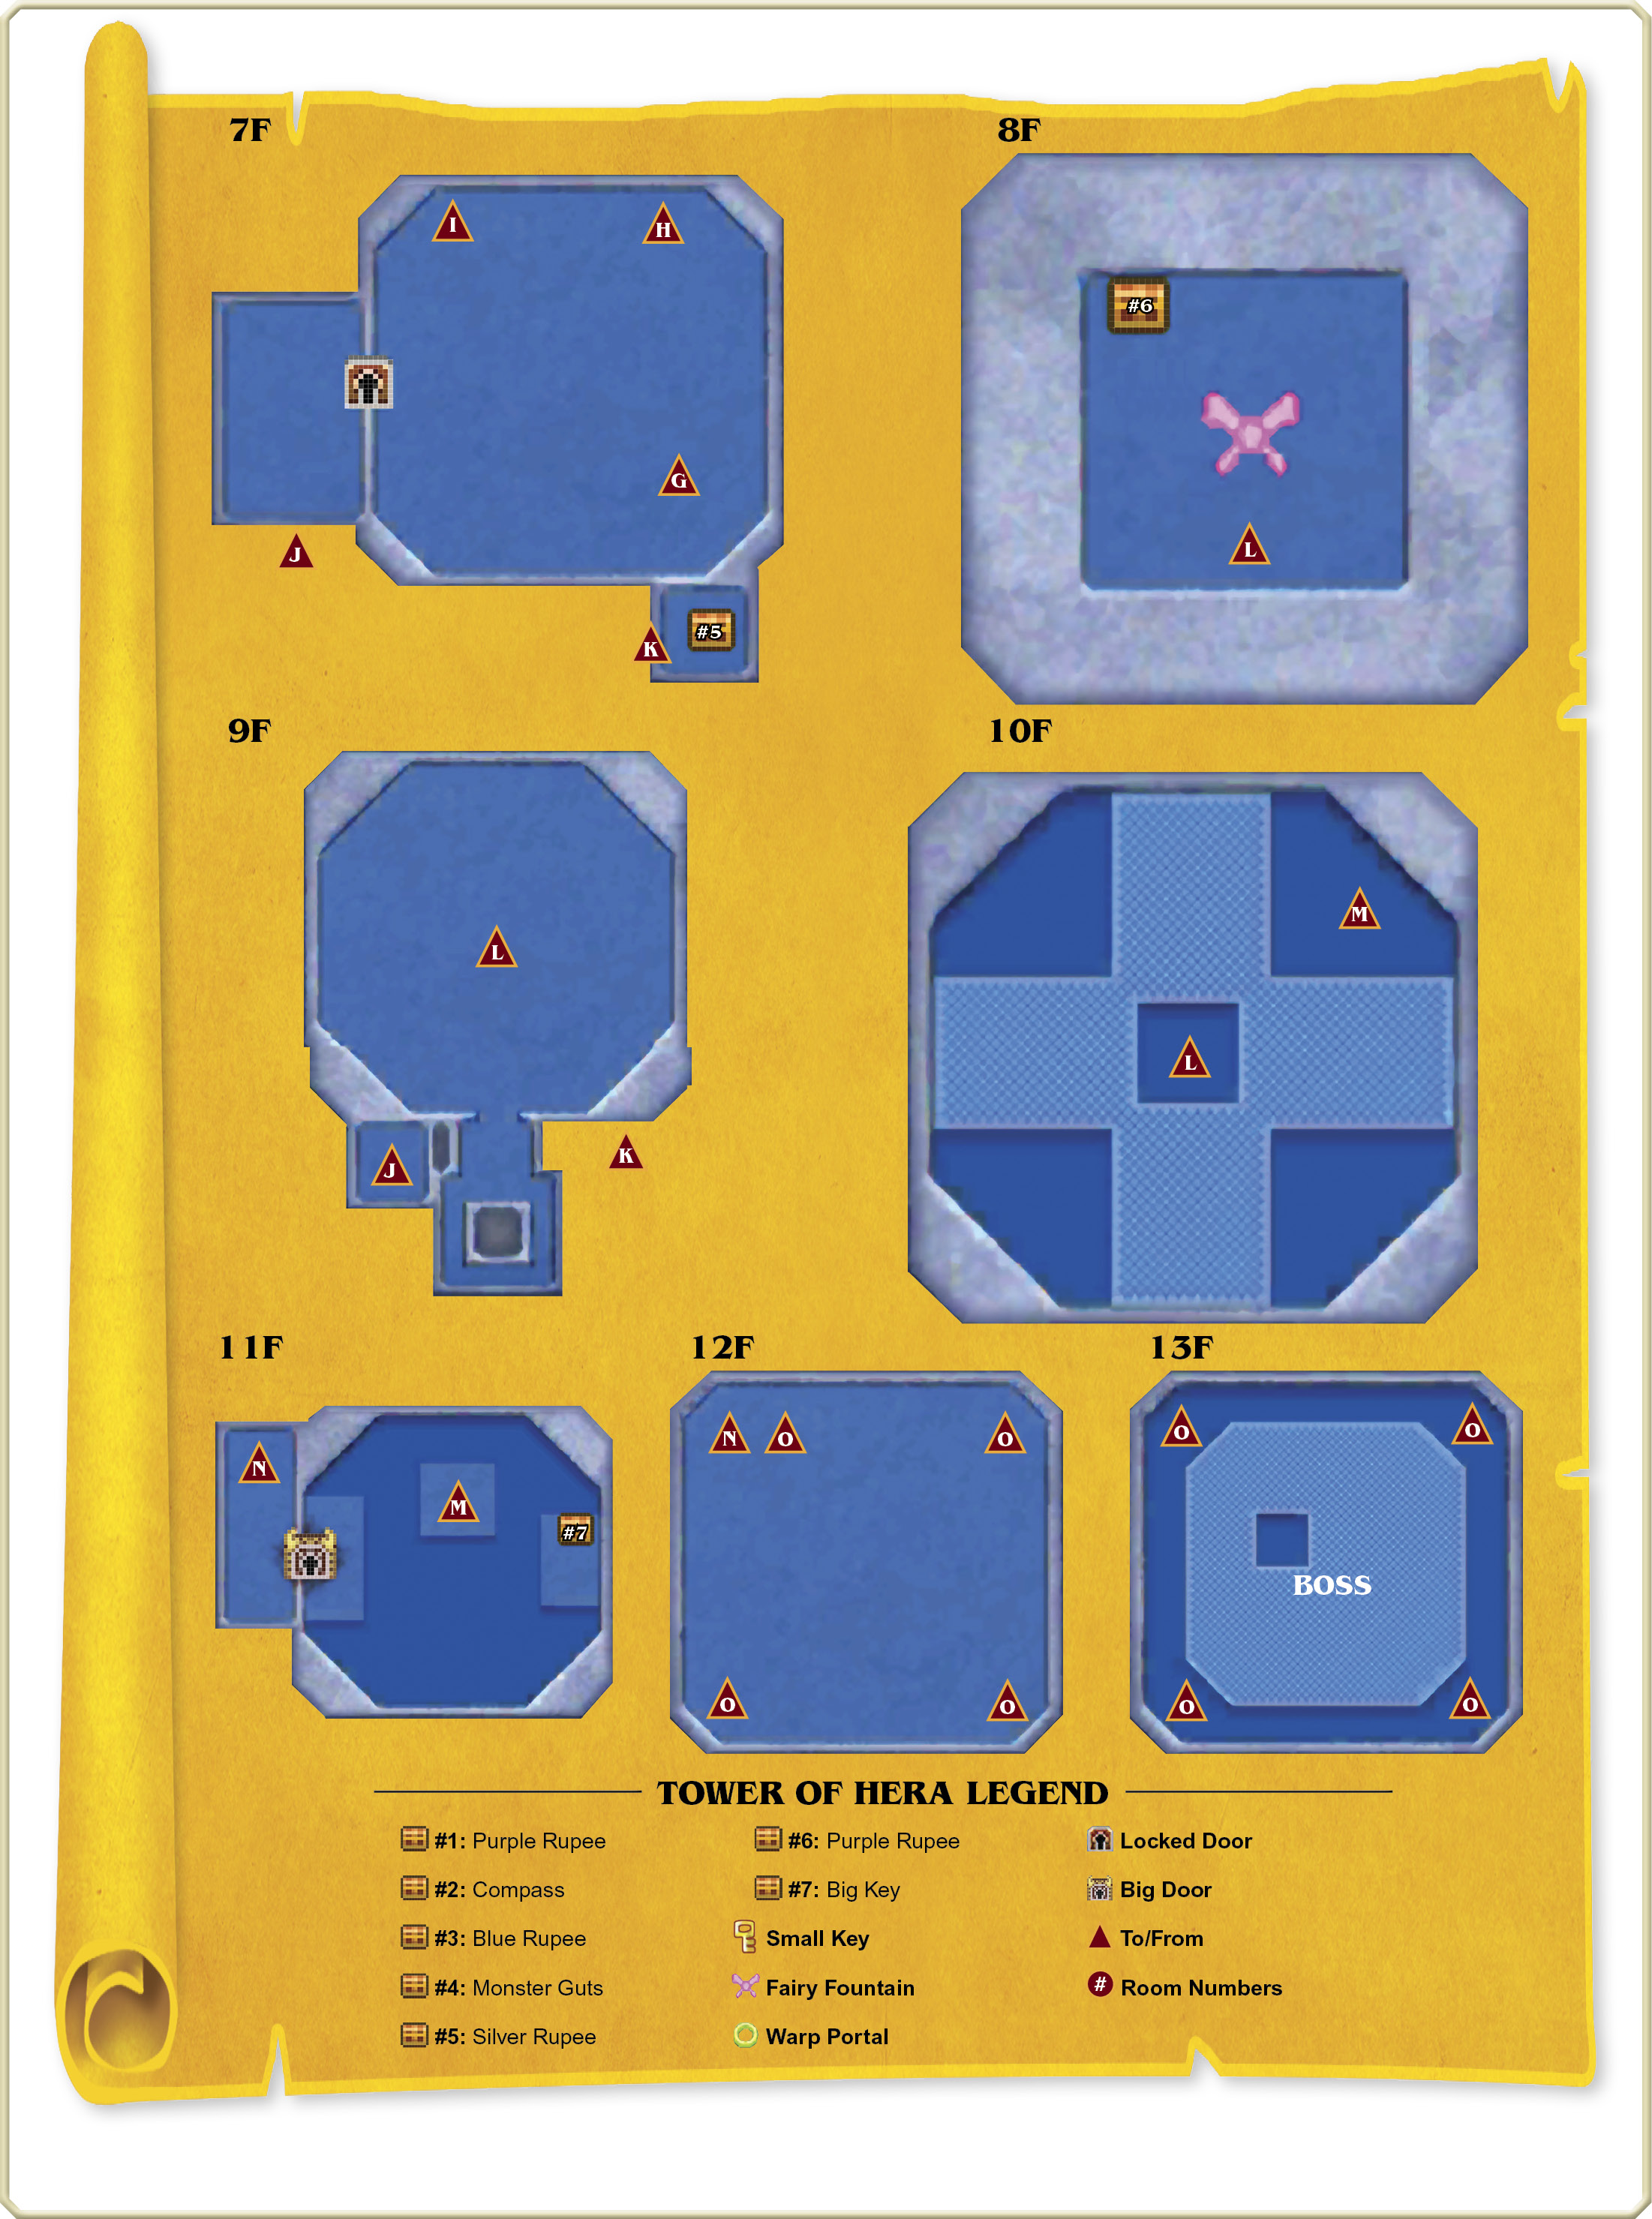
The tower’s seventh floor is crawling with Hardhat Beetles and Terrorpins. Use the hammer to help you stun and defeat these troublesome foes—but watch out! Link’s hammer will smash right through the cracked floor tiles up here, potentially sending him tumbling down to the previous floor.
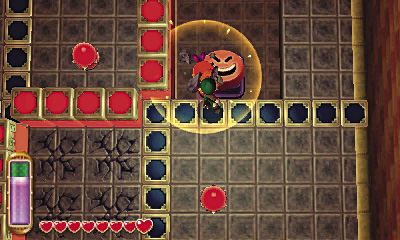
Of course, you actually do want Link to fall back down to the sixth floor—it’s the only way to claim the contents of its chest, along with a small key. Begin by manipulating the seventh floor’s colored crystals and blocks as needed to reach the northern cracked floor tiles.
Tower of Hera 6F (Revisited)
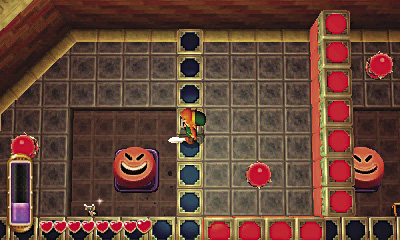
Hammer through the seventh floor’s northeast tiles to reach the sixth floor’s chest, and bash through the seventh floor’s northwest tiles to land near the sixth floor’s small key. Claim your loot and then hammer a button or ride the elevator back up to the seventh floor.
Tower of Hera 7F (Revisited)
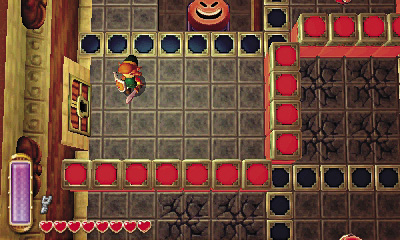
Now that you’ve found a small key, use it to unlock the seventh floor’s west door. Depending on the state of the seventh floor’s... um, floor... you may wish to merge into and maneuver around the walls or colored blocks to get there.
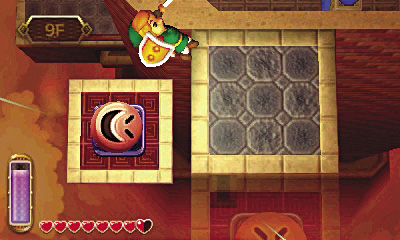
Use the small key you found on the sixth floor to open the locked west door and reach an exterior ledge. Step onto the moving platform out here, and pound its button to soar way up high, past the eighth floor, and onto the ninth floor’s small exterior ledge.
Tower of Hera 9F
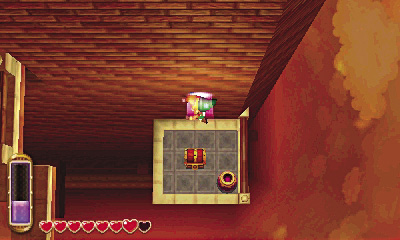
Up on the ninth floor’s tiny ledge, merge into the tower and travel east along its south wall. When you reach the edge of the south wall, don’t wrap around to the tower’s east side. Instead, exit from the wall to drop to a small ledge back on the seventh floor.
Tower of Hera 7F (Third Visit)
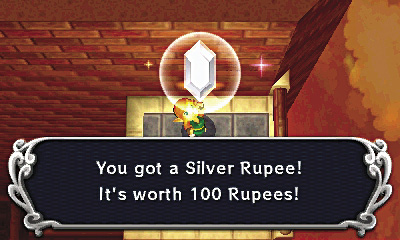
If you lined up your drop properly, you’ll land on a small ledge down on the seventh floor, right near a chest. Crack it open to score a valuable Silver Rupee. (Use the maps as a reference to help you line up your fall and land safely near the chest.)
Tower Of Hera Chest #5: Silver Rupee
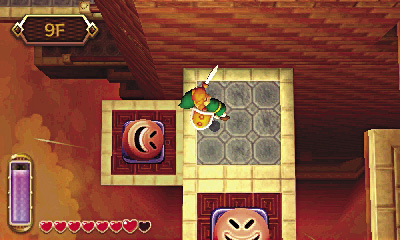
Merge into the tower after pocketing your Silver Rupee, and travel west, heading back for the moving platform with the big button. Hammer the button again to bound up to the ninth floor once more.
Tower of Hera 9F (Revisited)
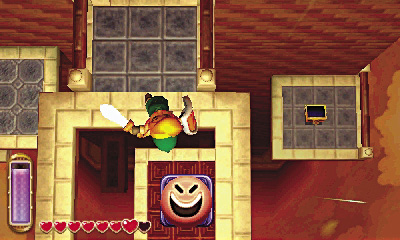
Back up on the ninth floor, step onto another moving platform when it draws near. As you approach the overhead square opening, hammer the platform’s button to boost up through the square opening and land near a doorway that leads back into the tower. (You’re still on the ninth floor at this point.)
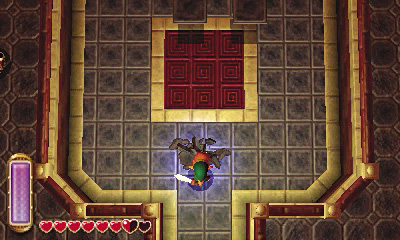
Link is sealed inside the tower’s ninth floor, but there are no enemies within reach of his blade. Instead, the central floor tiles begin to rise, spin, and fly toward Link! Raise Link’s shield to block these wild tiles, and just wait patiently until they’ve all shattered against Link’s shield.
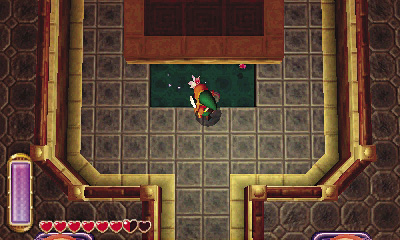
After all of the tiles have shattered, an elevator activates in the center of the room. Don’t ride up the elevator just yet! Instead, wait for it to rise, then drop through the opening in the floor to visit the eight floor.
Tower of Hera 8F
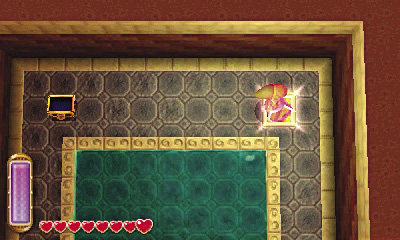
What’s this? You’ve discovered a secret Fairy Fountain! And there’s a chest here, to boot. Fill your bottles with fairies, then open the chest to pluck out a Purple Rupee. When you’ve had enough refreshment, use the northeast warp tile to return to the ninth floor, then use the ninth floor’s elevator to reach the tenth floor.
Tower Of Hera Chest #6: Purple Rupee
Tower of Hera 10F
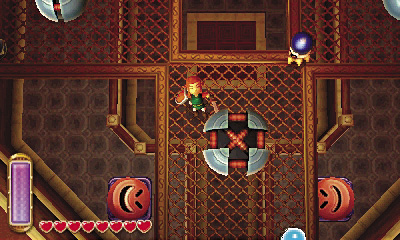
Beware! This floor is crawling with Hardhat Beetles that threaten to send you flying, as do the numerous bumpers. If you’re knocked off the central platform, you may wind up landing on the ninth floor’s outer balcony, where dangerous Mini-Moldorms roam!
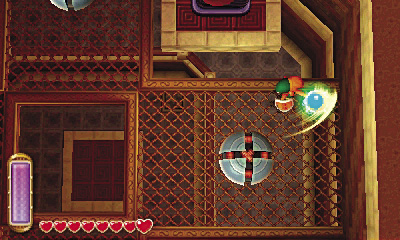
Avoid, stun, or defeat the Hardhat Beetles as you navigate the tenth floor, aiming to activate its four crystals, which lie to the north, south, east, and west. Try slipping around the bumpers in the hopes of luring the Hardhat Beetles into them, giving them a taste of their own medicine!
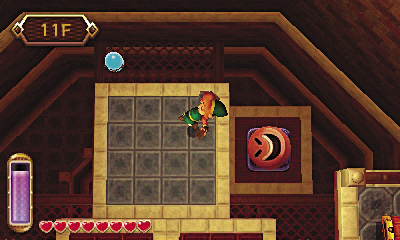
Once all four crystals have been activated, a platform lowers in the floor’s northeast corner. Pound this platform’s button and rocket up to the eleventh floor.
Tower of Hera 11F
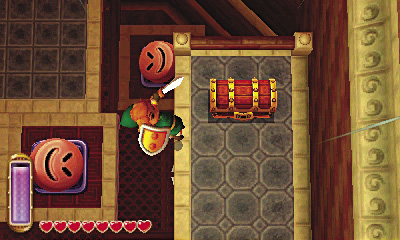
You’re almost there now! Move onto this floor’s moving platform, and hammer the platform’s east button to bound up to a high east ledge. Loot the ledge’s chest to discover the Big Key.
Tower Of Hera Chest #7: Big Key
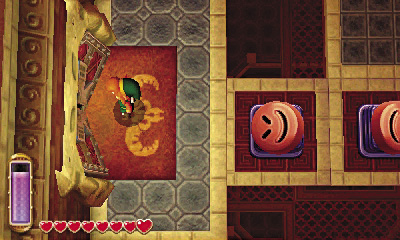
Pocket the Big Key, then merge into the east wall and go clockwise around the tower, collecting some painted Rupees on your way to the west ledge. Exit and use your newfound Big Key to open the big door over here.
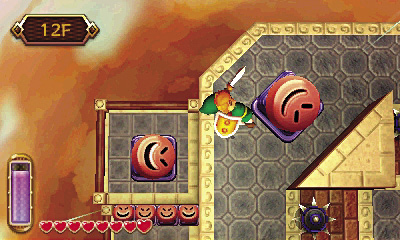
Step through the big door and pound some buttons to launch up to the tower’s twelfth floor. The final battle is at hand!
Tower of Hera 12F
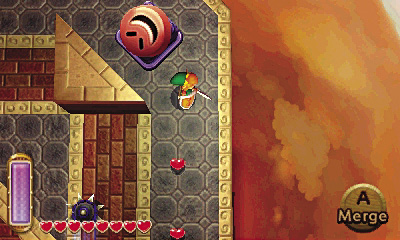
There are hearts lying around the twelfth floor, but leave them be unless you need them—they may soon come in handy! Notice that the spiked balls here do not touch the gray sections of the floor (except for the center square)—this knowledge, too, may soon come in handy!
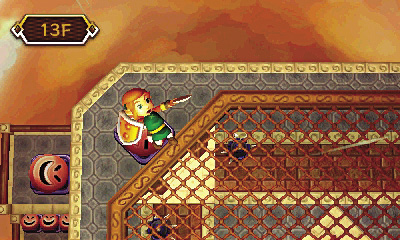
When you’re ready to face off against the tower’s boss, pound any of the twelfth floor’s buttons and bound up to the boss arena.
Boss Battle: Moldorm
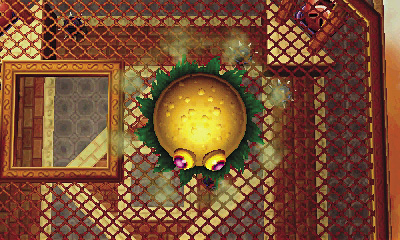
If you thought Mini-Moldorms were tough, just wait until you get a load of this beast! This oversized Moldorm roams the very top of the Tower of Hera, thrashing any intruders foolish enough to disturb it.
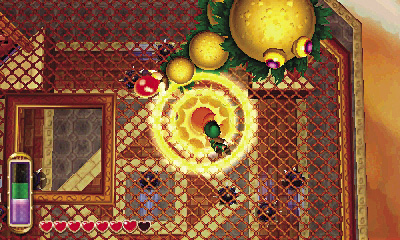
Moldorm has just one weak spot: the red orb at the end of its tail. You can stun Moldorm temporarily by pounding the hammer down when the boss is nearby, and this can help you land a quick hit on its weak spot. Note that Moldorm remains stunned for much longer if you manage to hammer its head.
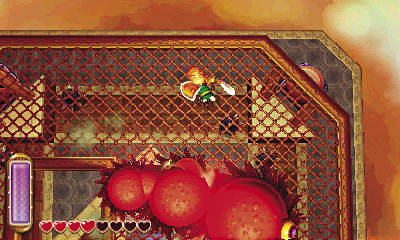
Each time you strike Moldorm’s weak spot, the creature coils up for a moment before starting its pursuit anew. Moldorm gets a little faster each time you strike it, and deals more damage. Moldorm steadily turns red as the battle wears on—a shade that reflects its rage.
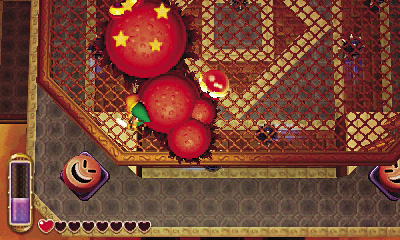
Avoiding Moldorm is easy at first, but far more challenging as the boss nears defeat. Beware of being knocked off the battle platform, for you’ll land back on the twelfth floor, right in the midst of all those spiked balls. If you fall, move to a gray section of floor for safety while you catch your breath, then grab some hearts before bounding back up to the boss.
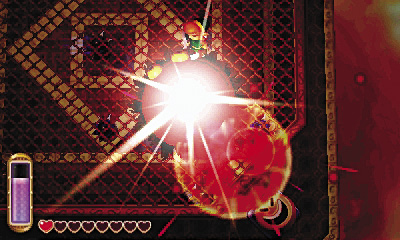
Keep stunning and stabbing Moldorm until the great worm can take no more. Collect the heart container that Moldorm leaves behind, along with the Pendant of Power. Excellent work! The Master Sword is as good as yours.
Pendant of Power
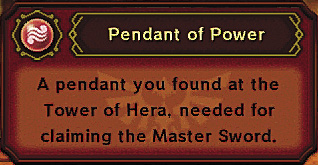
A pendant you found at the Tower of Hera, needed for claiming the Master Sword.