
The Legend of Zelda: A Link Between Worlds Guide Walkthrough The Final Battle
Lorule Castle
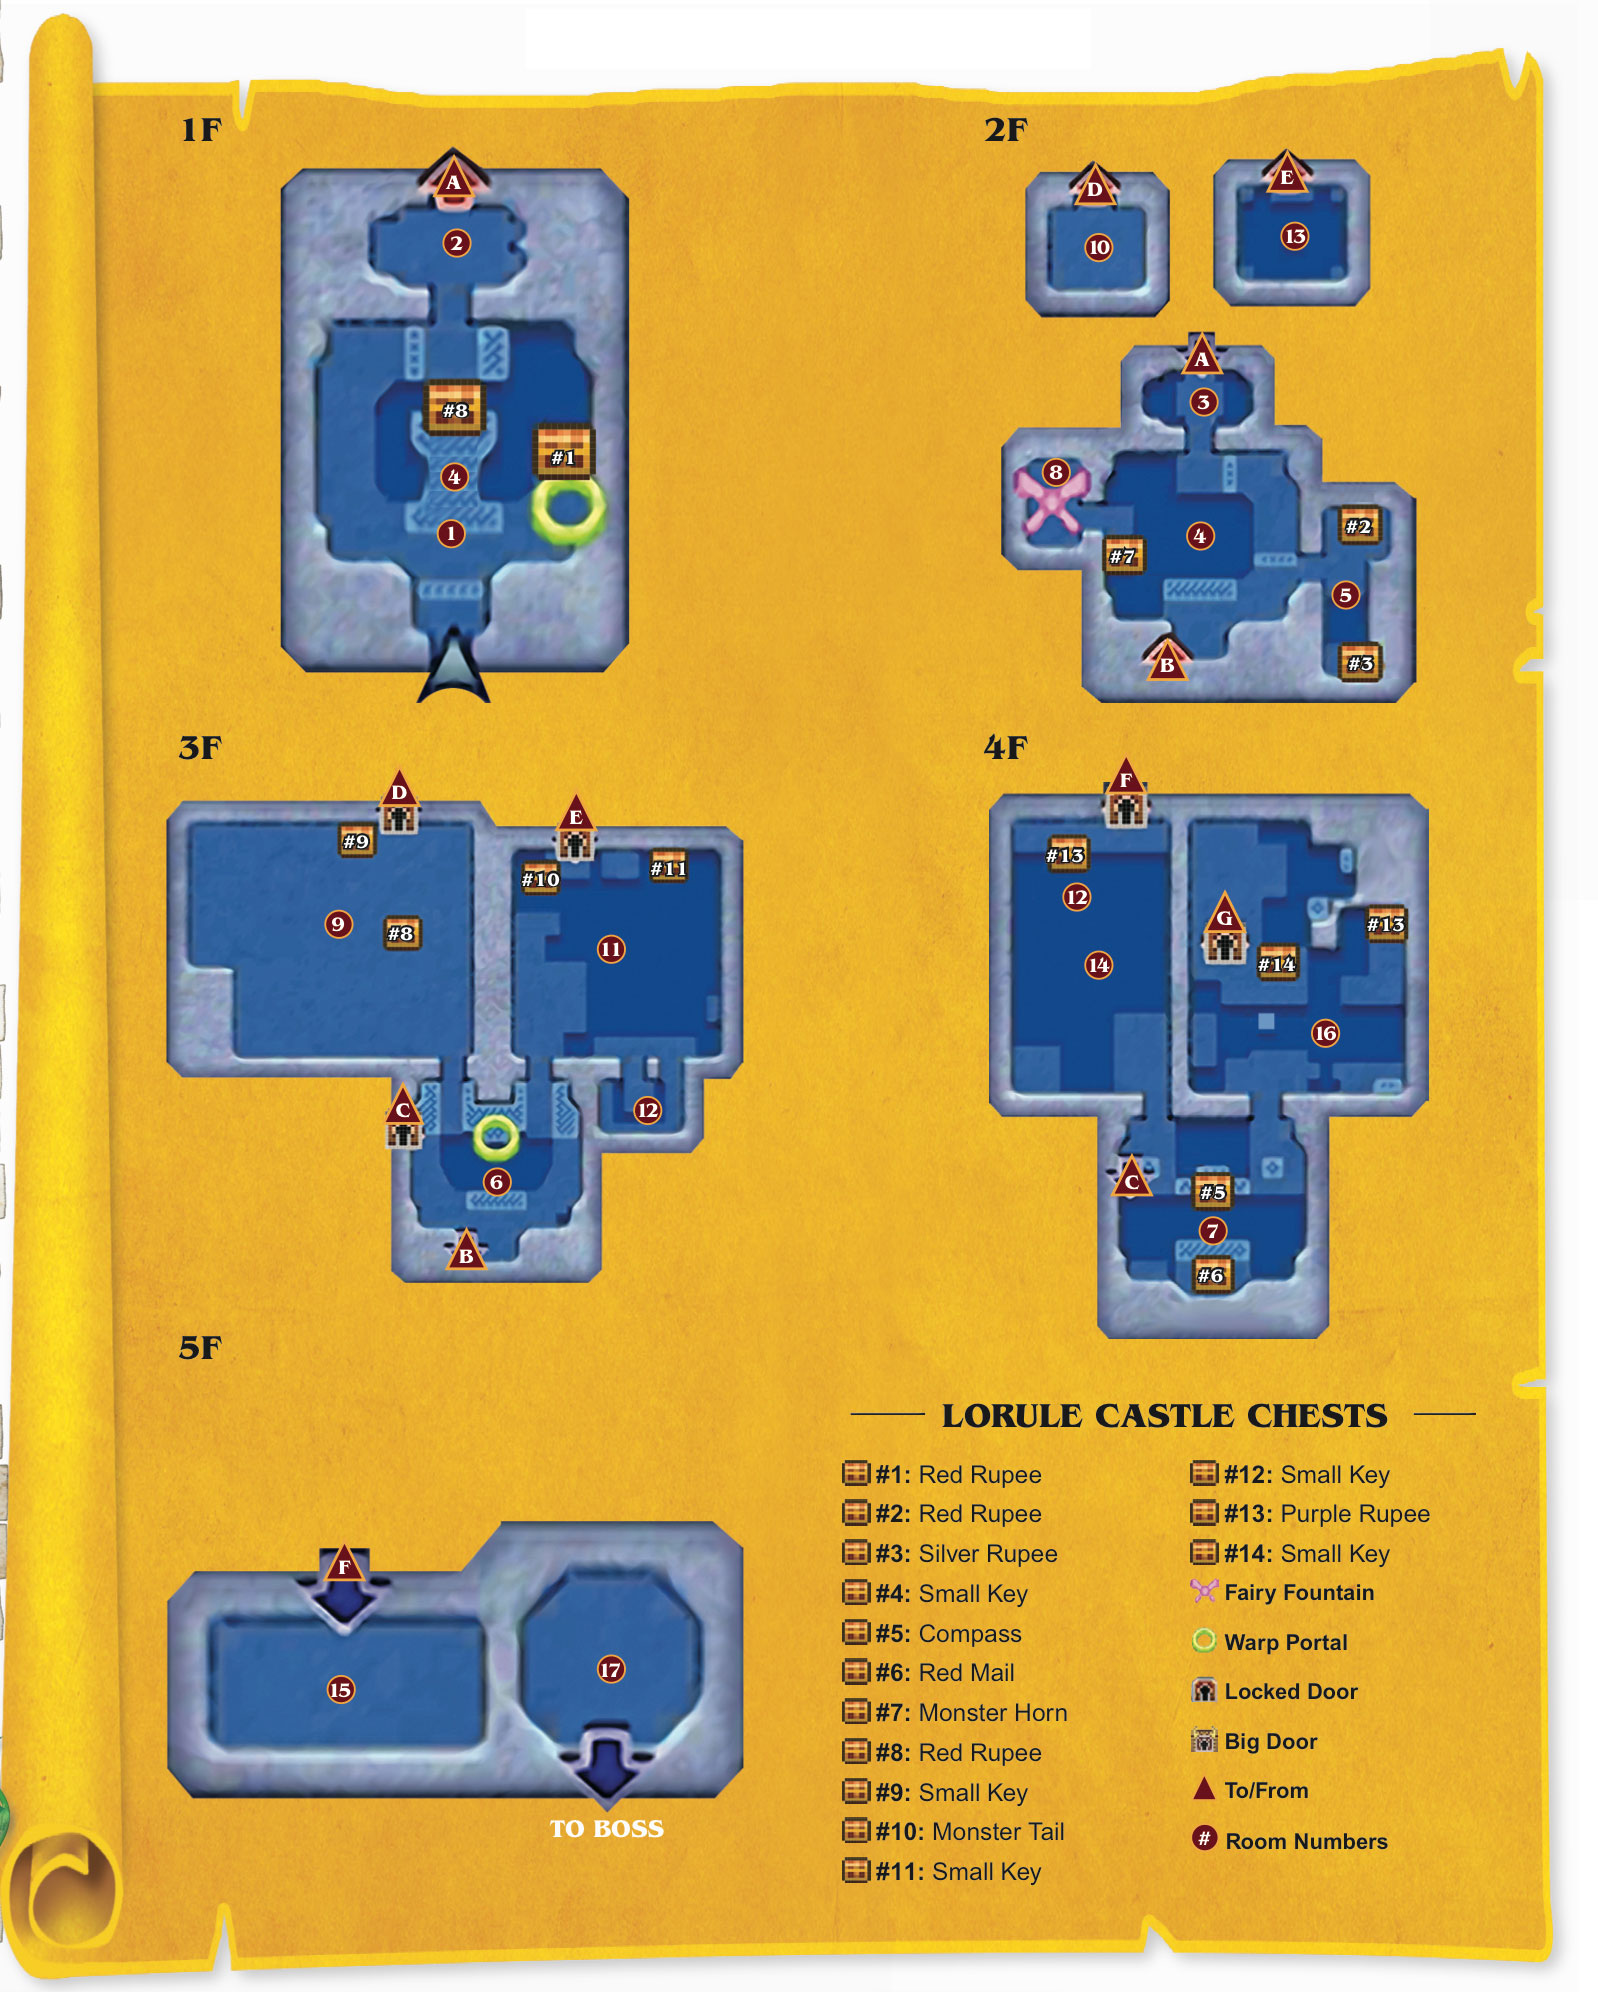
Breaching the Castle
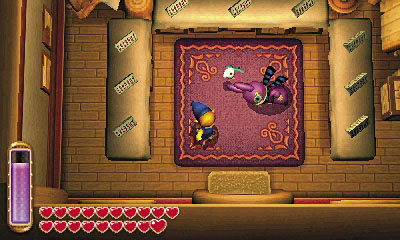
Having rescued all Seven Sages from Lorule’s seven dungeons, Link has at last obtained the mighty Triforce of Courage. The time has finally come to challenge Yuga at Lorule Castle! The final battle is at hand, so be certain to accomplish anything you might want to do before heading north from the Vacant House to reach Lorule Castle.
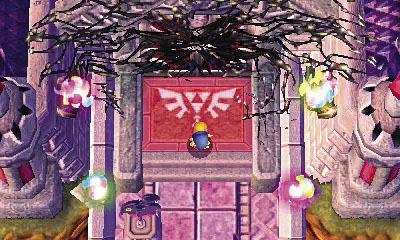
When Link arrives at Lorule Castle, he finds the gate sealed with Princess Hilda’s powerful magic. The dark princess calls out to Link, warning him that Yuga’s minions are running amok inside her castle. She then unweaves her spell, granting Link entry to the castle.
Room 1: Castle Foyer (1F)
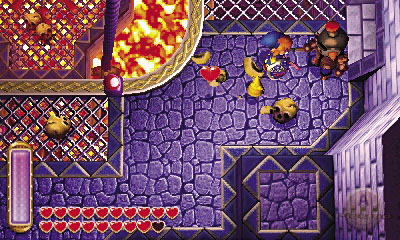
A massive, fiery chasm dominates the ground floor of Lorule Castle, making it a clearly dangerous place. Beware the armed Lorule Soldiers that patrol the entry—unlike the ones near the Dark Palace, these burly warriors will attack Link on sight, knocking off four hearts (two if you’ve found the blue mail) with each hit!
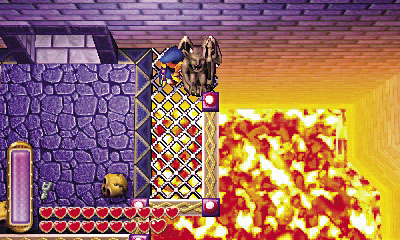
The room’s central chest can’t be reached, but there’s a sneaky way to get at the east chest. Run to the room’s north door, but don’t go through. Instead, shove the nearby lifeless Gimos statue off the end of the ledge and into the fire below.
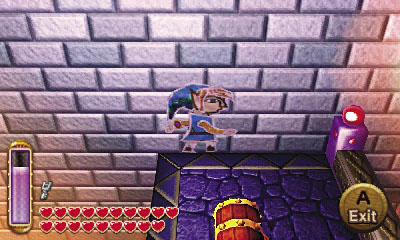
With the Gimos gone, you can merge into the north wall and slide eastward, heading to the chest. Flip its lid to score a Red Rupee. Nice! Now merge back along the wall and proceed through the north door to visit Room 2.
 Lorule Castle Chest #1: Red Rupee
Room 2: Stairwell (1F)
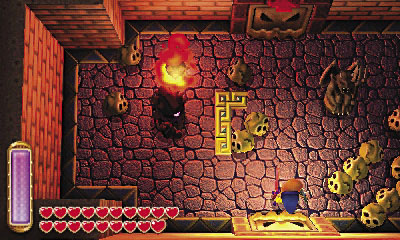
Beware: Link becomes trapped in this small, musty room, forced to square off against a rugged Ball and Chain Soldier! This villain is similar to the one you battled within Hyrule Castle, only even more powerful and resilient.
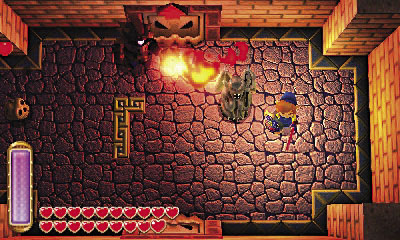
Merge into walls to escape the Ball and Chain Soldier’s far-reaching attacks, and look to unload on the soldier with ranged attacks of your own. Use the room’s lone Gimos statue as cover, keeping it between you and the Ball and Chain Soldier. For safety, stun the brute with weapons such as the Ice Rod before closing in for swordplay, or strike while the ball is mid-rotation. After the battle, proceed up the north stairs to reach the second floor.
Room 3: Stairwell (2F)
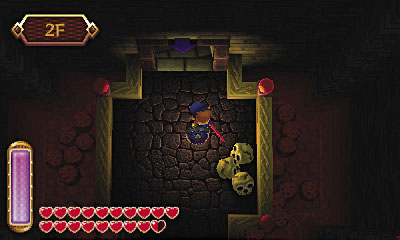
There’s not a lot happening in this small chamber. Smash a few skulls here in search of items as you head south into Room 4.
Room 4: Castle Foyer (2F)
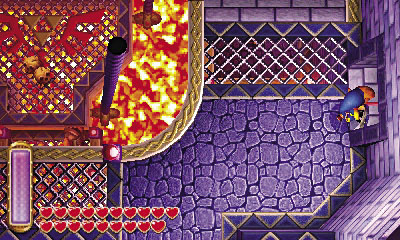
You’re back in the foyer, exploring the second floor of this huge hall. Cut down more Lorule Soldiers as you proceed around the balcony, heading for the southeast door to Room 5. Beware the fireballs that are spit by the surrounding fire statues as you go!
Room 5: Treasury
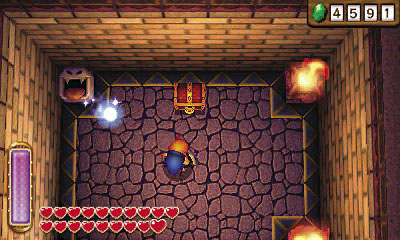
This small room features a lone chest guarded by a Lorule Soldier and an ice statue. Slay the soldier and avoid the statue’s icy blasts as you move to loot the chest.
 Lorule Castle Chest #2: Red Rupee
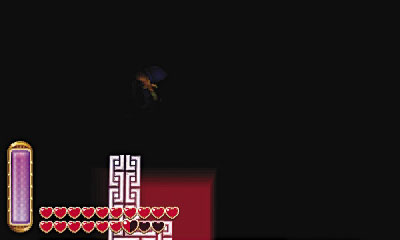
After plundering the chest, attack the nearby braziers to extinguish their flames, casting the room into darkness. Now go south to discover a glowing path of shadow. It’s just like the kind you saw at the Dark Palace!
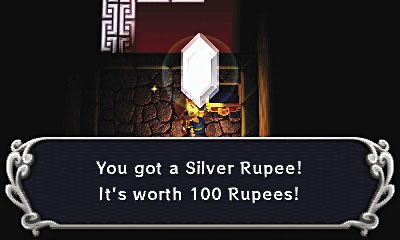
Cross the shadow path to reach another chest on the room’s south ledge. Raid this chest as well to claim a sparkly Silver Rupee.
 Lorule Castle Chest #3: Silver Rupee
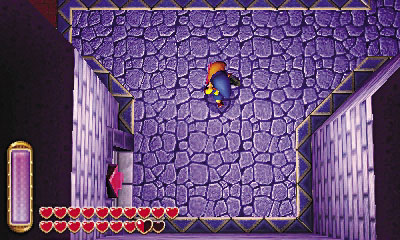
After pocketing your Silver Rupee, backtrack across the shadow path and go west to return to Room 4. Take the southern stairs up to Lorule Castle’s third floor.
Room 6: Castle Foyer (3F)
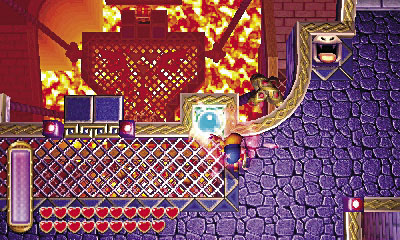
Entering the castle’s third floor, Link notices a large mural in the foyer’s north wall. Strike the nearby crystal to make a portal appear up north, which leads back to the dungeon’s entry, two floors below you.
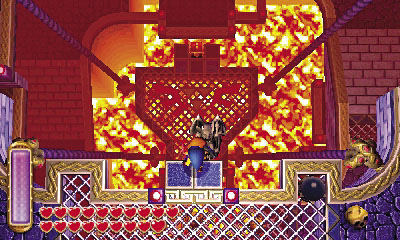
After activating the crystal, shove the two nearby Gimos statues northward, off the edge of the balcony. The Gimos plummet far below—follow after them by dropping off the walkway yourself!
Room 1 (Revisited)
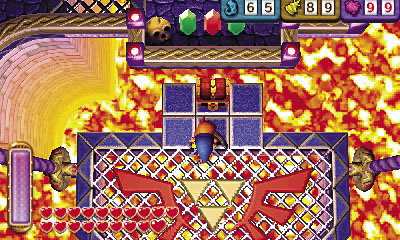
Dropping from the foyer’s third floor lands you on the central platform way down on the first floor. Now you can reach this room’s central chest! Crack it open to claim a small key.
 Lorule Castle Chest #4: Small Key
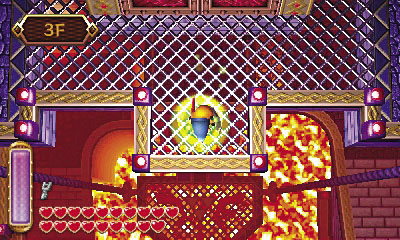
Go south after looting the chest, dropping off the ledge near the Gimos statues you recently shoved down here from the foyer’s third floor. Go east after dropping off the ledge to reach the portal you also recently activated, and travel through to quickly return to Room 6. (Feel free to step outside and save your game before warping through the portal.)
Room 6 (Revisited)
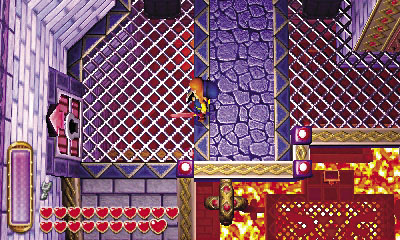
After warping back up to Room 6, go west and unlock the west door with your newfound key. Take the stairs that lie beyond the door up to the castle’s fourth floor.
Room 7: Castle Foyer (4F)
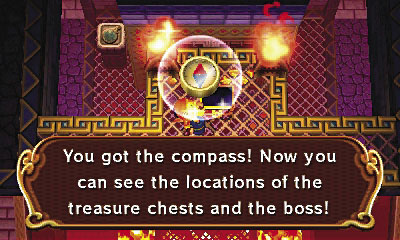
You’ve arrived at the height of the castle’s grand foyer. First things first: Go east and open the room’s central chest to score the compass. Excellent!
 Lorule Castle Chest #5: Compass
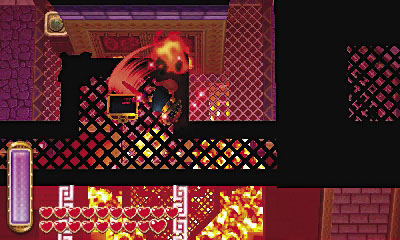
Hang on, the compass reveals that there’s another chest just to the south. No pathways can be seen leading southward with the lights on, but see what happens after you strike and extinguish the nearby braziers.
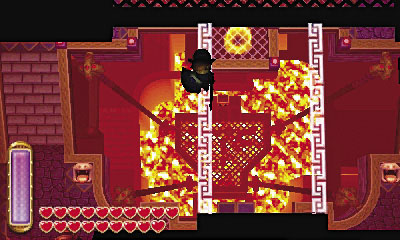
Aha! With the braziers blown out, a pair of narrow shadow beams are visible to the south. Carefully cross either beam, heading for the southern ledge.
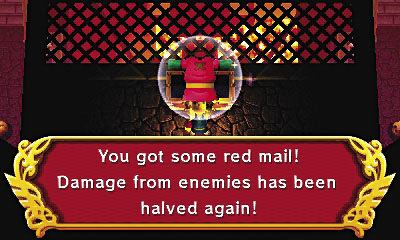
The south ledge sports a large chest. Lift its lid to claim this dungeon’s special treasure: the red mail! The damage you take from enemies has been halved yet again. This means all injuries Link suffers from now on will be reduced to a mere one-quarter damage!
 Lorule Castle Chest #6: Red Mail
 Red Mail
Superb mail that provides excellent defense.
Finding the Fountain
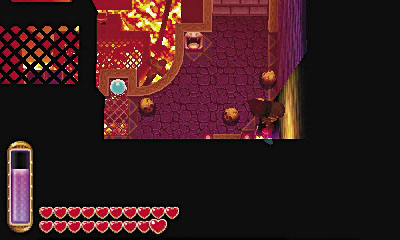
After obtaining the red mail, merge into the south wall and slide eastward. Use the Touch Screen map to guide you to the room’s southeast corner, then pop out of the wall to plummet down to the second floor.
Room 4 (Revisited)
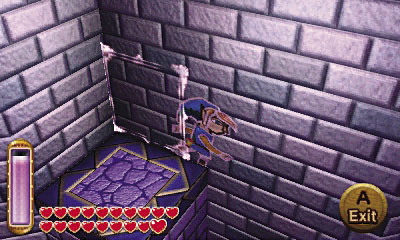
Link lands on a small ledge down in Room 4’s southeast corner, none the worse for wear. Merge into the south wall and then slide westward, heading for a high west door that you can only reach by merging along the wall at this exact height.
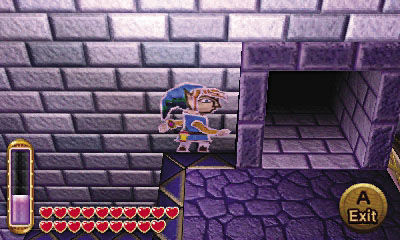
Pop out onto the ledge when you reach the west door. Ignore the chest on the lower ledge and go through the west door to reach Room 8.
Room 8: Fairy Fountain
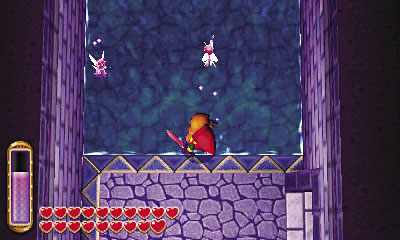
All right, you’ve found a Fairy Fountain! How fortunate! Fill your bottles here before stepping back out to the foyer.
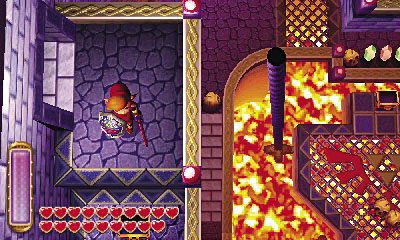
After exiting the Fairy Fountain, carefully drop down to the nearby chest. Pluck your plunder from the chest and then drop to the ground floor.
 Lorule Castle Chest #7: Monster Horn
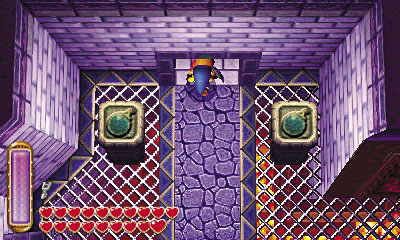
You now face a choice. Four wings of the castle can now be explored, each one leading to a miniboss that must be overcome. You can explore the four wings in any order, but for the purposes of this walkthrough, take the southern stairs in Room 4 up to Room 6 on the third floor, then take the room’s northwest door to visit Room 9.
Room 9: Big Bomb Flower Jaunt
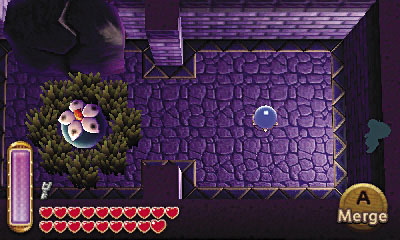
This room is a maze of colored switches and blocks that divide the room into a number of square “cells.” Make your way around the first few cells, striking the colored crystals with Link’s sword or ranged attacks to raise and lower the blocks as needed. (Try leaving bombs near switches and then moving past the colored blocks before the explosions.)
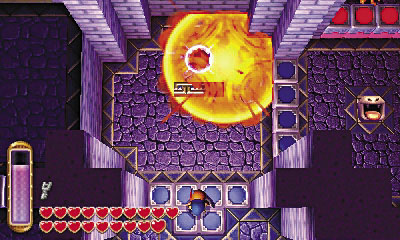
When you reach a cell that’s too high to explore, leave a bomb near the switch to the north, then hurry onto the lowered blue blocks. When the bomb goes boom, the blue blocks will rise, lifting you up to the higher cell.
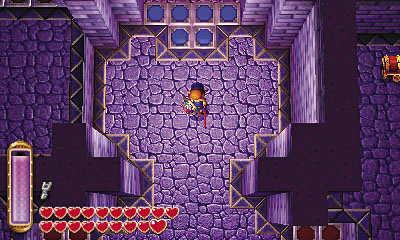
Up in the higher cell, stand on the lowered red blocks to the east, then throw a bomb (or wave the Ice Rod) to trigger the nearby crystal. The red blocks rise, lifting you up to the crystal’s passage.
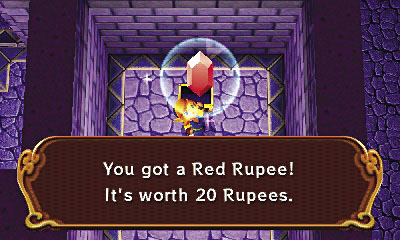
Run to the end of the high passage to reach a chest. Nice! Flip its lid to score a Red Rupee.
 Lorule Castle Chest #8: Red Rupee
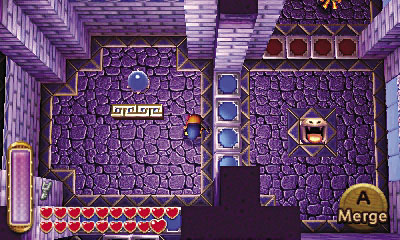
Return to the crystal after looting the chest and hit it to lower the room’s red blocks again. Place a bomb near the (now-blue) crystal, then quickly run westward, over to the lowered west red blocks. Move onto these red blocks before the bomb goes off, and you’ll be hoisted up to a high west passage.
Finding Big Bomb Flower
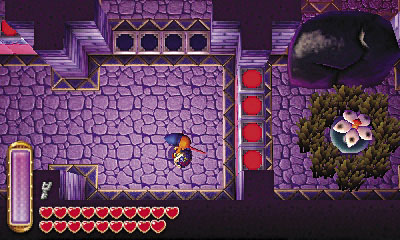
The high west passage leads you close to Big Bomb Flower, but some raised red blocks are keeping you from reaching this powerful plant. No matter—use the Ice Rod to ignite Big Bomb Flower from afar, or toss a bomb over to it.
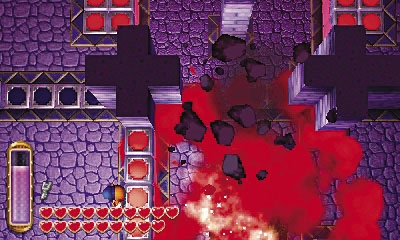
Once triggered, Big Bomb Flower quickly blows, blasting away the large cracked rock north of it. Great work! Now simply merge into the wall and slip around and over to Big Bomb Flower’s cell.
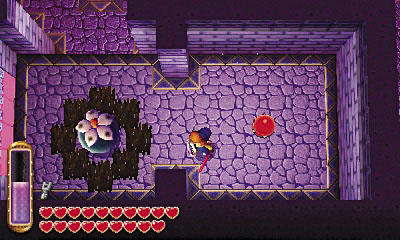
Whack the crystal in Big Bomb Flower’s cell to lower the nearby red blocks, then approach Big Bomb Flower. (It has regrown by now.) Press  to invite the mysterious plant to follow you.
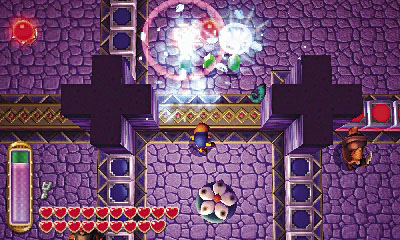
Lead Big Bomb Flower west and then north, moving to a dead end. When you reach a low metal wall, use the Ice Rod or toss a bomb at the north crystal. Once activated, the surrounding walls of blue blocks lower.
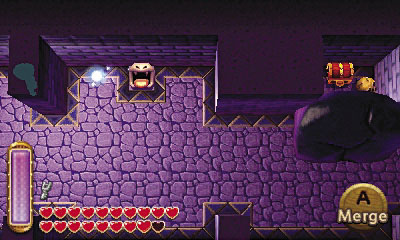
Quickly slay the Lorule Soldiers after lowering the blue blocks, being careful not let Big Bomb Flower suffer a single scratch. Continue to use bombs and the Ice Rod to trigger the surrounding crystals and manipulate the colored blocks as you lead Big Bomb Flower over to a large cracked rock up north.
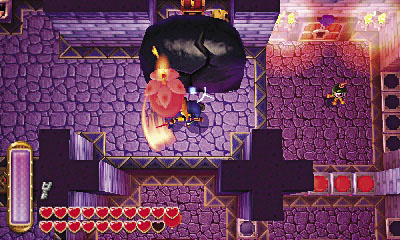
When at last you reach the large cracked rock, strike Big Bomb Flower to ignite it, then move away.
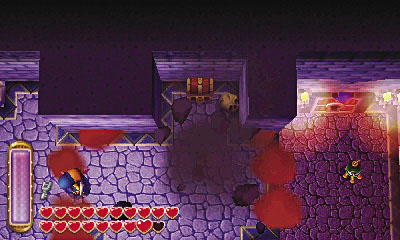
Kerblammo! Big Bomb Flower’s massive blast destroys the large cracked rock, exposing a chest. Open the chest to obtain a small key.
 Lorule Castle Chest #9: Small Key
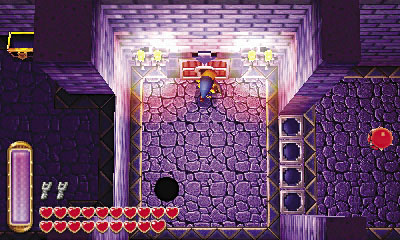
With the small key in your possession, drop from the ledge to land right near a locked door. How convenient! Use your newfound key and go through the door to descend some stairs that lead down to Room 10.
Room 10: Moldorm’s Lair
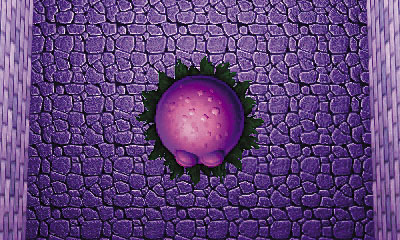
The stairs beyond Room 9’s locked door lead down to the lair of a terrible monster. It’s Moldorm, the Tower of Hera’s monstrous boss!
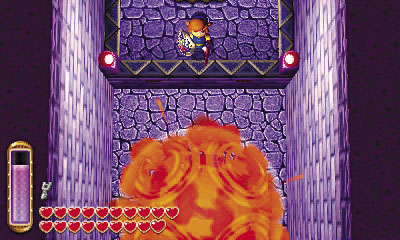
Confronting Moldorm head-on is incredibly dangerous—good thing there’s no reason to do so! Simply remain on the room’s entry ledge and toss bombs down at Moldorm from the safety of your high perch. Moldorm won’t be able to do a thing about it as you rain down bombs all around the boss. It won’t be long before this battle ends with a bang!
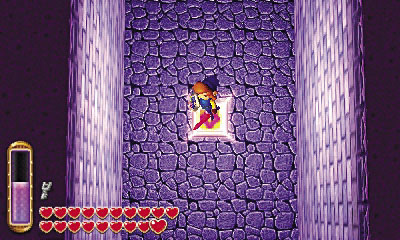
The room unseals after Moldorm has been bombed into oblivion. Step onto the warp tile that also lights up to travel back to Room 6, up on the third floor.
Room 6 (Third Visit)
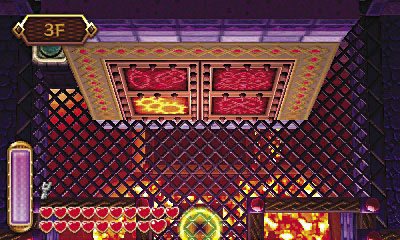
The warp tile whisks Link back to Room 6. When he arrives, one of the northern mural’s four etchings lights up, indicating that a miniboss has fallen. Three more to go! Head through the northeast door to visit Room 11.
Room 11: Blocks and Lava
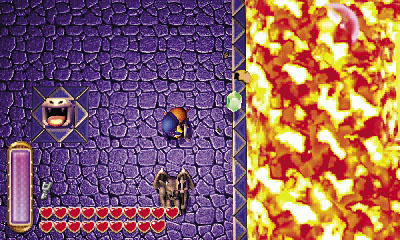
This unusual room is filled with lava. Walk toward the Red Rupee up north, and watch as purple blocks pop up from the lava ahead of you. Wild!
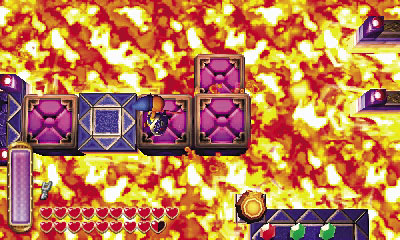
Cross the first purple block and collect the Red Rupee. Continue to cross the purple blocks that follow, heading north along the blocks.
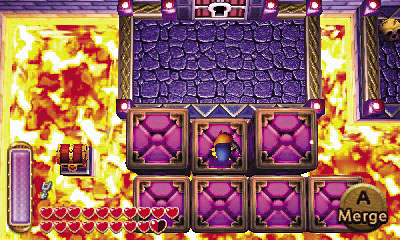
When the blocks split off in two directions, go northwest to reach a northwest ledge with a locked door. Keep going west along the blocks to also reach a nearby treasure chest.
L orule Castle Chest #10: Monster Tail
Spiked Ball Bashing
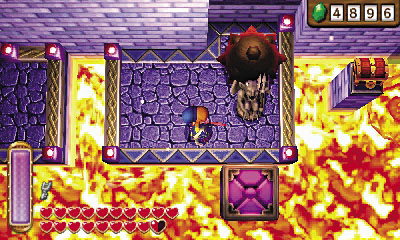
Now backtrack along the purple blocks, and this time, go east toward another northern ledge. This one features a lifeless Gimos statue and a large spiked ball. Grab and pull the statue westward, moving it out of the ball’s way.
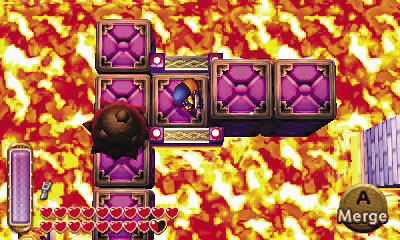
With the Gimos shifted over, the spiked ball is free to roll southward. Follow after it to make purple blocks pop up from the lava, creating a path for the ball to roll along.
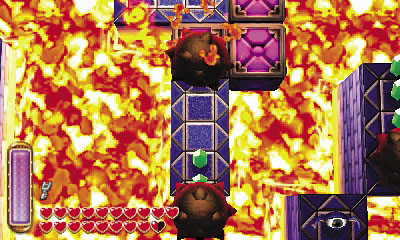
Beware the spinning fire trap as you continue to follow the spiked ball southward. Keep the purple blocks coming so that the ball rolls into contact with another spiked ball, sending the second ball rolling southward as well and clearing the way for Link to advance.
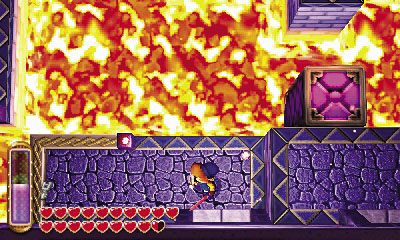
After the southern spiked ball has been knocked out of the way, proceed southward to discover more purple blocks. Merge into the tall purple block here and slide southward (right) toward the nearby south ledge. Proceed through the southern door to visit Room 12.
Room 12: Flying Tiles Strike!
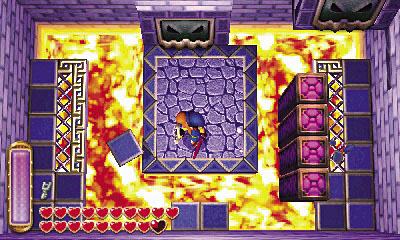
Beware: This room’s floor tiles rise up and fly at Link, aiming to knock him for a loop! Stand on either side of the central platform to make a small wall of purple blocks rise from the surrounding lava. These purple blocks will protect Link from some of the flying titles—stand your ground near them and use Link’s shield to deflect the rest!
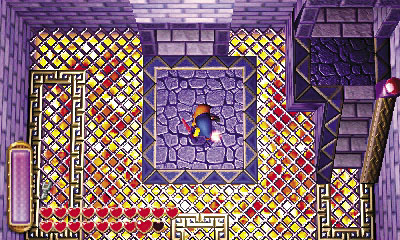
After all of the tiles have flown away, the floor suddenly fills in, and a staircase emerges from the east wall. Scale the stairs and exit through the room’s upper north door to return to the previous room.
Room 11 (Revisited)
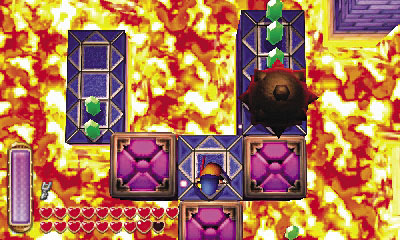
You’re back in Room 11, exploring a higher trail of purple blocks. Move forward with care, deftly avoiding the frosty blasts of a nearby ice statue as you maneuver past a stationary spiked ball.
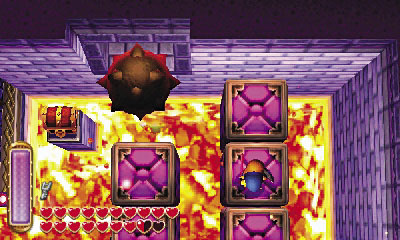
Continue following the purple blocks northward, going all the way up to the north wall. Notice a chest on a ledge to the west, and that spiked balls regularly fall out from a nearby hole in the north wall.
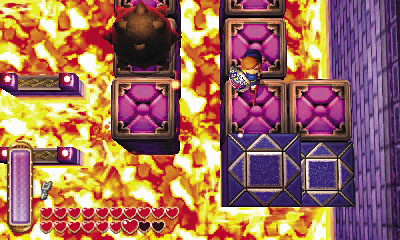
To progress, you must assist a spiked ball in rolling all the way southward, into the stationary spiked ball you circumvented moments ago. Do this by keeping close to a spiked ball as it rolls out from the north wall. The idea is to keep Link moving along with the ball, so that purple blocks continue to appear just ahead of the rolling ball.
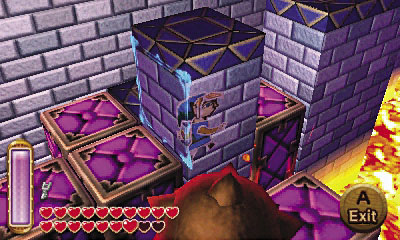
Keeping the ball rolling all the way down to the stationary ball takes skillful timing. You’ll need to quickly merge around a tall pillar that gets in your way as you lead the ball southward. Don’t give up!
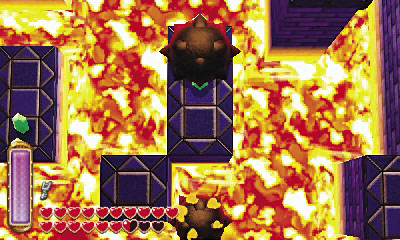
Keep at it until you at last succeed in guiding the rolling ball into contact with the stationary one down south. Nice work! With the stationary ball out of your way, you can now explore a new path of purple blocks leading northward.
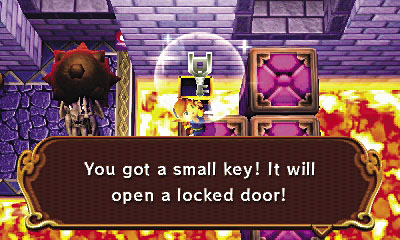
Follow the purple blocks to their north end to reach the chest you noticed before. Crack it open to claim a small key.
 Lorule Castle Chest #11: Small Key
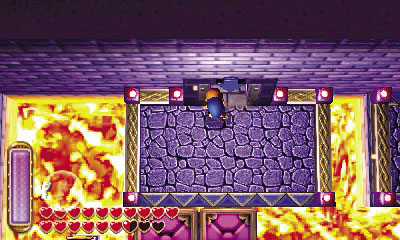
You’ve found a small key, so let’s return to that locked northwest door. Avoid the rolling spiked balls as you carefully backtrack along the purple blocks. Go west and drop to a lower trail of purple blocks when you reach a junction, then head north to reach the locked door again. Open it and head downstairs to challenge another miniboss.
Room 13: Gigabari’s Lair
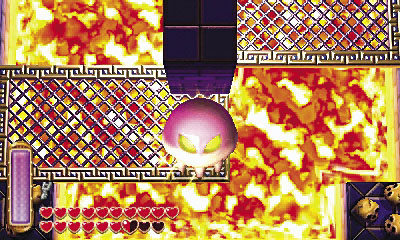
It’s Gigabari! This massive monster is just like the one you battled in the Swamp Temple—keep away to avoid being shocked as you punish Gigabari with ranged attacks, such as the Ice Rod, the Fire Rod, bombs, or the bow. Merge around the central pillar to slip between the sliding floor platforms as needed.
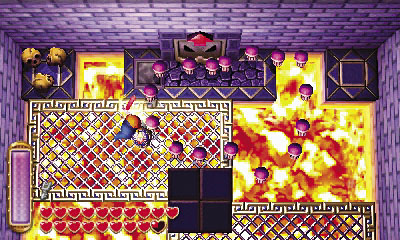
Keep peppering Gigabari from afar, and the monster will eventually burst into a mass of tiny Biris. These electrified enemies are still dangerous, so continue to slay them with ranged attacks. Use the Tornado Rod to blow back the Biris each time they begin to swarm.
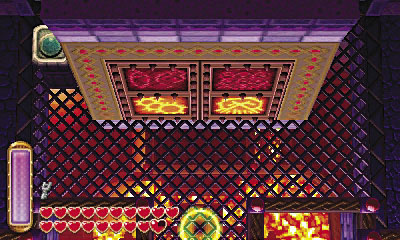
A warp tile lights up after the last Biri has been slain. Step onto the tile to warp back to Room 6, and watch with pride as another portion of the northern mural lights up. Only two minibosses remain!
Room 7 (Revisited)
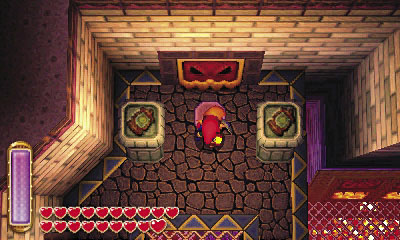
You’ve cleared out this floor, so head up Room 6’s west stairs to reach Room 7 above. (You may wish to warp back through the portal and save your progress first.) Up in Room 7, step on the pressure plate near the northwest door, and the door opens. Go through to venture into Room 14.
Room 14: Path of Shadows
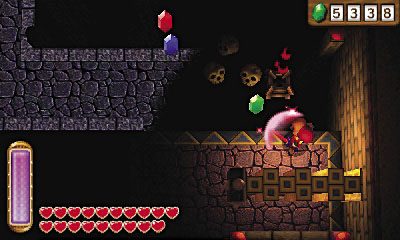
This unusual room seems to have no floor—but looks can be deceiving! Attack the brazier near the entry ledge to plunge the room into darkness, and watch as a shadowy pathway appears.
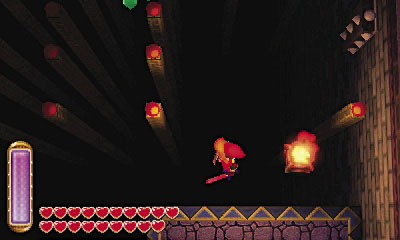
Ah! Now that you can see where you’re going, follow the shadow path until you reach a dark wall. This wall is actually a gate—one of many that appears in the room only while the lights are out. To get past the gate, you need to walk along the shadow path while the lights are on!
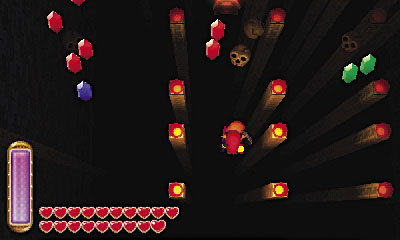
Keep a mental record of the shadow path’s layout as you backtrack toward the brazier. Light the brazier again to illuminate the room once more, banishing the gates.
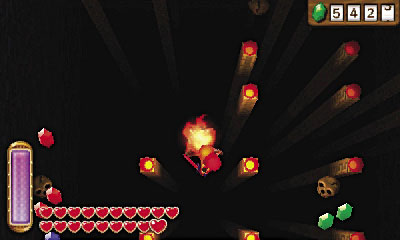
With the gates gone, carefully follow the now-invisible shadow path. Head for the next brazier, which stands in the center of the room.
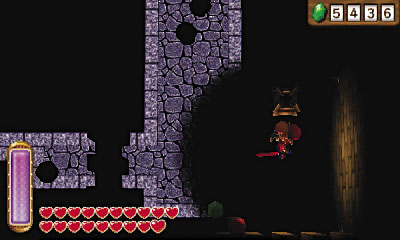
Strike the central brazier to darken the room once more. The gates return, but so does your ability to see the shadow path. See how the path leads eastward and then north, then light the brazier to remove the gates and navigate the shadow path blindly.
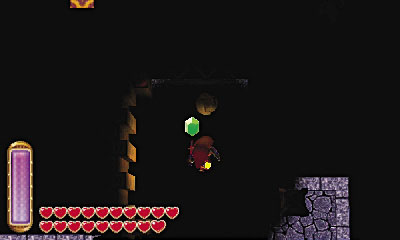
Go north from the third brazier to reach the room’s north ledge. You’ve made it! But sadly, the nearby door is locked, and you’ve yet to find a key. There’s just got to be one around here somewhere!
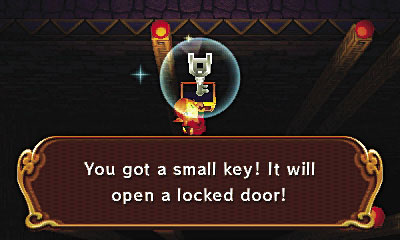
Return to the previous brazier and light it. Go directly west from the brazier, crossing the shadow path on your way to a west chest that contains the key you need.
 Lorule Castle Chest #12: Small Key
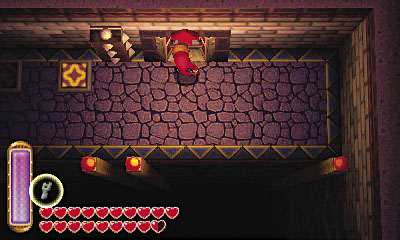
With the small key in hand, backtrack to the previous brazier and go north to return to the locked door. Open the door and scale the stairs beyond to reach Room 15, up on the castle’s fifth floor.
Room 15: Ball and Chain Battle
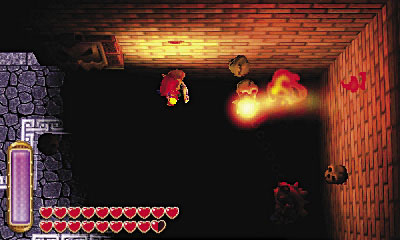
Link must battle a mighty Ball and Chain Soldier in this pitch-black room! Only by using the lamp can Link see the monster clearly, but the lamp’s light causes the room’s many shadow walls to vanish, complicating navigation.
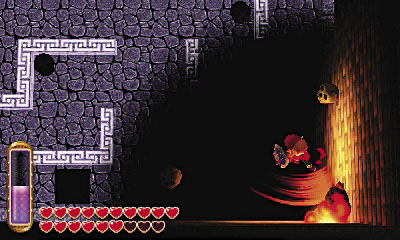
It’s best to rush the Ball and Chain Soldier, repeatedly using the Ice Rod to keep it stunned as you punish the brute with Link’s blade. Swing the sword a few times, stun the soldier, and then repeat. Keep it up to make mincemeat out of this medieval foe!
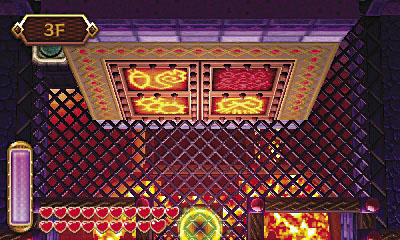
A warp tile lights up after you defeat the Ball and Chain Soldier. Step onto the tile to zip back to Room 6, and watch as a third section of the mural illuminates. Just one more to go!
Room 7 (Third Visit)
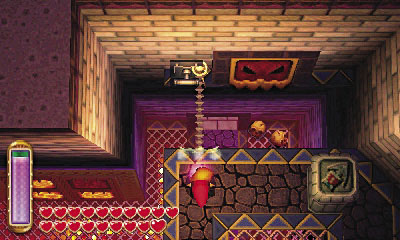
Go upstairs to Room 7, and head for the northeast door. To reach the door, fire the Hookshot at the nearby lever and then pull the lever out from the wall. A platform then extends, letting you advance through the door and venture into Room 16.
Room 16: Wallmaster Maze
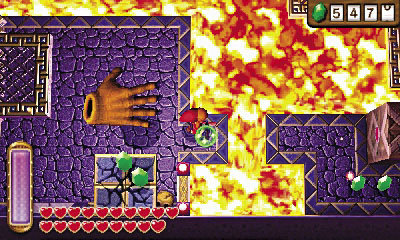
A wicked Wallmaster pursues you throughout this room, constantly threatening to pluck you up and return you to the room’s entrance—not good! Run away and merge into walls to avoid the Wallmaster, attacking it each time it misses to slay the fiend for a brief time (until another one appears).
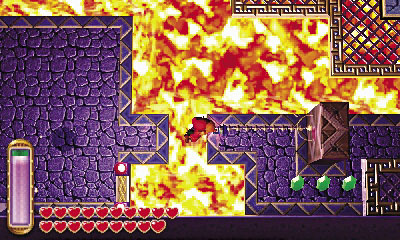
The Hookshot is instrumental in navigating this dangerous chamber. Begin by firing the Hookshot at the east wooden wall to zip past a small gap of lava.
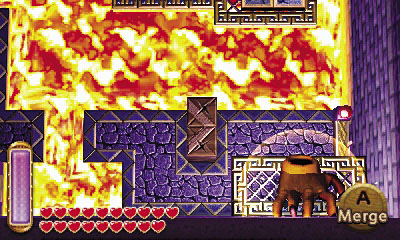
Move past the wall and stand beneath a small wire ledge in the room’s southeast corner. You’re safe from the Wallmaster while standing under this ledge (and others like it). When the time is right, run forward and move onto the north moving platform.
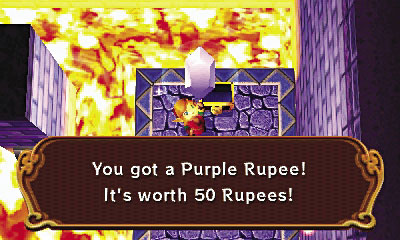
Ride the platform to the north ledge. Slay a Lorule Soldier here and then raid a chest to discover a Purple Rupee.
 Lorule Castle Chest #13: Purple Rupee
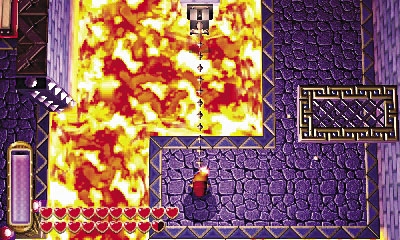
After plundering the Purple Rupee, slay or wait for the Wallmaster to depart, then fire the Hookshot at the nearby lever and pull it out from its pillar. This starts another platform moving nearby.
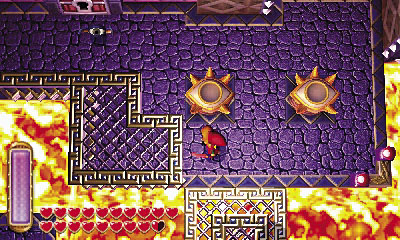
Step onto the second moving platform and ride it to the west. Step off the platform when you reach the west ledge, which features two eyeless eyeball statues, similar to the ones you encountered in the Skull Woods. There’s a locked door here as well.
The First Eyeball
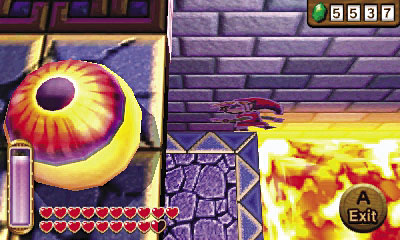
To find a key, you need to find those statues’ eyeballs. Fortunately, the first isn’t far. While standing near the locked door, merge into the west wall and slide southward to locate the first eyeball.
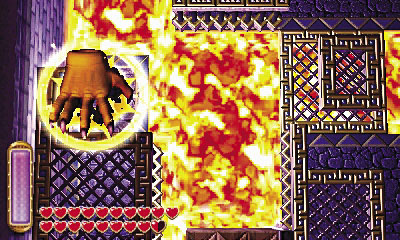
The eyeball is stuck on a high ledge. Lure the Wallmaster into dropping down on this ledge, and it will smash through the ledge’s cracked tiles, knocking the eyeball down to you. Thanks, pal!
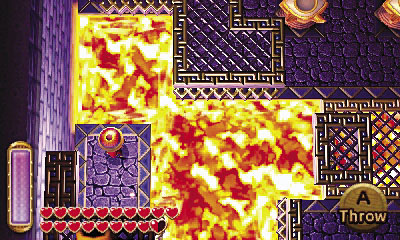
Before picking up the eyeball, use the Ice Rod to freeze the nearby lava to the east. Quickly collect the eyeball afterward and cross onto the frozen lava before it melts.
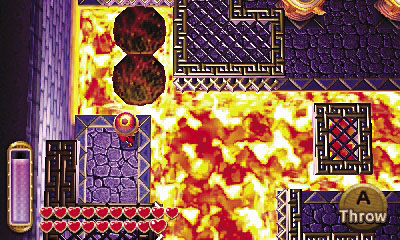
While standing on the cooled lava, toss the eyeball onto the nearby moving platform as it slides in from the east. Hurry onto the platform afterward if you can reach it, otherwise retreat to the previous ledge and merge around the west wall.
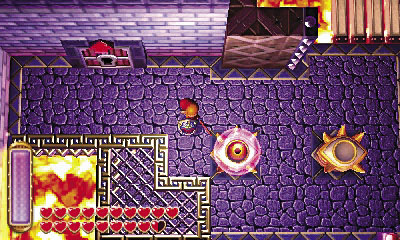
Get onto the moving platform and collect the eyeball, then simply carry it over to the eyeball statues. Toss the eyeball onto either statue to secure it in place. One more to go!
The Second Eyeball
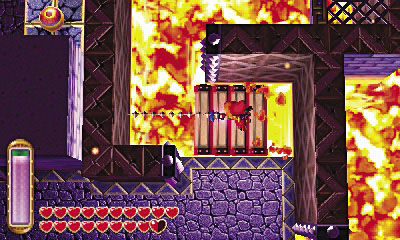
Go north from the eyeball statues, moving onto a rugged raft that floats atop the lava. Use the Hookshot to maneuver the raft through the winding passage to the north, latching onto the passage’s wooden walls in order to sail around.
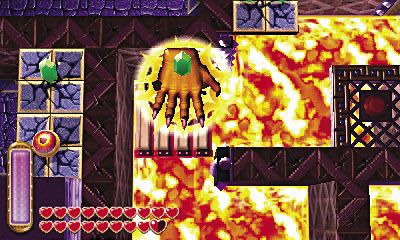
Pause below ledges and merge into walls to avoid the Wallmaster as needed while sailing through the passage. Keep going until you reach the room’s northwest corner, where three floor switches are hidden beneath three skulls. Carefully move the nearby Gimos onto one of the three switches while the Wallmaster isn’t about.
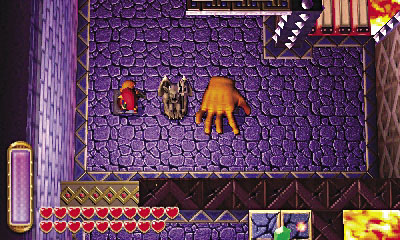
Move Link onto another switch after positioning the Gimos, and wait for the Wallmaster to appear. Quickly move to the other switch just before the Wallmaster begins to plummet downward. If you time it just right, Link, the Gimos, and the Wallmaster will all trigger the room’s three switches at the same time, causing the southern wall to slide open!
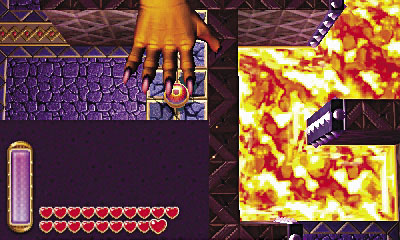
Go south through the wall to reach the second eyeball. Good work! Again, lure the Wallmaster into knocking down the eyeball for you, then pick it up and carry it back to the raft.
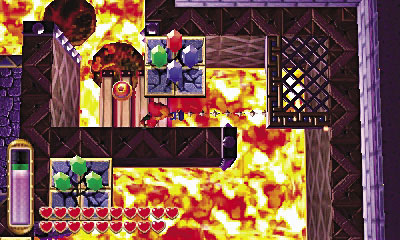
Toss the eyeball onto the raft, then use the Hookshot to travel back through the winding passage, returning to the eyeball statues. You may wish to slay the Wallmaster first and simplify the journey.
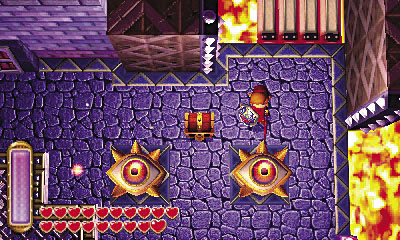
When at last you arrive at the statues, pick up the eyeball and toss it up onto the remaining statue. With both eyeballs in place, a chest appears nearby—the very last chest in the castle. Open it to obtain the small key you seek.
 Lorule Castle Chest #14: Small Key
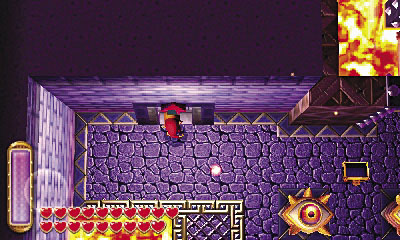
You’re all done here—and not a moment too soon! Use your newfound key to unlock the nearby door, then go upstairs to battle the last miniboss.
Room 17: Argghus’s Lair
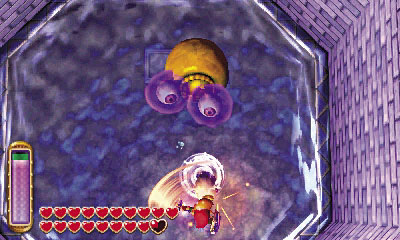
It’s that multi-eyed monstrosity from the Swamp Palace, Argghus! Use the Hookshot to snatch away Argghus’s smaller eyeballs, slashing away at each one you snag. Grapple and dispatch all of Argghus’s many eyeballs to reveal the monster’s true form.
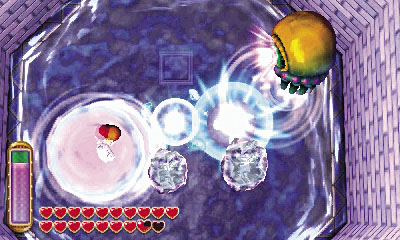
Once relieved of its protective eyeballs, Argghus begins to leap around the room, aiming to flatten Link each time it lands. Run around to avoid Argghus and counter with a few quick swipes of Link’s sword each time it touches down. Use the Ice Rod to stun Argghus—you can interrupt its powerful eye beam attack if you stun the monster after every third jump!
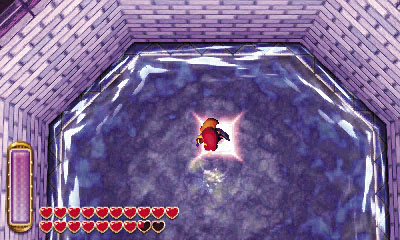
Fight hard to defeat Argghus. Once you do, the room’s shallow water will drain, revealing a warp tile. Step onto the tile to warp back to Room 6.
The Final Battle Awaits!
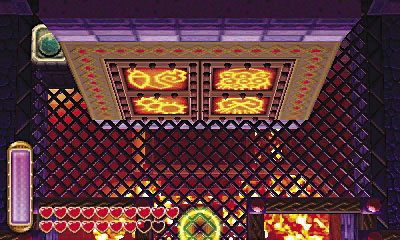
Now that all four minibosses have been slain, Room 6’s northern mural has been fully activated. The mural slides open, revealing a wide passage. Before heading through, consider warping through the nearby portal and saving your game—the final battle is at hand!
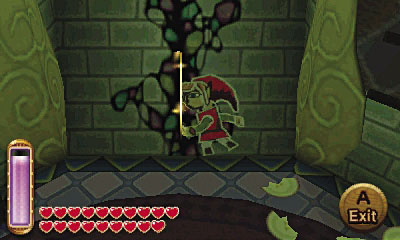
When you’re ready, head through the opened mural. You’re back in Princess Hilda’s study! Before going east toward the final battle against Yuga, consider merging through the northern fissure to return to Hyrule.
Fairies in the Study
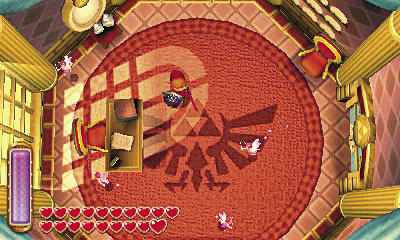
Ah! Back in Hyrule, fairies now flutter about Princess Zelda’s sunlit study. Take a moment to heal up and fill Link’s bottles before traveling back through the fissure and going west to confront Yuga.
Boss Battle: Yuga Ganon
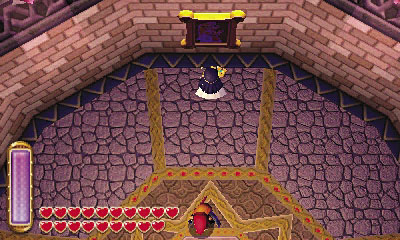
In Lorule Castle’s grand keep, Princess Hilda awaits our stalwart hero. After learning more of Lorule’s troubled past, Link is soon confronted by the great monster that Yuga has merged with, Yuga Ganon.
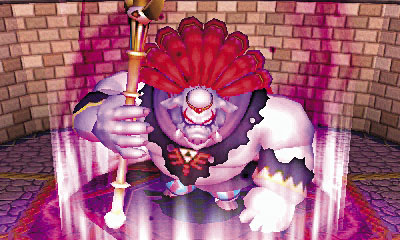
At first, Yuga Ganon primarily attacks by summoning energy and then thrusting directly forward with his massive spear. Simply run circles around Yuga Ganon to avoid this attack, then counter with a few swipes of Link’s blade. You can also block this attack by raising the Hylian Shield.
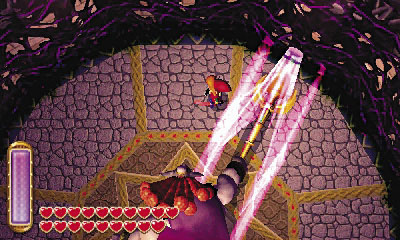
Yuga Ganon often teleports around the room, presenting a challenging target. Sometimes, the monster appears with his spear arm raised—Yuga Ganon is about to swipe horizontally in front of himself with his spear! Run away from Yuga Ganon to avoid this attack’s comparatively short reach, and remain wary of follow-up swipes.
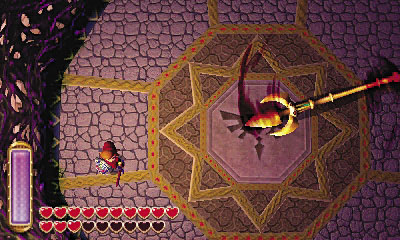
Sometimes Yuga Ganon will throw his spear, sending it spinning around the room. Keep well away from this large and dangerous projectile! Look to land a few strikes on Yuga Ganon while he’s frozen in place just after throwing the spear.
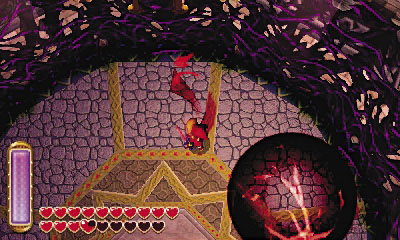
Rarely, Yuga Ganon will warp around the room, raining red bolts of vile magic down on Link. Just keep running to avoid this uncommon tactic of Yuga Ganon’s.
Final Boss: Yuga Ganon
(Ultimate Form)
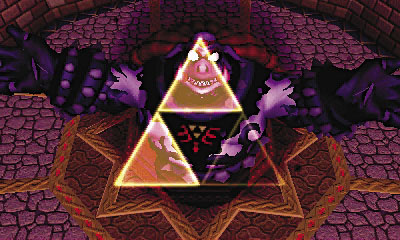
Punish Yuga Ganon until the monster is forced to absorb even more power. Taking on the might of the Triforce of Wisdom, Yuga Ganon becomes twice as formidable as before!
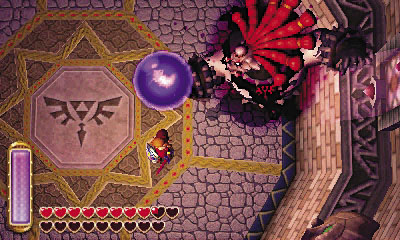
Yuga Ganon continues to warp around the room, but he’s traded his spear in favor of magical attacks. His first is a dark sphere of evil energy that Yuga Ganon summons before him and then unleashes at Link.
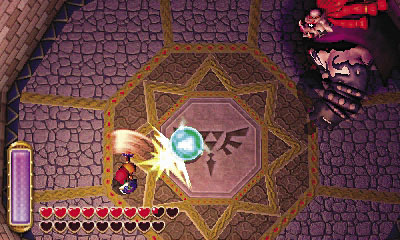
Stand back when you see Yuga Ganon ready his dark energy sphere. Wait for the monster to fire the sphere at you, then swing Link’s sword to bat the ball back at Yuga Ganon. The monster will knock the sphere back at you—just keep swinging away with Link’s blade to continue the volley!
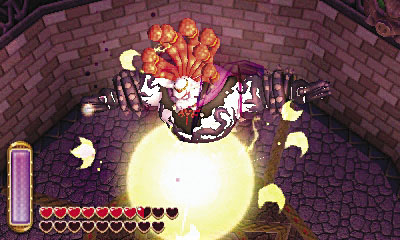
Keep volleying with Yuga Ganon until the villain is at last struck by his own energy sphere. Take that!
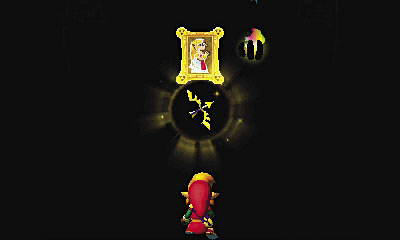
Calling upon the powers of Yuga, Yuga Ganon wastes little time merging into the surrounding walls, becoming immune to Link’s attacks. That creep! Suddenly, Princess Zelda’s voice calls out to Link. Though still trapped in a painting, Zelda somehow manages to give our hero the Bow of Light. This weapon is the key to stopping Yuga Ganon, once and for all!
 Bow of Light
A bow imbued with the light of the Triforce.
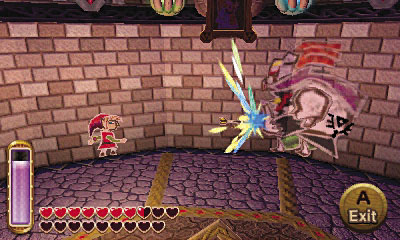
Now that you’re armed with the Bow of Light, let nothing stop you from spelling Yuga Ganon’s demise. Set the Bow of Light to  or
or  , then merge into the room’s circular wall, and press that button to fire the Bow of Light toward Yuga Ganon.
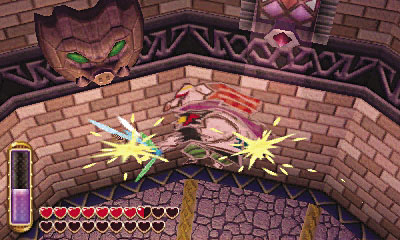
After sticking Yuga Ganon with an arrow in the belly, turn around and quickly fire another arrow behind Link. If you time it right, the arrow flies around the room and strikes Yuga Ganon in the back, forcing him out of the wall!
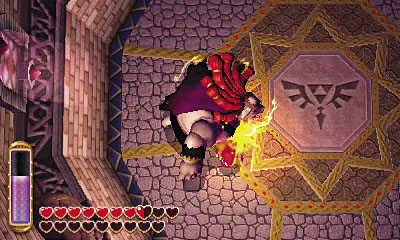
Now’s your chance! Pop out of the wall and lay into Yuga Ganon with the full might of Link’s blade. Land as many hits as possible before the villain vanishes once more.
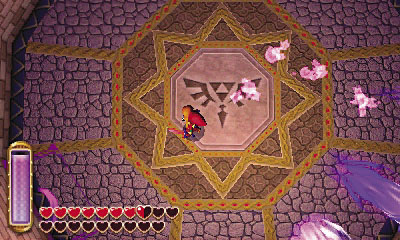
After suffering damage, Yuga Ganon vanishes, weaving a spell that sends dark energy flying at Link from the surrounding walls. Between blasts, merge into the walls to avoid the energy attacks as you wait for Yuga Ganon to reappear.
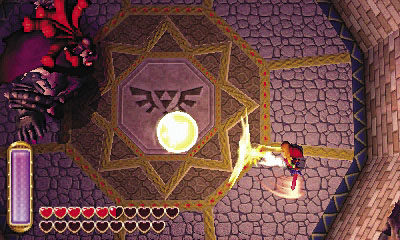
When Yuga Ganon returns, allow him to cast another energy sphere, then volley it back toward him with Link’s blade. Keep the combo going until Yuga Ganon is struck by his own sphere again.
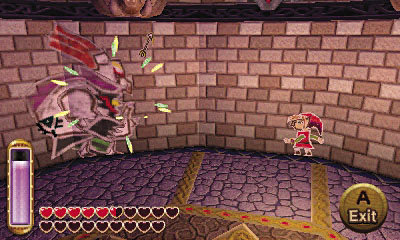
Again, Yuga Ganon retreats into the wall after being struck by his sphere. Merge into the wall after him and fire another two arrows from the Bow of Light, one in each direction. Yuga Ganon is more alert this time around, but all it takes is one good arrow in the back to knock him out of the wall.
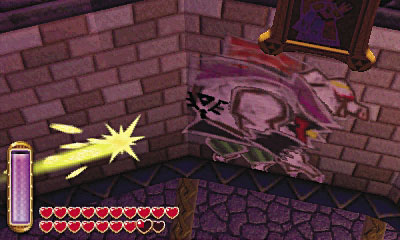
Continue to punish Yuga Ganon each time you knock him from the wall, and it won’t be long before the brute is finally beaten. Well done—you truly are a hero! Now sit back and enjoy the ending!