
The Legend of Zelda: A Link Between Worlds Guide Walkthrough The Master Sword
Hyrule Castle
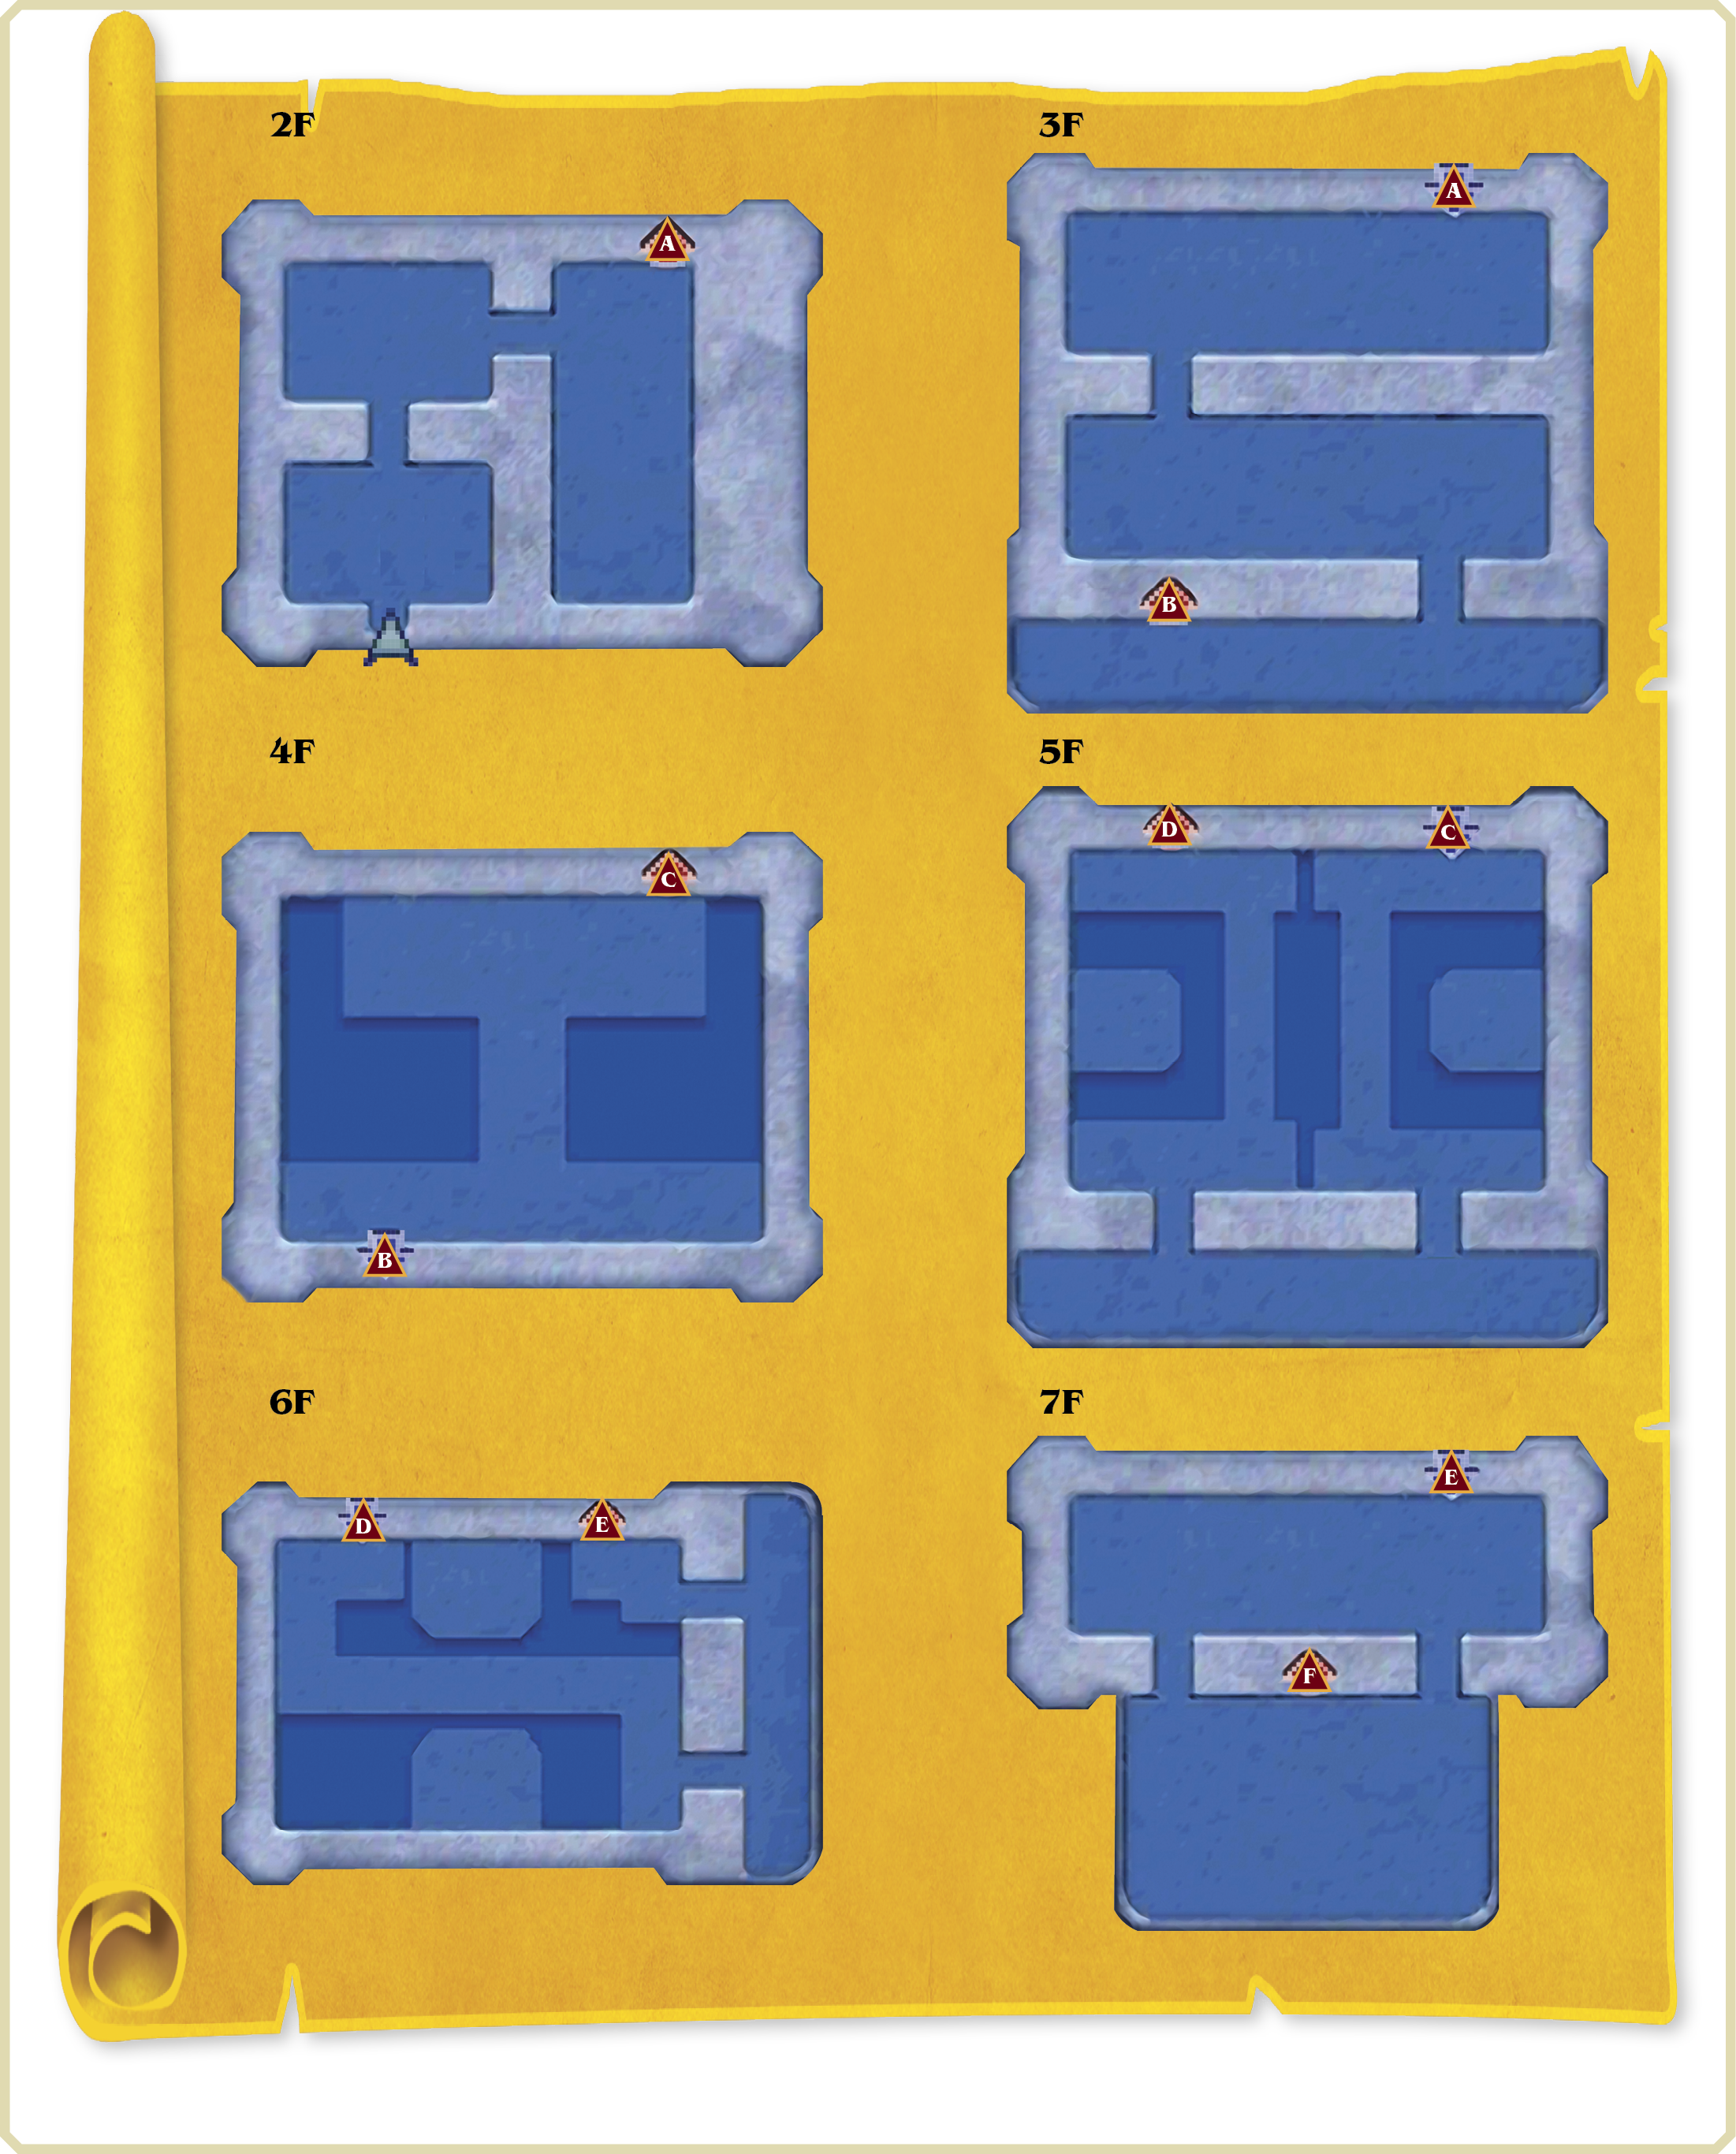
Hyrule Castle 2F
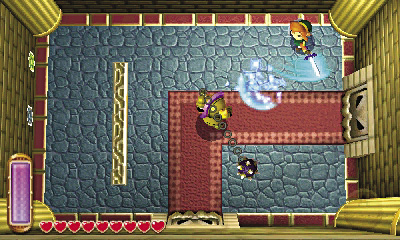
You begin on the castle’s second floor. Steel yourself and then head north from the quiet entry room. Link becomes sealed in the next room, trapped in tight quarters with a dangerous Ball and Chain Soldier. Only by slaying this powerful enemy will Link be allowed to progress. Merge into the walls to escape the soldier as needed—helpful hearts are painted on the south wall.
Ball and Chain Soldier

Damage:1 Heart
These mighty knights slowly stalk Link while swinging a massive ball and chain overhead. Keeping away from their ball and chain is vital—stay back and inflict damage with the bow or Fire Rod, or stun the soldier with items such as the boomerang, Hookshot, or Ice Rod before moving in for swordplay. Keep Ball and Chain Soldiers stunned throughout the battle if you can.
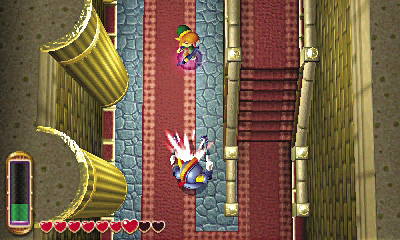
The room unseals after the Ball and Chain Soldier falls. Go west to reach a stairwell that leads up to the next floor. Cut through a few soldiers on your way upstairs.
Hyrule Castle 3F
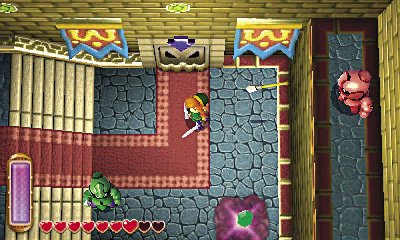
Many more enemy soldiers guard this snaking hall. Slay all of the soldiers in the first passage, being careful to avoid the spears hurled by the Throwing Spear Soldier on the east balcony.
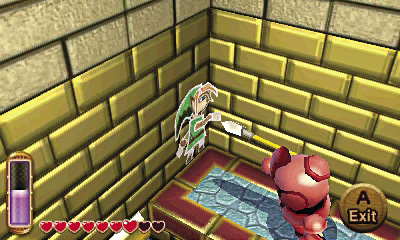
After reaching the top of the stairs, merge into the north wall and go east to reach the Throwing Spear soldier. The southwest door opens after all soldiers have been slain.
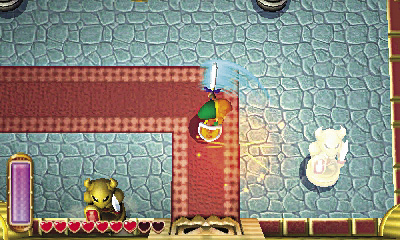
Link becomes trapped in the next passage as he heads for the exit door. The hall’s Armos statues then spring to life and attack! Slay all of the Armos to unseal the room, then go south to reach an elegant balcony.
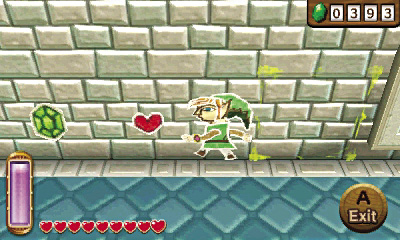
There are no enemies to worry about on the balcony. Merge into the north wall to claim some hearts and Rupees before scaling the west stairs to reach the fourth floor.
Hyrule Castle 4F
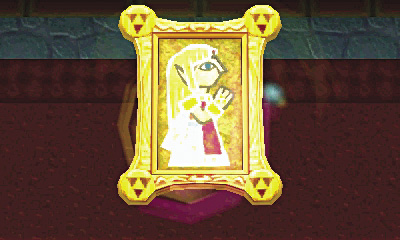
Link arrives just in time to watch helplessly as Yuga works his vile magic on Princess Zelda. Just as he did to Seres and Osfala, Yuga effortlessly transforms Zelda into a painting. That monster!
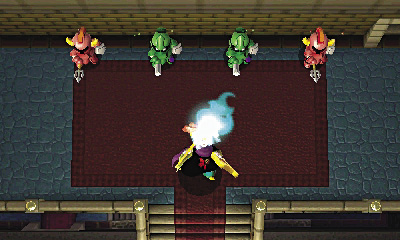
Yuga is surprised to see Link alive and well—he’d thought our hero would never escape his fate back at the Eastern Palace. Having no time for games, Yuga quickly flees higher into the castle, summoning a mob of soldiers to deal with Link.
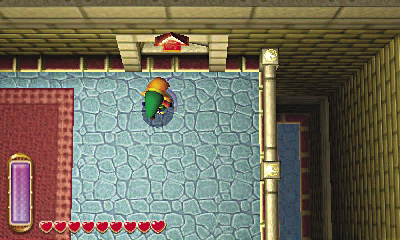
Quickly move to one side of the room as the soldiers descend the stairs. Keep back and fire ranged attacks at them to easily defeat them all from a safe distance. Go upstairs afterward and pursue Yuga to the next floor.
Hyrule Castle 5F
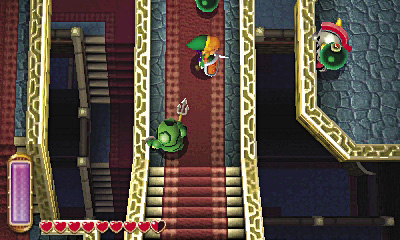
Beware the Bomb Soldiers on this floor—they hurl powerful explosives at you from the safety of the east and west ledges. Hurry through if you’re in a rush, or try defeating the Bomb Soldiers with the bow or Fire Rod if you’re feeling aggressive. Use the boomerang or Hookshot to snatch up any loot the Bomb Soldiers drop.
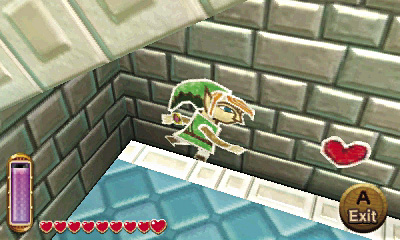
Go outside to reach an outdoor balcony. Search beneath the stairs to find some painted hearts on the wall, then enter the lower door to return to the main chamber.
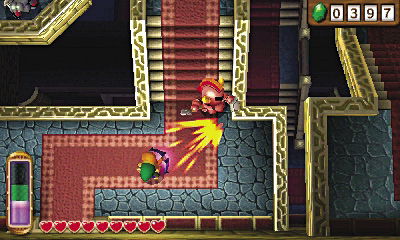
Back in the main chamber, either defeat the west Bomb Soldier or simply sprint past him, heading for the stairs that lead up to the next floor.
Hyrule Castle 6F
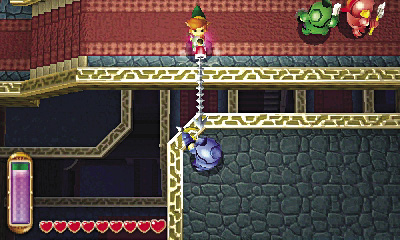
The castle’s sixth floor is similar to the last, except that Bow Soldiers stand on the ledges up here. Again, you may either defeat these foes with ranged attacks, or simply hurry east to reach another outdoor balcony.
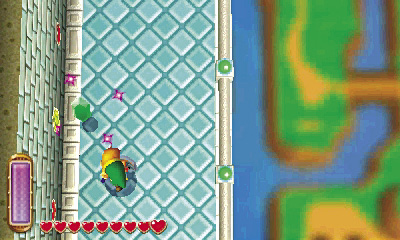
Claim more painted hearts and Rupees from the balcony’s wall as you loop around, returning to the interior chamber. Take the northwest stairs up to the seventh floor.
Hyrule Castle 7F
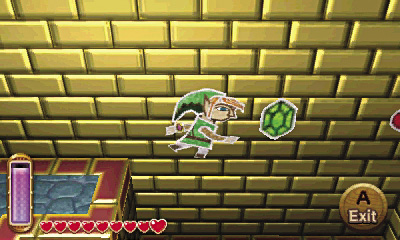
Score more painted hearts and Rupees by merging along this floor’s north and south walls. The southern goodies are higher, so start your merge from the landings near the south doors. Go through either door afterward to reach a large outdoor balcony.
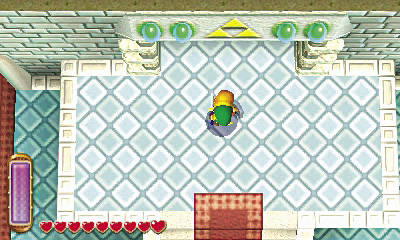
The view from up here is truly breathtaking, but you don’t have time for sightseeing. Go upstairs to reach the castle’s last floor, where the villain Yuga awaits.
Boss Battle: Yuga (Round 2)
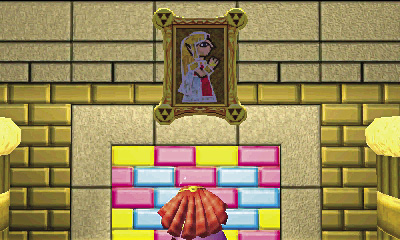
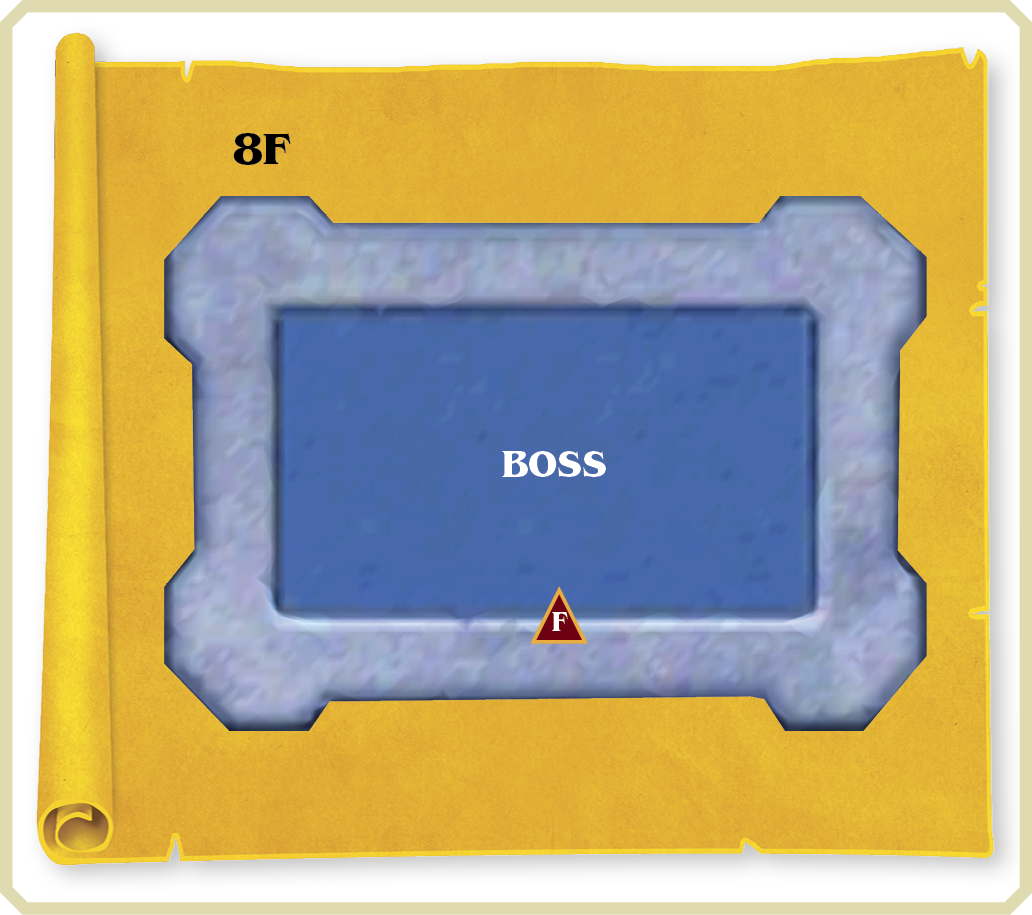
Link catches up with Yuga on the castle’s eighth floor. The foul mage is admiring his latest handiwork on Princess Zelda and takes little notice of Link at first. Soon enough, however, Yuga rounds on our hero, and an epic battle begins!
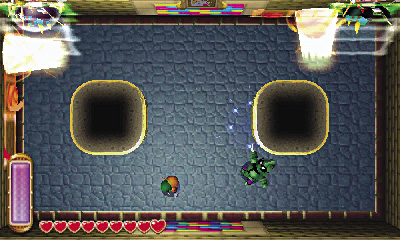
During this second clash with Yuga, the cruel mage merges into the walls, splitting into three identical paintings that slide around the room. When the three Yugas at last emerge, they each cast a familiar spell, summoning Short Sword Soldiers, powerful electrical blasts, or tongues of flame that lash out from the walls.
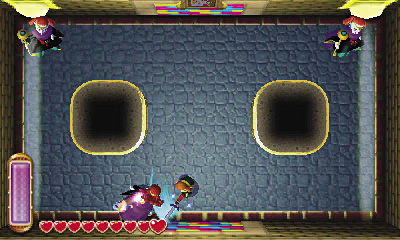
Each time the Yugas emerge from the wall, hurry and attack one of them. Two of the Yugas are decoys, but you can recognize the real Yuga by the colorful flame at the tip of his staff. Only the Master Sword can harm Yuga this time around—you must get close and strike the vile sorcerer with Link’s sacred blade.
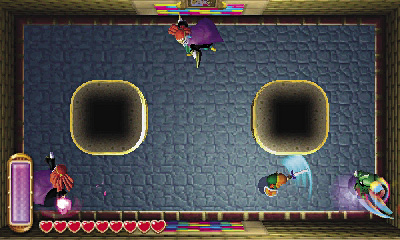
If you guess wrong or attack Yuga with any weapon other than the Master Sword, the Yuga that you strike will turn into a Short Sword Soldier, and the other Yugas will cast their spells before fleeing back into the walls. Like the last battle against Yuga, the Short Sword Soldiers are your only source of hearts during the fight—so take full advantage!
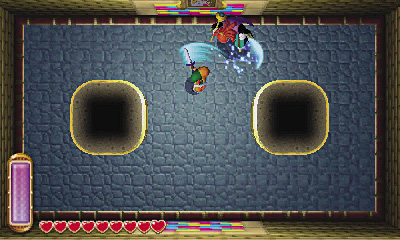
Avoiding Yuga’s spells is easy—just merge into a wall. Keep trying to slice the maniacal mage with the Master Sword each time he pops out, and once you’ve found him, try to track of his movements around the walls from that point forward. Don’t relent until the vicious villain is forced to admit defeat!
Into the Shadows
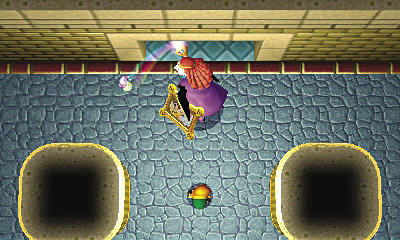
Having suffered enough of the Master Sword’s wrath, the vile wizard Yuga collects his portrait of Princess Zelda and flees deeper into the castle. You can’t let him get away!
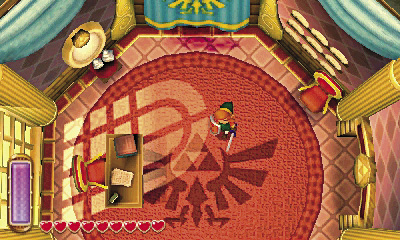
Pursue Yuga across a balcony and into a quiet study. There’s nowhere else to run, but Yuga’s not here! How could that wicked trickster have escaped?!
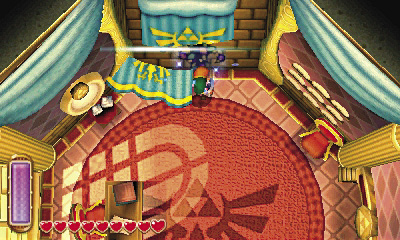
Notice the northern tapestry—it’s billowing softly, as if a gentle breeze is behind it. Slice through the tapestry with a swing of Link’s sword to discover Yuga’s means of escape: a shadowy fissure on the study’s north wall!
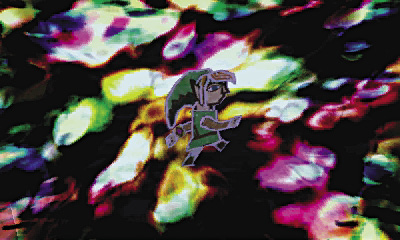
There’s nothing else for it—Princess Zelda is in danger! Take a deep breath, then merge into the wall and slip into the fissure.
In a Mirror, Darkly
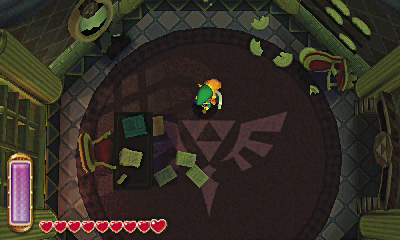
After traveling through a disorienting passage, Link emerges from the fissure into the same study where he began—or is it? The room has been ransacked, and it’s now storming outside. Just what is going on here?!
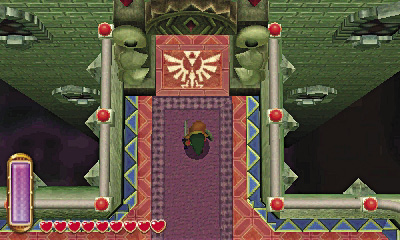
Leave the study through the east door, returning to the balcony. Keep going east until you can enter a northern tower.
The Demon King Comes
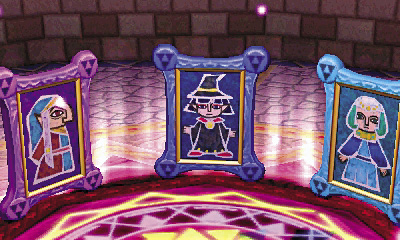
Link barges into the tower just in time to catch Yuga. The villain is surrounded by magical energy—along with the portraits of the Seven Sages he’s kidnapped from Hyrule!
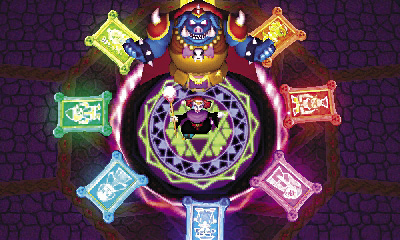
It can’t be! Yuga has already succeeded in capturing all Seven Sages, and in so doing, has summoned unspeakable power. With a flash of energy and a word of command, the wicked wizard calls forth none other than Hyrule’s greatest adversary: the terrible Demon King, Ganon!
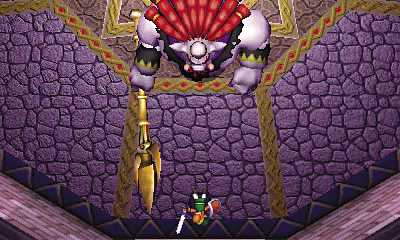
Though he’s been sealed away for countless ages, Ganon still possesses the Triforce of Power. The massive monster stomps toward Link, whose fate now seems sealed.
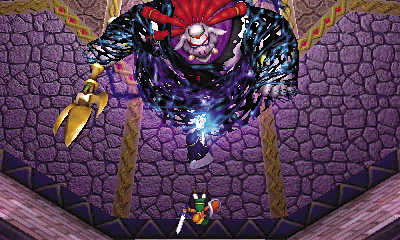
But wait! A blinding flash fills the room, and a dark-haired maiden suddenly appears before Link. Using some sort of mysterious power, the woman holds the mighty Ganon at bay, trapping him with some sort of restrictive magic!
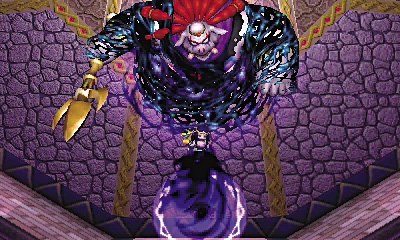
Though Ganon is mere inches away, the woman calmly turns to Link and introduces herself. Her name is Princess Hilda, ruler of the land of Lorule. Regretfully, Princess Hilda confesses to Link that she has failed him in every way. The dark princess then uses the last of her power to whisk Link away from Ganon’s grasp.
A Moment of Safety
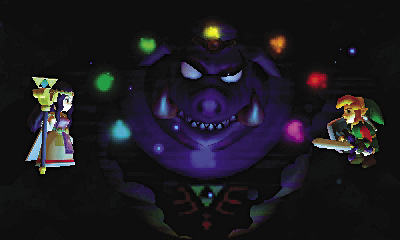

As Link is being transported away from Lorule Castle, Princess Hilda appears before him in the ether. She explains that Yuga has used the power of the Seven Sages to free Ganon, and has now merged with the Demon King, becoming a truly unspeakable fiend. Princess Hilda’s magic is waning, and she cannot keep the monster trapped for long. She asks that Link do what she cannot: rescue the Seven Sages, and defeat the dreaded Demon King, Ganon, once and for all!