
Rise of the Tomb Raider Guide Walkthrough The Prophet's Tomb
The Lost Tomb
Find the Tomb of the Prophet
Lara is driven to the Syrian border, but there are several complications along the way. After an unexpected stop, she finds herself on a rocky ledge. A stone settlement is off in the distance, within reach. Get up and start moving toward it.
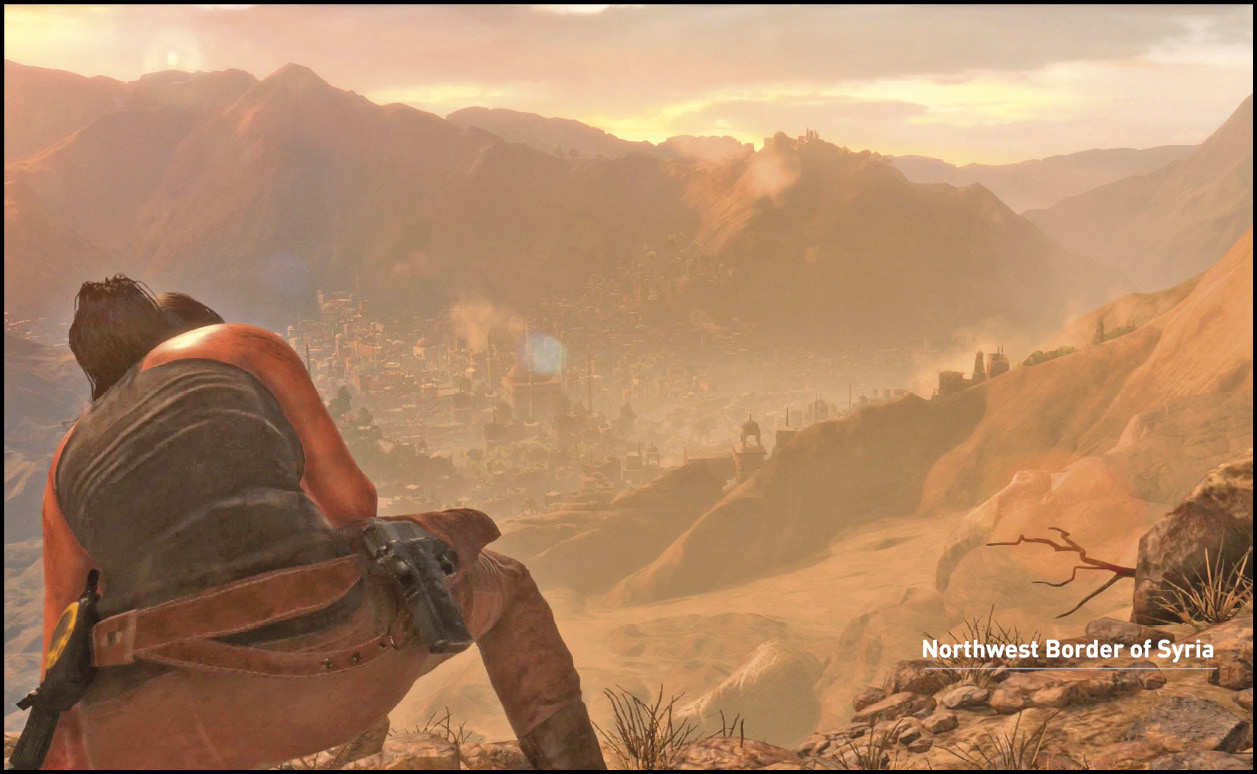
Walk along the ledge as Lara gets her bearings back. She’s taken a heavy blow, and her vision is a bit off for the first minute or two while you’re playing. Luckily, there aren’t any enemies here to take advantage of the situation.
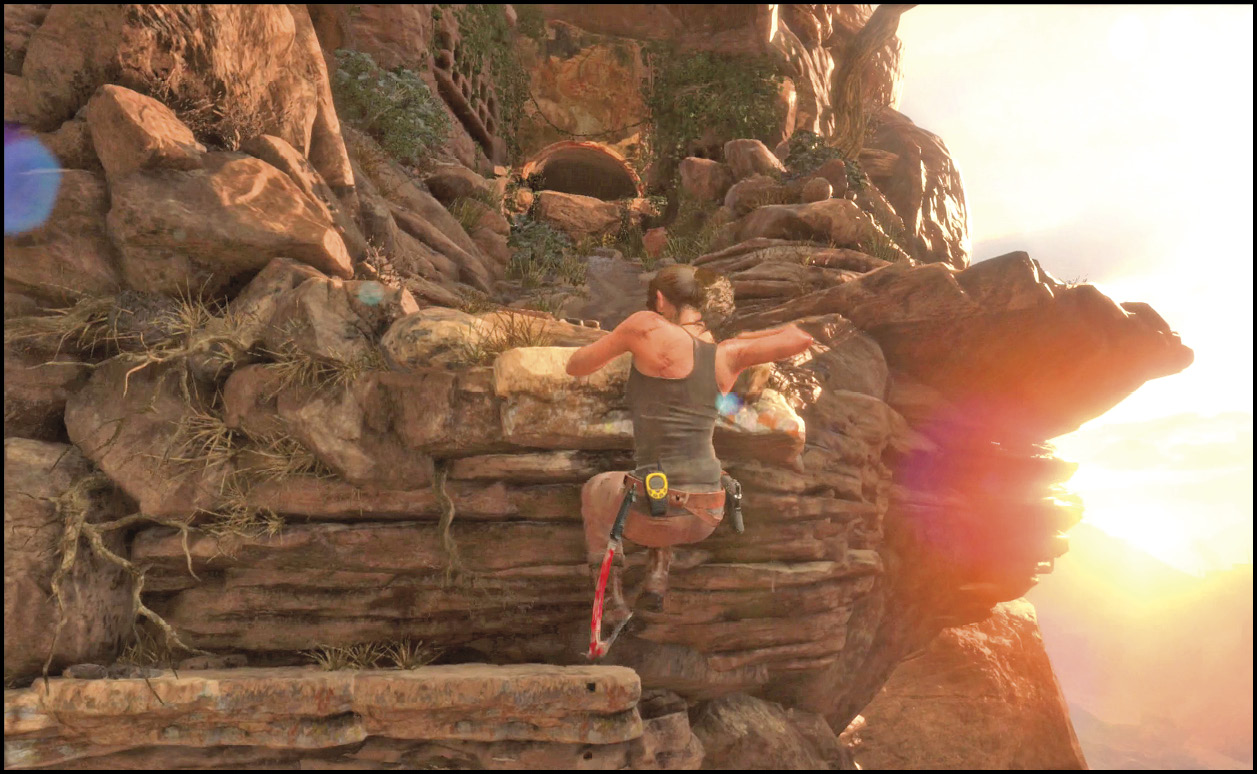
The path takes you to a rock wall. Jump up and use the handholds to shimmy up and right until you reach a higher platform. Above is a tiny entrance to a cave; Lara has to roll in through the opening to fit, but don’t go in there quite yet. Instead, look around the ledge on the right side to pick up a Relic (the Gilded Cross). Get that and then go into the cave.
A short walk takes you to an important chamber inside the cavern. This place is steeped in history; it’s on the very walls of the cave, ready to be seen.
Explore the Chamber of Murals
Search the chamber extensively. There are several hidden items and pieces of lore here, and you want to get everything before moving on. Look at the Monolith to reveal the location of the Coin Caches in the area. Scour the outer walls of the room for four Murals, and look along the floor near the far side of the room for the one Coin Cache that is here.
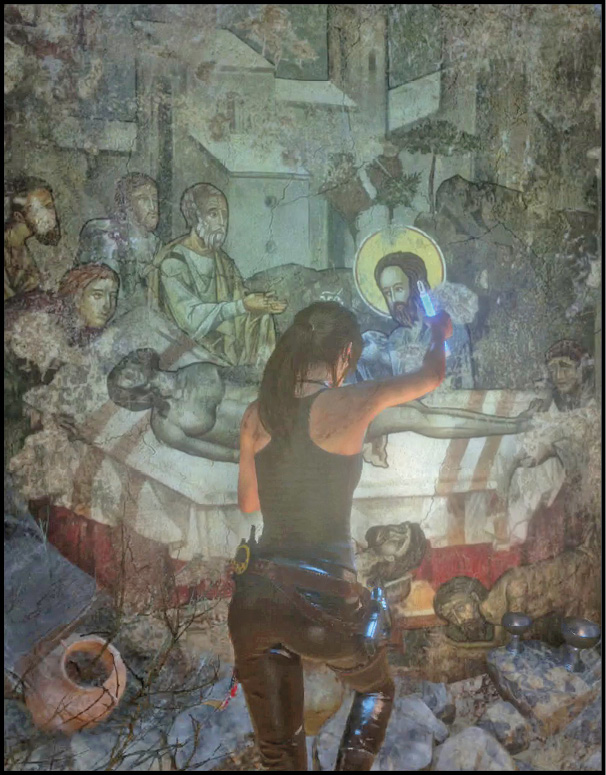
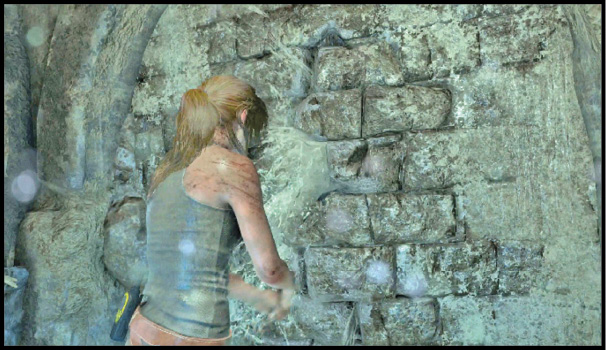
When you’re ready to go, step into a smaller side room across from the hallway where you entered the cavern. Light is shining through a damaged wall in there. Interact with the wall to break it open, revealing a new exit.
Find a Way into the Prophet’s Tomb
You’re almost to the main tomb now. A decaying stone bridge is to your left, and that’s the way to cross the chasm that blocks your progress.
Approach the bridge. The handholds are a bit too high to reach with a normal jump, but that’s not a problem for Lara. She can scramble up vertical surfaces for a short distance, allowing her to access ledges and handholds that aren’t too far out of reach. Try that here! Get onto the bridge and then shift to the left to start crossing it.
Cross the bridge on the left side by shimmying left and jumping up. Jump again to get over a broken section of stonework, and continue toward the top of the bridge to reach solid footing. The bridge begins to collapse once you get to a balancing beam, so pick up your pace as much as possible. Jump to safety at the end!
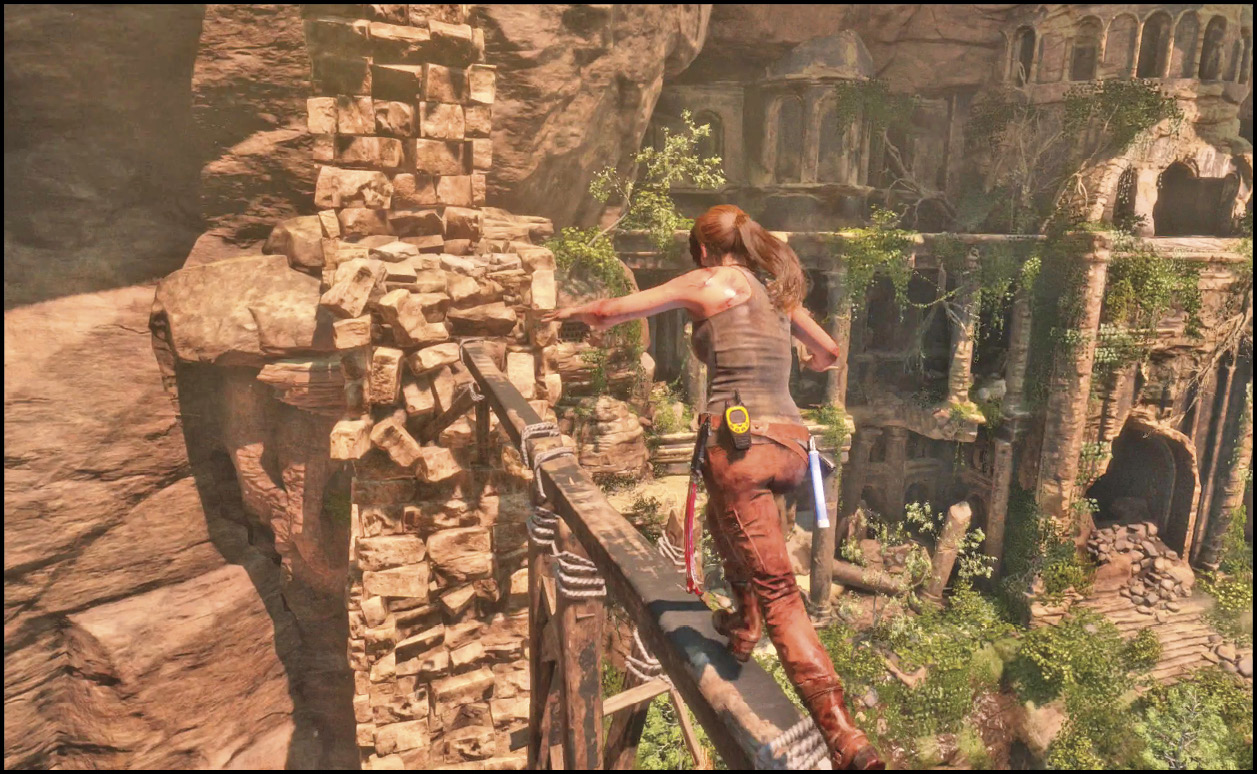
Approach the main temple and leap over toward its upper balcony. Use that as a handhold and pull yourself up when you find a decent spot between the pillars. A small corridor above the balcony takes you into the building, with unknown traps in wait. Hop up a couple of small ledges and go inside.
Explore the Tomb’s Passages
There isn’t enough room to walk comfortably, so Lara has to squeeze through this place. Break through a wall at the end of the hallway to find yourself in the tomb proper.
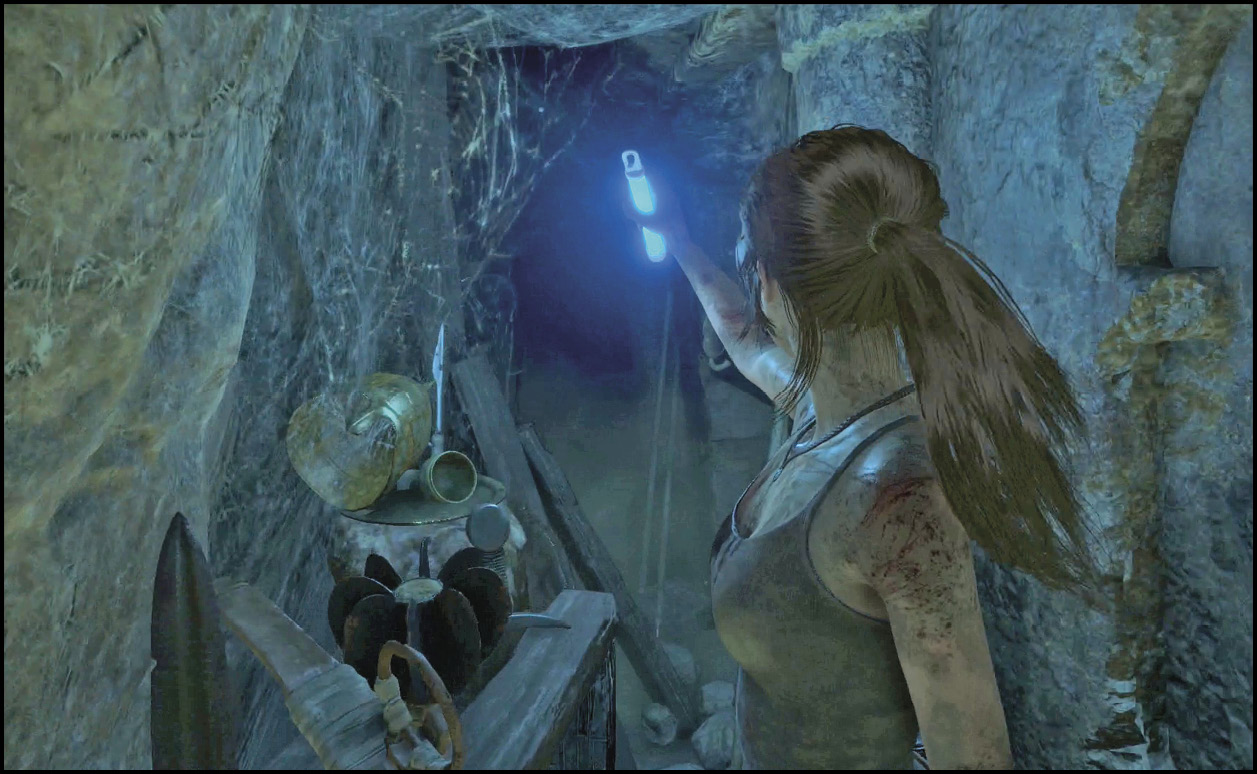
Search the first room of the tomb for anything that isn’t nailed down. To your right is a small container that glows orange when you approach. Break it open for a small reward.
There is a Document on the left side of the room. Make sure to collect that and then read it as well. Nearby is a Mural to examine.
Get everything that’s here and then leave the room; there is a hallway ahead. Walk toward it slowly, because a trap is triggered when you approach. You’re shown how to aim your weapon; use it to destroy the small, wooden piece that holds the trap in place. This clears the hallway so that you can advance. Lara pulls herself under a crossbeam and goes into the adjoining passage.
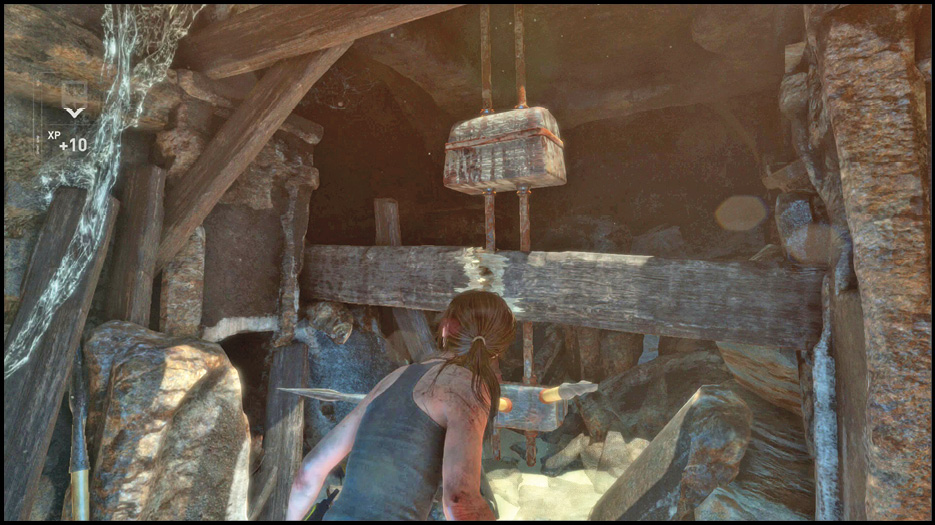
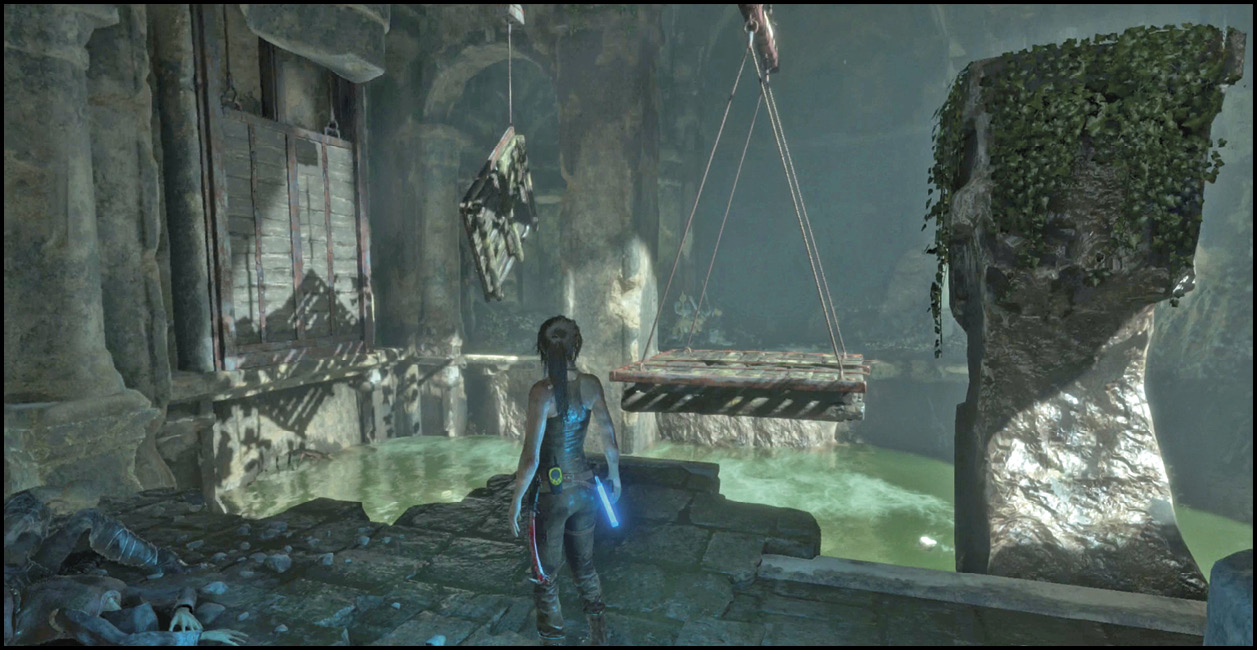
The floor here hasn’t been inspected for damage in a few centuries, so it’s going to collapse when you put any weight on it. Lara plunges into the water below, but is luckily unharmed. Get back onto solid ground by climbing out of the water on your side of the chamber. Look over the room. See that suspended wooden platform ahead of you? Shoot the block that’s holding it up!
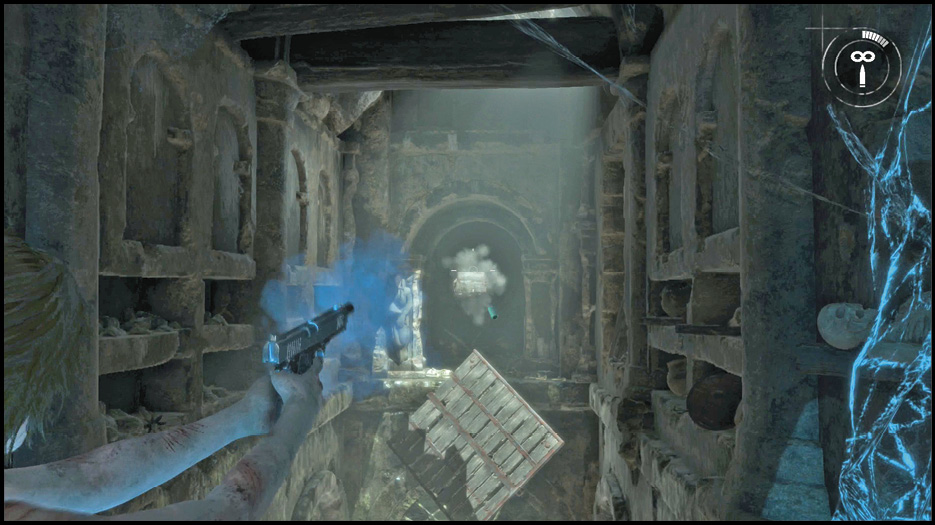
Jump back into the water, climb onto the fallen platform, and use that as a way to get out of the room; jump from the platform to a ledge above and climb out.
There is a nasty section coming up. As you move through the next passage, Lara steps onto a trap and is temporarily immobilized. A spike swings at her, and you have to shoot the wooden block on that very quickly so that Lara doesn’t get perforated. Next, use the indicated button that’s flashing onscreen to bust out of the trap. Water is filling the hallway, so swim quickly down the passage before it becomes your own personal tomb.
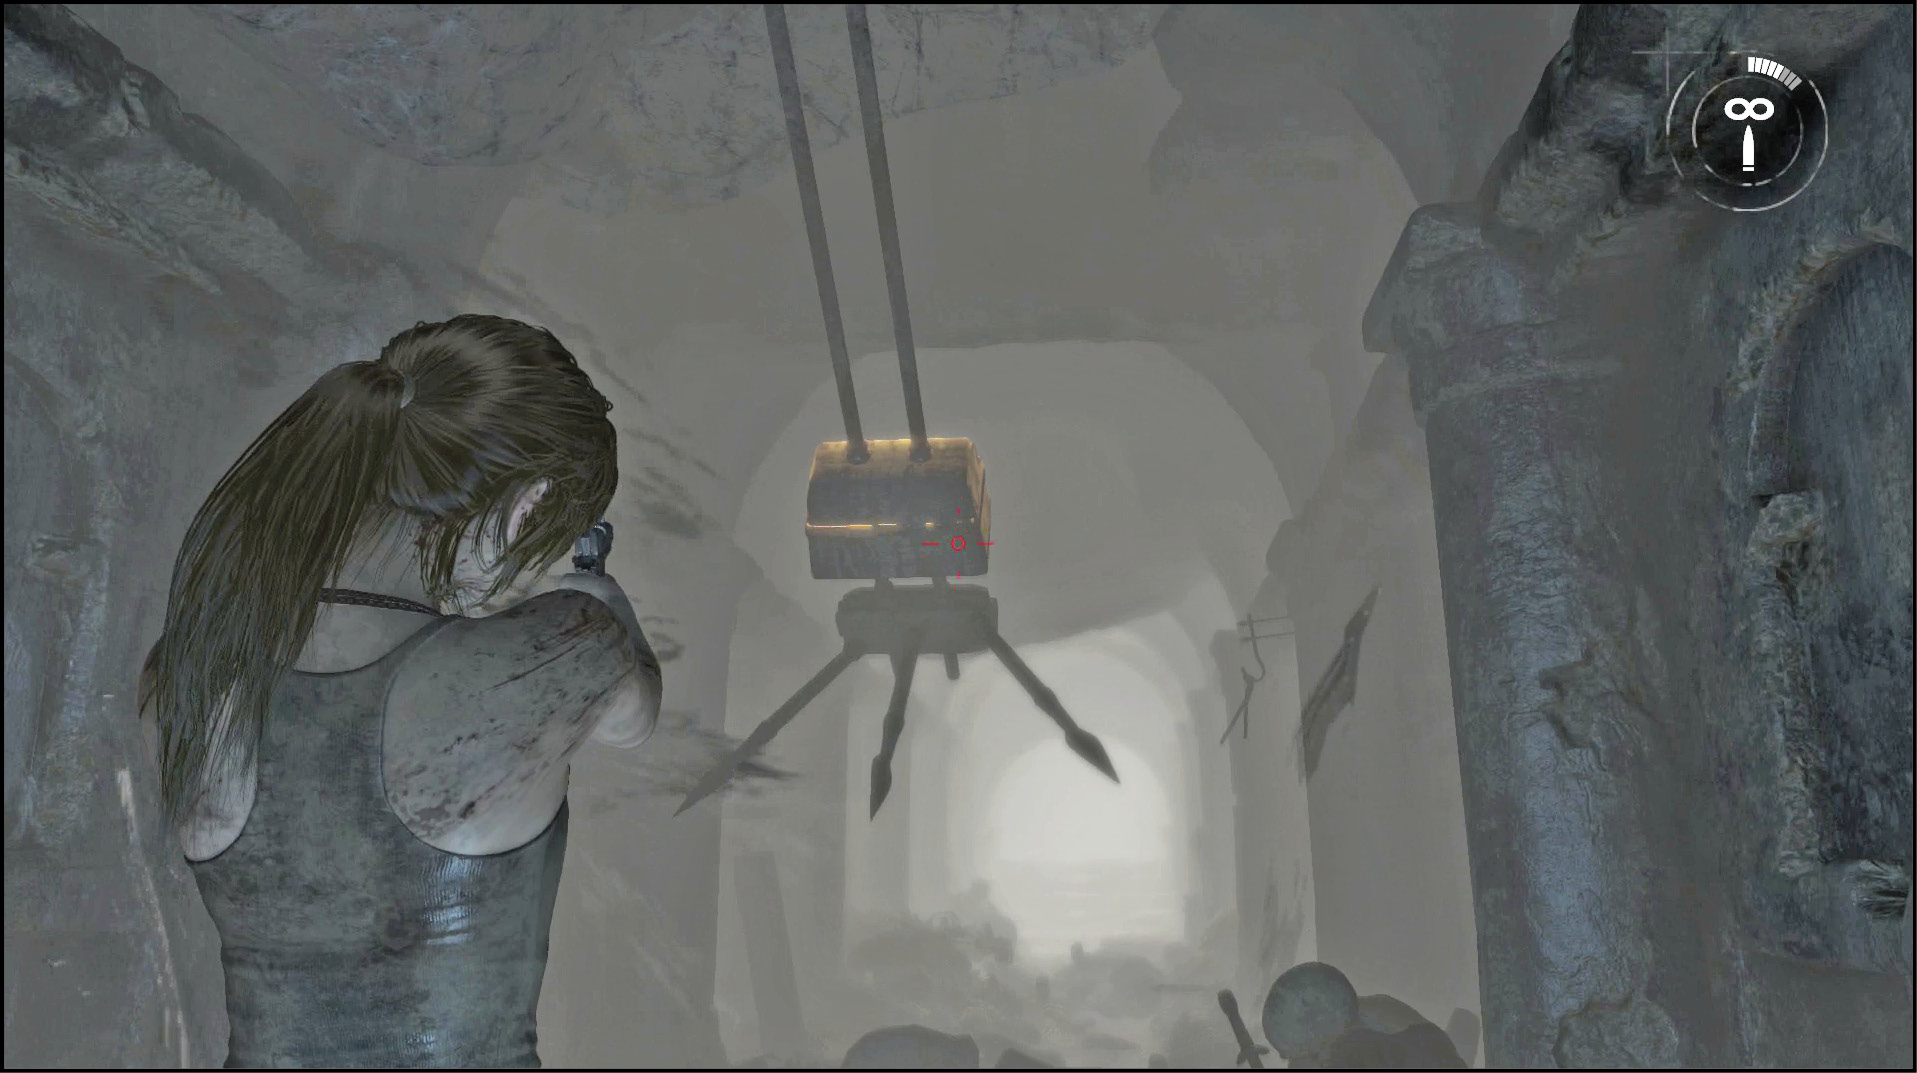
Get out of the water and walk toward the misty room ahead. You’re almost to the tomb!
Navigate to the Top of the Main Tomb’s Chamber
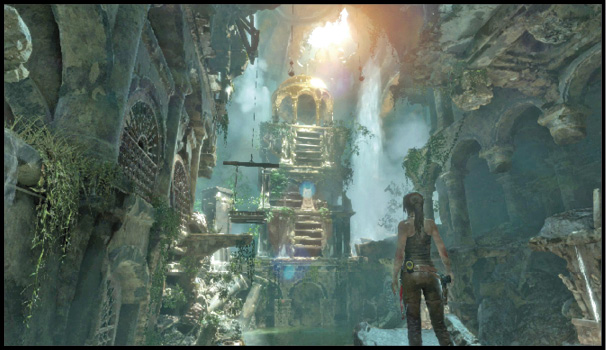
The good news is that you’ve entered the central room of the tomb. The bad news is that it’s really hard to get to the top of this chamber. Many of the stairs and bridges that were used in ancient times have fallen away, and you need to make a path of your own to get to the top.
Getting the water level to rise is your first step. Follow your objective marker and smash through a leaking wall on the side of the room. This soon gets enough water into the room for you to reach a ledge that is underneath a suspended wooden platform. Get onto dry land and use the cubbies along the wall to climb higher.
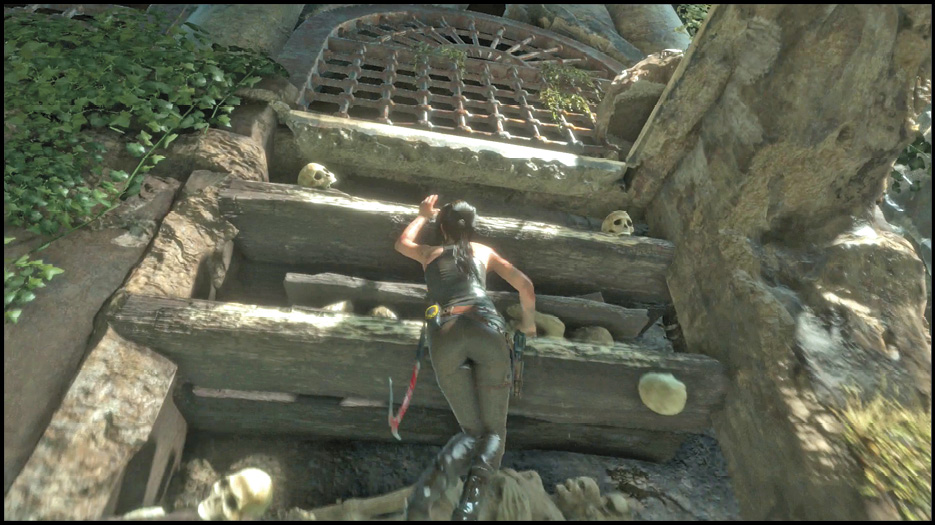
Shimmy onto a small ledge above and jump over to the suspended platform. Wait on that while a counterweight system causes the floodgate to open. Again, the water rises. You can now get through most of the chamber.
Search the eastern side of the room for buried treasure. There are two Coin Caches here, and you can get them both without much effort. Dig into the ground at their marked locations and get your money.
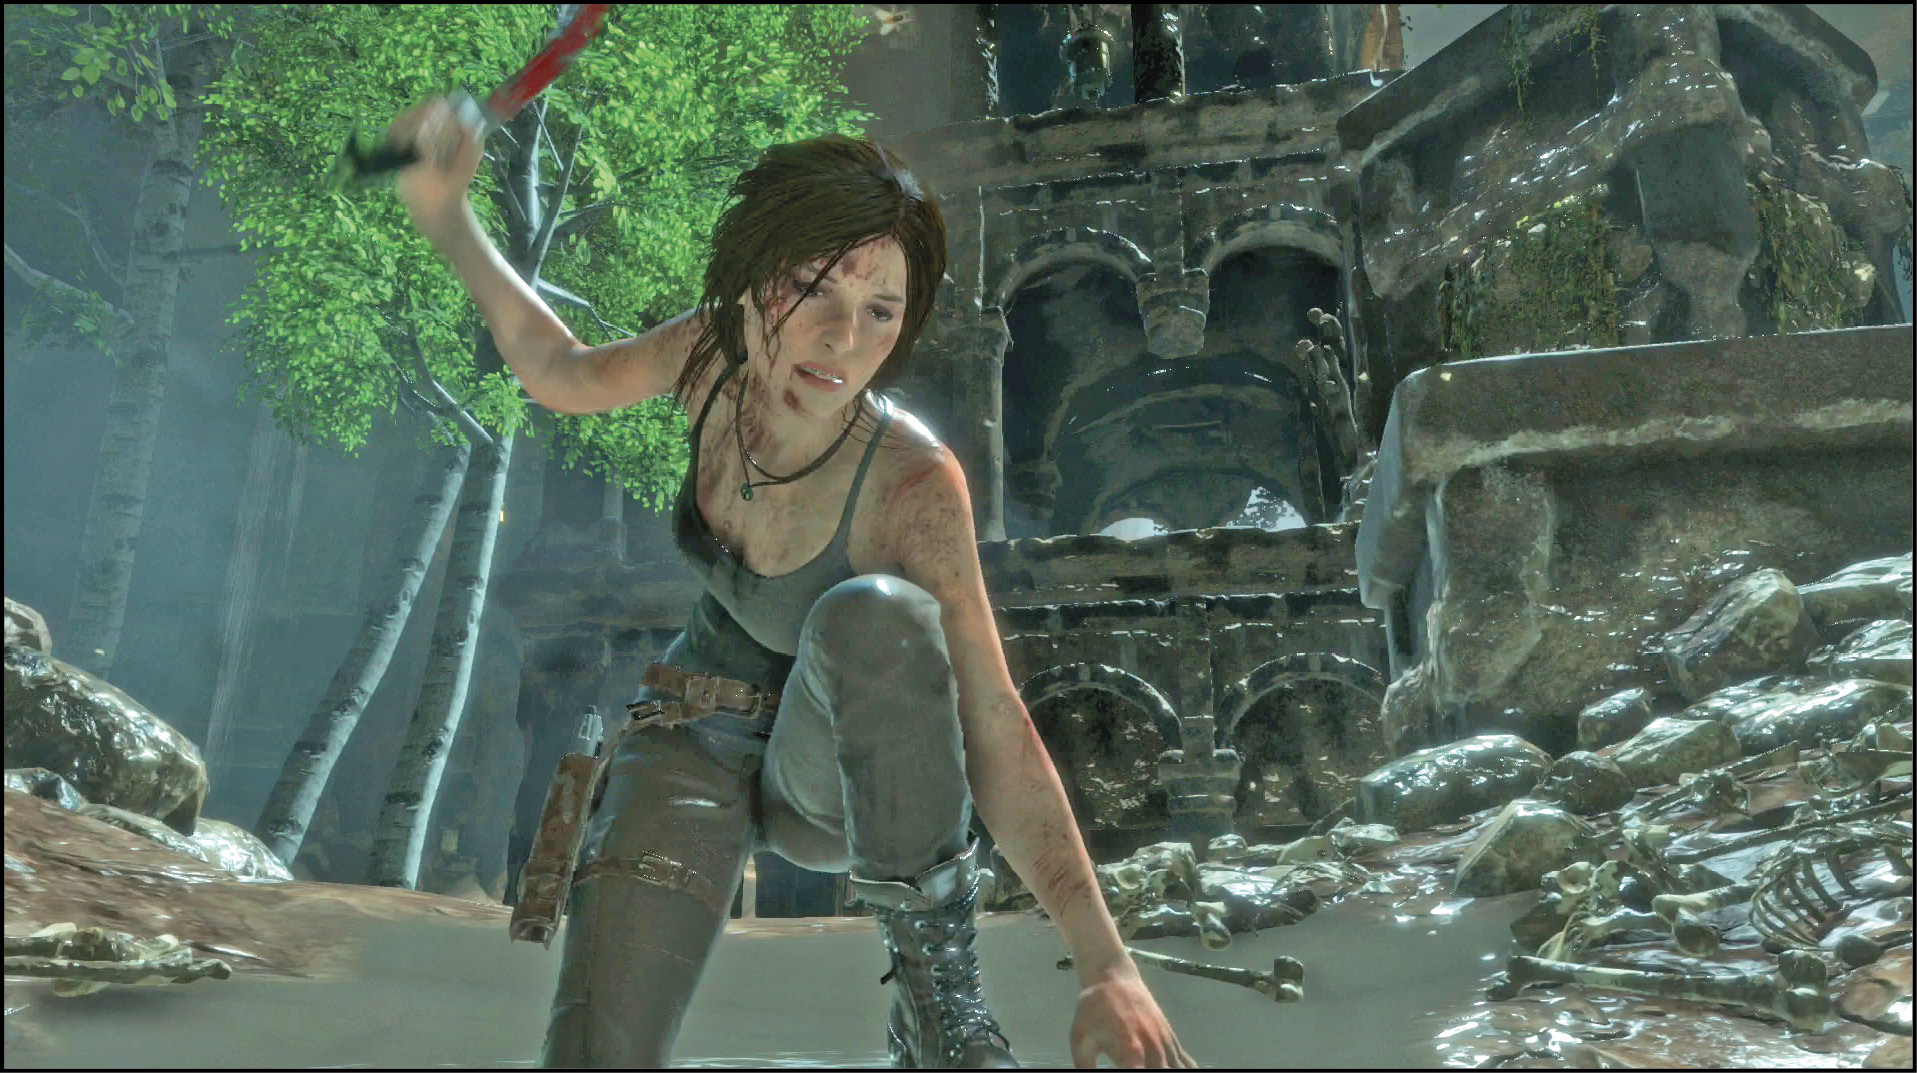
There are a couple of containers with Gifts of Alms as well, so keep your eyes out for them too.
The best treasure is along a small strip on the southern edge of the room. There is a Relic just above the new waterline. Get that before you continue (it’s an Enamel Brooch).
Now, climb onto a damaged pillar near the center of the room. Jump from there into the building that dominates that area, and cross through that. You hear noises in the distance, but nothing is coming after you quite yet. Stop while you’re inside the building and scan around with your Survival Instincts. A small ledge to the south has an Archivist’s Map that reveals the remaining Documents in the region. Take that and shoot any hanging urns that light up.
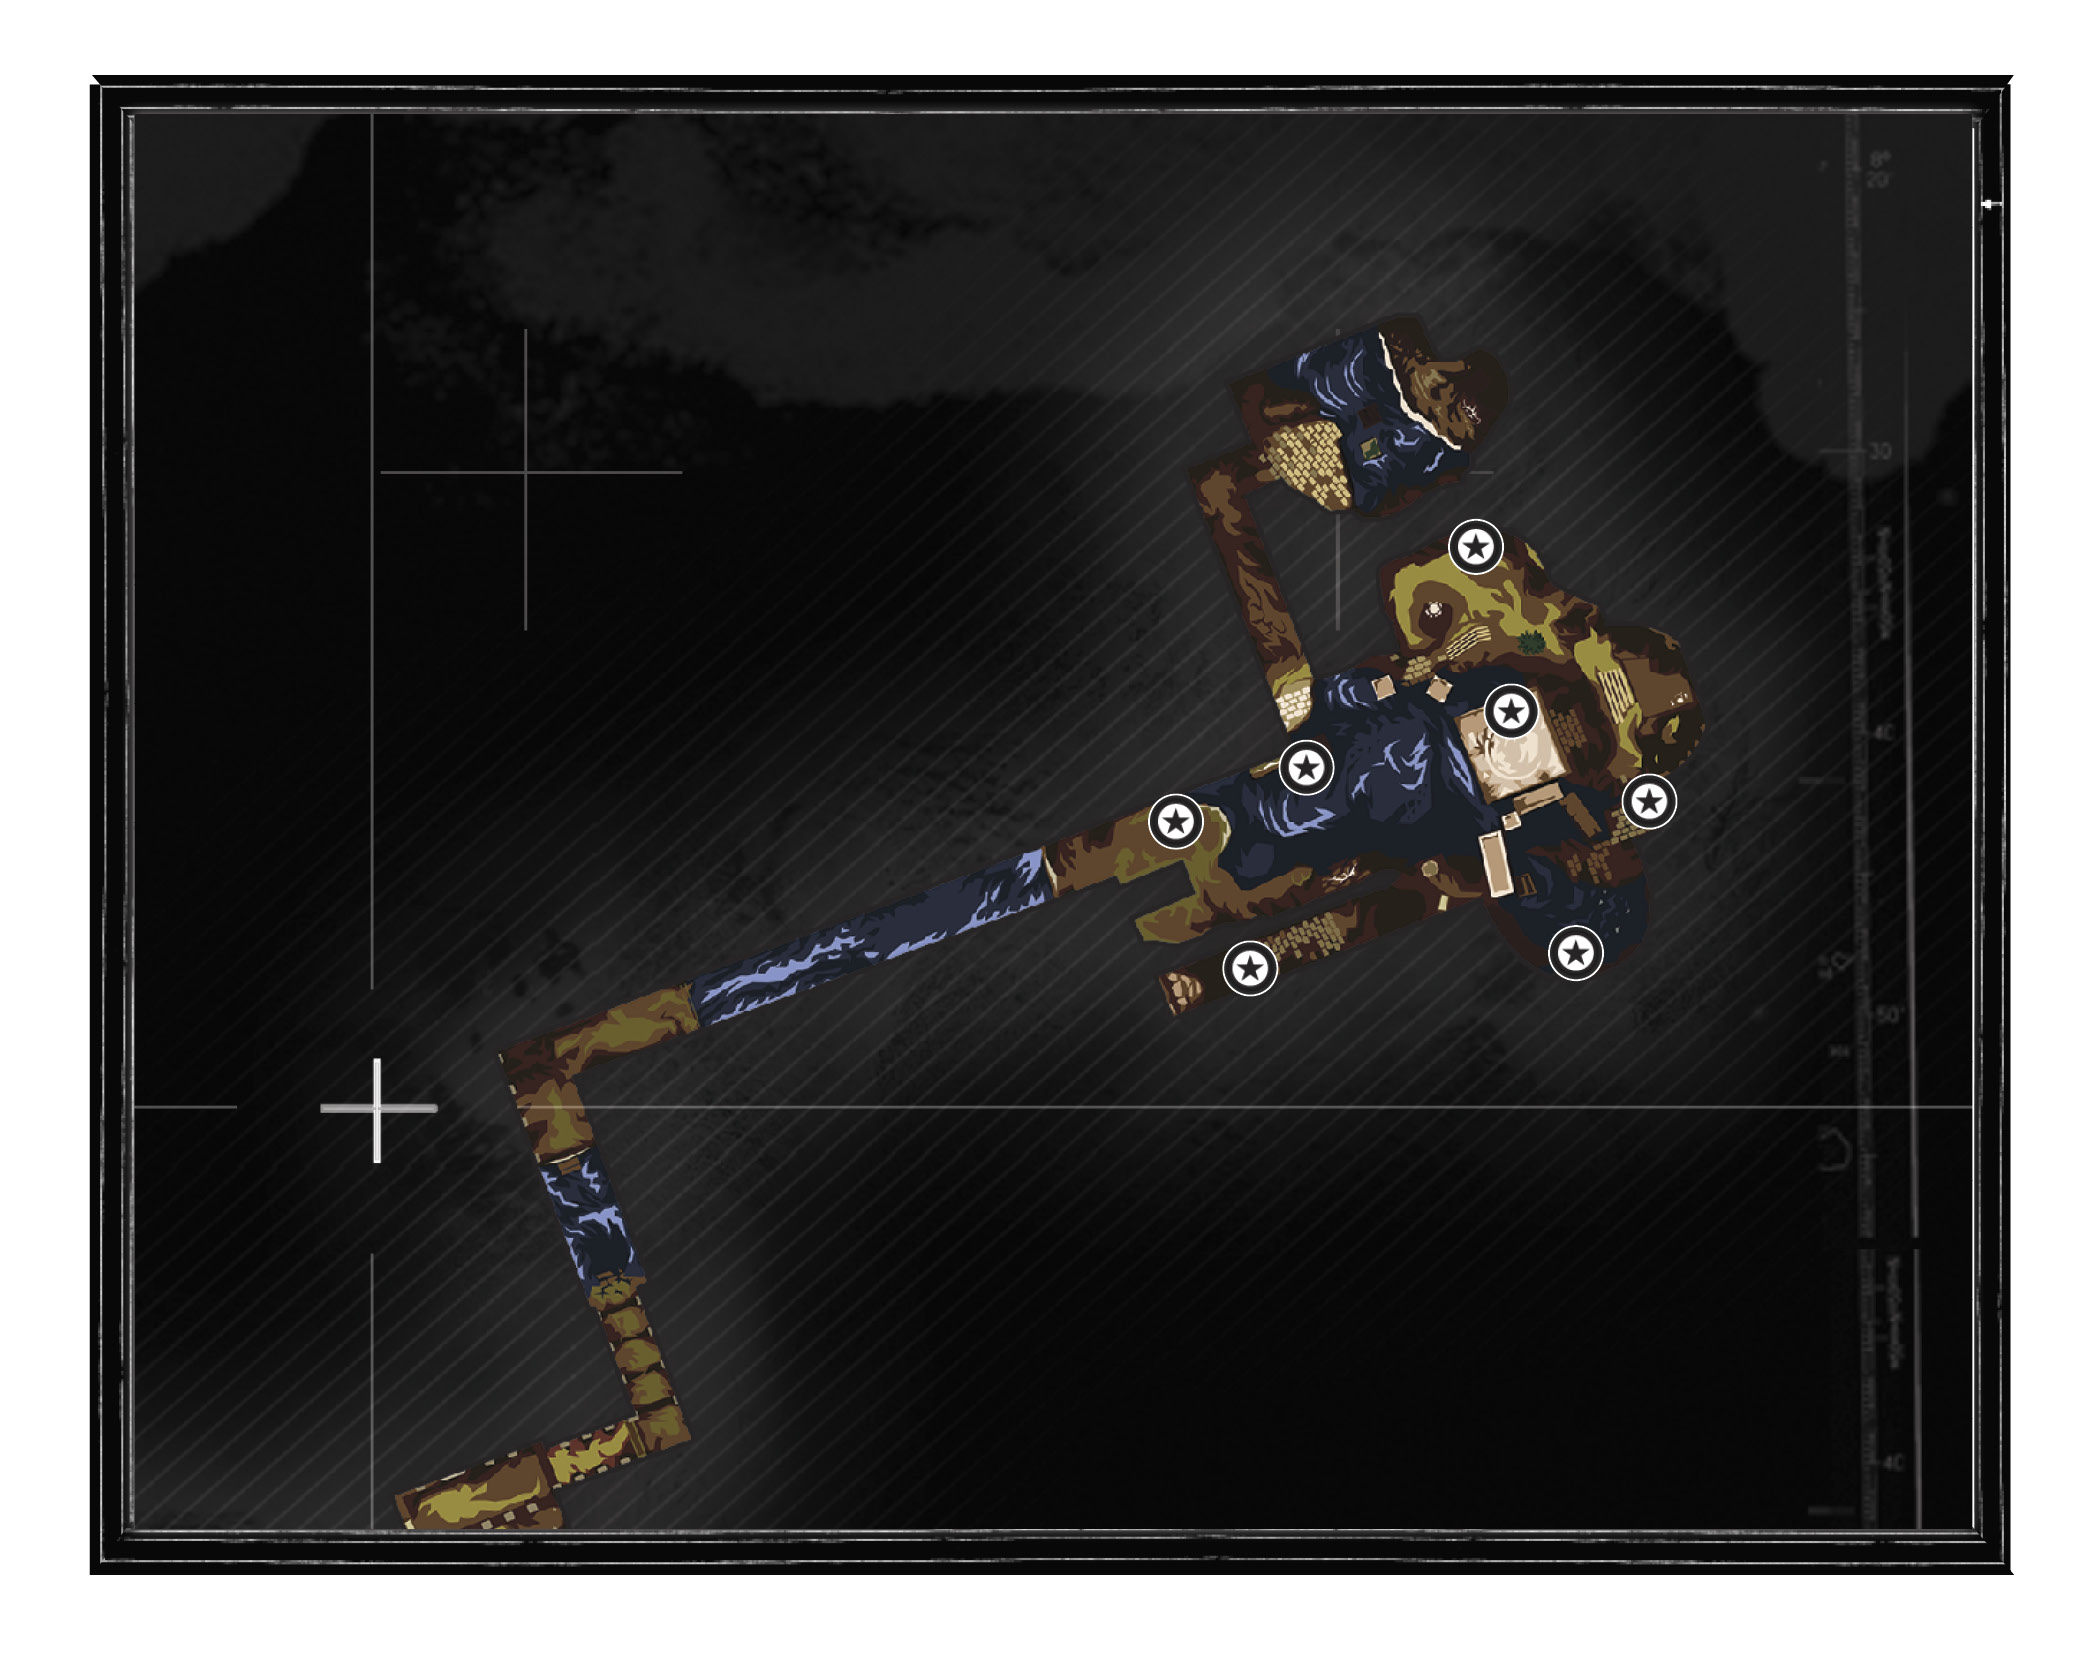
Get back into the main building and watch out for a pit trap that is exposed when the floor crumbles. Jump over the spikes and search the small area of floor to the right for a Document (The Knight: On the Trail). Walk carefully to the far side of the building and jump onto a couple of pillars and then over to the northern side of the tomb.
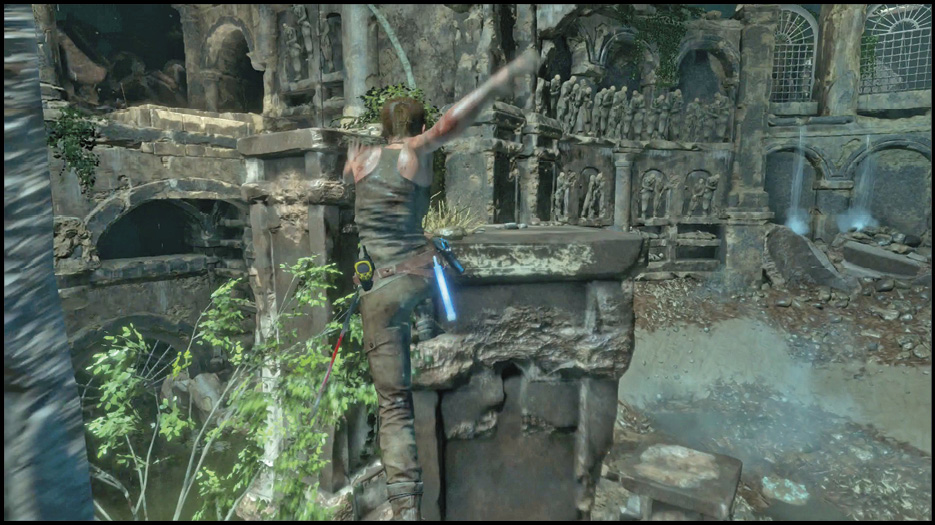
The last Document (The Knight: At the Gates) is beneath you, on the ground floor of the room.
You quickly reach a hallway that looks empty, almost simple even. This is probably a good place to be careful.
Jump over the damaged flooring and hurry to the end of the corridor. You enter the final room of this level. Again, you need to raise the water level to get through, but this time it’s a little bit more complicated.
Get the Document on the right side of the room before you go anywhere. Then, go around the upper ledge, collect some free Coins, and smash through a leaking wall.
Another suspended counterweight is here, but you can’t get the floodgate to open just by jumping over to it. The problem is that the incoming surge of water knocks Lara off of the platform, thus preventing the water level from rising very much.
Destroy a section of wall on the other side of the chamber. This lets in some water. Then, shoot a wooden block that is holding up a second platform. This drops that pallet into the water. Jump onto the main platform and don’t worry when you’re knocked off of it. The process causes the floating pallet to go to the other side of the room. Climb onto it and then jump to the handholds above. Now you’re getting somewhere!
Climb to the top and then jump onto the bar above the suspended platform. The water won’t knock you off there, so Lara can hang on until the water level rises substantially. That lets you get to the top of the tomb.
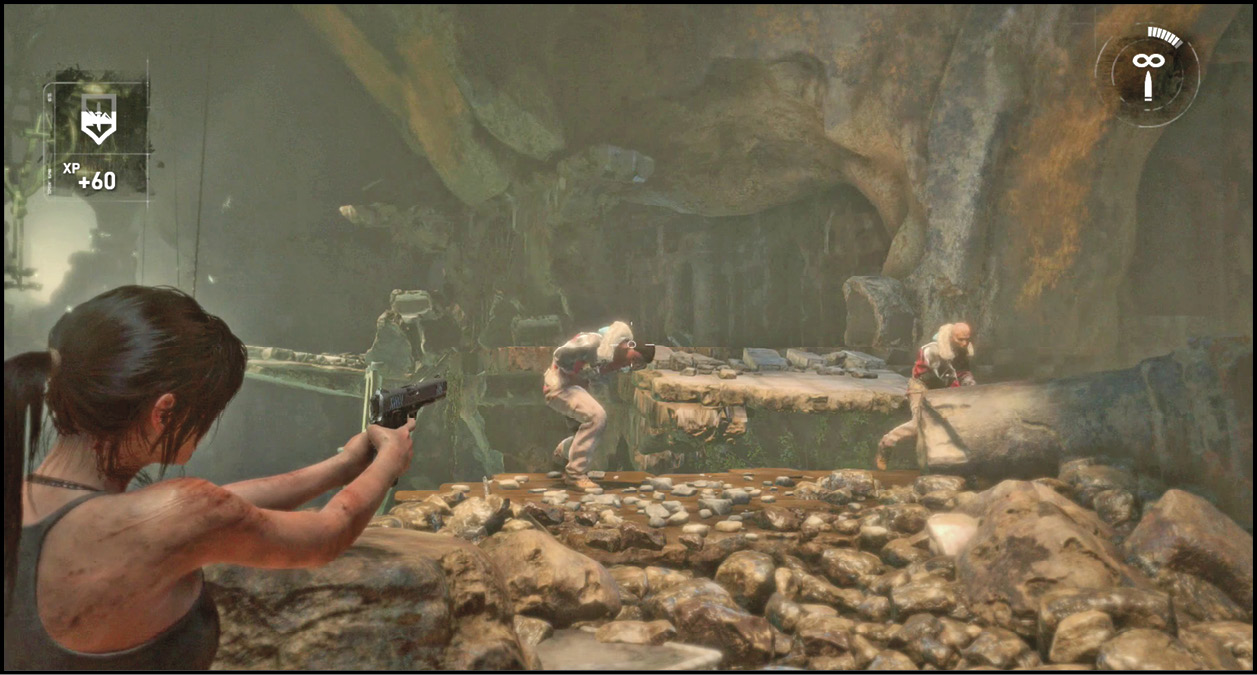
Watch a quick scene and then pull yourself to the top of the cubbies where Lara gets out of the water. A long scene follows, as she uncovers the sarcophagus. Several important events transpire. When they conclude, you are still at the top of the tomb. However, you’re joined by a few Soldiers from Trinity.
Stay cool and shoot both nearby men before they have time to react. Headshots are ideal, but multiple bullets bring down your targets if you’re uncertain of your aim.
Next, run forward and jump across a small gap. You’re taught how to sprint after you land, just in the nick of time.
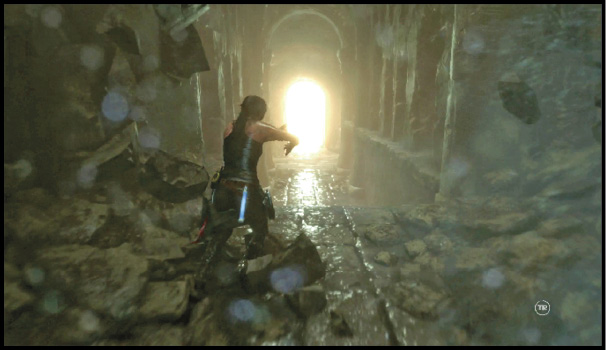
Sprint to the end of the passage and turn left. Run and jump to a hanging bar, and use that to vault to the other side of the room. Grab hold of a ledge, pull yourself up, and get back to speed.
The rest of the route is a challenge of timing, but it’s very clear where you need to go. Sprint, don’t fall, and leap over every gap. It’s simple in theory, but the pressure is on and you only have moments to get outside before this entire place crashes into ruin. Hurry, and go!