
Rise of the Tomb Raider Guide Collecting Treasures Geothermal Valley
Geothermal Valley Challenges
Bull’s-Eye
There are eight Bull’s Eyes around the map. Shoot each of them with an arrow to get credit for this Challenge. All of them are either in Valley Farmstead or are close by, to the north. Most are up high, though we’ll show you an exception by the river.
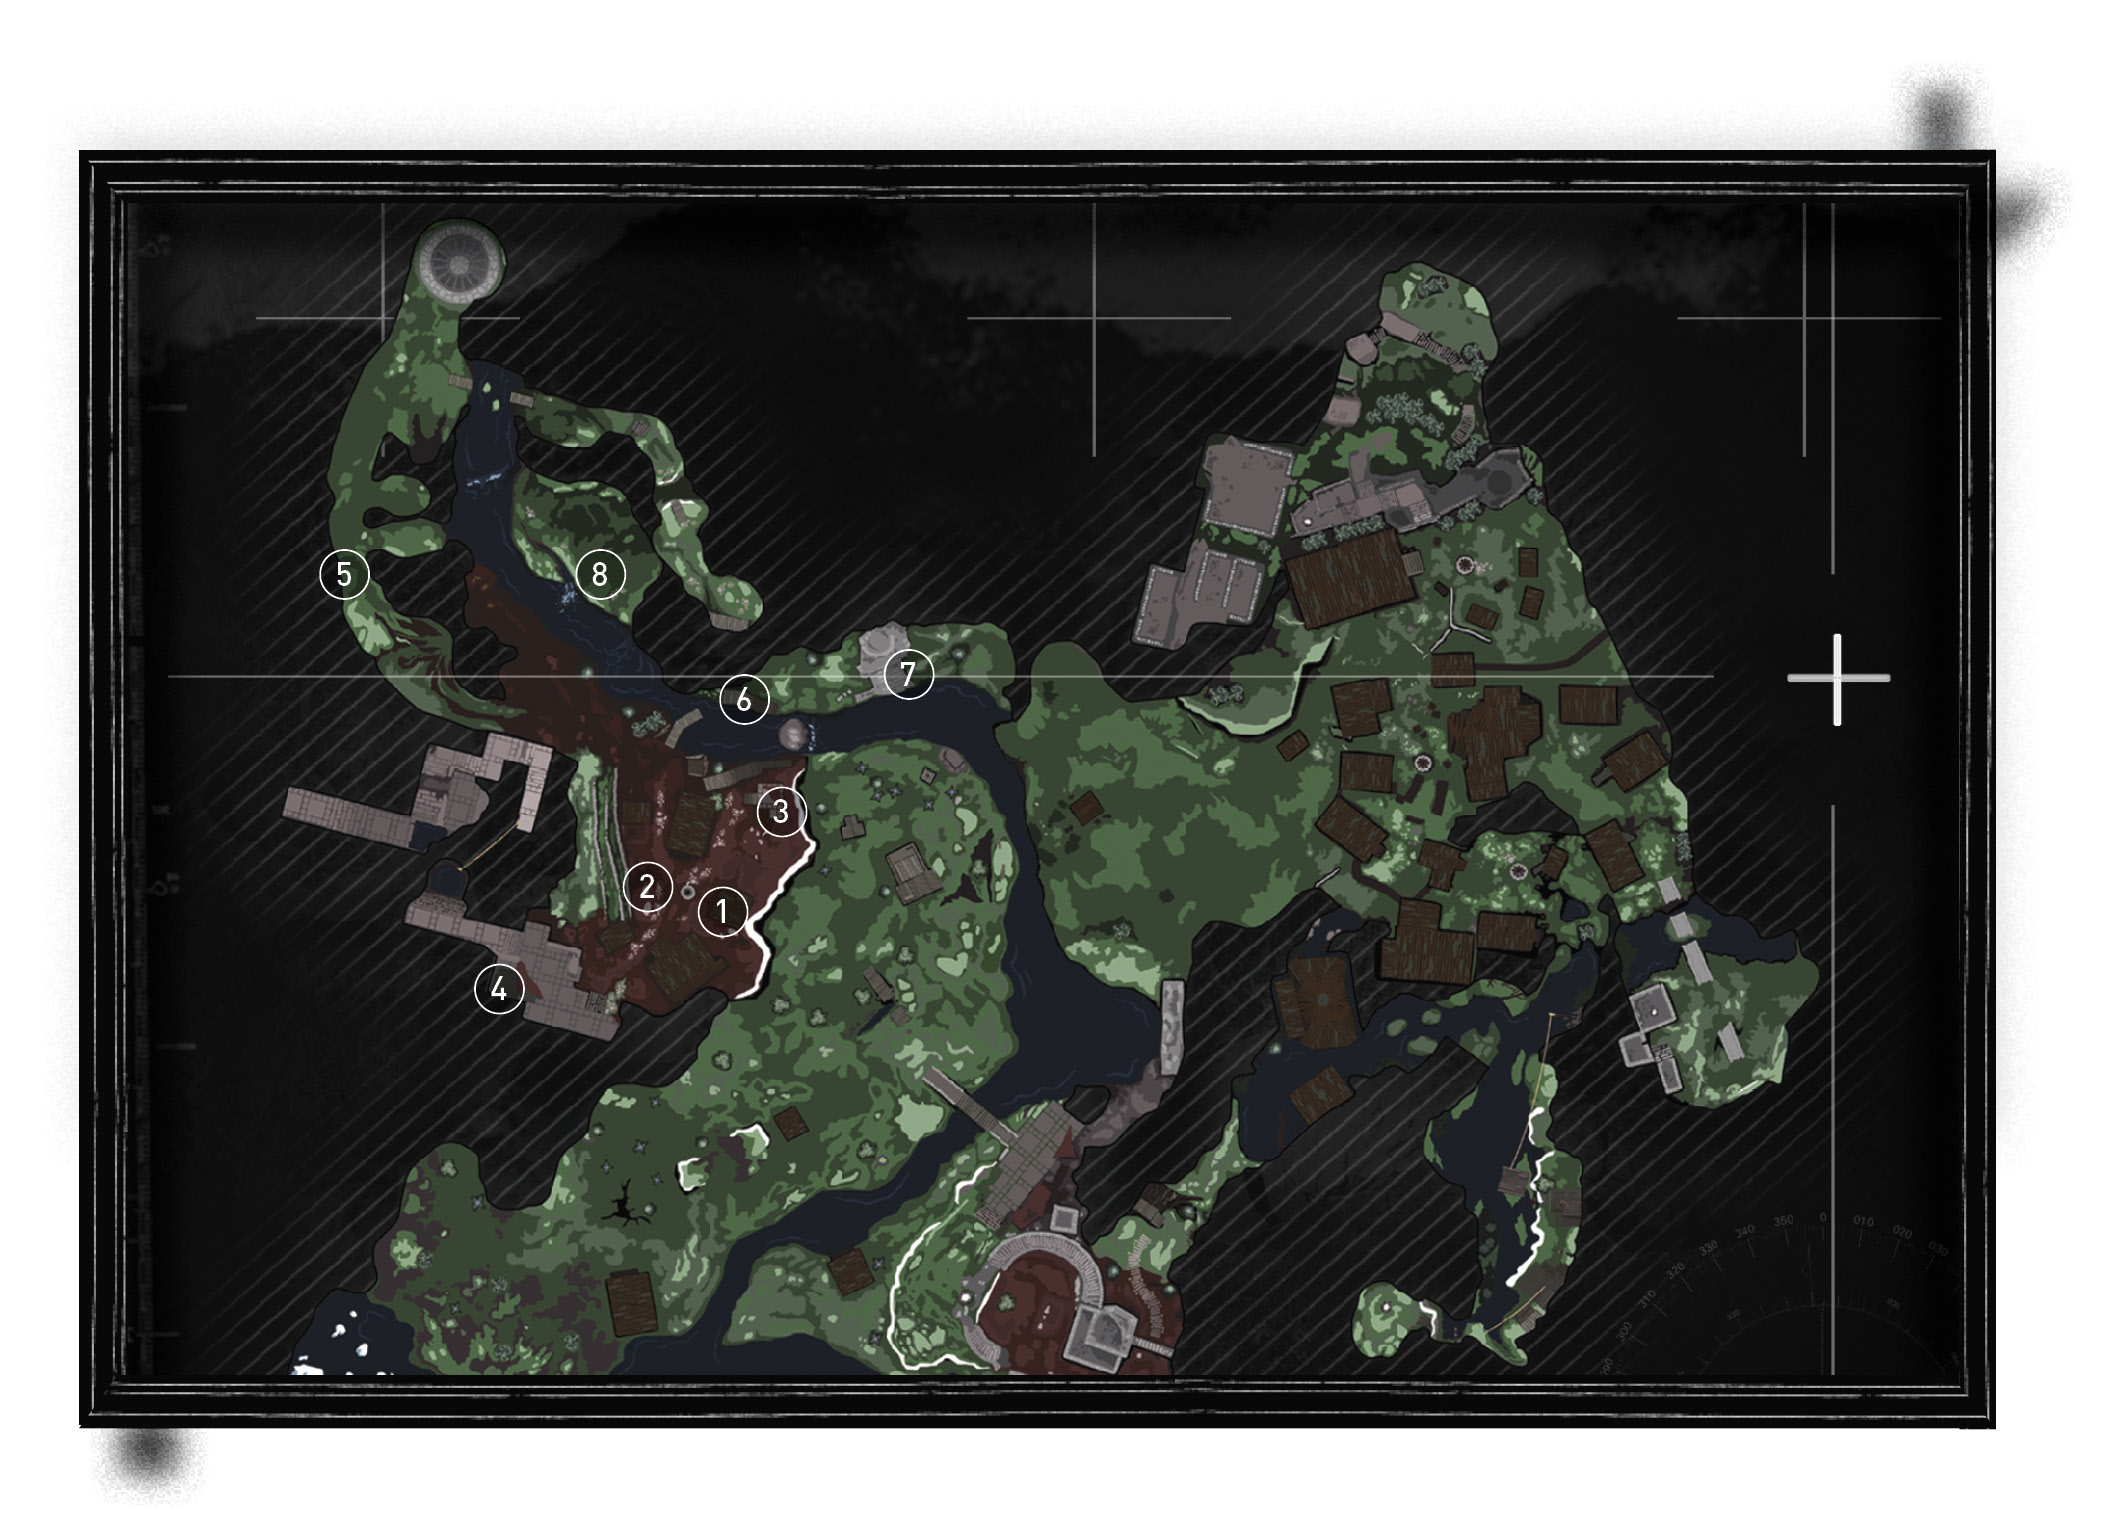
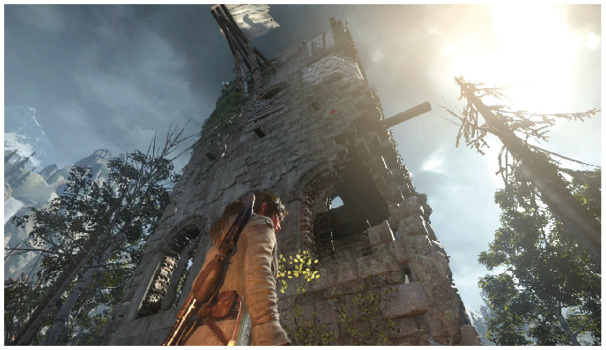
 NE from Valley Farmstead there is a well in town. Go to the well, face east, and look up. Your first target is above Lara. Shoot it with an arrow and move on.
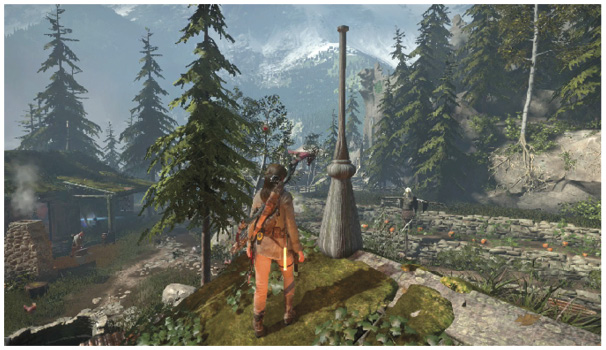
 Get on top of the larger, northern building in town and look south. A Bull’s Eye is hung up in the trees. Aim well and shoot the center of the target one your first hit. Otherwise, it starts spinning and is tricky to nail until it stops moving.
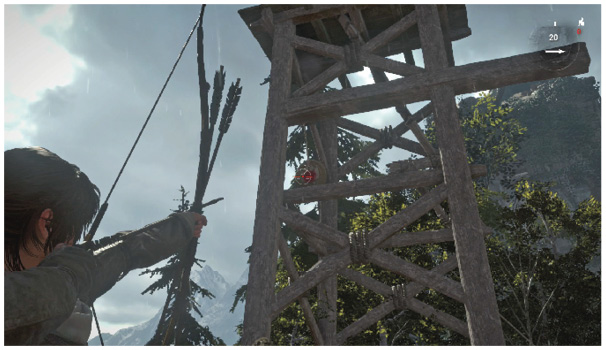
 From the same building, look east toward a small tower. Another Bulls’ Eye is hung from that.
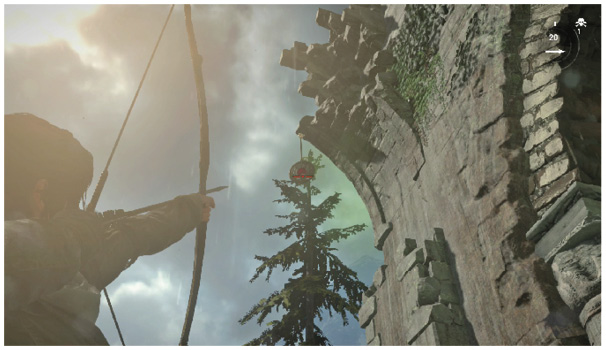
 W of Valley Farmstead, as you approach the base camp, turn around and walk west. Look up, at the archway in front of you, and search for the target. It’s suspended above you, to the left of the arch.
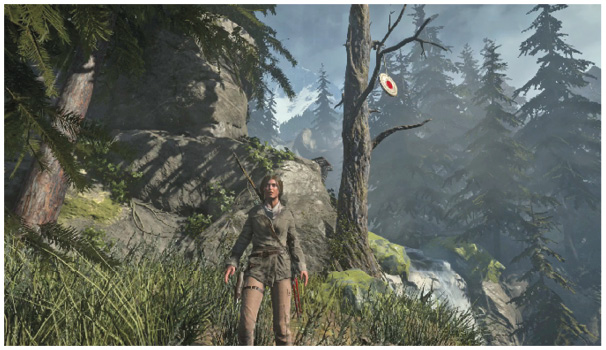
 N of Ridgeline, start at Ridgeline base camp and take the path leading southwest, down the mountain. A side branch takes you out toward a dead tree, overlooking the valley below. This target is suspended from that tree.
 A Bull’s Eye is underneath the northern bridge that leads away from town. Stand on the western end of the bridge and look beneath the boards to spot this.
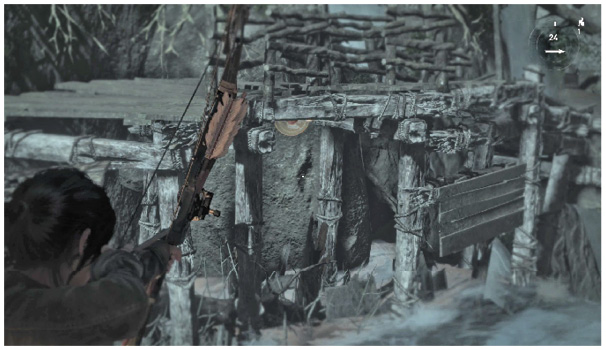
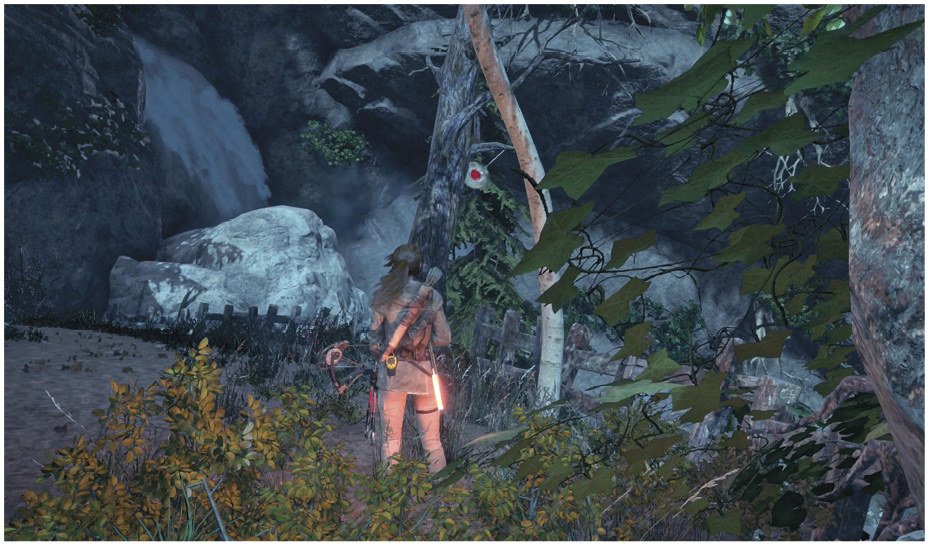
 Leave Valley Farmstead and take the bridge on the left. Duck under an overhang at the end of the trail, and search the ledge on the other side.
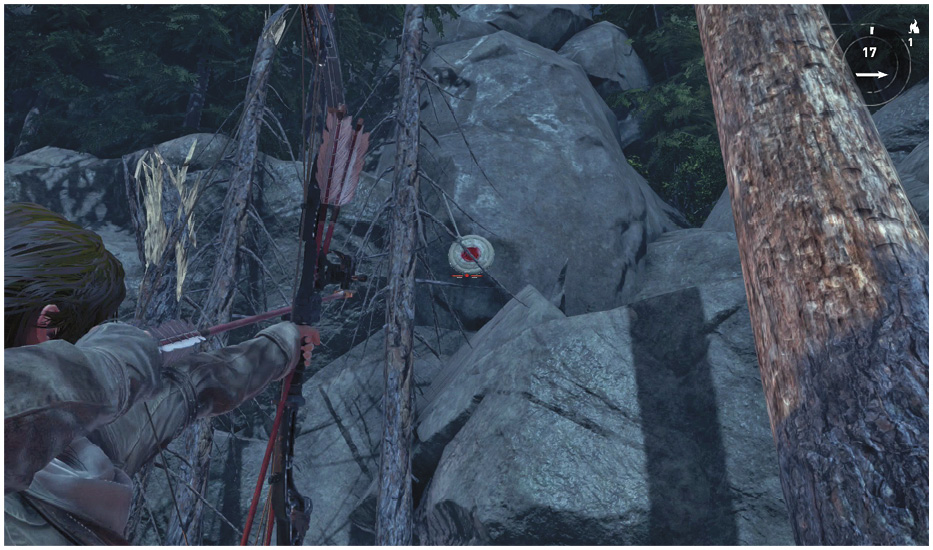
 A Bull’s Eye is hanging from a tree over the edge of a cliff.The final Bull’s Eye is north, outside of town. Go to a damaged section of trees on the other side of the river. Look up high and get your target.
Fowl Play
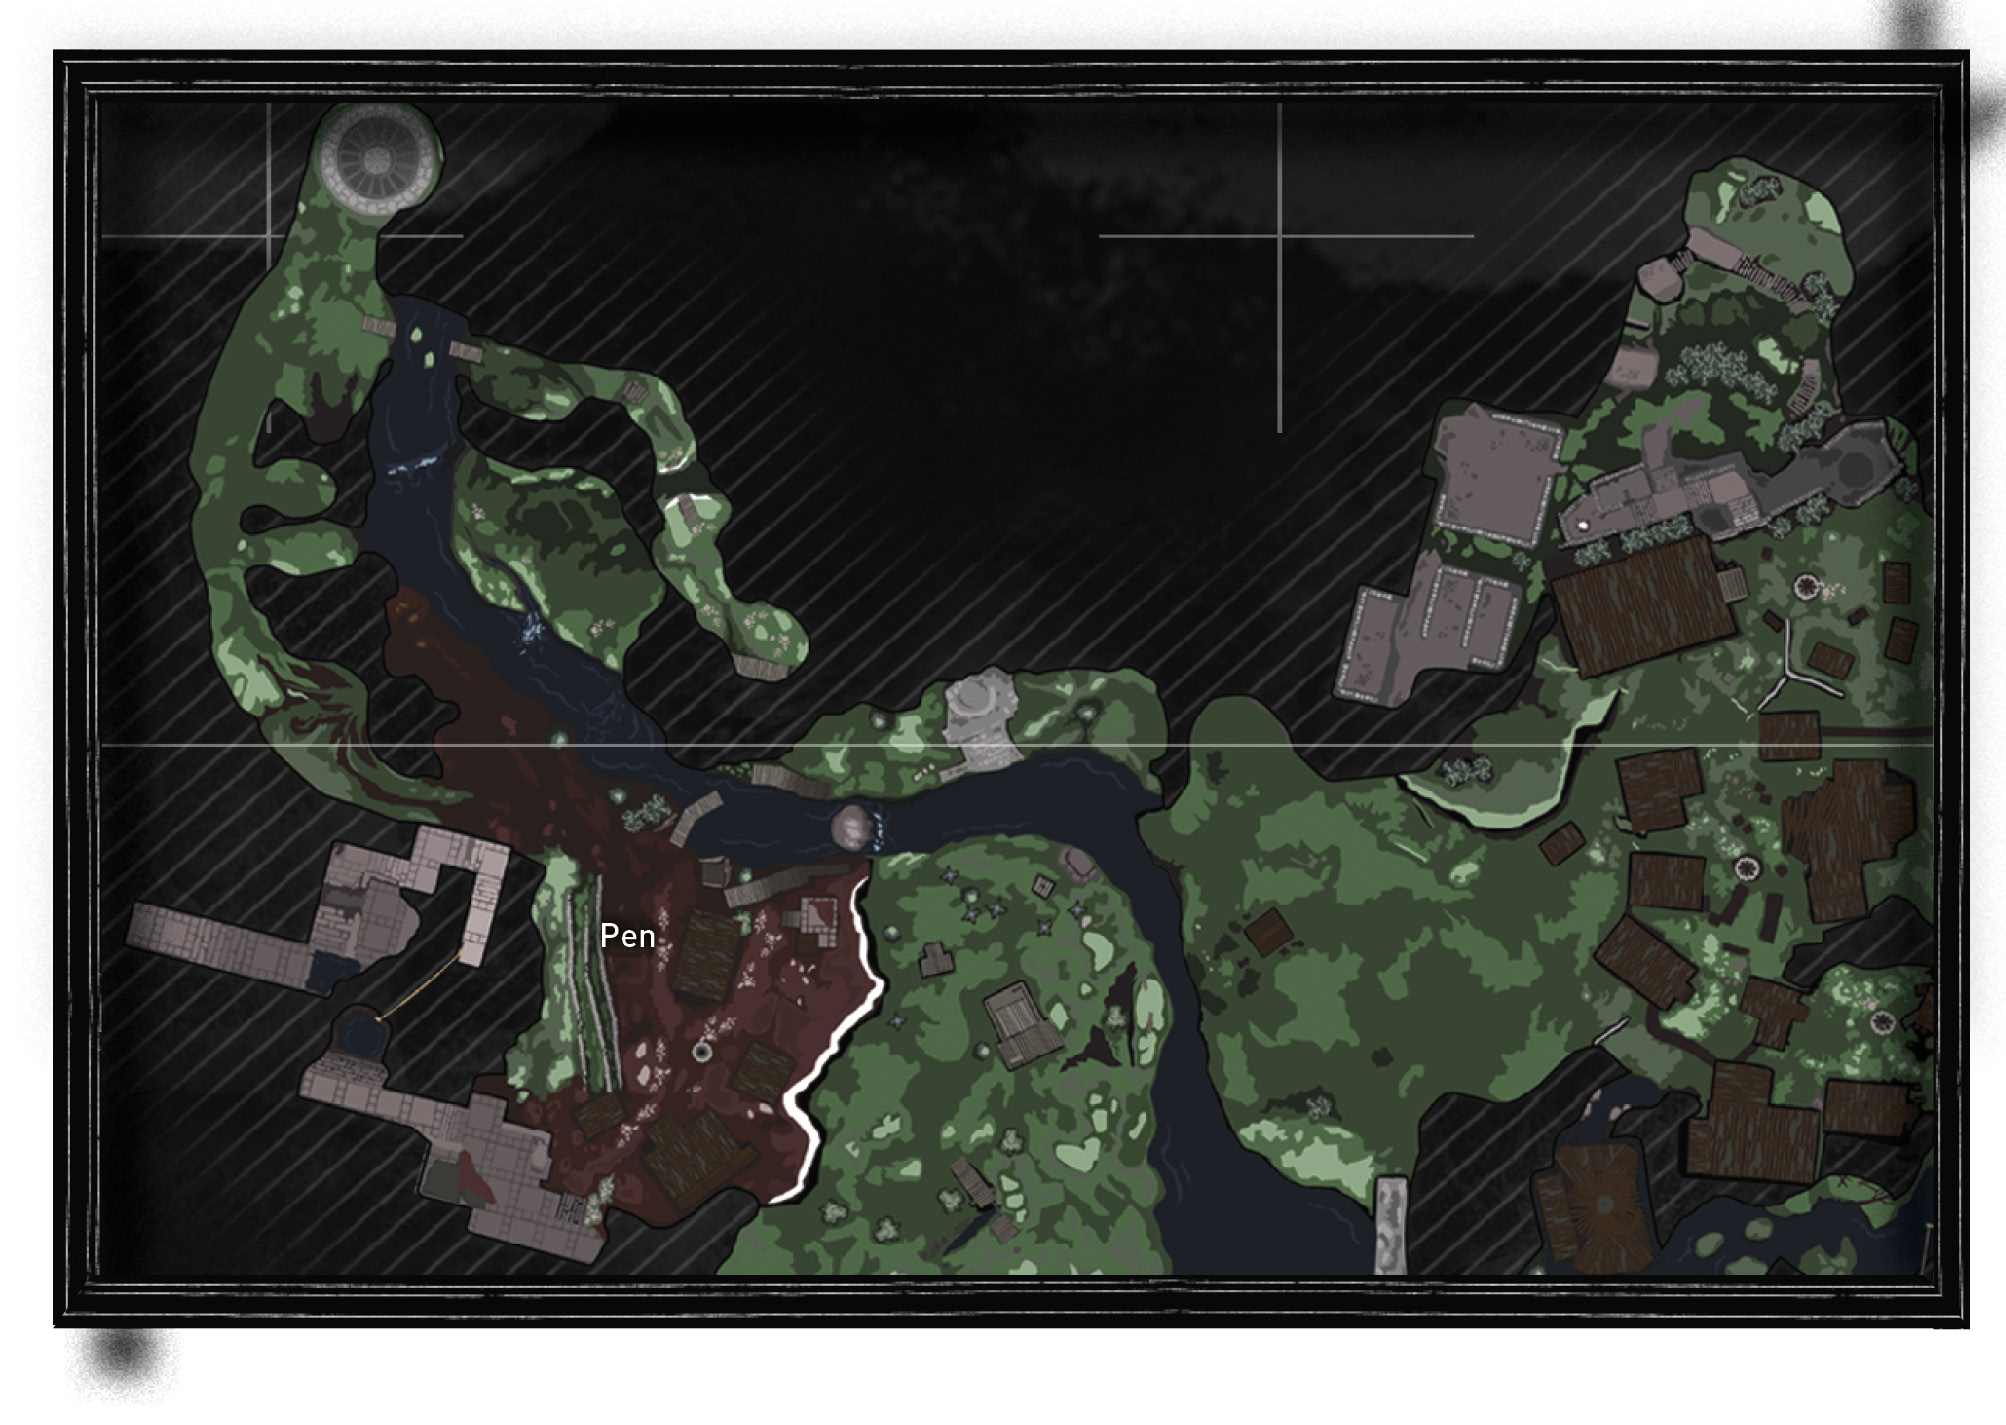
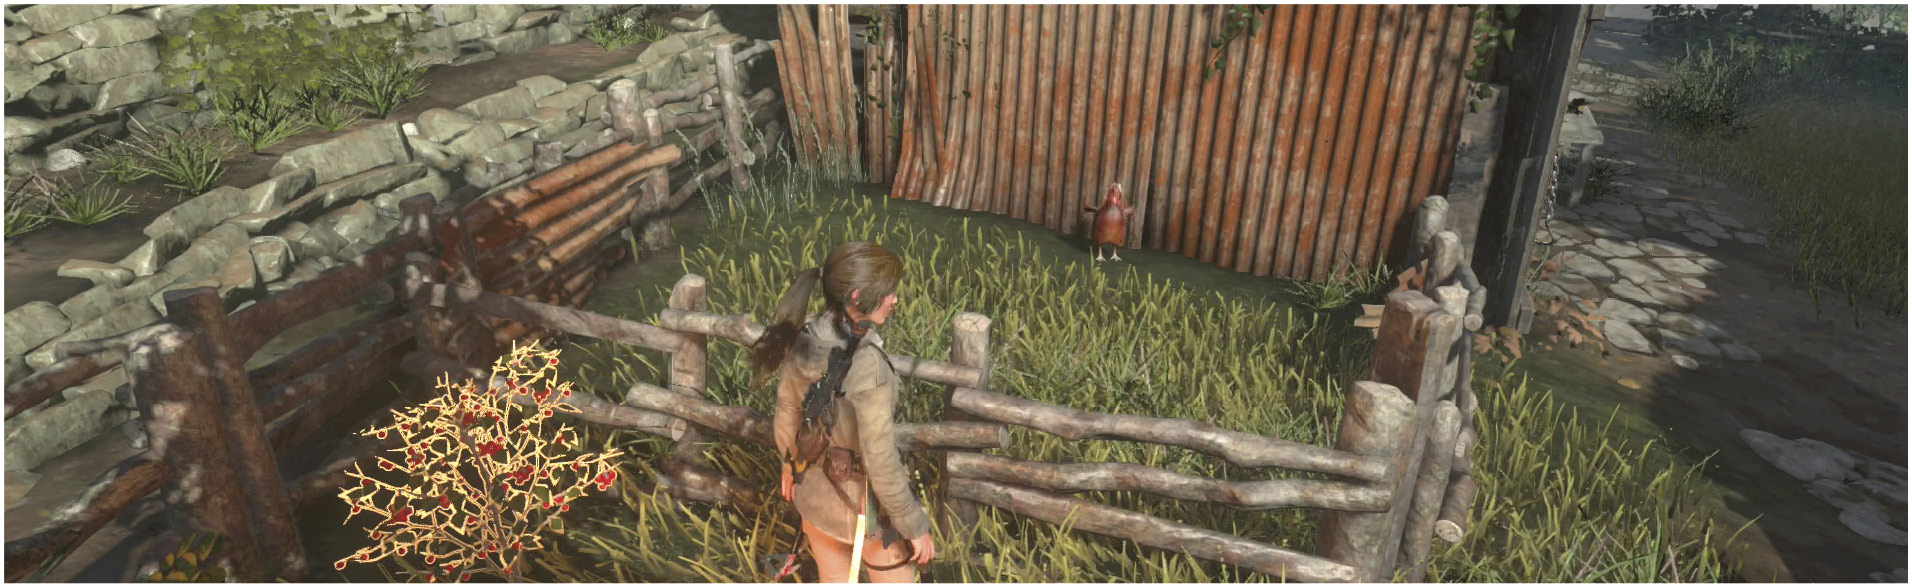
Catch five Chickens to help out the Remnants. They’re all in or close to town, and they wander. This one doesn’t take too long. Use Survival Instincts (and your ears) to find the Chickens. Chase them down, Interact with them to grab the crazy birds, and bring them to the Pen that we’ve marked on the map. Throw them in, and you’ll soon be done.
Hung Out to Dry
Look for snared Rabbits while you’re going around Geothermal Valley. Cut these hapless creatures down from their traps with your Combat Knife to get Challenge credit.
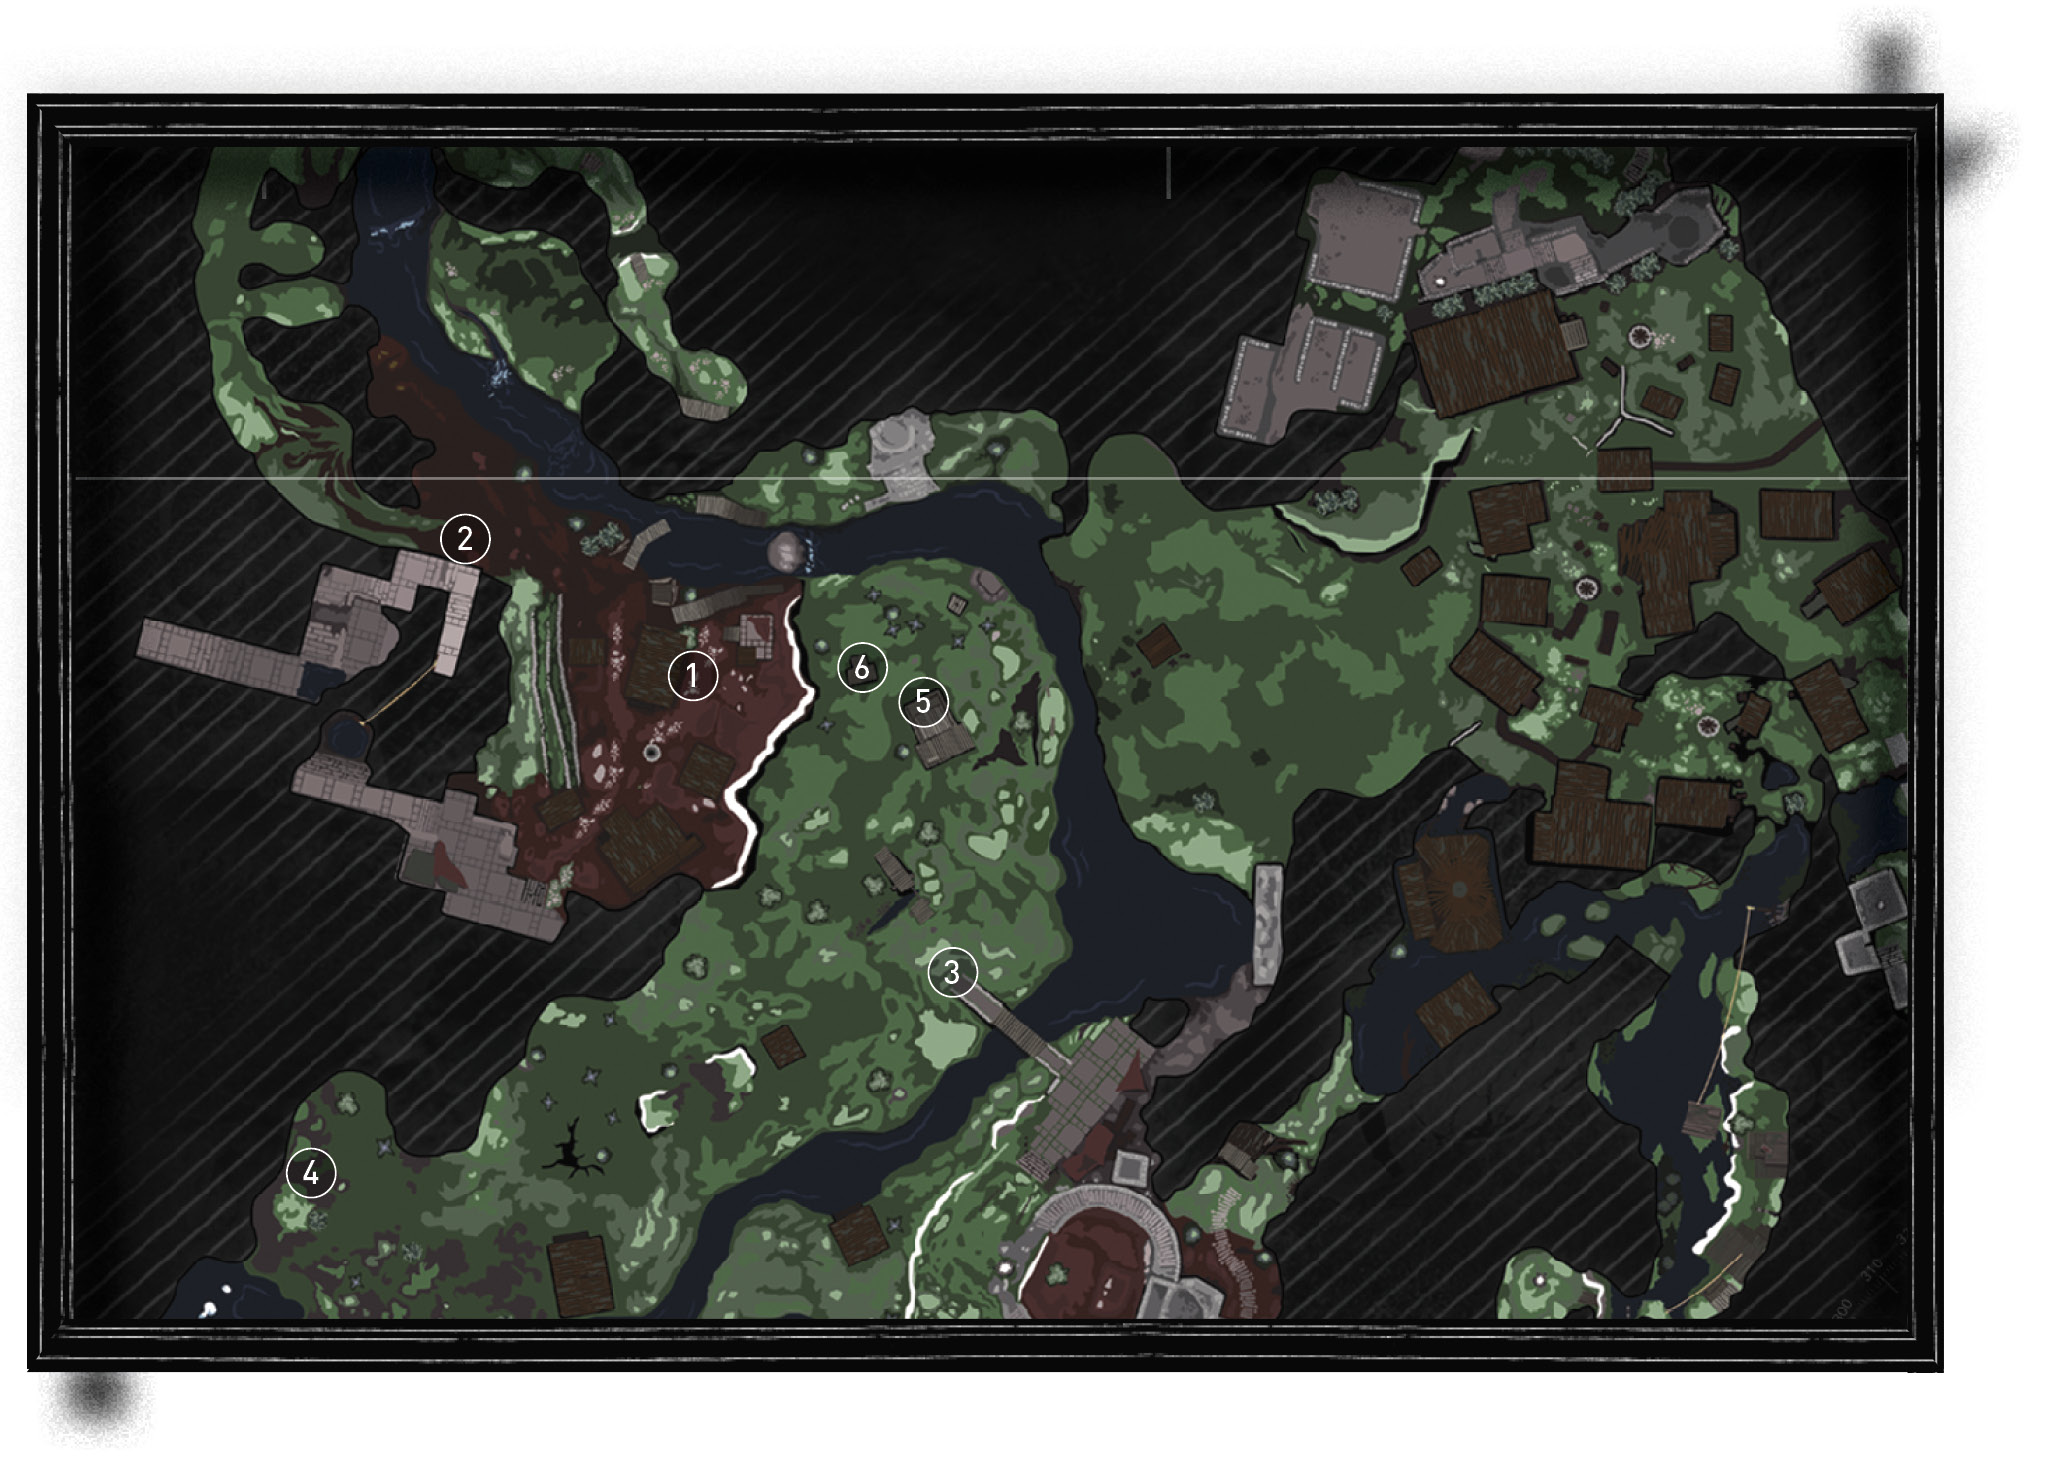
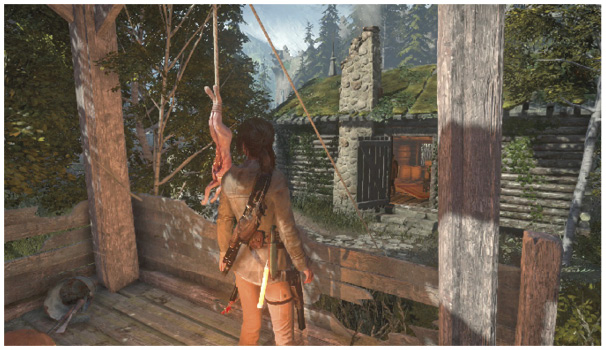
 Walk NE from Valley Farmstead and look for a skinned Rabbit near the edge of town, by the river.
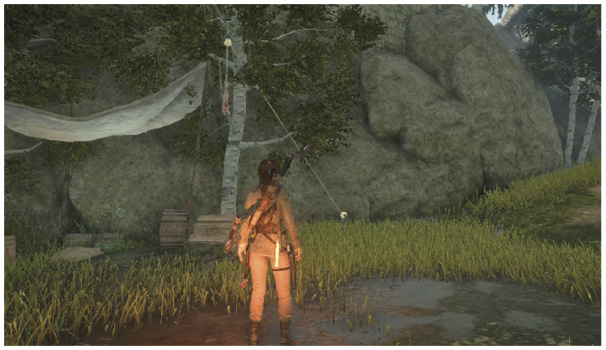
 Leave Valley Farmstead and walk northwest from town. A Rabbit is hung at a tiny lean-to.
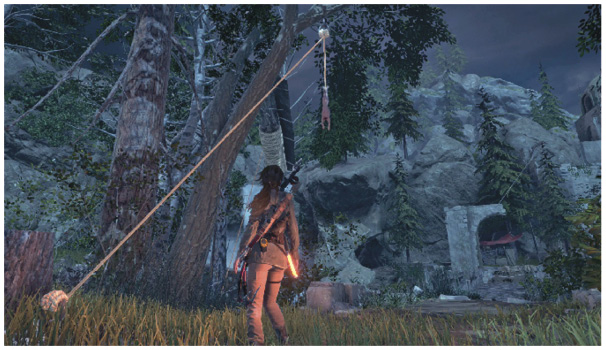
 Far SE of Valley Farmstead, there is a bridge that leads you to another Remnant outpost. A Snared Rabbit is hung on the northwestern side of that bridge .
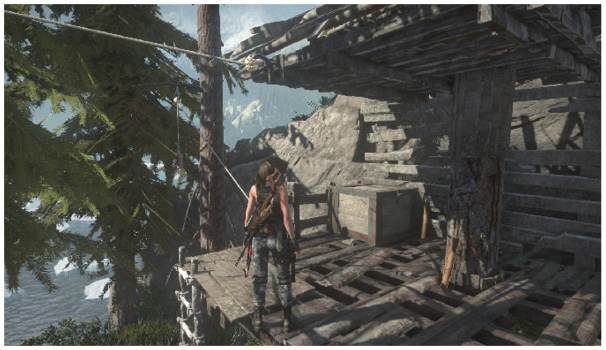
 SW of Valley Farmstead: Get close to the coast in the southwest and look for a raised building that overlooks the hunting cat area. Climb up to it and cut down the rabbit that’s hung by the tree nearby.
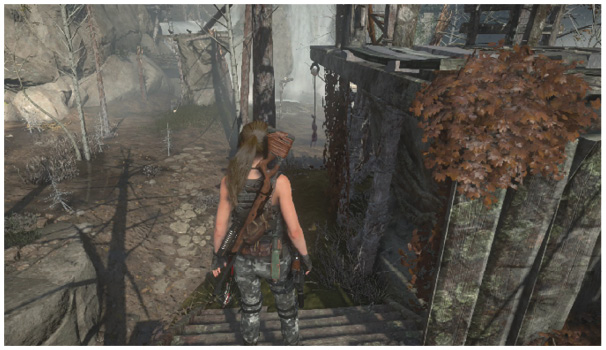
 E of Valley Farmstead: There is a large platform with a Strongbox down in the valley. A rabbit is hung on its northern side.
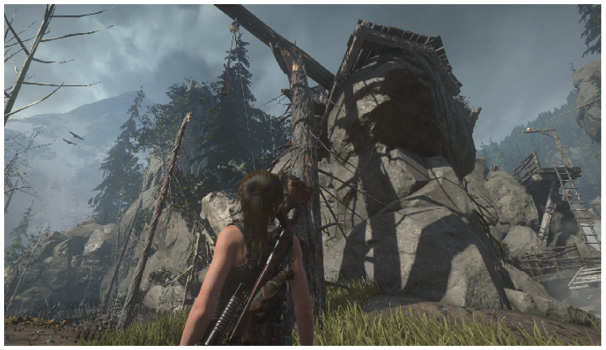
 E of Valley Farmstead: This one is very close to the last rabbit. Travel northwest for only a few seconds, and look up. You won’t see the rabbit unless you’re really keeping your eyes out. Look at our map and you won’t have to search for long.
High Diving
Four special locations are high enough to let Lara swan dive into the water. Go to those, leap off of the special platforms, and use the left trigger to start a dive once you’re in the air.
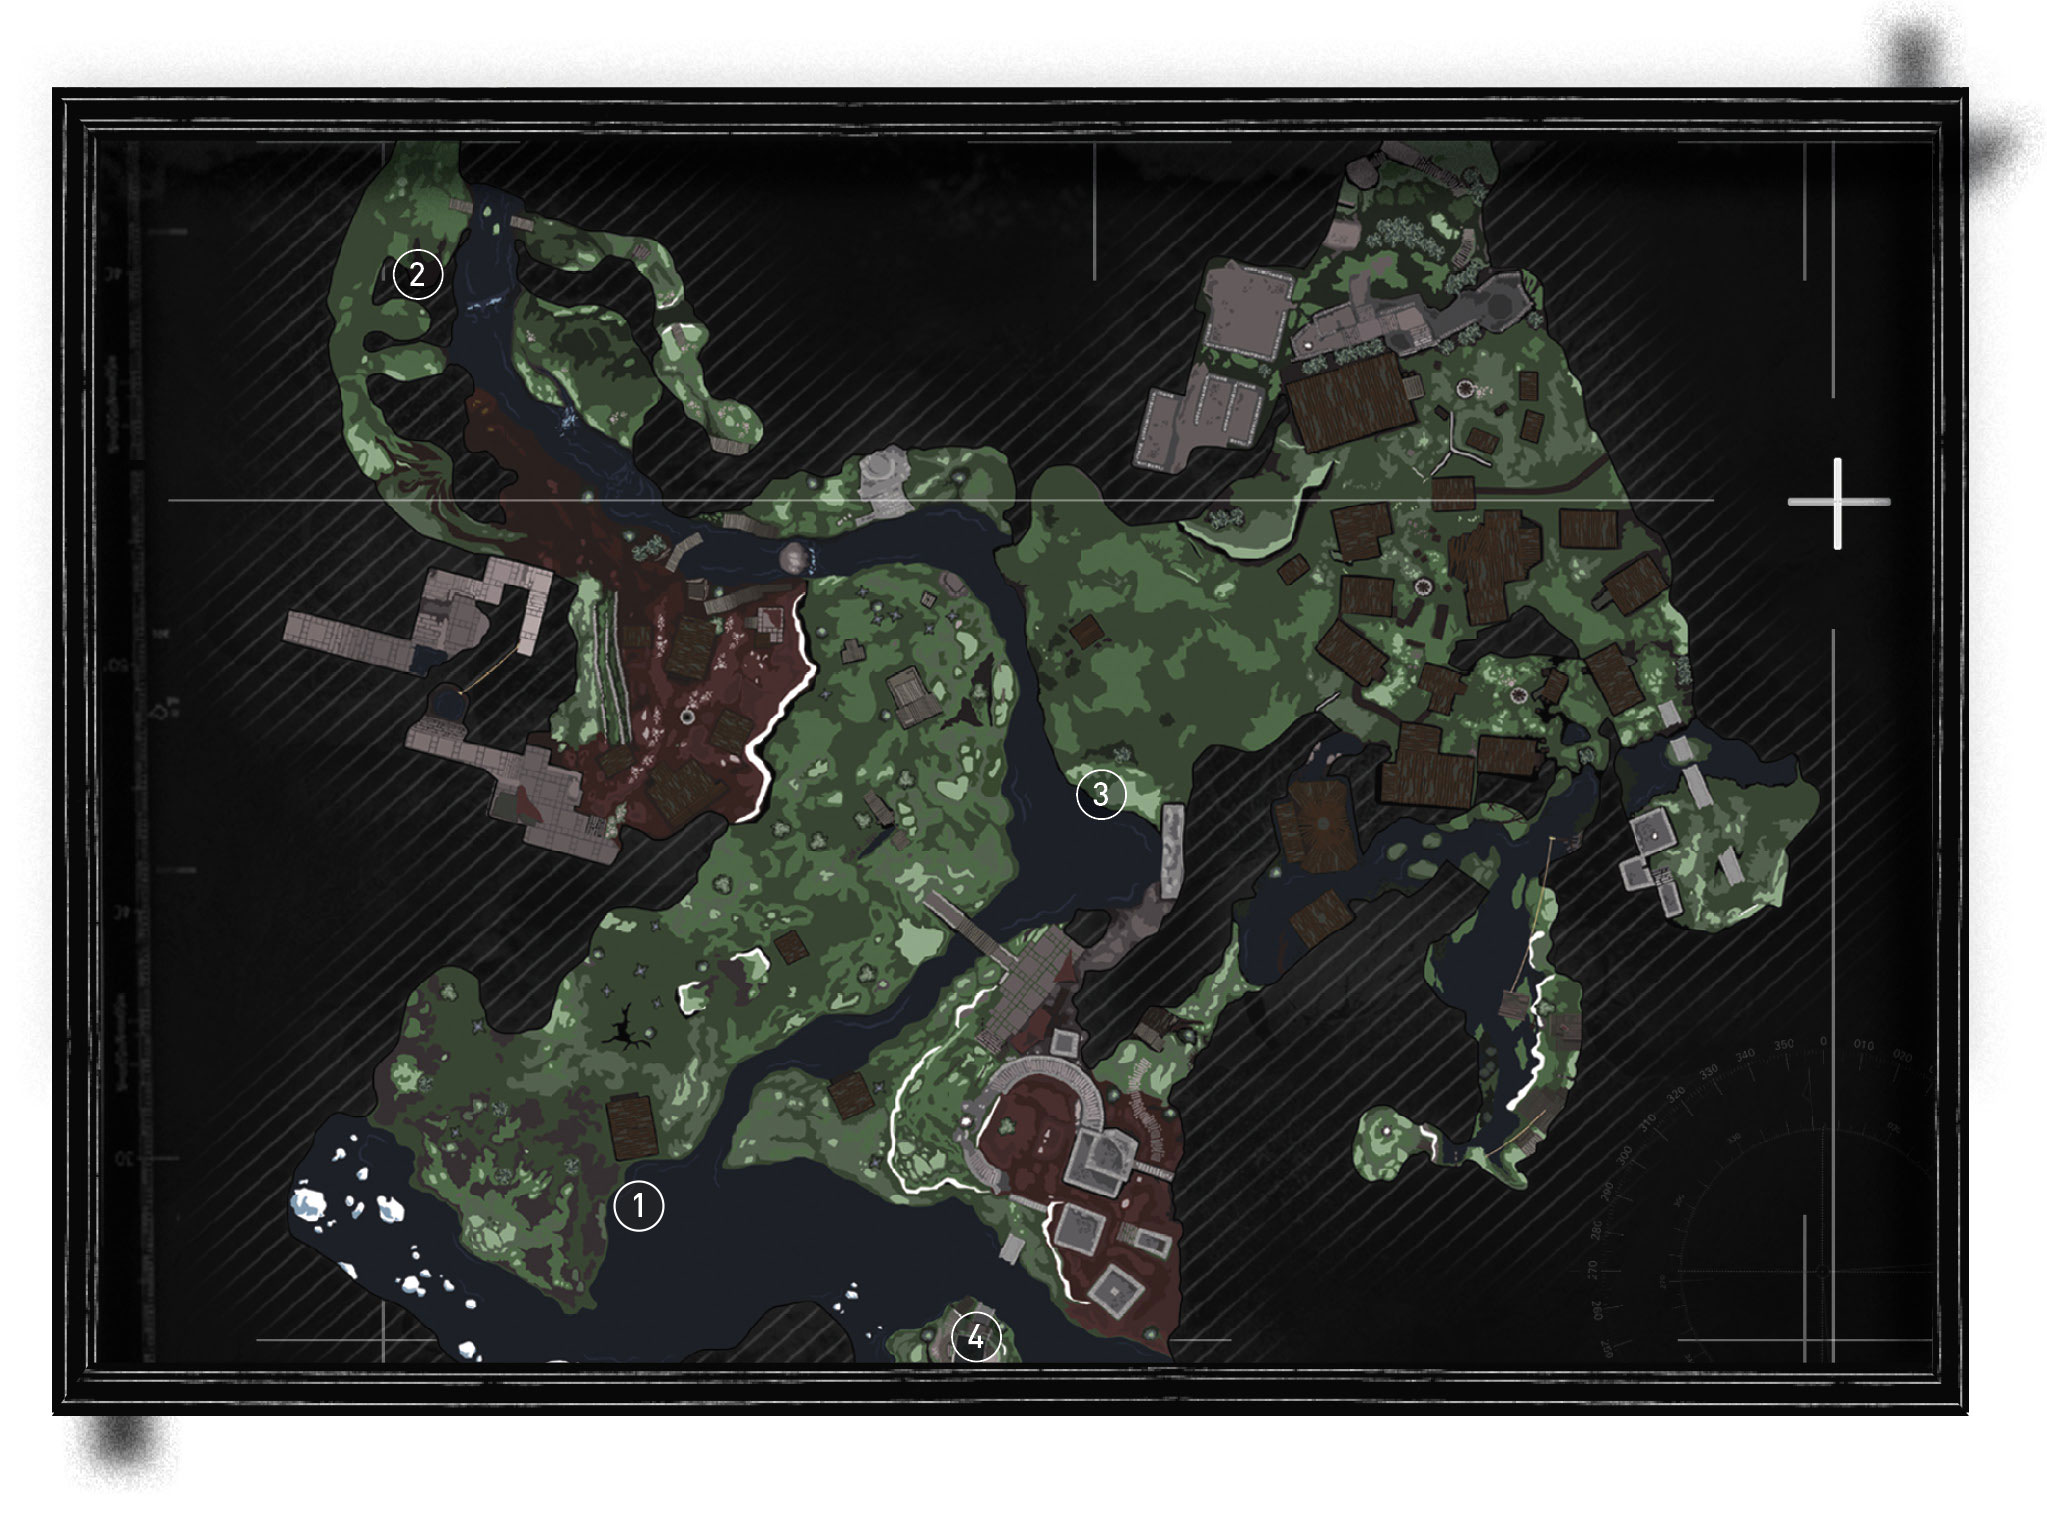
 Complete the second tower for a mission (Dangerous Territory). This creates a tall place for you to dive off of, into the southern waters. This tower is close to the big building that’s out in the wilderness, if you have any trouble remembering where to find it!
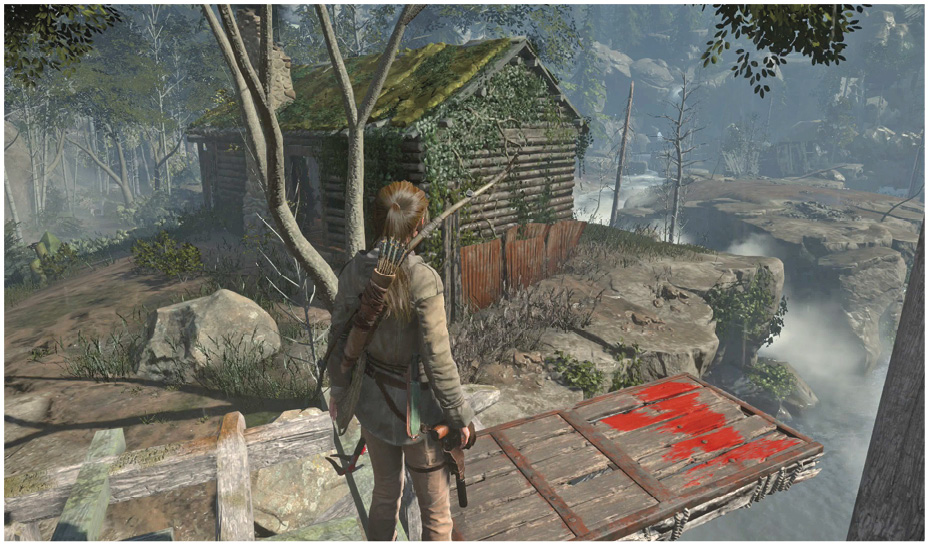
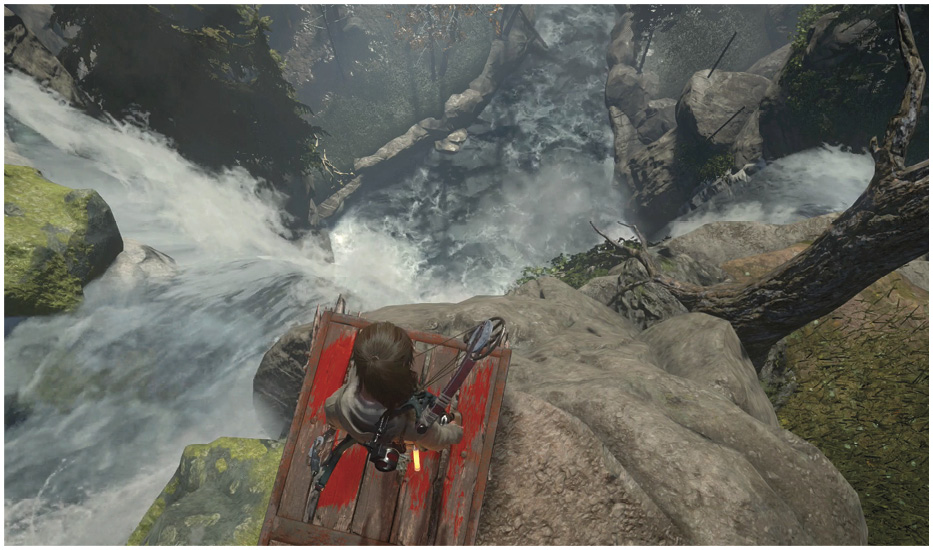
 There is a platform just a bit south from the Ridgeline Base Camp. It’s way above the falls. Leap from there for another great dive.
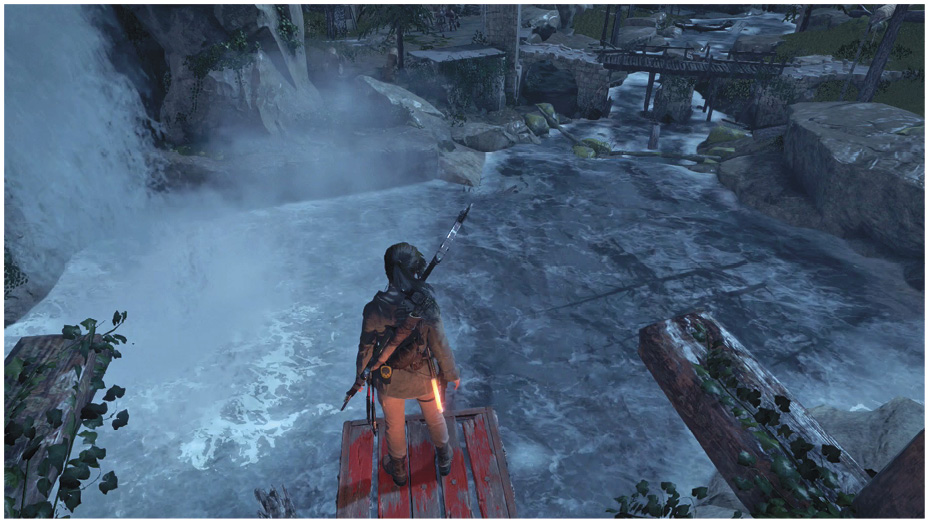
 NE of Ruins Encampment there is a Tomb entrance. On a wooden walkway outside of there, you find another diving platform.
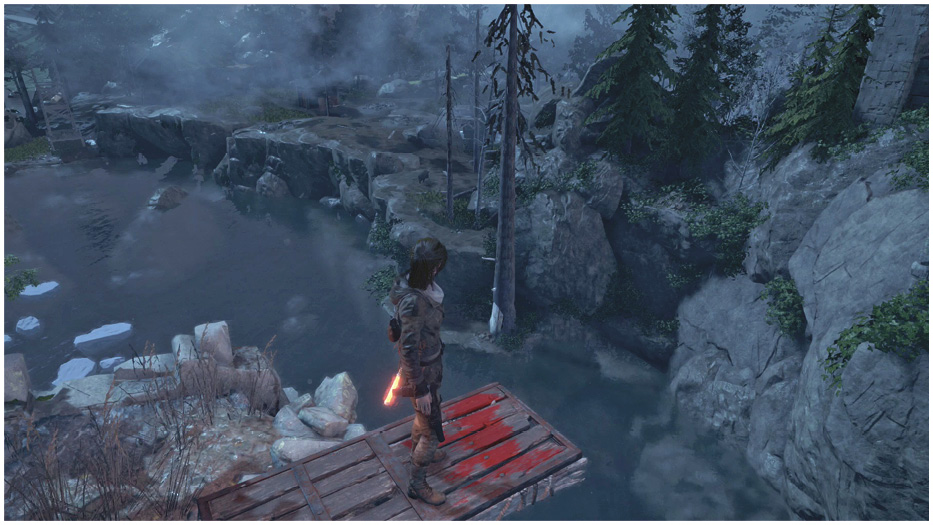
 The southern island where you light a Signal Fire is where the last diving location is hidden. Directly across from a Rope Coil on the mainland, you find your marked diving board. Jump from there!
Tossing Gourds
Finally, you have to make five good throws with Gourds to have a bit of fun. All of these occur in the eastern Remnant Town, underneath the shadows of the cathedral. You complete each objective by picking up a Gourd and throwing it into a barrel. The barrels are often blocked off by barricades so that you have to make a decent shot to get them into the barrel.
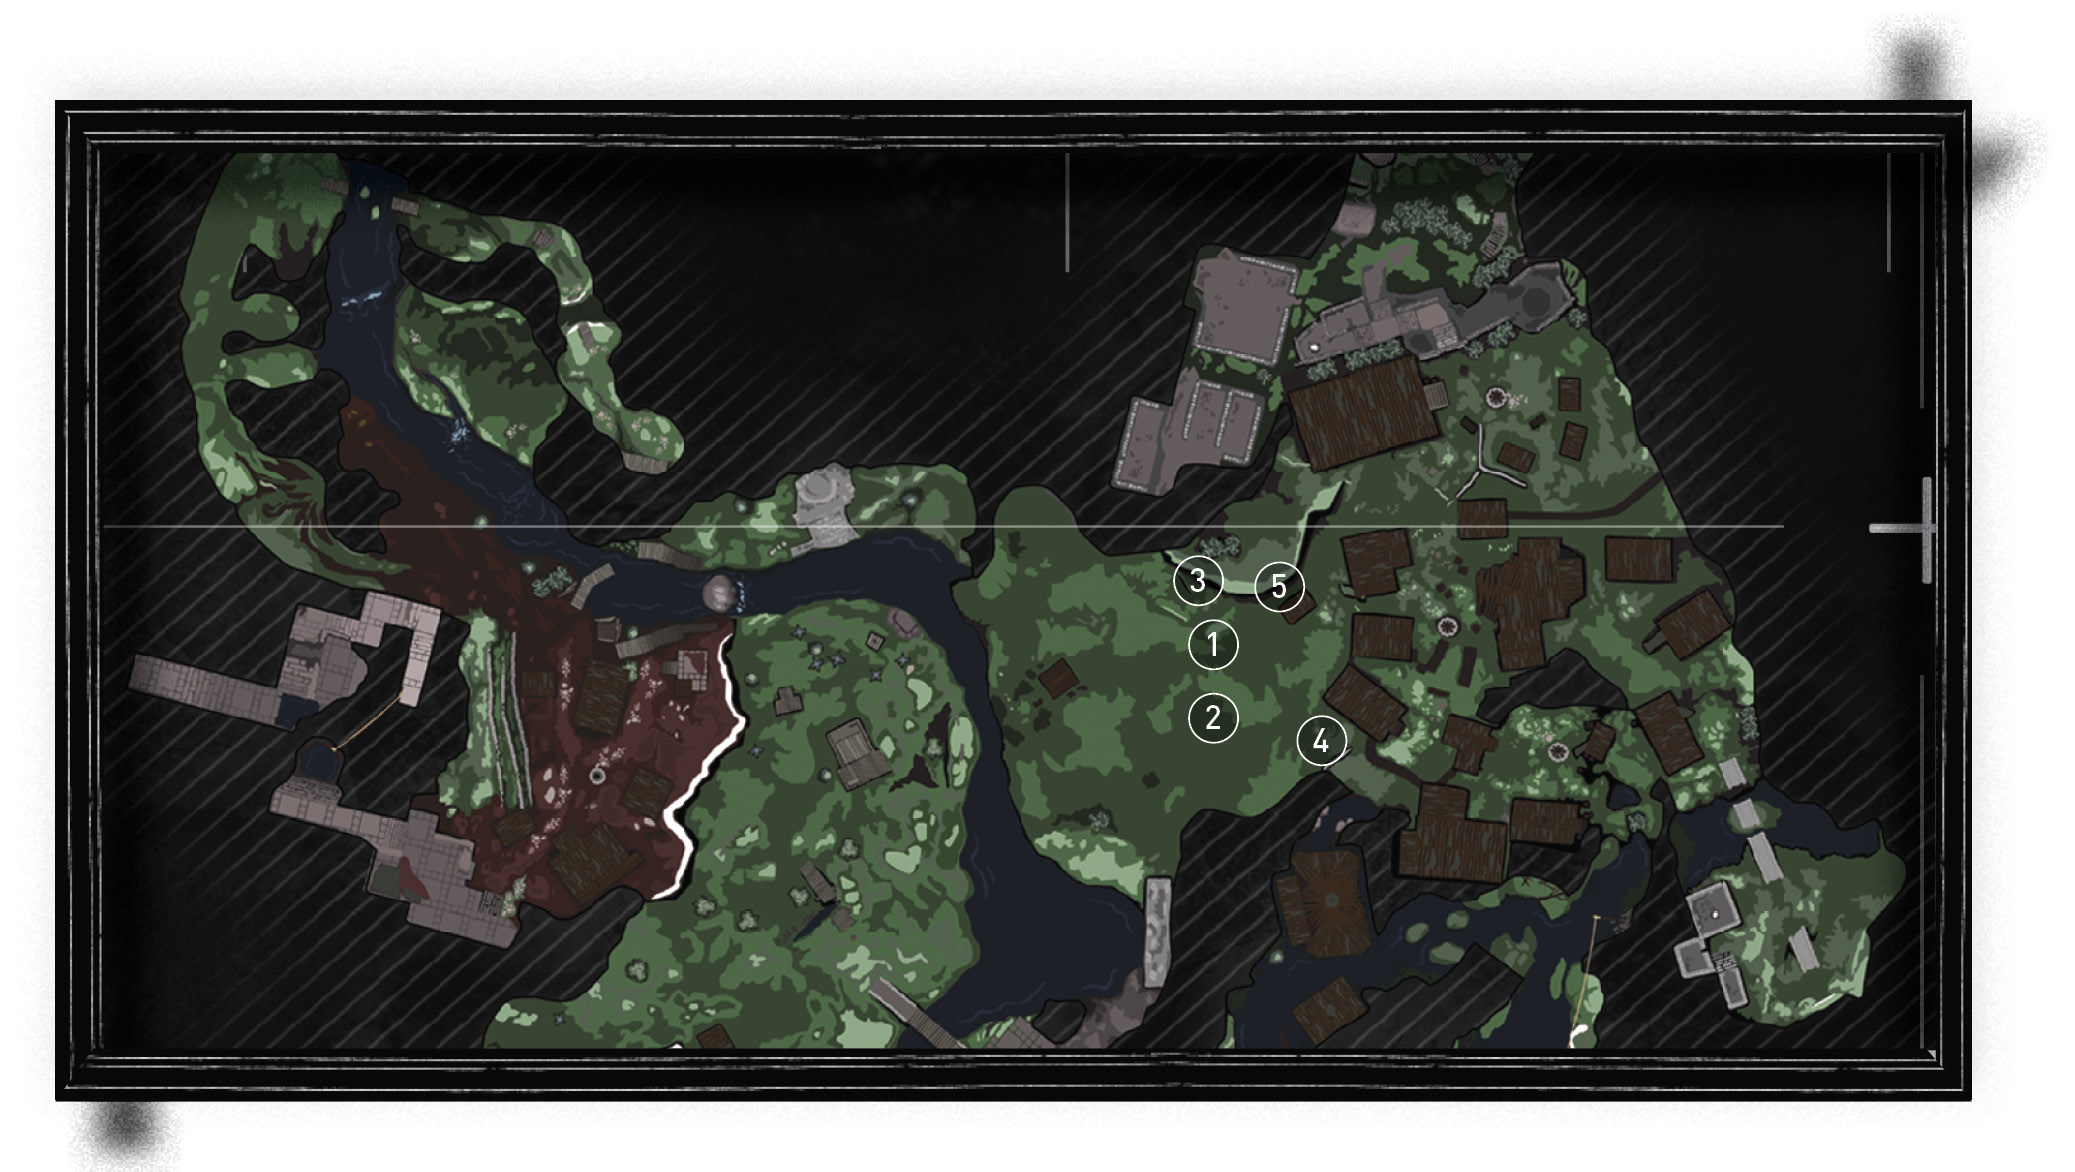
 S of Cathedral Courtyard, you find a patch of Gourds on the western edge of town. Look over a barricade, to your west, and spot the open barrel that is your target for this Challenge. Toss the Gourd into the barrel, and try to get a perfect shot; don’t use the ramp as a backboard. The Gourd bounces way more than you’d expect, so it’s actually easier to score a perfect shot than to have it roll into the barrel. The key is to aim the throw slowly up the side of the barrel until the exact point when it switches from highlighting the barrel and instead hits the base of the ramp.
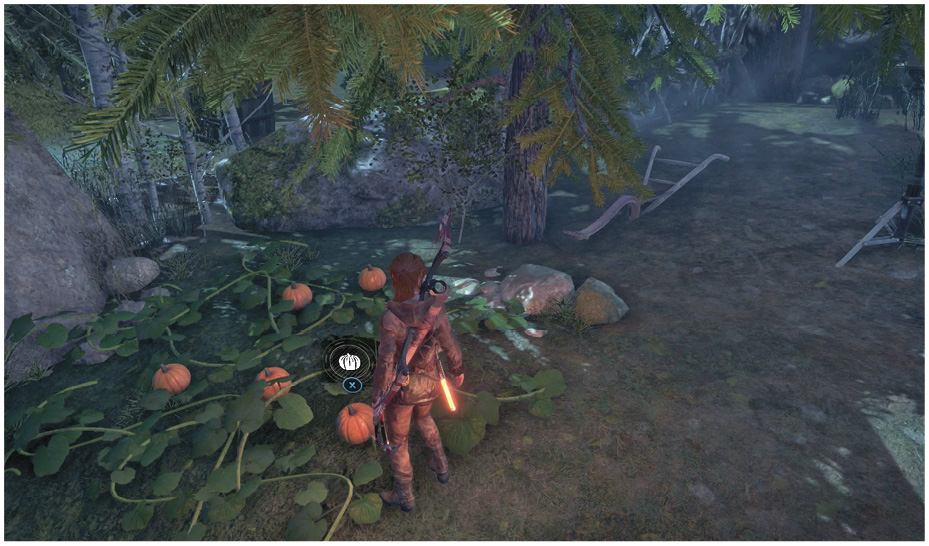
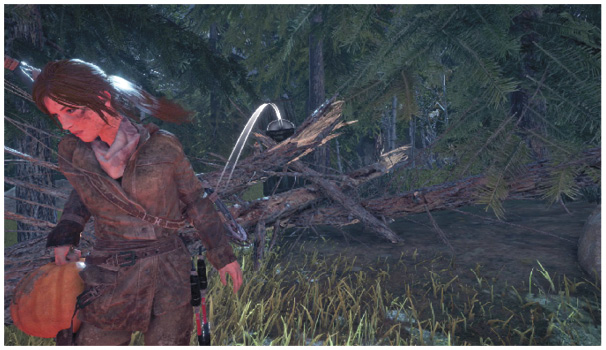
 South from the last patch is another barrel. This one is closer to your barricade at the edge of town, so it’s a tad easier to hit.
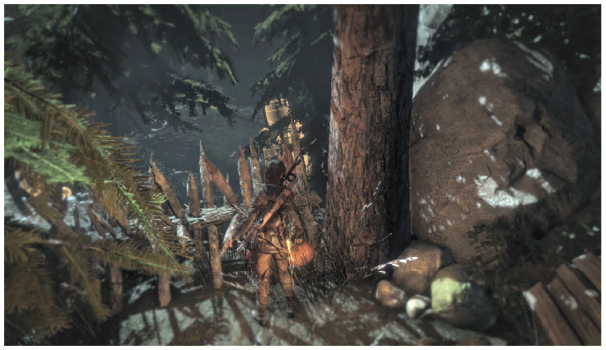
 The toughest one to see of this trio is north from the first two barrels. Look very carefully through the trees and over another barricade. Use your Survival Instincts to help spot the target, and then toss another Gourd to victory.
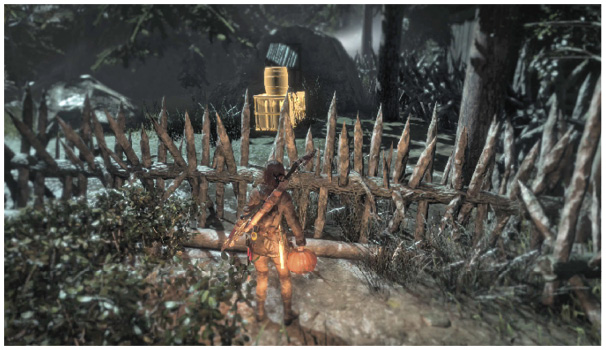
 The next Gourd toss is farther south in the same village. Bring a Gourd from the patch back into the village and go around the buildings until you catch sight of the barrel. Throw the Gourd a short distance over a barricade to score your points.
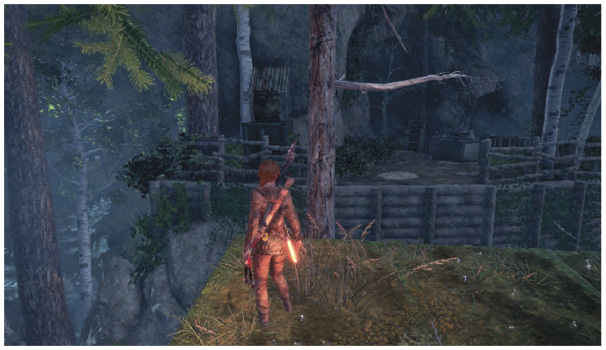
 Your final barrel is higher up, on a large ledge above the Gourd patch. Look on our map and use Survival Instincts again to find this one. Bring a Gourd to the base of the ledge, and make a high toss to score the last objective in this Challenge.