
Rise of the Tomb Raider Guide Walkthrough The Lost City
The Divine Source
Fight Your Way to the Chamber of Souls
The route to the Chamber of Souls is laden with Trinity Soldiers, a few Enforcers, and a Defender here and there. It’s all of the toughest things that you’ve come to expect from Trinity.
Craft Grenade Arrows to deal with the heavier targets, and use a mix of Rifle and Bow attacks to deal with everyone else. The SMG and Shotgun are both quite wonderful in these fights. Nothing is at especially long range. Make sure to save your Poison Arrows as best you can. They are amazing in the final engagement, and you don’t want to run out of them here.
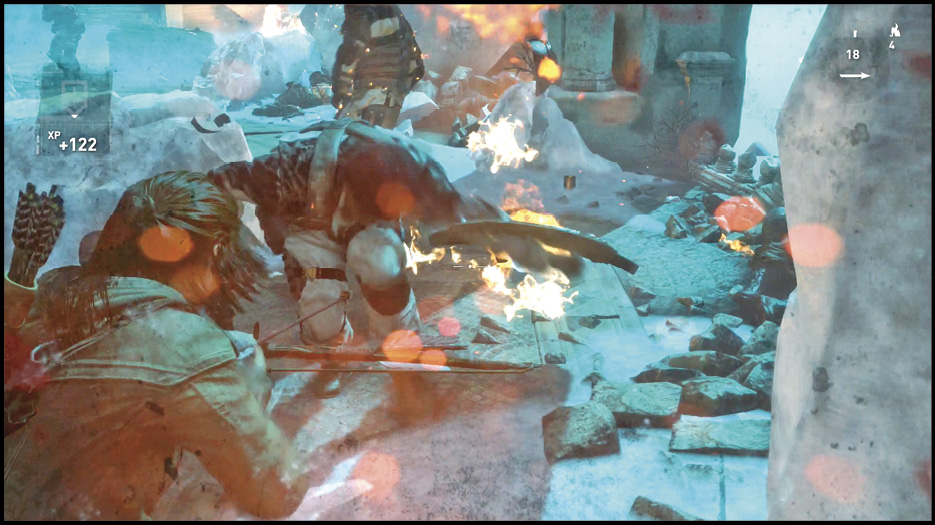
Enemy damage output is extremely high. Use cover and heal often if you’re taking any damage at all. There are several containers of crafting items on the way, so you get to stock back up on your supplies periodically.
There aren’t any new types of enemies to defeat, so you should be familiar with the tactics by now. This is tough fighting, but it’s something you’re ready to beat.
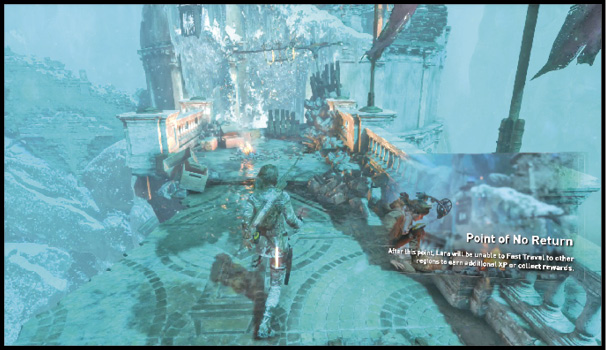
Take a more serious pause when you reach the Final Precipice Base Camp.
There are three more events leading through the climax of the game. This first one is by far the toughest of the trio. Climb to the platform ahead and get to cover as soon as you reach the top. Your battle here is against alternating attacks from a helicopter and then Trinity troops.
Many of your attacks don’t damage the chopper, so you have to use the heaviest things you have. Craft Grenade Arrows and use those against the helicopter as often as you can fire them. There are additional Arrows and munitions on the ground, on all floors of the combat area. Each time you hit the chopper with an explosive, it pauses midflight. Use a second Grenade Arrow immediately afterward when it’s most likely to hit!
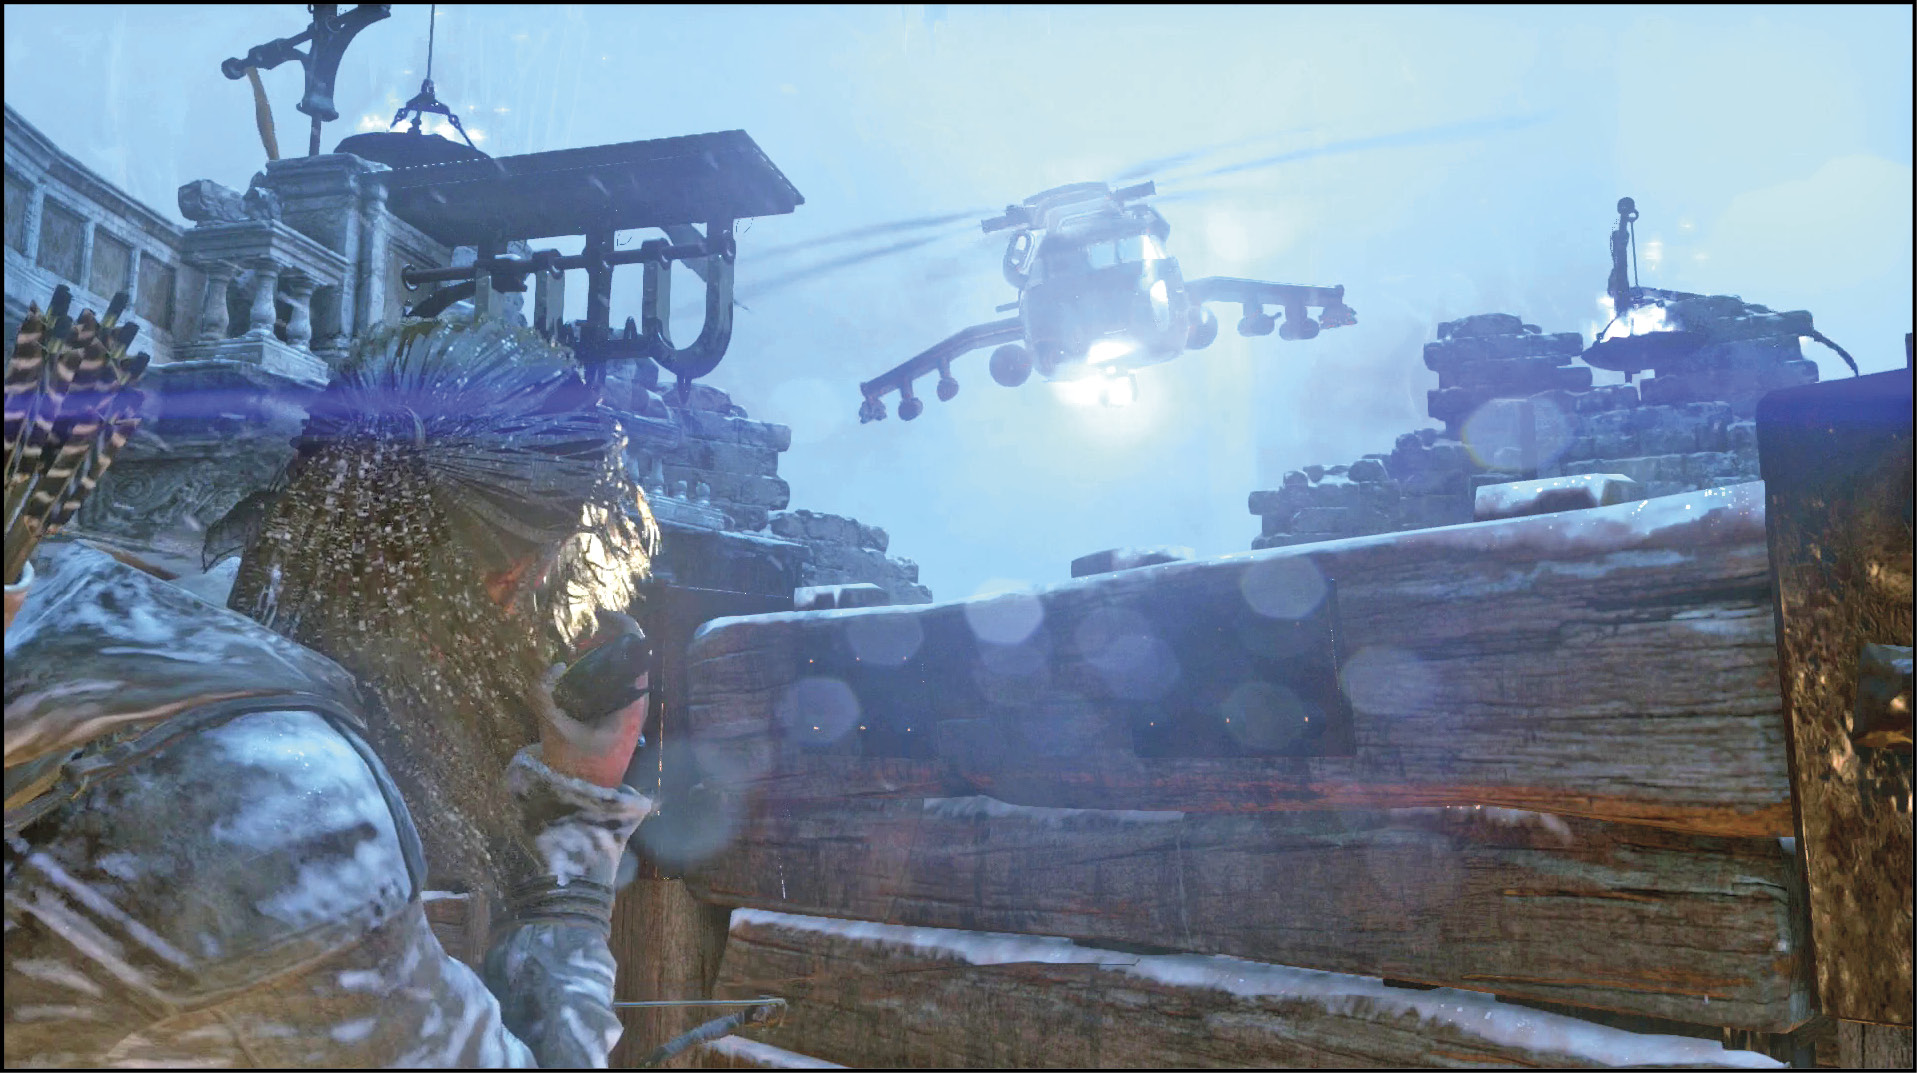
The Interact button lights up from time to time. That lets you know that a trebuchet attack is ready. Make sure that Lara has a clean view of the sky and the helicopter, and then call in the siege attack. The rock itself misses pretty much every time (no one can aim a trebuchet at a flying helicopter). However, a successful shot from any weapon can detonate the flying rock and destroy it. This sprays fire and debris all over the helicopter, doing severe damage.
Can you win this fight without using the siege attacks? Yes. All damage done by your Grenade Arrows counts against the chopper’s total structural integrity. But using the trebuchet attacks makes this a faster fight (and that’s a very good thing for your chance of survival).
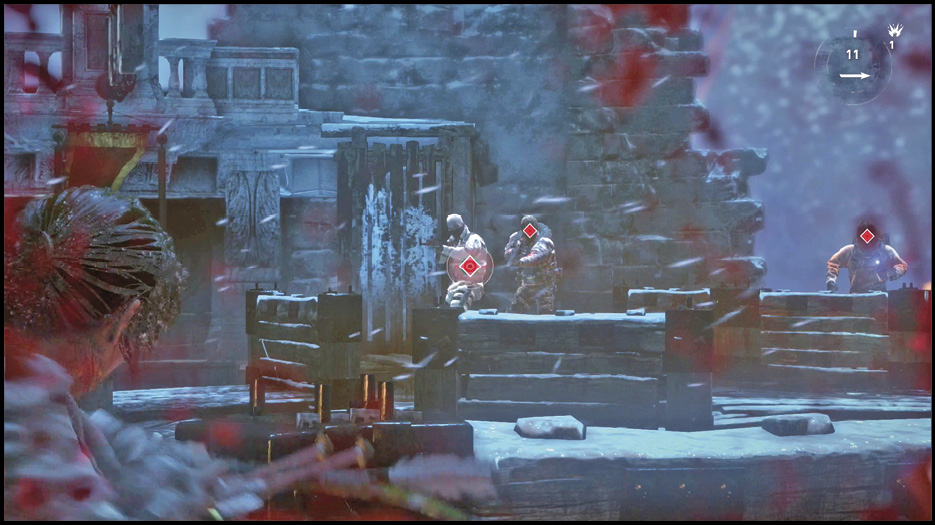
After the helicopter takes some heavy damage, it flies away for a minute or so. Trinity Soldiers attack the platform. The Trinity attacks are similar to what you’re used to. In this case, the best trick is to heal constantly, switch between the middle and lower levels to break line of sight, and to use short-range attacks after drawing excess targets over to your position. Hide behind the walls, ambush the Soldiers when they follow, and then switch to long-range weapons as you pop out to kill off ranged enemies. You can even throw enemies off of the ledge using melee attacks or Shotgun blasts.
Eventually, Deathless attack as well. They’re most focused on the Trinity Soldiers, so it’s almost a respite to have the Deathless appear. Let them kill Trinity people, but ambush the Deathless when you can so that you can loot their bodies and resupply yourself before they have a chance to turn on you!
The chopper flies back in to attack when the Soldiers start to die off. Resume your attack on the aircraft. It takes extremely heavy damage to bring the target down, so never try to simply trade blows with it and hope for the best. Use the bigger walls for cover, craft Grenade Arrows when you’re safe, and sprint to better cover as soon as the gunship gets a bead on you.
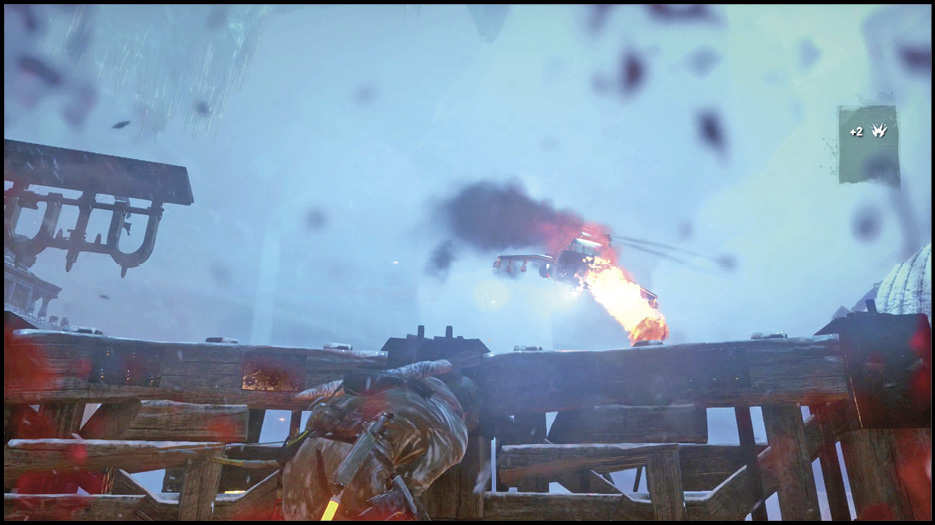
Always heal on the run if you’re taking damage. You won’t need to heal many times after this fight ends, so spend your items like there’s no tomorrow. There are three rounds against the helicopter and two waves of troops in between. Keep searching for Explosive Arrows against the walls of the platforms so that you don’t run out of them.
As soon as the chopper takes enough hits, a scene plays and you escape from the battle. The helicopter is down and out, but there are still more enemies to defeat.
Defeat the Deathless
Lara gets to proceed into the room below the Chamber of Souls, but there are already quite a few Deathless inside. You begin on top of a pillar. The Deathless are below, and they don’t know where you are. Be patient. You can kill the entire first wave without starting a fight. Wait for the solo patroller to go behind your pillar. He is isolated and you should be able to kill him quietly, as long as you’ve taken some decent stealth skills. When he’s dead, sneak around the room and kill the other three wanderers. Their buddies break into the room when you’re done, but at least you’ve already finished off a third of your enemies.
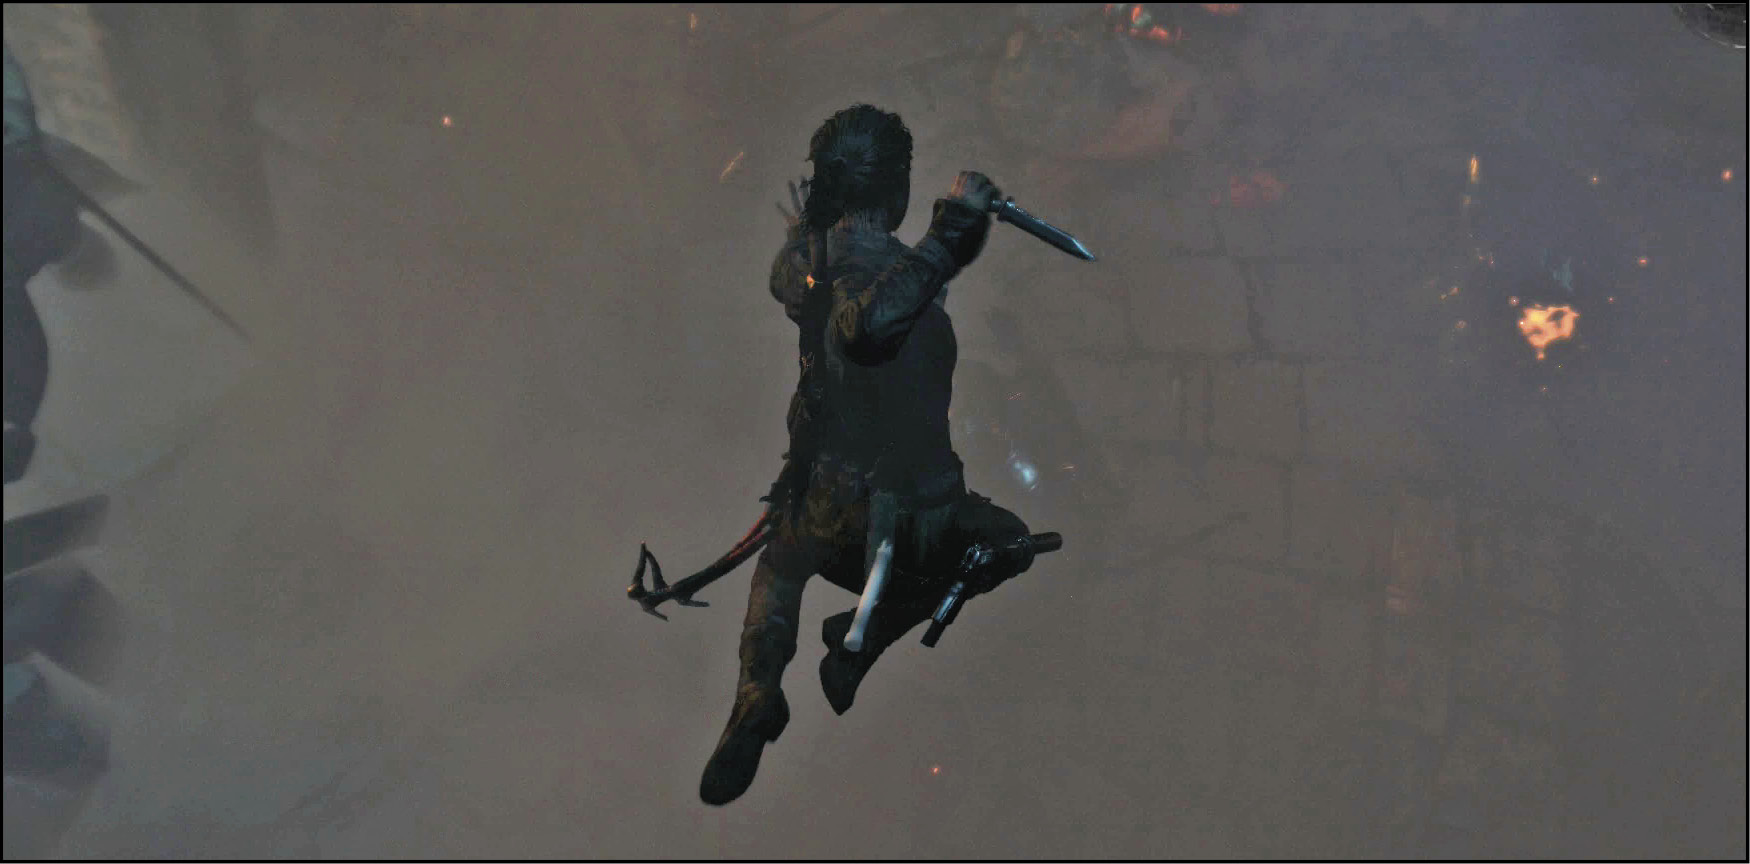
You face Archers and Guards. Their numbers are the biggest threat, so it’s essential to attack quickly and relentlessly. Take out people in groups with special Arrows, and use melee chains to kill stragglers that get close to you. You don’t need any weapons or ammo for the very final engagement of the game, so this is the last time anything is useful to you in the main story. Spend everything you have. Poison Arrows kill the heavier Deathless in droves. Any leftover Grenade Arrows wound or kill groups and are best shot at Archers.
It takes a few minutes to win the day, but you’re on even footing with your opponents now. Sprint behind cover to get time to heal whenever you need it, and use close quarters weapons if anyone makes it over to you. You never get much time to aim, so Shotgun attacks are very good for getting pursuers off your tail.
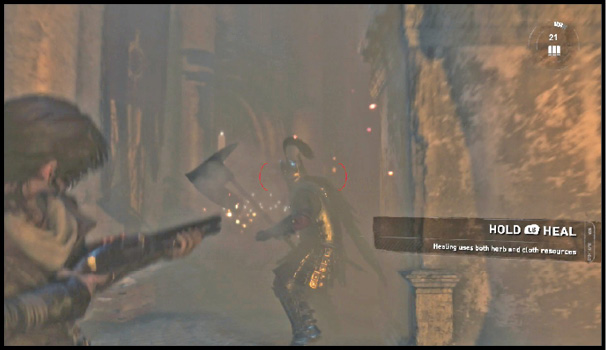
Kill all of the Deathless and wait for a new scene to begin.
Survive Your Confrontation with Konstantin
Konstantin wasn’t going to give up just because he lost his chopper. He’s made his way here to go after you. Lara loses all of her weapons at the beginning of the final battle.
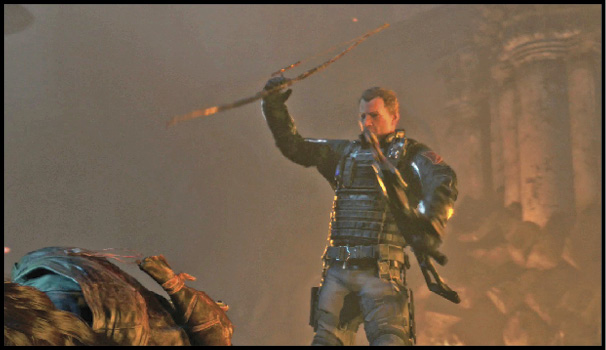
You don’t have anything to fall back on, so run immediately behind one of the pillars in the Chamber of Souls. Climb up to the top of that pillar, pick up a Can, and wait for Konstantin to approach. Use a Death From Above attack to gravely injure him, and then flee as he sprays the entire area down with gunfire and grenades.
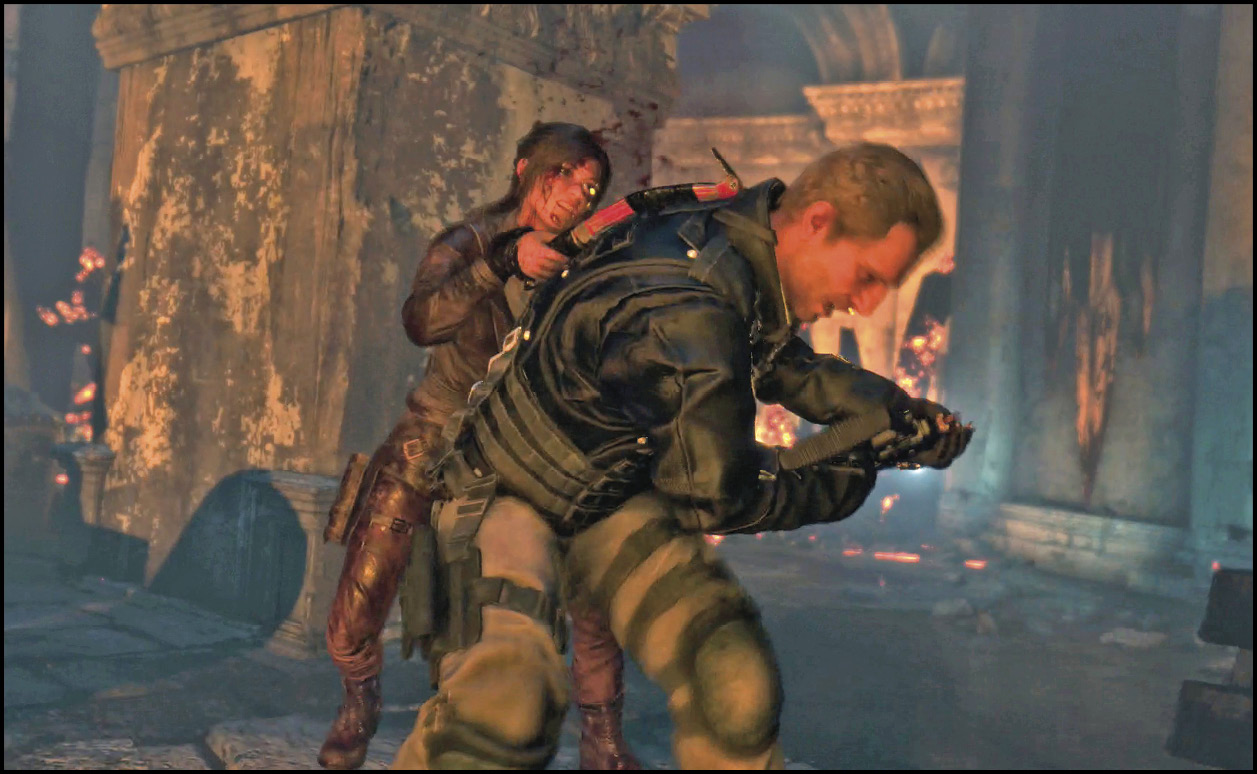
Craft a Shrapnel Grenade with your Can, or grab another one from the floor (they are scattered here and there by the damaged piece of stonework). Don’t try to use Survival Instincts; they don’t work right now.
Stay mobile and craft your Shrapnel Grenade on the run. Hide around the next large block you find. Toss the Grenade at Konstantin’s feet when he approaches for the kill, and sprint up to him while he’s stunned by the blast.
Launch a melee attack at Konstantin while he’s distracted, and watch the scene that unfolds. When he counterattacks, press the indicated button to dodge, and then time a counterattack to deliver the mortal strike.
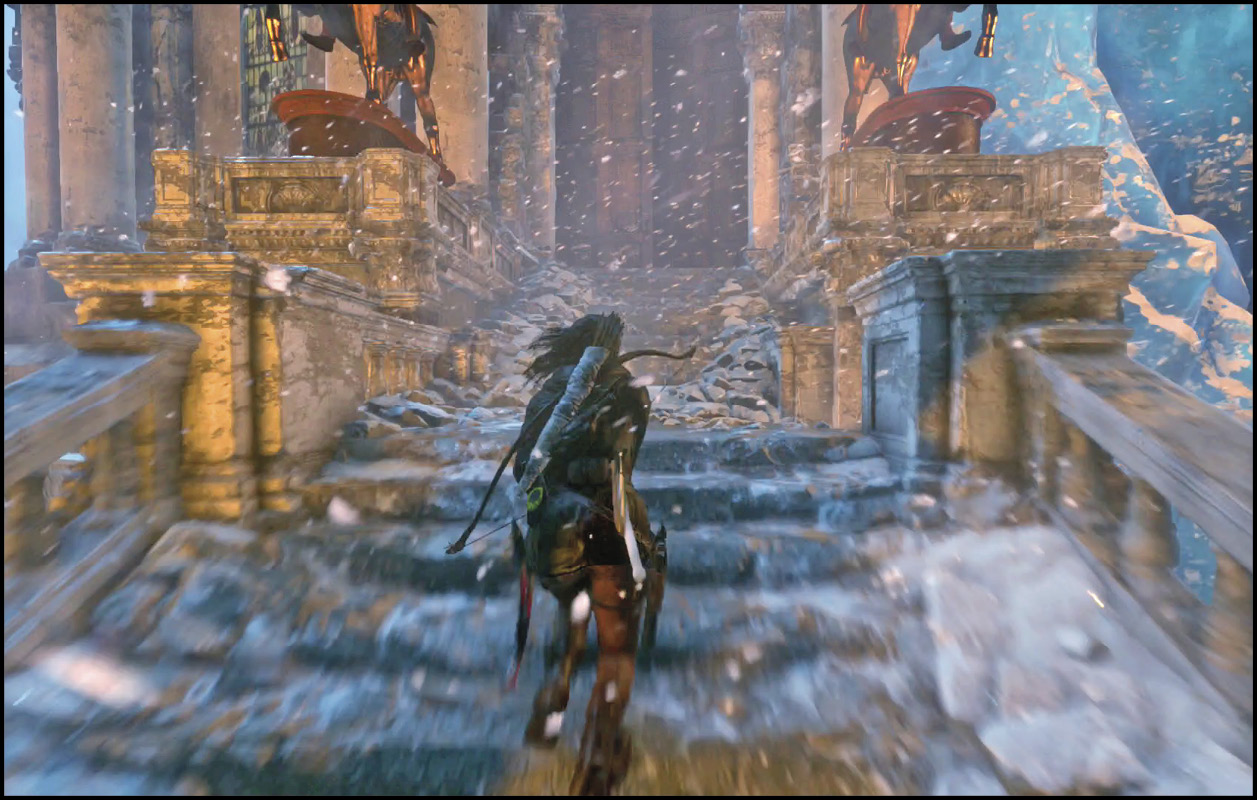
We won’t tell you what to do after this point. You’ve beaten the fights, and now it’s about what you still need to see. At the end of it all, Lara can travel throughout the region and gather secrets or help her allies.
If you are wondering, there is a choice you get to make after beating Konstantin. There are minor differences in what happens based on what you choose. You can walk away or choose a more aggressive solution. It’s always good to have options.
Anyway, with that done you’ve beaten the game. Watch the last scenes, enjoy yourself, and Continue with your save file if you’d like to return to the world and collect more goodies (or score a few more Achievements)!