
Rise of the Tomb Raider Guide Walkthrough Siberian Wilderness
Echoes of the Past
Explore the Forest for Signs of the Lost City
Take several minutes to wander around the area and get used to your new weapon.
While hunting around, search for collectible items. We’ll list many of the best things that you can find right now. To keep going with the story, skip ahead past this list. Normally, we’ll keep lists like this in the Collecting Treasures chapter, but this is the first time that you really get to explore and wander through the wilderness, so we want to give you a leg up on it.
» Follow the ledges along the southern edge of the map to find an Explorer Satchel (these reveal the locations of other collectibles in the area).
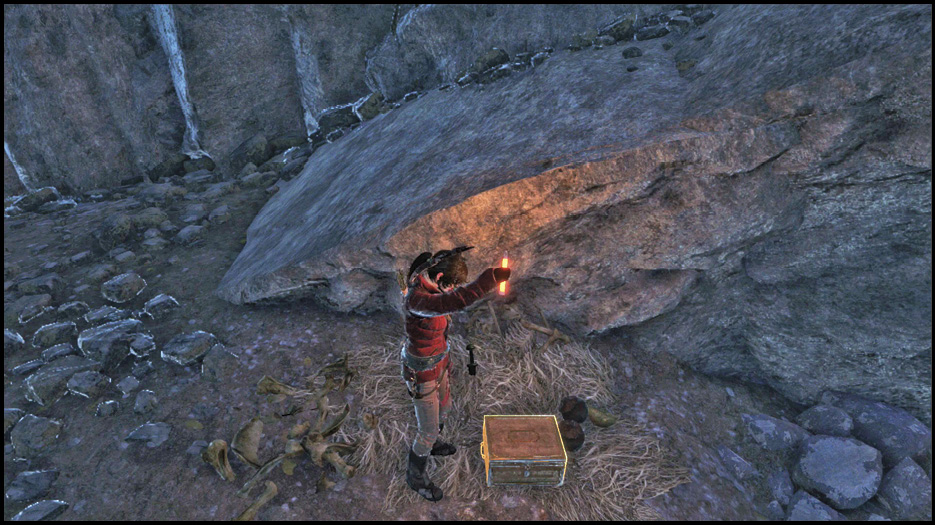
» East of Base Camp is a Russian Document (On the Borderlands) that is on a slightly raised ledge. Climb onto the trees and vault between them to reach this raised area.
» Southeast of Base Camp is a Cave. You need a Rope to get into this, so Lara is unable to loot the Relic (Archer’s Ring) that is inside until later in the game.
» There is a Survival Cache to the north, on an upper ledge.
» Southeast from the Base Camp is a Document (The Prize Awaits).
» There are two Caves along the southern wall of the map, though you can’t access one of them at this time.
» The Cave farther to the east has to be broken into by shooting a barricade a few times; once inside, look for a chest with a Relic (Mongolian Tug).
» Across a small chasm on the southeastern part of this area, there is a Survival Cache hidden in the snow.
» In the northeast is another Cave; a Russian Document is inside of it (In the Tomb).
» Close to that Cave is a Relic (Crown of a Prince). It’s outside, on a small ledge.
» To the west of that Cave is a tall ledge that is hard to reach; climb onto a tree branch and leap over to the ledge. When you’re there, look for a Mongolian Document (Army of the Unwilling).
» North of the next objective is a Survival Cache hidden in the snow.
» Once you’ve gathered enough of the Mongolian Documents, you’re able to decipher the Coin Cache locations using a Monolith that’s west of the objective.
» With the Coin Caches revealed, mark each on your map and run to the areas to collect your rewards (one is southeast, another is tucked under the cliff behind Base Camp, and the last is in the northeastern part of the map).
After you’ve gathered to your heart’s content, approach the marked objective on the eastern side of the map. Climb up a tree and jump from a branch over toward the objective’s area, and then gather a Russian Document (it looks like a tap recorder) from a crate only a few feet away from the marker. This is available only after Blood in the Snow. Something is going on up here.
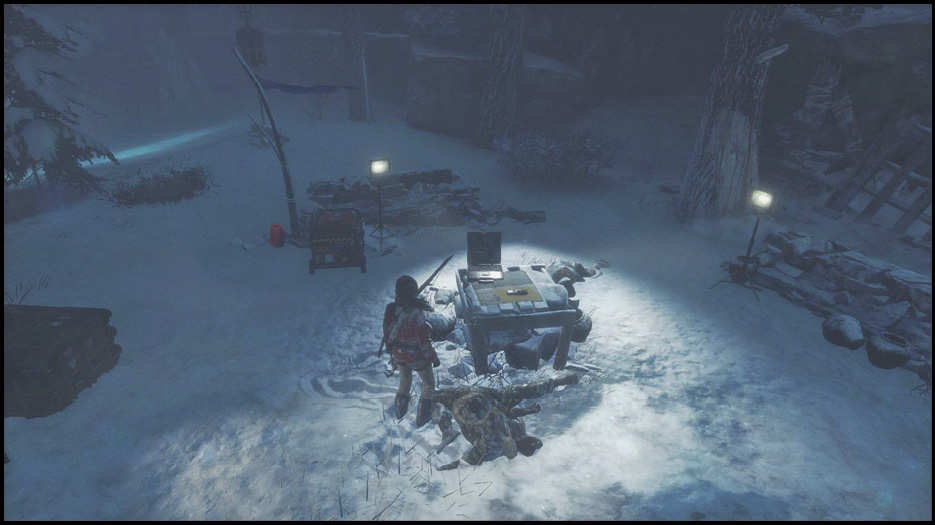
Go into the camp ahead and look around. You find a hissing radio that someone from Trinity left. You have to wonder why they didn’t take it with them. And that’s when everything takes a turn for the worse. Lara gets attacked, but not by Trinity. It’s a humongous, freaking bear! They say that you’re never supposed to run from bears, but let’s make an exception this time. RUN!!!
Race away from the bear and don’t waste even a second or else it’ll catch up to you. The jumps and sprinting are actually pretty easy, but the quicktime events at the end of the chase are slightly more challenging because you have to get used to the correct buttons and timings.
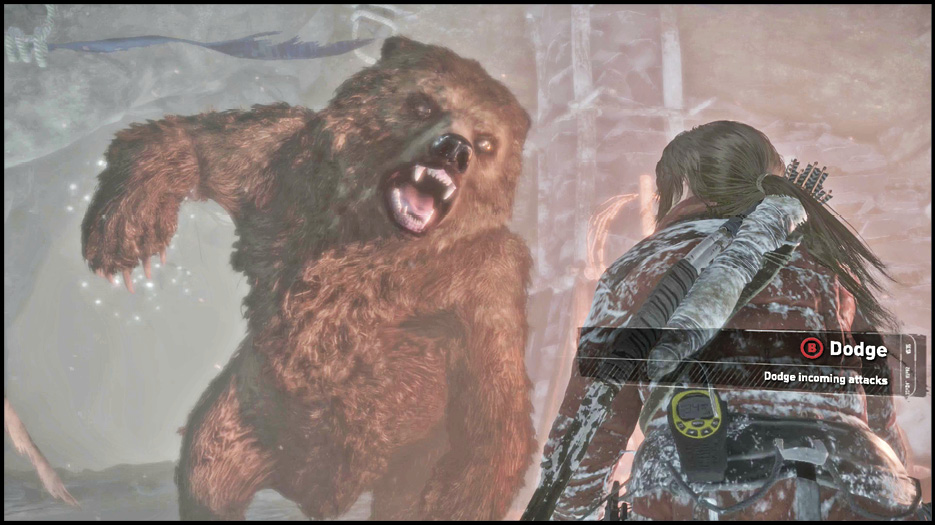
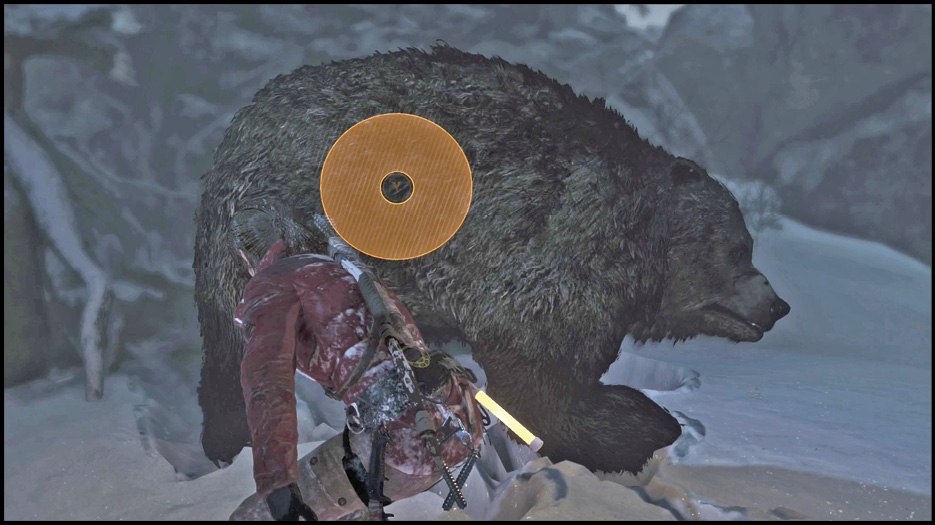
The game gives you onscreen indicators for which buttons to use, so that’s nice. Dodging and attacking the bear during these events have gentle timings. You only have to hit the button when directed. However, the final attack at the end of the chase has a precise window that you have to nail. This is indicated by a collapsing circle that appears higher on your screen. Don’t hit the button early; it’s very easy to mess that up, because of your impending devouring.
Stay as cool as you can and hit the button exactly when it gets into the inner circle. This is the only way to survive the encounter. Otherwise, you’re bear chow.
An event plays as you complete the encounter. It finishes as Lara wakes and has to take care of a few injuries.
Gather Resources and Heal Injuries
Walk forward and gather some ingredients. They are all marked as objectives, and none of them are far away (a good thing for you). Gather them and use the left bumper to heal Lara so that she doesn’t keel over from the beating she took.
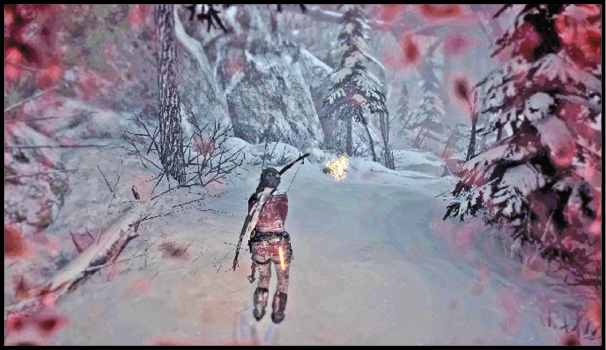
You also spot a few things while you’re at the southern end of the map. That’s not a way that you can proceed right now, so you need to come up with a plan. This isn’t going to be simple.