
Rise of the Tomb Raider Guide Walkthrough Abandoned Mines
Shortcut
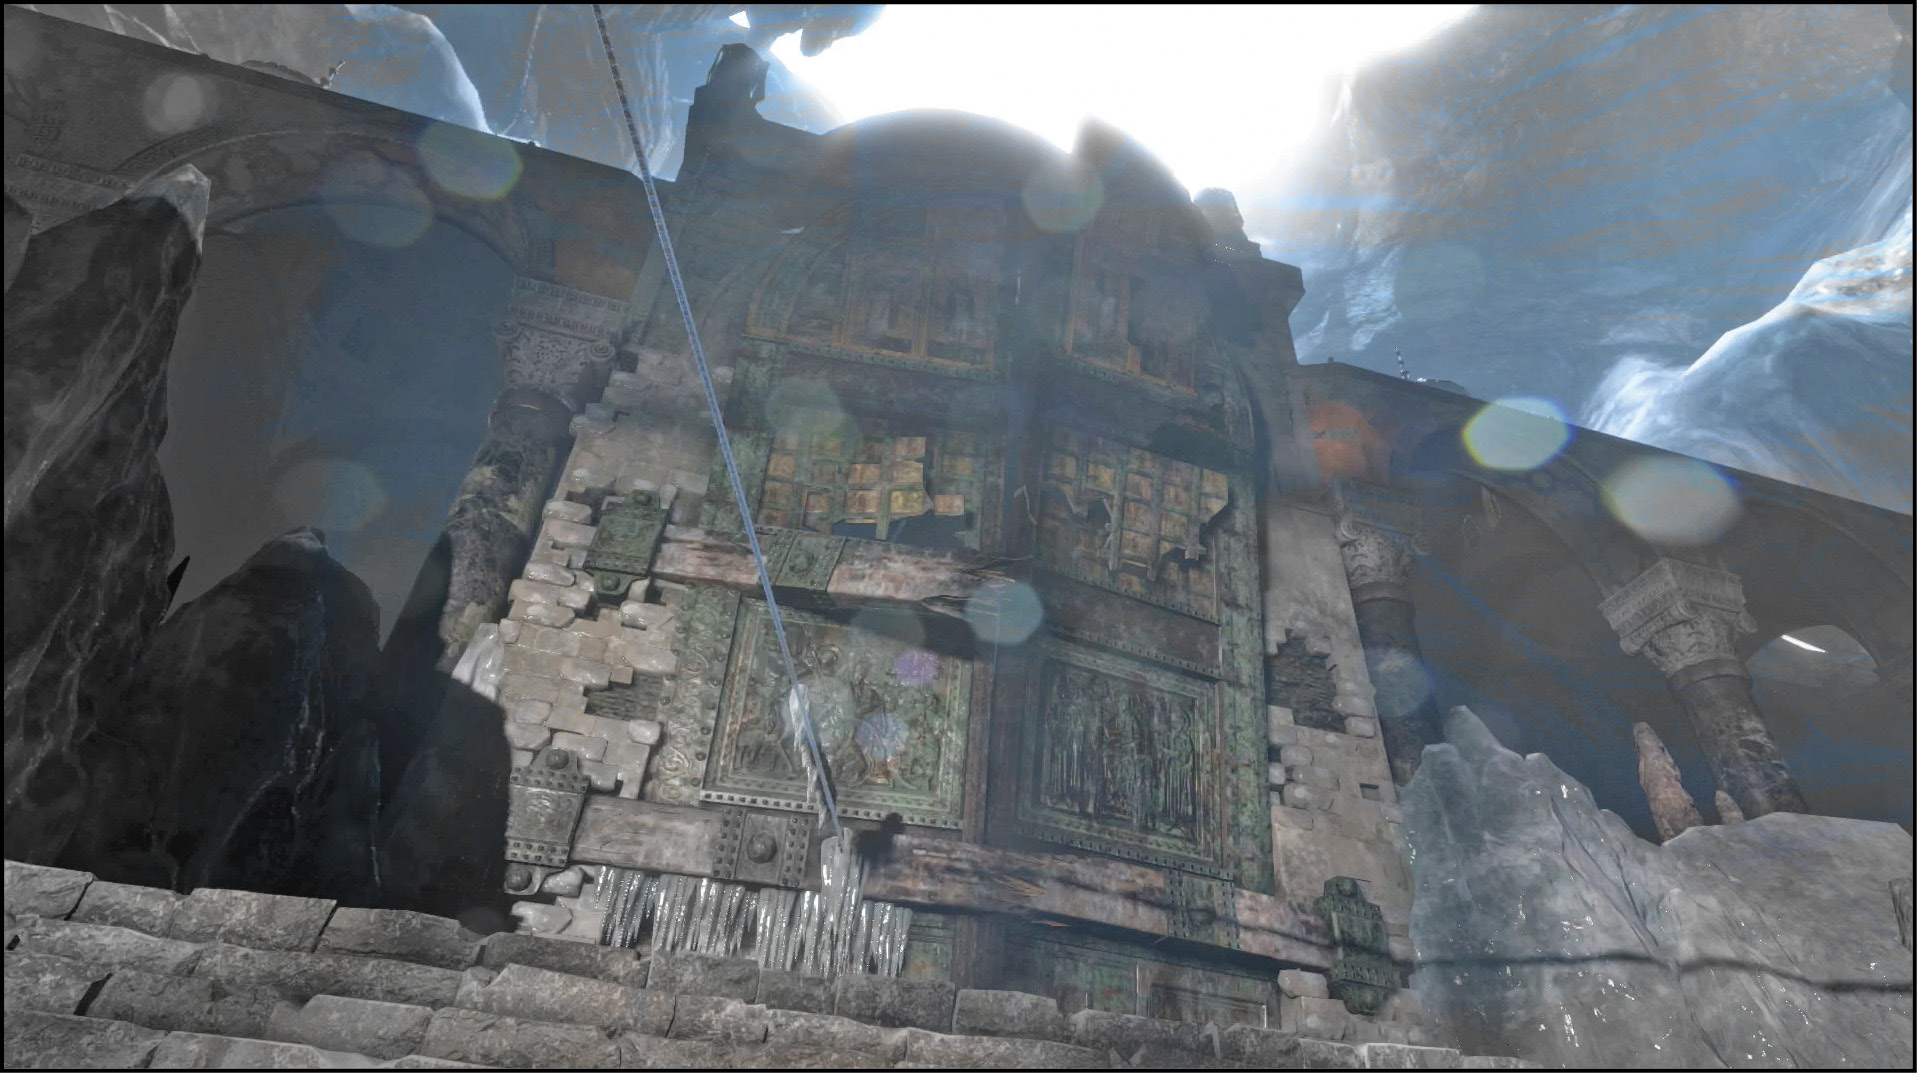
Find a Way Through the Mountains
Follow Jacob through the old mines while he talks about the place’s history. There aren’t any collectibles in this part of the tunnels, so pay attention to the conversation and enjoy the moment of relative peace. It ends soon enough, as the two of you are separated again.
Sprint down the only route you can take as boulders and debris collapse all around you. Speed is your only friend because there isn’t anything to find, take, or kill. Keep running until there is a short cutscene and Lara dives to safety. She radios Jacob and you soon regain control.
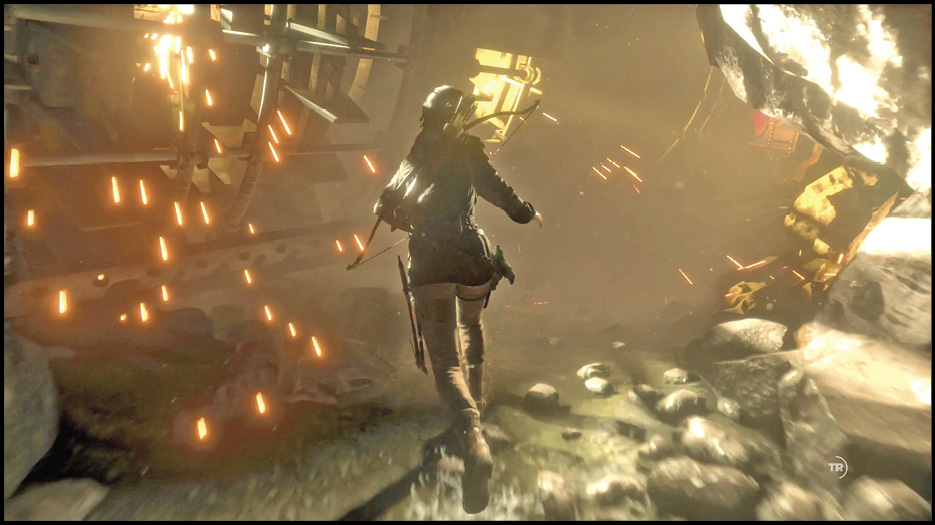
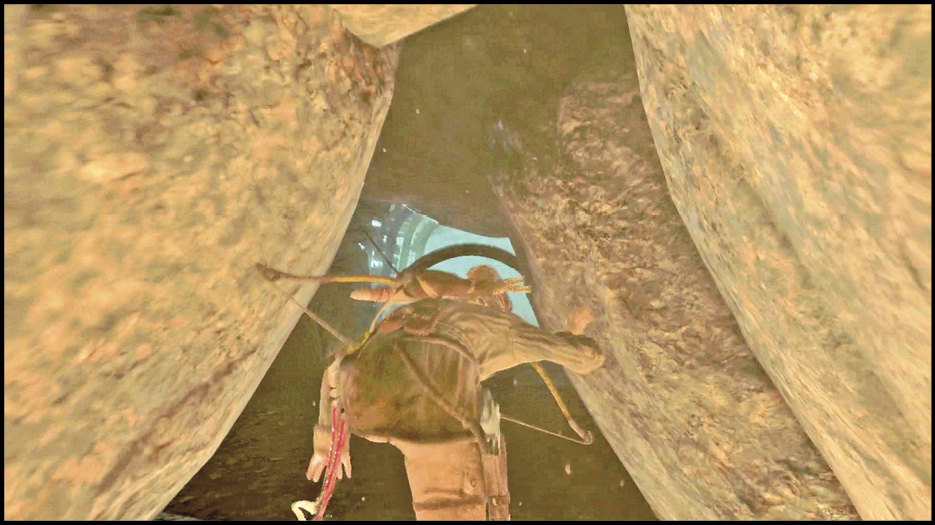
Roll through a gap into the cavern ahead and take cover. Three Trinity Soldiers are doing their best to deal with a few problems, and they’re unlikely to notice your approach. Use a well-aimed headshot to kill the man on a catwalk. Then, bring down his buddies any way you like. The Soldier above is hard to hit because he keeps moving around. Be patient and get a little farther to the side before shooting him if you want to ensure that sweet head pop.
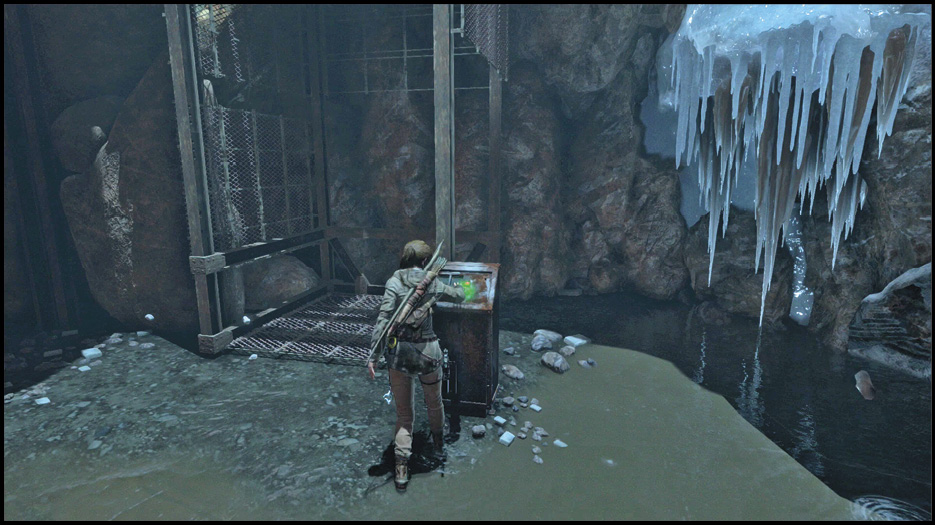
Search for Arrows and a few crafting items. There is a Survival Cache along the left wall. It’s very hard to spot, but it is absolutely there if you take the time to find it. Next, try to use the elevator controls to get out of here. They’re not working very well, so you have to find another route of escape.
Push the cart on the nearby tracks over to the wall. Climb onto it and hop up to the catwalks. Look on a crate for the Combat Knife; this is something that you’ve been needing for a while.
Now that you’re armed with the Knife, use it to cut down the hanging crate that is blocking your way forward. Leap across the gap and use the Knife again to cut through the two lines holding up the elevator. You can’t climb up the shaft, but get into it and climb on top of the elevator.
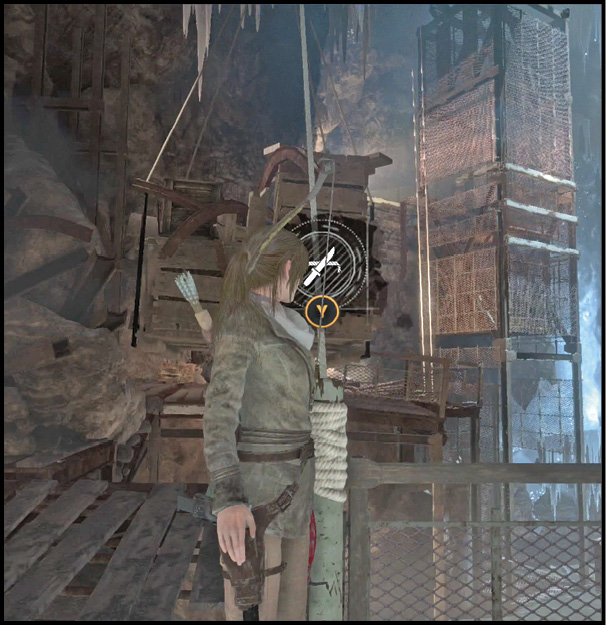
Turn to the right and jump onto an ice wall. Cling there with your Axes and start to climb. At the top, look to the left and jump back to the elevator shaft. Grab onto a handhold, shimmy to the left, and keep going up. Pull yourself to the top of the shaft and get onto solid ground.
A Russian Document is on top of a box (Noble Efforts). Get that and then look for another one (Missing Men) inside the next big hallway. There are also a few Coins on the floor. Get these and watch your step as you proceed. There is a spike trap in the middle of the floor, and you need to jump over it.
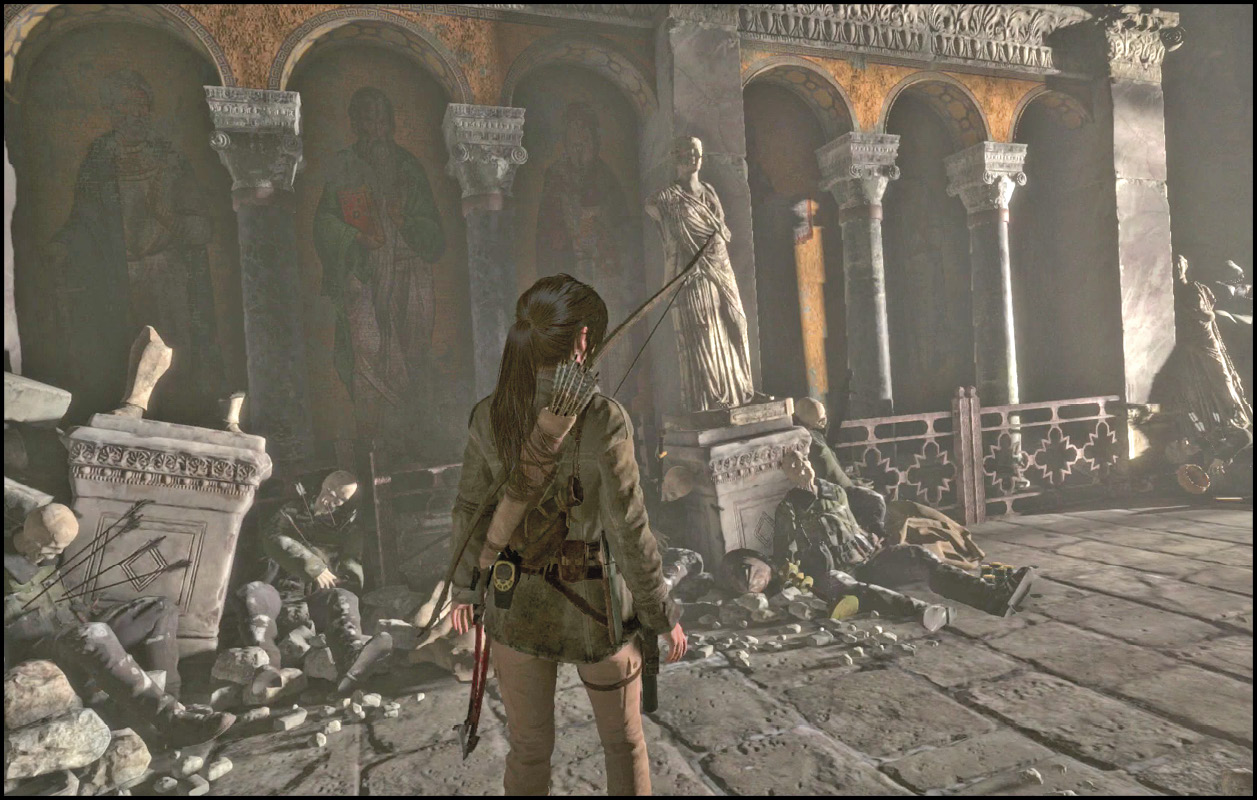
Follow the path to a new Base Camp (Pantheon Corridor). You cannot Fast Travel back to the old camps from here, but at least you can spend any excess resources or buy a few new skills. Examine the Mural across from the Base Camp before you leave.
Take the path up a bit farther so that you can see more of the caves. There are several large blocks of land in this central cavern. You’re getting onto the biggest one right now, and four others are beside it and to the south.
On the way south, toward your objective, you meet a group of Trinity Soldiers. They attack in small groups as you try to get past them. Keep Lara at the western side of the room to avoid getting caught in the open. Use your Rifle to take out targets at long range, and focus your fire specifically on the guys who leave cover to rush you. Don’t allow them to force you into melee while their friends fire safely at you from range!
Loot the area when the battle is over. The northern end of the room has a Document (Radio Silence). Take that and continue south.
Break Through the Door
As you approach the southern point of the area, the cavern widens, and you can see a massive door in the distance. Go to the edge of the chasm to the south, near a zip line, and look for a damaged, old cannon. Search a box next to it for a Document (Resistance). Nearby are boxes of ammo, and a Strongbox (next to a shallow pool).
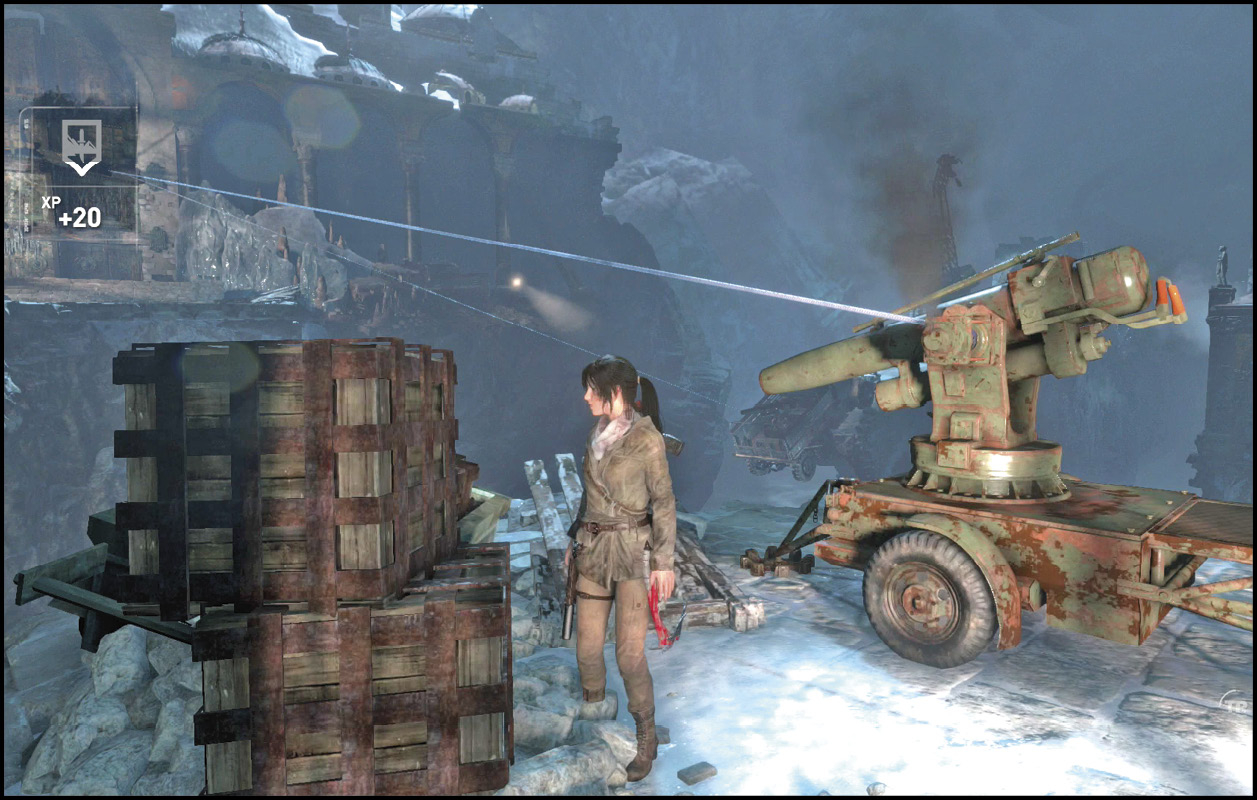
When you’re ready, hop onto the zip line that’s on the southern cannon. Climb the rope to the next stone platform. That’s where the big door is located. Opening it won’t be easy because that thing must weigh multiple tons. There are already several lines attached to it, so someone was trying to rip it open earlier. You only have to finish their work.
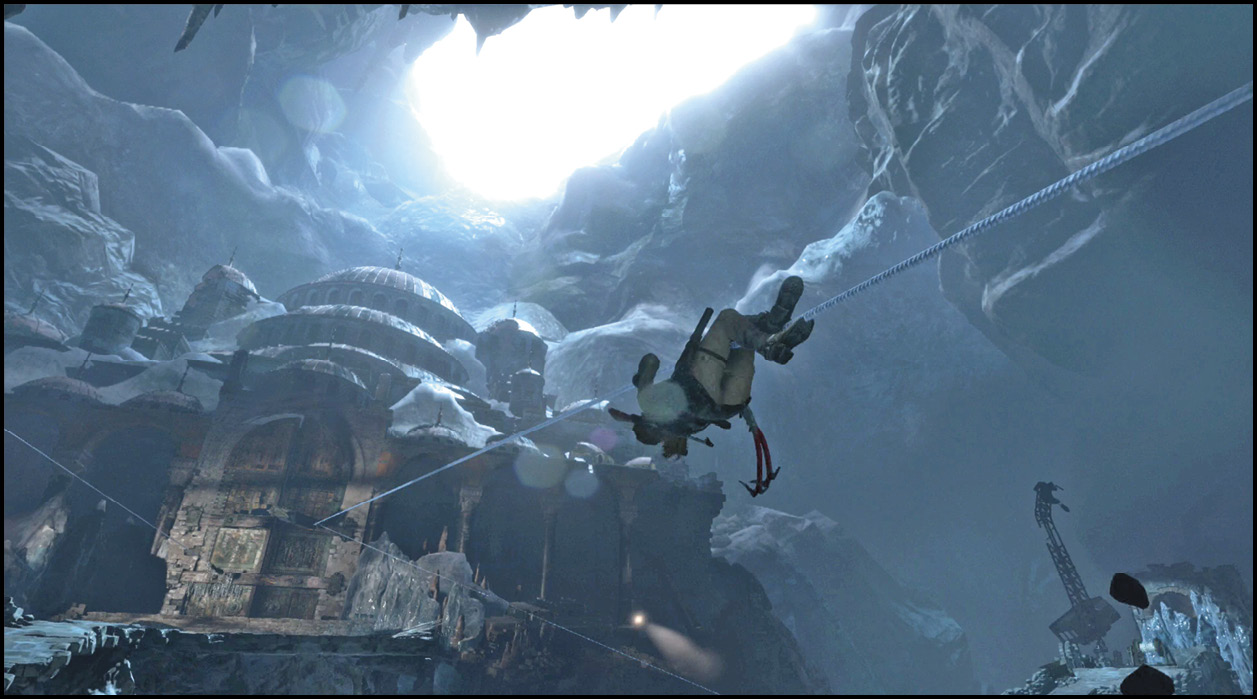
Run and jump off the right side of the platform to get onto a new zip line. That takes you over toward the southwestern platform. Grab hold of a truck at the end of the line, and shimmy left to reach solid ground.
The truck that’s attached to the line is essential for breaking open the main doors. You need to knock it off of its perch. To do this, climb the bridge and Interact with a cart of rocks to push it off the side of the ramp. Next, stand next to the Ropes higher on the bridge and connect them with the hitch on the rock cart by the truck, using your Bow to do this. Turn the crank that’s there to pull the rock cart as high on the bridge as you can get it. Leave the crank and cut the cart’s Rope with your Combat Knife and watch what happens.
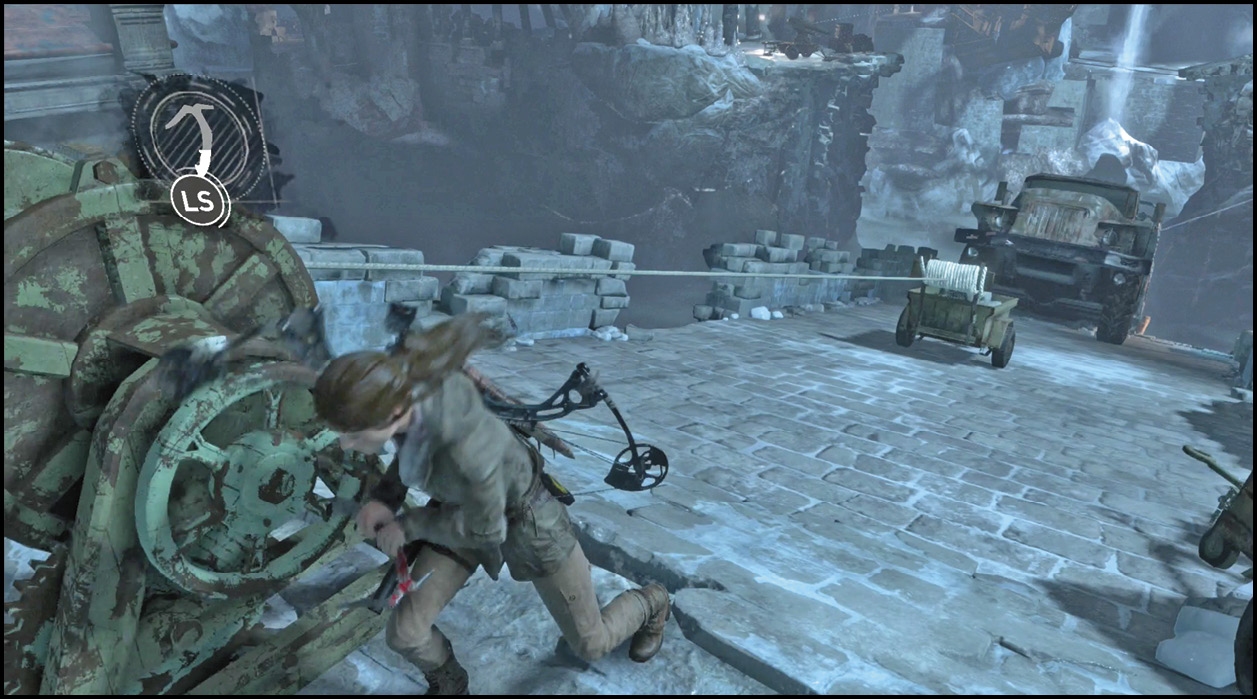
That was a great, destructive start. Follow the platform to the far end and use another Rope to move north onto a new platform. Follow your objectives and drop into a larger room not too far away. This is where a vicious battle breaks out, and this time you don’t have any advantages.
Lara comes into the room in a spot where there is no cover, and the enemies are ready for you. Sprint forward and dive to cover near the middle of the room (it’s the best you’re going to get). Grenades can destroy some of the stonework here, so even this respite isn’t that durable.
Three men begin the battle, but there are three waves of Soldiers that attack. It’s a mix of close-range and long-range attackers, so you can’t hide and pick people off unless you’re very quick with your weapons. The Bow is adequate early on, but for the next two waves you’re going to want an even faster response unless you’ve invested heavily in Bow skills.
The third wave is the most dangerous. A smoke grenade explodes at the far end of the room, allowing Trinity reinforcements to enter without being spotted. They fire blindly at your position, still getting some hits if you aren’t under cover, while a few final Soldiers emerge to attack. Fire into the smoke, nailing anything that moves or shoots back at you. As with all larger fights, you should be free to spend ammo without hesitation. Don’t conserve. Survive.
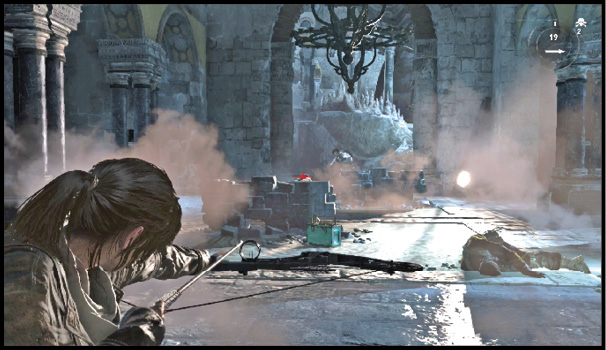
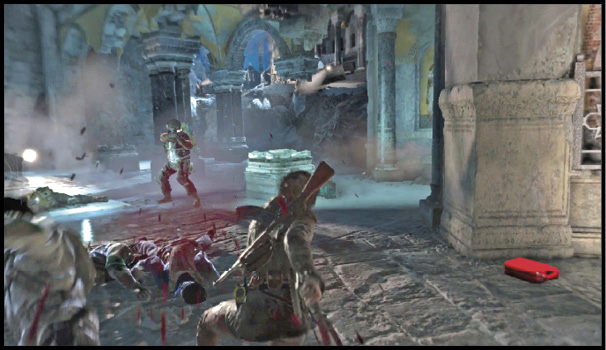
There are Cans on the sides of the room if you want to make Shrapnel Grenades. In the back-left corner, there is also a Survival Cache, though you can’t get that until after the fight.
Leave the combat area and read the Monolith on a ledge to the east. It reveals the Coin Cache locations on this map, so it’s very useful. One of them is inside the last room, by the spot where you entered.
The northern exit takes you toward your objective. Be ready to slide a bit as you descend a ramp toward an ice wall. Jump at the end and catch yourself on the wall with your Axes. Climb to the top, and get out of there.
You enter a hallway. To the right, Lara makes progress toward her goal. To the left is a Relic (A Father’s Sword).
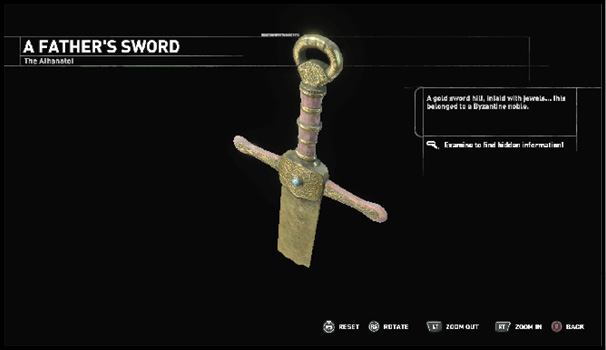
Walk to the end of the hallway and jump across a few pillars to reach the next section. A Coin Cache is in a corner nearby, but watch out after retrieving that. There is a trapped piece of flooring to the right. Jump over it and get a few spare Coins and an Explorer’s Satchel. You can now see the other Strongbox and the Survival Caches, if you haven’t gotten them already.
Back up a few steps and look down a small side passage. You need to destroy a barrier with your Bow and Rope to get inside. In that hallway there is also a raised ledge with a Document (Broken Tracks). This ledge is on the left side of the corridor, before you get to a pit trap.
Finish your looting and climb the ice wall on the right side of the hall to get back to the main level.
A Shieldman advances while two Soldiers provide suppressing fire, grenades, and a distraction. Stay back, craft Molotovs or Shrapnel Grenades with local ingredients, and use those to kill the Shieldman first. A Poison Arrow works quite well too.
Once the Shieldman is dead, the other two enemies are pushovers. One of them is on a ledge above your position, so make him your next target. Kill both of the Soldiers and move on.
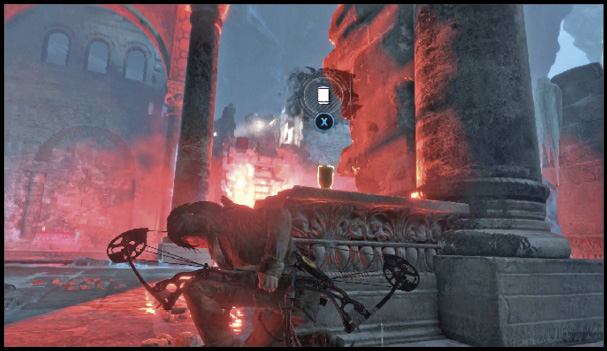
The last Survival Cache is close by. Search for it in a dark corner, and then climb a ladder up toward the dead Soldier’s firing position. A locked Strongbox is there. Use your Lock Pick to open it. Turn around, and search a pile of rubble for a Survival Cache as well.
Climb the wooden wall at the back of that area to uncover an Archivist Map. Jump across a gap to approach your next objective. Zip across to another platform and watch the scene that unfolds. When it’s done, shimmy to the right and climb onto the top of the crane that you’re hanging off of. Run to the bottom of the crane and jump onto solid ground.
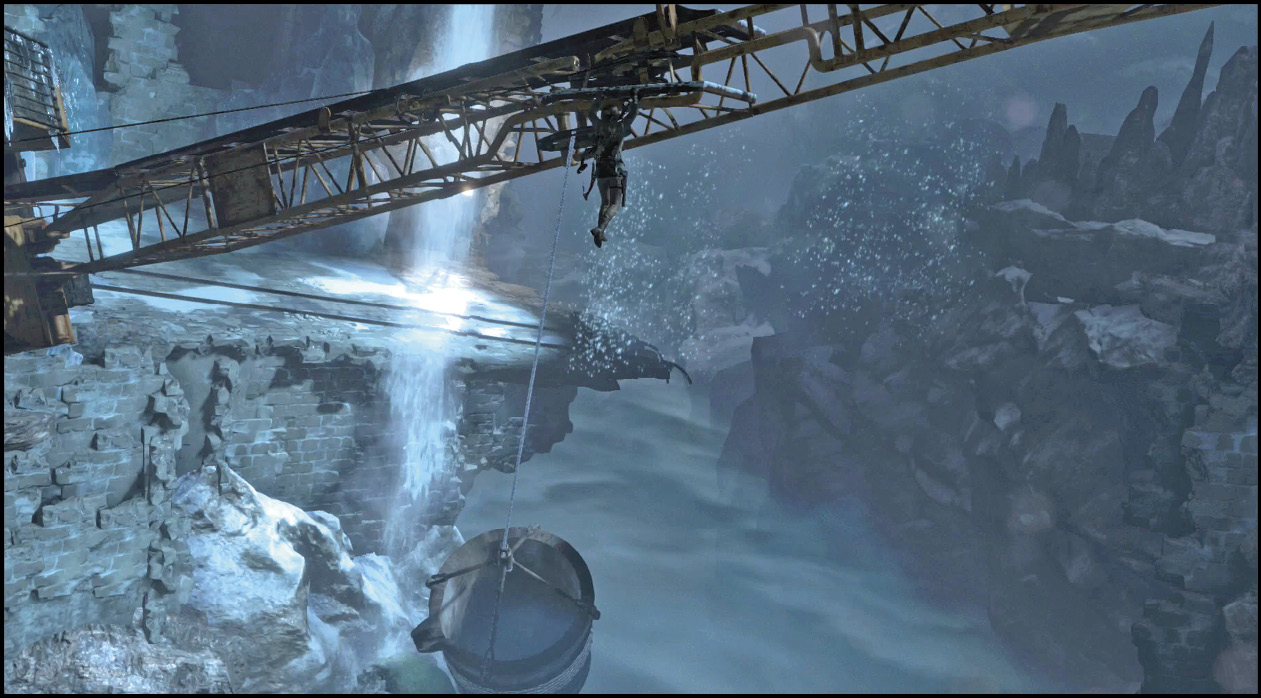
You have a cart nearby, close to the objective. Push it into place where the objective marker is glowing (use your Survival Instincts if you have trouble remembering where the spot is). When the cart is in position, turn to the right and shoot a Rope line to connect the cart and the hanging barrel. Crank the winch on the other side of the cart to pull the barrel up as high as it can go.
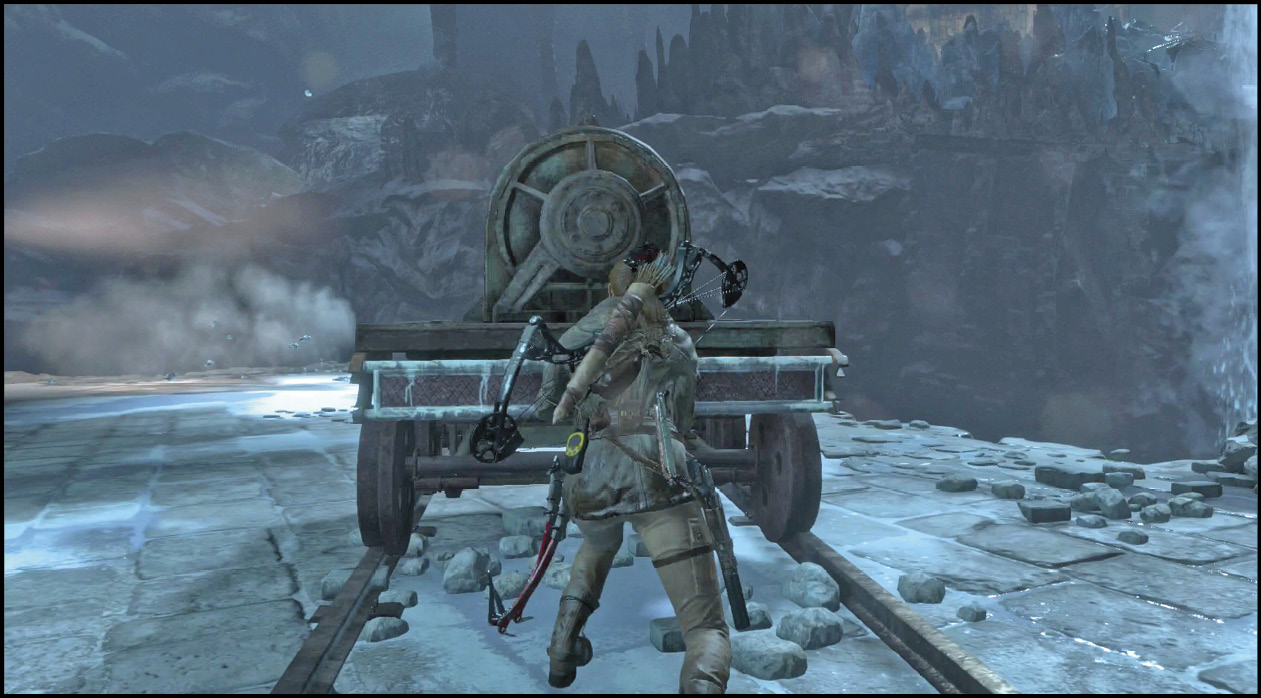
You’re interrupted with a nifty scene as the door breaks open. You’ve done it! But it’s also time to get out of here with maximum speed. Sprint forward and jump onto the crane. Dash across that, jump the gap in the middle, and then leap again at the end to make it onto the southern platform. From there, hurry toward the main doorway and jump over the final gap to escape from the area.
Lara finds a huge statue in the next room. There are a couple of Coins at the statue’s feet, and boxes of supplies are on either side of the main room.
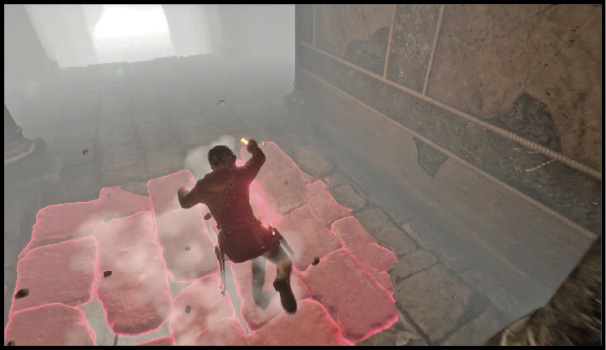
Take the southern hallway to leave this map. Watch out for a trapped floor when you go around the bend. Jump over the dangerous pit and approach the water at the end of the corridor. Leap in and dive to get under the lower parts of the ceiling that block your progress. The way forward is fairly safe, as long as you aren’t too scared of drowning. Make sure not to dive until you’re against the far wall of both submerged sections because Lara doesn’t have any breath to spare during her dives.
In moments, you emerge in an entirely new area. You’ve made it to the valley!