
Rise of the Tomb Raider Guide Walkthrough Flooded Archives
The Cathedral
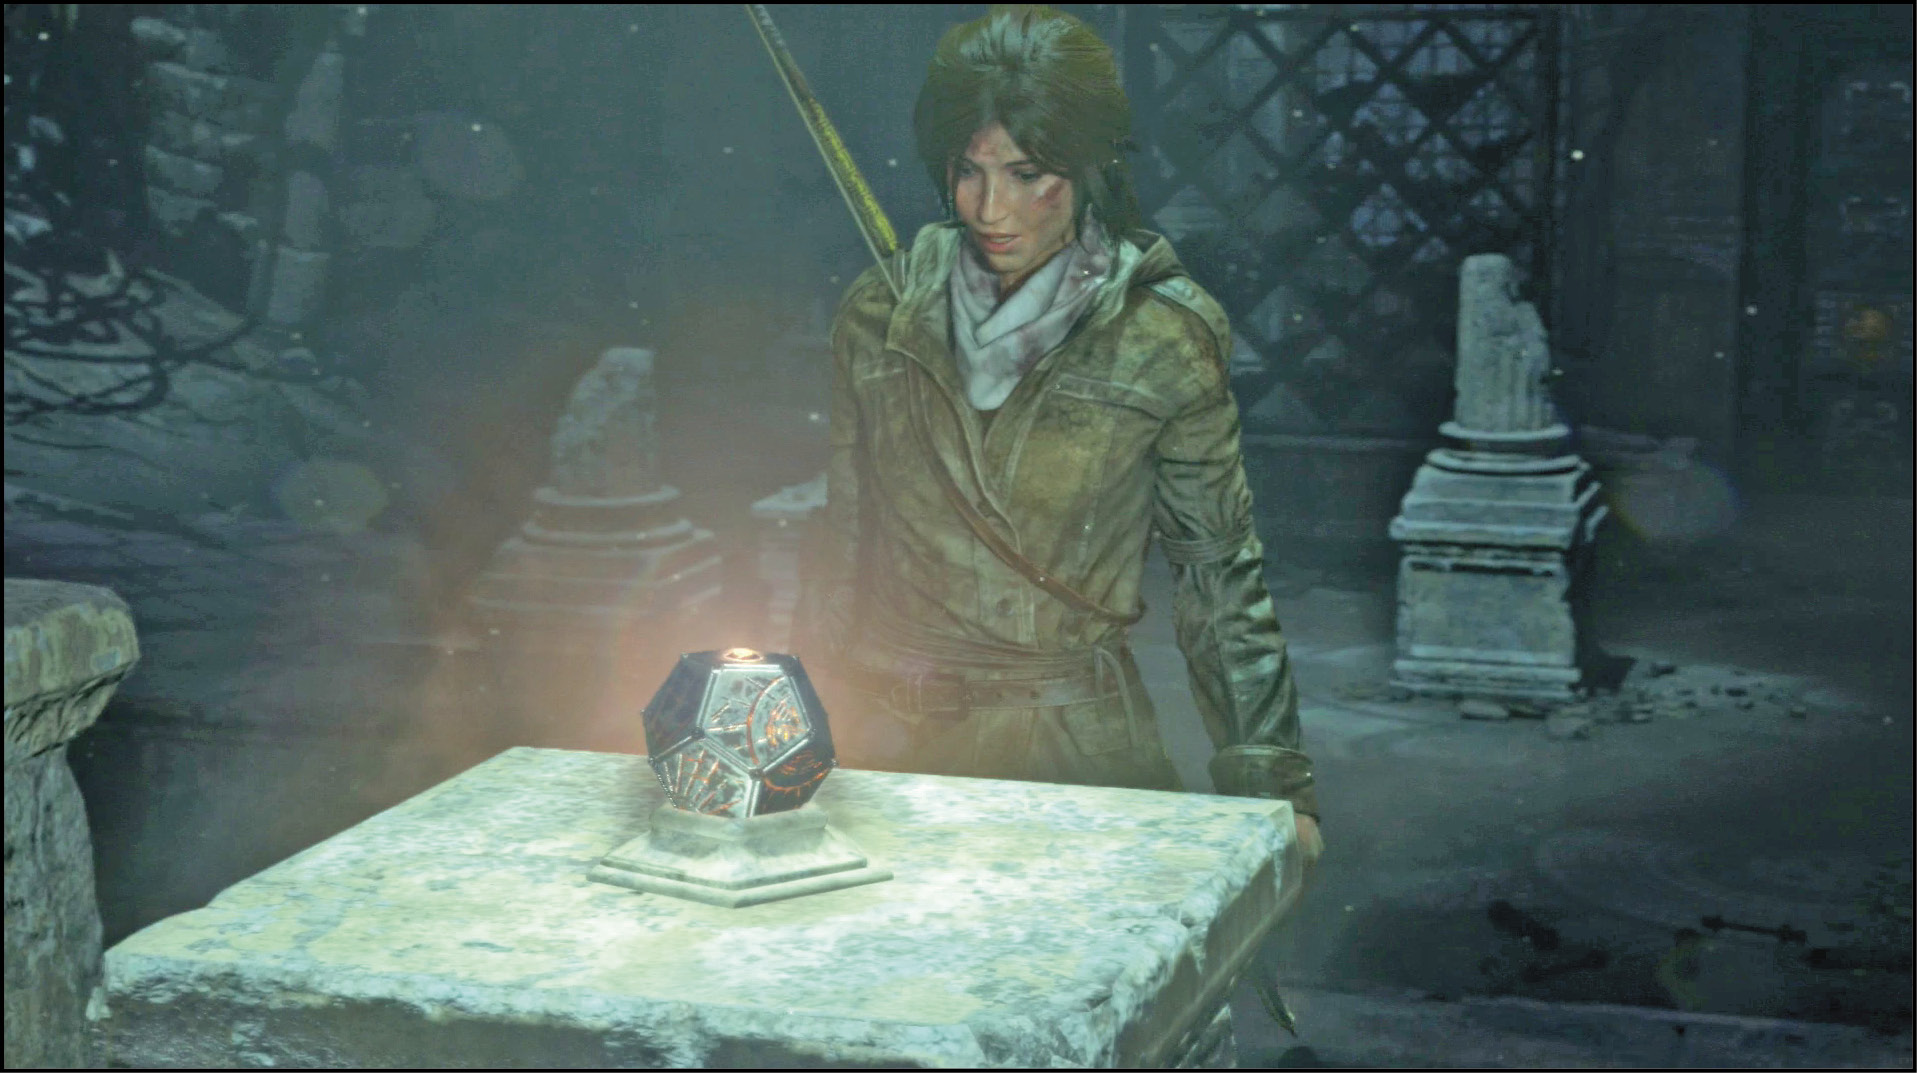
Find a Way Inside
Vault from your platform into the next building. It’s hard to see how to get up and out of that room, but look for handholds on the eastern wall. Jump to those and climb all the way up to the top of the area. Use Survival Instincts if you have trouble seeing the climbable spots or the way to advance.
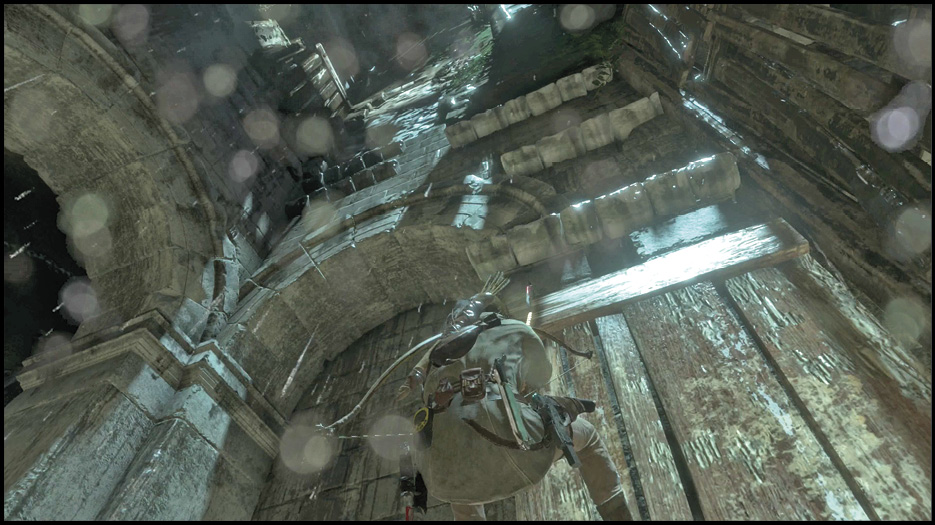
Enter the cathedral when you reach the top platform, and watch a great scene. It ends with you dangling from a rope that can’t hold forever. Take multiple shots at the two generators that are also hanging nearby. Three bullets in each destroys them, and the scene finishes after the second generator falls.
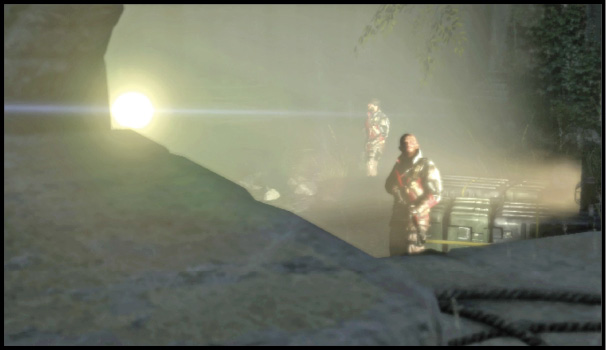
Lara drops to the bottom of the cathedral and you regain control. Search the ground for a Document (Broken Bonds).
Look for the Entrance tothe Archives
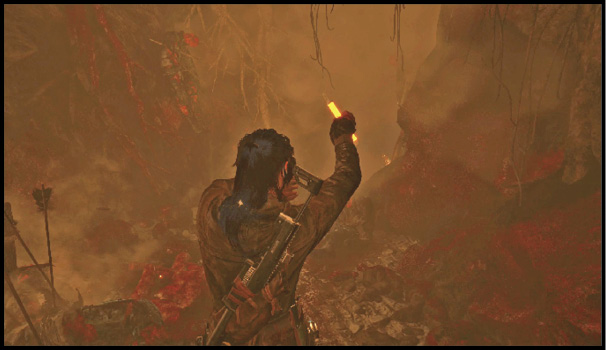
Take the eastern exit to leave that room, and use the Chamber of Records Base Camp. Examine the Mural on the wall as you head deeper into the tunnels. The sight that greets you is an unpleasant one, but move past it.
A barrier blocks you at the bottom of the corridor, but there are urns with flammable liquids in front of the obstacle. Use one of your guns to destroy the urns, detonating them in the process. The barrier goes up in flames, clearing the way for you.
Retrieve the Atlas from the Archives and Find a Way Out
Move through into the Archives and drop down to ground level. Reload all of your weapons to get ready, and then pick up the Atlas. This begins a major assault by Trinity Soldiers. They don’t have any Troopers in here, but their numbers are quite decent. They also have laser sights, so their accuracy is top notch.
The stone pieces near the altar are wonderful for cover. Stay behind those for pretty much the entire fight. Switch between the two of them to avoid explosions, but that’s the only time you should leave cover. Focus all of your best attacks on the Soldiers that rush Lara to try and get her into melee combat. They’re the biggest threat because they’ll distract you and make it much easier for ranged attackers to get free shots against you.
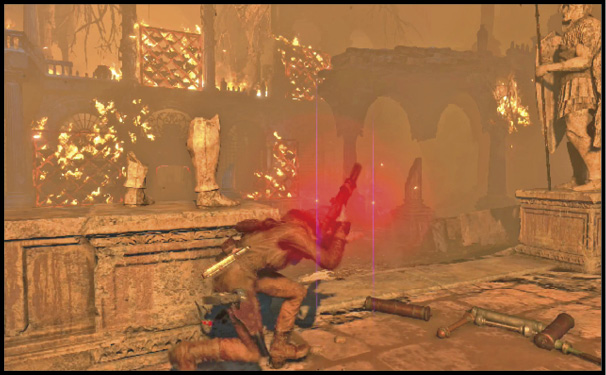
There is a tricky Document to get in this area. Once everything is clear, climb onto the ledges where you first entered this location. Swing across two chandeliers onto a ledge to the north. Get a Document up there.
Walk into the adjoining room and hurry to cover again. More Soldiers are arriving, and they have an Enforcer with them. Switch to explosives (crafted items or Grenade Arrows) to help deal with this threat. Also watch out for the flanks; Soldiers try to get around to your side using the raised areas on the left and right sides of the room.
Defeat this group and loot the bodies quickly. A second, and nastier, wave is approaching. Get all the ammo that you can, and retreat to cover. The new attackers use the higher ground better than the last crew, so watch out for the raised platform above and to your left.
If you’re the type of person who holds back on special ammo and Arrows because you like to have them available on a rainy day, then remind yourself to treat this threat seriously. A few special Arrows can turn this entire battle in your favor; do not hold back. You don’t want to have your back to the wall with only your Pistol to rely on. Even there, you can switch to Hollow Points and put serious damage into your targets.
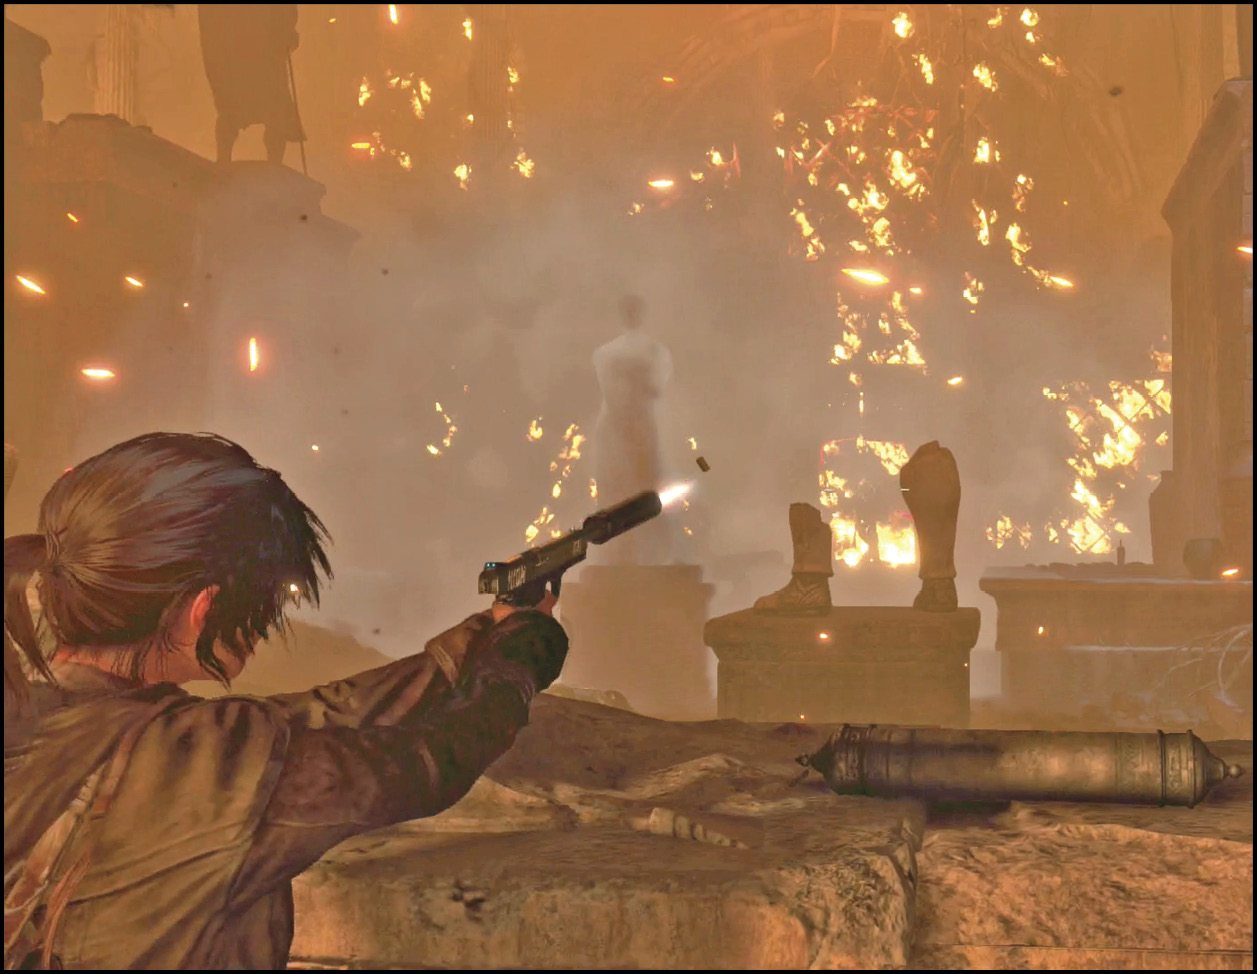
Take the western exit after your enemies fall. Gather all of the ammo that you can while moving out, and hurry through the next tunnel. You’re spotted by a Firefly and have to swim quickly underneath a wall of fire. Go as fast as you can through the tunnel, and watch the next scene. Lara gets a Rebreather here, and just in time!
Swim to the western side of the map and get out of the water when you finally reach a safe place to pull yourself up.