
Rise of the Tomb Raider Guide Collecting Treasures Geothermal Valley
Geothermal Valley Tombs
house of the afflicted
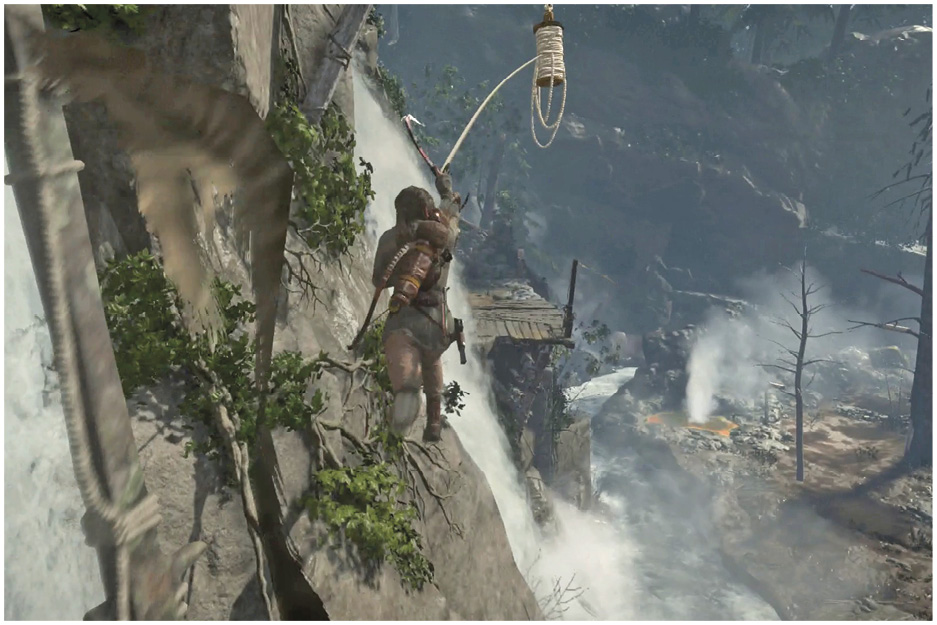
Another Tomb is close to Valley Farmstead’s Base Camp. Take the northeastern bridge that leads away from town, and use a Rope to swing across a break in the walkway.
Crawl under damaged stonework at the end of the path. A pack of wolves lives on the other side, so you have to fight those to survive. Use a fast weapon to kill them; something like the SMG does a great deal of damage.
Clear out the wolves, search for a Coin Cache in that yard, and then break into the gateway that leads into this Tomb.
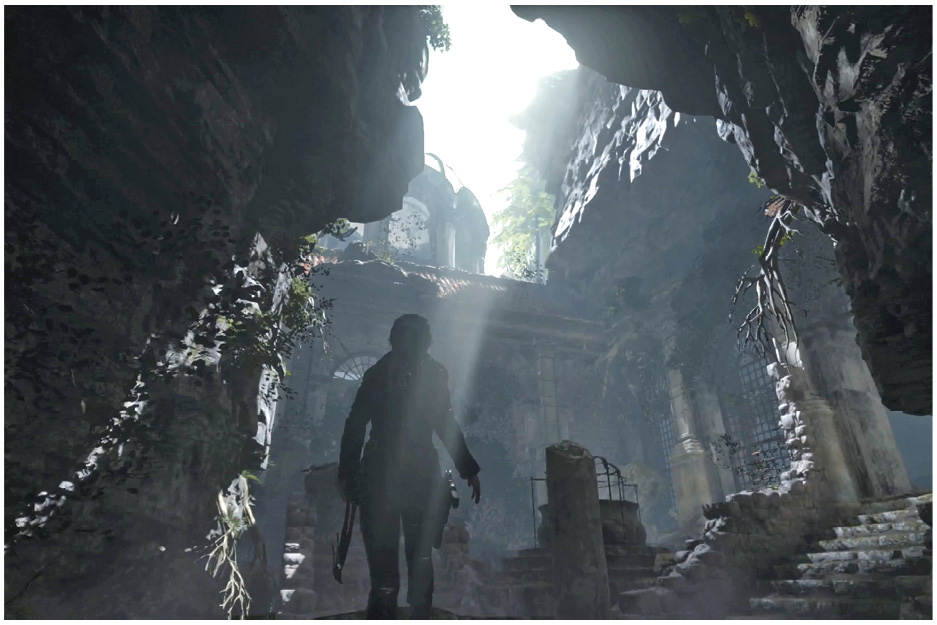
It doesn’t seem like much is inside for the first few rooms. There aren’t any treasures yet besides a few discarded Coins. Keep going, and crawl through a tiny crack in the stones at the back of the building. You eventually arrive in a larger room that is open to the sky.
Search for a Survival Cache in that room. Climb up to a hallway close by and get a Relic as well.
You soon reach the Infirmary Base Camp. Rest there, and take a Document from the hallway past the base camp.
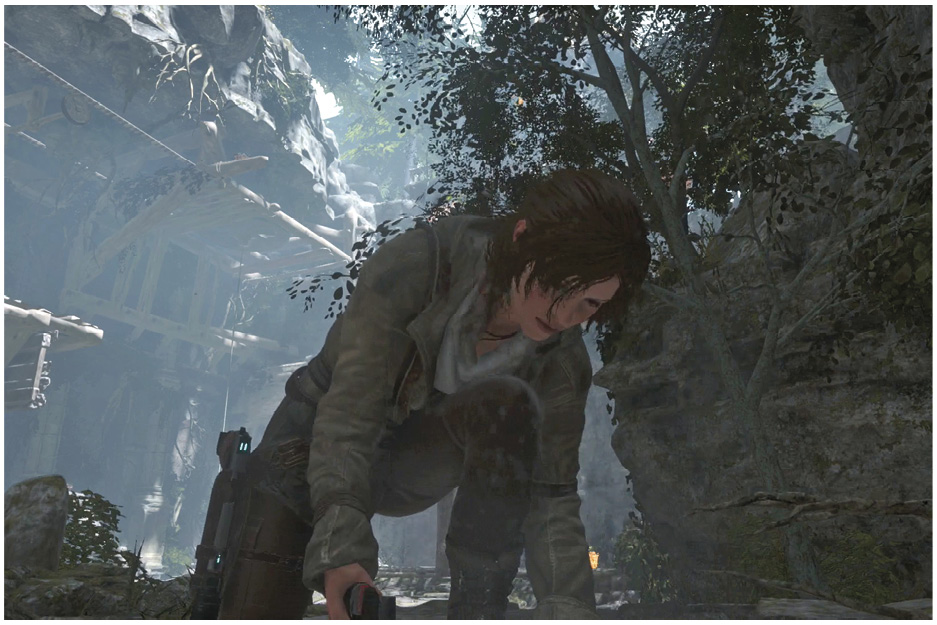
Ahead is the puzzle room of this Tomb. Before starting on the puzzle, get a Relic from the far side of the chamber. To the right from where you entered, there is also another Survival Cache.
The only other goodies are up top, and you can’t reach those yet. That means it’s time to figure this puzzle out. You need to raise two platforms so that Lara can vault to one, get across a walkway, and use the other to reach the handholds underneath the Codex. Fair enough.
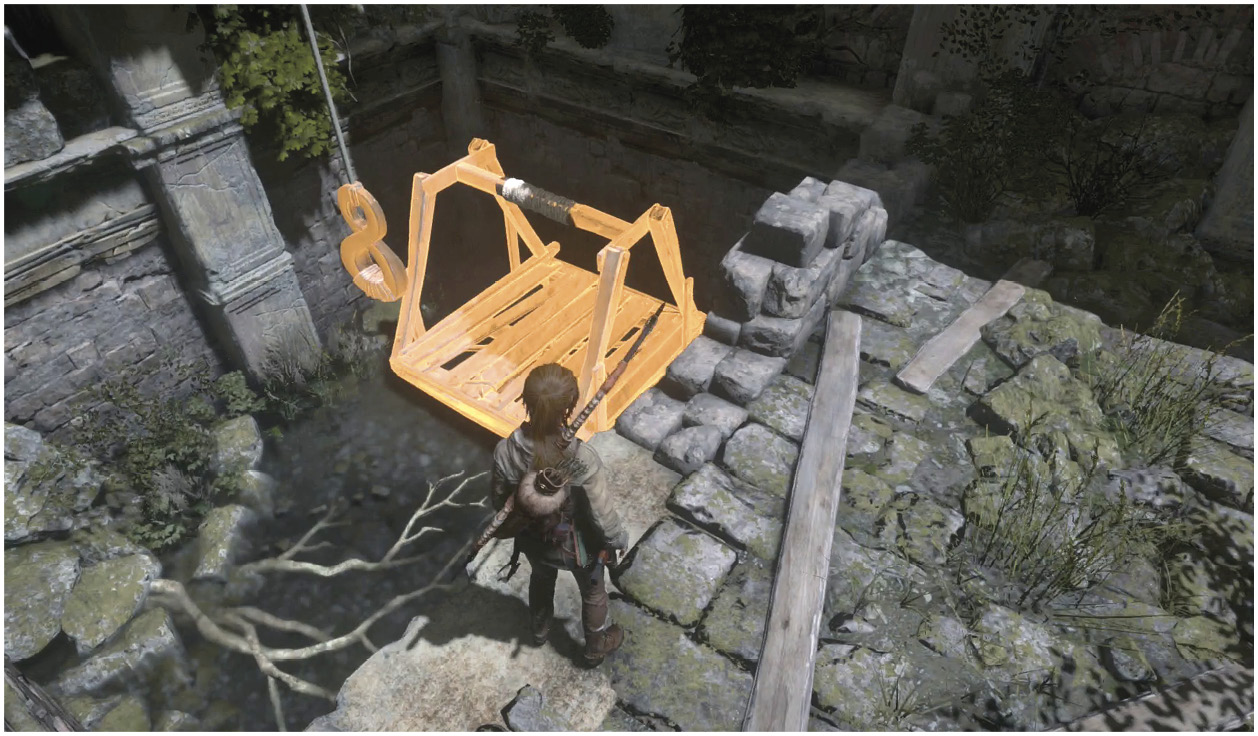
Look at the room and find the two platforms; they’re both along the same wall, and are almost ready to go. The one shown in our picture here needs to be hooked up. Jump down to it and use your Bow and Rope to tether the hook to the platform.
Now go over to the other platform and shoot your Rope to a lever that’s toward the top of the room. Pulling that lever fills a bucket with water and causes the platforms on both sides of the room to rise.
The issue is that they still don’t stay up. To make that happen, find an ore-laden cart between the platforms. Physically push it toward the middle of the room as far as it can go. The next time you pull the lever to fill the bucket, hurry over to the container and tether it to the cart. The cart is very heavy, so the bucket won’t be able to rise again. The platforms stay up, and you can cross them at your leisure.
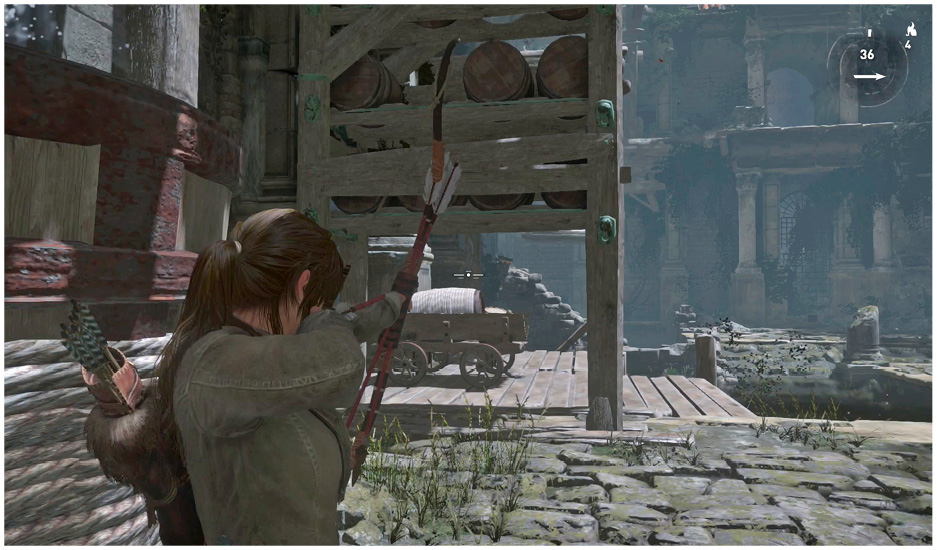
Climb the staircase near the entrance and jump along the upper tier of the room. Use handholds to get up to the Codex area once you’ve completed the crossing. There is a Document up there with the Codex. This gets you Fast Healer, a skill that allows Lara to heal herself quickly when bandaging.
Leave the Tomb and go about your business.
baths of kitezh
There is a Tomb in the northwestern part of the Geothermal Valley. Search for its entrance east by southeast from Ridgeline. A humble and unmarked bear cave is where you get access to the Tomb. Kill the bear and take its wonderful Hide, and then look along the rear wall inside the cave. You find a foggy, humid entrance to another tunnel. Go inside.
Run and swim through the next passage, using Survival Instincts whenever you have trouble seeing. Before long, you get to an abandoned bathhouse.
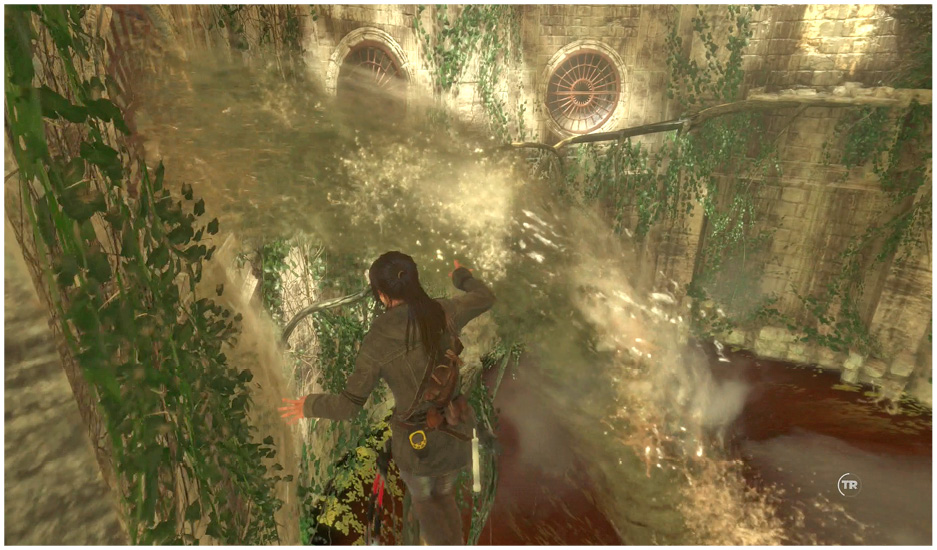
You quickly come to a room where water is periodically jetting out of three pipes along the wall. Walk slowly along a fallen tree and wait for each gout of water to ebb before attempting to pass by.
Climb up at the far side of the room and continue until you find the Whirlpool Sanctuary Base Camp. Search beside the camp for a Relic.
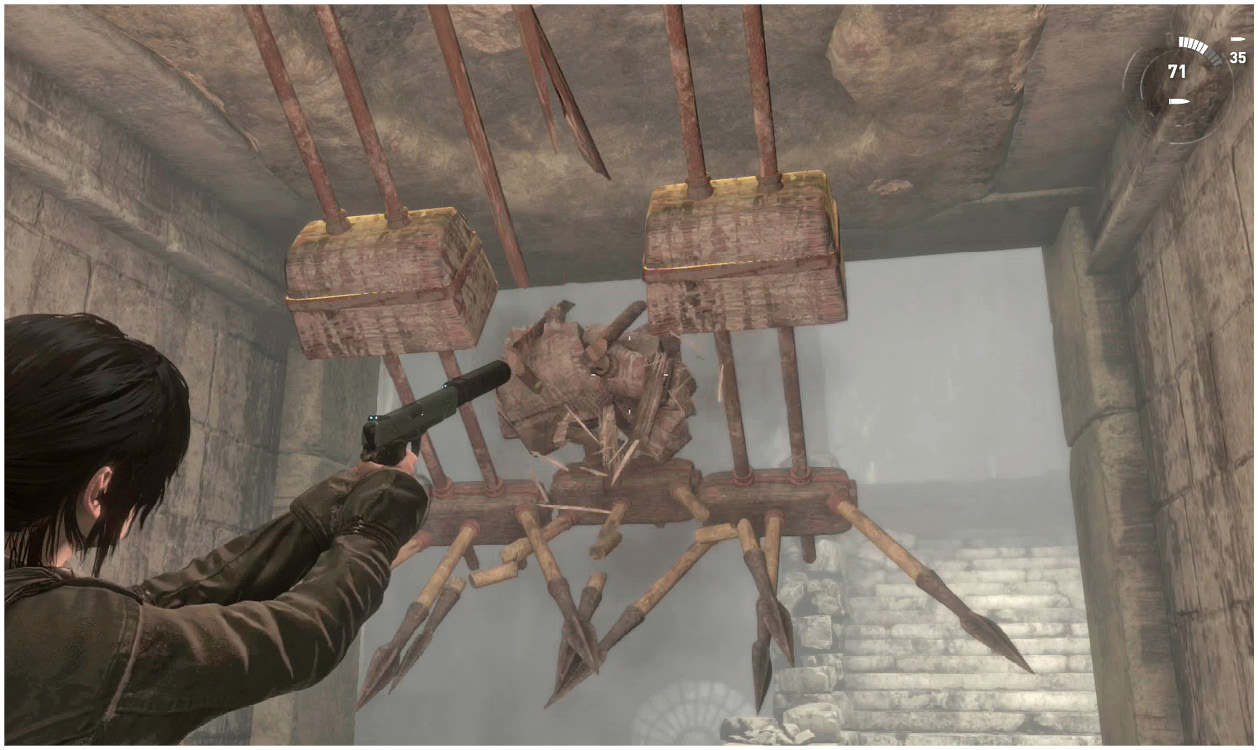
Walk into the next chamber, but be ready to stop a spike trap that swings down from the ceiling. This one has three different wooden blocks to destroy, so fire quickly and accurately!
Search a cubby to the right when you get into the next room. It has another Relic. The path continues in two directions. Ignore the lower route, for now, and take the upper one instead. When that divides, search the small room on the right for a Document. Then take the hall on the left.
You quickly reach the last full room of the area. It’s a puzzle chamber where you need to drop the water level to access this Tomb’s Codex. No worries.
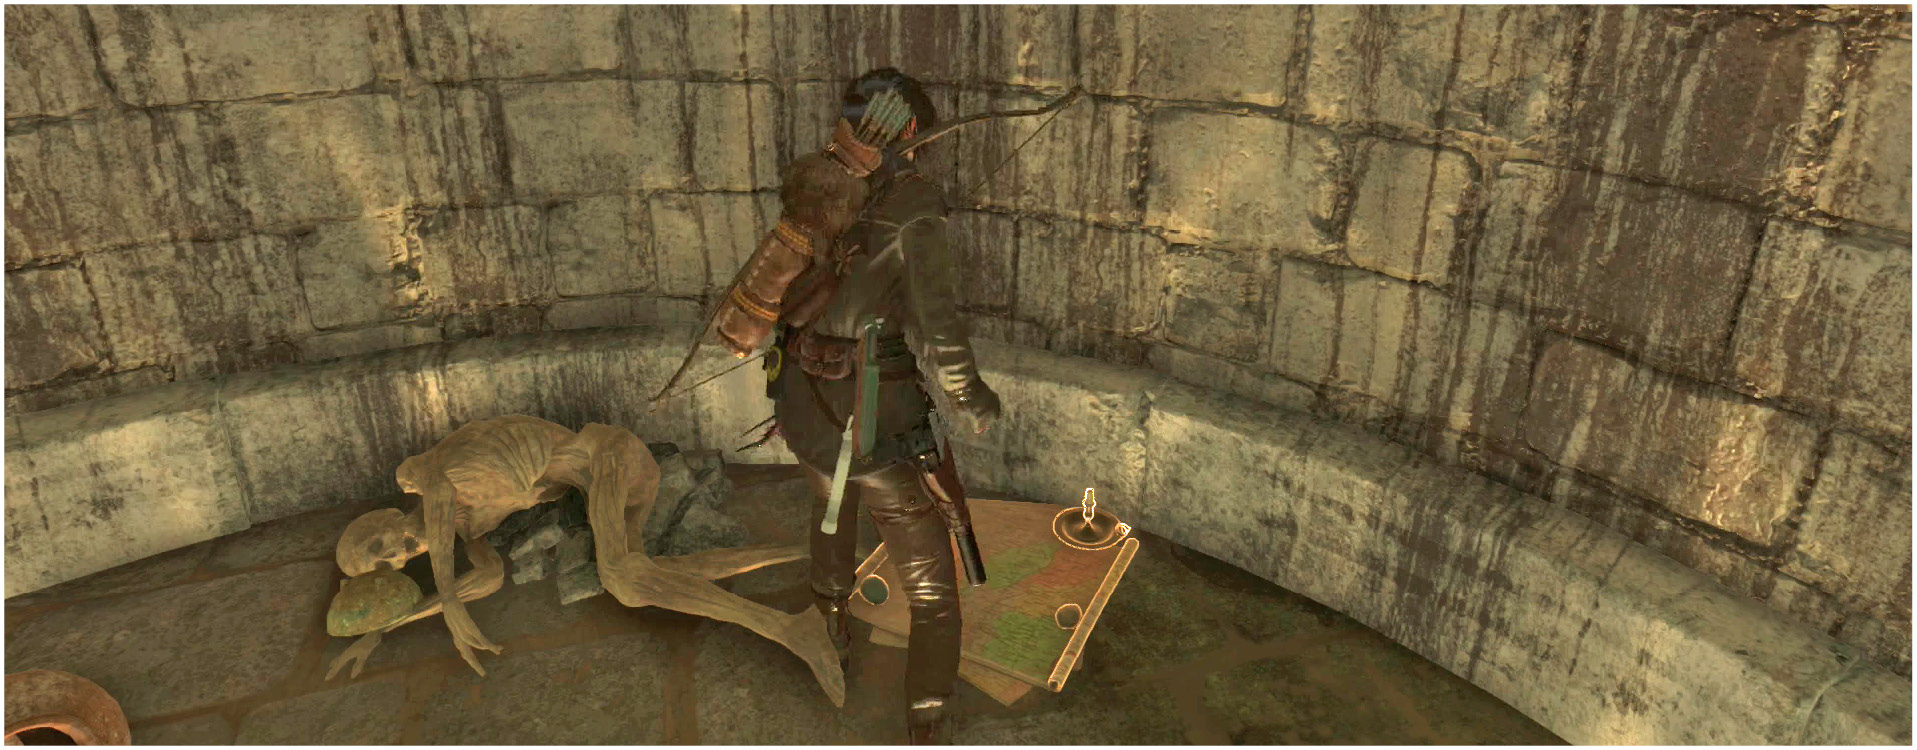
Drop into the water and look around. There is a ledge on the side of the room. Climb onto that and loot an Archivist Map.
You’re now ready to take on the puzzle. Climb onto the boat in the middle of the room and use the Rope Posts to maneuver it around. You shoot a Rope to connect the boat’s Post with one of the Posts farther away, and then you crank the boat toward the farther post to move around.
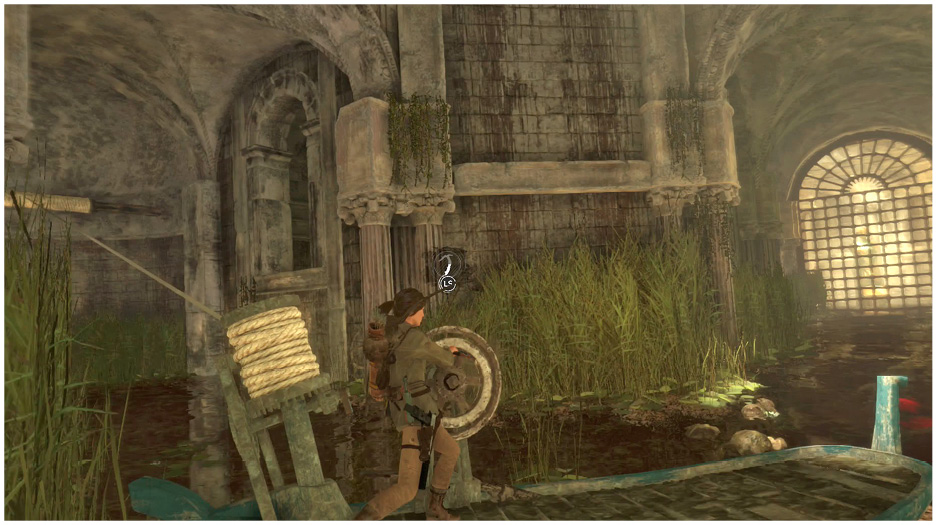
Pull your Boat between the three Posts and then take it toward the left side of the room (from where you entered). This one doesn’t have a ledge, and you need the boat there to jump onto an opening above. You can see the opening from the picture here.
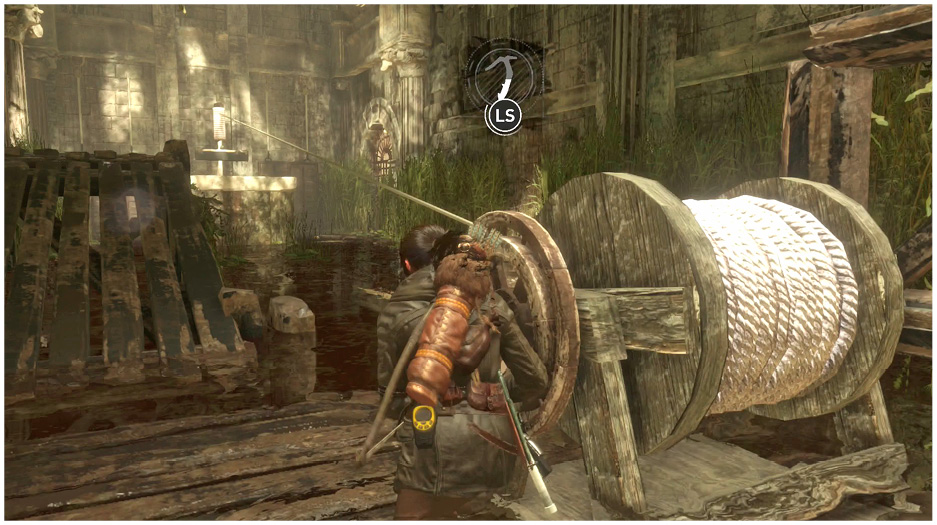
Climb into that room and lower the water level using the mechanism on the far side. Interact with it and pull the device away from the wall. This only lowers the water temporarily, so you need to find a way to do this more effectively.
That’s easy. Connect the mechanism with a Rope Post on the other side of the room. Move over to the Post, turn a crank there, and watch the water levels fall away. This place is easy!
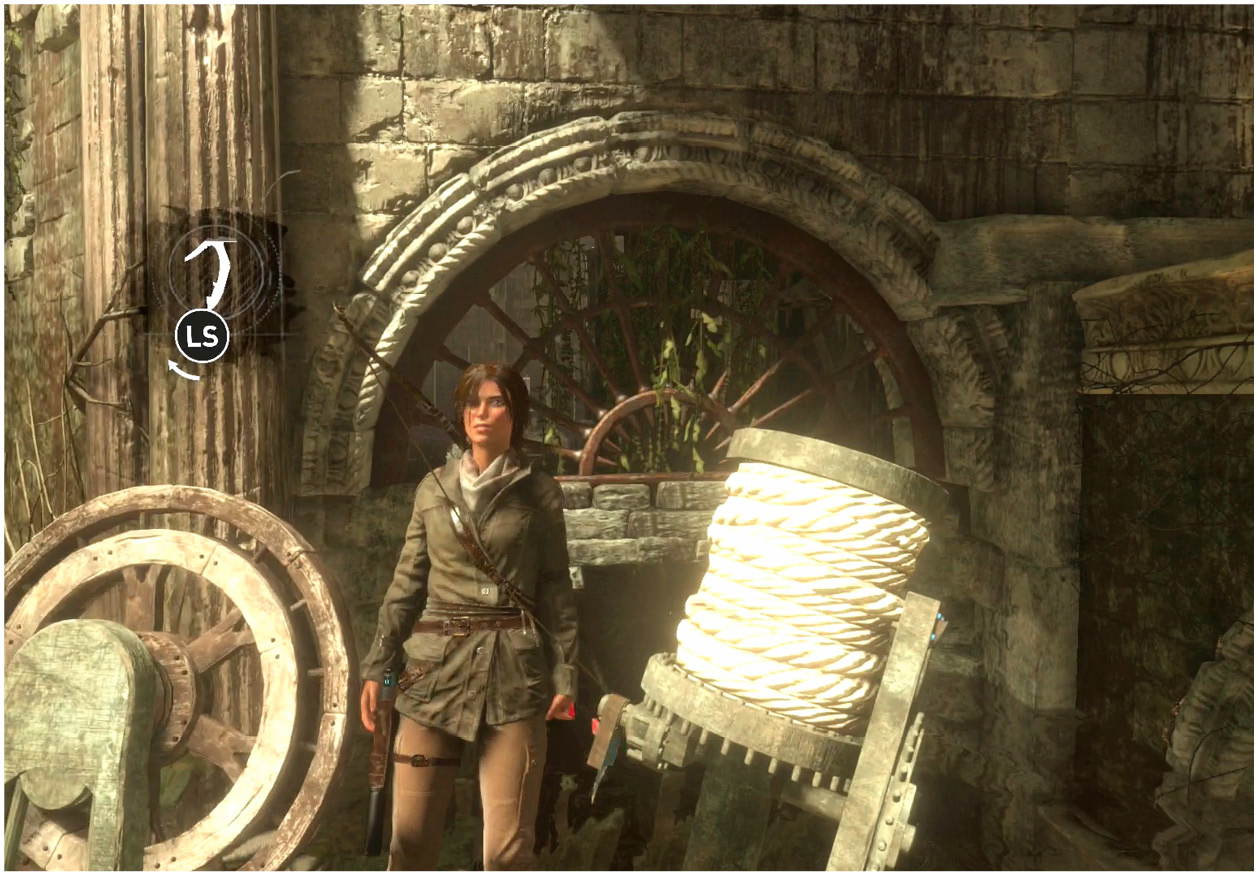
Move through the lower opening and go into the other side chamber in this area. The puzzle is similar here, though the parts are not as obvious. There is a mechanism to lower the water, but using it only brings things down for a minute. You don’t have any cranks in here, nor are there any Rope Posts to use for leverage. That’s a bit trickier, isn’t it?
Go back to the main room and maneuver your boat until it’s in front of a sunken window in front of that side room. We’ll give you a shot of the correct position.
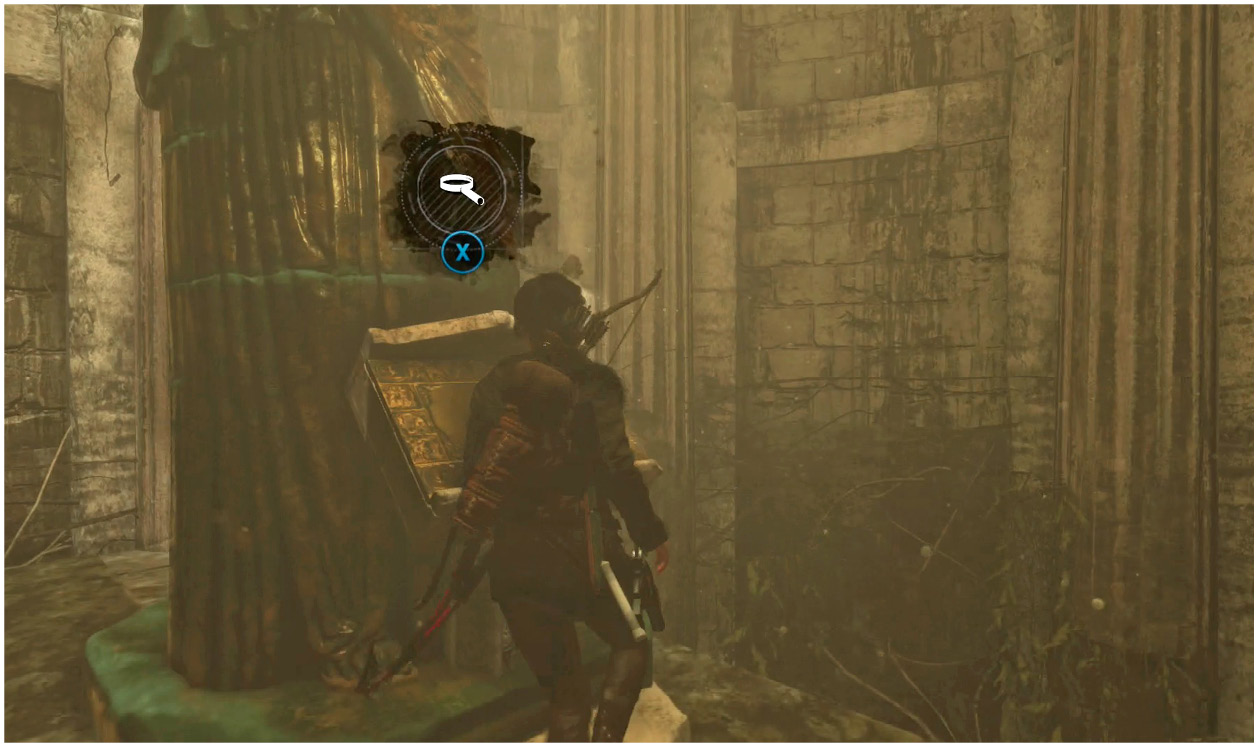
Go back into the side chamber, lower the water manually with that mechanism, and connect the Rope Post with your boat while the water level is lower. You can’t shoot through the window when the level is high because the window blocks your shot, but there is more than enough room while the water is filling back up.
Get back to the boat and try to crank it. Even the pressure of the water returning gets the job done, so you’re in good shape whatever happens now. The mechanism gets pulled open, and the water levels fall once and for all.
Go into the Codex room, loot a few Coins from the floor, and read the Codex itself. This grants you Iron Grip, an ability that lets you climb faster.
Leave the Tomb using a new exit that has been uncovered in the main room. It takes you to a Document, and then to a wall that you should break open with your Bow and Rope. You bump back into the Base Camp on the other side and can Fast Travel wherever you want.
catacomb of sacred waters
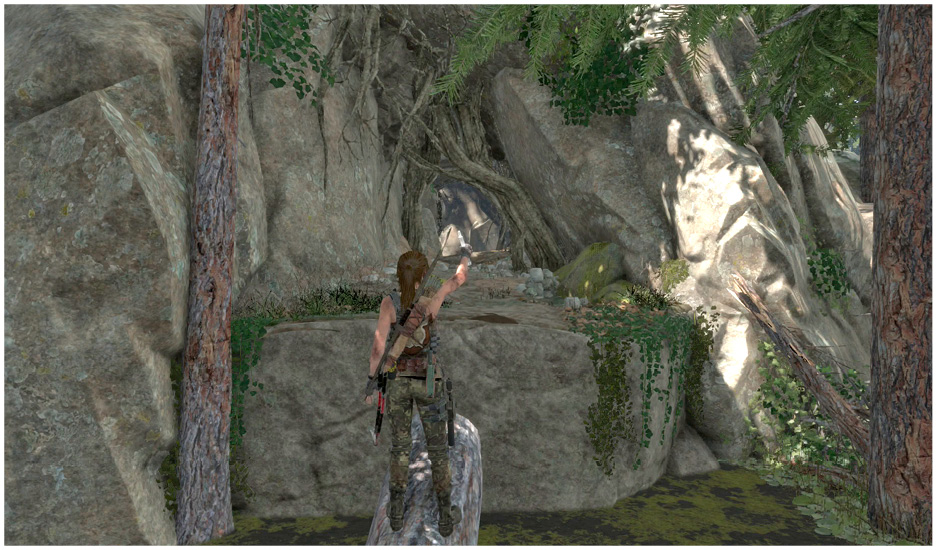
Start at the Aqueduct Ruins camp of Geothermal Valley and look for a large cavern entrance along the eastern wall of the area. Jump from a fallen log to get over to the entrance, and proceed unto the tunnels.
You don’t find anything for a very long time. Pass through quite a few empty rooms until you reach a burial chamber much farther in. Look for a Relic in there.
Then, climb onto the ledge at the back-right side of the room, and press on to find the Aquifer Cavern Base Camp. You’re now next to a fast-flowing river that kills Lara if she jumps into the water. Look on the right side of the riverbank for a Document.
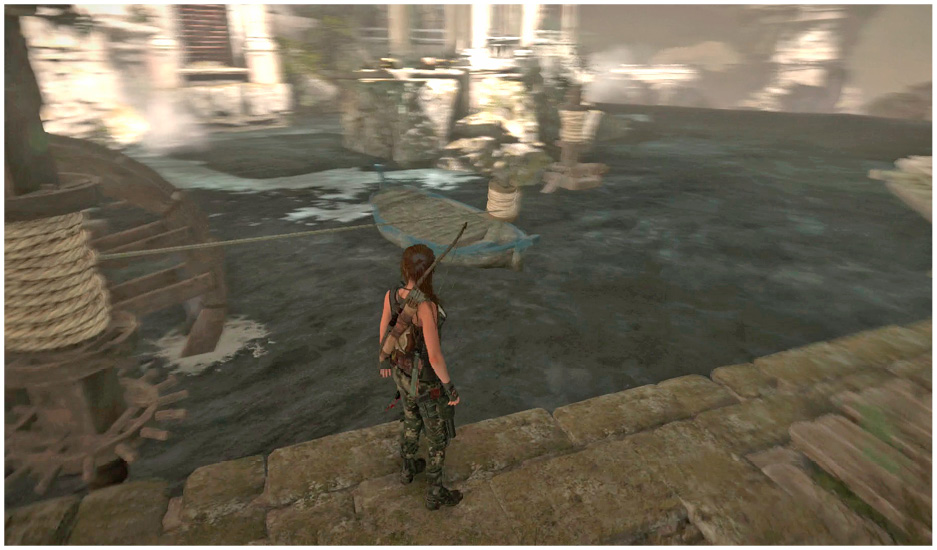
To cross the river, Rope the boat that is close by and tether it to the Post along the water’s edge. The boat floats over and Lara can jump into it without much trouble.
Rope onto the Post that’s on the central island, and jump onto the land as soon as you get close enough to make it. Take too long and the Rope snaps, sending your boat over the edge of a waterfall. While you’re floating over, use the crank on the boat to reel in the Rope, making the process both faster and safer.
Disembark on the central island to collect two sets of Coins and a Document.
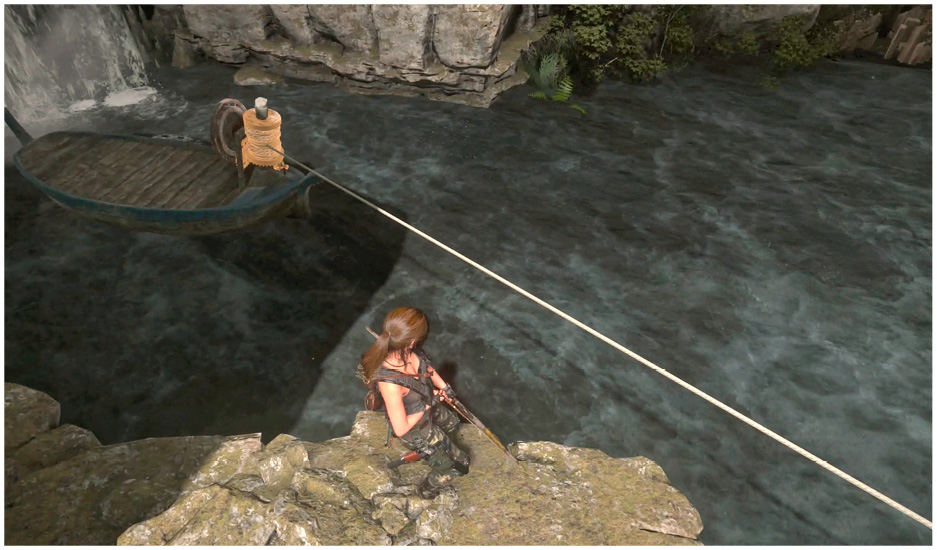
Repeat the Post roping on a new boat that is deployed from the back of the cavern. Jump onto that before it gets close to the Post on the middle island. That gives you more time to tether it to the Post on the other side of the river. Do this and crank it in to reach the next building.
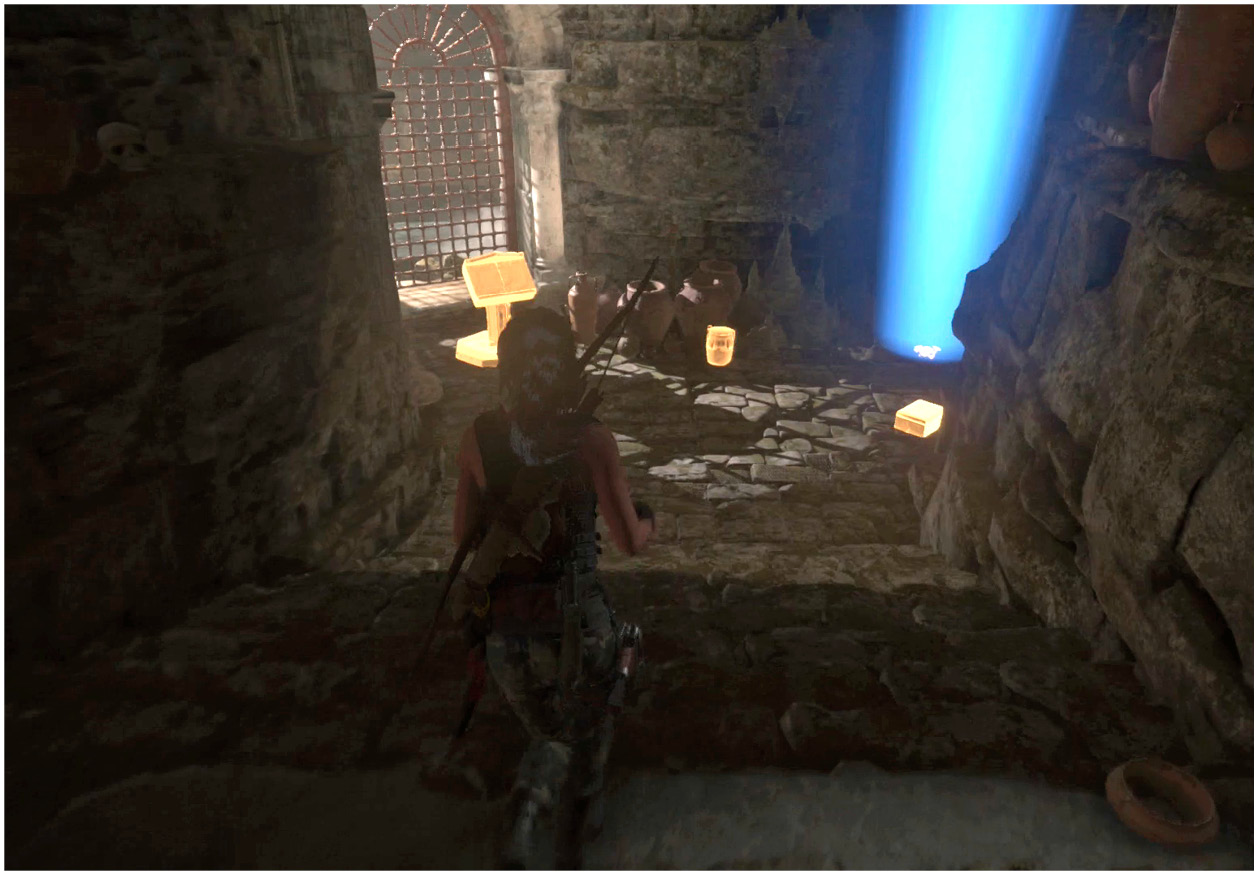
Jump onto the walkway over there and look for an Archivist’s Map, a Relic farther on, and the Codex for this Tomb.
You learn Anatomical Knowledge from this Codex. You can then hunt animals with even greater efficiency. While looking at them with Survival Instincts you can see their hearts. Hold down the left trigger while aiming to prepare a lethal shot against any small- or medium-sized creature.
Break through a weakened wall at the base of the room to escape. You don’t want to navigate that nasty river again!
the pit of judgment
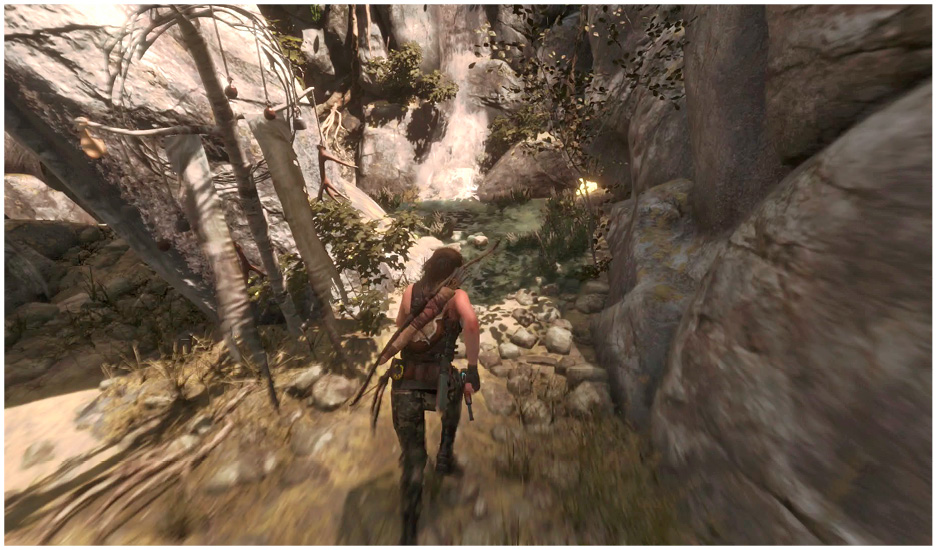
Near the middle of the Geothermal Valley, there is yet one more Tomb to explore. The only one after this point is near the very end of the game! To get to it, start from Valley Farmstead, go down the series of cliffs to the east, and search for a waterfall. Find the path leading underneath it, and walk into a tunnel that drives underneath the mountain.
You soon discover the Hidden Ravine Base Camp. An Explorer Satchel isn’t much farther along. Make sure to look for that as you go. That makes it much easier to find a couple of the better-hidden secrets of this Tomb.
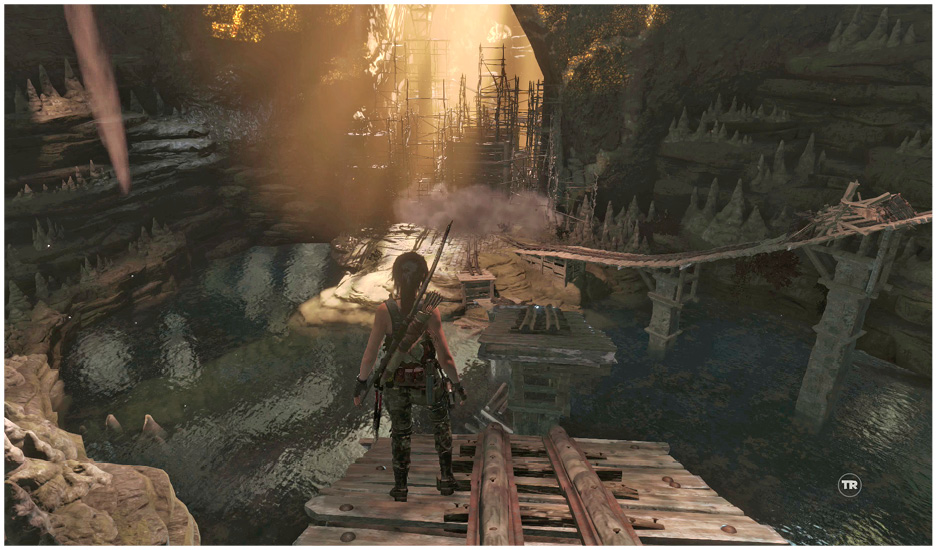
Proceed into the cavern complex, past a jump and climbing area. Get to the other side and then search on the ground for your first Survival Cache.
The path takes you from there farther down. You take a bit of a tumble, but Lara ends up where she wants to go. The bulk of the treasure in the Hidden Ravine is here, in this old mine.
Drop into the water and swim to the other side of the cavern. Get a Survival Cache from the left side of a major barricade. You need something heavy to break through the blockage, and even explosives won’t work.
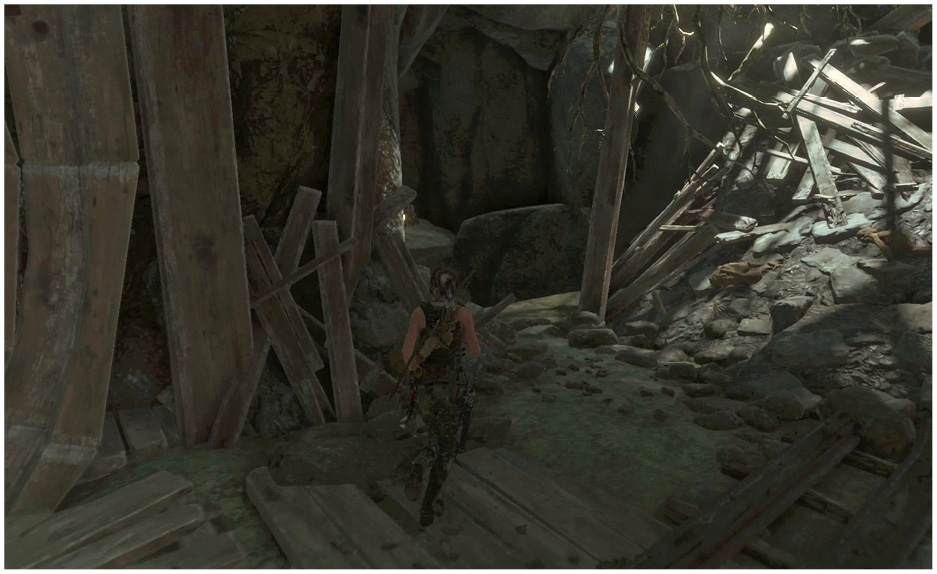
Instead, turn around and take the tracks up to a higher ledge. Though there are two sets of tracks, on the ones on your right (as you turn to face them) are clear. Climb those.
At the top you can take a Relic. Nearby is a Document, and there is also a small corridor to the right that has an Archivist’s Map as well.
Return to the area at the top of the tracks. Look at the minecart. That would damage or destroy the barricade below if you could get it moving! Use the crank on the side to turn the platform underneath the minecart 180 degrees. This unlocks the platform gates. Pull the minecart away from the platform, and then push it the remainder of the way until it coasts down the ramp.
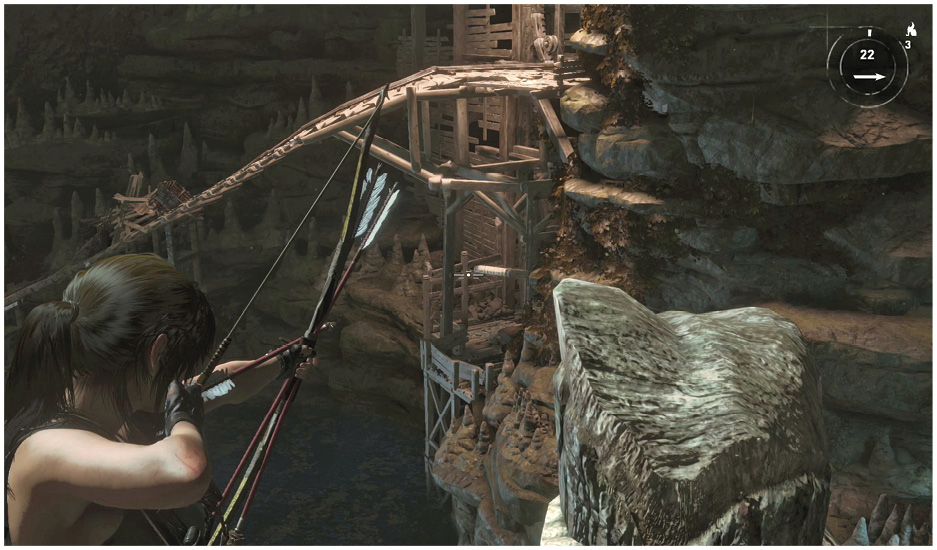
It’s a solid hit, but you don’t destroy the barricade entirely. Go to the edge of the area where you’re standing and form a zip line to the section underneath the other ramp.
Slide down the line and loot a Relic on the bottom floor. Look for a shadowy hallway above you, and jump up there to reach the upper floor. A Survival Cache is buried upstairs.
The last puzzle here is hard to explain but easier to pull off. There are two cranks. One of them rotates the platform and changes between the two floors. The other crank only rotates the platform.
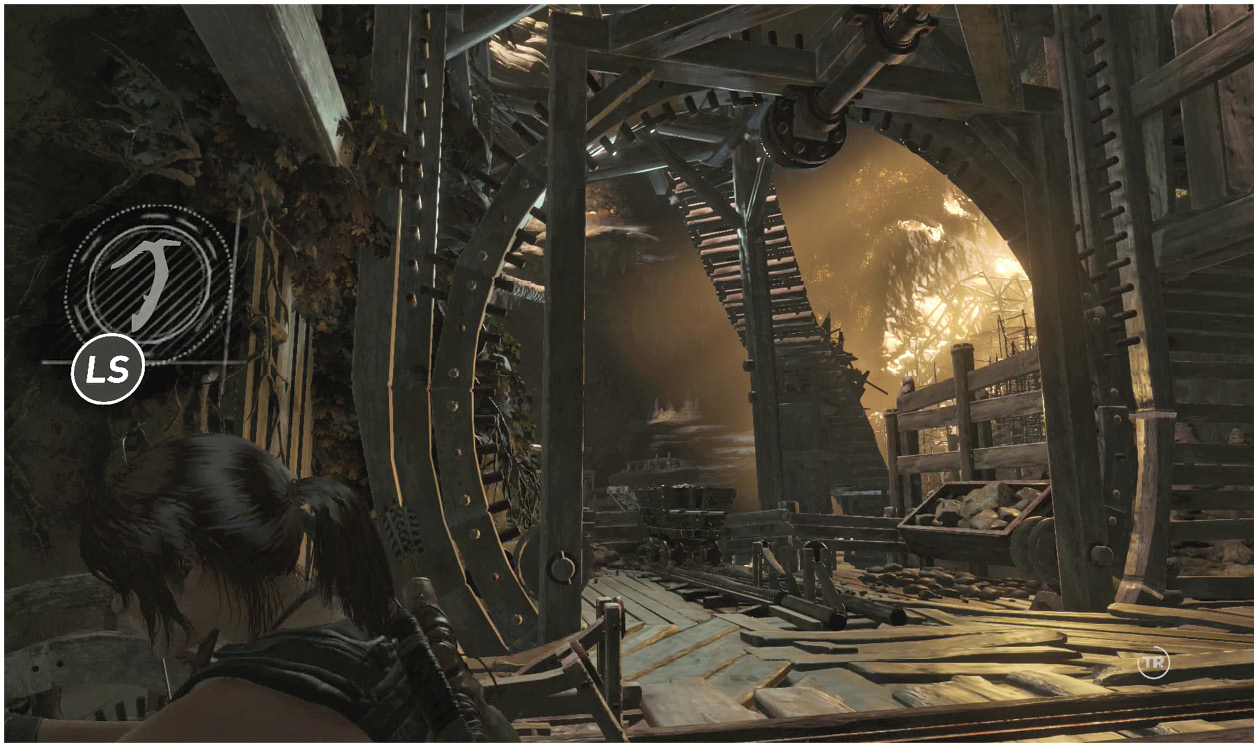
Use the elevation crank to get the platform down to the first level. That’s where the minecart is resting, and you need to have that up higher. When the platform is on the bottom, use the rotational crank to turn the platform until its gate opens. Pull the minecart into position and then let it go.
Now, turn the rotational crank back one step. This sets up the platform to lock right now, but it’ll rotate into place when you use the elevation crank to go back to the top of the ramp.
If you turn the rotational crank in the wrong direction, this won’t work. Go back to the first floor if that happens and turn the crank twice in the opposite direction (once to reset the platform’s position and the other to get it into the correct orientation).
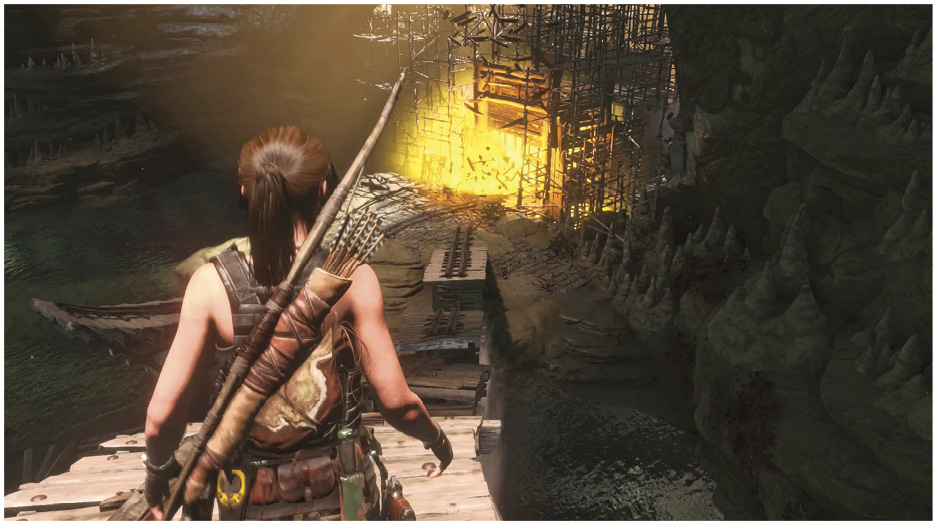
When all is done, pull the cart onto the tracks and then push it over the edge. The minecart flies down the ramp and destroys the barricade.
Follow the cart and loot the last room. It has a Document on the right, after you get through the double obstacle. It also has a Codex with the Geologist skill.
Return to the Base Camp and get out of this place before it falls down around you. The cavern looks like it won’t last another day.