Rise of the Tomb Raider Guide Walkthrough Soviet Installation
Among the Enemy
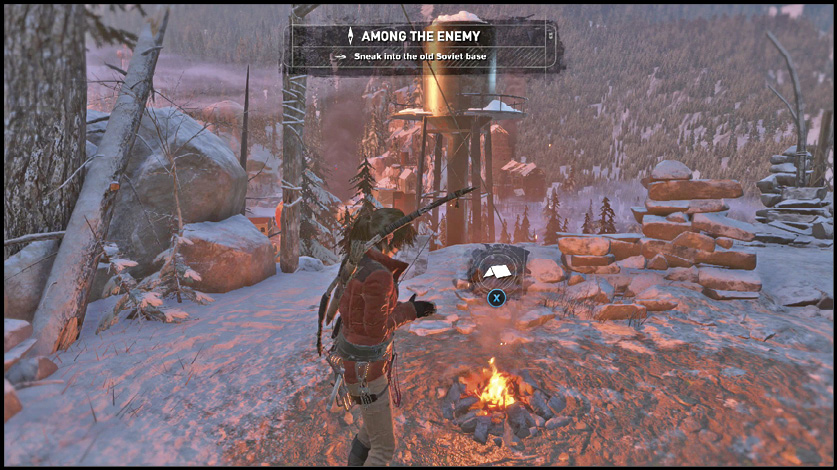
Sneak Into the OldSoviet Base
An old Soviet facility is here, in the alpine forests of Siberia. There are Trinity Soldiers all over the area, but that can’t stop you from moving forward. You can’t afford to stop.
Anyone who even glances at the map for this region is going to realize that there is a lot to do here. There are way more collectible items and side tasks than you’ve seen previously. Relax and take your time going through Soviet Installation; you get so many rewards for being thorough here that it’s more than worth your time. This is the largest and most involved area in the game, and it’s easy to invest hours into it.
A Base Camp is only a few steps along the path. Stop there and do anything that you want. Search the snow on the right side of the platform for a Survival Cache.
To proceed, take a zip line from the cliff’s edge down into the valley. A tall tree and a set of handholds let you climb back up the cliff if you want to reach Base Camp again in the future. Knowing that, you can set off with some confidence.
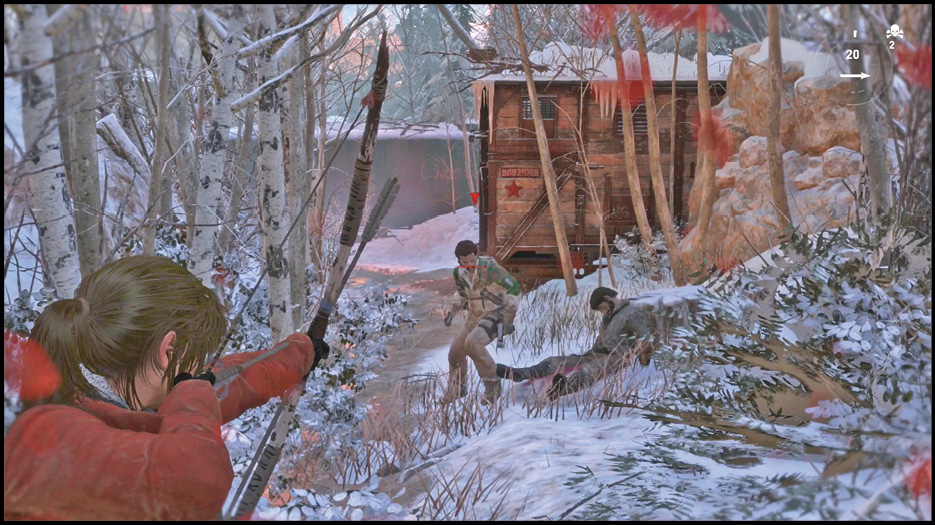
Follow the only path down toward the facility. Trinity Soldiers guard the way, but they’re spooked. They’ve taken casualties, and you can ambush them using distraction techniques, stealthy Takedowns, or your Arrows. Be sure to loot all bodies from your victims, and stay alert.
Two Soldiers are talking in an area not too far down the way. You can easily throw a Bottle as a distraction, and then snipe one guard without them knowing that you’re there. Rush out to use melee attacks and down the second Soldier without firing another shot. When they’re down, search their area for Mushrooms, Hardwood, and a Survival Cache (on the right side). There are also a couple of Salvage crates around the yard. Break them open as you head through.
Jump into the base entrance on the far side of the yard, and then sneak up on the Soldiers that are ahead of you. They won’t have heard any fighting from the path, so this is another chance to stay quiet and get things done however you want.
A brutal way to get inside is to slip into the bushes for concealment. From there, you can shoot the closer Soldier with your Bow when no one is looking. Make it a headshot and it won’t immediately alert anyone in the yard. If you’re a keen shot, take out the Soldier on the balcony above the area next. No one is close enough to hear him die either, and he’s a pain to kill when you don’t have as much time to aim.
Try this again for the next pair of guards. They’re close together, so even a silent kill might not be enough, but a fast second shot can bring down the alerted Soldier before he calls for help.
After that, clear out the rest of the group. If you’re a great shot, this is an incredibly effective way to clear the area.
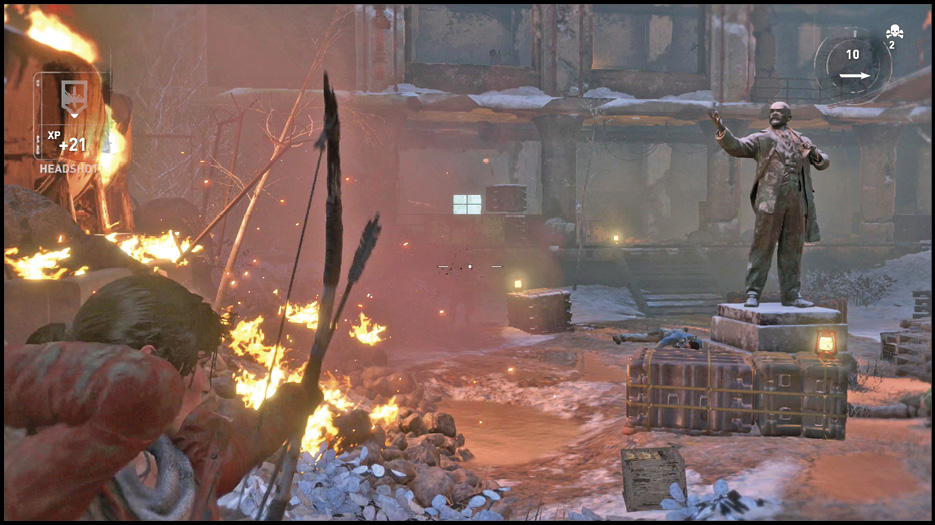
You can also use the many discarded bottles and lanterns around the yard to distract enemies. Get them looking over toward the right and then attack them from behind. If enemies spot you, retreat toward better cover and take the targets carefully, one at a time as you leave cover, attack, and then retreat (healing as needed).
The nice thing about clearing the yard is that you can freely loot everything that isn’t nailed down. There are supplies on the right, and the men are carrying additional Salvage.
Go inside the building ahead and keep your weapons ready. There are even more Soldiers that are likely to spot you when you leave the hallway and get into the first room.
Clear this building and then loot the Document and Strongbox inside. They are upstairs, on the far side of the chamber. View the Mural at the top of the staircase as well.
Take the walkway from the balcony toward a ladder that’s only a short sprint away. Climb that and go around the building using the catwalks. One of the sections breaks when you try to get over to it, but Lara can catch herself if you’re quick with your reflexes. Jump from there to the left and pull yourself to the top of this upper floor.
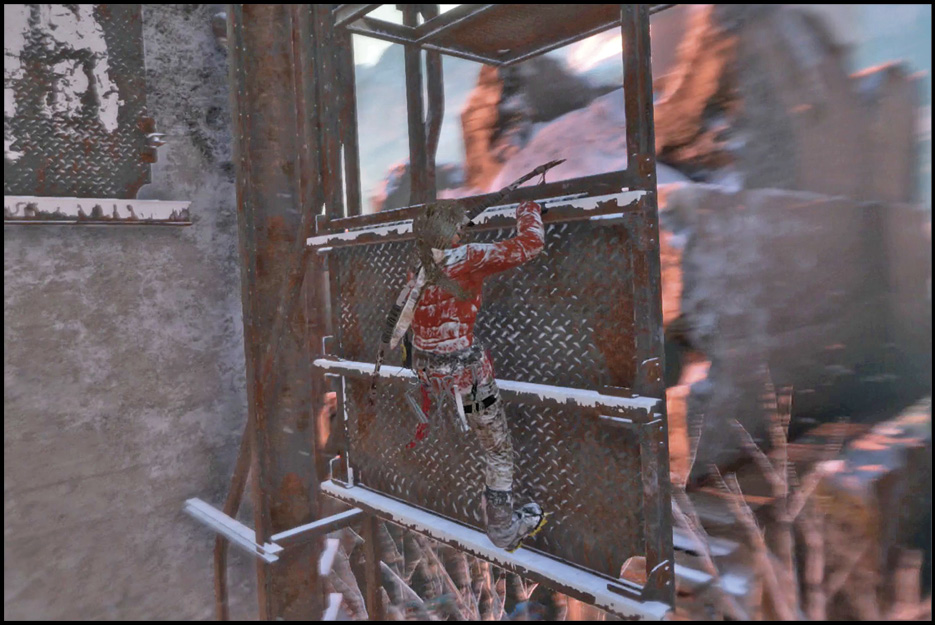
You find a zip line that gets you into the next section of the base. Take it down to the second building. You wind up in a damaged basement with rats and some minor Salvage. Grab a discarded lantern and throw it into the blocked exit so that you can burn it open. Escape through there and grab a Pistol from a dead man in the next room.
Sneak over toward a window on the left and look for a couple of Soldiers who are interrogating a prisoner. Shoot them with your new weapon to try it out. Luckily, it works. Bullets can break through glass and still hit their target.
Search this room for a Russian Document (The Iron Road). Take that, and look for a yellow canister. You need an Oil Flask to mess with this, but it’s worth noting for later.
Finish searching and jump through the broken window into the Soldiers’ room. Loot the slain men and talk to their prisoner. Look at the two doors in here. The one on the right requires a Lock Pick. You have to come back later for that, and there isn’t anything important inside there anyway.
The door on the left takes you into a storage room. Get more ammunition there, and then climb through the small window above Lara to get into a warehouse. A scene follows. When it ends, you’re inside the warehouse with several guards patrolling nearby. Get ready to fight them.
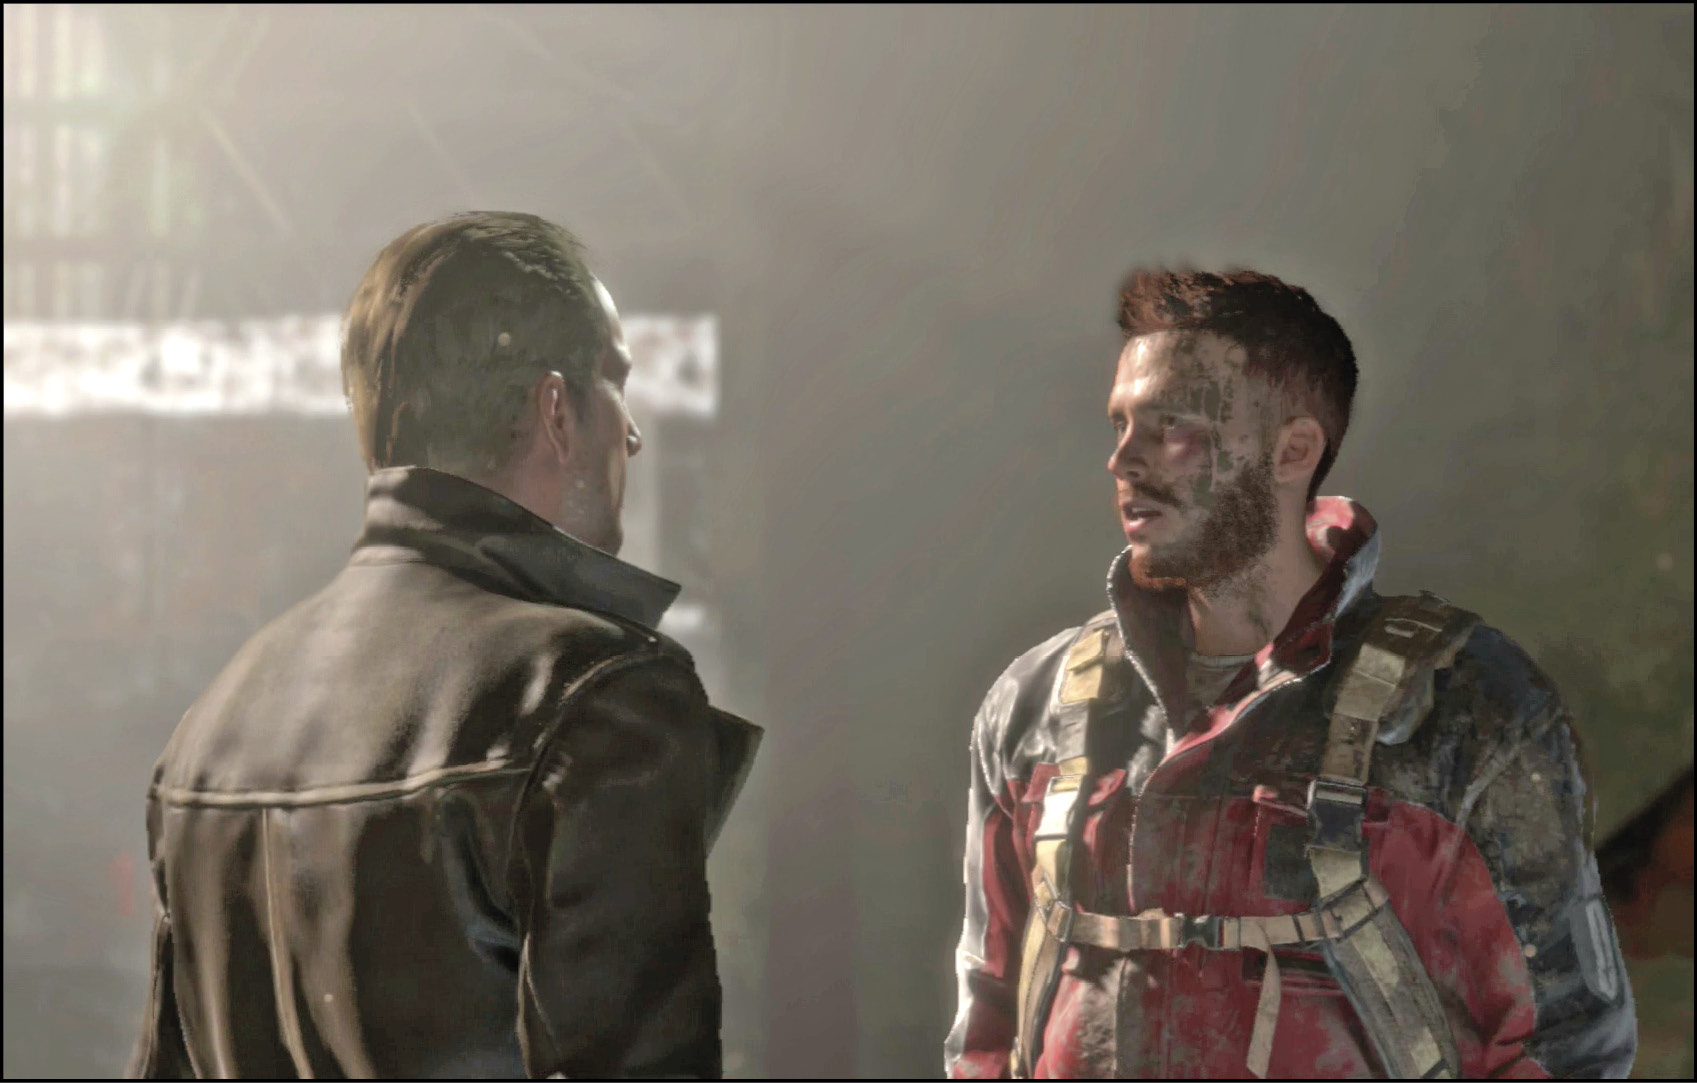
Stay behind cover while deciding on your plan of attack against the guards. It’s best to clear one side of the room first so that you don’t get flanked by multiple attackers. The guard closest to you, on the left, is the best initial target. Kill him with a Takedown when he’s walking away from you. Or, use a Bow attack and make sure that you get a headshot to keep things quiet.
For your next trick, eliminate the Soldier on the catwalk. Use Survival Instincts if you don’t see him. That guy can hit you even if you’re behind cover (because he’s above you). That makes him a priority target.
Use your Bow to start the real battle against everyone else. If you throw a Bottle toward the other end of the warehouse before initiating your attack, you might even get a couple of kills before being discovered!
There is a box of ammunition by one of the corners. Get that once you’ve defeated the group of Soldiers, and search the bodies as well. An injured man is on the floor, and you can give him a mercy killing if you wish. If you still need more ammo, look on the upper walkways for two more boxes, near two opposing corners).
To leave the warehouse, take a lantern from one of several spots in the room and throw it onto a canvas and some oil by the far wall. Let that explode, and then take a defensive position. More Soldiers attack.
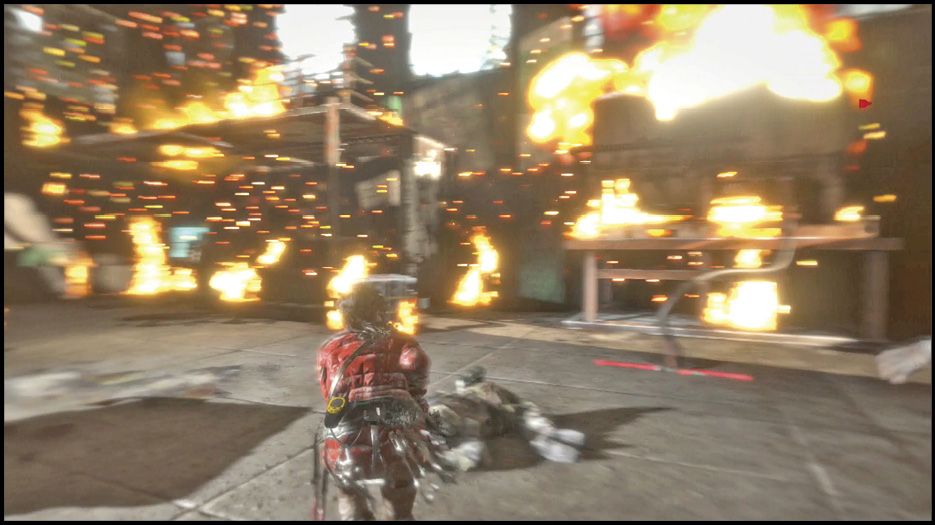
Kill the two men outside (one charges while the other takes up a defensive position). Hide outside the shooter’s line of sight so that the first guy comes to you alone. Fight him off and then shoot the red barrel of fuel next to the Soldier outside. He lights up in a split second, and that’s that for now.
Examine the Mural on the right as you walk outside. Jump over the gate at the end of the courtyard (via the opening on the right), and take a breather at the new Base Camp you uncover.
Break camp and go through the snowy yards that lead toward the next building. Walk slowly if you’d like to catch some rabbits or hunt a few birds there, and look for a broken section of fence on your right (before you reach the guard tower). Go through the fence and look for more ammo and an old cargo container with a Relic inside (Rosary).
Climb the guard tower at the end of the yard to survey your surroundings. A zip line suspended from the tower takes Lara to the east.
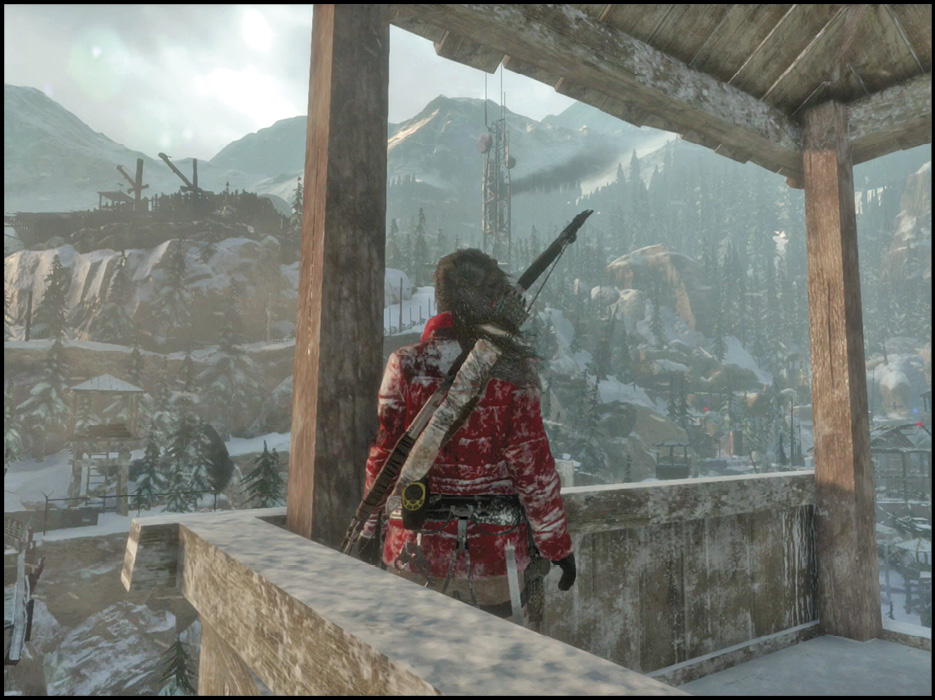
Find a Way Into the Old Prison
There is yet another Base Camp where you land. Use that, and then look at the large box by the wall. Try to open it if you like, but it doesn’t do any good. You need a Lock Pick to get that sucker open. It’s bound to have something good inside! The man nearby lets you start an optional Mission that lets you get said Lock Pick, so think about doing that while you’re in the region.
You’re in another large, wilderness area now (like the Siberian Wilderness). You can rush to the objective if you want, or you can stop and gather tons of good items. There are so many things to find that we can’t list them all here; you need additional tools to get quite a few of them, and there is a great deal of backtracking if you want to get 100% of the rewards. Much like the Missions, the routes and locations of these treasures are located in “Collecting Treasures.”
After the Mission is complete, set your sights on the real objective. Travel to the eastern side of this area, discover the new Base Camp along the ridgeline if you haven’t already done so, and then make your way toward higher ground. Reach the camp by climbing a massive tree and then jumping across to a plateau up top.
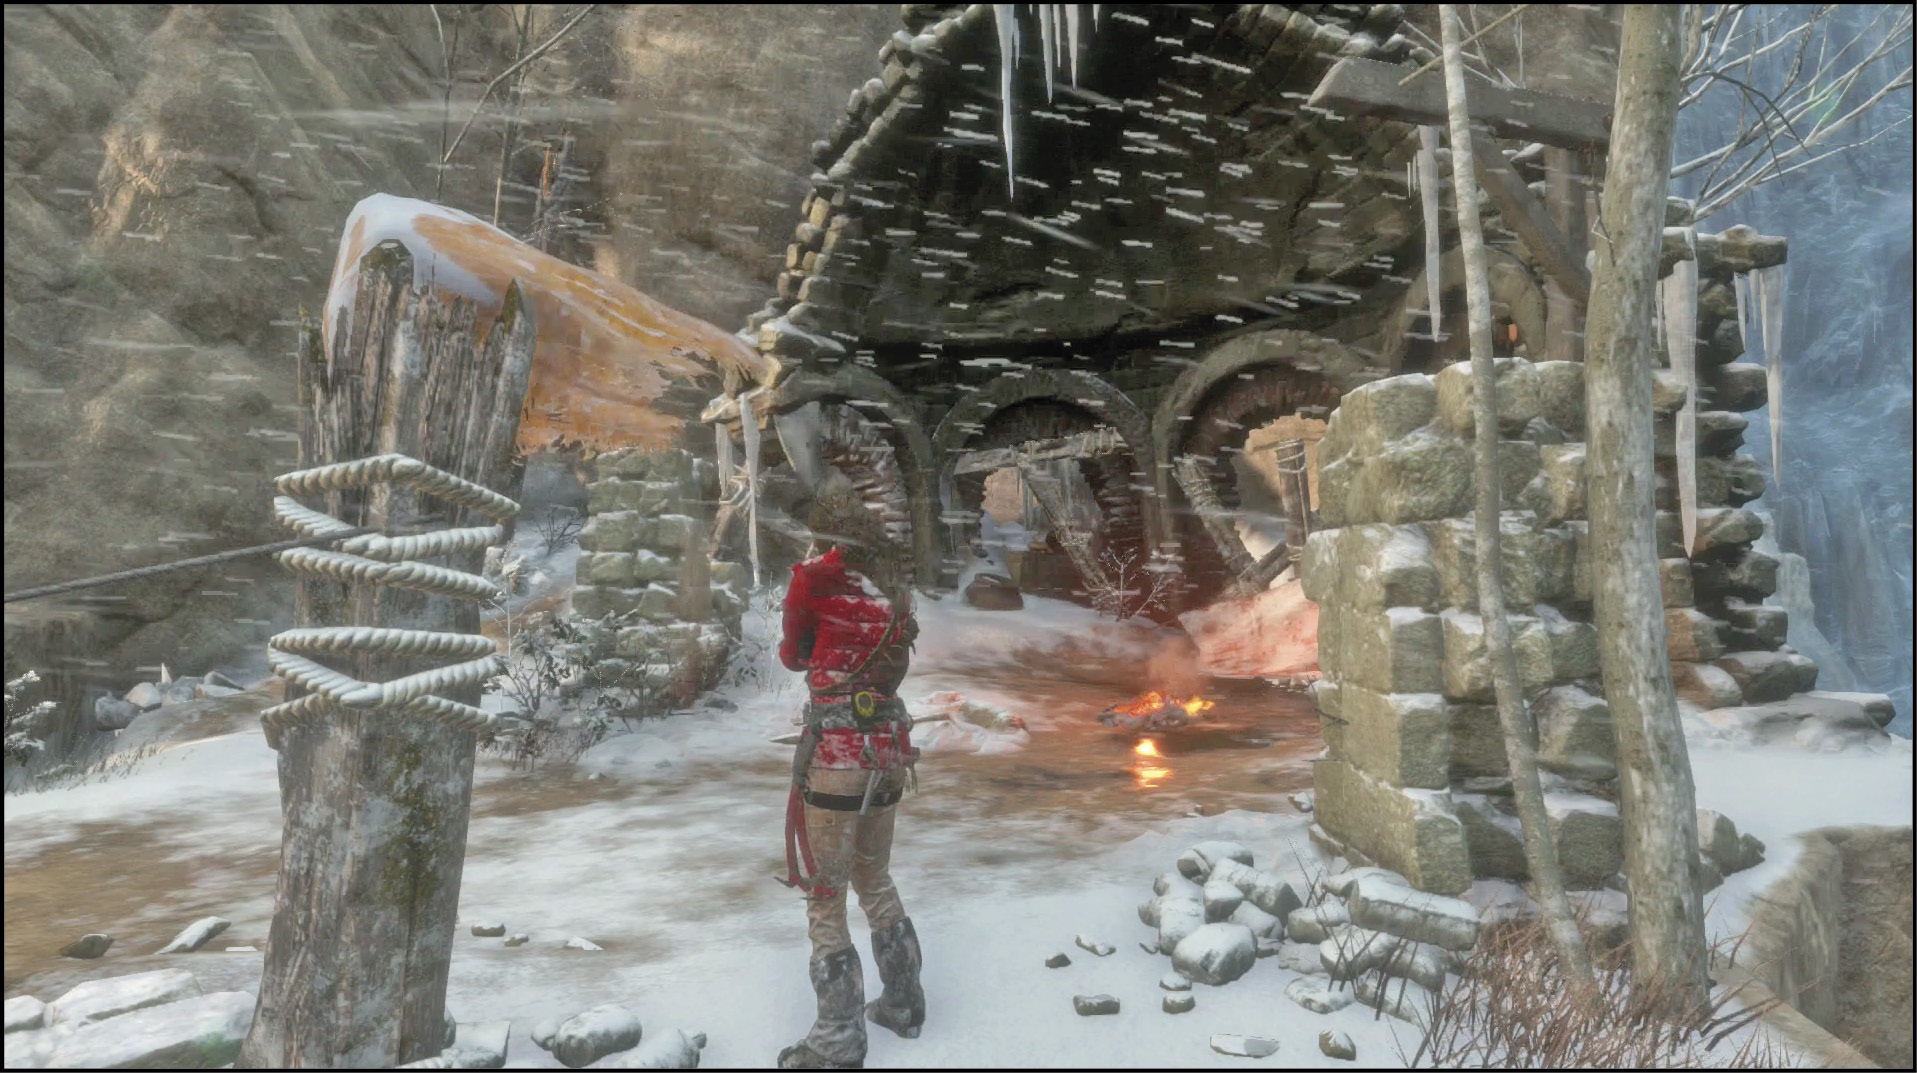
From the new Base Camp, travel northwest along a stony ledge. Jump and climb over the gaps in the pass, and look for your objective marker using Survival Instincts if you get lost. The wooden planks are rotten as you start to get closer to your goal, and a section of bridgework gives way underneath Lara. Jump quickly to survive, or skip the bridge entirely by climbing the rockface on your right before you get to the bridge. That way is much easier to deal with.
Both routes soon take you to the top of the area. Search for Salvage and crafting items on the way up, and then get to your objective.
Use the Communication Cables to Zip Line into the Prison Grounds
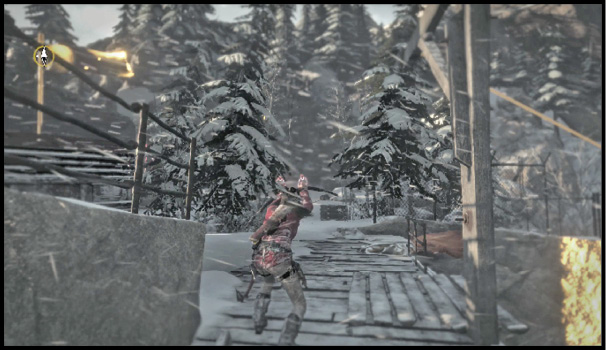
Trinity troops are guarding the plateau up north. Get your weapons ready and ambush these men. Two are near a Base Camp on your right when you reach the summit. Another is off a short distance into the woods. The first two can be killed without them getting a chance to fight, so the third man is easily isolated and then eliminated.
Use the Base Camp to rest briefly. Nearby is a Monolith that requires considerable Russian skills to translate. On the other side of camp is a Supply Shack.
Go through the supply building and use the back exit to get to a tower. Climb up to the next tier of the tower and use a zip line to get into the prison.