
Prima Games eGuides
primagames.com Browse Redeem a code Help
Rise of the Tomb Raider eGuide
Sign in My Guides

Sign in or create an account

We'll email you a link. No password needed, and if you don't have an account yet, the link makes one.

By creating an account or signing in, you agree to our Terms of Service and Privacy Policy.

Have a password?

Had an account on the old eGuides site, or a code from a printed guide? Help and troubleshooting

Sign in with a password

By signing in, you agree to our Terms of Service and Privacy Policy.

Check your email

A sign-in link is on its way. It works once and expires in 15 minutes. Open it and you're in, with an account if you didn't already have one.

Contents

  • Combat and First Aid Basics
    • Overview
    • Game Difficulty
    • Movement
    • Zip Lines
    • Combat
    • Progression and Collections
  • Skills
    • Overview
    • Brawler
    • Hunter
    • Survivor
  • Guide to Survival
    • Overview
    • Controls
    • Menus
  • Weapons and Outfits
    • Bows
    • Handguns
    • Rifles
    • Shotguns
    • Axes
    • Outfits
    • Equipment and Upgrades
    • Ammunition
    • Improvised Weaponry
    • Crafting Ingredients
  • Walkthrough
    • Summary
    • Mountain Peak
      • Summary
      • Ascension
    • The Prophet's Tomb
      • Summary
      • The Lost Tomb
    • Siberian Wilderness
      • Summary
      • A Cold Welcome
      • Echoes of the Past
      • Best Laid Plans
    • Glacial Cavern
      • Summary
      • The Lost Expedition
    • Soviet Installation
      • Summary
      • Among the Enemy
      • Prison Break
      • The Way Out
      • Get Out of Dodge
      • Alone Again
    • Abandoned Mines
      • Summary
      • Shortcut
    • Geothermal Valley
      • Summary
      • Warming Up
      • Prepare for Battle
      • To the Tower
    • The Acropolis
      • Summary
      • Into the Acropolis
      • Reach the Tower
      • Back to the Forest
      • Silent Night
    • Flooded Archives
      • Summary
      • The Cathedral
      • Rising Tide
      • Escape the Archive
      • The Gathering
      • The Rescue
    • Research Base
      • Summary
      • Tracking Down Trinity
    • The Orrery
      • Summary
      • Path of the Deathless
    • Path of the Deathless
      • Summary
      • Through the Glacier
      • Into the Hidden City
    • The Lost City
      • Summary
      • The Frozen City
      • Gate Crasher
      • You Shall Not Pass
      • Ascension
      • The Divine Source
  • Major Characters
    • Lara Croft
    • Jonah
    • Ana
    • Konstantin
    • Jacob
    • Sofia
    • Wildlife
    • Enemies
  • Collecting Treasures
    • Overview
    • Mountain Peak
    • The Prophet's Tomb
      • Syrian Cliffs Base Camp
      • Syrian Catacomb Base Camp
      • Syrian Tomb Base Camp
      • The Prophets Tomb Challenges
    • Siberian Wilderness
      • Wilderness Refuge Base Camp
      • Siberian Wilderness Challenges
    • Glacial Cavern
      • Mongolian Passage Base Camp
      • Glacial Cavern Tombs
    • Soviet Installation
      • Installation Vista Base Camp
      • Train Yard Base Camp
      • Logging Camp Base Camp
      • Cistern Cavern base camp
      • Hidden Refuge Base Camp
      • Communications Tower Base Camp
      • Gulag Base Camp
      • Copper Mill Yard Base Camp
      • Copper Mill Bridge Base Camp
      • Frozen Gorge base camp
      • Soviet Installation Tombs
      • Soviet Installation Crypts
      • Soviet Installation Missions
      • Soviet Installation Challenges
    • Abandoned Mines
      • Excavation shaft Base Camp
    • Geothermal Valley
      • Valley Farmstead Base Camp
      • Ruins Encampment Base Camp
      • Ridgeline Base Camp
      • Cathedral Courtyard Base Camp
      • Cliffside Lookout Base Camp
      • Whirlpool Sanctuary Base Camp
      • Infirmary Base Camp
      • Hidden Ravine Base Camp
      • Aquifer Cavern Base Camp
      • Geothermal Valley Tombs
      • Geothermal Valley Crypt
      • Geothermal Valley Missions
      • Geothermal Valley Challenges
    • The Acropolis
      • Remnant Bazaar Base Camp
      • Riverside Landing Base Camp
      • Tower Courtyard Base Camp
      • Acropolis Challenges
    • Flooded Archives
      • Chamber of Records Base Camp
      • Greek Fire Depot Base Camp
    • Research Base
      • Weather Station Base Camp
      • Soviet Facility Base Camp
      • Research Base Challenges
    • The Orrery
      • Solemn Crevasse Base Camp
    • Path of the Deathless
      • Hall of Guardians Base Camp
      • Icy Bluff Base Camp
      • Path of the Deathless Challenges
    • The Lost City
      • Threshold of Kitezh Base Camp
      • Citadel Plaza Base Camp
      • Geothermal Caverns Base Camp
      • The Lost City Tombs
      • The Lost City Crypts
      • The Lost City Challenges
  • Lara's Search Continues
    • Introduction
  • Achievements
    • Special Achievements
  • Surviving Expeditions
    • Overview
    • The Basics
    • Tips for Specific Expeditions
  • Maps
    • Prophet's Tomb
    • Siberian Wilderness
    • Glacial Cavern
    • Soviet Installation
    • Abandoned Mines
    • Geothermal Valley
    • Acropolis
    • Flooded Archives
    • Research Base
    • The Orrery
    • Path of the Deathless
    • The Lost City

Rise of the Tomb Raider Guide › Walkthrough › Soviet Installation

Get Out of Dodge

Fight Through the Trinity Base tothe Old Train Station

Search the room above the sewers. You find an Archivist Map and a Document (Fieldwork). Get these and break out of the room using your Axe. The next room has a box with an exciting Relic in it (Hero of the Soviet Union Medal).

Stand by a crank with your Bow at the ready. Shoot at the Rope Coil that’s off in the water, and then turn the crank to suspend the whole thing above the waterline. This takes some electrical line out of the water, allowing Lara to cross without getting fried in the process.
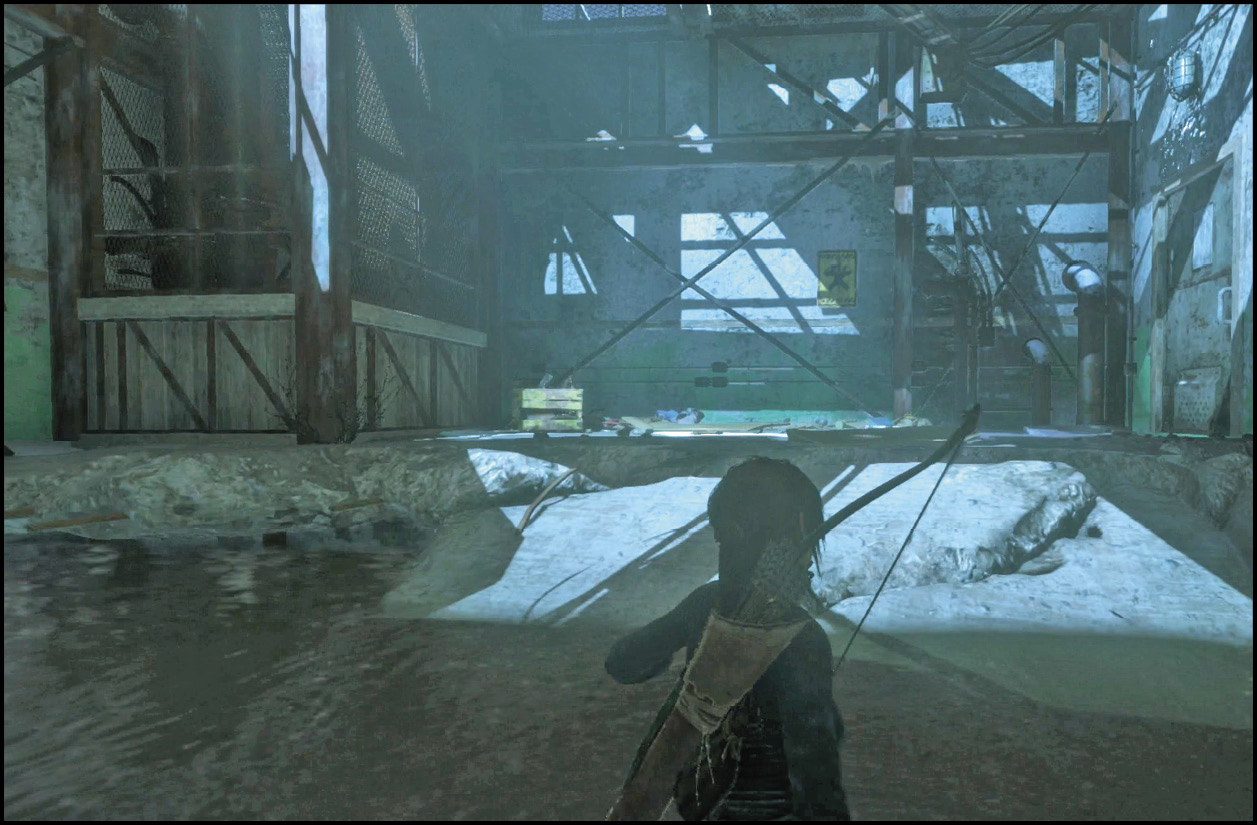
Open the yellow box when you reach the far side and then break open the door. Battle commences almost instantly. There are three gunmen outside the room, and there are more on their way. Lara gets to disarm the first guard as part of a cutscene, but shooting him is all your responsibility. Take cover afterward and cautiously perforate his buddies so that they don’t get any free shots against you.
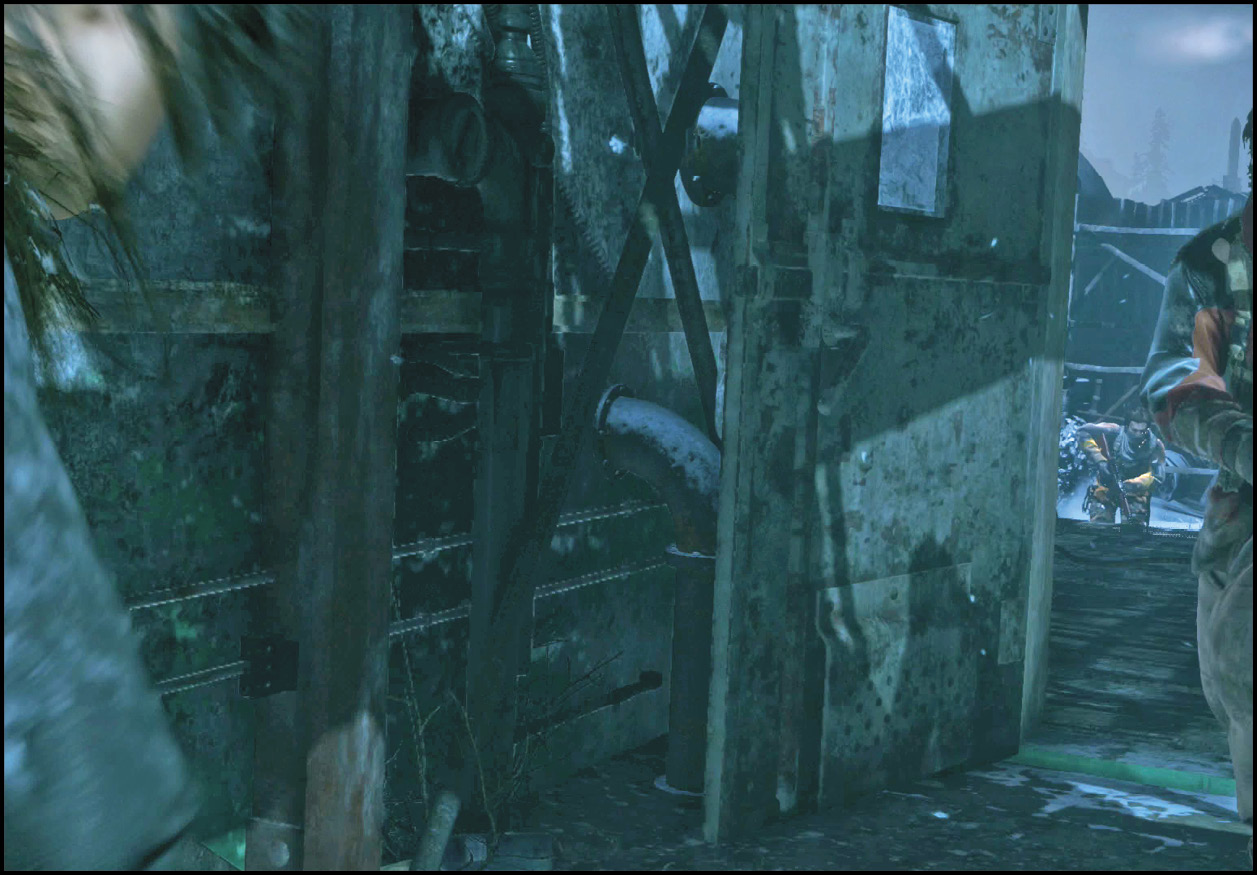
Armed to the Teeth

You now have an Assault Rifle. This is a great weapon for fast-firing attacks and taking out multiple targets that are pushing your position. It eats through ammo quickly and doesn’t have as much damage per shot as an aimed Bow attack, but that’s no big deal. Use the Bow and Pistol for precision attacks, and switch to the Assault Rifle when you’re caught out in the open and just need to blow through targets to survive.

Another perk of Rifles in general is that ammo for them is all over the place. Every Trinity agent you kill is likely to have some ammo, so Rifles are your best weapon to use while building back your supply of Arrows, Pistol bullets, and Shotgun shells. Not that you have a Shotgun. Yet.

Follow the only path forward and loot bodies and crates for ammunition as you go. There is more than enough to go around, so feel free to spray the two Soldiers in the next yard with a hail of bullets.
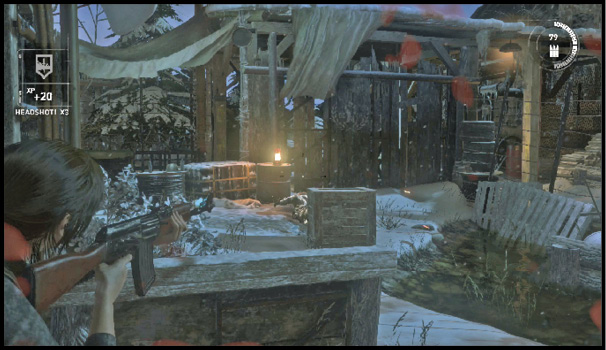
Two more men are in the adjoining building. They’re close to a barrel of gasoline, which you can shoot to kill them easily. Lara gets pinned down when she leaves that building, but you’re shown how to create improvised explosives. When the scene ends, use your new skill to craft a Shrapnel Grenade, and throw it at the attackers to silence them.
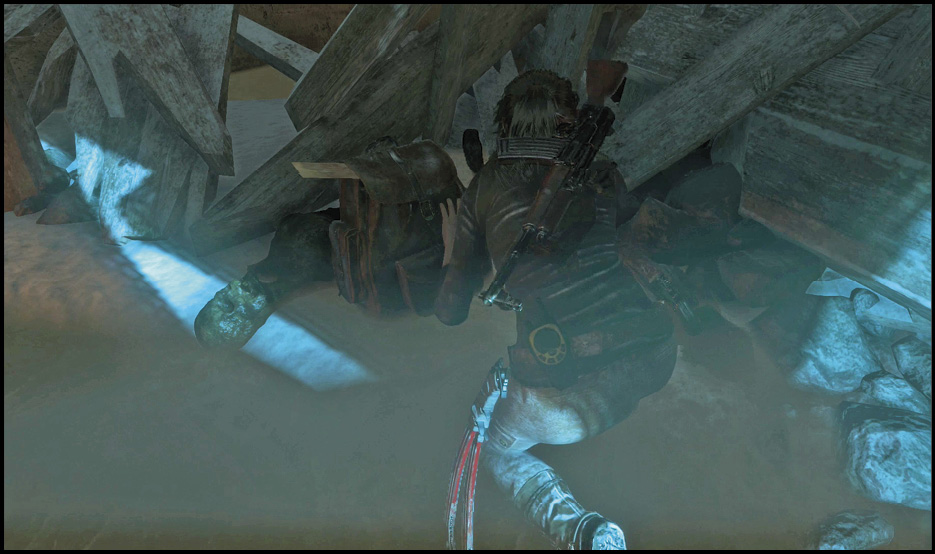
Homemade Grenades

To make a Shrapnel Grenade, pick up a Can and use the right bumper to craft it into a Shrapnel Grenade. Players who take more Survival skills get the most experience and damage out of these thrown items.

Experience Advantages

Lara gets more experience if she plays to her strengths. Your skill choices determine the types of kills that give Lara the most experience; if you have skills for crafted items, then Shrapnel Grenades are a great way to kill groups of enemies. On the other hand, a sharpshooter who gets bonus experience for headshots is going to benefit from picking people off carefully.

There is no single, correct answer. The game gives you many options for survival. Choose the path that you find the safest and/or the most enjoyable!

As a counterpoint, players on higher difficulties should try NOT to think about efficient experience from their kills. For them, getting through the fight without dying is more important. It’s better to use the most effective weapon or trap for any given situation if you’re worried about dying.

More Soldiers lie in wait, inside the next building. Fight carefully through them, and watch for a locker with extra items and a Document (The Fearful and the Lost). A cubby on the right also has a Red Laptop to destroy. Deal with these before leaping down through a damaged section of flooring at the end of the path.

You discover an Explorer’s Satchel below. It reveals multiple Survival Caches in the prison (and a Strongbox far to the south).

Advance through the area under the buildings, and break out into the snow. A Base Camp is there (The Gulag), and you make radio contact with Jacob briefly. Don’t let your guard down; there are still plenty of Trinity Soldiers close by. You can use the Base Camp, but don’t tarry for long.

Break camp and walk forward, toward an old gate. There’s barely enough room to squeeze through, but Lara can do it. You lose the advantage of surprise almost instantly, because Trinity people were waiting for you here. The lights come on, and you’re forced to race for cover by the rocks ahead. This fight is going to get ugly.
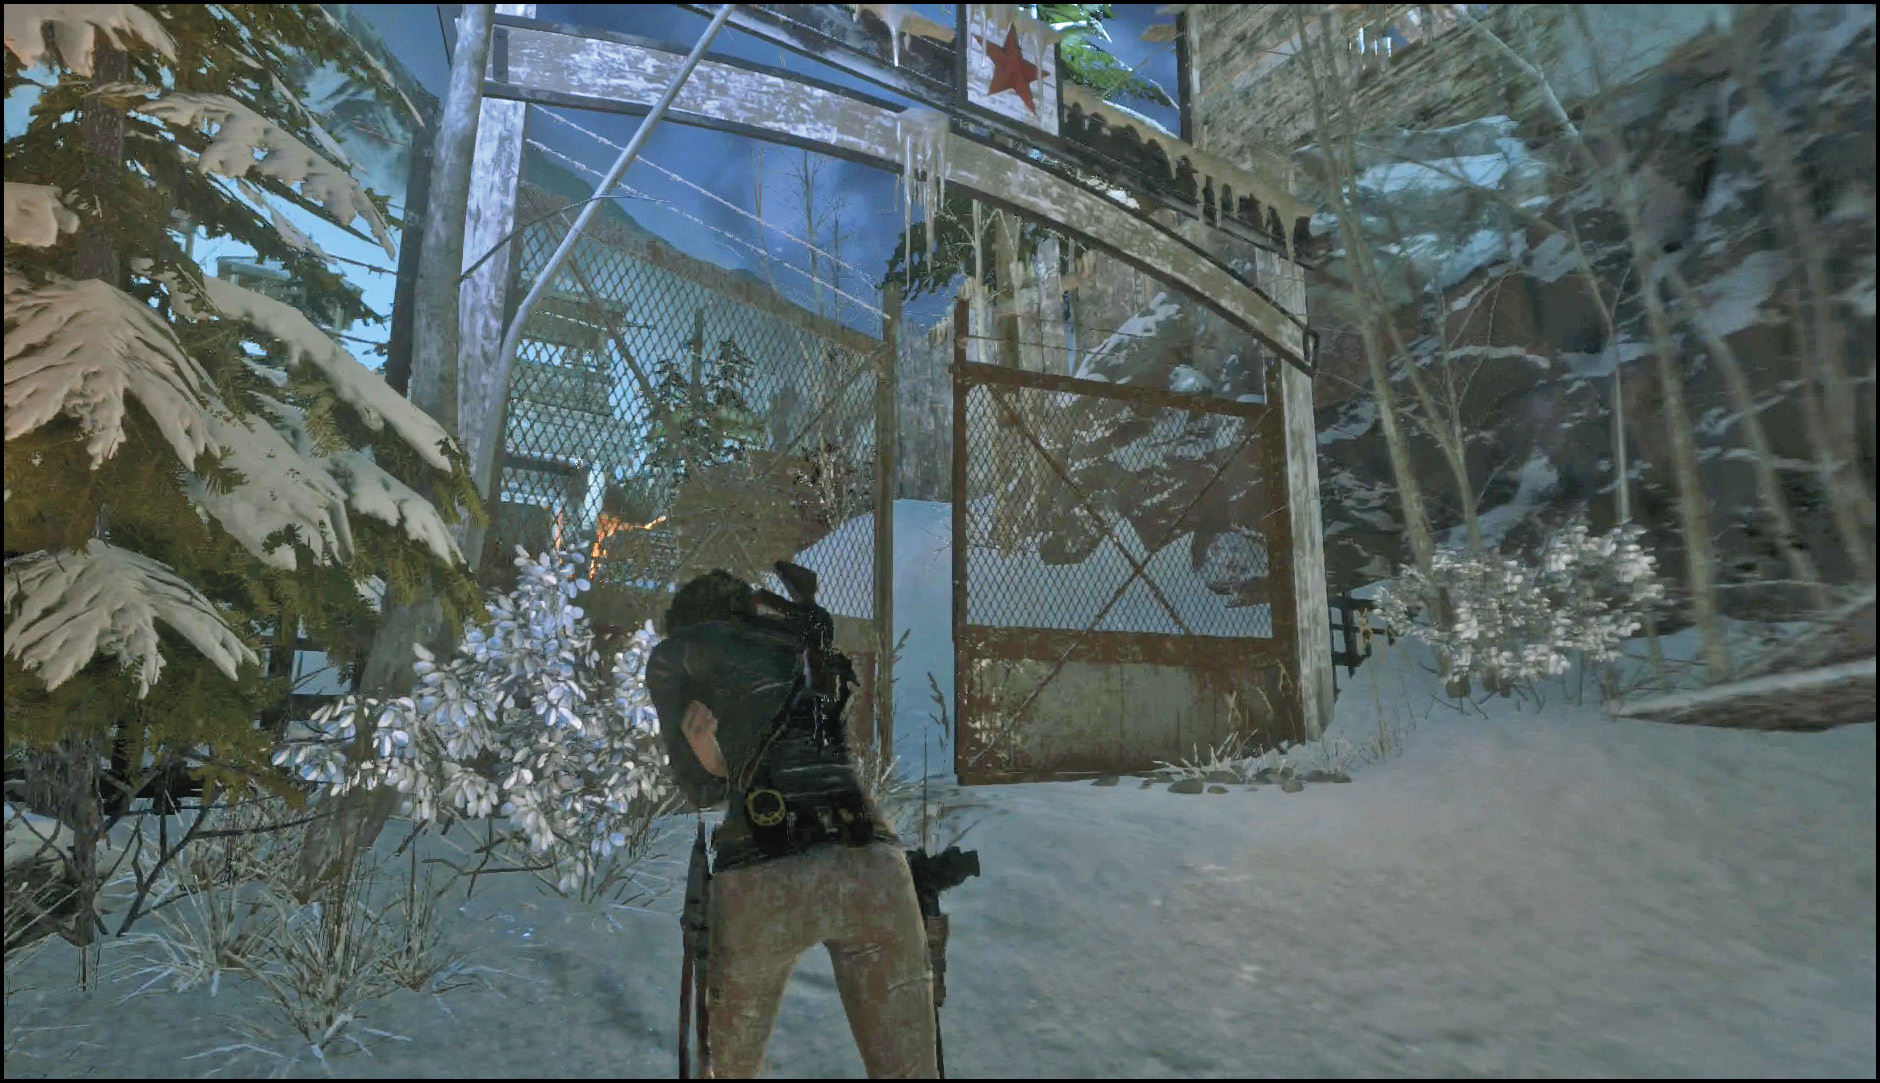
Switch to your Bow during this ambush and then pull down the structure in front of you using the Rope Coil by the balcony. This kills one gunner who is up there, and it can kill another Soldier underneath if you’re fast enough.

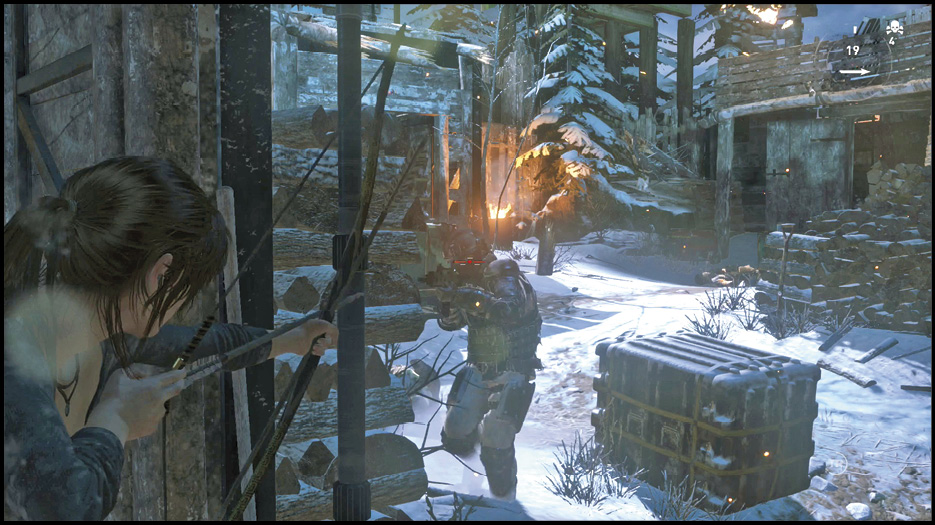
More Soldiers attack from the bottom level. Stick to cover as often as you can and thin their numbers. This isn’t a race, and reinforcements come in from the right; watch out for them. You can’t afford to advance until all of the Soldiers in front are dead. Even then, only creep forward enough to reveal individual targets on the right. Eliminate them, look for new enemies, and repeat until the coast is “clear.”

If your cover is compromised by a grenade, dash between the rocks in the center and a wooden wall on the right. Both offer limited protection, and there isn’t much open space between them. Though the wooden wall blocks line of sight well, the enemies can shoot through it to some extent. Don’t stay there for long and think that you’re safe. You are most certainly NOT.

Late in the fight, Armored Troopers come out of their barracks.
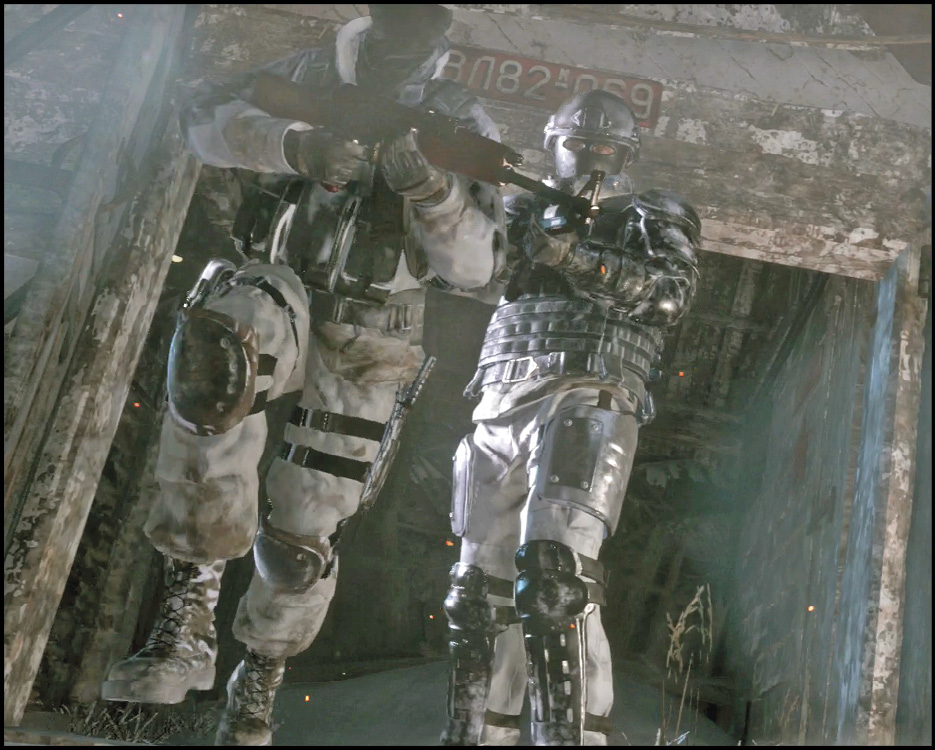
Pounding Through Steel

You’re squaring off against a couple of regular Trinity Soldiers and two Enforcers. This is not the time to snipe. Use Cans to craft Shrapnel Grenades immediately, and hurl them into the mass of enemies. Use both of the Cans that are near Lara when the Enforcers attack.

Then, switch to Poison Arrows. These make life very difficult for the Troopers and give you time to pour ammo into them with your Rifle. Switch back and forth between the Bow to poison them, and the Rifle, to finish them off.

This tactic works very well at all difficulty levels. This is probably the first truly mean fight that you come across. If you can beat it without dying, you should feel pretty darn awesome. If you do take a few too many bullets, come back and try again. Knowing the layout of the area makes the fight much easier to survive.

There is a gas generator on the left side of this yard, if you’re looking for a trap to shoot. That nails anyone who is standing too close to it.
After the battle, search for a couple of Red Laptops, crafting items, and Salvage. Then, follow the objective marker to the next part of the area.

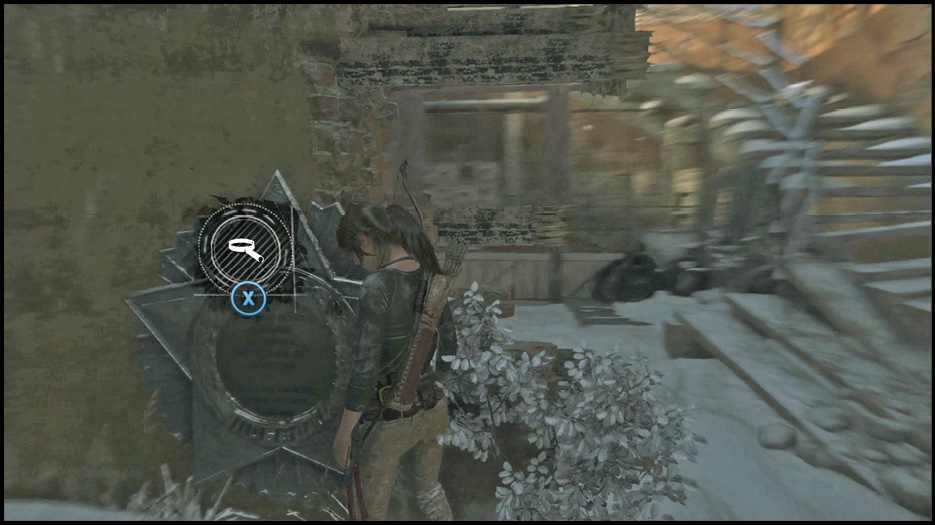
A building with slain Soldiers is ahead. Go inside and destroy the tenth Red Laptop, finishing a Challenge. You also get a Document (Wounded). You find a Relic (The Game) on the lower level of that building. Jacob isn’t around, so you have to keep looking for him. Outside, you discover a Mural on a damaged wall.
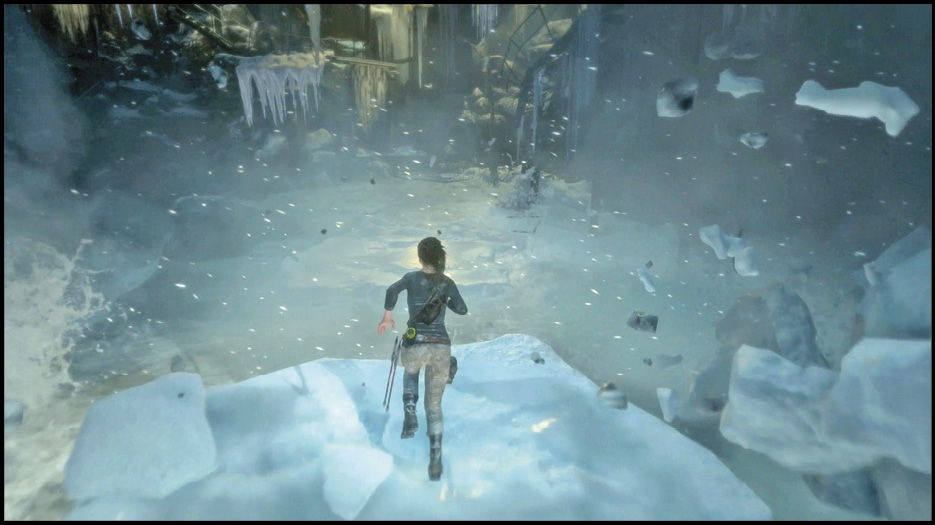
Take a deep breath before you get onto the train car by your objective marker. Doing so sets off an extended chase scene. You won’t have to fight or make any complex decisions; it’s more of a psychotic dash to survive. This isn’t something that strategies will help. Sprint quickly, make your jumps, and swim as fast as you can when you fall into the river. Watch the scene that unfolds when you finish it all.
Keep reading with a free account

The first 3 sections of Rise of the Tomb Raider are open to everyone. An account opens the rest of it, and every other guide in the archive. It's free, and there's nothing to buy.

Bought guides on the old Prima Games site? Your account and every guide you own moved here, so there's nothing to buy again. Sign in.

Create a free account Or browse our free guides

PreviousThe Way Out NextAlone Again