
Rise of the Tomb Raider Guide Collecting Treasures Soviet Installation
Soviet Installation Tombs
the red mine
While climbing the old copper mine building, you get to a section where Lara learns how to make Molotov Cocktails. To reach this Tomb, finish that area, climb a small ramp, and then jump to a ledge that is behind your position. Vault from there over a gap and to the higher floor of the building you just cleared. You should drop into the locked area below to get piles of ammo, Salvage, and a Strongbox as well. This one has a Submachine Gun component. So nice.
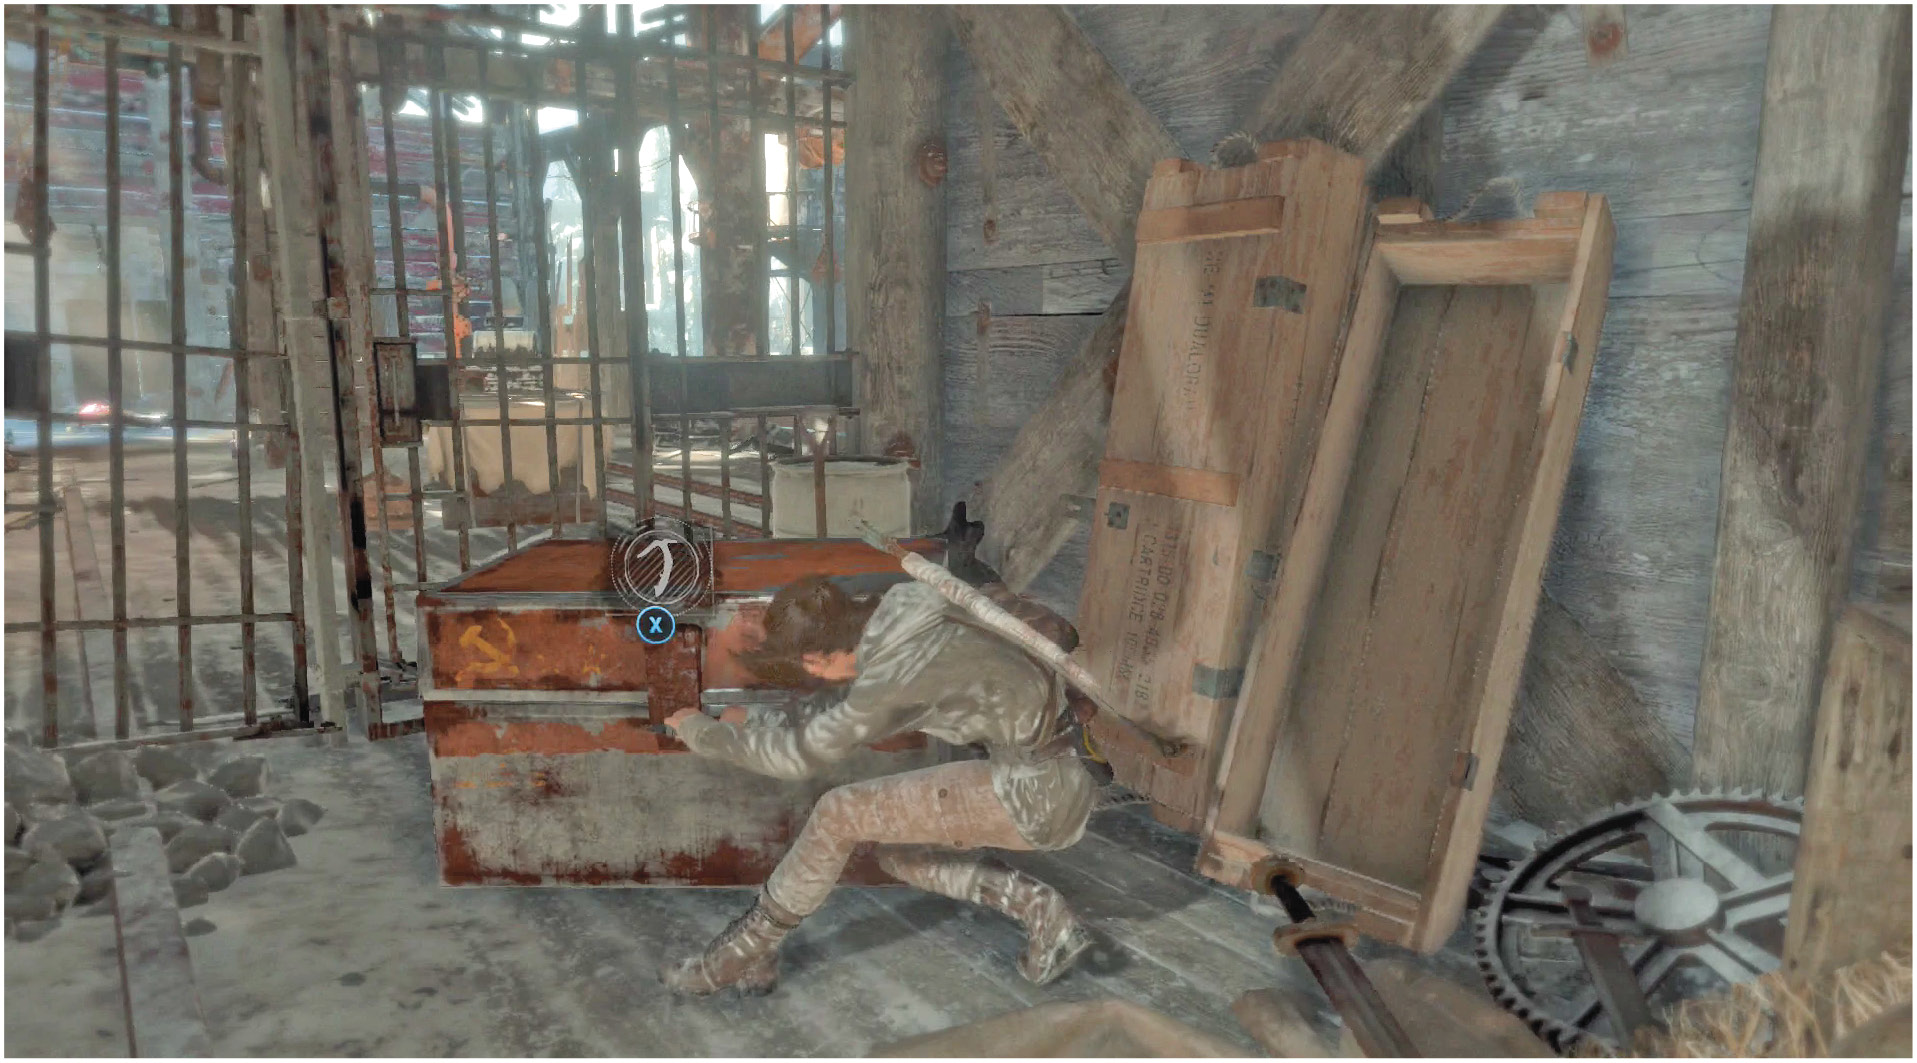
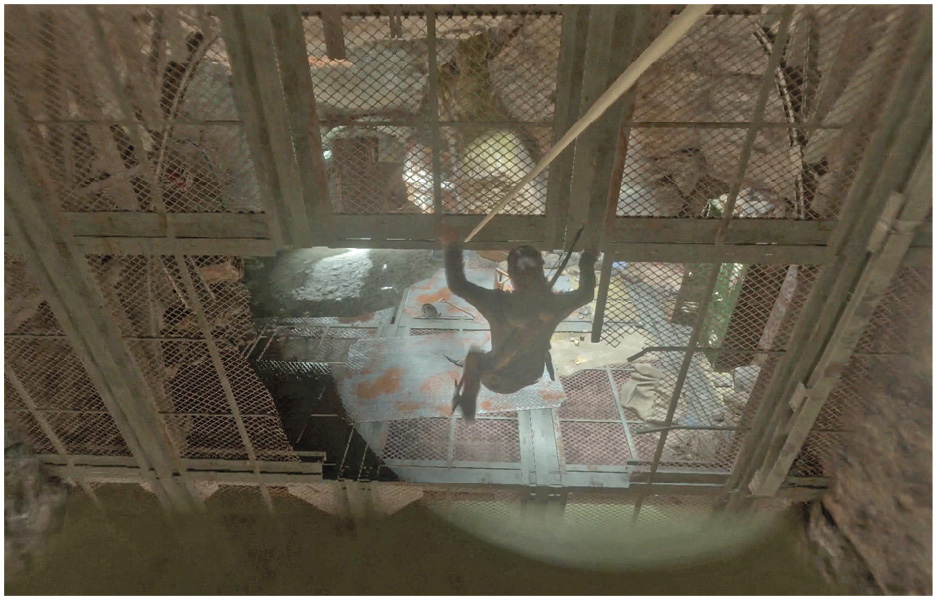
Use a console on the far side of the locked area to open a heavy door. You now have access to the copper mine. Walk down the main tunnel, and look for an Archivist Map on the left, just before the junction.
The right path after the junction has minor items. The left route leads deeper into the mines. You have to watch your step at the end of the path, because everything gives way. To cross the divide, leap toward a zip line. A bright, white section of the rope is what you need to aim for. The line is too far away to reach if you go for another section of it.
If you fall into the sluice below, look for dry land. Climb up onto it and make your way back to the top of the room. It takes a moment, but Lara should survive the fall without any problems.
Zip to the bottom when you can, and swim through the befouled lower mines. The path is linear for a short time, and it takes you to a blocked cave in. Use a nearby Bottle as a Molotov to burn through some of the obstruction, and slip under the rocks afterward.
You reach a small gap with a platform on the other side. To the left is a lovely waterfall, and below is a nasty drop. Jump forward and try to grab the platform, but don’t freak out if Lara ends up taking a bit of a plunge. Things around here haven’t been maintained very well for a LONG time.
You end up far below. Search for crafting items while you descend, and continue until you reach a room with many Bottles and crates. Get the crafting items you can there, and pick up a Relic from the desk.
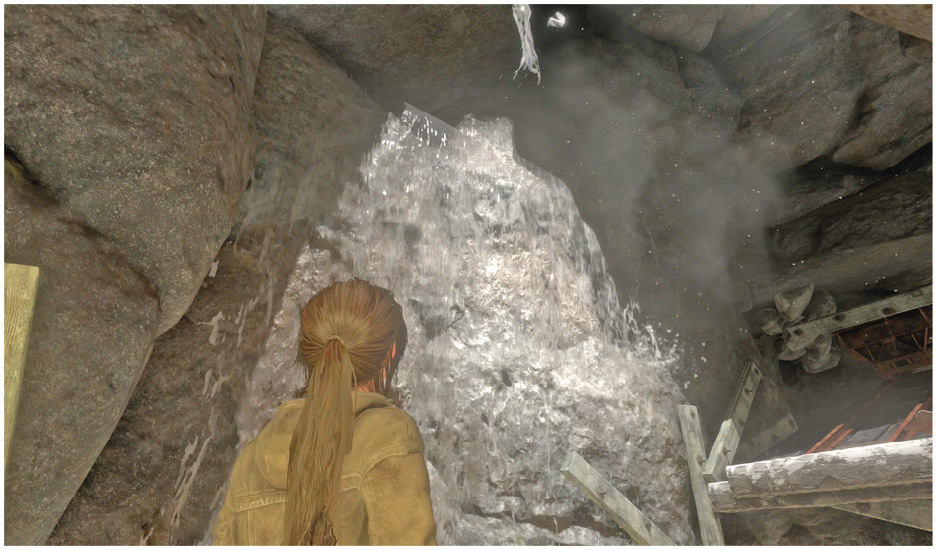
Another waterfall prevents you from destroying the cloth barrier ahead. It looks like you need to figure out a way to turn off the water before you try to torch everything. That’s the intuitive answer, right?
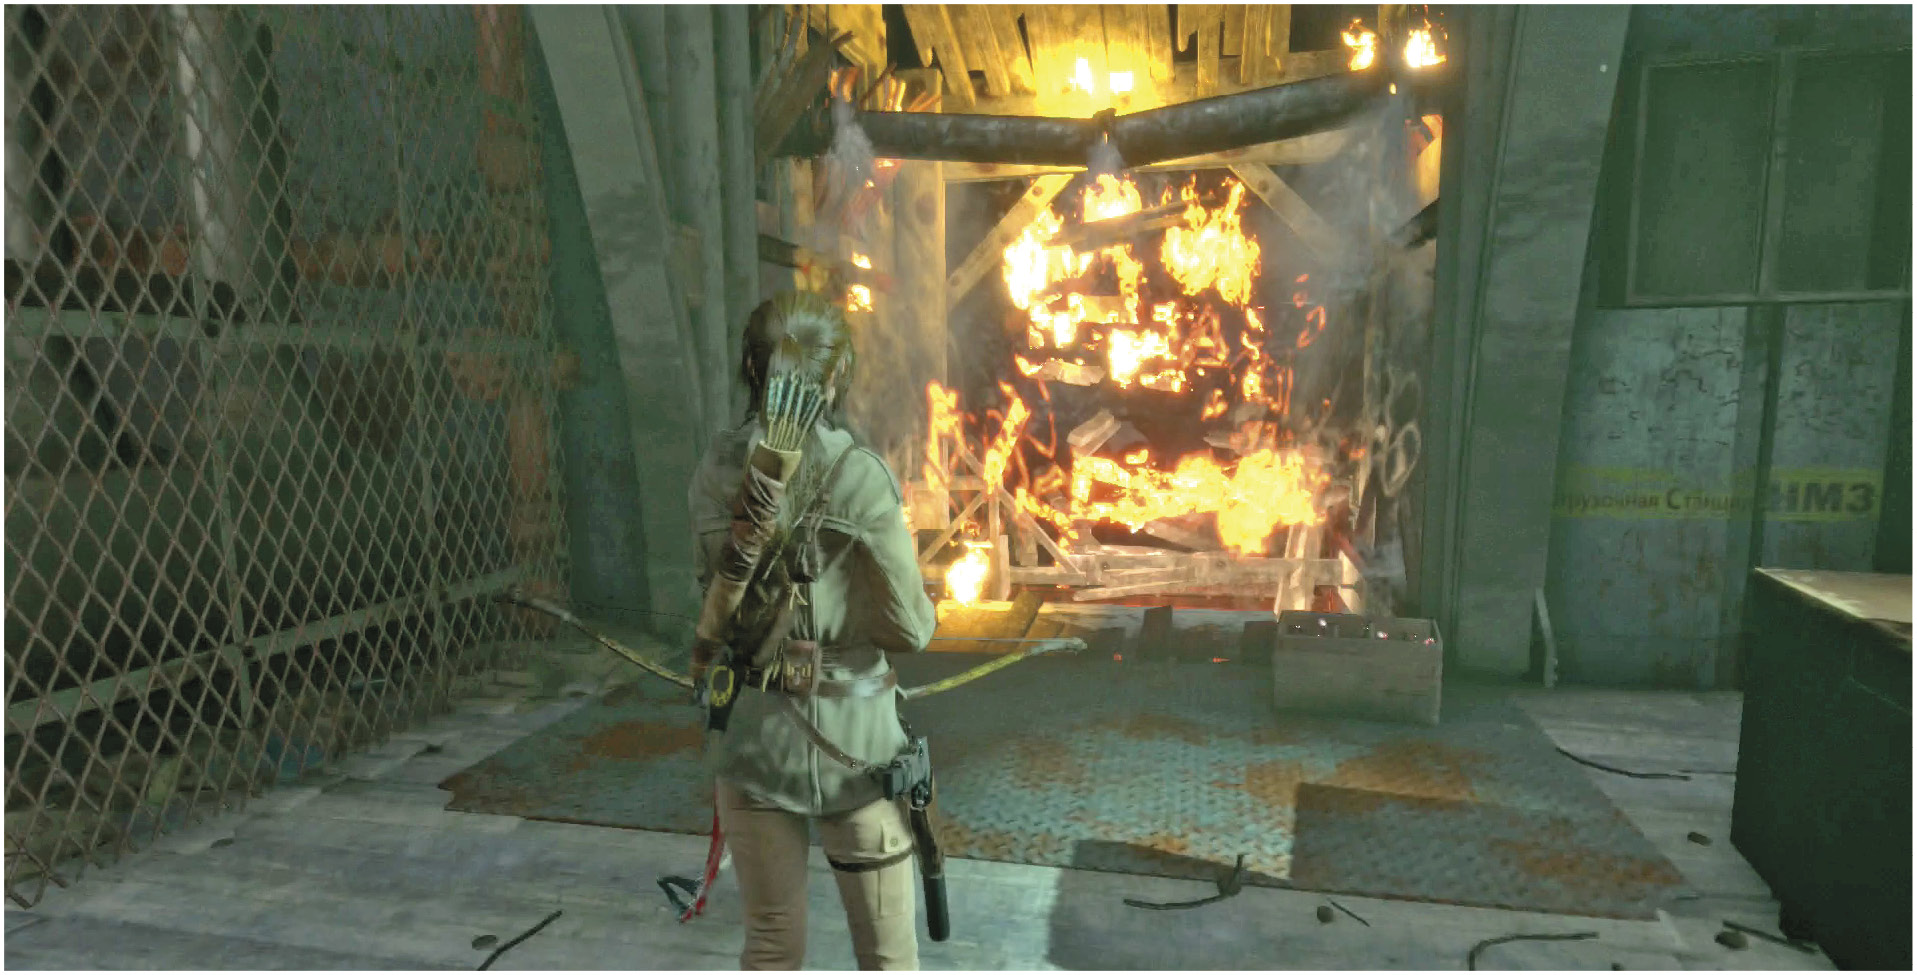
But no, that isn’t the trick at all. You can throw a Molotov over the burst water pipes and still have the flames fall down onto the cloth below. A simple but effective solution, eh?
Jump through the water and survey the open cavern beyond. Turn left to continue, and jump to a dark corridor. Descend while searching for goodies. A Document (Resistance) is hidden to the left, in a small hallway. Use your Survival Instinct to see, if it’s too dark for you, and do the same thing to find an Explorer’s Satchel along the main tunnel.
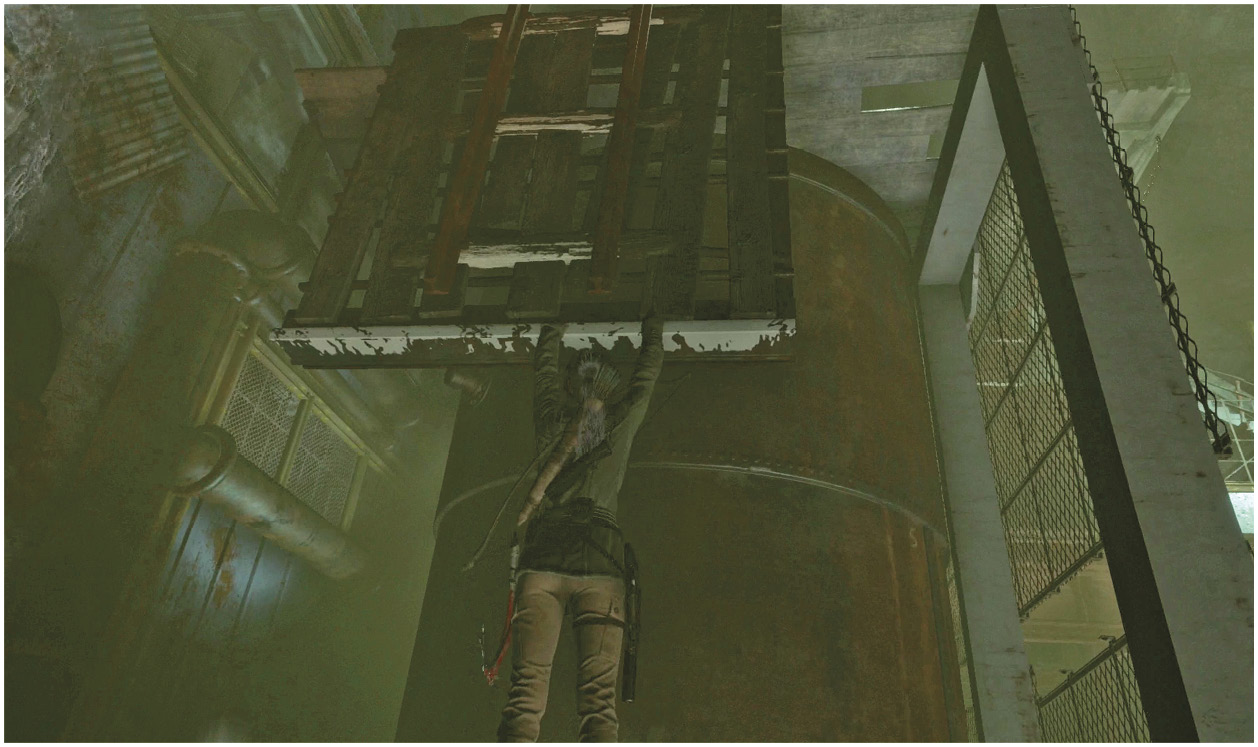
The corridor comes back into the central cavern, and you stumble into a Base Camp (Excavation Shaft). Rest as long as you like, but continue into the mine when you’re ready. Jump across to a small platform that breaks when you land. Hold on tight, and then climb up to the top of it.
There is a waterfall to the left that prevents you from igniting some cloth. Ignore this for now, but we’ll come back to this soon.
Cross the gaps and take the ramp to a higher platform. Search up there for a Relic. The building ahead also has a Document.
From the outside platform, jump onto a container of ore that is within reach. Lara’s weight causes the system to shift, and the mine carts above move down their track. This blocks off the water in the lower area, but only for a moment. Trigger a second Mine cart to come back the tracks by shooting at its Rope front either from the platform next to the ore container, or by climbing to the top of the area and searching for the Rope using your Survival Instinct. Either way, the cart comes out once you shoot its Rope. It comes to rest against the ore container for now.
Take a second to climb the ramps again, but turn around and vault over to the rooftops on the other side of the platform. There is a small overhang that allows you to do this. You find a Mural over there.
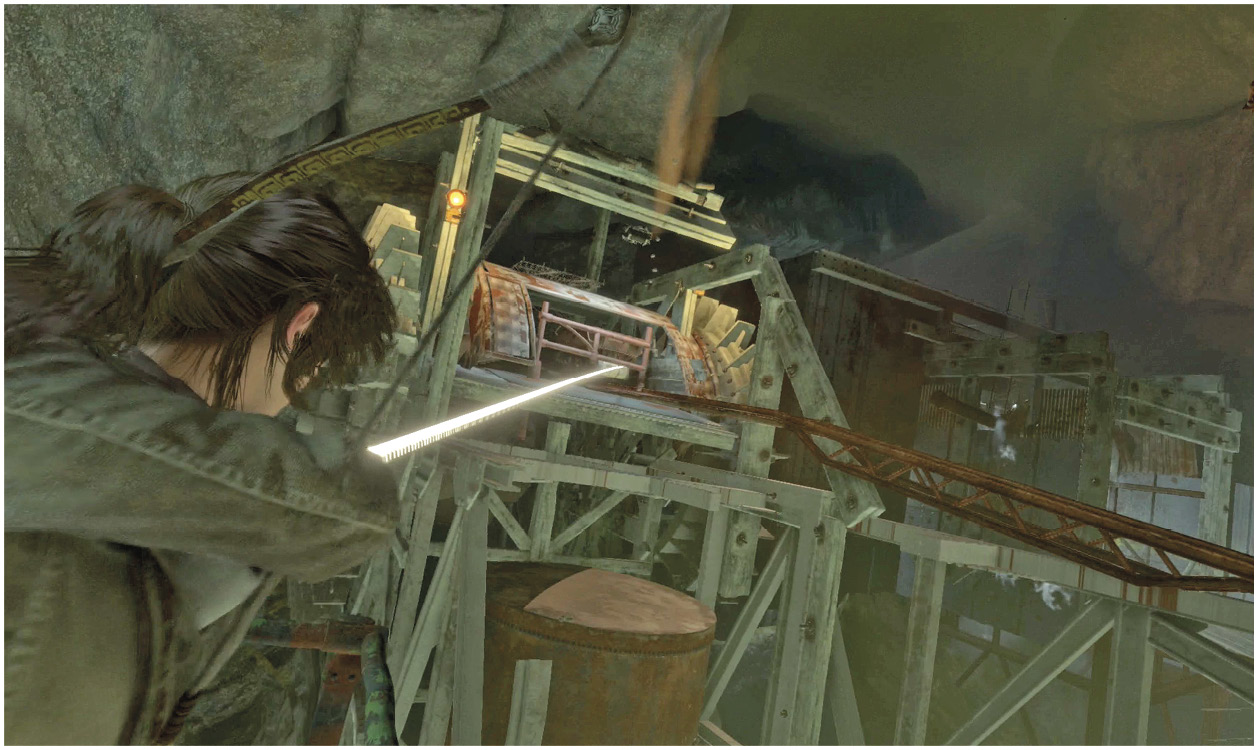
To complete this puzzle, you have to block the water on a long-term basis. After examining the Mural, climb onto the main building’s rooftop and walk along it until you find a Rope. Use that Rope to connect the mine cart with this building. Return to the ore container, jump onto it, and watch the cart smash into the building because it’s connected via your Rope.
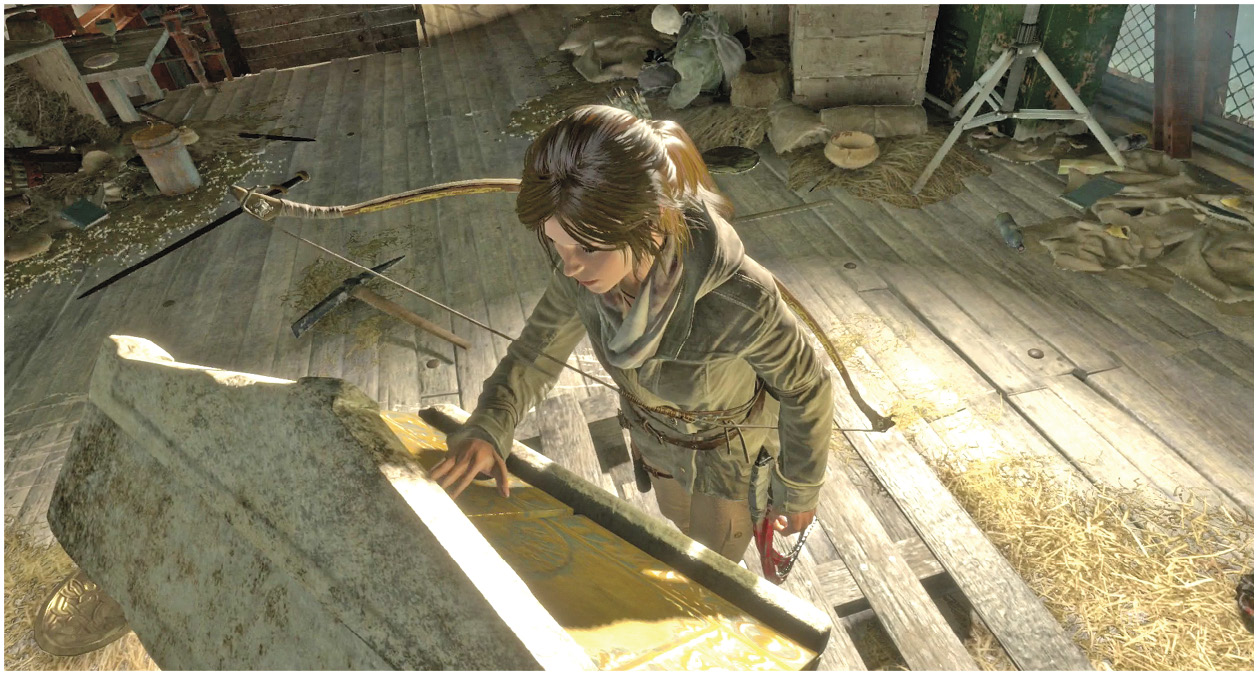
Make a Molotov, burn the sheets, and finally you can get into the building. Search everywhere to get some Coins, minor items, and then a Codex. You learn another new skill from this (Bright Eyes)! This causes traps to glow when you’re near them.
A massive shaft takes you out of the Tomb and back to the earlier tunnels of the copper mine. Search for a few free Coins in the next room, and look at the ground on the eastern wall for a Survival Cache as well.
Go to one of your Base Camps and start yourself back at the beginning of the copper mill.
voice of god
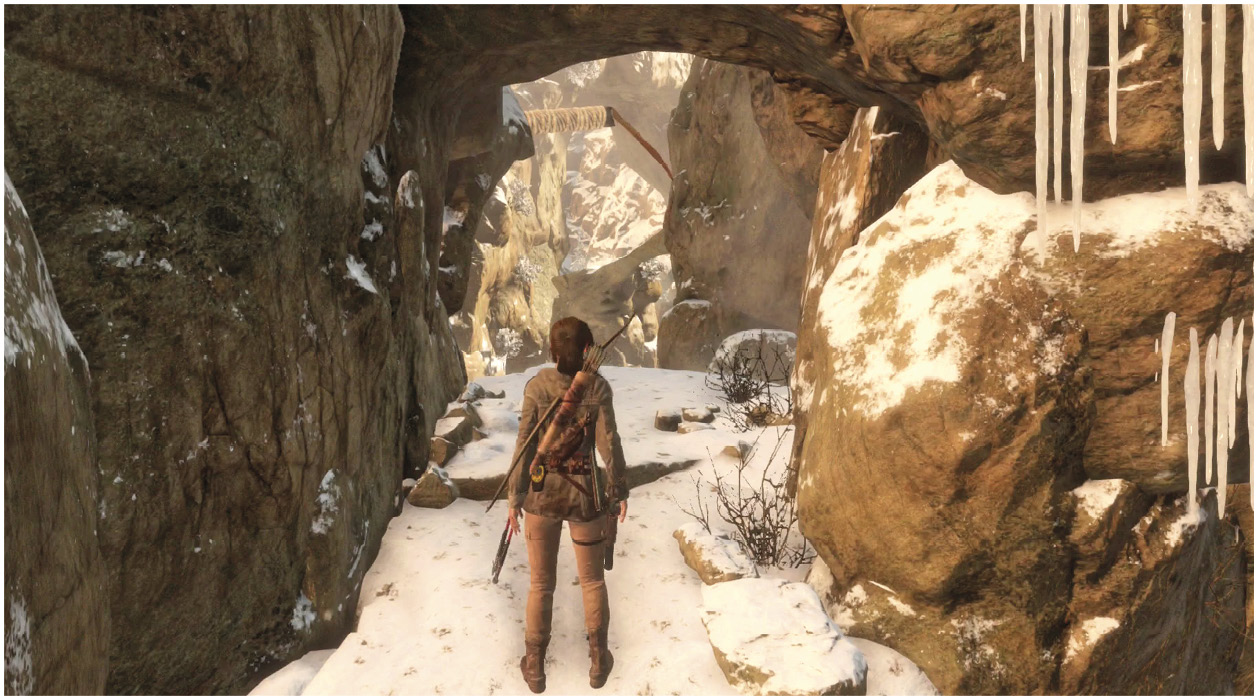
Search the eastern edge of the map for a Cave entrance. Descend and search the Cave for an entrance that is blocked by wood and Ropes. There is a Tomb behind there, but you cannot access it until Lara finds a Rope that she can use with her Bow.
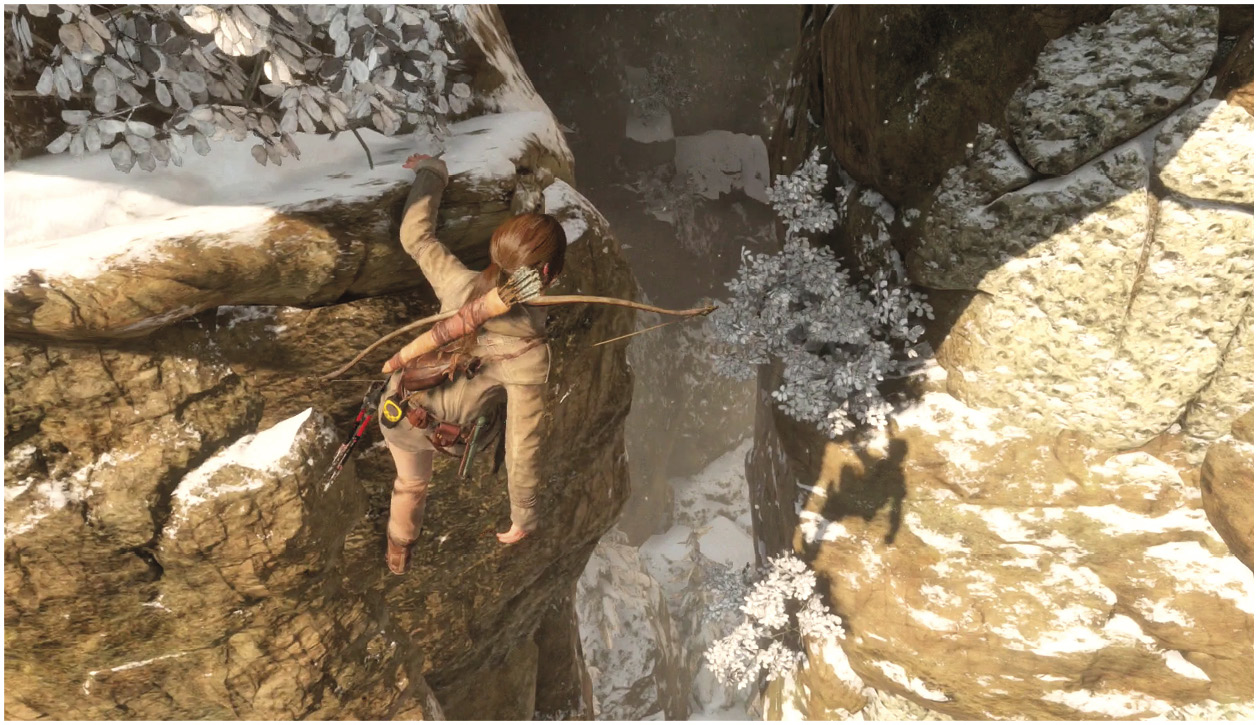
When you have that, return here and use the Rope to break open the entrance. Go inside, grab the new Base Camp (Frozen Gorge) that is a few steps inside, and then proceed through a few tough jumps as you advance. The path soon has an upper area to your left, but it doesn’t seem to lead anywhere. There is a Rope Post, but you can’t create a zip line from there because it’s over your head. Oh well, nothing to see here.
Don’t give up just yet. Drop back down to the platform below but look along the small ledge to the right. There are handholds and climbable rocks in that direction. The means you’re still in business.
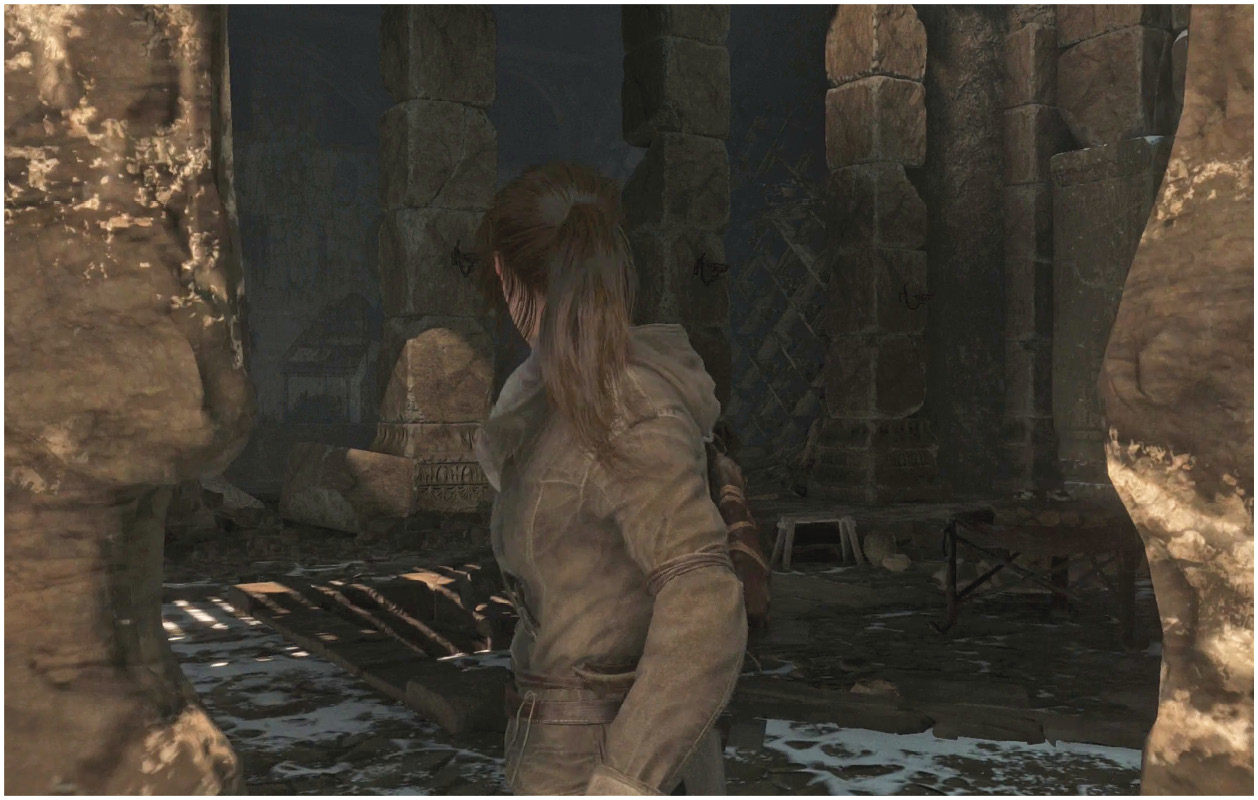
Take the path all the way through that area. The jumps are tough, but at least you don’t have any enemies to worry about. After several minutes, you get to a larger landing in front of a building that has been hewn out of the mountain. Stop for a moment to search everywhere nearby.
There is an Explorer’s Satchel at the place where you land, after finishing the tough jumping and climbing area. This reveals several Survival Caches. Get the first one a couple feet away.
Then, search the far wall of the platform for a Relic.
Inside, look at the room on the left for an Archivist Map and a Document. You also find another Survival Cache in the main building area.
To beat this Tomb, you now have a puzzle in front of you. The gate that blocks off the Codex is controlled by a counterweight. You can see it on the right, from the entrance. But the one you need has been frozen into the ice.
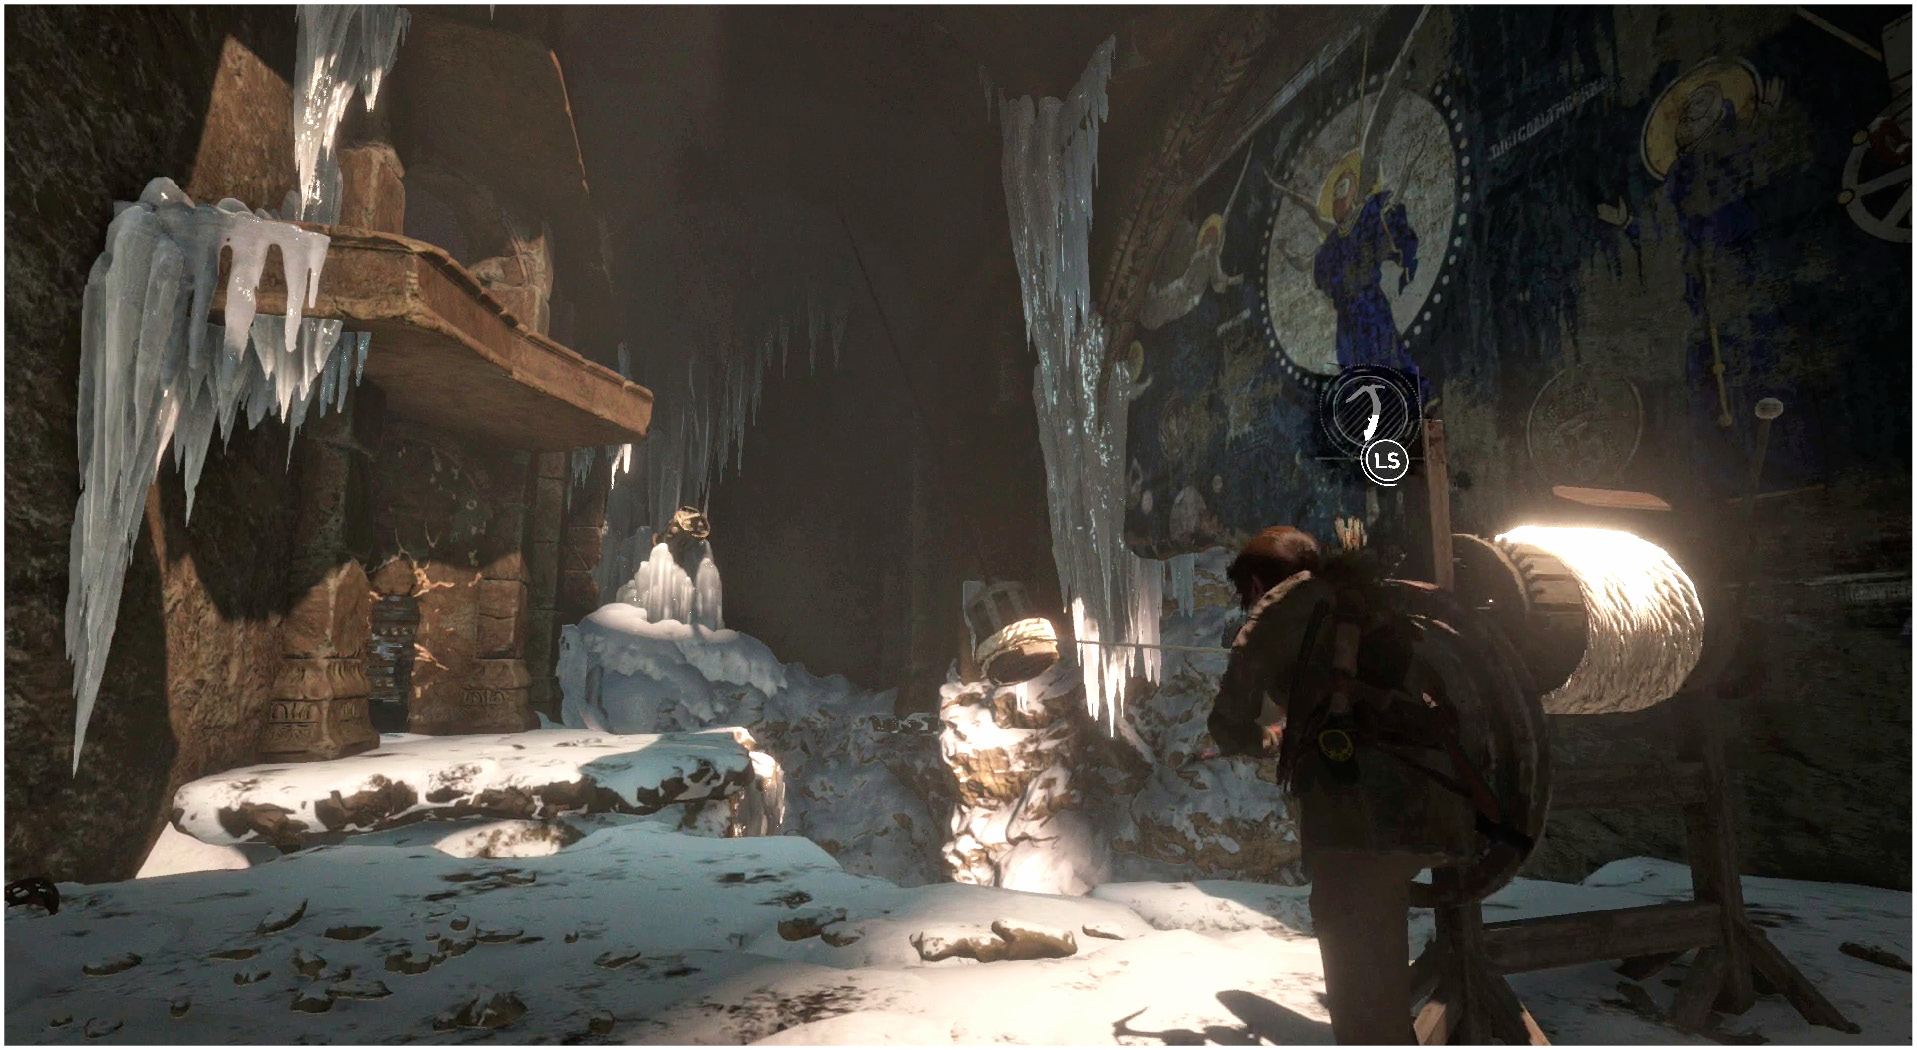
Luckily, the counterweight for the front door still works. Use the crank to lower it all the way down. Then, climb up and into the next room (above and on the right). Drop down to get a Document.
Another crank is there. Use that to attach a Rope to the closer counterweight. Crank the weight as far toward you as it can go, and then wait for the winds to come. As soon as they start to blow heavily, cut the Rope or release it using the mechanism on the right side of the crank. The weight is blown into the ice wall, freeing its sister.
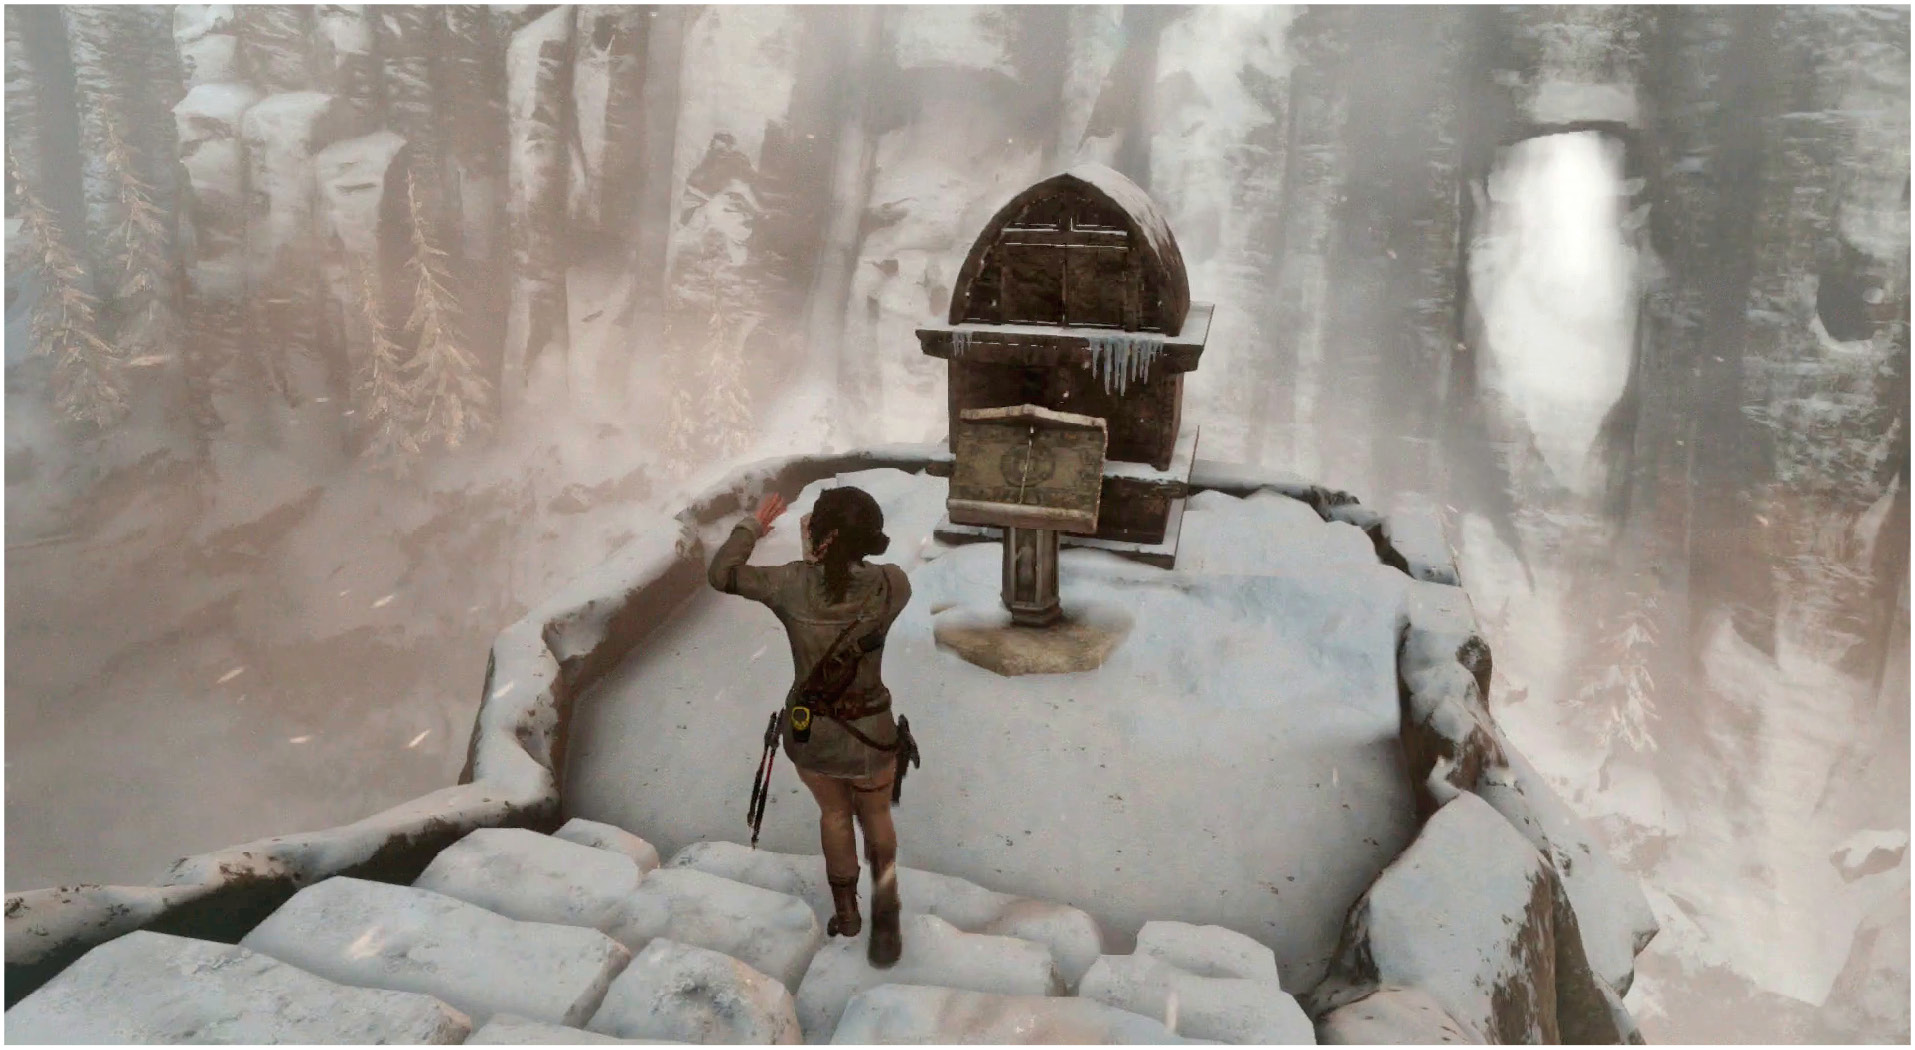
Break through a damaged wall to get back into the main room. Raise the second gate and walk out to get the Codex. The view is amazing out there, but even looking at it might give you frostbite.
This Codex gives you Inner Strength. Lara now gets a sudden boost of health the first time she reaches low health during each encounter. This ability is supremely useful when dealing with tougher fights.
Leave the building and use a Rope on the large rock ledge to create a zip line. Climb it, and repeat this at another Rope Post. The last Survival Cache is up there, close to the Post.
Zip down and look for a Relic at the bottom of the zip line. You now have all of the treasures from this area. Make a final line to get back to the starting point of the Tomb, and make your way out.
Ancient Cistern
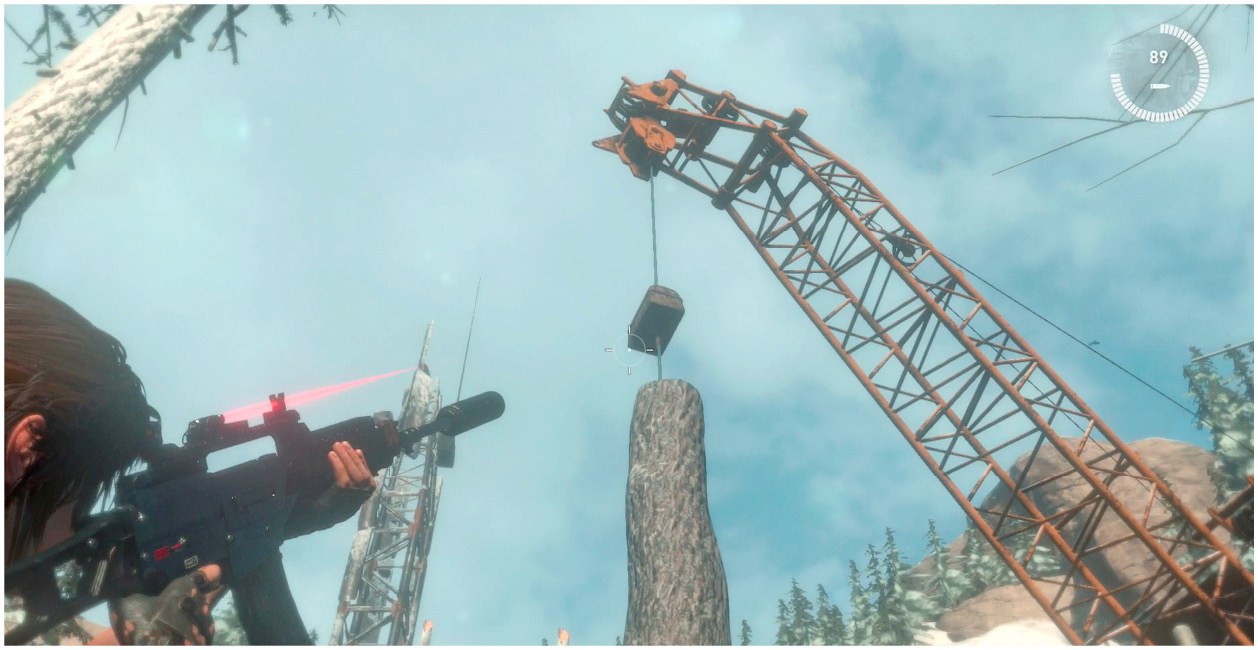
Go to the lumber mill and look along the ground northeast of the building. There is a hole in the ground that is boarded up. Shoot a wooden block that is holding up a huge log above that hole to smash through the barricade.
This lets you get down into a cavern. There is a Mural in the darkness of that cavern, and there is also the entrance to a Tomb. Go into the Tomb and search for a Relic inside the first tunnel.
You come to a chasm. Jump to the right and use your Axes to climb down and right along two rockfaces. Jump to safety at the end and slide down to a lower chamber. There is another Relic in there.
Your next step is to walk through a small room and jump onto a hanging beam above a pool of water. This exposes some gearwork below. Do not drop off of the beam until the spinning gears give you an opening; falling into the gears is slightly fatal.
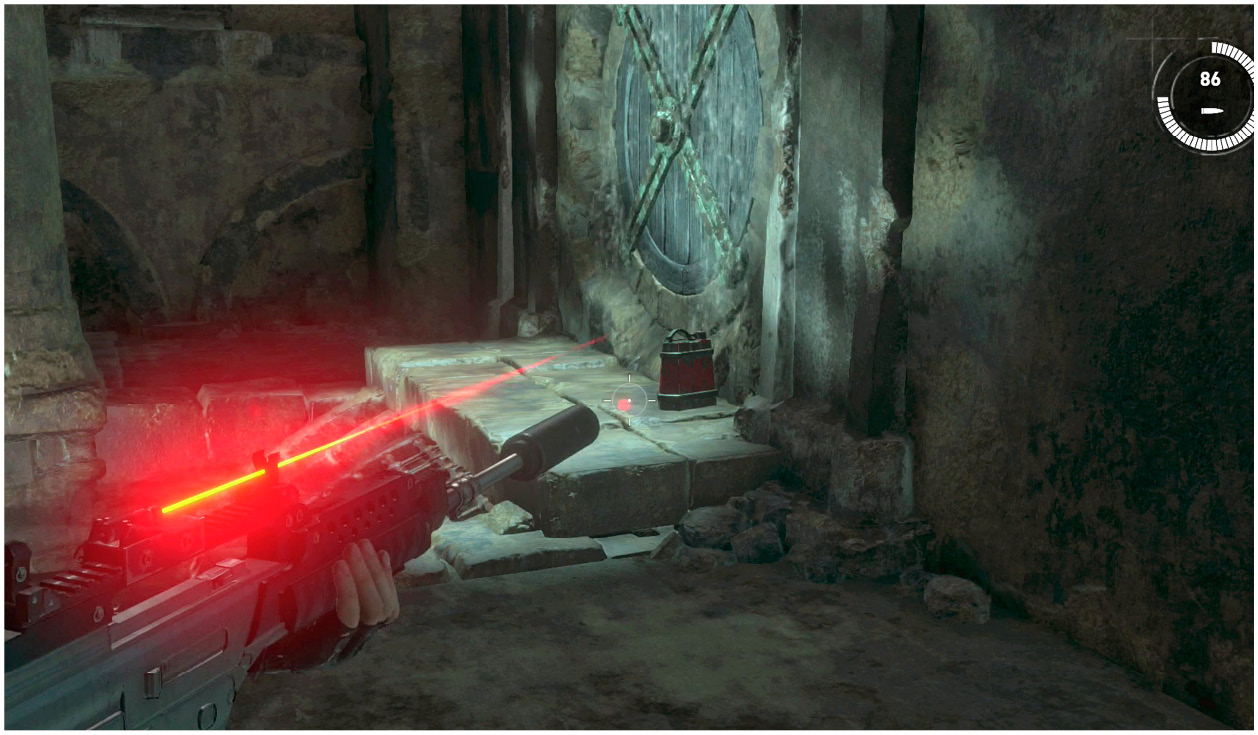
Drop to the bottom of the shaft and look around. Swim over to another hallway, beside you, and take that around the bend toward another room. You see a sealed hatch ahead of Lara, but there is a red canister of gasoline next to it. Shoot the canister to blow open the hatch so that you can proceed.
You quickly arrive at the Cistern Cavern Base Camp. Follow the corridor down to the main cistern. Bridges take you most of the way to the Codex, and one easy jump gets you. Well, actually, it gets you nothing. The handholds break and Lara is unceremoniously dumped into the water. You will have to do this one the hard way after all.
To beat this puzzle you have to raise the water level three times. For each, there is a hatch that has to be blown open. The first is in a room on the far side of the cistern. Swim over to that one. It is sealed, but another canister is on a ledge close at hand. Pick it up, move the canister to the hatch, and then blow it up from a safe distance.
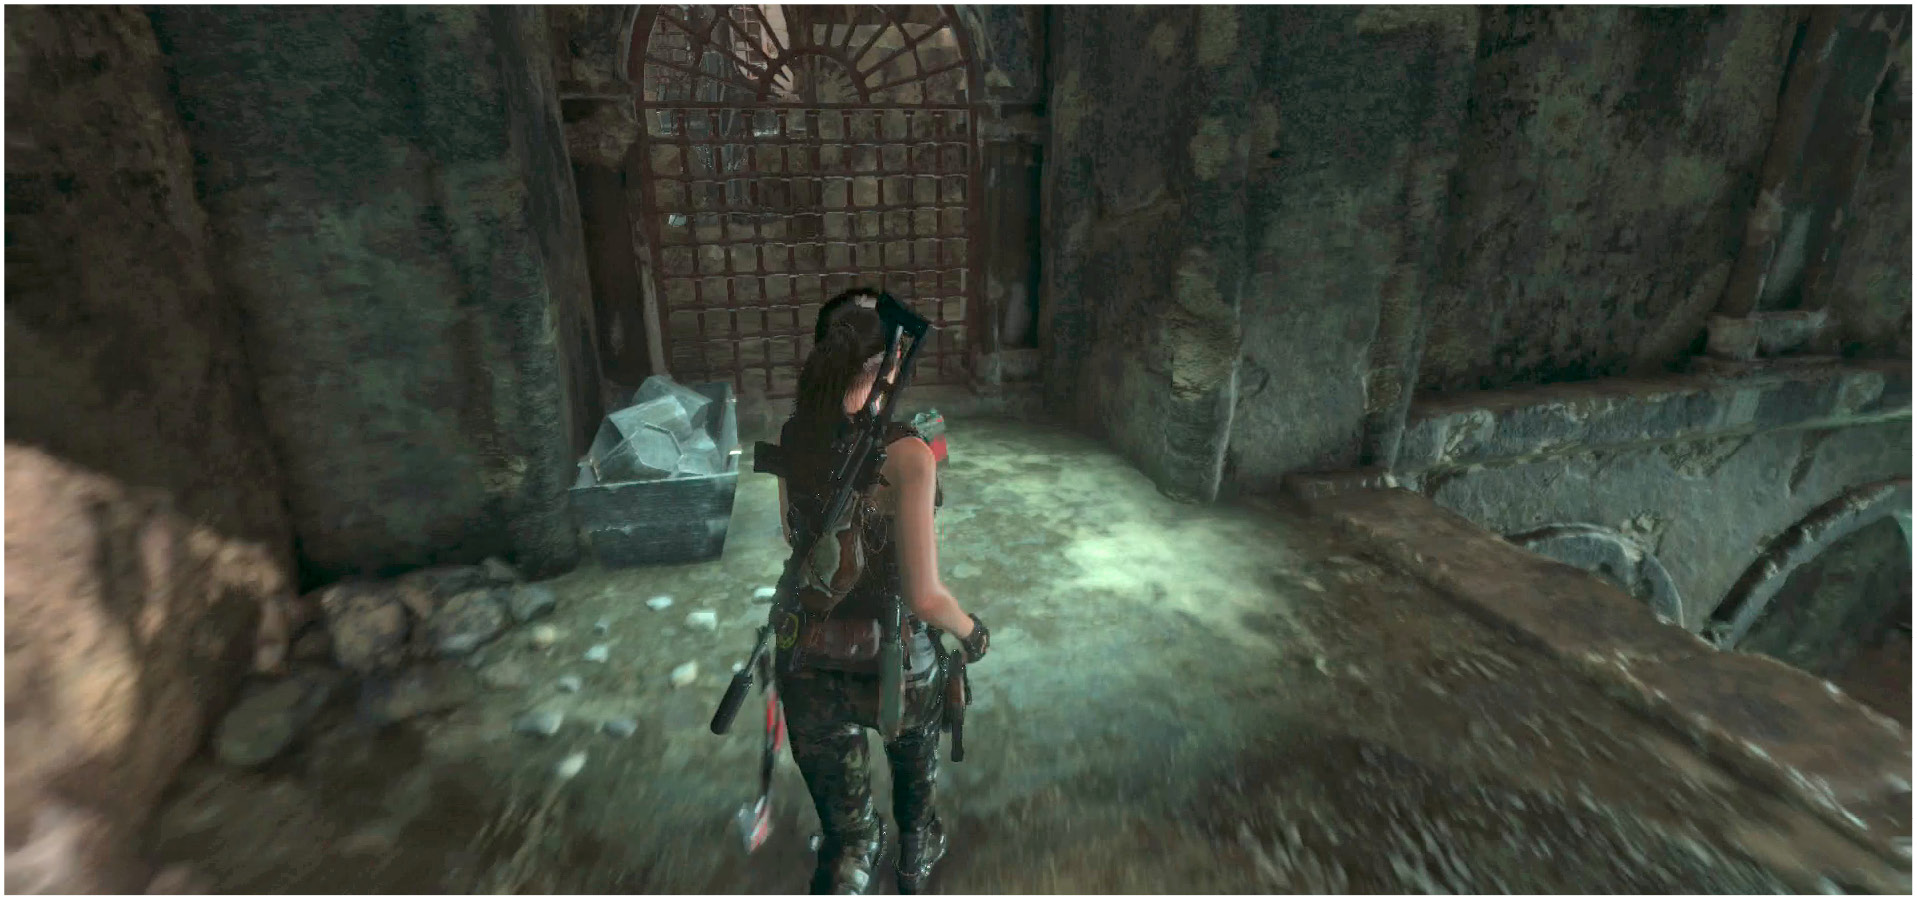
The water level rises, and you can return to the main room. Look for a few canisters on a patch of dry land underneath the Codex’s tower. Take one of the canisters and throw it onto a raft that is floating close by.
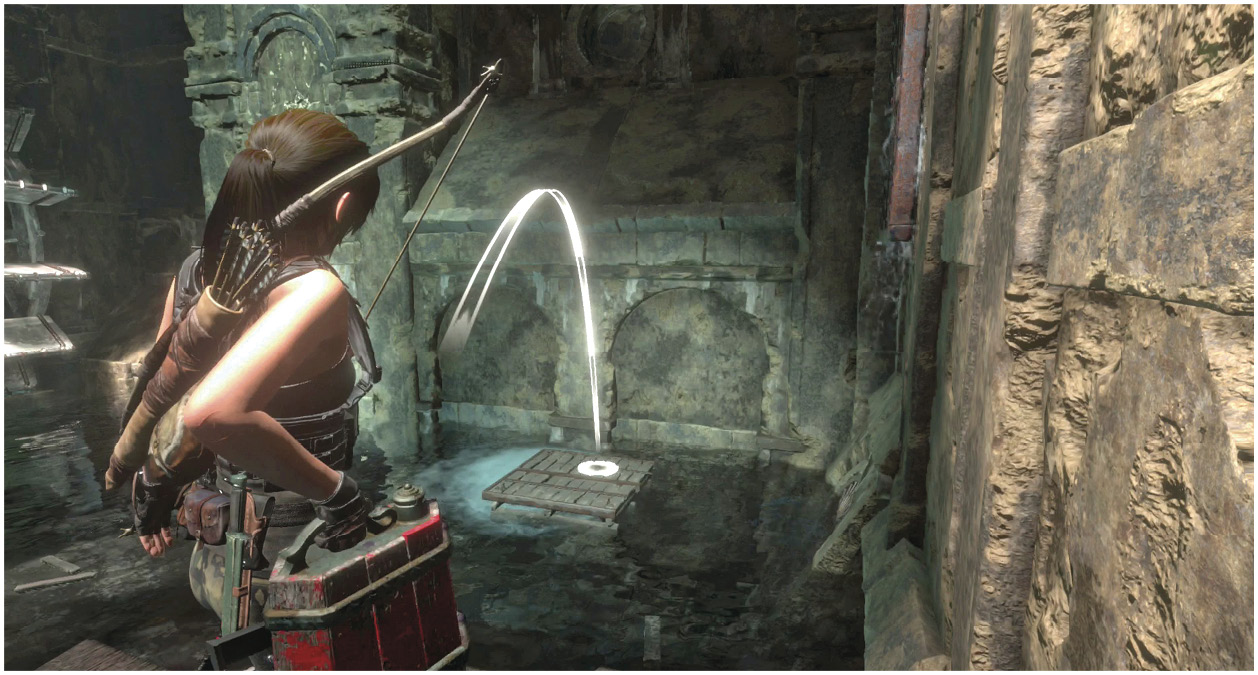
You need to get that raft closer to the next hatch. It’s only 10 yards away, but that’s too far for the explosion to reach. So, climb a staircase near the canisters and jump onto a beam overhead. This creates a current that sends the platform to the other side of the room. Shoot the canister when the platform starts to float back into its original position. Time it so that your shot hits the canister as it’s passing the hatch.
Go through the new opening after the water level rises. Search for a Document in an upper hallway. You can also open a hole into the main chamber; it’ll be above the hatch that you came through a moment ago.
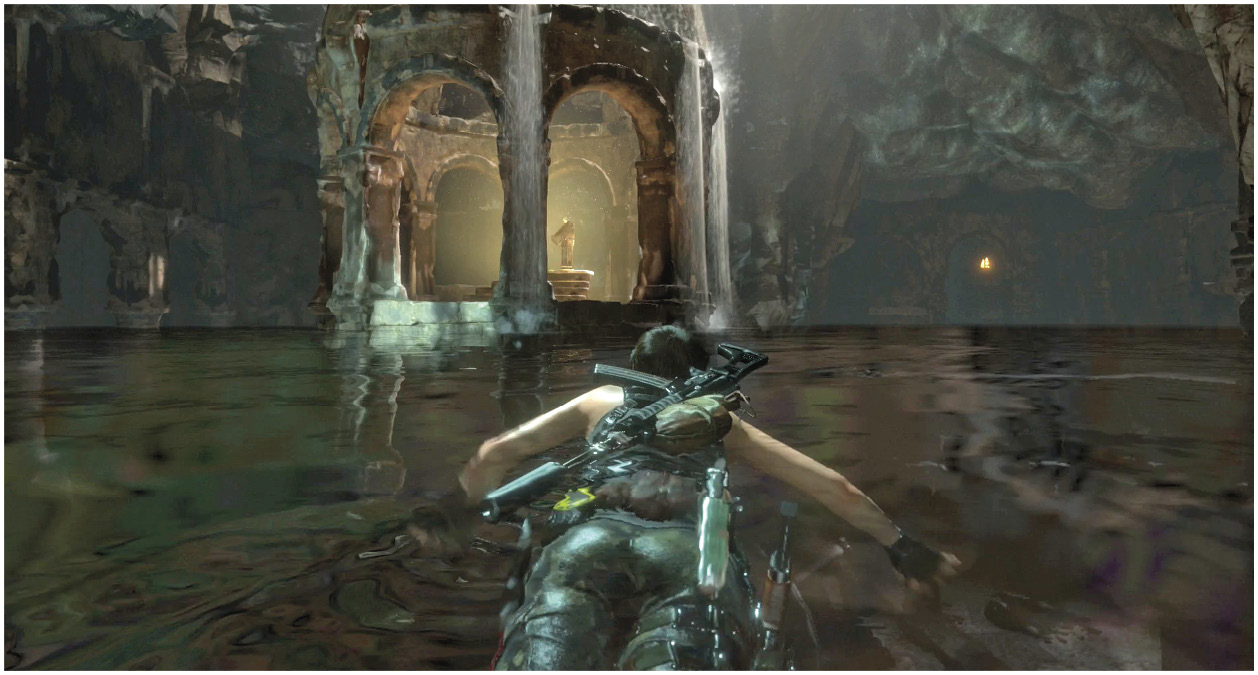
To get the third canister up to the final hatch, do the following. Go back into the main room and toss a canister onto the same platform that you used earlier. Activate the current and hurry to get onto the platform before it gets back to its usual spot. While there, grab the canister and throw it through the hole that you opened above the second hatch.
With all of that successfully completed, go to the upper hallway, retrieve the canister, and take it to the last hatch. Blow it up, and then swim to the Codex. Climb up, read it, and leave the Tomb.
You learn Natural Instincts, a skill that causes resources to glow anytime Lara gets close to them.