
Rise of the Tomb Raider Guide Collecting Treasures Soviet Installation
Soviet Installation Challenges
Data Corruption
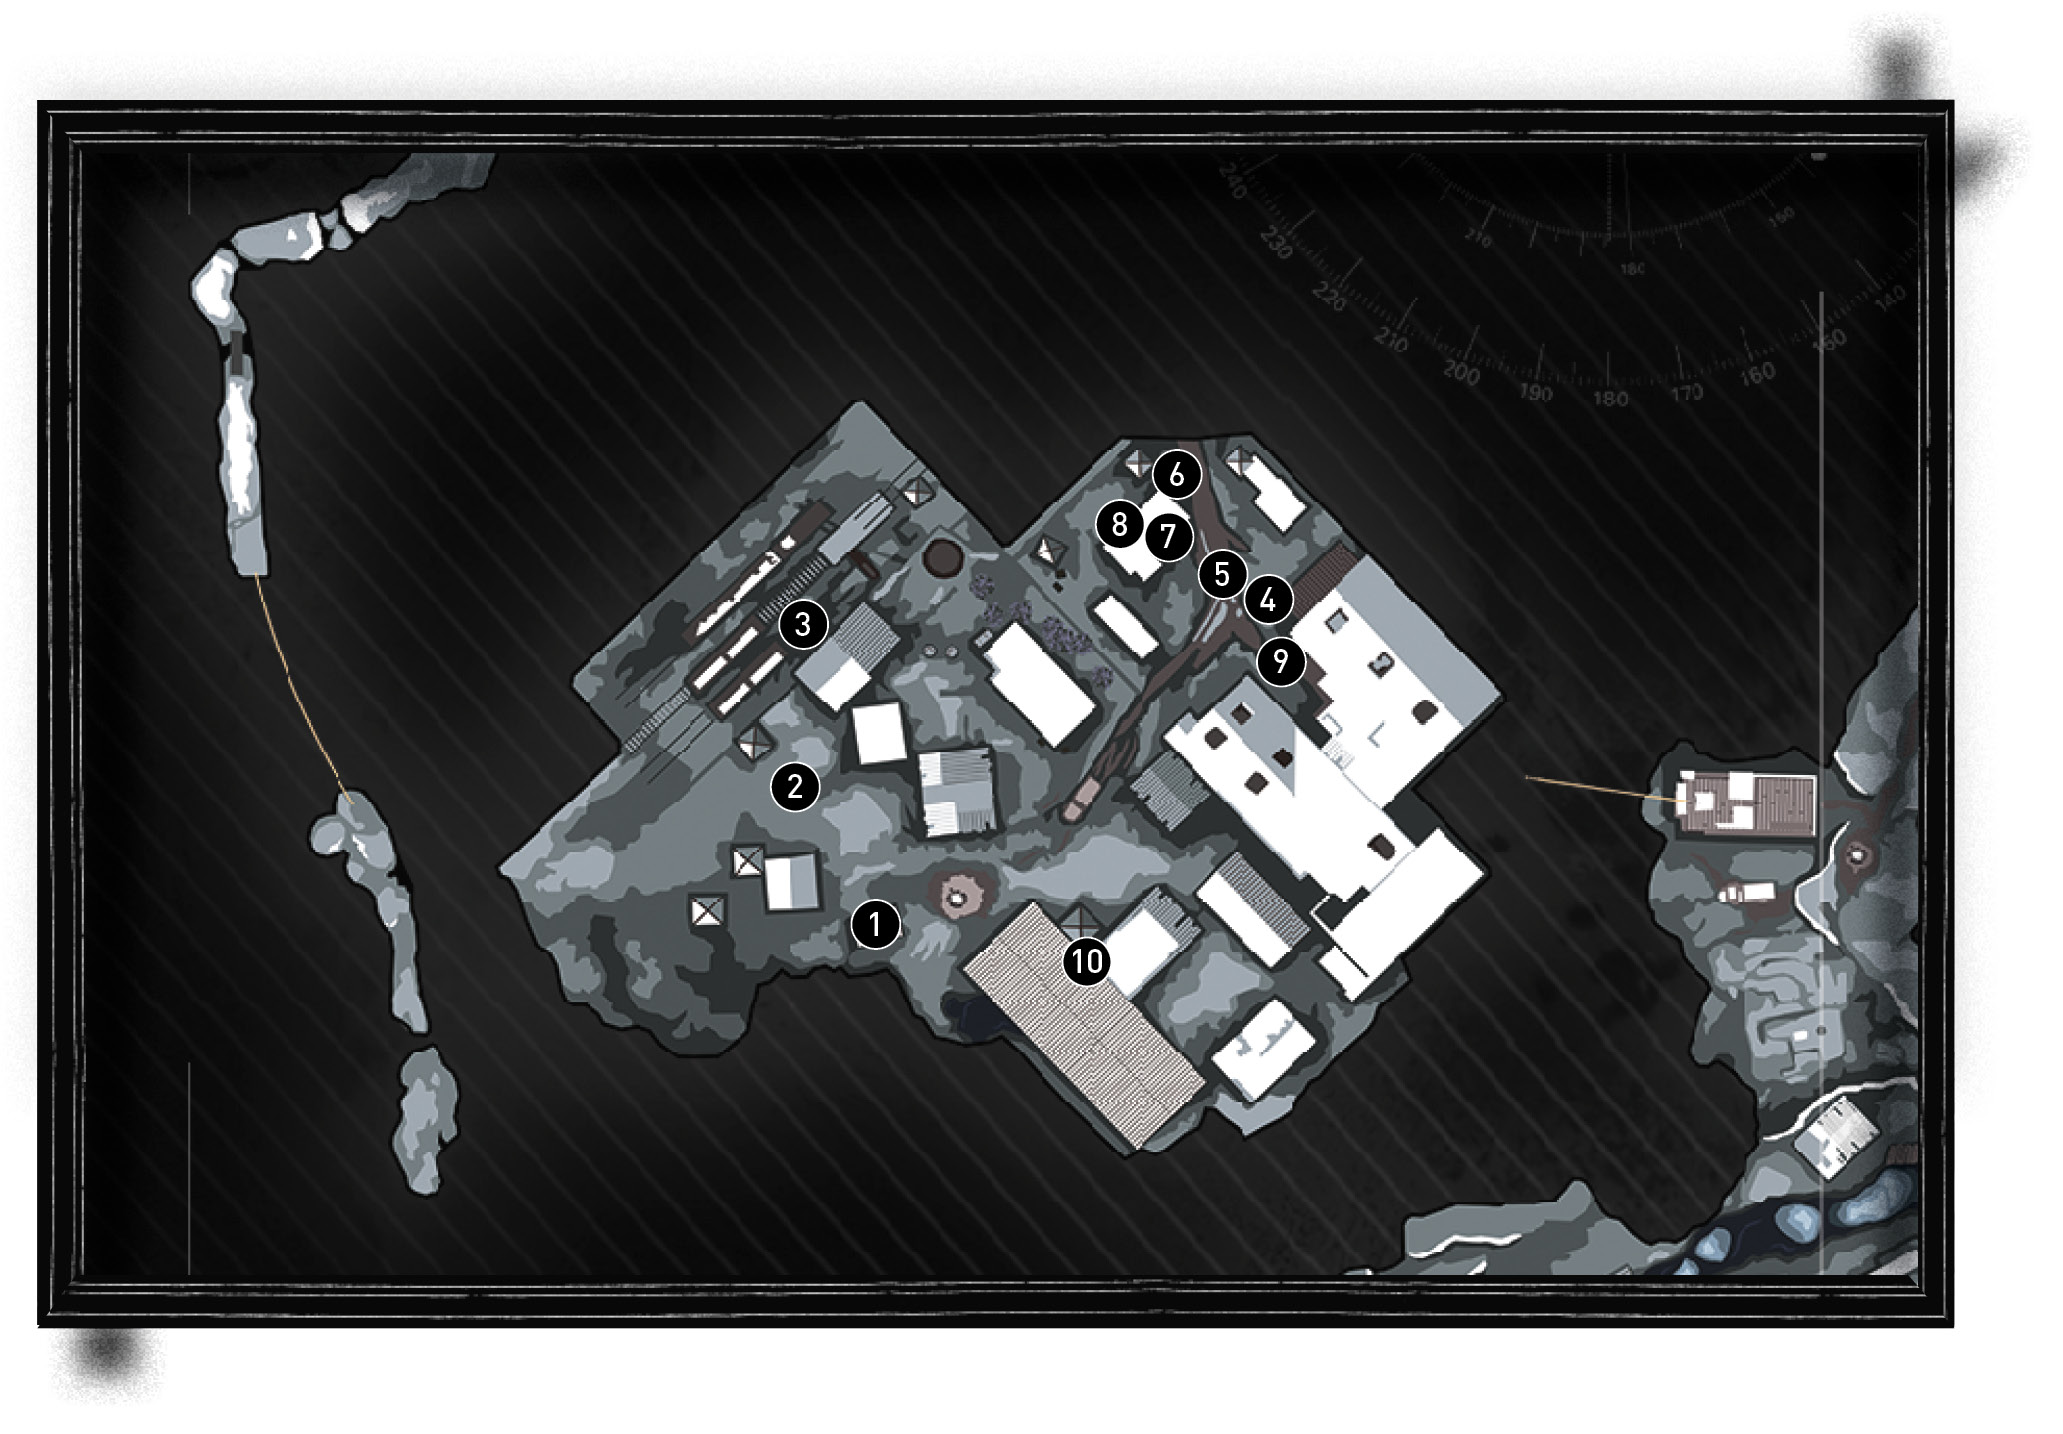
Destroy ten Red Laptops. All of them are set up on tables and crates throughout the northern tip of the Soviet Installation map (the Gulag area). You destroy them with Axe strikes or any ranged attack. They show up on Survival Instincts, which really helps for spotting them.
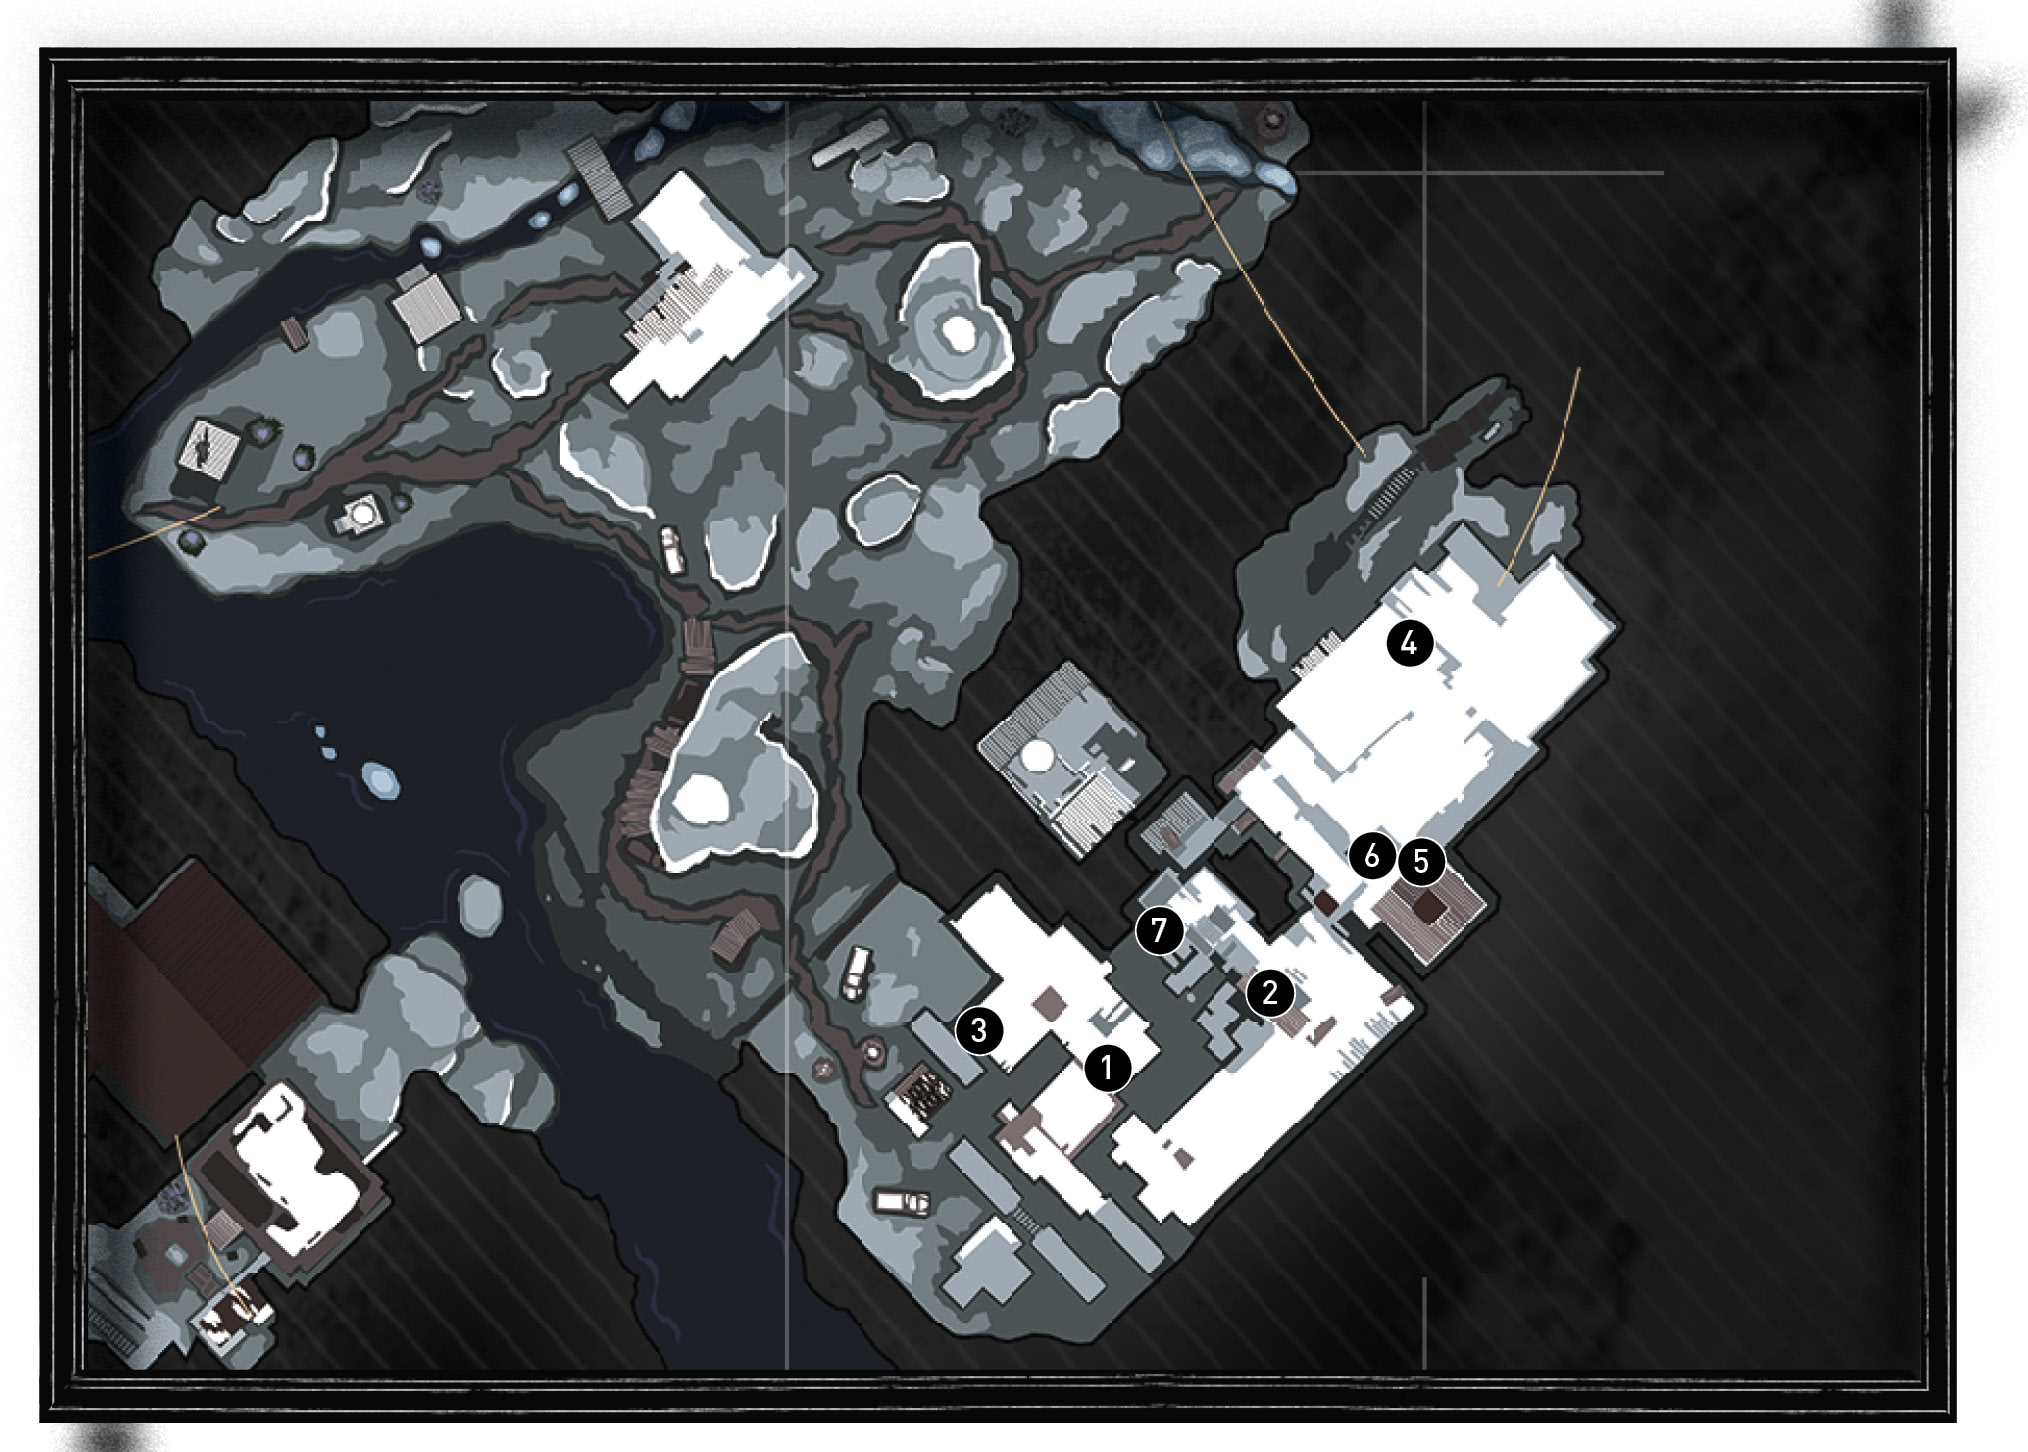
Use the map here to find the Red Laptops. They are easiest to get when you’re going through the area as part of the story, but you can come back here later if you need to. Return to the base camp and collect the three Laptops that are in the main yard, through the gate. Then, backtrack to the camp and go downhill, through the snow. You end up in a shallow ditch, filled with water. Look for a ladder there and climb up. This route takes you backward through the remainder of the level (it would otherwise be inaccessible to you). That allows you to collect all ten Laptops, even if you missed everything your first time through.
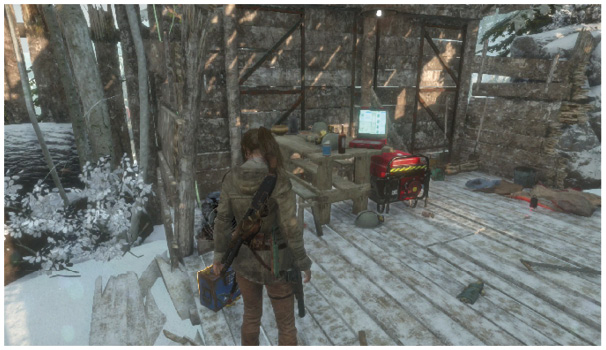
 The first building west of the base camp has a single Laptop.
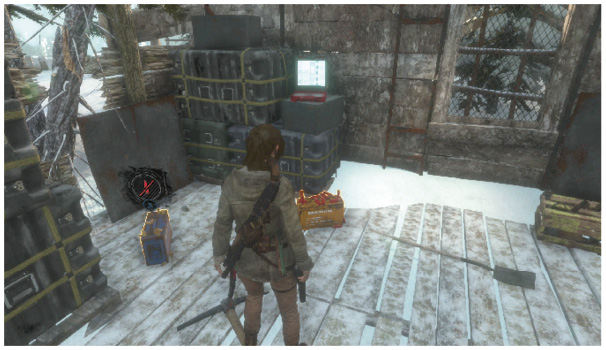
 An open shack has a Laptop, northwest of camp.

 The computer room in the northwest has a Laptop on the upper floor.
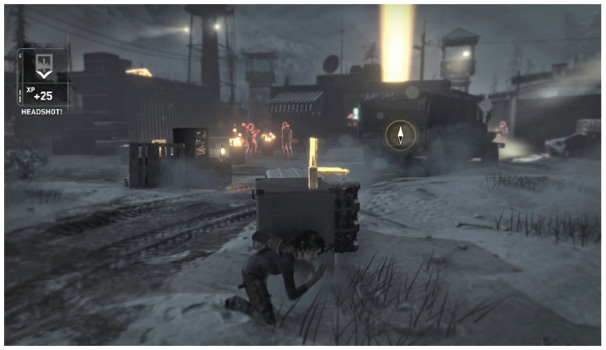


 There are three Laptops outside, in the yard when Lara first escapes from the Gulag. The first is on a crate, in the southeastern part of the yard. The next is only feet away from there, on another crate.


 Two more Laptops are in the command trailer, within the same yard mentioned above.
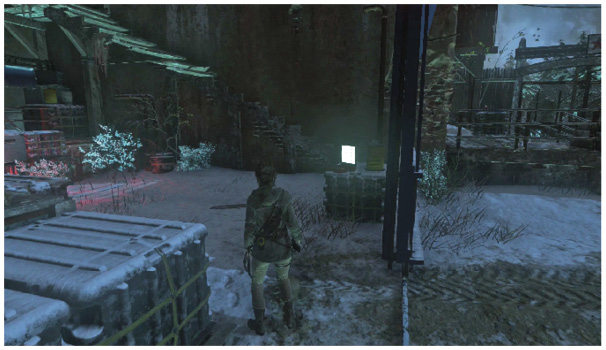
 Open the gate from the command trailer, and then look in the southern portion of the yard for a Laptop.
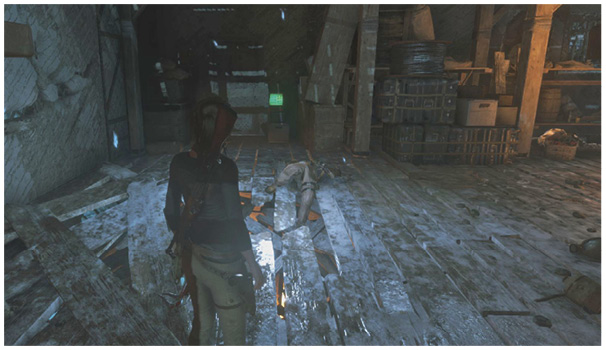
 After you defeat the enemies in the large courtyard battle and learn how to make Shrapnel Grenades, you gain access to a damaged building with a hole in its floor. Do not jump down there yet (it’s hard to get back to later, though it can be done). Destroy the last Red Laptop before going down there; the computer is on your right.
Difference of Opinion
Burn seven Posters around the area. These are in developed areas of the map. A Fire Arrow attack takes care of them without wasting any time. Use Survival Instincts to spot the Posters, even at long range.
These cosmonaut Posters are all in the copper mill area.
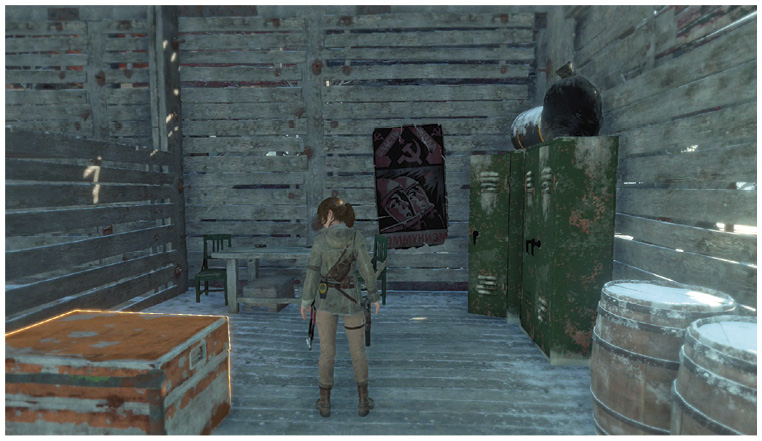
 A Poster is on the wall of the western, large building in the copper mill. You need to go much farther into the building, break through a Rope Coil, and slide down to that ledge to get to it.
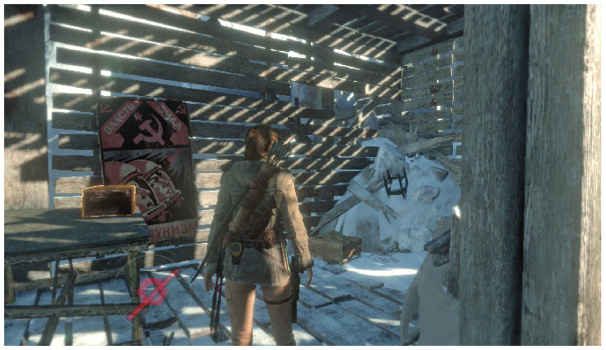
 Pass the room where you learn how to make Molotovs and go outside. Look up and spot a burnable barricade on a ledge above you. Burn it, and climb up to that locations. Inside is a Poster (and a Relic). Also, if you proceed into the next building, that’s where you can break into the ramp that takes you to the Poster mentioned above.
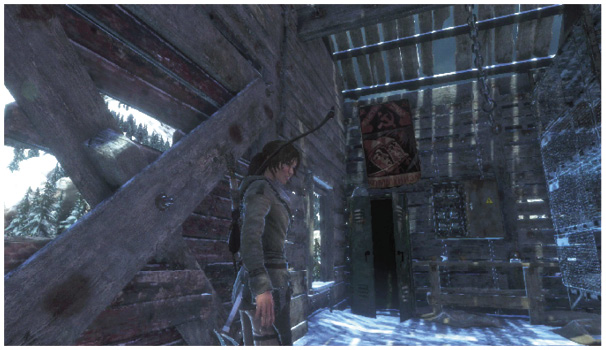
 After climbing on the train car to get over the fence, break into a small room by pulling down some roped-together boards. A poster is on the wall inside.
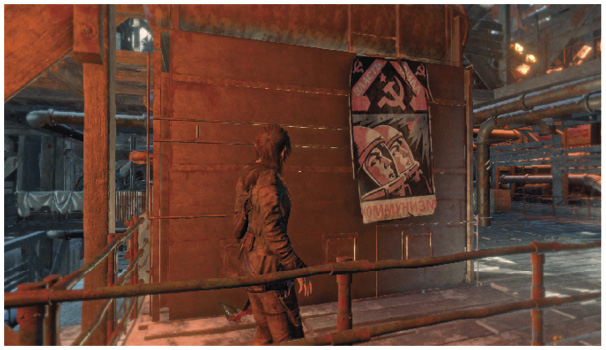
 The very top section of the mill holds another Poster, on an inside ledge.
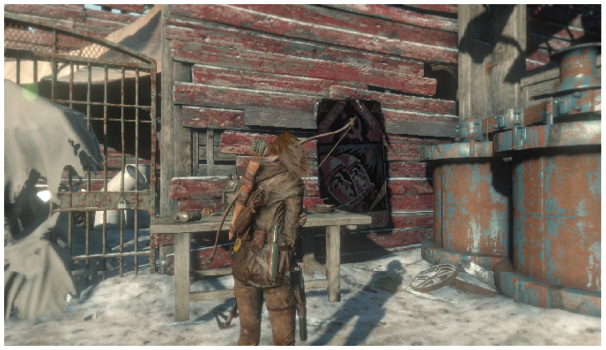
 Use a rope arrow to pull down a set of boards overhead inside the top section of the mill. Jump and use your grappling hook to find a slide to a lower level with another Poster.
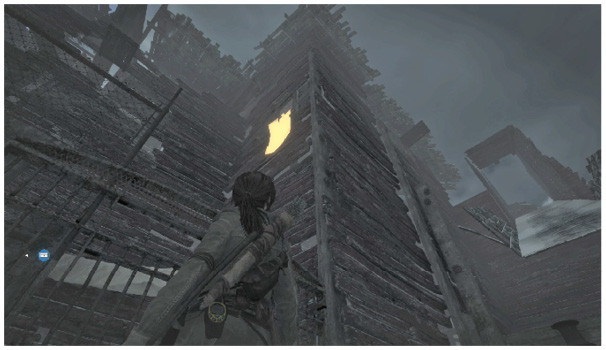
 Toward the upper end of the building, you pass a series of optional ledges. Look way up over your head; the Poster is on a wall up there.
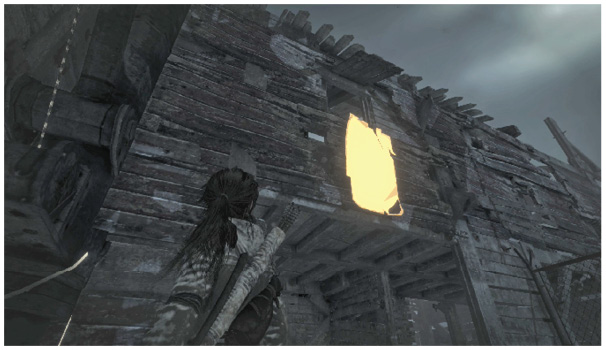
 High in the building, you find a room with a breakable wall and a ramp down. Ignore this for now; look outside, on a tiny balcony with a box of Salvage. Turn around and use Survival Instincts to see the Poster hung above you. Destroy it to finish this Challenge.
Into Darkness
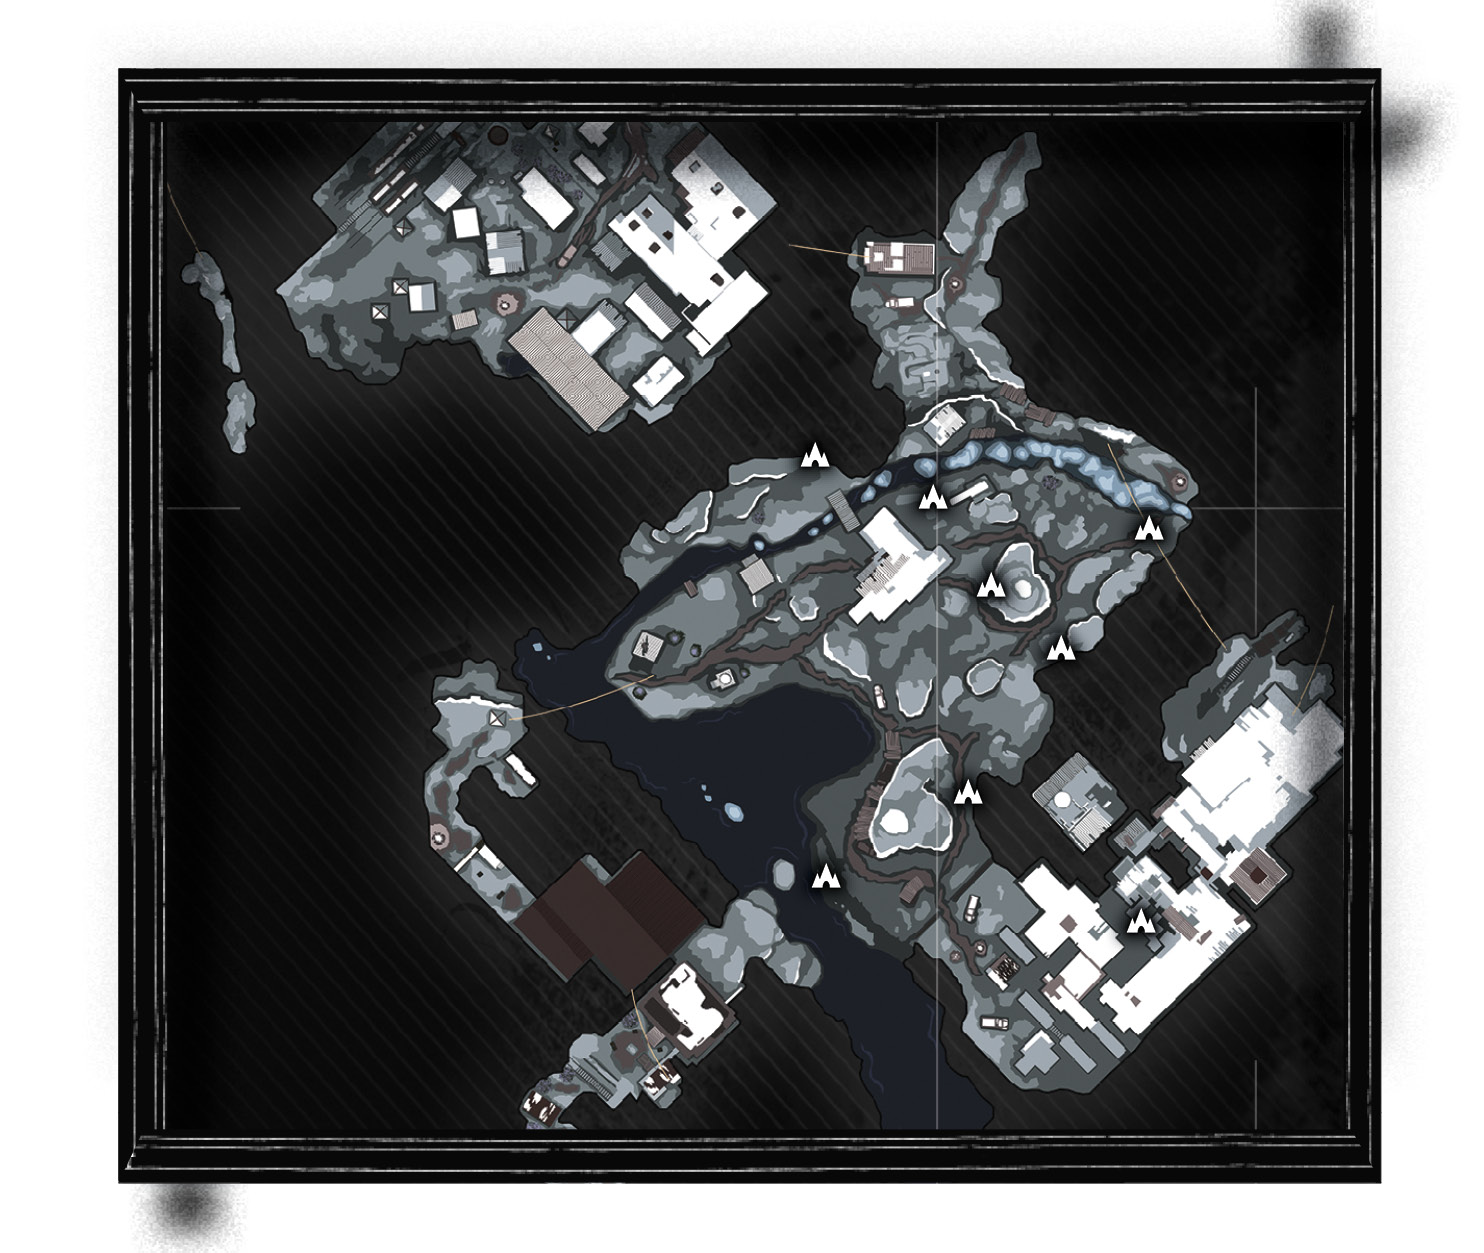
Enter five Caves around the map to get credit for this challenge. Most of these Caves are close to the Logging Camp area, and quite a few of them have other collectible items to snag while you’re there.
Take a look at the map and focus on the Caves around the area. Many of these are easy to get into because you only need to walk up to them. However, one is trickier. The Cave north of the lumber mill is a Tomb Entrance. You have to shoot the log that’s hanging over a wooden circle of flooring to get into the cave.
Other than that, you only need to run into the Caves, get credit, and leave whenever you’re done exploring each one. You won’t even have to go all the way into the Caves if you don’t want to.
Capture the FlagOnce you get the Combat Knife (later in the game), you should return to this map and look for seven Soviet Flags. Cut these down by walking underneath them and Interacting with the pole to sever the rope that is holding up the Flag.
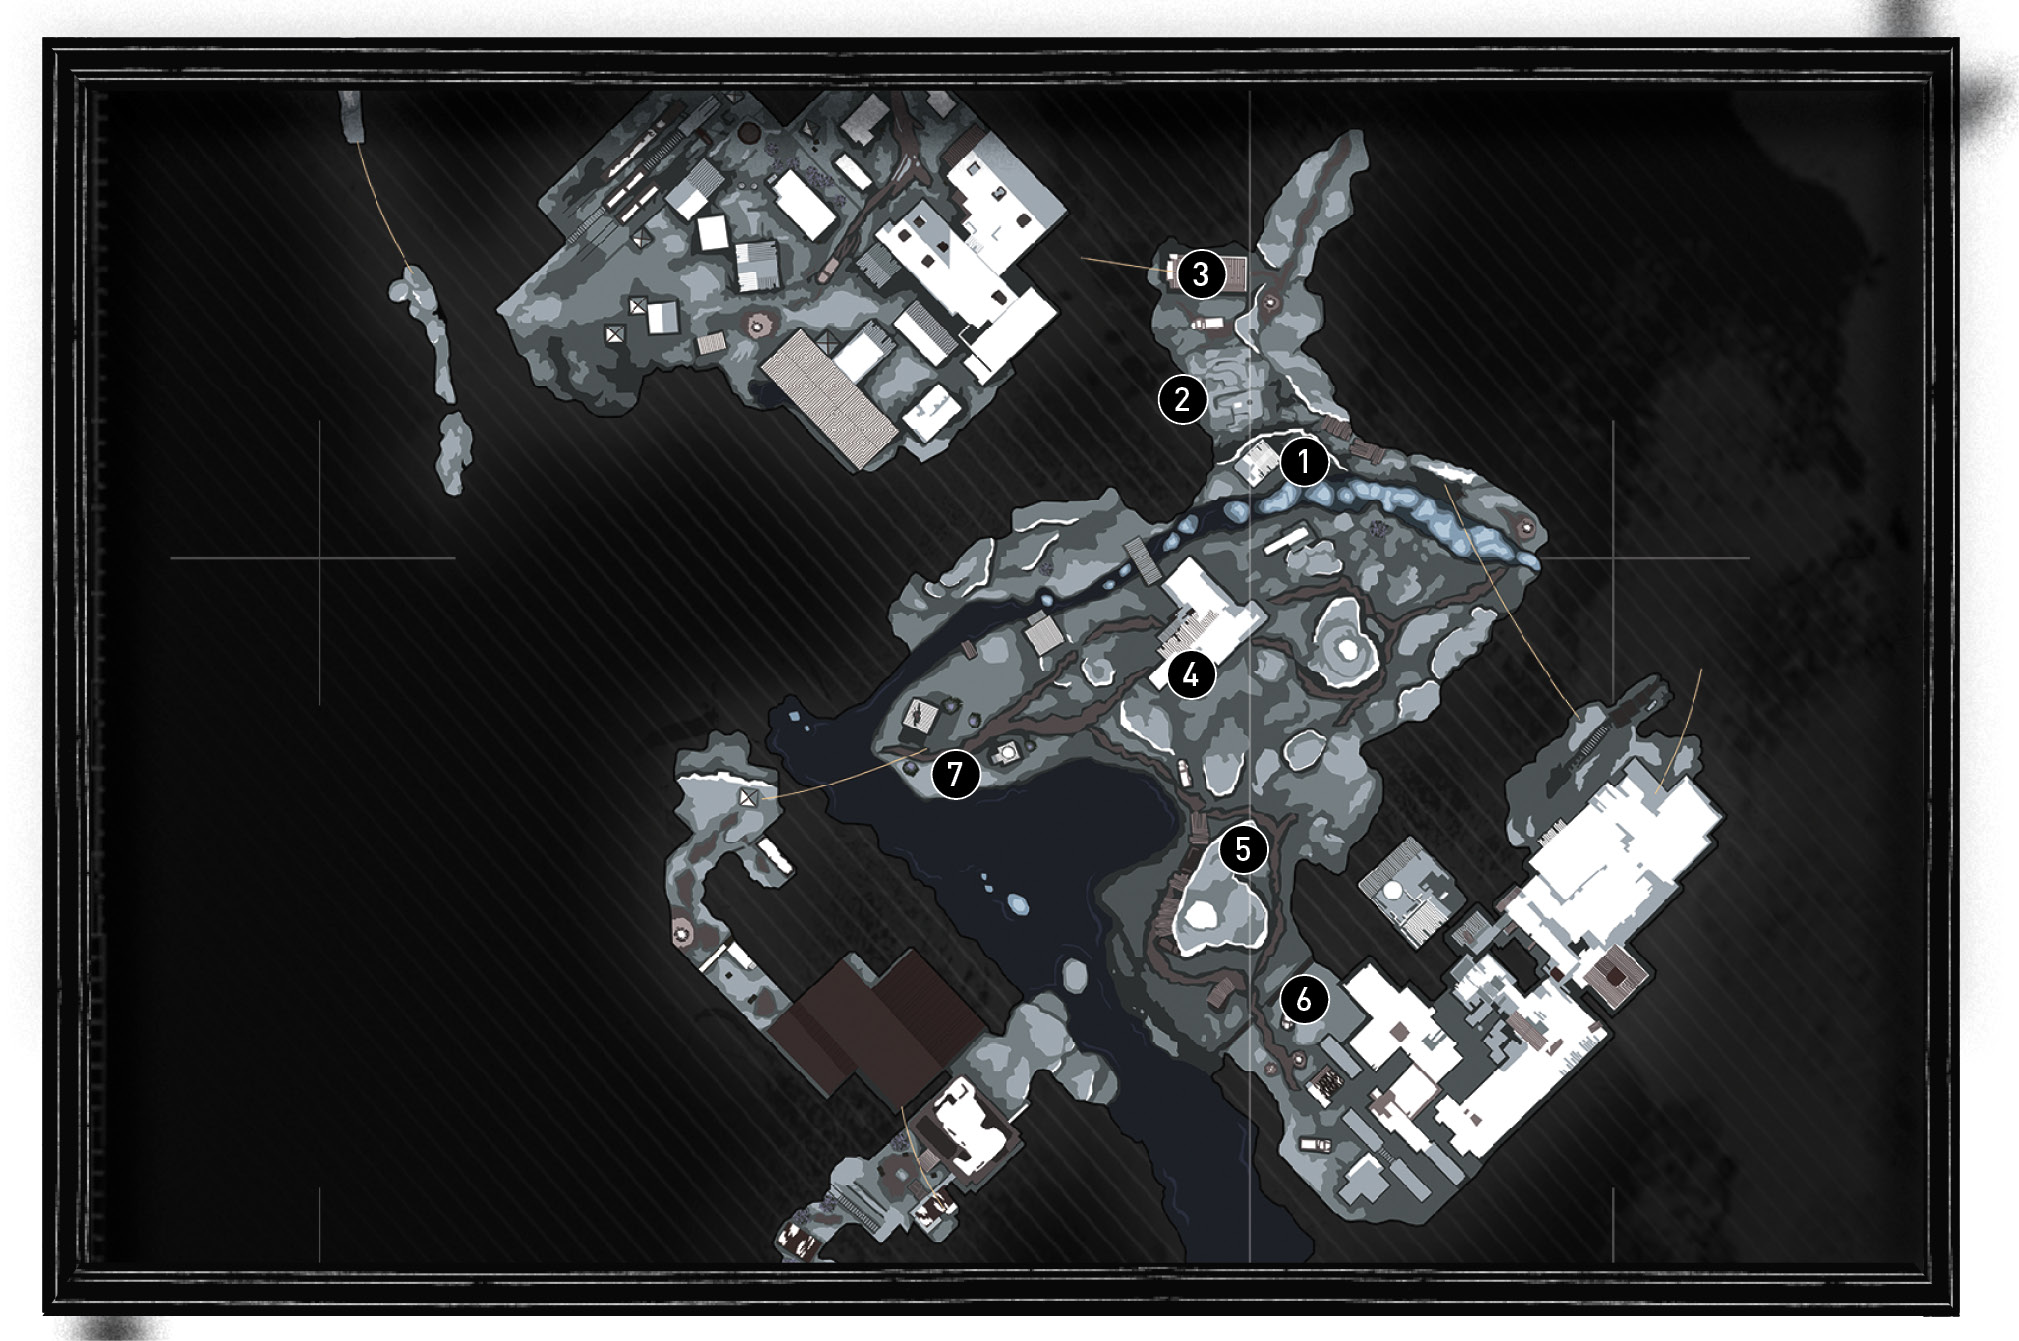
All seven of the Flags are in the central portion of this map. For additional help, look at the map here and the pictures below.
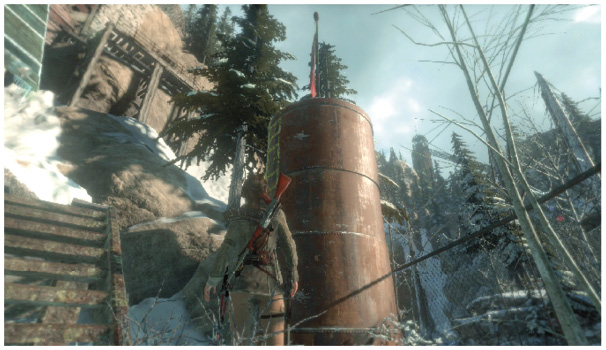
 S of Communications Tower: A water tower has a Flag mounted above it.
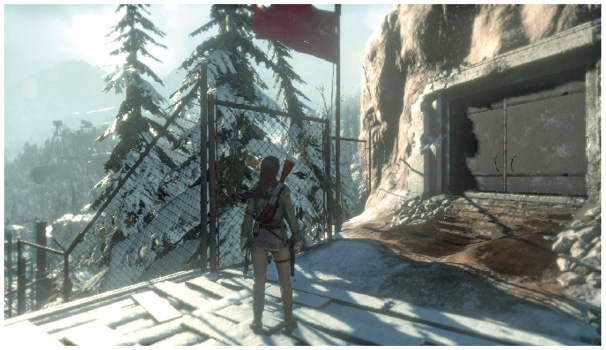
 SW of Communications Tower: Climb up through the stairways that lead onto the higher hills and look for a Flag just before you reach the top.
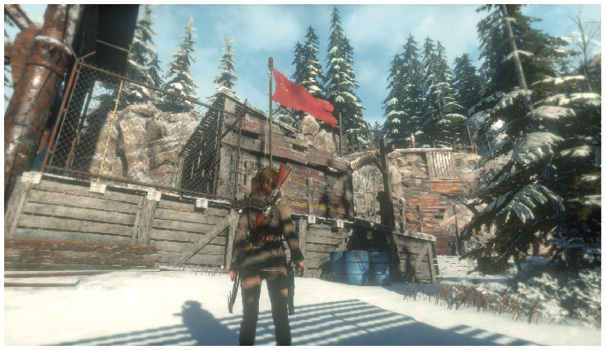
 W of Communications Tower: This one is just outside of the Supply Shack.
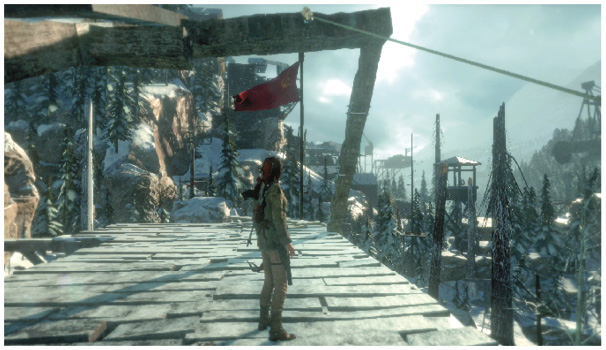
 E of Logging Camp: Get onto the upper level of the lumber mill and look at the corner of the platform.
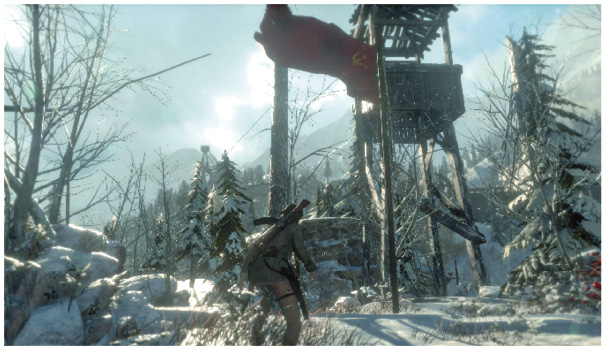
 N of Copper Mill Yard: Look for a junction in the paths. This Flag is on a tiny hill nearby.
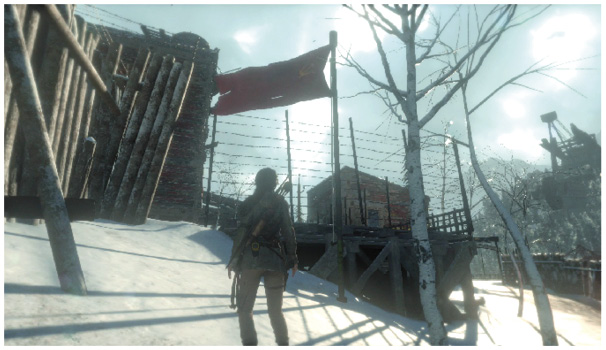
 Beside Copper Mill Yard: A Flag is flying over this Base Camp.
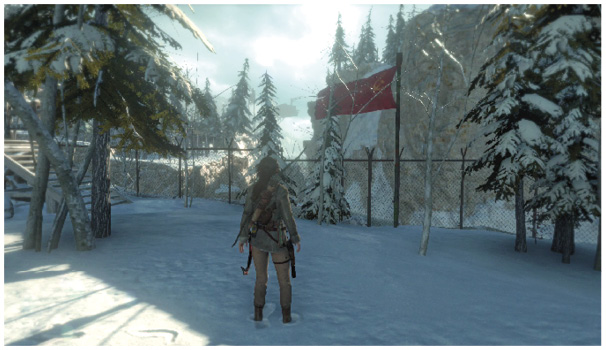
 S of Logging Camp: This Flag is near the edge of the cliff, close to camp.