
Rise of the Tomb Raider Guide Walkthrough The Orrery
Path of the Deathless
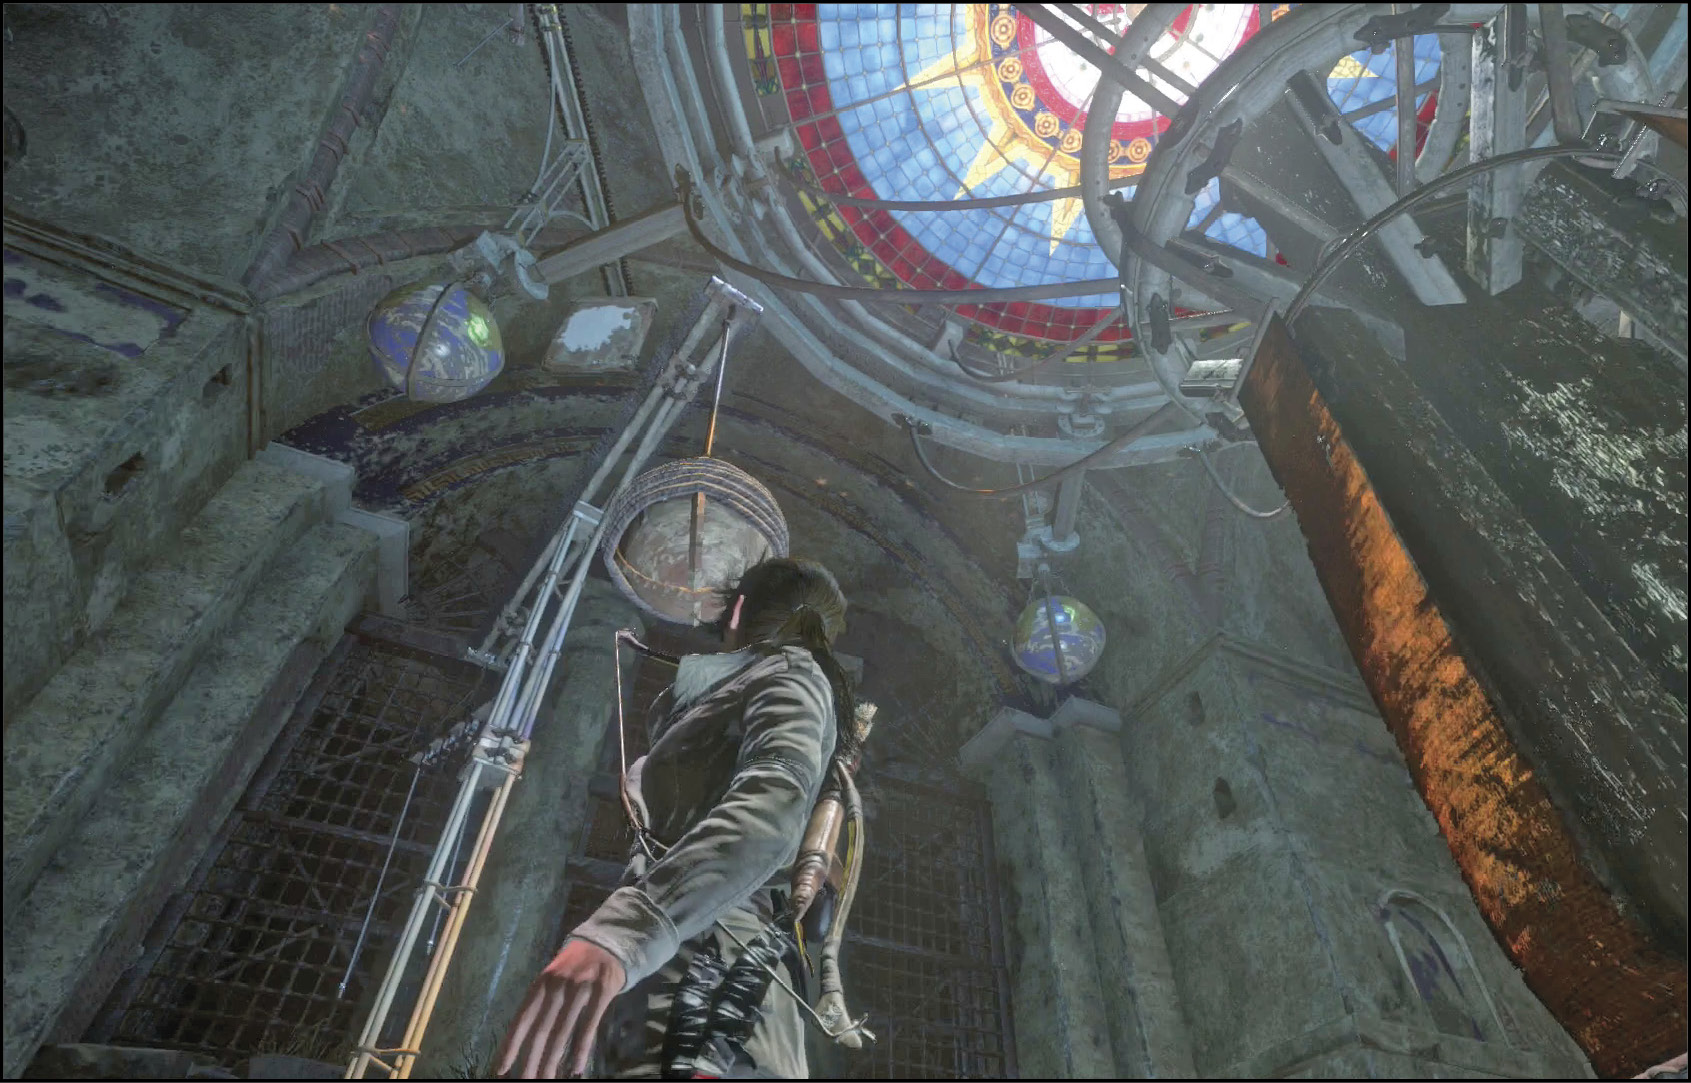
Follow the Path
Take the passage down toward an open cavern. You come to a climbing wall. Drop to a ledge below for a Survival Cache before you try to go across the wall. Use your Climbing Arrows to get to the other side of the wall (two Arrows should suffice).
Get to the next platform and shoot four more Arrows onto the wall ahead of Lara. Climb those to reach a small ledge at the top of the room. You find an Explorer’s Satchel there. Drop to the cavern floor and use the Solemn Crevasse Base Camp.
Proceed along the northern path into a small patch of water. To the right is a tiny piece of land with a Survival Cache. Continue north to advance toward the Orrery itself. Lara has a quick call with Jacob to learn more about the area, but there still aren’t any enemies to contend with.
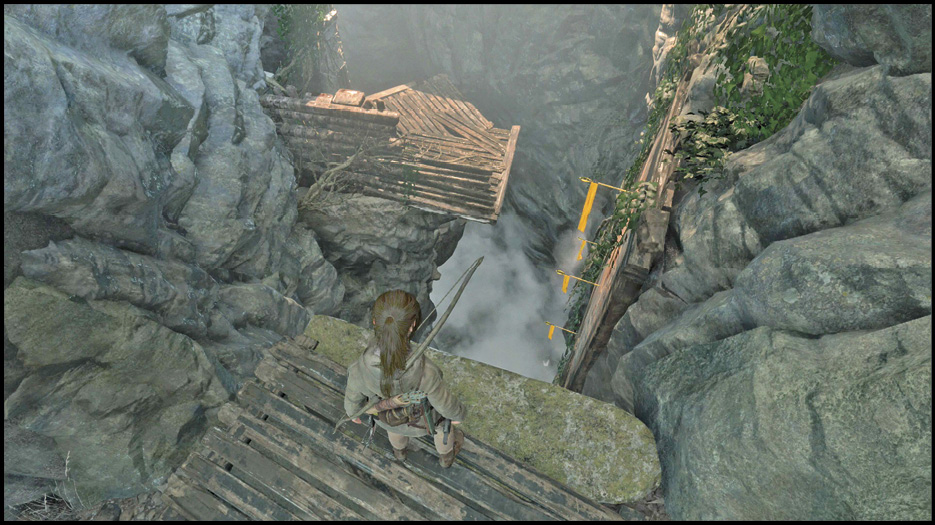
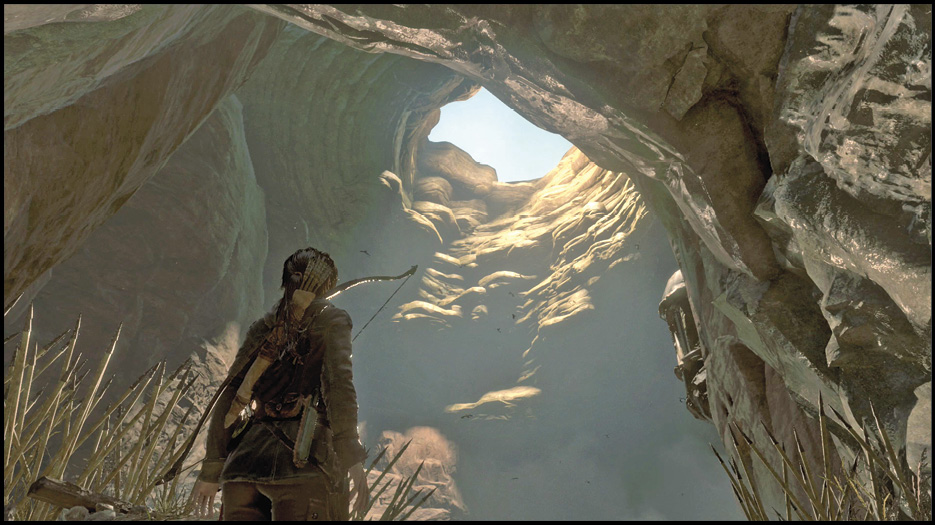
Climb down the stairs to the lower part of the caves, and keep walking north. You hop down a few platforms at the end of that path, and the route turns to the east. In moments, you enter the Orrery.
Use the Orrery to Open the Entrance to Kitezh
The Orrery is a puzzle section. You need to get to the middle level of it, retract two locks, and then climb to the top of the chamber. Let’s begin!
Use your Bow and Rope to pull the first platform into position in front of you. Jump onto it and cross onto the main Orrery platform.
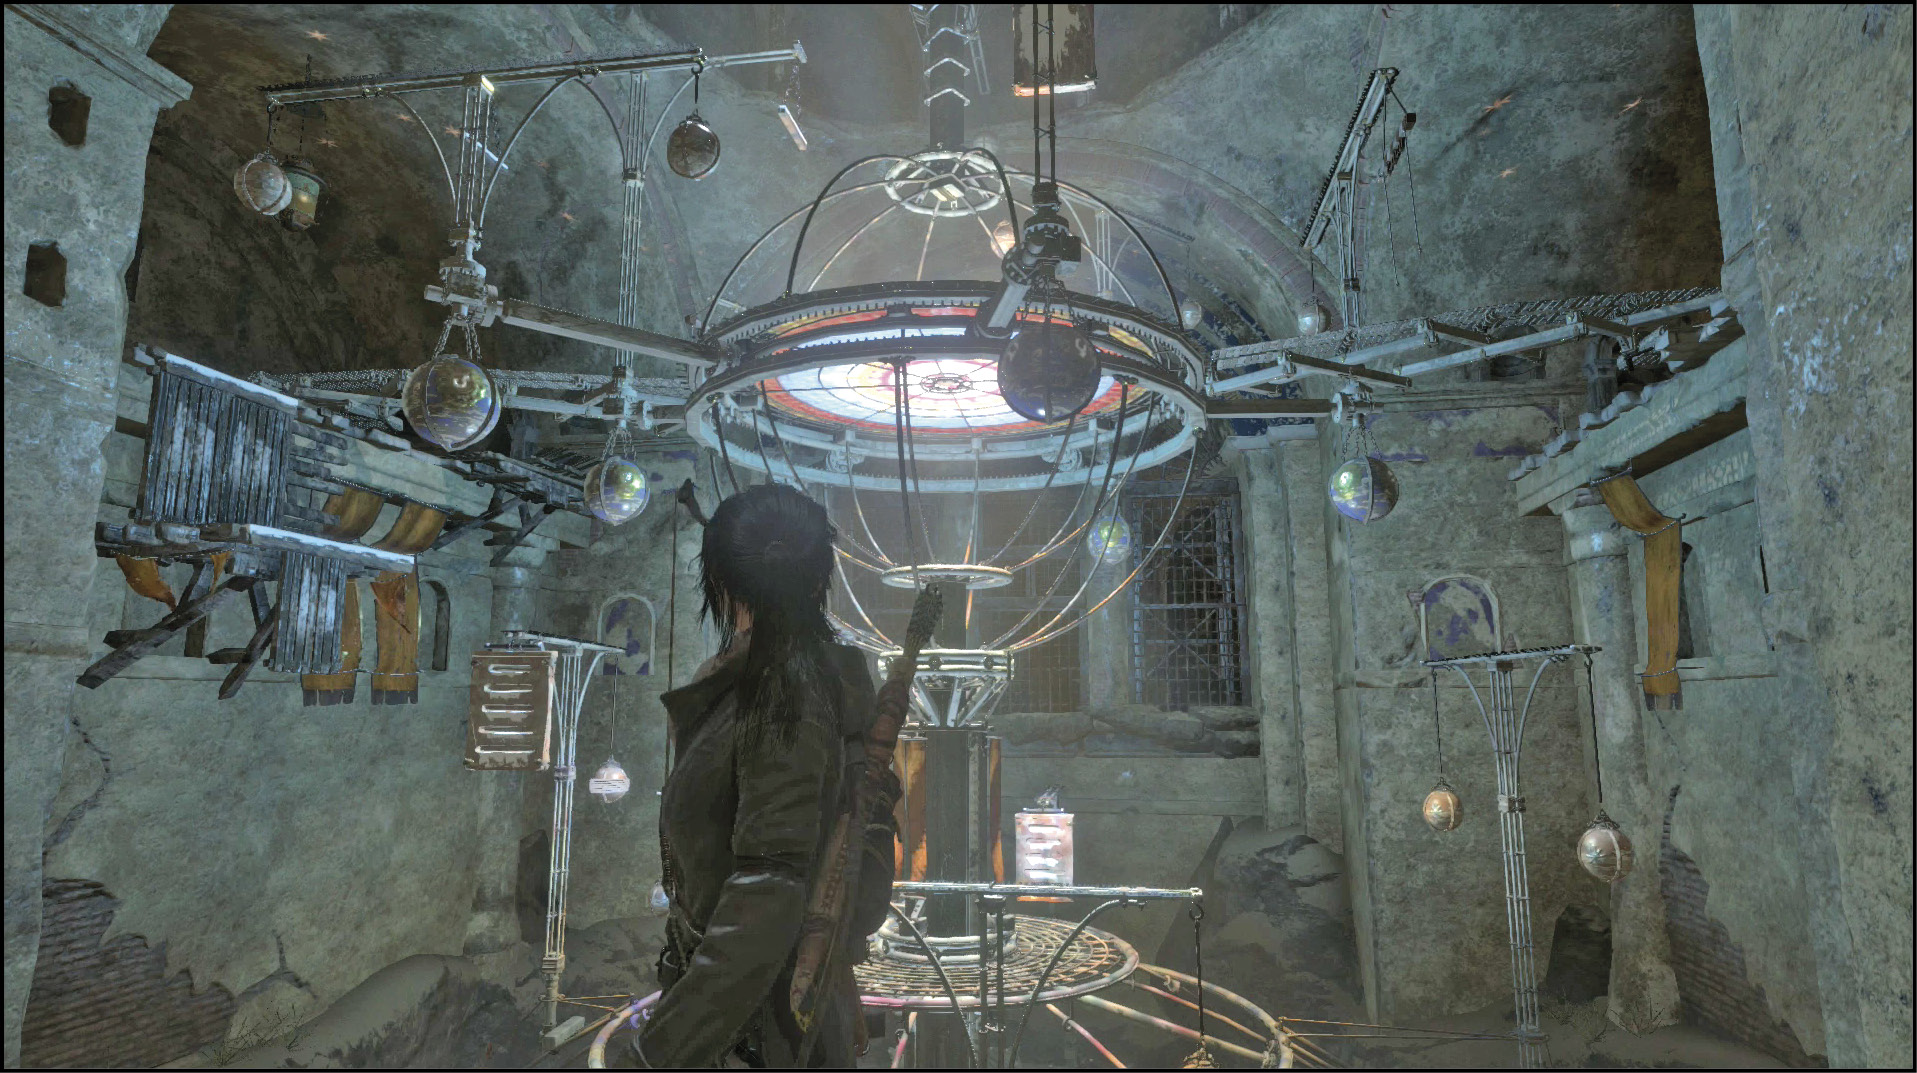
Now that you’re there, use more Rope shots to turn the three platforms that are ahead and on your left so that all of them are lined up in the same direction (facing forward from where you got onto the platform). This way, there is a hanging block facing you from the platform at 12 o’clock. You can jump up to that and pull yourself to the top of the beam. The second platform doesn’t have a hanging block, but it can be used as a grapple point and it allows Lara to reach the third platform.
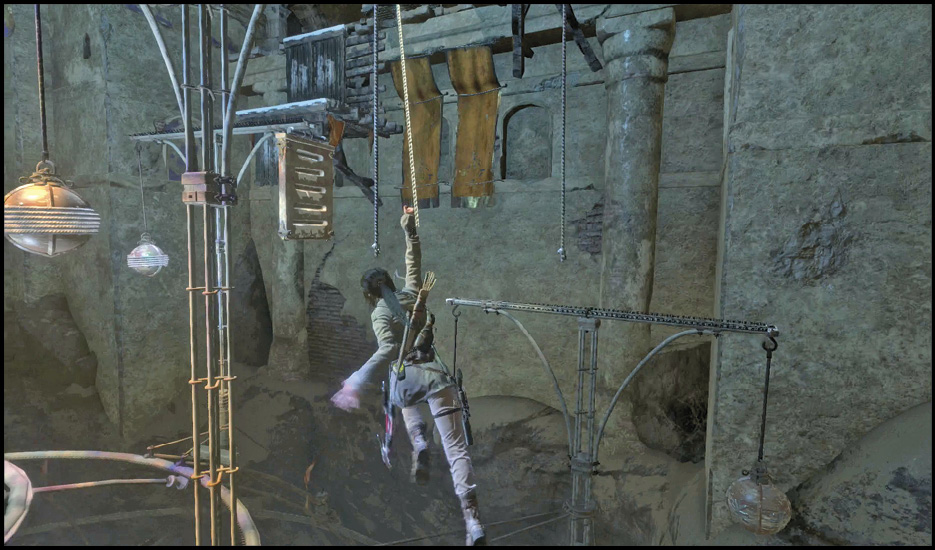
Note that the second platform has to have its grapple down on the right side, and the third platform has to have the hanging block on the right side as well.
The grapple jump you have to make is slightly tricky. While standing on the beam for the first platform, line up your jump as well as you possibly can. It’s easy to be off by a few feet and then miss the grapple connection. That gets you splattered, so measure twice and jump once. Don’t jump at an angle; go straight toward the second platform.
It’s an easier jump to grab the hanging board. Climb from the third platform onto the walls ahead and pull yourself onto the middle tier of the room. Push the lock mechanism on that ledge so that it retracts the holding system for the Orrery. Now grapple onto the Orrery and run along the bridge that leads to the second lock. Retract that one as well, and the Orrery springs back to life. They sure don’t build these like they used to!
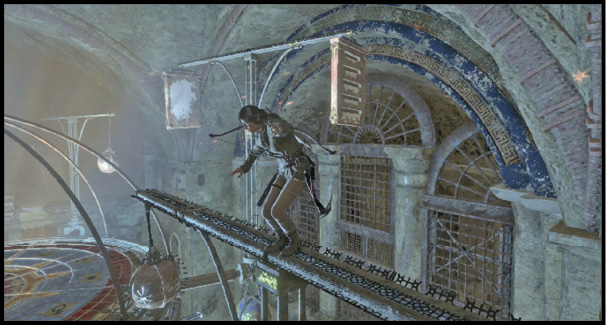
Search a side tunnel here for the only Mural in this map. Then, you need to climb to the top of the room using the moving parts of the Orrery. This isn’t as hard as a puzzle, but it’s a little bit dangerous.
Use the ramp that’s left of the lock to jump and grapple onto the Orrery when one of the platforms is in position. Use your Survival Instincts to spot the sections on which you can grapple so that you don’t jump at the wrong time.
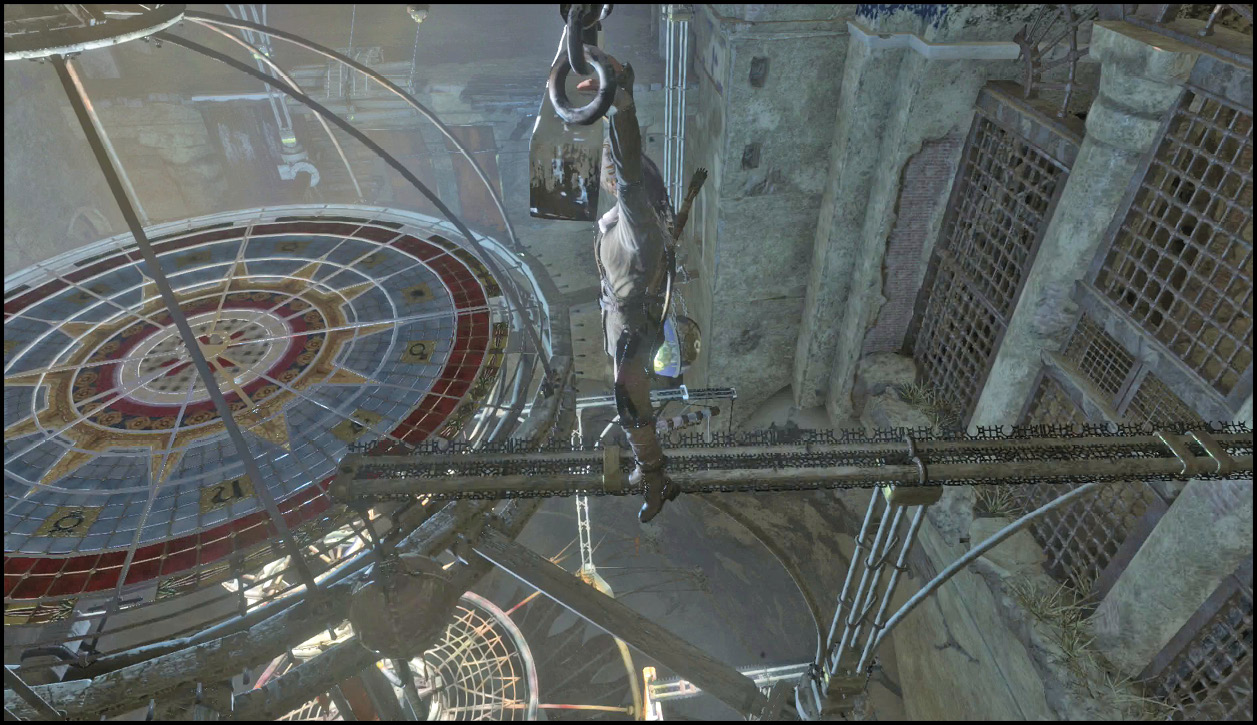
From the Orrery, look for the lowest hanging board. Jump onto that and pull yourself to the beam above it. Stay in the middle of that beam and look for a platform with two hanging pieces of wood (on chains). Jump and cling to that as soon as the two platforms line up. Now get ready to drop off of that board. Wait until the next platform is directly underneath Lara and then let go.
Things get easier now. Wait for another hanging board on the next platform, and jump onto that. Climb up and leap onto the handholds at the top of the Orrery. Climb the rest of the way up and get yourself onto solid ground again. Whew. That wasn’t harrowing or anything.
At the top, you find a Codex! Read it with glee. This one grants you Classically Trained, a skill that increases the number of Arrows that can be rapidly shot without redrawing from the quiver. You can now fire three Arrows this way!
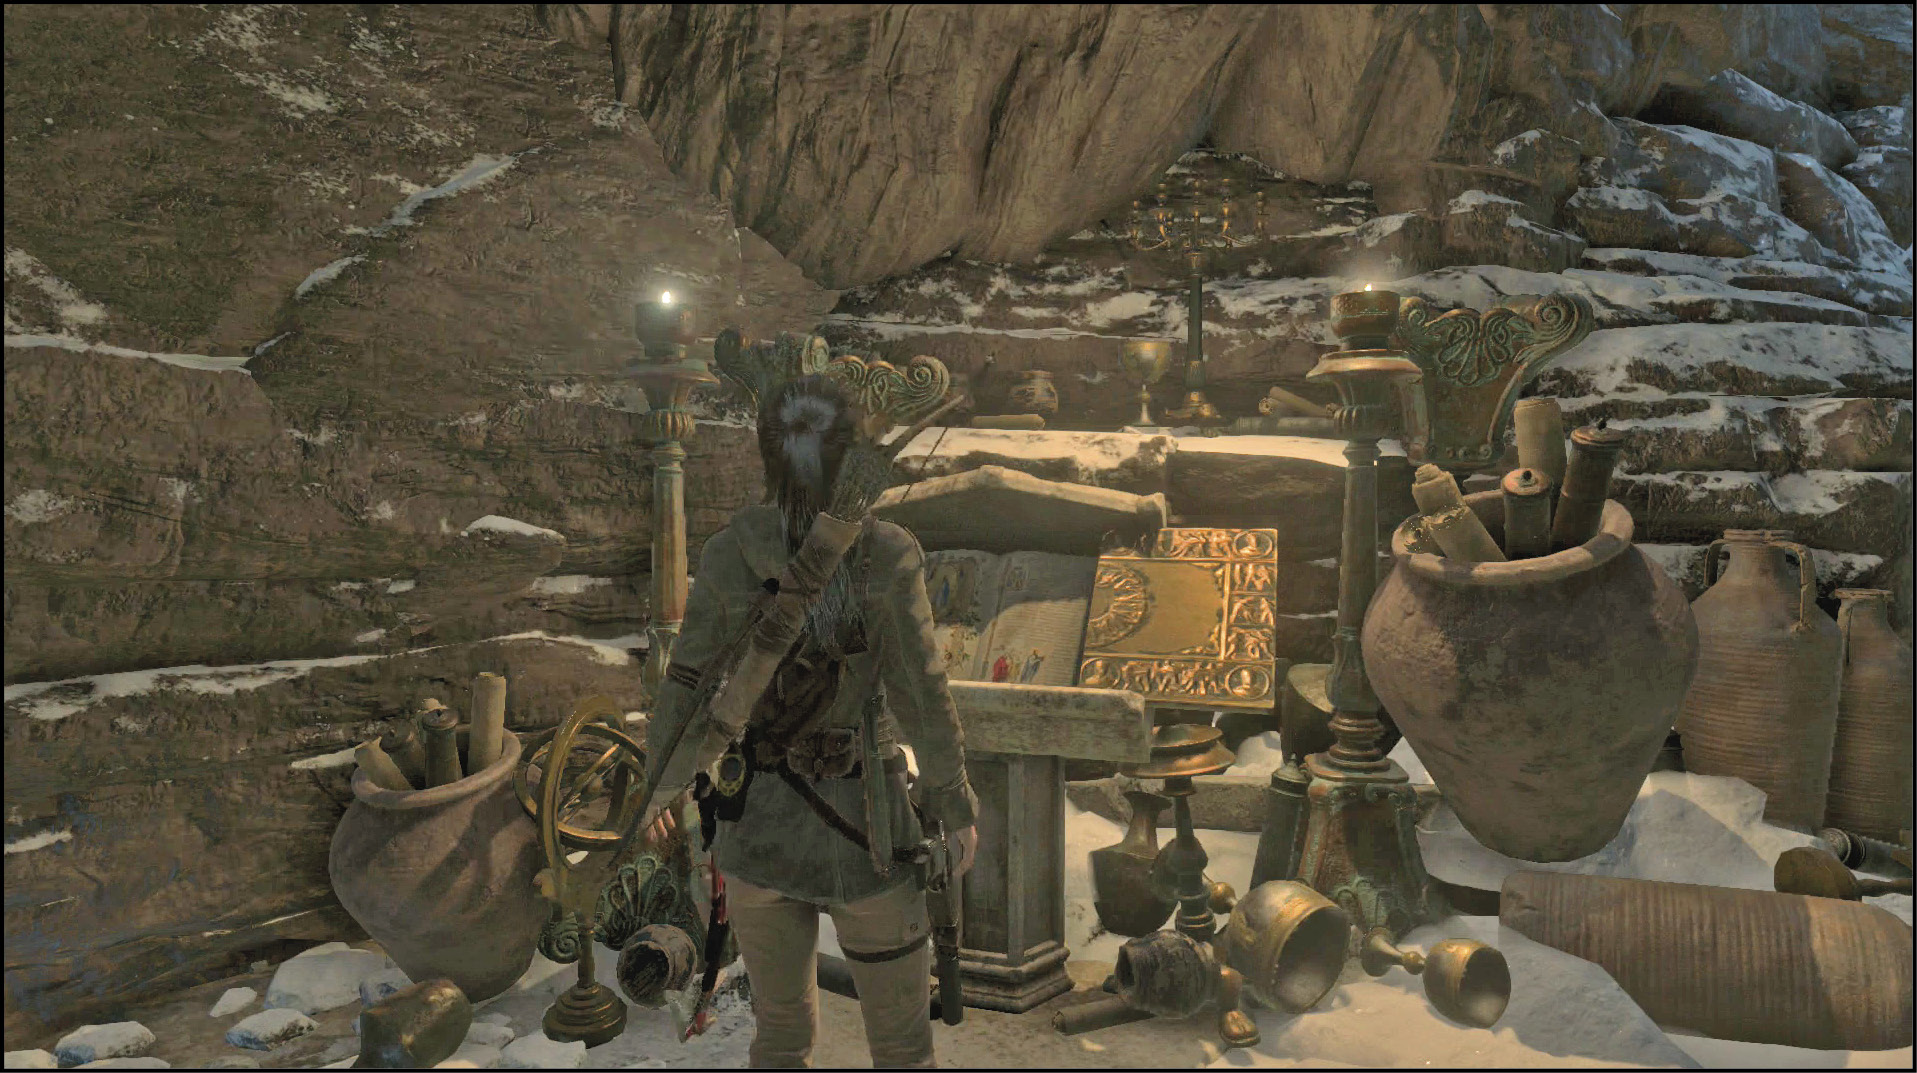
Search the next tunnel for a Survival Cache on the floor. Collect it and then shoot Climbable Arrows into the boards that line the walls on both sides of the tunnel. You need five Arrows to properly cross this area.
Jump up to the Arrow on your right and use the others to get to the far side of the room and up to a new ledge. Leave the Orrery behind and enter the next area.