
Rise of the Tomb Raider Guide Walkthrough The Lost City
The Frozen City
Get Through the First Gate
Lara gets an amazing view of the city when she leaves the caverns. Search a small pillar on the right for a Document (The Last Man). Use the Threshold of Kitezh Base Camp next to that before you leave.
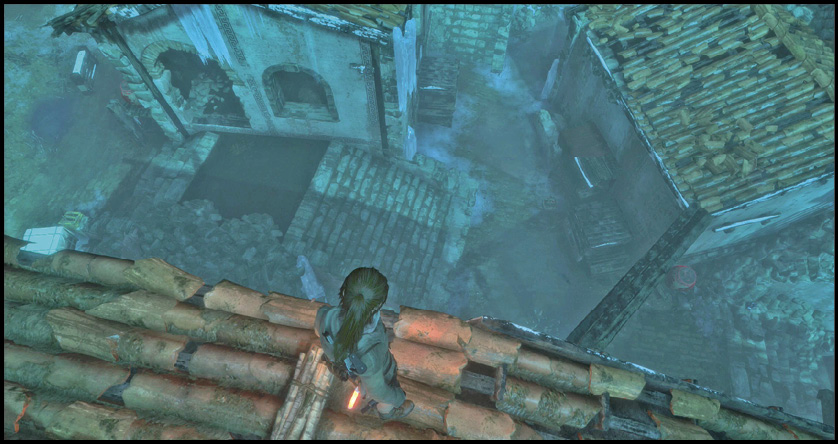
Take a zip line down into the heart of the ancient city. There are many secrets scattered around the streets and rooftops, but there isn’t much time to spare. If you can resist the urge to explore, make your way toward the objective in the northwestern part of town.
The path over to the objective is so easy that something feels wrong about it. Jump over the rooftops and get across the city, and climb the steps up to the exit. When the heavy gate slams into place, rest assured that things are back to normal.
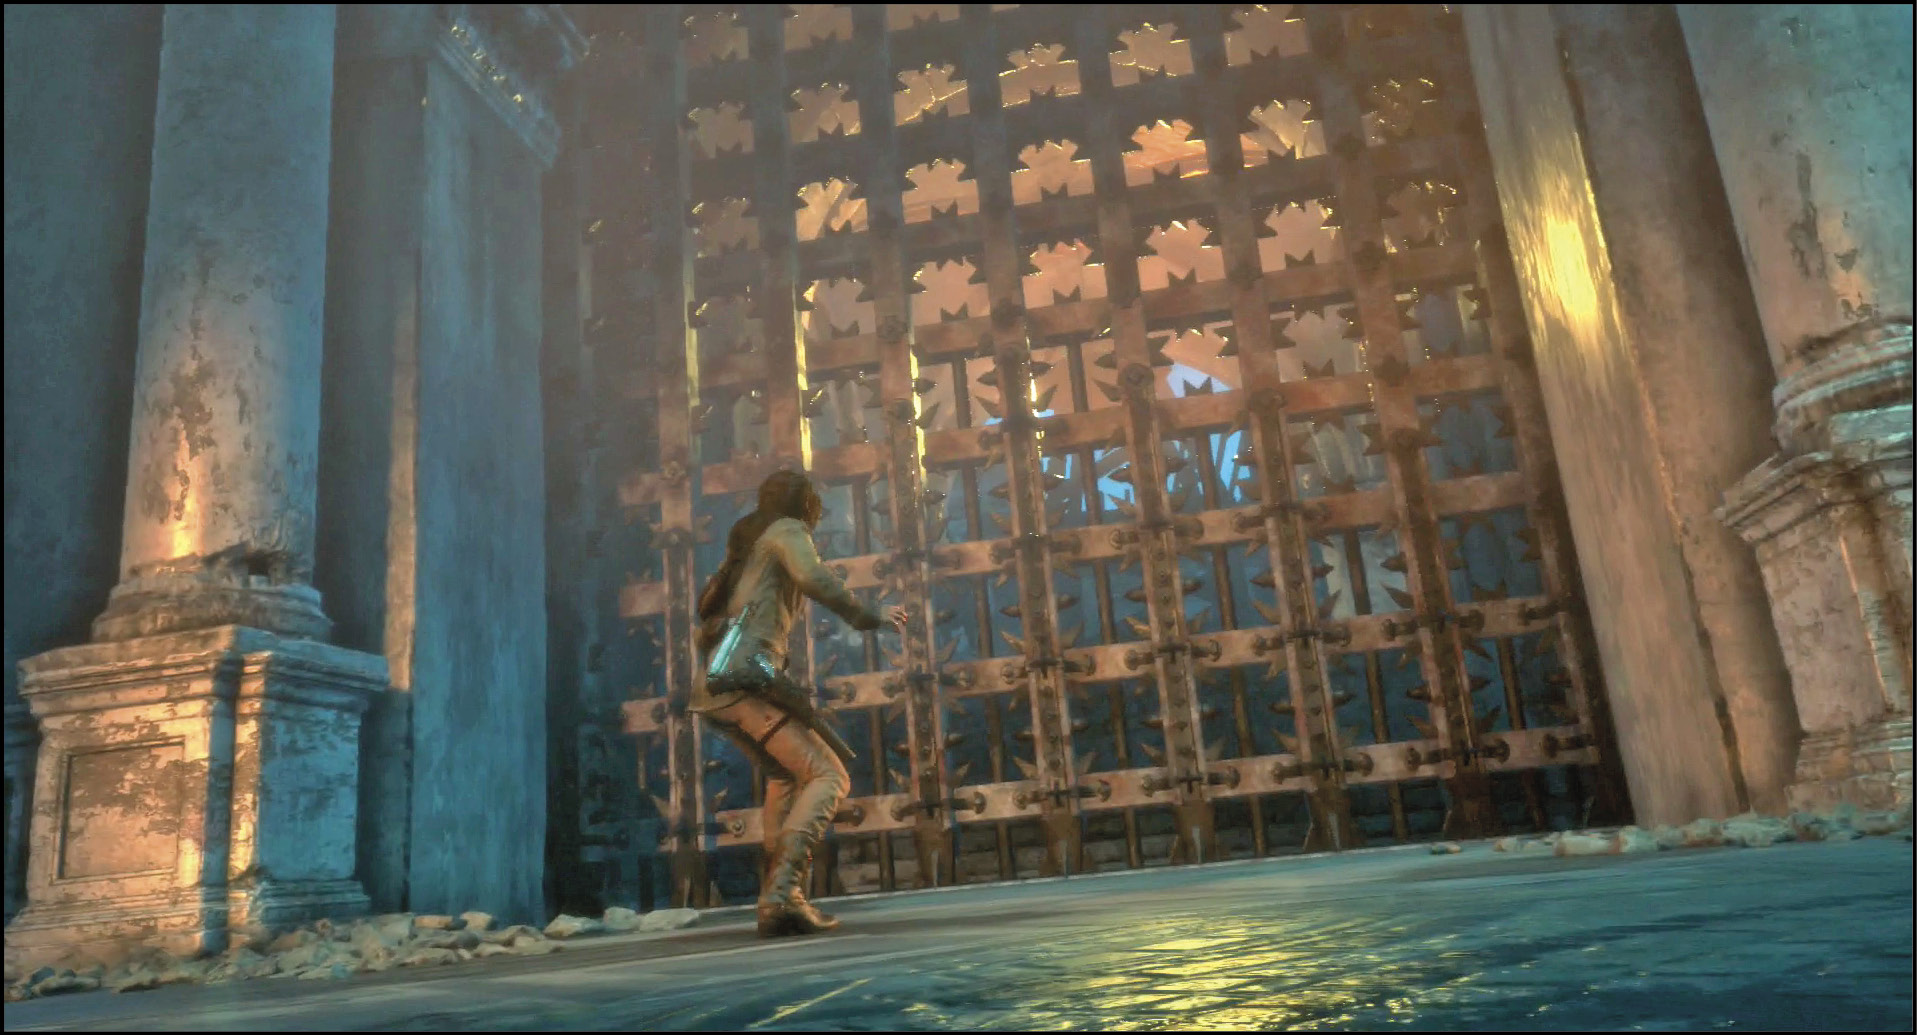
The Deathless have a trebuchet that starts firing on Lara’s position. You won’t be able to leave the southern end of town without getting control of that siege weapon.
Seize the Trebuchet
Run back across the city, using the streets this time. The enemies have already spotted you, so stealth isn’t much of an option. Instead, use speed as your ally. Dodge past the attackers, because they are in heavy armor and can’t pursue you very well once you get around them. Sprint to the south and then stop to eliminate the small group of Archers and others that eventually find you. Use Poison or Grenade Arrows on any Knights that attack, and don’t proceed until the coast is mostly clear.
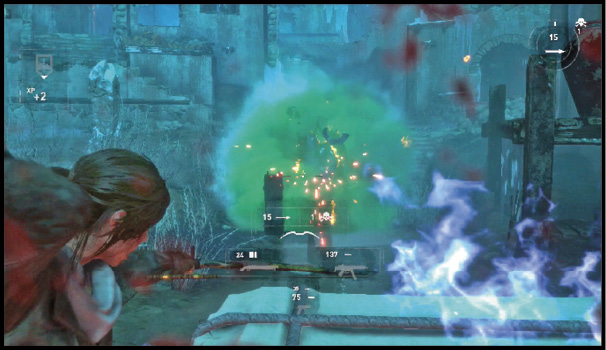
To get to the trebuchet’s platform, stand underneath it and use Climbing Arrows on the walls. Put the first Arrow very close to the ground so that Lara can jump up to it, and lead the others to the right. Don’t try doing this if any of the Archers have line of sight against you. They take potshots and ruin your climb. Kill all of them and then proceed.
Climb onto your Arrows and get to the wall higher up; that one is close to an iceflow that can be climbed.
Get to the roof and fight a few Archers. They’re surrounded by urns and can be eliminated quickly. Jump and climb onto the tier above that, where the trebuchet is sitting. One more Archer and a nasty Guard are there. You don’t have much room to dodge, so splatter them with a Shotgun or a Grenade Arrow, or go for aggressive melee attacks if you have a good set of skills for it.
With the last of the Deathless gone for a few seconds you have time to commandeer the siege weapon. Get to the front of the machine and turn the crank on it until the trebuchet faces the first gate of the city. A long wooden arm acts as your sight, so aim with that.
Fire the weapon once the trebuchet is in position and let the gigantic stone do its work.
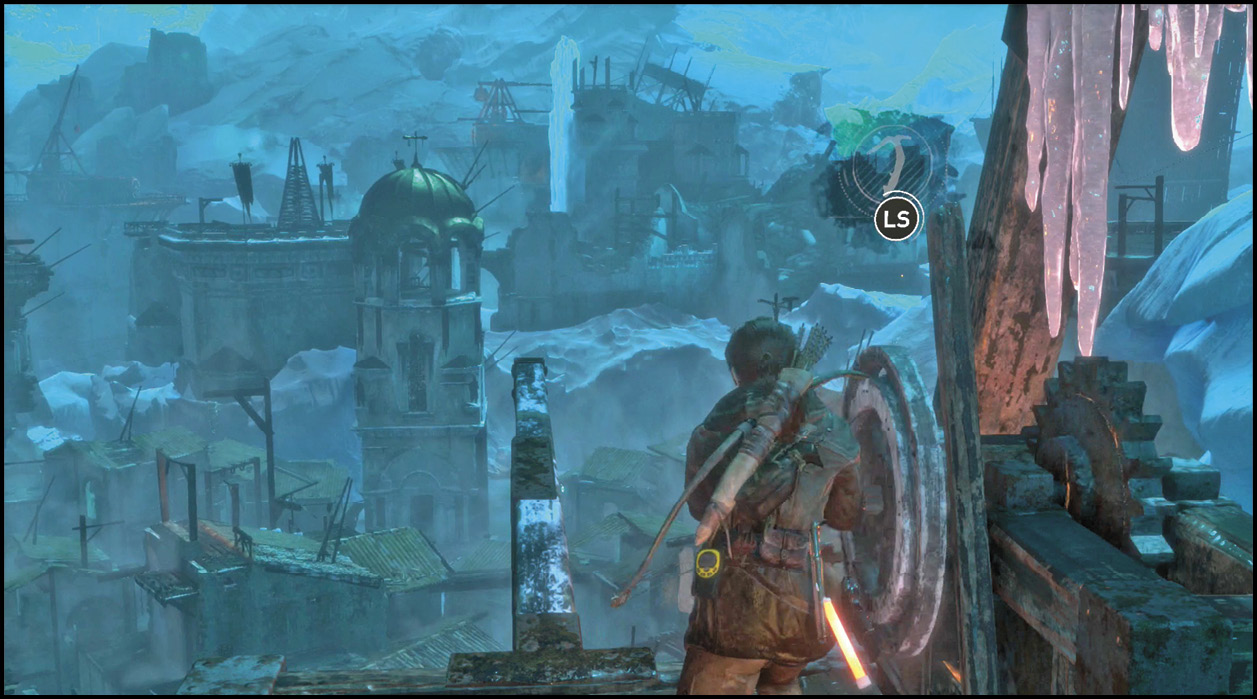
Get Through the Second Gate and Survive an Ambush
Zip line and race to the north. Get a Document (Trapped) at the base of the stairs that head to the gate. Pass through the destroyed gate and stop briefly at the new Base Camp, Citadel Plaza.
The camp is named for the plaza ahead of you, on the western side of the city. Walk toward it and watch a scene as Lara finds a slain warrior with Armor-Piercing Arrows. These new weapons upgrade your standard, Silent Arrows so that they can go through armor as long as you fully charge your shots.
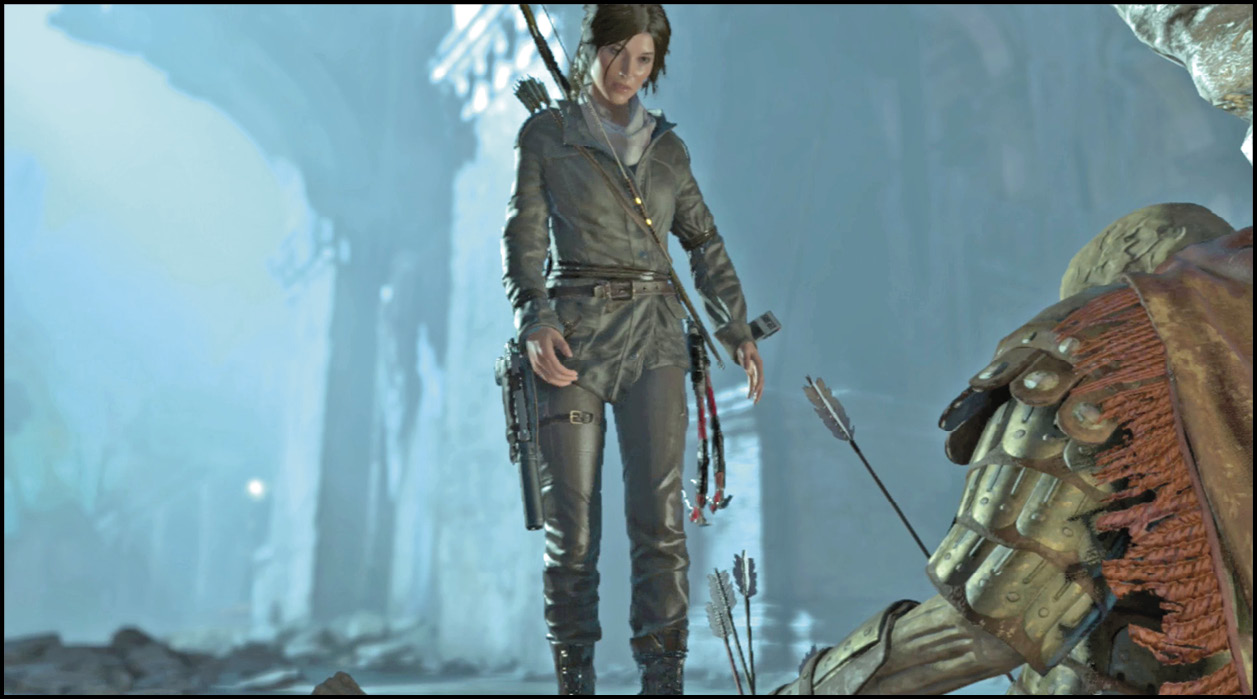
Deathless attack only moments after you find the Arrows. Get to cover quickly and steel yourself for a tough, long encounter. Archers use the upper walls and balconies to get a good angle against you. Guards attack from the lower doors, and they come in decent numbers throughout the engagement.
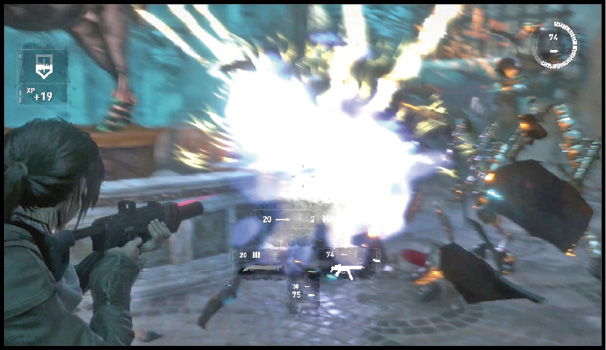
As usual around here, there are Greek Fire urns that should absolutely be used to take out the melee attackers. Run past the urns, turn, and then fire when the Deathless chase you. This kills some of the targets, but you need more than Greek Fire to win.
Survive the ambush and go through a small passage on the northern side of the yard. Turn a crank to open a door inside the corridor. Follow your waypoint out to a ledge over a massive drop. Use your grapple to snag a Rope and then swing to a platform to the east. Break open a barricade by the landing (to your right) so that you can pass freely into and out of this part of the city.
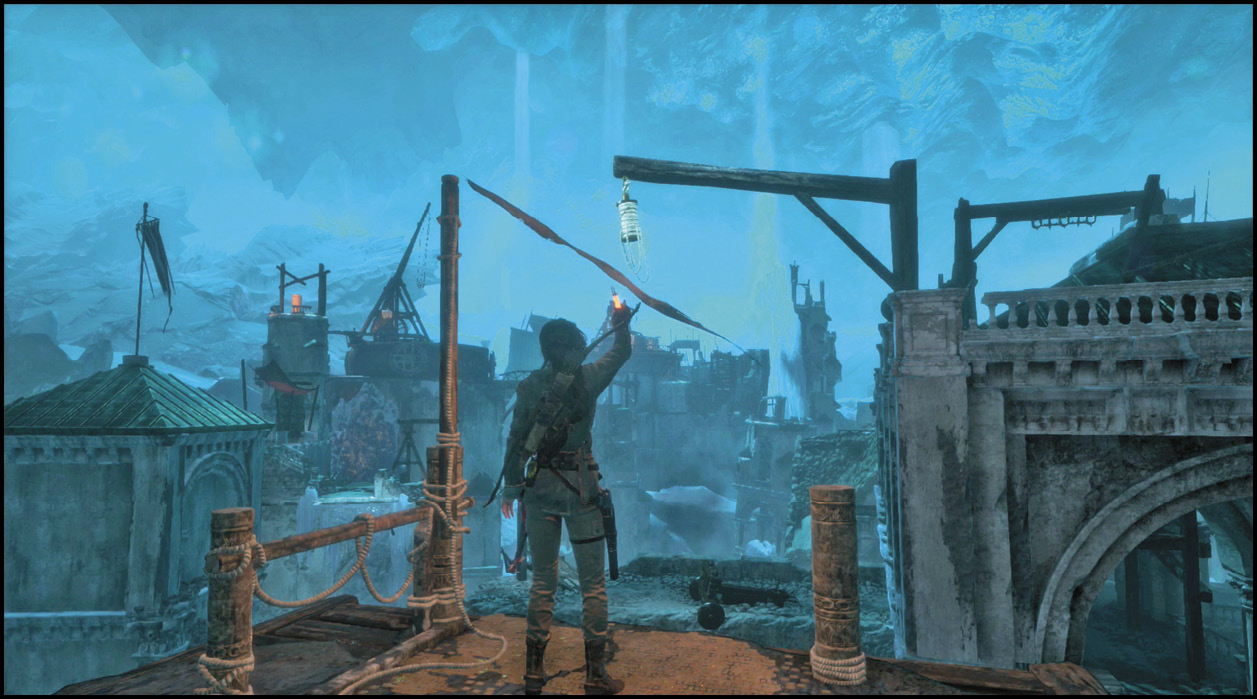
Cross a couple more rooftops to get over toward the second trebuchet, but stop when you hit a slick wall of ice. This one isn’t climbable. To proceed, you need to swing a crane arm so that it’s closer to the ice wall. Then, jump onto the bucket that’s hanging off of the crane. Lara’s momentum slams the bucket into the wall, shattering the ice. Use Climbing Arrows on the exposed wood to reach the top.
Climb to the trebuchet and look at it. This one is, for lack of a better word, locked. You have to break the wooden piece that prevents it from firing, but Lara isn’t strong enough to crack apart the boards by herself, even if she uses her Rope.
To do this correctly, use the crank on the trebuchet to rotate the weapon until its guiding arm faces a nearby tower. Walk across the arm and stand next to a Rope Coil on that tower. Connect the Coil and the locked boards on the trebuchet. Return to the device and turn it away from the tower to rip the boards off of the siege weapon.
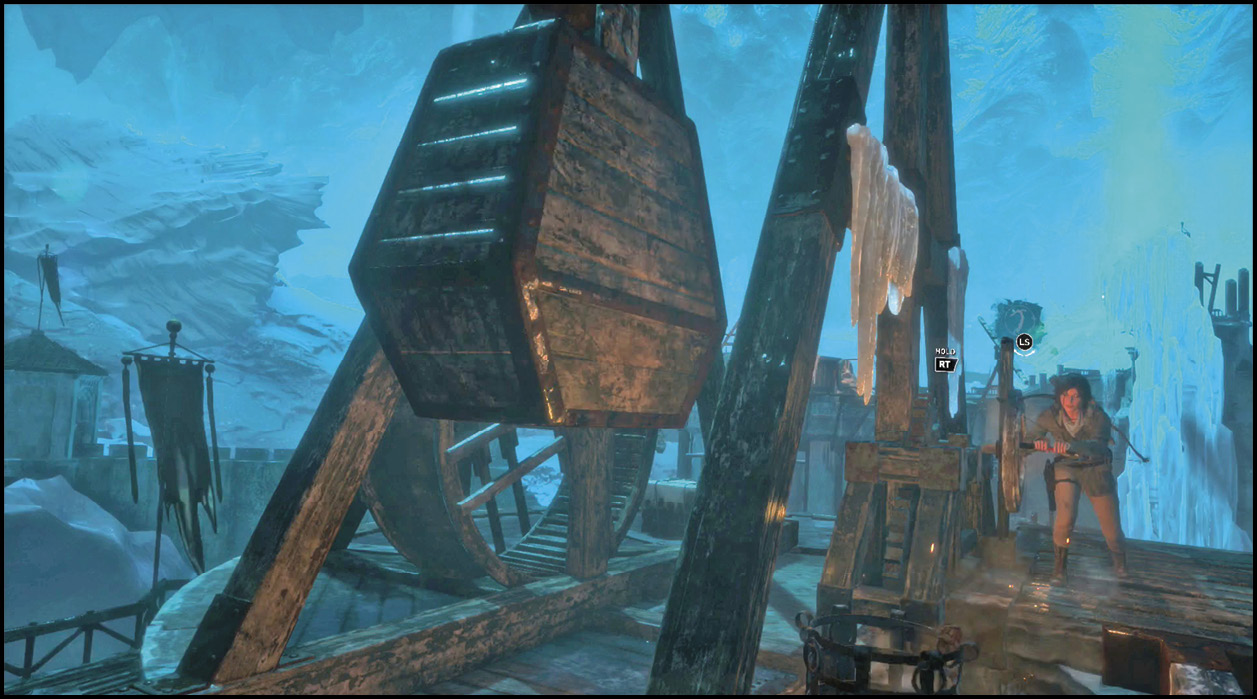
Line up your shot and fire at the second gate. You can score only one direct hit before you’re interrupted by a third trebuchet. Alright. That’s fine. Time to go steal that one!
Get to theThird Trebuchet
Hop off the trebuchet and look to the east. Make a zip line to the next building over and slide down to it. Climb a wall and then use your Rope to pull a long wooden beam into position in front of your roof. Hide from enemy Archers while the arm swings into position, and then jump onto it. Run across and leap to an ice wall underneath the trebuchet to start your climb.
Shift to the left, jump, and then get over to a bucket on that side of the wall. Climb up and leap to the floor around the trebuchet. Fight off a Guard and Archer that are positioned there, and then look around to see how you can fire this one.
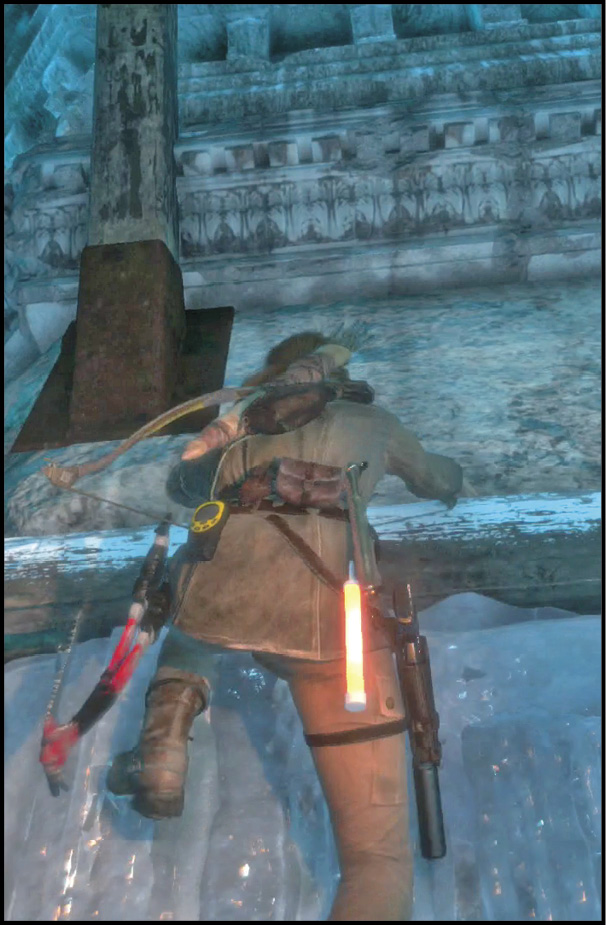
The mechanism is frozen. That could be a minor issue. Go to the front of the weapon and look for a massive crane arm that has a bucket suspended from it. Turn that so that the heavy end (with the bucket) is close to the trebuchet. You can leap onto the top of the crane arm and use it as a ramp to reach a building above the trebuchet.
Get up there and connect a Rope Coil to the higher end of the crane arm. Get off of the building and shoot the Ropes on the crane to spin it around, getting a second bucket off of the building’s roof. It’s now suspended over the city, but the two buckets still aren’t equalizing the weight.
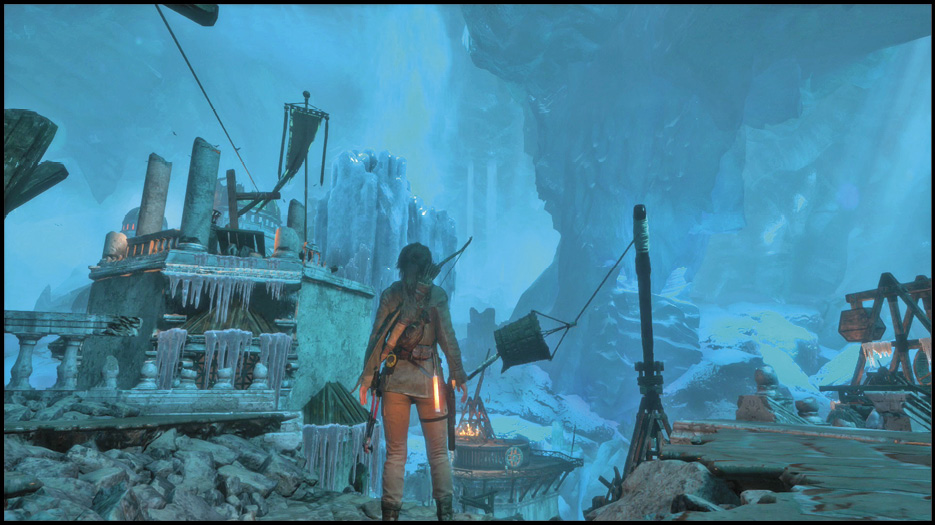
Shoot the Rope section underneath the new bucket to close its drainage system. Then, spin the crane so that the new bucket goes underneath the waterfall to the west. It’ll fill the bucket with water, and nothing drains out of it.
Rotate the crane arm so that the wooden bucket is away from the trebuchet, and the brass bucket is directly in front of the ice blockage. Use a ramp on the western rooftop to jump onto the small tower that holds the crane. You then need to shoot the lever that opens the wooden bucket’s drainage system. As the bucket loses water weight, that arm of the crane rises and the other falls. Quickly jump onto the brass bucket’s lower handles and let your weight crash the bucket into the ice block. You’ve done it! The last trebuchet is free to fire, and that gate’s days are numbered.
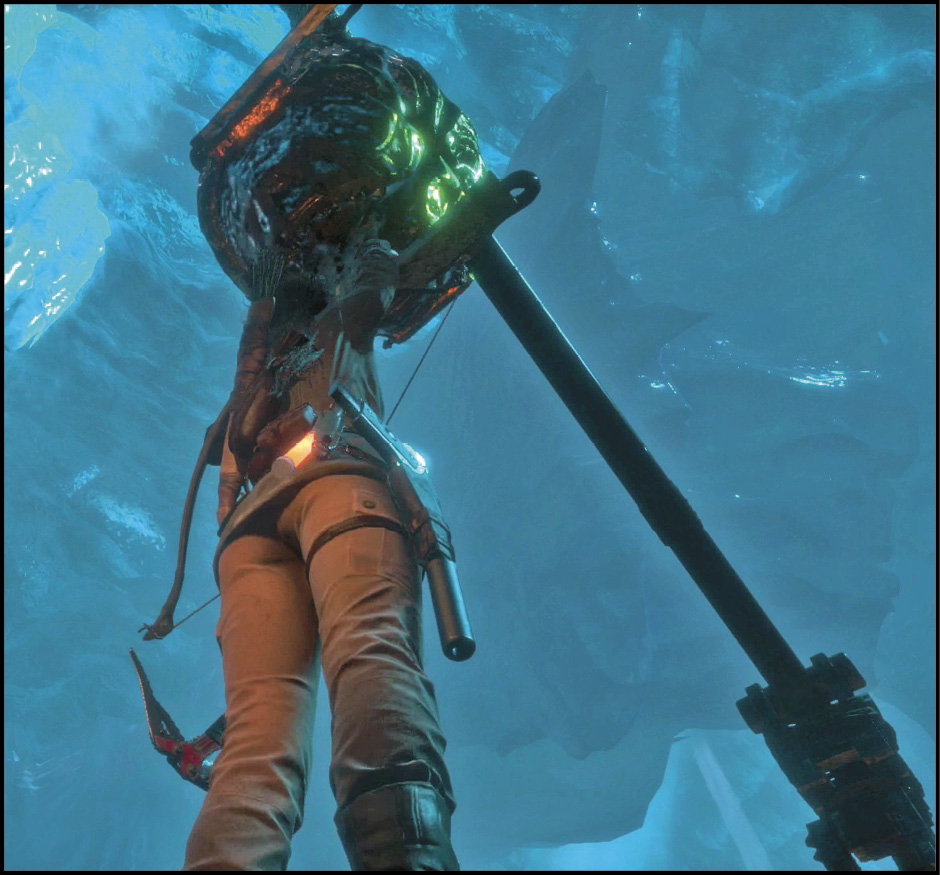
Use the trebuchet to destroy several packets of Archers that arrive on the rooftops below, and then destroy the second gate of the city as well. You have unlimited ammunition, so fire away and enjoy yourself. You’ve earned it.