
Rise of the Tomb Raider Guide Surviving Expeditions
Tips for Specific Expeditions
 The Prophet’s Tomb

Par: 10:30
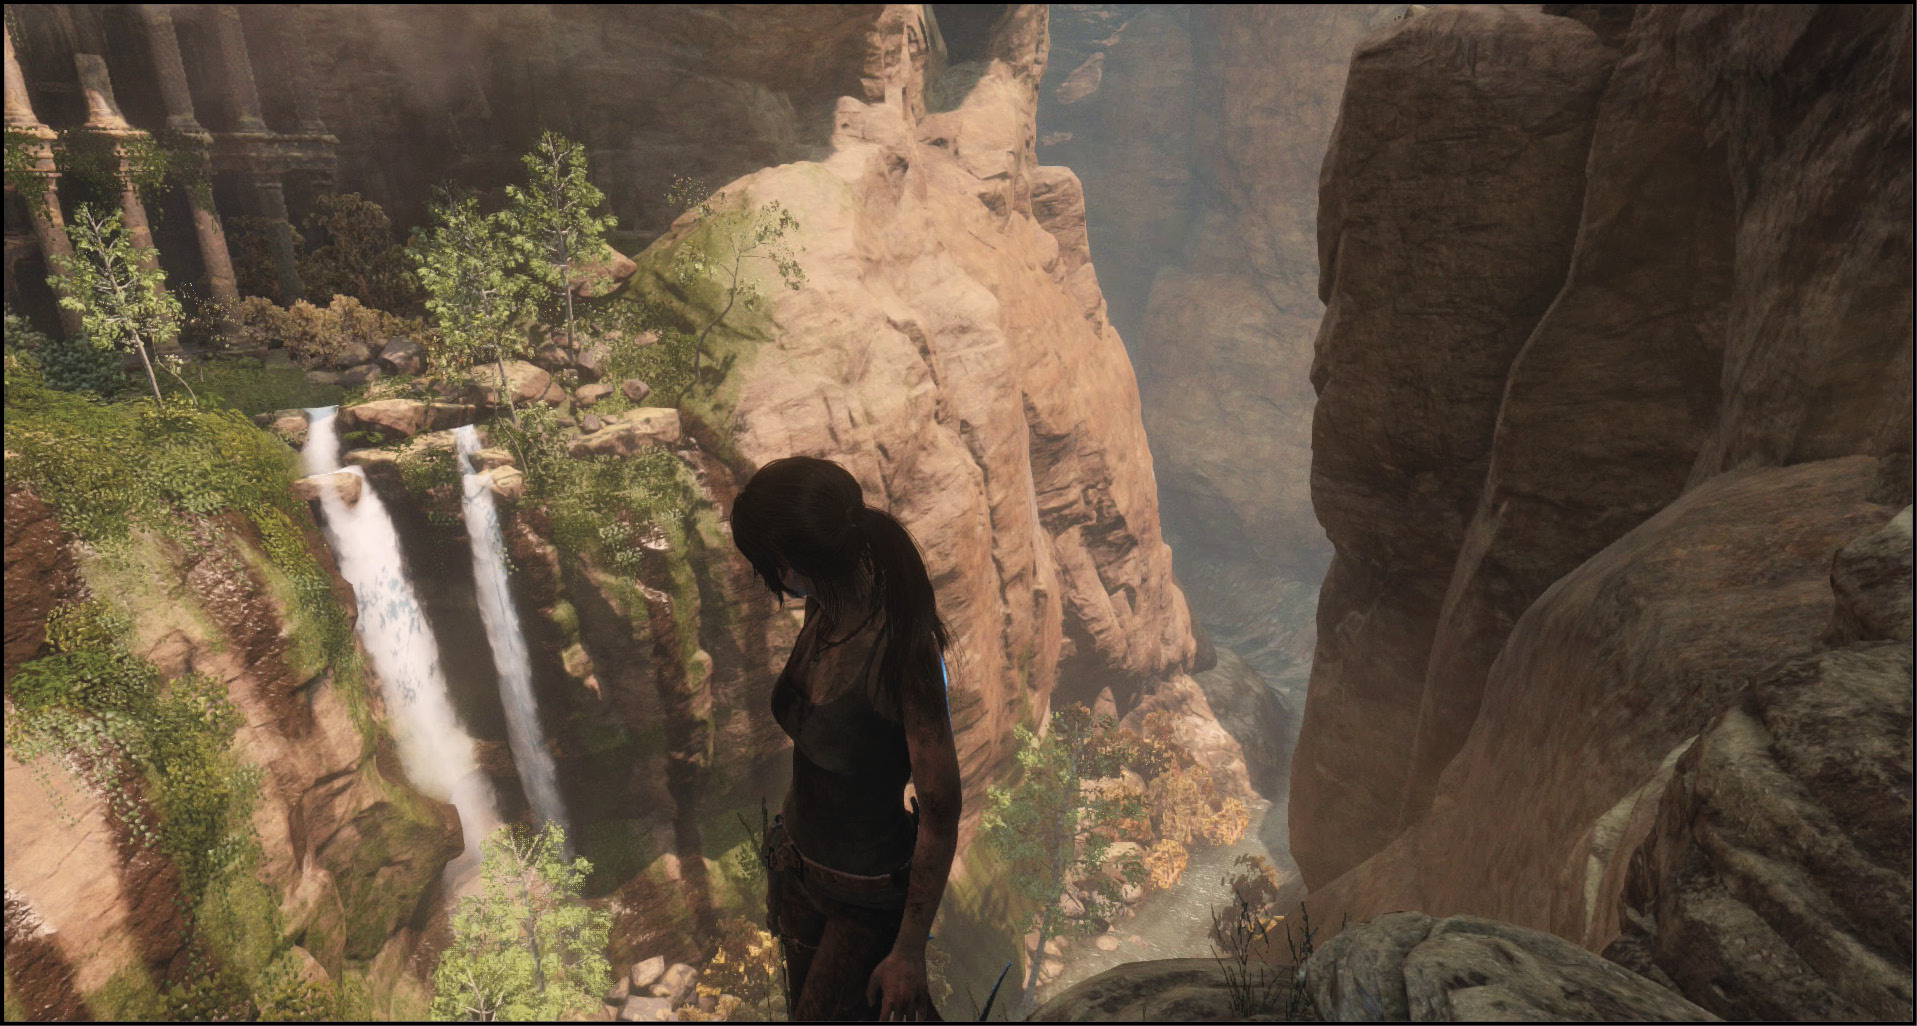
This Expedition mirrors the second area in the game. You go through the entire region, from beginning to end. There aren’t any real battles, even if you try to count the small gunfight during the final sequence. Instead, this is a true time trial. Your ideal run needs to get a perfect flow without breaking your combo.
Traps are a minor threat to this, but they aren’t the real villain. The major risk is that you have to complete every room very quickly and efficiently.
To get the highest score, you have to collect secrets as you go. Memorize the locations of all the level’s hidden items, because they offer a very substantial reward to your final tally.
There are three rooms that are really tricky. The first is the room where Lara drops into the water and has to shoot down a platform to get out the other side. It’s easy to take too long here. When you fall, hurry forward to break the wall on the right. Swim back to the platform at the beginning of the room, climb out, and shoot the block that’s holding the far platform immediately. Any delays lose you your combo.
The larger room beneath the tomb is your next troublesome spot. Collect the wisps in the water as you get over to the damaged wall on the right. Use those to keep your combo, break the wall, and get the ones closer to the ledge across from the wall while the water rises. Climb up the wall, shoot some of the lanterns higher in the room to get points, and then hop onto the platform that raises the water level again. Keep shooting lanterns while you do this, to ensure that your combo is maintained.
The final puzzle room is also tricky. Get over to the damaged wall, break it, and then make sure to shoot the block that holds a platform before you jump back into the water. Raise the water level, get onto that platform, and jump to the higher tier. It’s easy from there out, as you should be used to the final part of the level. It’s actually pretty safe.
Siberian Wilderness
Par: 8:30
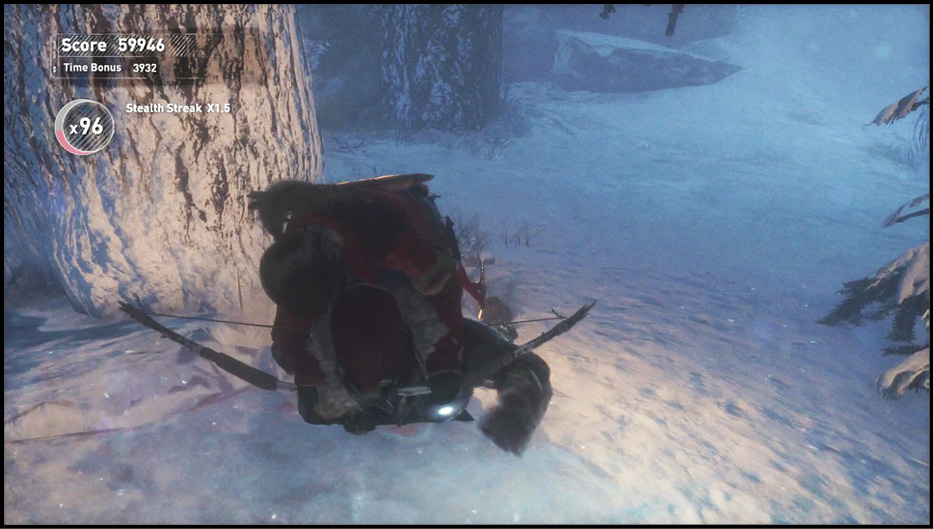
This Expedition is a run that starts after Lara would have lit the Base Camp and goes until the death of the bear. So, you see most of the level but don’t go through everything. This features some very challenging paths, because there are Wisps all over the place and you need to go carefully through the wilderness to get as many of them as possible.
To make matters worse, all of the fighting comes at the end of the level. Despite being one of the earlier Expeditions in the list, we recommend that you go after some of the shorter and easier Expeditions before trying to master this one.
Pick a different path leading away from Base Camp each time that you go through the area. Start with the southern route to make sure that you get some of the easy Wisps and a few treasures along that route when there aren’t any enemies to hassle you. Save the northern route for your trip after making the Poison Arrows. This takes you on a better path to fight the patrollers that appear, and you’re able to use the upper tree branches to get onto raised platforms and zip lines for even more points. That’s when it’s best to shoot the area’s Lanterns. Never go after them during the early half of the level because your combo isn’t high enough yet.
Use Takedowns on the patrollers in the wilderness, and save your Arrows for the guys on the eastern end of the route. Don’t try to assassinate that group until you’ve gotten all of your Lanterns (to make sure that you’ve harvested as many points as possible while your combo was super high). This way, you still do pretty well even if you lose your combo at the very end of the level.
Lost Expedition
Par: 3:30
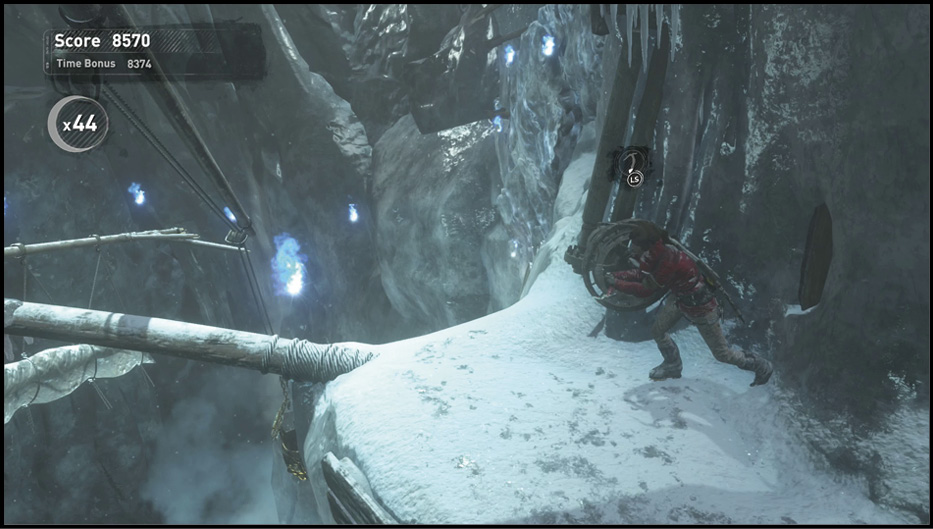
This is one of the shorter and easier Expeditions, so it’s great for getting used to the system. You don’t have to worry about any fighting, so it’s just a matter of running around without losing your combo due to time issues.
The Lost Expedition covers a portion of Glacial Cavern (the section around the Tomb). You only need a few minutes to complete this run. Only the area around the two ice blocks has the potential to give you serious trouble. To help yourself, leave the collectible items on the ground as you first get to the ship. After each small puzzle section, you return to this tiny spot. Having the collectibles, like the Urn and the Document there, ensures that you can immediately extend your combo. Holding off on getting these also means that you’ll get a few more points when you do collect them!
The other trick is to hurry through the ice block puzzle. If you slow down to get the Lantern that’s under that mast, you end up missing the bucket that you have to jump onto. Get the Lantern before cranking the bucket into position, or try to snipe it later, when you’re higher up and safe.
Soviet Installation
Par: 7:30
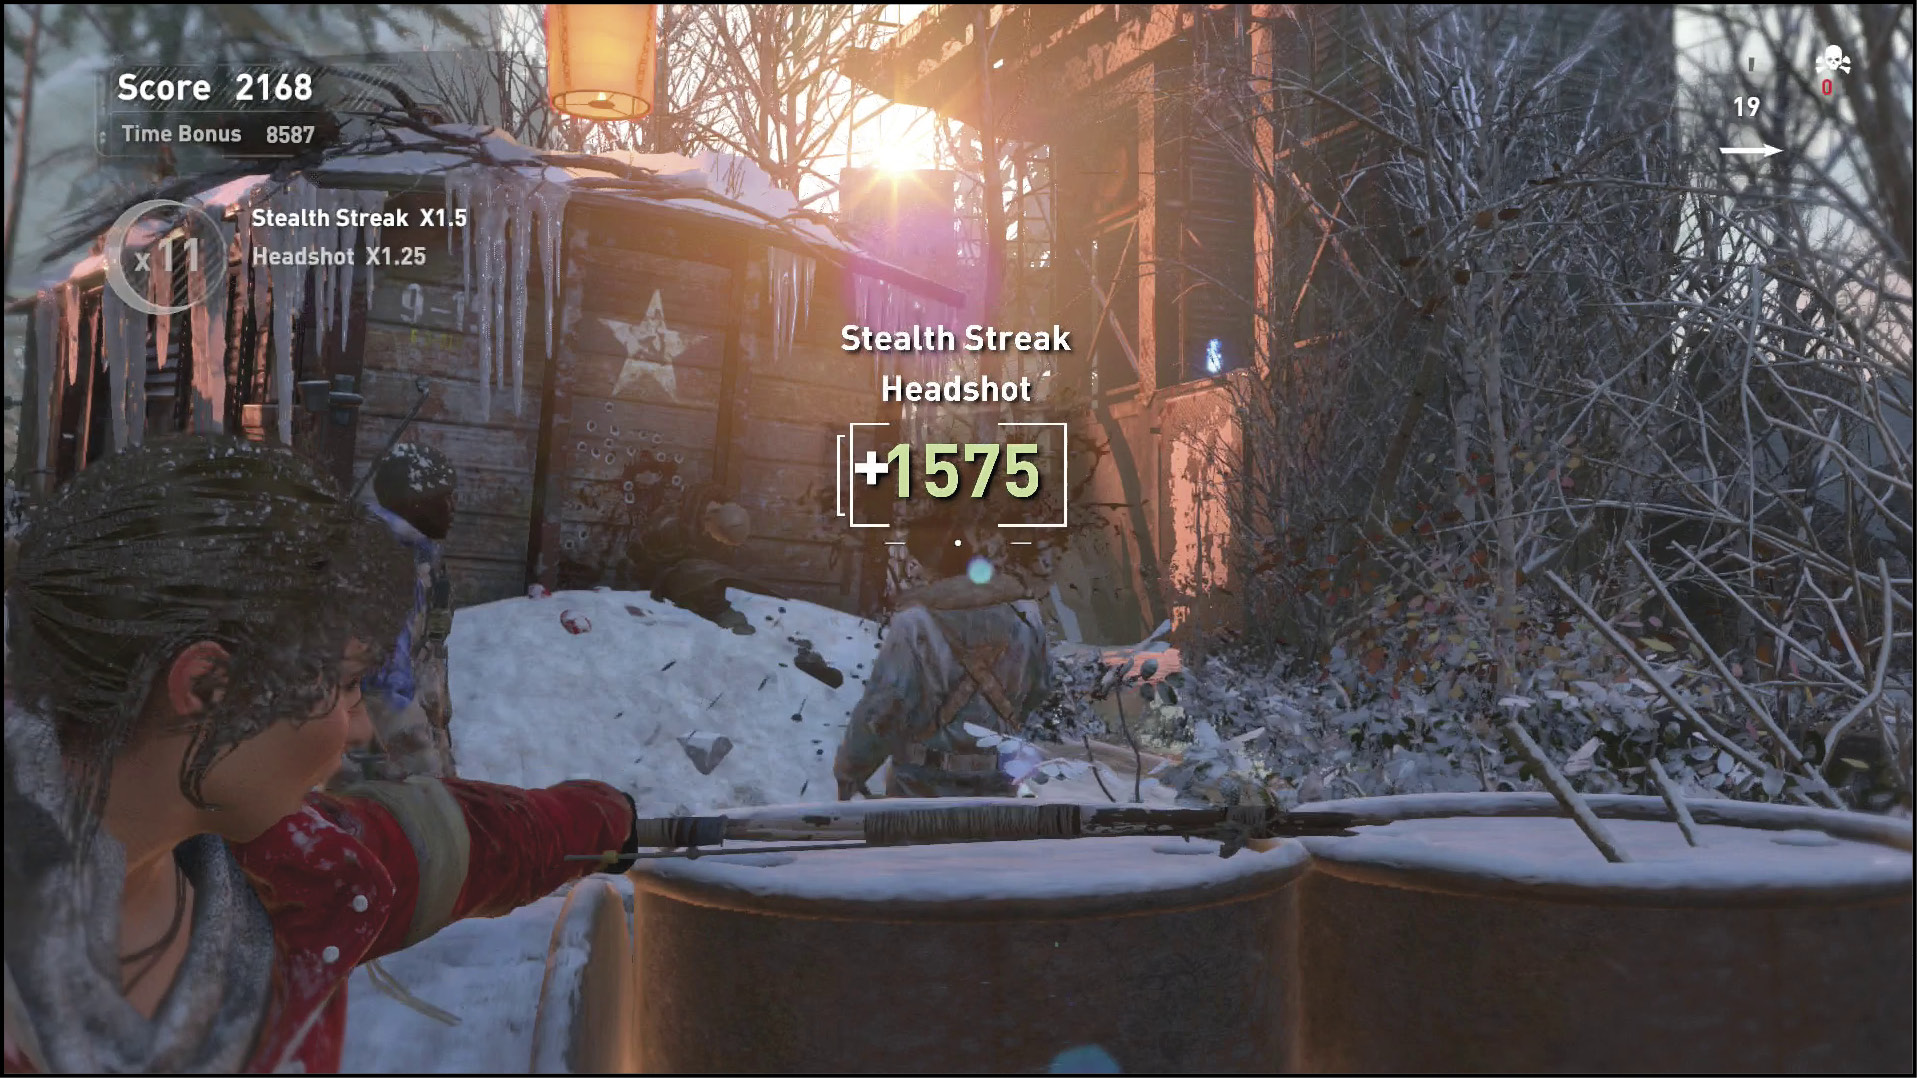
Despite sharing the name with the humongous Soviet Installation map, this is not a run through the entire area. That would be brutal and unforgiving. Instead, this is the first portion of said map, when you break your way into a small base on the southern end of that region. It ends before you reach the second Base Camp.
This makes the Expedition incredibly combat heavy. You earn massive points here for stealth kills and headshots, especially if you risk doing this on Survivor difficulty (which you should do).
Silvers are fairly easy to get. Survive and get a couple of decent streaks and you’re already there. A perfect run is much harder than that. It’s quite tough to guarantee that you don’t get spotted and pushed into a firefight.
Look for Lanterns in the open yards. They’re usually overhead or off in the woods, so it’s easy to miss them if you get too focused on timing and the battles. Take a leisurely stroll through the level your first time so that you spot everything. That makes subsequent trials so much easier, because the Lanterns offer major points.
The fight at the entrance to the first big base is the hardest one to pull off. Try to be patient, despite the ticking clock that you’re facing. Don’t headshot your targets until they turn yellow in Survival Instincts. That means that they’re safe to kill. Taking out a red enemy gets you into a fight that is quite hard to win without taking a hit.
Repeat this in the garage, which is actually an easier area to beat without being seen. The close patroller comes first. Then assassinate the walkway guard and the man in the far corner. Only two Soldiers remain after that, and a headshot plus a fast kill can score you that victory.
Ancient Cistern
Par: 3:30
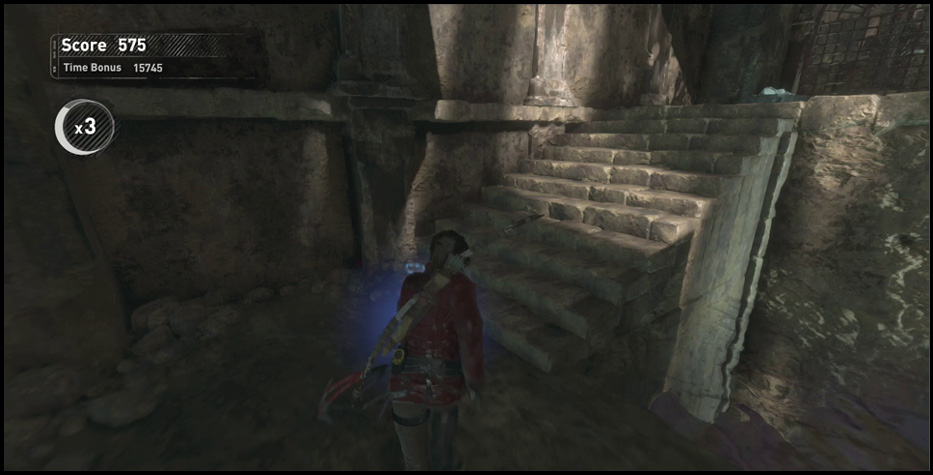
There aren’t any fights in this Expedition, so it’s going to be an easy one. Right?
Well no, not so much. This is actually a very challenging Expedition. The level of precision that you need to complete this is demanding. You can’t mess up anything, and every combo has the potential to time out if you don’t nail everything you do.
There are many Lanterns in the main chamber of this Tomb. Do not snipe them all willy nilly. They’re combo extenders for the times when you’re waiting for the platform to get into position for this puzzle.
Read through the writeup for this Tomb on page 183 to make sure that you know how to do everything correctly. Practice the maneuvers at least a few times as you get used to the Expedition, but don’t bother finishing at the end. Restart the level to save yourself some time and hone your efforts that much faster.
Soviet Gulag
Par: 14:00
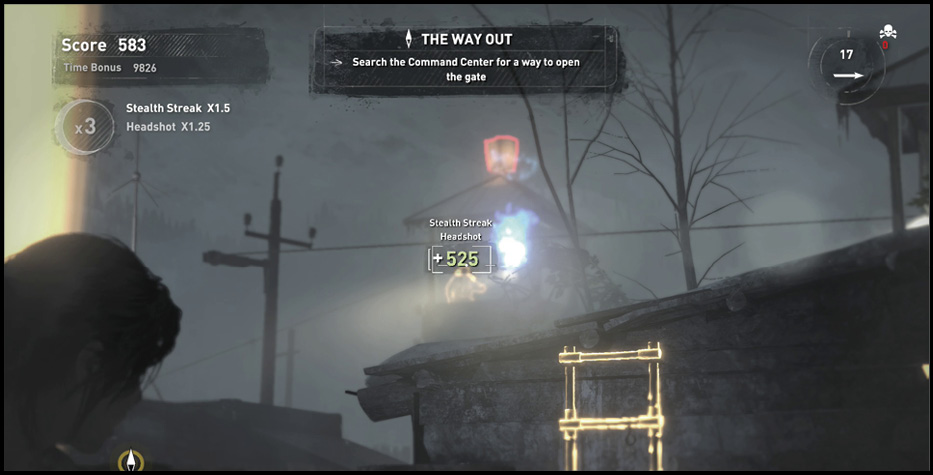
Soviet Gulag takes you from Lara’s prison break all the way until the end of the helicopter chase, in the northern portion of Soviet Installation. This is a very long sequence, and the sheer volume of combat ensures that both patience and skill are required to perfect this section. Headshots, stealth kills, and precision are your finest tools.
There aren’t as many Lanterns or Wisps in this sequence. Your victory relies on kills, so playing on Survivor is almost a necessity if you’re going to go for a really high score. Practice on that mode, at all times, to ensure that you get used to the harder combat that takes place.
Note that destroying the Red Laptops doesn’t chain your combo, so ignore them entirely! Instead, boost your combo with the Lanterns in the first yard. Some of them may be out of range at certain angles, so be careful not to waste time or ammo on them until you’re close enough to hit (noted by your reticle turning red as you highlight them).
Practice the fighting to master this Expedition. You can’t really take shortcuts or focus on anything except raw kills. The fight before you reach the helicopter chase is the most challenging, but hopefully you’ve grabbed enough points for at least a silver medal by then. That’s fairly easy to get; the gold is not.
Voice of God
Par: 3:30
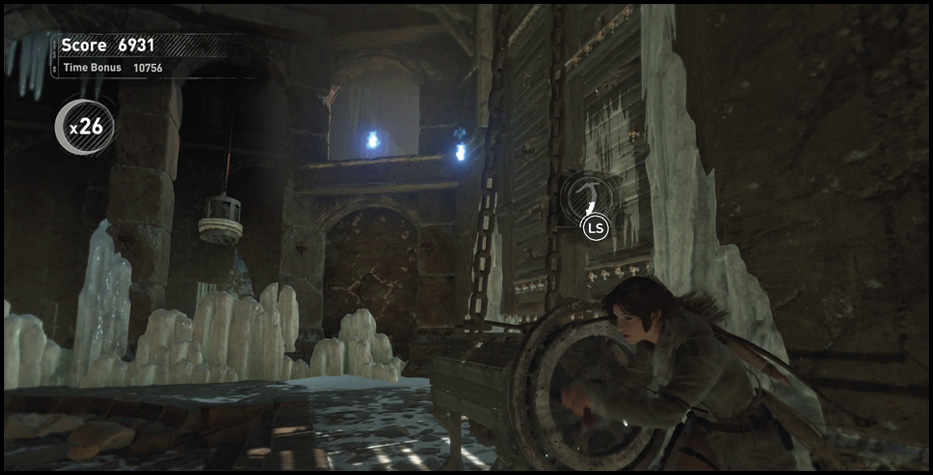
This Tomb, see page 177, is a short one that doesn’t take nearly as much practice as Ancient Cistern. If you’re still getting your feet wet, this is a wonderful choice for mastering the basics of Expedition work. There aren’t any fights, the timing is quite fair, and the puzzle doesn’t demand much technical precision. Make one practice run, and then start trying to beat this in earnest.
The Copper Mill
Par: 11:00
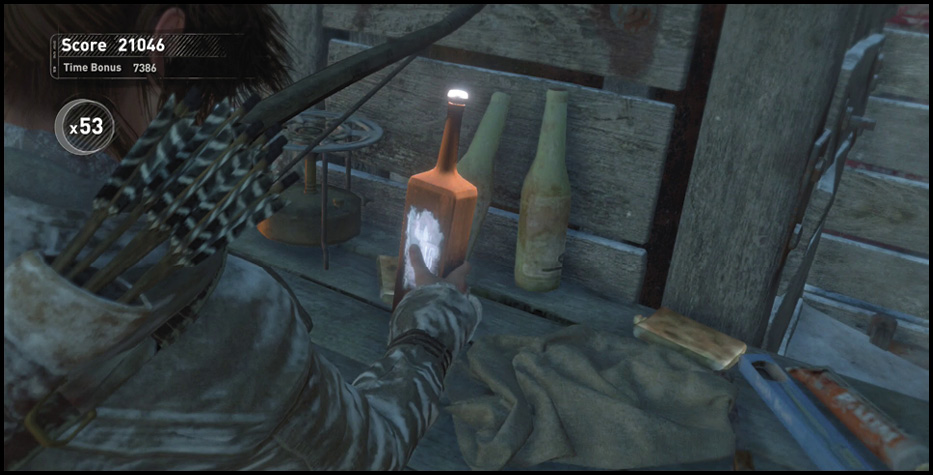
Grueling score requirements, heavy battle, and a long Expedition make this another one of the higher-tier targets. Hold off until you’re extremely comfortable with Expedition tactics, because even a bronze on this one is challenging when you’re first starting out.
Careful use of crafted explosives is a must in Copper Mill. Use Molotovs to kill groups of enemies without leaving cover, and get a fair number of points because of these kills. Another way to earn is to explore the side areas of the map for a plethora of hidden items. You have to get most of these if you want to achieve a decent score; a straight run just isn’t enough.
The Wisps help you even if you haven’t memorized the locations of the many nooks and crannies throughout the mill. If there are Wisps leading off to the side, follow them! They always lead to something useful and often valuable.
At the end, the run through the burning area is agonizing. Avoiding all damage during that is a challenge for masters. Most players are going to accept a few hits and lose their combo. Try to avoid this with indirect attacks (more Molotovs), and save your Poison Arrows for the Defenders at the very end. Even with the proper tactics, this is tough.
The Red Mine
Par: 5:00
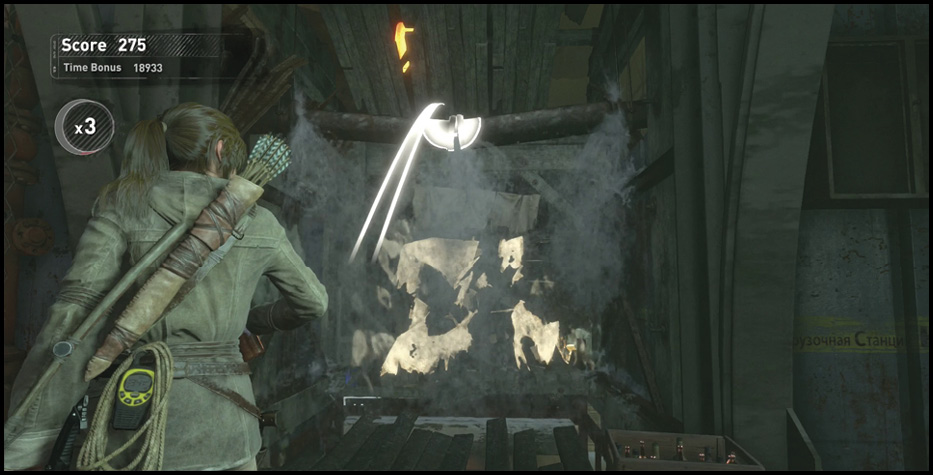
This Expedition isn’t too long or too nasty to practice. See page 178 for a reminder. In the first room, make sure to leave at least one item free. Get the box of Cloth nearby, grab a Bottle, light it, and throw it over the broken pipe to start the fire. Collect everything else while this burns the barricade away, and go through into the main shaft.
Collect everything on the way, including a couple of treasure items, and go to the bottom. That’s where the larger portion of the shaft is located. Cross the shaft and notice a huge number of Lanterns up top. Do not pop these yet. They’re your way to extend the combo during this tricky puzzle section. Use them before you have to wait for various things. For instance, pop one before you hop onto the bucket that unleashes the first mine cart. Search the side room, get to the top of the catwalks, and pull out another mine cart. Pop a Lantern, and then get onto the roof of the building ahead. Cross it, destroy another Lantern, and then connect the Rope Coil to the cart below. Take out another Lantern, get around to the bucket again, kill a Lantern, and then unleash the mine cart to clear the way toward the Codex.
Toward the end, remember to loot the room after the Codex before reading the book itself!
The Prophet’s Blessing
Par: 13:30
The majority of Abandoned Mines is contained in this Expedition. You have to have quite a few collectible item locations in mind, because they’re a substantial portion of your points. In addition, there are multiple battles against Trinity Soldiers. The early fights aren’t as large, but the huge attack on the western side of the map is rough (and it’s in the middle of your run). Practice that one the most to improve your score. The best way to master it is to get into that fight and then intentionally get killed if anything goes wrong. This lets you restart that battle almost instantly and get way more time to refine your technique.
House of the Afflicted
Par: 6:50
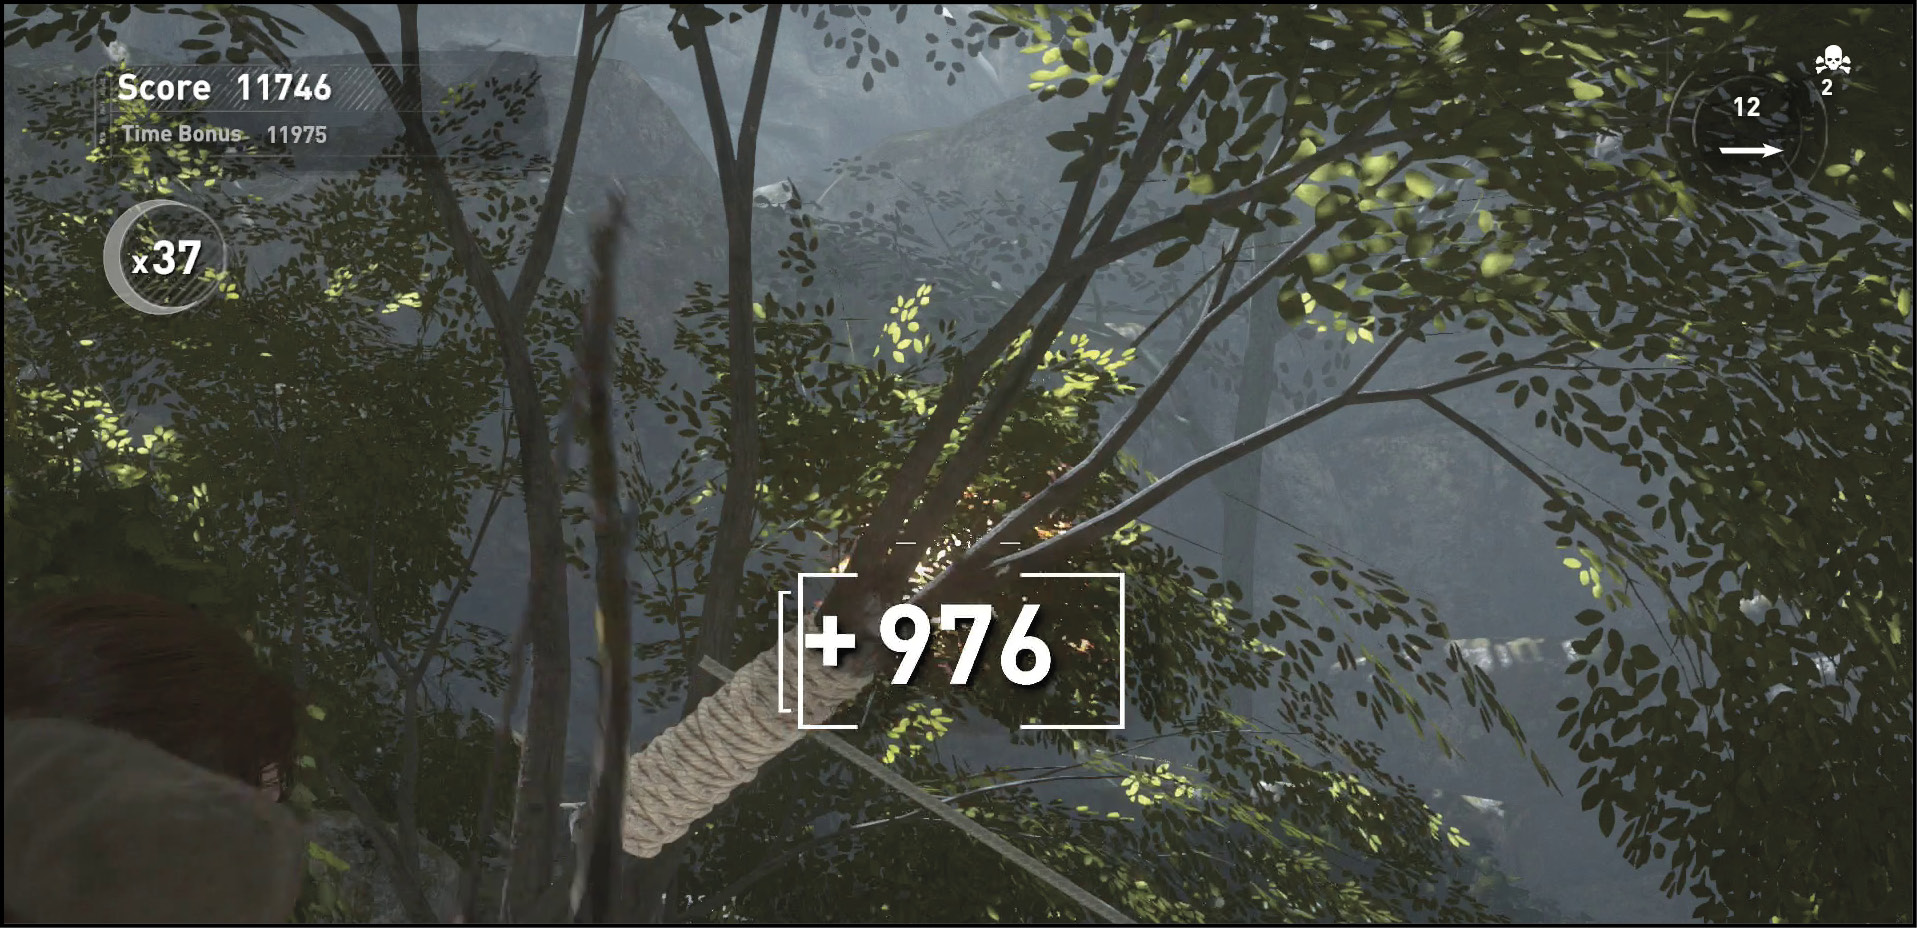
This Tomb Expedition, as usual, has no combat. You’re safe to explore in a careful but quick manner through the Infirmary. The early section of this is simple, and the trouble comes when you have to complete the ore cart portion of the puzzle. Get a nearby Spark before pushing that into place, and have a direct target in mind to shoot to extend your combo at the end of the push (the Lanterns are above, around the corners of the open yard).
Otherwise you can continue as if you were doing the puzzle normally. See page 209 to refresh your memory.
The Village
Par: 7:00
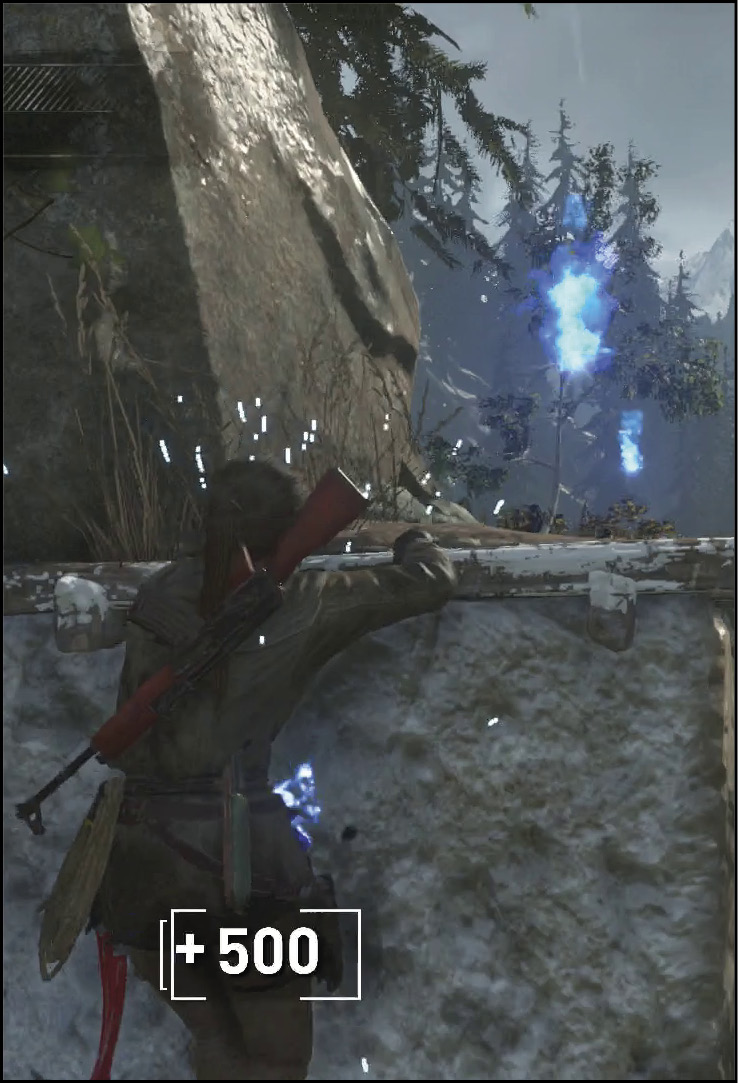
You travel through the first portion of Geothermal Valley in this Expedition. There isn’t much fighting until the end, so you get the majority of your points from a peaceful combo string. There are a few tricks to make this easier.
First, look for the chickens. They’re great targets for bonus points once your combo is going. Always shoot at them with your Pistol to save Rifle ammo for later, and do this when you’re close to a Wisp. That way, you can extend your combo even if you miss the chickens (which can happen).
There are usually multiple routes through the areas, so the best points are gained by collecting the Wisps from all of them. Carefully stay on the lookout for Hardwood, Herbs, and other collectibles to generate additional points. There are dozens of pickups like this throughout the area, and you can’t achieve a gold star here without exploiting them heavily.
The gunfight at the end of this run is easier than some. Use your Shotgun to kill the enemies quickly, and stay around corners to lure their allies into your building. A cautious approach like this gives you the most chance to get kills while your combo is still quite high. If you’re sporting a 99x combo (the highest allowed), then each kill is worth a massive amount of points.
Catacomb of Sacred Waters
Par: 4:00
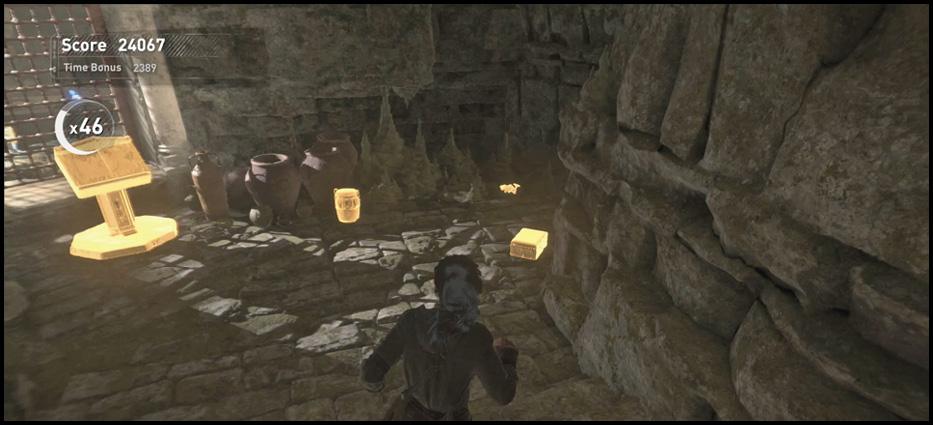
Aquifer Cavern is sometimes a little tricky even when you aren’t worrying about your time. Maneuvering the boats can be tough, but that’s the only real challenge here. The lead up is simple, and collecting all of the items in the Tomb is straightforward. You just have to use the boats without any missed shots, and then rely on the Lanterns above the middle island for many of your combo extensions.
One Lantern that is easy to miss is past the waterfall. When you reach the far shore, look over the falls and to your left. By then, you might have a very good combo built up, so finding another Lantern is a sizable point boost.
The Acropolis
Par: 5:00
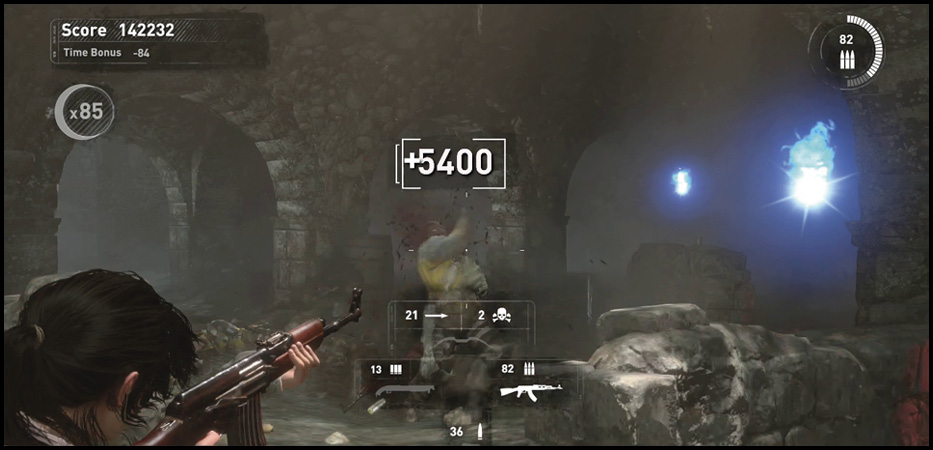
Though somewhat tough, this Expedition is also one of the most enjoyable because it has so many stealth ambushes in your favor. Lanterns in this Expedition are hidden even better than usual. Make sure to look all over the first two open areas as much as you can. Some of the Lanterns are hard to see unless you get onto the hills in the northern bazaar, or go into the side corridors in the lower section.
You start with a Shotgun in this one, which is excellent for taking out chickens. They’re worth serious points, as always!
During your stealth attacks, make sure that you don’t take any risks. If someone sees what’s going on, switch to a faster weapon and take the kill. These guys can break your combo in a single shot, and it’s not worth a risky headshot if you might end up dropping a x90 combo to get it!
The Tower
Par: 7:00
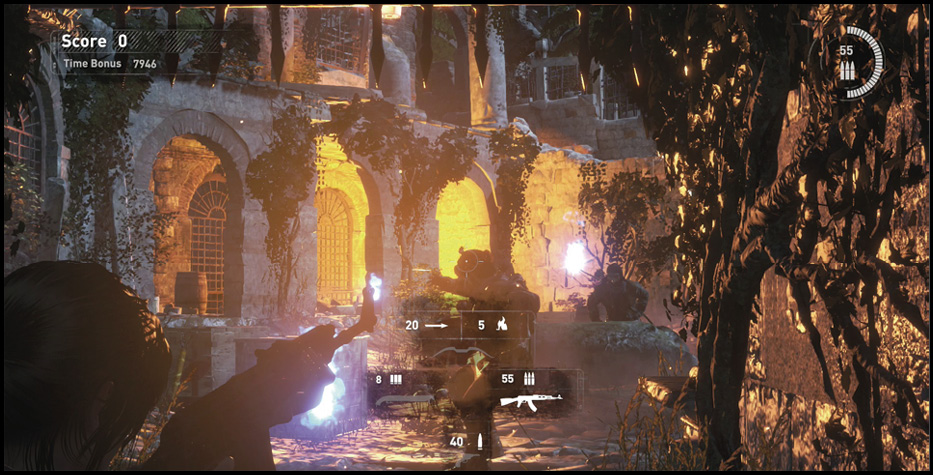
The Tower has some of the hardest combative elements for the Expeditions. You need to go through the late stages of the Acropolis, with heavy fighting, little to no healing, and few opportunities for ambushes. This is the worst possible situation for Lara, and combos are difficult to maintain.
Clean shooting, Specialty Arrows, and Shotgun attacks at close range are the way to go through this. You are likely to reload the level multiple times if you’re trying for a gold, so this is one of the better Expeditions to save for later. Get a bronze star early on, which is actually pretty easy to go, and then come back when you have more Challenges and Cards to mess around with.
The Pit of Judgment
Par: 4:00
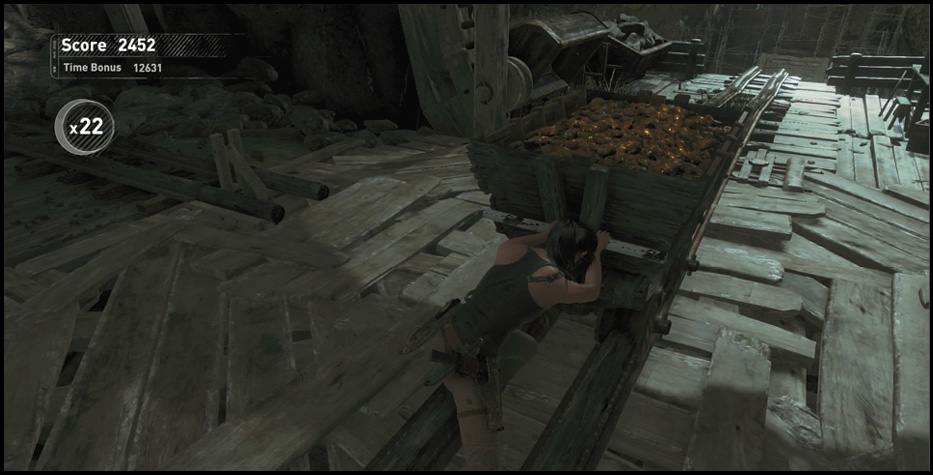
You need to get very good at Hidden Ravine to score a nice medal here. See page 213 to refresh your memory. The mine carts are a nightmare in these puzzles because your combo timer runs down even when you’re pushing them. To compensate for this, you need to avoid picking up the easy Wisps around the carts, and use those as combo extenders after each few steps of movement with your carts. This can get pretty frustrating, but it’s a short Tomb and that makes your practice fairly fast.
Approaching Storm
Par: 8:30
Climbing the cathedral tower and getting into the Flooded Archives is your next Expedition target. You start with heavy fighting and then have to complete fairly challenging traversal sections to keep your combo alive to the end. Bronze stars are very easy to score. Silvers are very doable. The gold stars are really tough because you have to do so well early on but then carry it through without messing up. Otherwise, you just don’t have the multiplier you need to make the latter two-thirds of the map mean as much.
Superb stealth is essential. The fights in the town are large and valuable. Even if you don’t take any hits, the tally doesn’t add up well if you abandon stealth for raw kills. When assassinations fail and you are forced to fight, use Grenade Arrows to kill clusters of enemies quickly and with maximal bonuses. Lanterns are at a minimum here, so you can’t count on them to keep your combo going.
Oh, and remember the hunting cat at the base of the cathedral? Don’t get hit by that beast! Either sprint around the creature, use Specialty Arrows to poison it, or blow the thing up quickly.
Flooded Archives
Par: 10:00
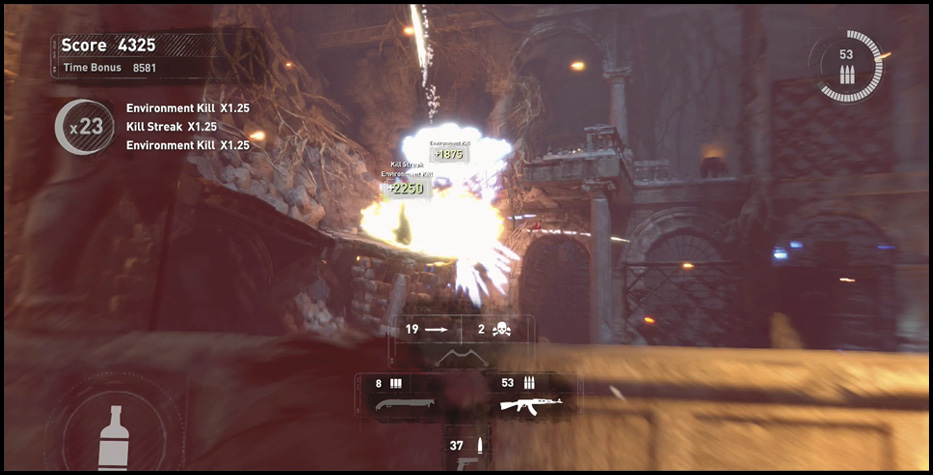
The Flooded Archives take a good amount of time to complete, even under ideal circumstances. The heavy fighting is all frontloaded, which is really good news. This means that you can reset without much pain and perfect the point-rich section of this Expedition.
Okay, so how do you beat these tough fights and get the most points out of them? Greek urns get you safe and fast kills. They’re excellent. You also have a great supply of Mushrooms. Use Poison Arrows for lucrative kills that don’t require the setup time of headshots. These enemies are well armored anyway, so sniping just isn’t worth it.
Make sure to save Lanterns and Wisps in both of the first two rooms. Not only are these often worth more than their respective battles, you sometimes need them during the fights. Enemies have to cut their way into the rooms, and it’s possible to lose your combo while waiting for them. Instead, use that time to bust Lanterns or grab nearby Wisps.
Baths of Kitezh
Par: 8:30
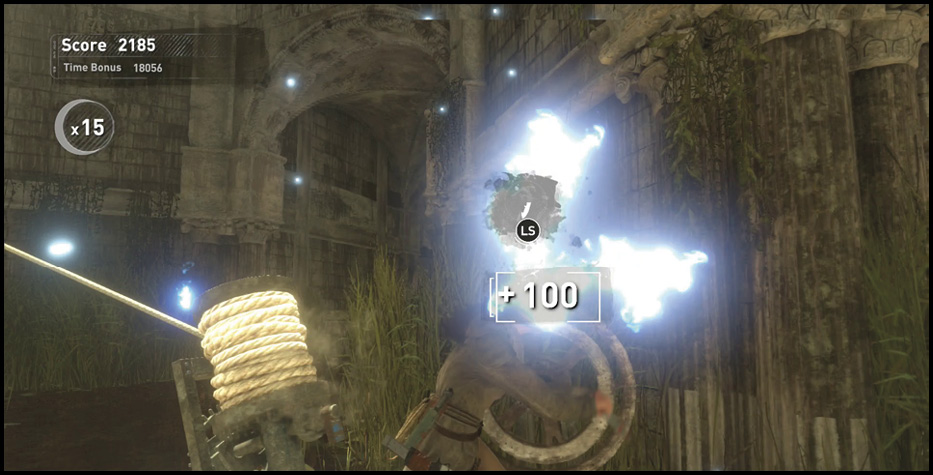
Your Tomb run here is all about efficiency. See page 210 to remind yourself of the layout. You can’t backtrack or do anything frivolous without losing your combo. There are Lanterns in the main room to let you extend your time, but the Wisps are really your way to keep going without having to stop constantly.
Your goal is to get onto the boat and crank it through the Wisp trail to get to your goals. Save the Lanterns for the later portion of the level because they get you more points and are necessary for saving the combo once the Wisps trails are eaten away.
There isn’t much fat to trim, so practice keeping your time as tight as possible to get a decent bonus at the end. Extra collecting can only get you so far, because there aren’t that many things to pick up this time.
Research Base
Par: 15:10
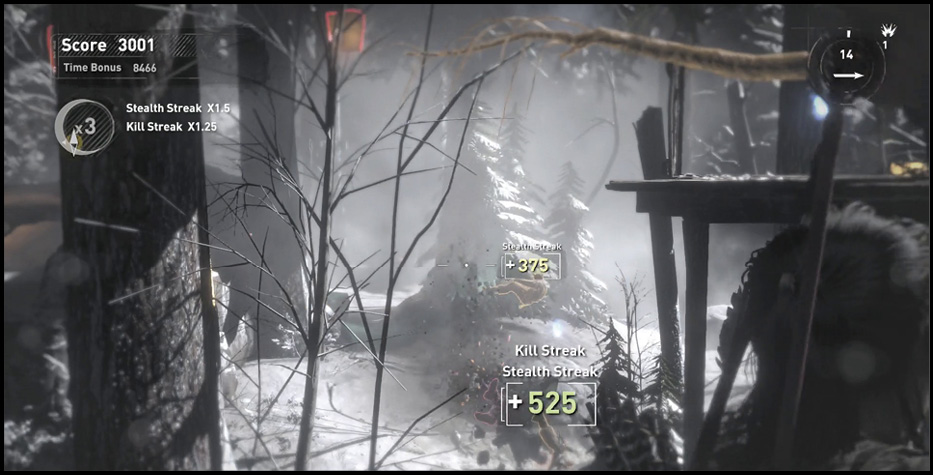
A huge portion of Research Base is included in this Expedition. There are many ambush fights that are in your favor, but there are also a couple of big firefights that are harder to control. Use the upper branches of the trees to scout out enemy patrollers and get the best attacks on them. You need to get a great range of stealth kills early in the map.
The lake fight is rough. That’s the one that you need to be patient with. Swim to the farther edge of the lake and use Survival Instincts to pick off the weaker, isolated targets as well as you can. Do not turn that into a full battle before you have to.
This is another Expedition where it is easier to grab the bronze and silver stars by far. Points come in very well if you’re thorough. Claiming a gold star is very demanding, because a full combo on this map cannot be guaranteed, even with some practice.
The Orrery
Par: 3:30
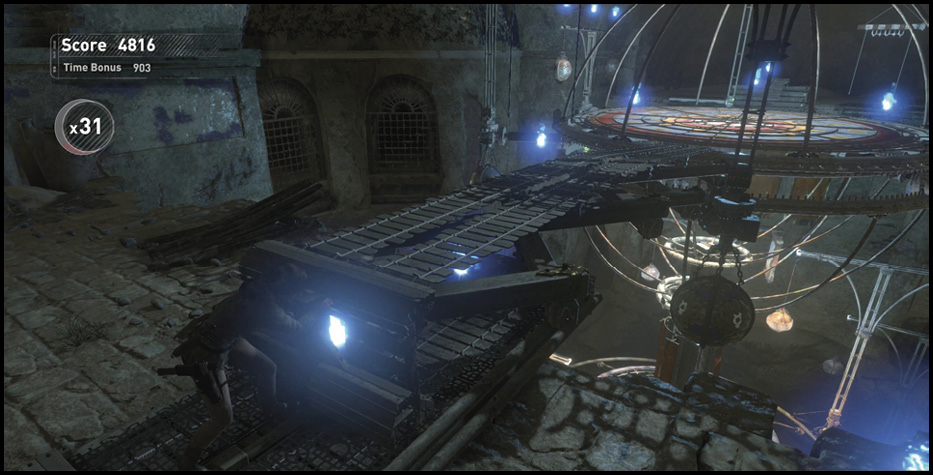
For a short burst through a simple area, here you go. The Orrery doesn’t have any fighting, so you just need to practice the puzzle that dominates this area. It’s an easy one, but keeping your combo while doing it is always a challenge. A bronze or even a silver is doable with missteps, so you’re going to earn free medals here without putting in any time.
For gold you have to nail this with speed and precision. That means no falls, and no missed Bow shots when turning the rotating arms into position. On each platform, make sure to save Wisps so that you can scout your next move and rotate things without running out of items to extend your timers.
Also, make sure to blast the Lanterns in the lower portion of the room before leaving that first major platform. They won’t be very visible from higher up.
Search for Coins and the side Mural when you’re on the middle tier. These are great point items.
Path of the Deathless
Par: 9:30
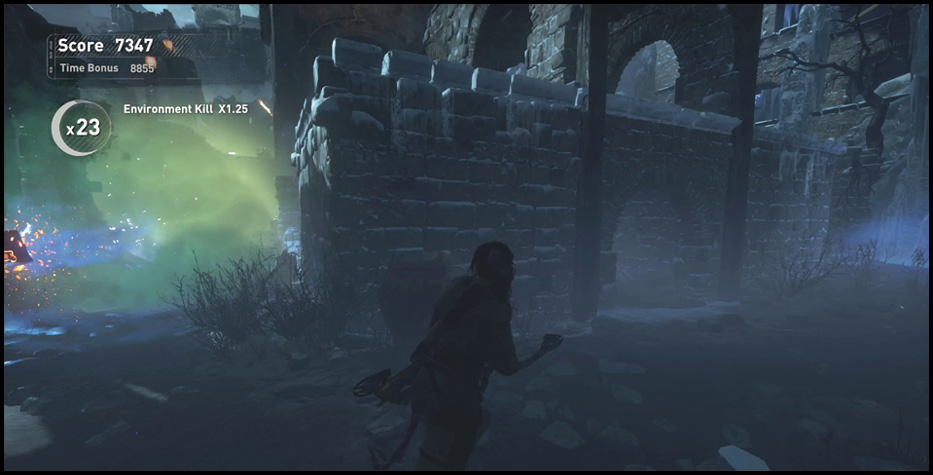
Did you miss action and fighting while working on The Orrery? Well here it is; this Expedition requires heavy combat skills. On Survivor, you get so many points for each kill that a Silver is almost certain even if you break combo constantly.
Harvest the boxes of supplies at the top of the map, and shoot a number of Lanterns that are off in the distance before taking the zip line down into the village. You won’t have much free time to hunt for extra Lanterns once you’re down there, and most won’t be visible from the lower area.
Once you’re inside the settlement, switch to heavy weaponry. You can’t have any drawn-out fights. Thus, Poison Arrows and Grenade Arrows are almost your entire arsenal. They’ll provide fast kills and huge point totals for as long as your supplies last.
Watch out for the burning Greek Fire in the area. It’s the same color as Wisps, which sometimes leads to confusion as you rush toward the blue glow and find out that you’re far away from anything useful.
Gate of Kitezh
Par: 9:30
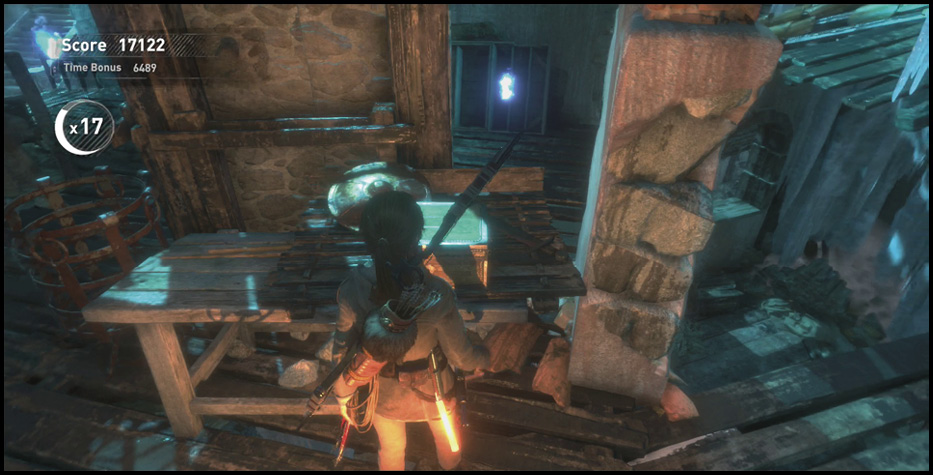
The southern portion of The Lost City is covered by this Expedition. Collections play a huge amount of your points here. Avoid the fighting in the lower streets for as long as possible, and run along the upper sections of the city. Collect Wisps, shoot occasional Lanterns, and take out any patrollers below with Poison Arrows (for instant kills).
You can comfortably grab the silver star without any time bonuses, and potentially the gold as well. If you collect items really well, you get many points here. Any time you see something that can extend your combo, stop before collecting it and use Survival Instincts to see if you can spot additionally goodies before you extend your combo. This careful use of your time makes it much easier to collect everything that isn’t nailed down.
The approach toward the southern trebuchet is extremely hard. Taking a hit is tough to avoid, and that’s why you don’t want to trigger the attack at the gate until you’ve gotten everything that you can.
Chamber of Exorcism
Par: 5:30
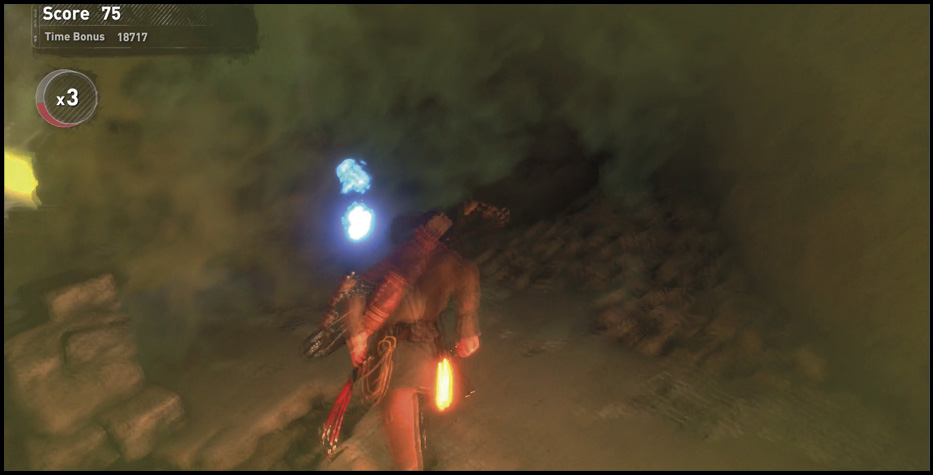
A fast run through this Tomb gets you another decent medal without investing much time. The trick with this one is to avoid damage from all of the explosions that you have to trigger to complete the puzzles. Always back off and give yourself plenty of space. See page 238 to help plan your route.
Because this Expedition is small, you get a massive percentage of your points from a speed bonus. Make that your primary goal to get this gold medal.
Outskirts of Kitezh
Par: 17:30
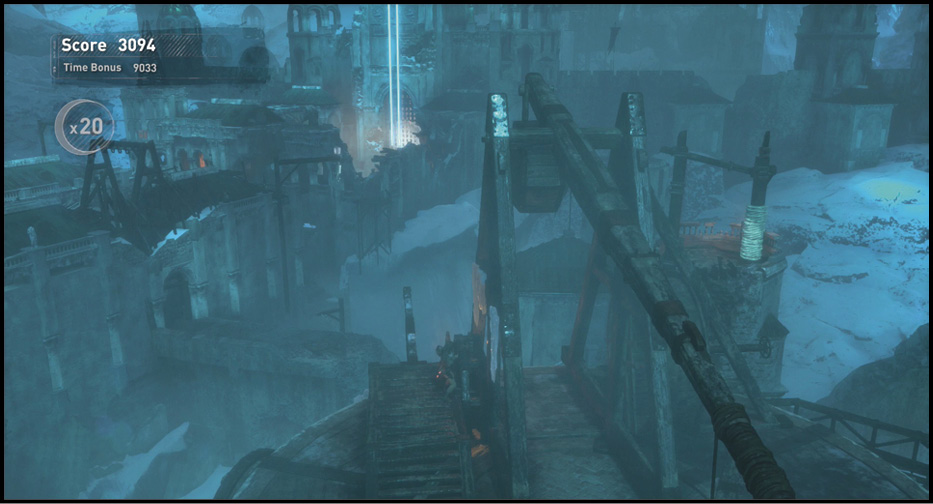
The longest Expedition in the game is your run through the trebuchet puzzles on the eastern side of The Lost City. Because the trebuchets pause your combo timer when you’re using their cranks, this is very doable. However, the Deathless Archers make life quite difficult.
This is especially the case when you’re making the transition between the first and second trebuchet. Use long-range attacks to clear the Archers before doing any collecting. That’s your only good chance of maintaining your combo.
Beyond that, you should read that section of the walkthrough on page 144 a few times so that you know the trebuchets puzzles backward and forward.
The Lost City
Par: 4:30
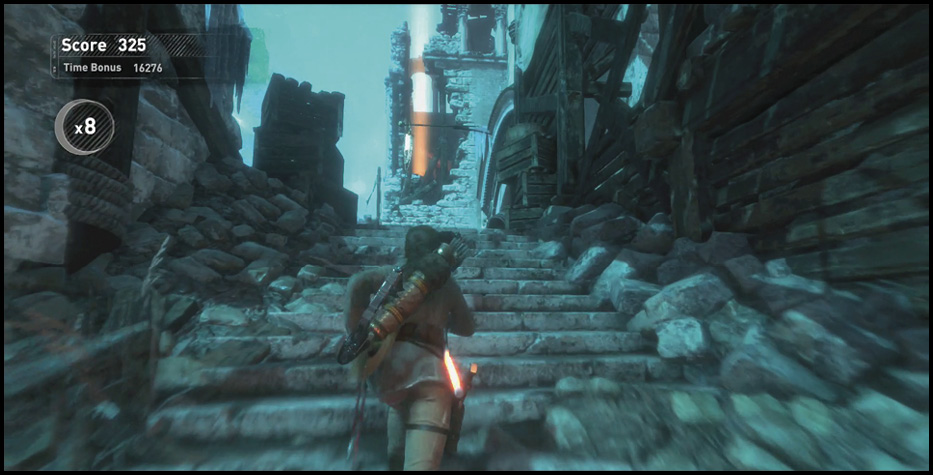
Though very short and lacking any puzzles, this is a challenging Expedition because there aren’t many free points lying around. You can’t waste time and still get any time bonus, and keeping your combo alive is often extraordinarily difficult. You have to use Climbable Arrows like a boss, and know the route through the area perfectly.
We’d suggest that you leave this Expedition until very late in your run through the entire list. Even the bronze can be tough to secure until you’ve practiced this Expedition.
Chamber of Souls
Par: 11:00
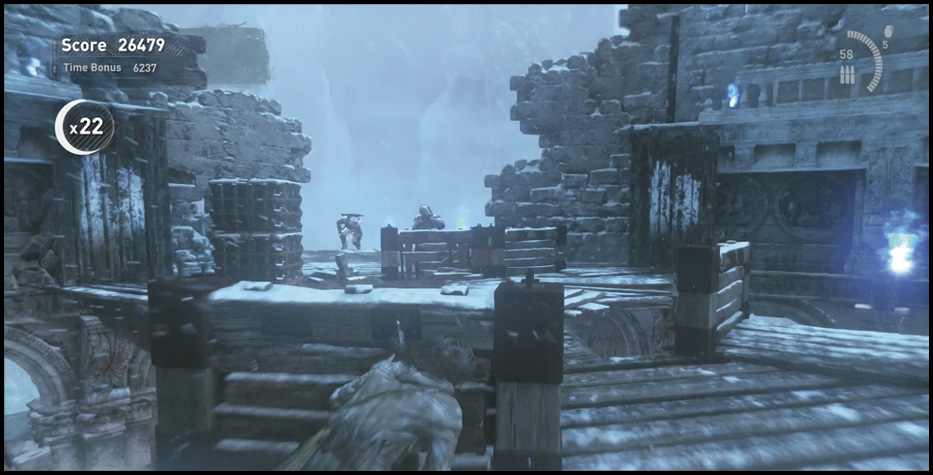
Lara’s heavy fighting toward the top of The Lost City is covered here, and that includes a major boss battle. On Survivor, you get enough points to grab a free silver star even if you break your combos almost constantly. The targets are just worth that many points per kill. Use Poison and Grenade Arrows to grab multiple kills with some of your shots, and watch your score skyrocket.
Complete the game so that there aren’t any spoilers to worry about, and then read through the end of the walkthrough starting on page 150 a couple of times to get the techniques for the boss battle down pat.
Your limited ammunition during the big battle is one of the most serious issues. Make sure to loot the bottom of that area for extra supplies, and make the most of them when you fight the waves of targets in between helicopter sequences.