
Rise of the Tomb Raider Guide Walkthrough Glacial Cavern
The Lost Expedition
Follow the Mongolian Path and Search forSigns of the Lost City
There is a nasty-looking drop ahead of Lara. Instead of jumping down like a crazy woman, leap across the gap and try to grab hold of the icy wall ahead using your axes. And that goes…not entirely well. But you get to the bottom without dying, so that’s some good news.
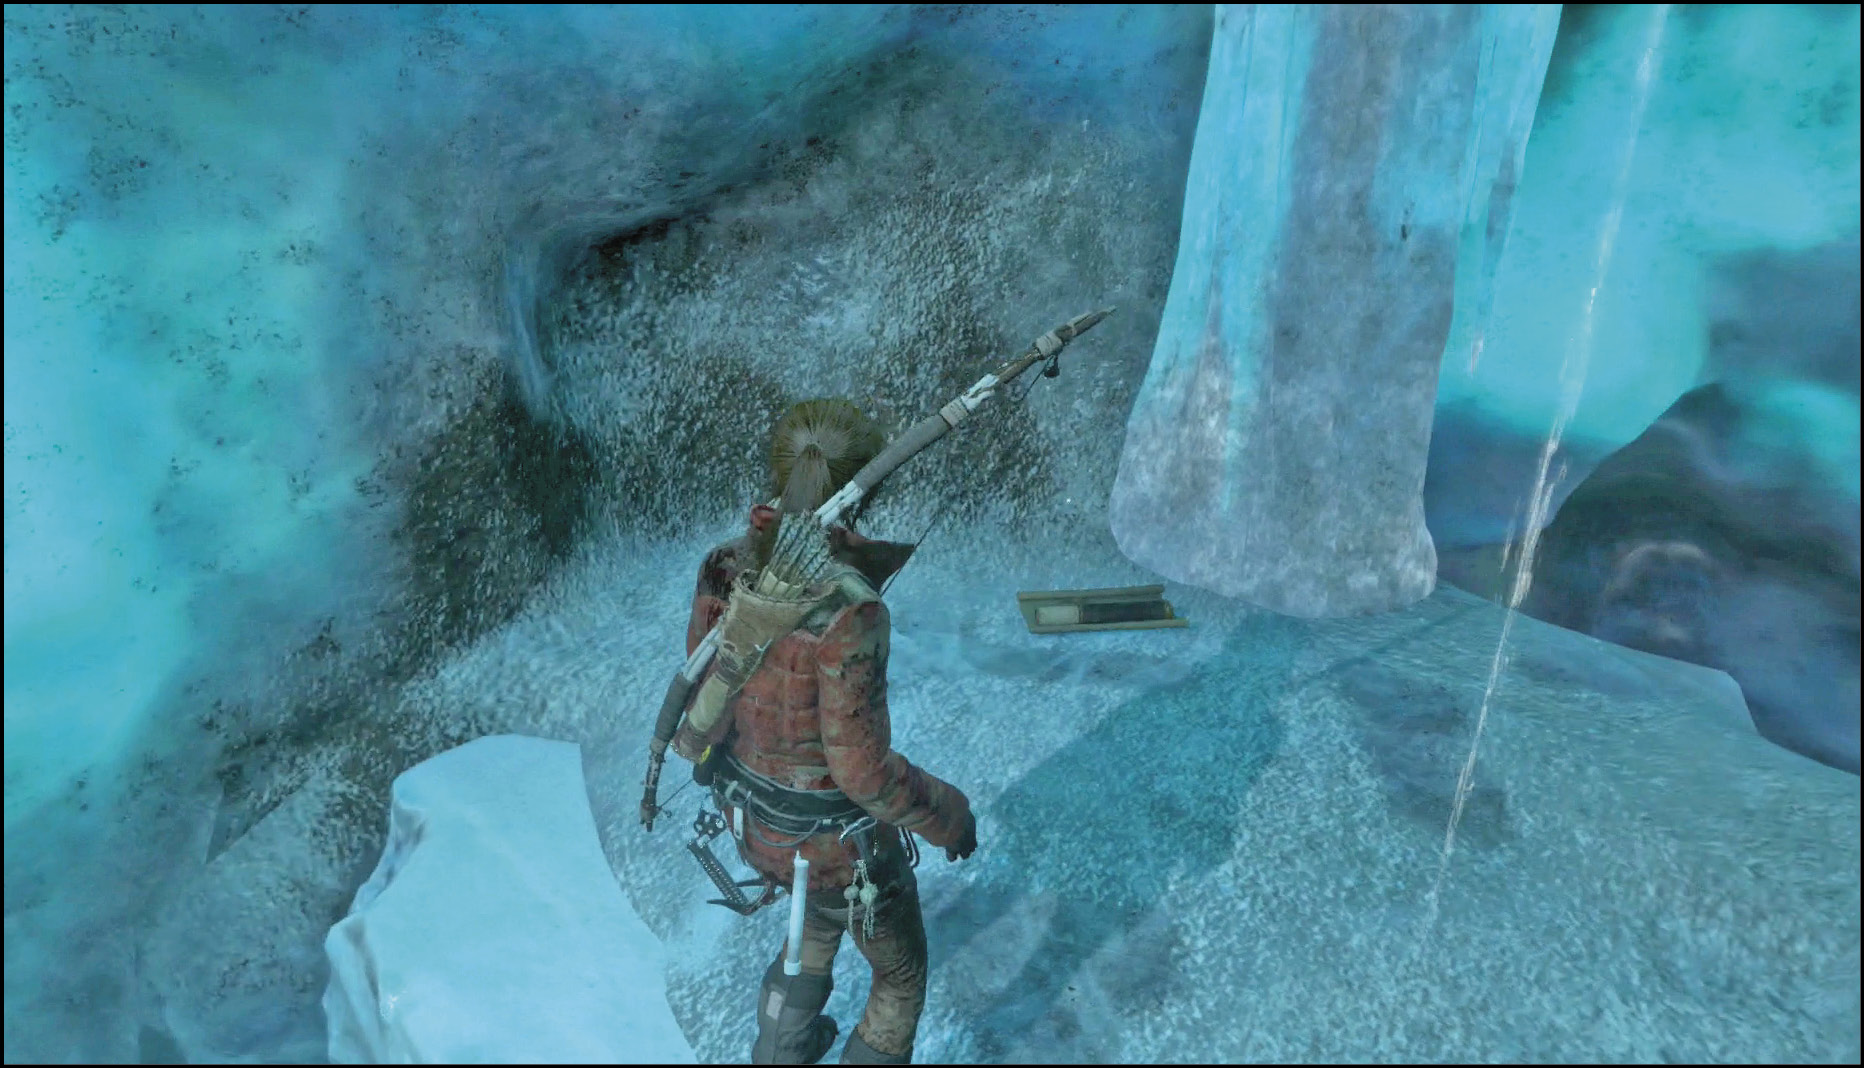
When you hit the bottom, turn around and climb up an ice wall. Search the top for a Document (Shores of Svetloyar). From there, you can jump to another wall and climb all the way back to the top. If you have to return to the Siberian Wilderness any time in the near future, that’s the way to get up there. That said, you might have a faster way back quite soon
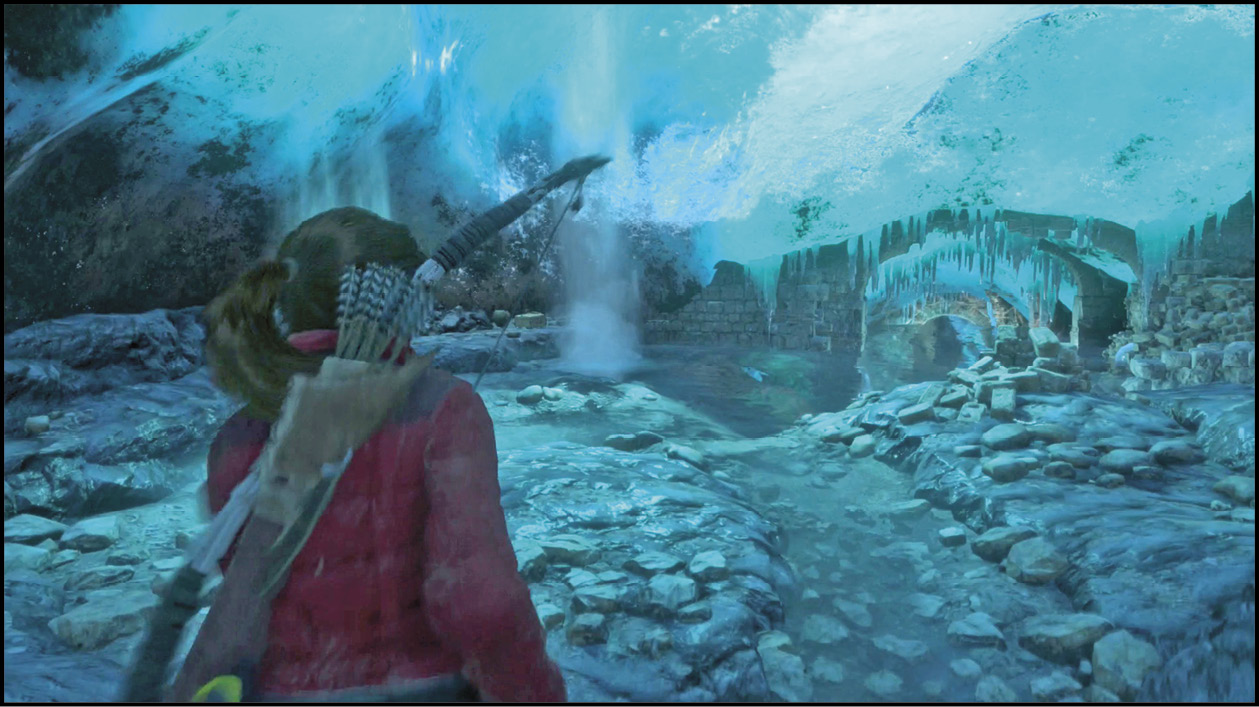
Stay at the bottom of the cavern and forge ahead. The path is narrow and doesn’t have any branches for now. You quickly arrive in a room with a Relic on the left side. Collect that (Bone Arrowhead) and move on.
Brace yourself and then dive into the brisk water at the end of the cave. Dive under the old archway and swim quickly through the submerged area. The way out of here is directly ahead, but a split to the right takes you toward hidden treasure. Swim under there and surface as soon as you can. In that recess, you find a Relic (Paiza).
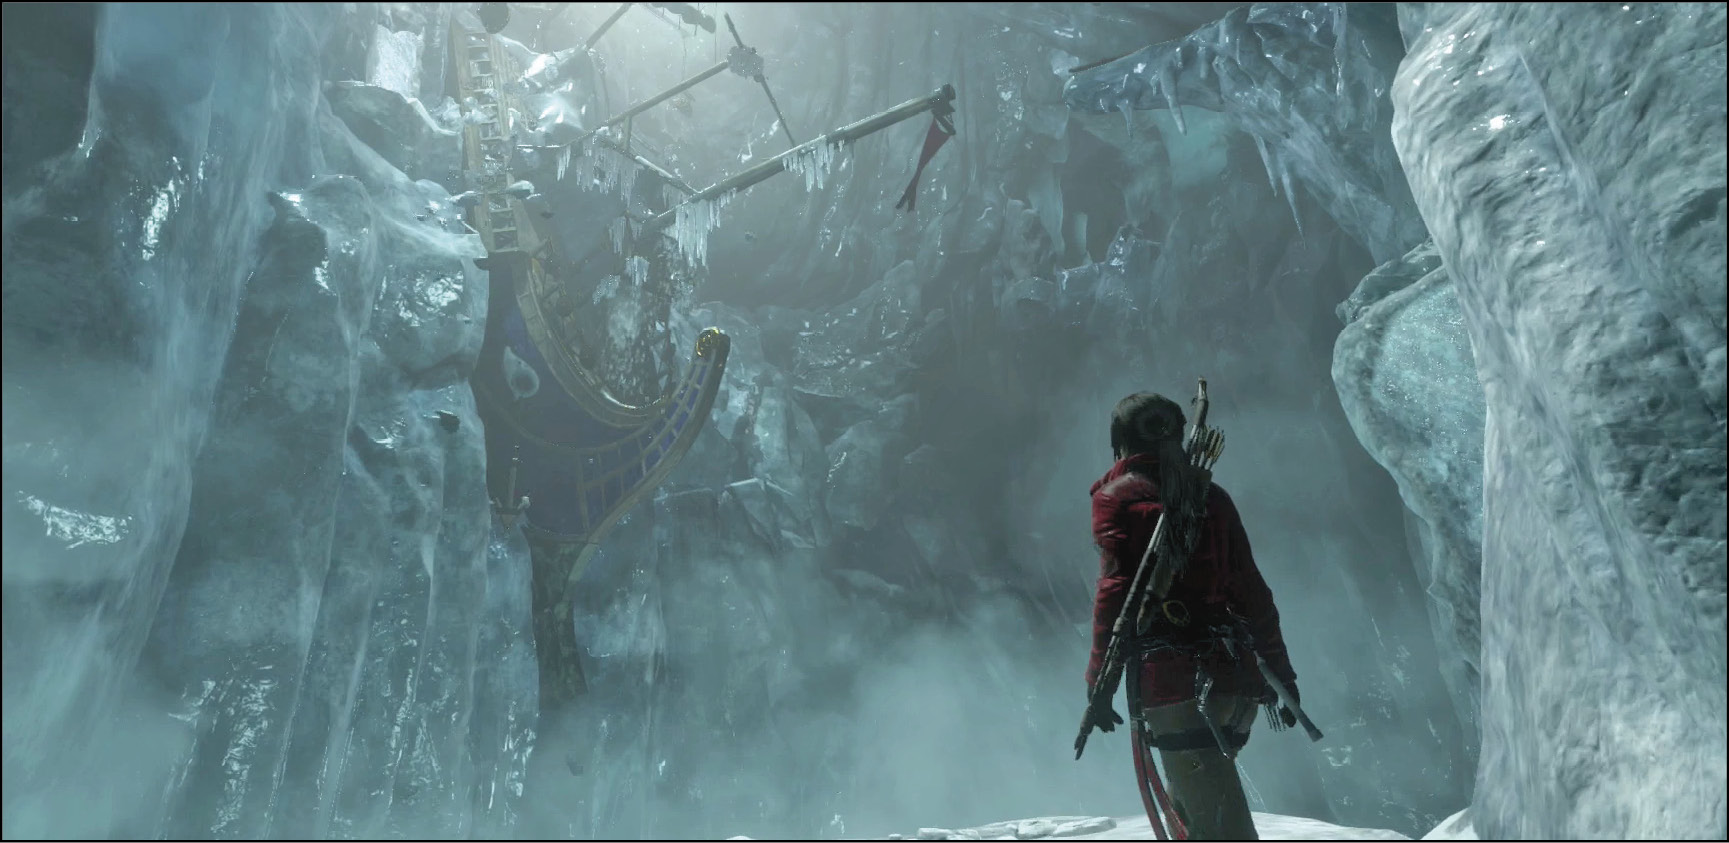
The central route through the water spits you out into another large cavern. A Base Camp is there. Restore your supply of Arrows, buy any new skills that you’d like, upgrade equipment, and Fast Travel back to the Siberian Wilderness if you have anything to do there. You can now jump between these two camps whenever you’re resting.
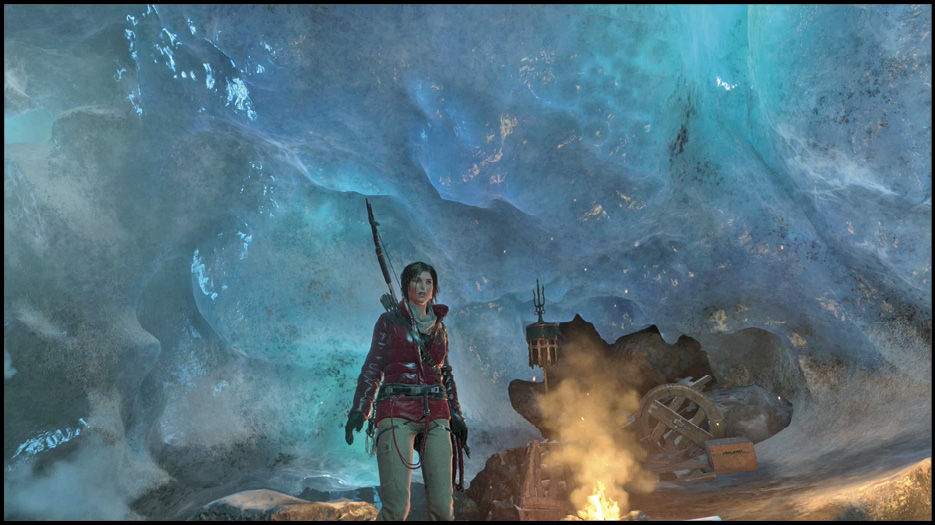
The room around the Base Camp has a couple of containers with minor items. Get those at your leisure, and rest at the camp. Don’t worry about the Tomb that is mentioned as you go through this room. It’s not hidden here; you find it in the northern part of the Glacial Cavern, and that’s coming up in a moment.
Climb the ledge on the left side of this room and jump to the small hallway through the ice ahead of Lara. Walk through there into an immense vault of ice. Take a narrow ledge through that room, jump over a gap, and climb to safety.
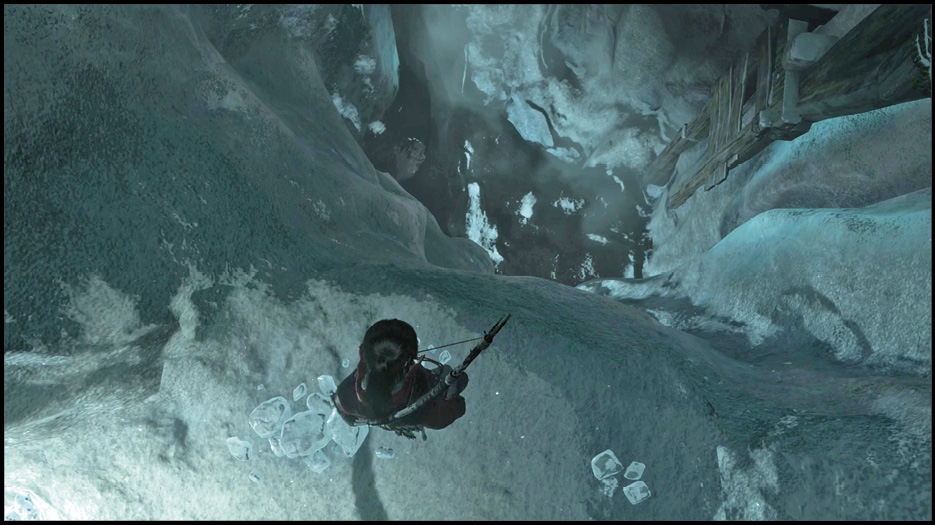
Proceed around the southern edge of this room. When you get about halfway along the ledge, you have a choice. The objective is easy to reach if you keep going forward. However, this is where you can get into the Tomb for this map. We suggest that you take on the Tomb! We fully explain how to beat the puzzles there in our Collecting Treasures chapter on page 162.
If you’re skipping the Tomb, use the ledge to travel east toward the next objective. Players who completed the Tomb use a zip line that leads onto an ice slide, farther north. Ride that to the bottom where you find a chest with a Relic (Wooden Cross). People who skipped the Tomb can get this by taking the main ledge a little bit past the objective.
Now that you’re past the Tomb, take the route on the eastern side of the map to leave the area. Jump over a large gap and grab hold of the ice wall there.
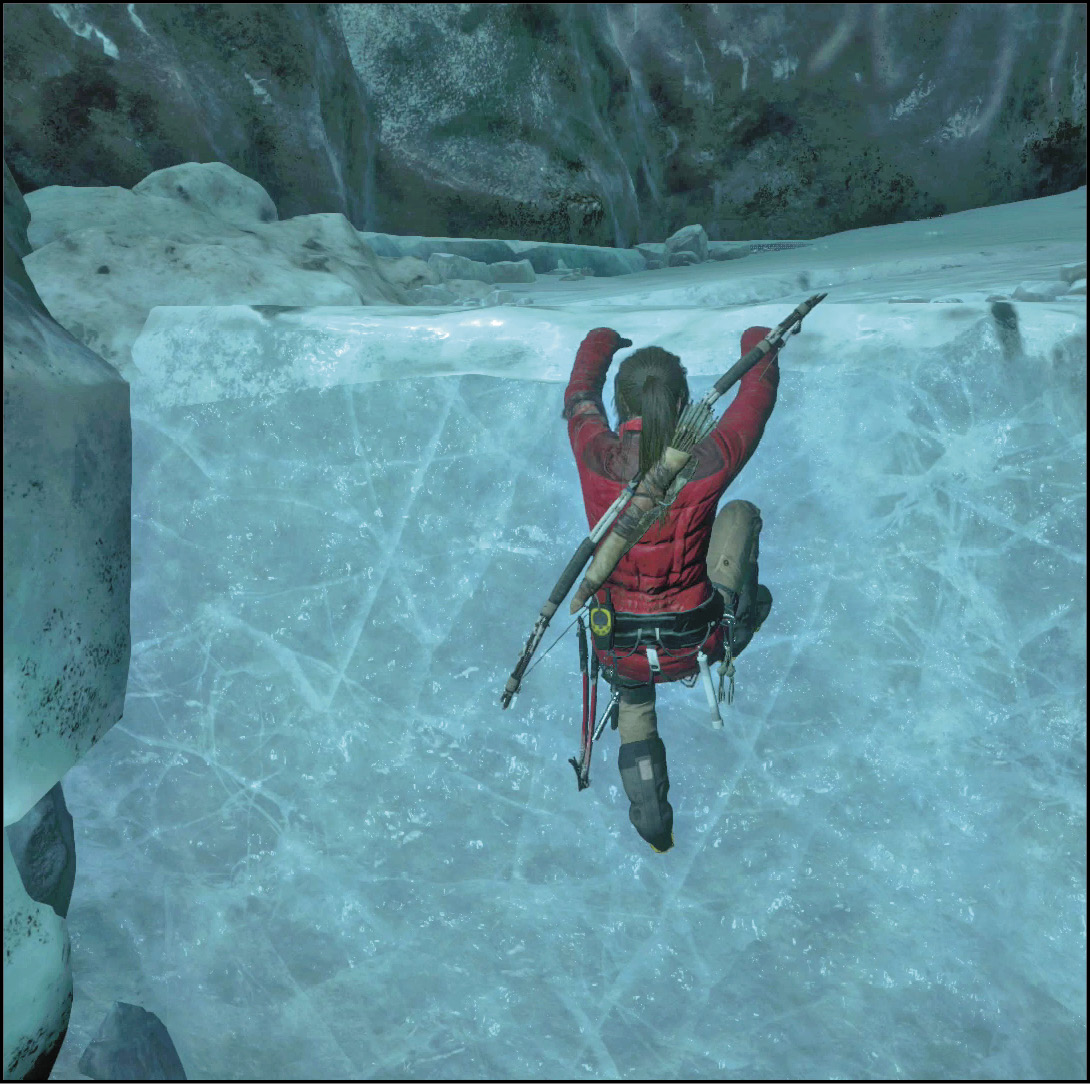
The rest of this map is easier. You still have to make a few long jumps, but you aren’t under much pressure right now. Take the corridor out and look for a few lose Coins on the way, on the right side of the third ledge.
Swim through an underwater portion of the passage as quickly as you can, because Lara can’t hold her breath that long when she’s in ice-cold water. Rush through and stay to the right to cut down on your travel time. Emerge from there and then get the final Document in this area. It’s on the right side of the room after you get out of the water.
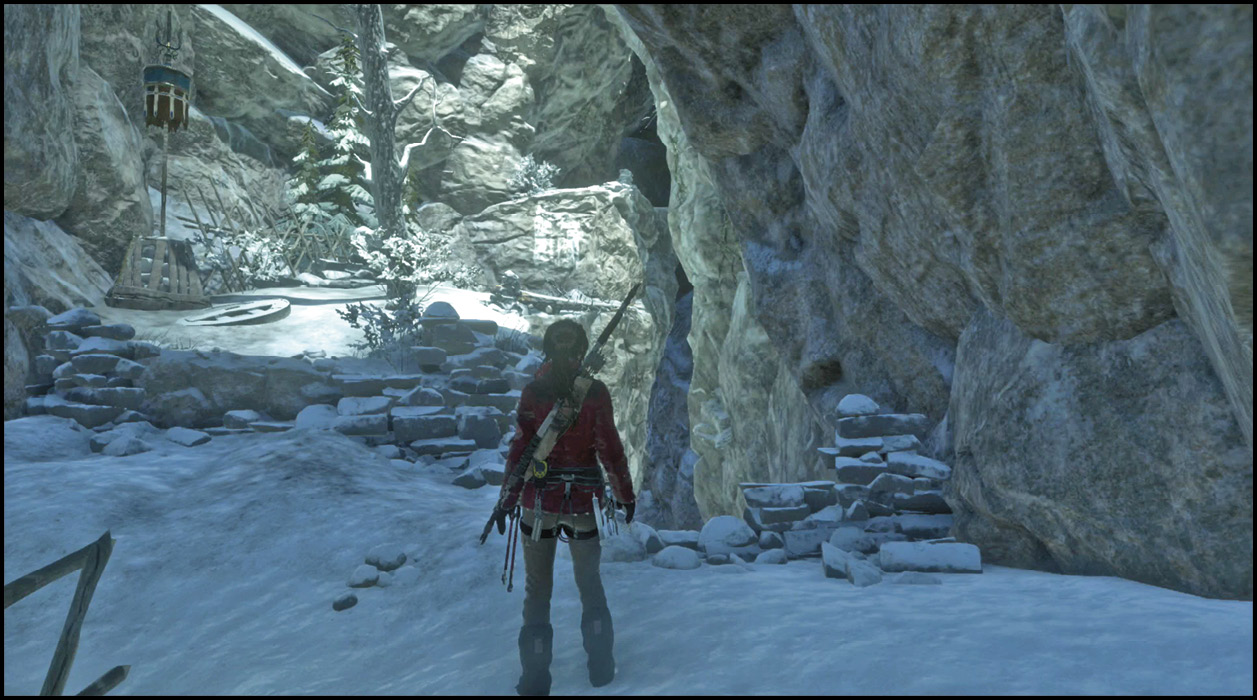
Follow the cavern all the way out. You’re soon going to be back out on the mountain, for better and for worse.