
Rise of the Tomb Raider Guide Walkthrough The Acropolis
Silent Night
Pass Through the Occupied Village
Several more men are spread out around a yard as you pull yourself out of the swamp. They don’t know you’re there, so stealth attacks are highly effective. Don’t waste this by attacking them from the waterline. There isn’t any good cover there. Advance to the crates so that you can attack and still have something to hide behind when the Soldiers figure out what’s going on.
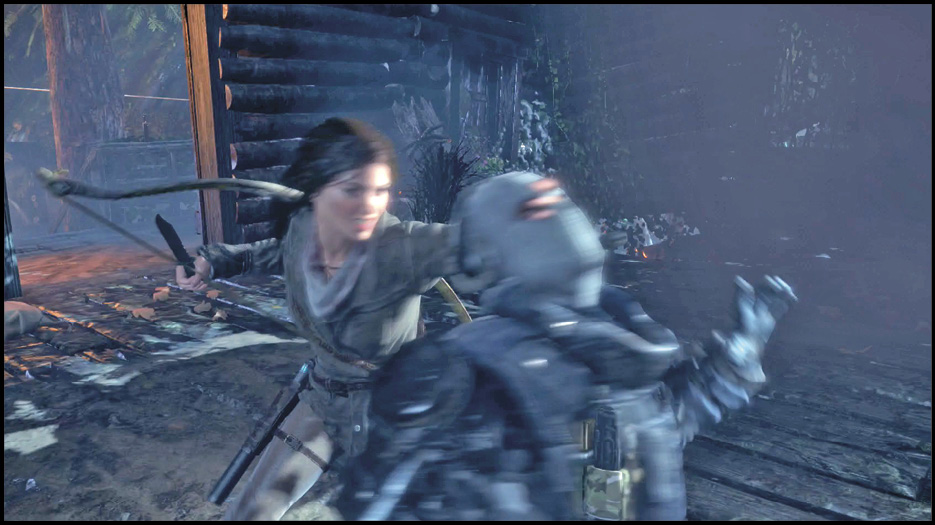
If you’re lucky, you can even kill the entire group without anyone being the wiser. That said, there are Bottles and Cans to the right, and you can craft a few nasty things to throw at these guys if that’s more your style.
Take the stairs into the house on the right and silently use a Takedown on the man on the right. Search for a Document (Initiation) a few steps away.
Jump and climb out the window from that building, and hide. There are nine Soldiers guarding the occupied town. Stick with quiet weapons to eliminate as many of the guards as possible, and then switch to a Shotgun or Rifle if anyone sees you or notices the bodies. The lower end of town is the best place to hole up and fight if you’re discovered early. The Soldiers can’t get around to your sides or rear, so things turn into a standing battle that you should be able to win comfortably.
Replenish your ammo and search the village after the fighting. On the western side of town, there is a Document (Attachments) out in the open field (it’s on top of a crate). On the small cliff to the northeast you get another one (On Boards).
A dilapidated cottage on the eastern side of the village conceals the way toward your objective and also contains a Document. Go there and slip up a narrow path toward the cathedral.
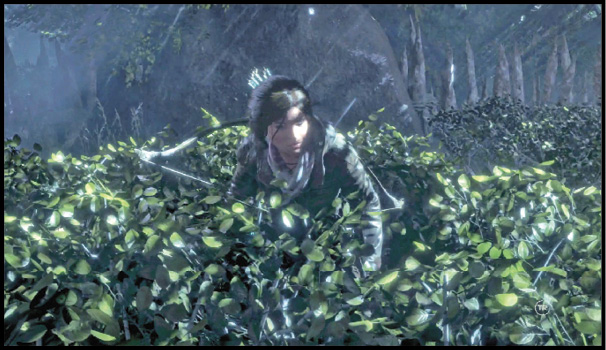
Quite a few Trinity Soldiers are between you and your objective. Conceal yourself in a bush and get your first few kills free of charge. It’s hard to avoid all detection, because there is plenty of light out here and the enemies have a decent line of sight on their buddies’ positions.
The good news is that the targets straggle into the area after your initial attack, so it’s not very hard to take each one out with whatever weapon you prefer. The peskiest targets are the guys who stay on the balcony of the building. If they’re being too tough, you might want to use a Grenade Arrow or charge them while their heads are down and use close quarters weaponry to finish the job.
Clear the yard and start to look around for a way into the cathedral proper. On the southern side of the large building nearby you find a Document (Vow of Poverty) on a closed crate. Climb the stairs and get a third Document (Forgiveness).
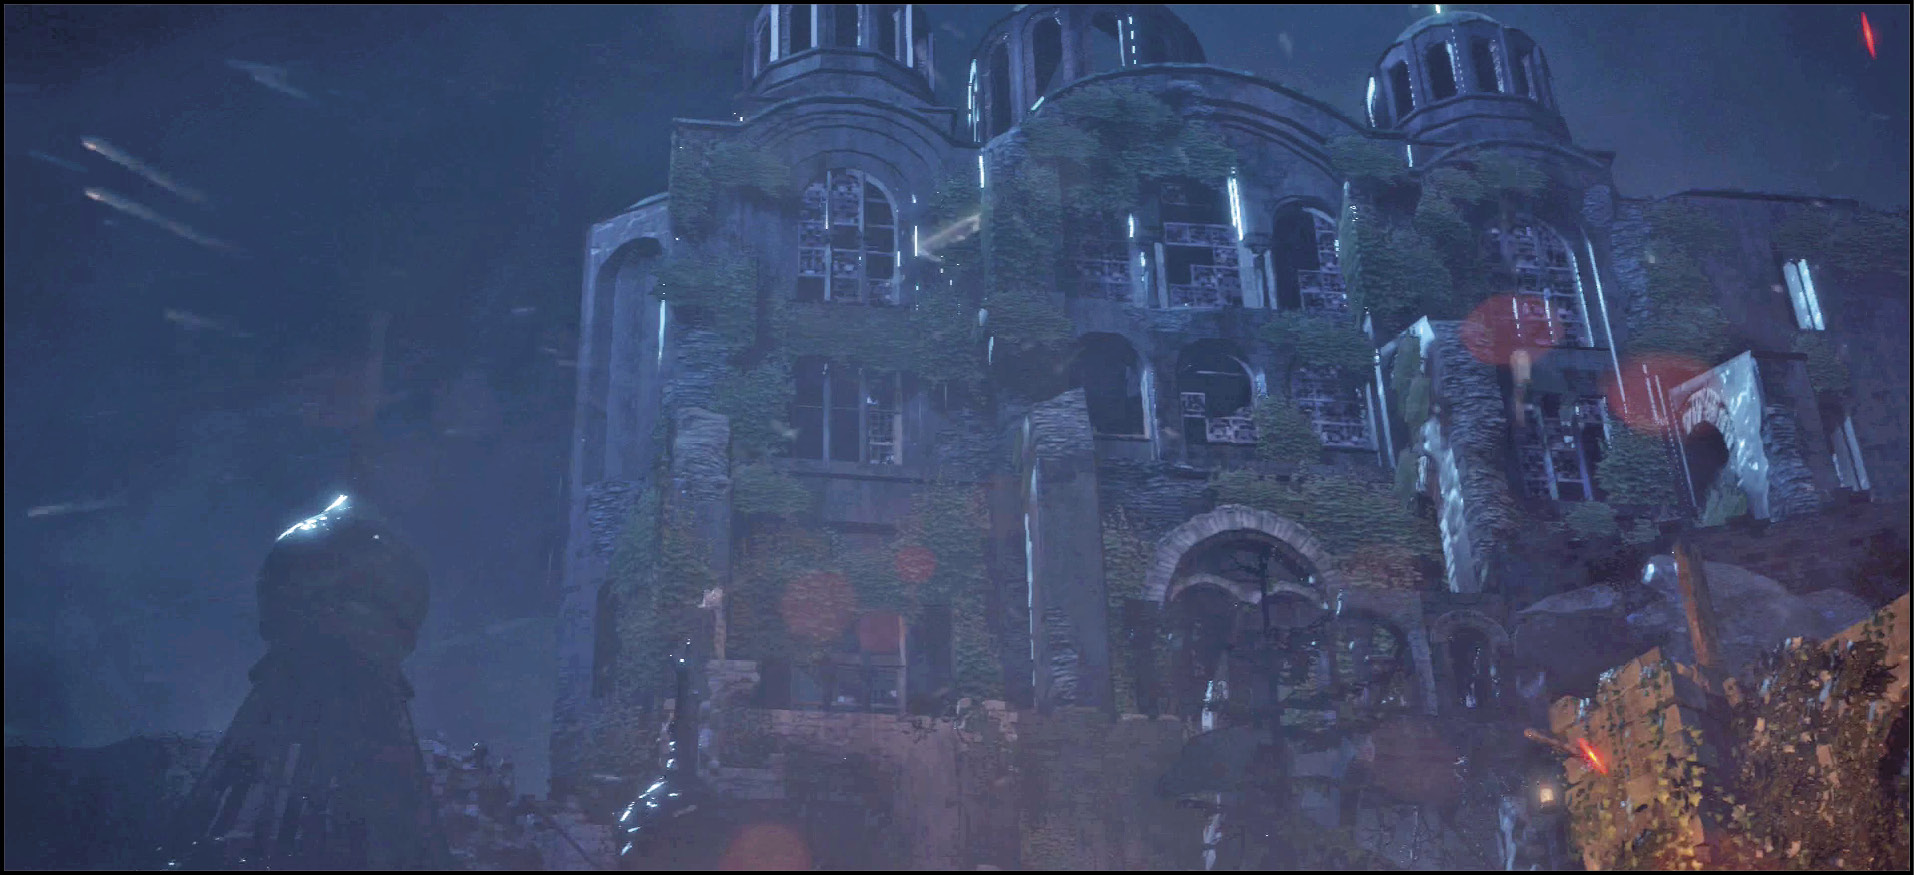
Scale the Cathedral to Find the Entrance
Walk outside on the upper balcony of that building and grapple toward some stonework and statuary across from Lara’s position. Get to the top of that and move over into the cathedral courtyard. Below, on the other side of that wall, is a Base Camp (Cathedral Courtard). A Document (Dangerous Errand) is on a crate just a moment away from the campfire. A box on the northern tip of the map has a Relic (Arrowhead).
To get up to the cathedral, climb the stairs that lead around the yard and then jump and grapple toward the stonework underneath your objective. Look at the picture here if you have trouble finding your position.
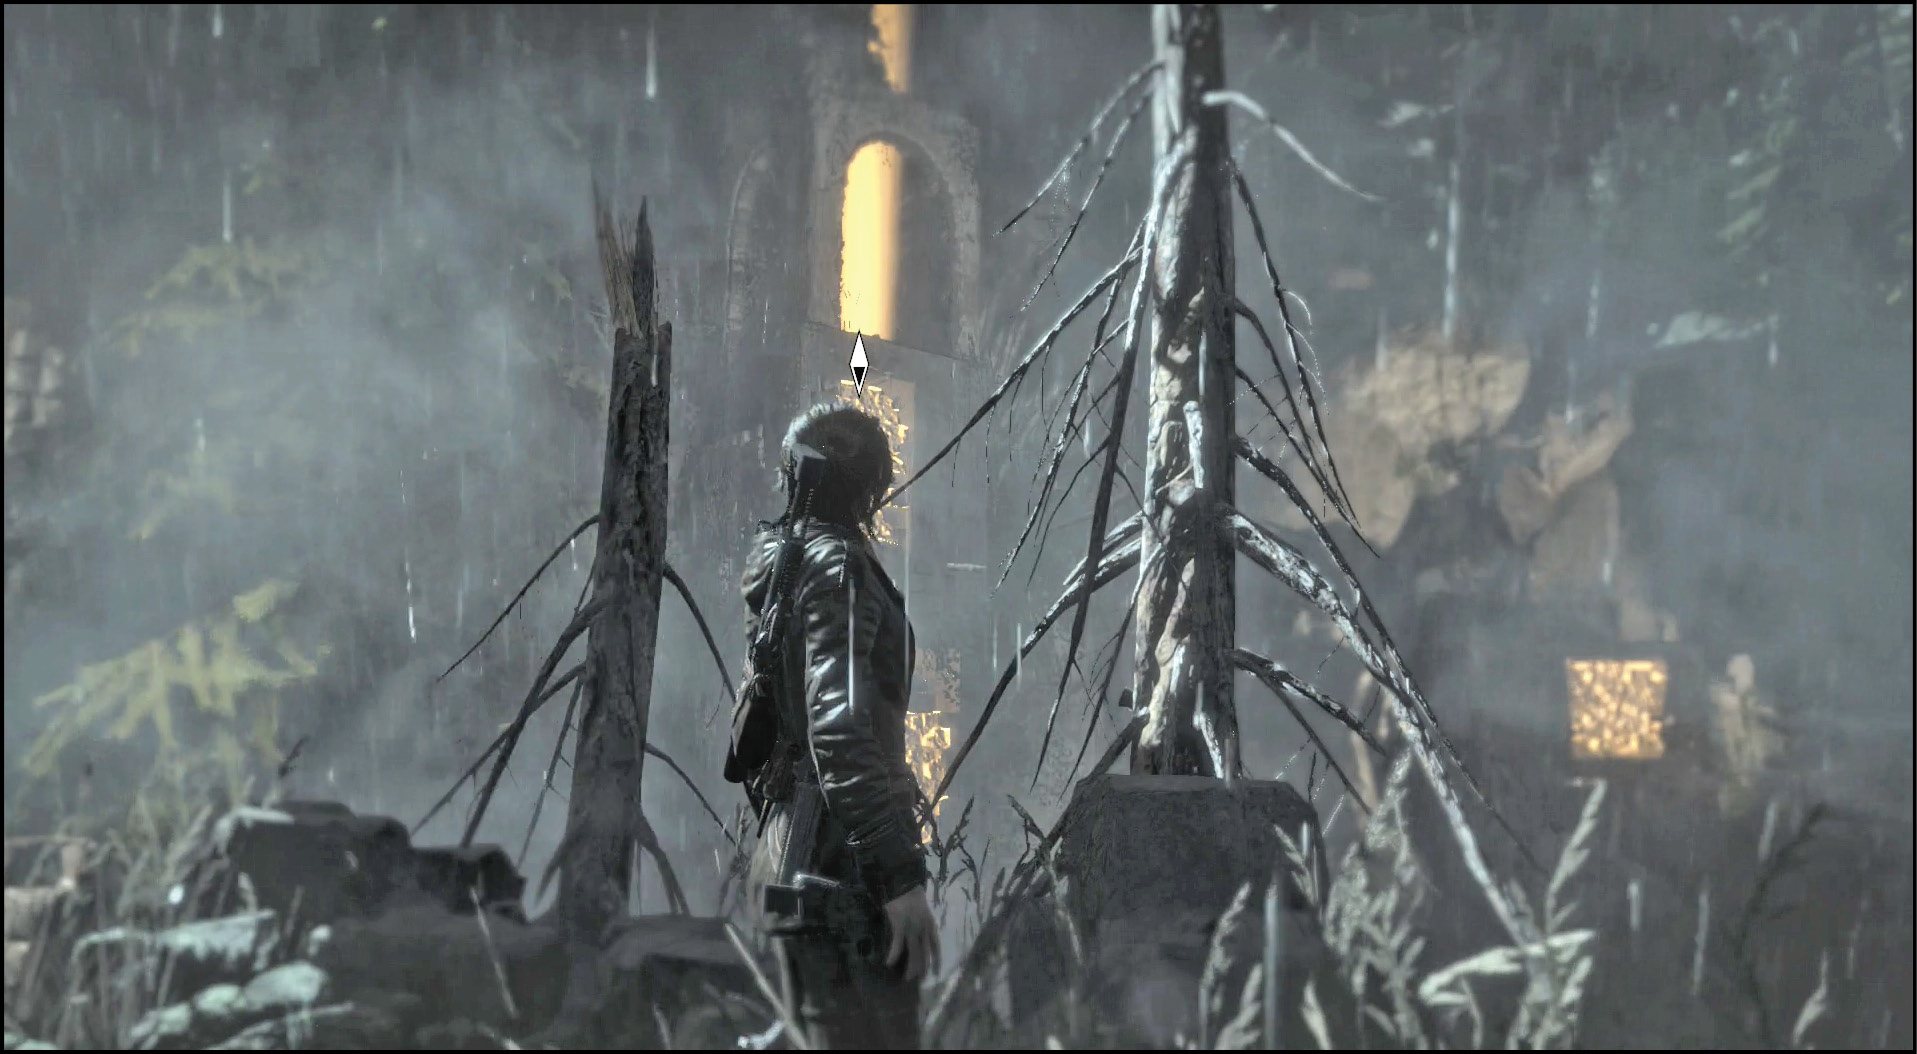
Climb up the main tower toward your objective, and use a stealth attack to kill the guard on the ledge above. Search his platform for crafting items, and then jump and grapple to the platform that he was watching. Walk to the end of that path and climb onto an outcropping over Lara’s head. There are handholds above that, allowing you to continue scaling the outside of the building.
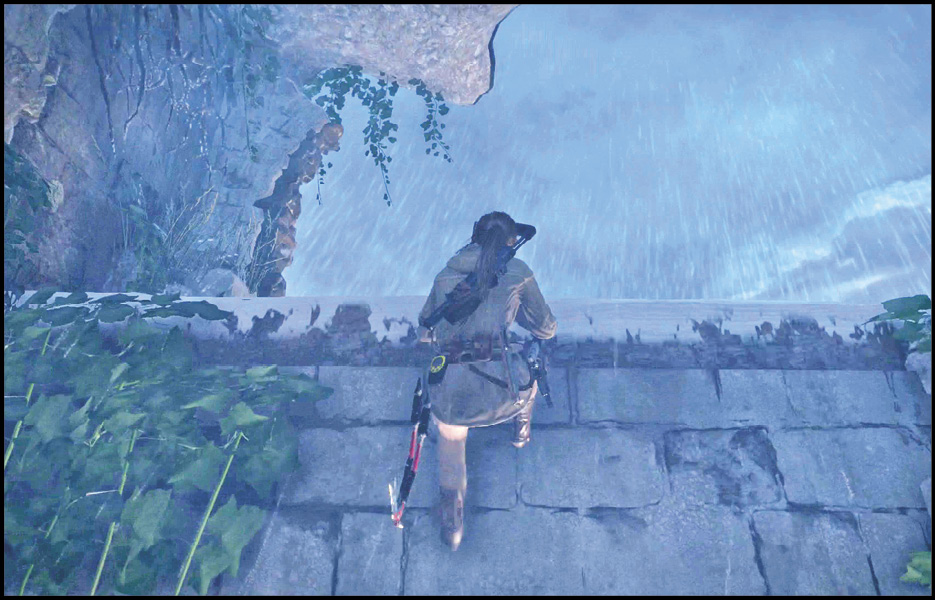
Crawl in through a window and vault across a large gap. Go around a bend and grapple back across the room a bit farther down. The route isn’t difficult, but it sure looks frightening because of the heights.
Keep your eyes out for another Soldier on a platform in front of you. Snipe him before advancing, and then grapple over to his ledge. Shimmy to the left side of it so that you can climb safely onto the platform. Grapple to the left for a few crafting items, or jump onto the rockface ahead to move forward.
Climb the rockface and eliminate the guard above. Lara can shoot him once she gets to the top, or jump after him to practice her Death From Above skills.
That’s it for enemies here. The rest of the climb is straightforward, so move on and get to the very top. You’re almost back inside.