
Rise of the Tomb Raider Guide Walkthrough Research Base
Tracking Down Trinity
Explore
A long tunnel takes you toward the Research Base. Squeeze through a narrow opening and break into the main cavern as you advance. Grapple onto the walkways ahead, and use a rockface on the northern end of the room to climb toward your objective.
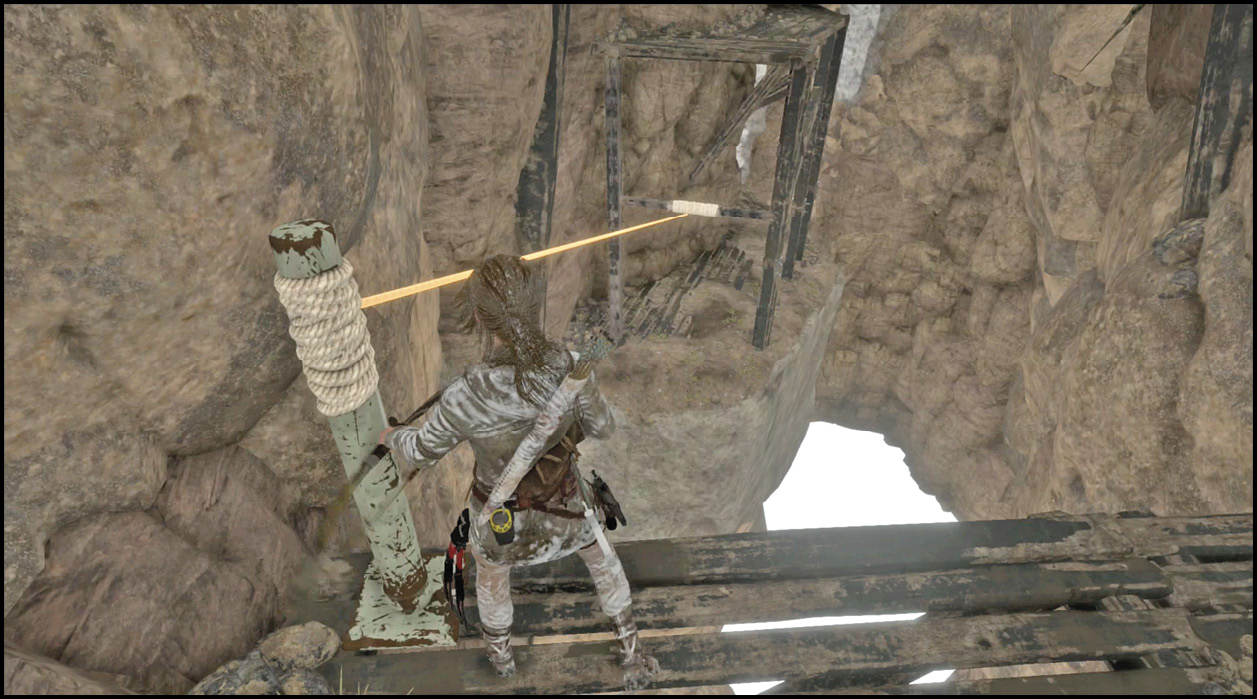
Pull Lara up through a small opening into the eastern corridor and creep through the claustrophobic tunnels into the next room. It’s dark in there, but you can still either grapple or jump through it. Use the pillars for a safe spot to land, and clamber through the narrow exit at the end.
Happily, you make it back into the sunlight. The storm has died down, and you have plenty of visibility.
Follow Sofia’s Path to the Trinity Base
Cross a fallen log bridge and use a hanging Rope Coil to grapple across a great divide. A scene plays. You know that time is of the essence, but getting up to the base might be tricky. Look at the cliff walls around you. A large tree gets you up to a climbable spot, and there are handholds to the right and up from there.
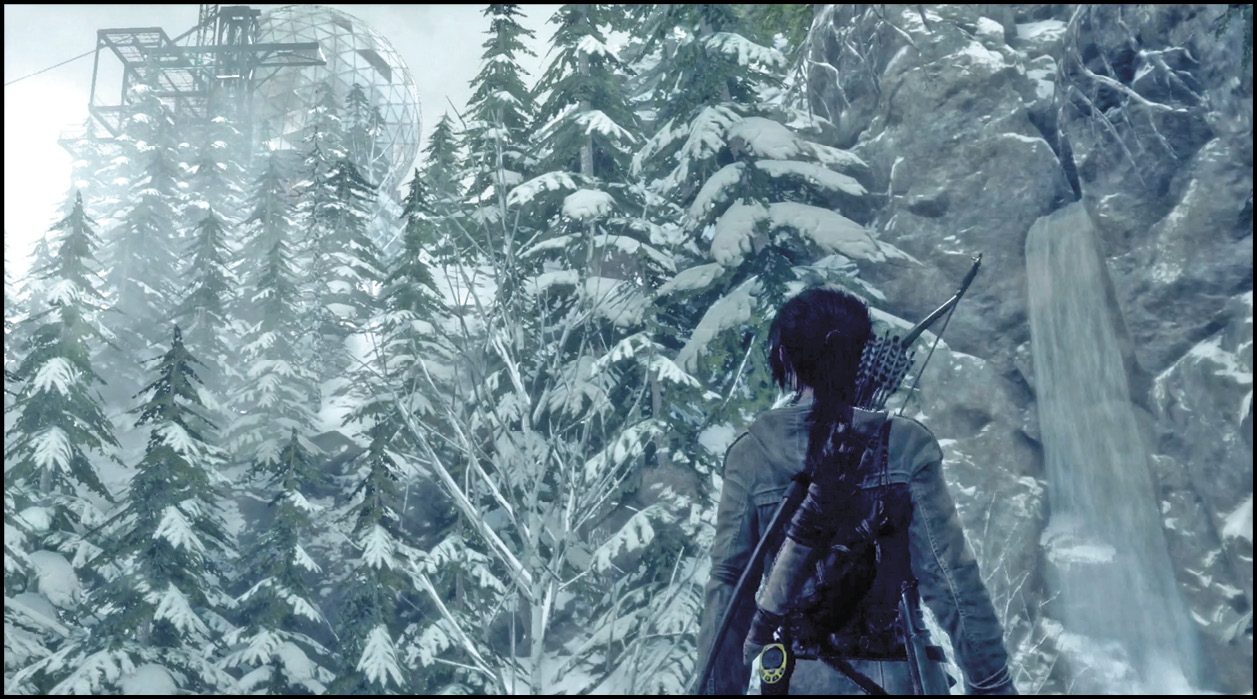
Get to the top and walk to the next waypoint. There are tracks leading up a hill, and you should follow them. A shot breaks the solitude of the mountains, so put your game face on. Trinity must be close.
It’s only two idiot Soldiers that are making noise in the next clearing. Dispatch them after listening to their conversation. What you hear is mostly good news. Kill the men, loot them, and walk along a log on the southeastern side of the clearing to move forward.
Use the upper branches of the trees to advance. This lets you sneak up on three more Soldiers. Snipe them from the branches, or use a Death From Above attack to gain the advantage on them if you’re not interested in a sniping match. Come down from the trees at same point to examine the bodies.
More Soldiers are northeast from that position. Use the trees and your Broadhead Climbing Arrows if you want to get a great vantage point against them, or sneak on land and use concealment while you eavesdrop on the men. Eliminate them when you wish.
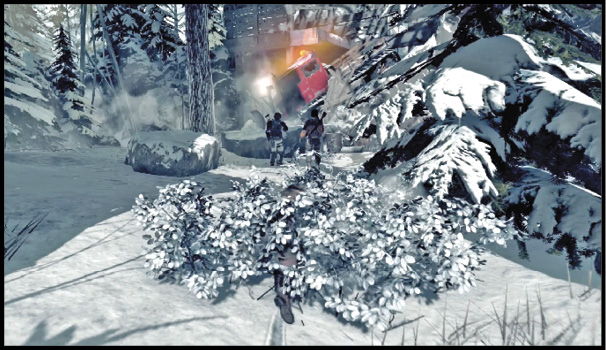
An Archivist Map is hidden behind a damaged plow, on the north side of the yard. Take that with you, and proceed along the main path. It leads into another forested section where Trinity Soldiers and Armored Troopers are patrolling. Stealth attacks are perfect for nailing these isolated men. If you start a running firefight it gets much harder to defeat everyone.
For the stealth approach, go around the perimeter of the area. It’s bright enough out that you can see everyone coming from some distance away. Stay behind cover, wait for targets to pass, and then give them the knifing they’ve earned.
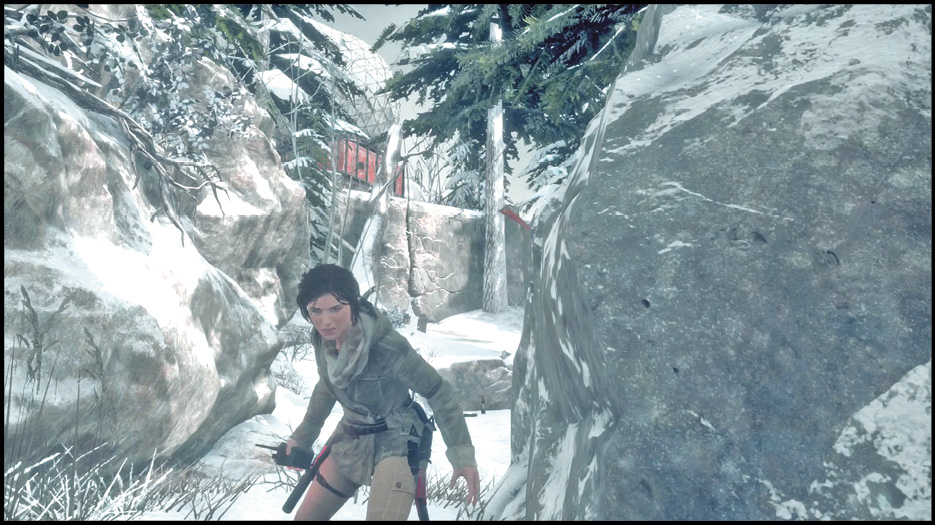
The exit is to the north; it’s a broken wall that Lara can crawl under. Before leaving, look at the Mural to the right of the hole. Use the new Base Camp (Weather Station) on the other side of the wall, and plan your next move. As you leave, take a Relic (Stamp) from the box beside your camp.
Follow your waypoint and jump into the frozen lake above your Base Camp. Swim under the ice and look for a hole close to the middle of the lake. Pop up there and pull a nearby Trinity Soldier down to a watery grave. Wait until his pal is walking away so that he won’t see or hear anything.
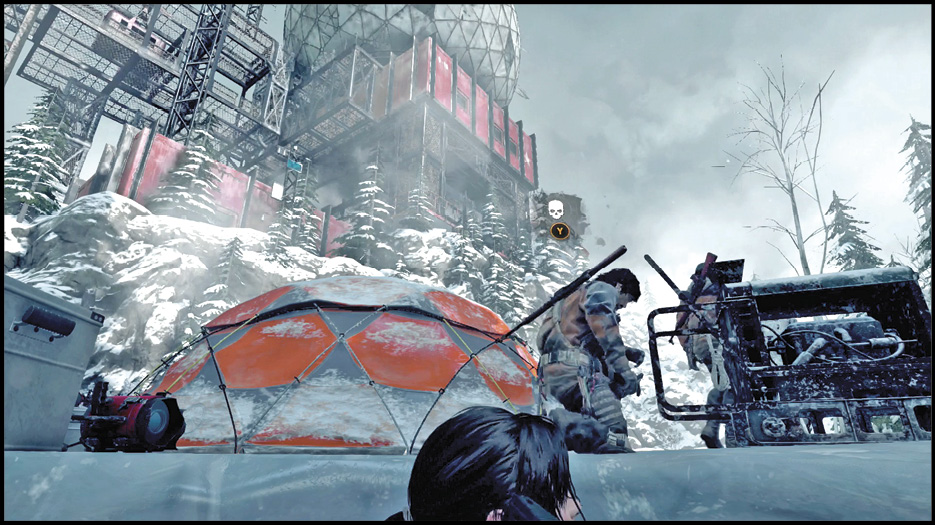
Climb out of the lake and stalk more victims. These are not nice people, as you can tell by their conversations. Stealth shots from range can take out your targets quite well, especially if you’ve taken some of the nastier Hunter skills. Crafted explosives work against the clusters of guards, but that attracts more attention and tends to get you into a bigger fight. It’s better to at least thin the herd before going for anything that brutal or direct.
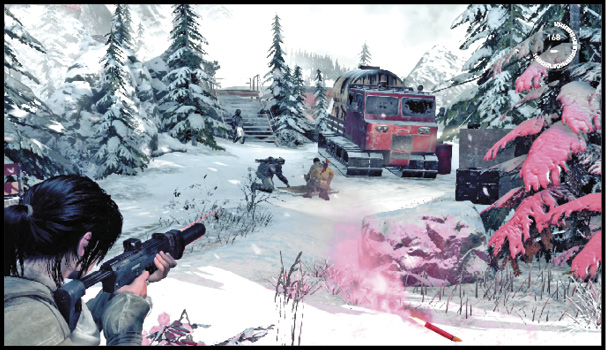
There are Enforcers in this mix. Craft some better ammunition or special Arrows ahead of time so that you have them whenever they’re needed.
Finish the fight, and look for a Strongbox on the eastern side of the lake. A second Strongbox isn’t far away. Go back to the large gate from the northern side and look in the trees close by for a small clearing. That’s where you find the box.
Get to your objective by running along a metal walkway. Watch for a landing pad on the right. Climb the rest of the stairs on the walkway to get up to the weather station. Another Document (The Ordeal) is on the left when you arrive. Go around to the rear of the first building and look for a Relic too (Reliquary Pendant).
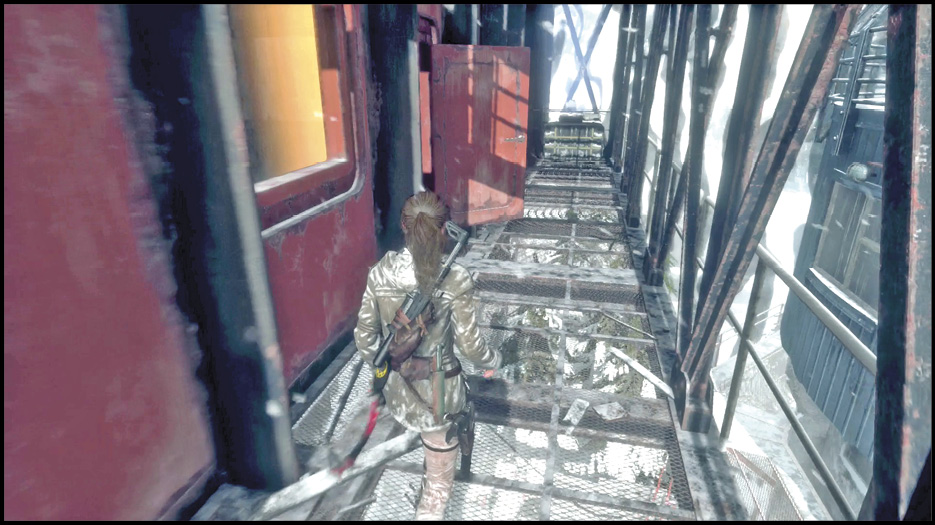
Look for a ladder on the left side of the platform. Jump up to reach it and then climb to a walkway overhead. At the far end of that there is a box with another Relic (Engraved Casing). Go into the building and start to scour the place for the Atlas.
Search the Weather Station
There are a few small rooms inside the base. You get a Document from the one on the right. The room on the left has another Document. Climb a yellow ladder at your waypoint. It takes Lara to the top of the station. The Atlas is there, but you don’t find any prisoners. You see your ally on the monitors, but he’s all the way down in the prison block.
Enter the Prison Block
Drop back to the 2nd floor of the station and use a zip line to descend partway toward the objective. Lara lands on a cable car and has to jump left onto another platform. Quickly take out a Soldier standing there, and then keep heading steadily down through the area. Swing to a broken building across a wide chasm.
Try to jump to the upper tier of that building, but the wood shatters and you end up swinging onto a narrow beam. Run toward a ladder on your right, and Lara takes a massive fall before she arrives.
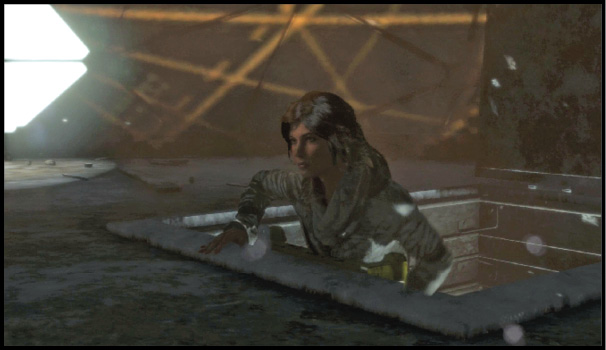
You plunge into water at the bottom of a holding tank. Climb out of it and continue heading west and down through the region. Run across a few small platforms and zip line toward a tower. You meet another Soldier there, but he’s walking away from Lara. Knife him and keep your momentum going. An Explorer’s Satchel is on the other side of that tower; it’s worth your time to get it while you’re here.
Jump onto a final zip line and barrel into the prison.
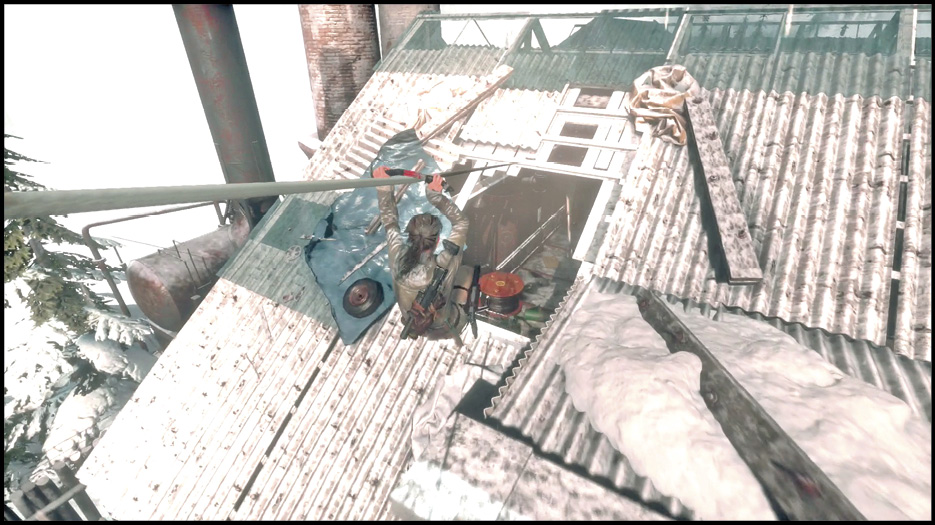
Find Your Ally and Repelthe Trinity Attackers
Go down a spiral staircase where you land and search for a Document (Protector). Walk back up the stairs and go into the next room. Lara finds the keys to the cells, and a scene plays.
It ends as Trinity attackers pour into the area. You have to buy the prisoners time. You have to fight.
The Soviet Facility Base Camp is below your starting position. Drop to that and use it for restoring any ammo that you can. Then, run off into the lower buildings. There are a few small skirmishes as you go. Each has just a couple of Soldiers, but you’re in close quarters so the faster weapons, such as the SMG, Pistol with Hollow Points, or the Shotgun, are best. Run past the walls that are being peppered with machinegun fire from the helicopter, and blast through anyone who gets in your way.
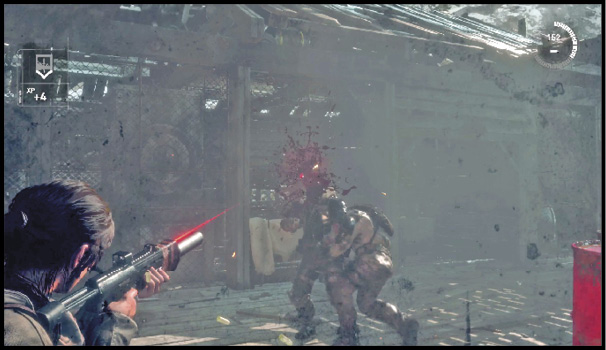
Soon, a short scene plays and Lara gets down to a watery area below the structure. Dive under the surface, and swim through a small opening into the next room. There are over half-a-dozen Soldiers in there. All are well armed, and they’re watching out for each other. You can go about this a few ways; Lara starts off under the water and can surface from multiple holes in the floor. If you want to pick people off, drop a Soldier into the water for your first kill when no one is close by, and then reposition to another hole instead of surfacing. This allows you to pop up, score another kill, and return to the protection of the deep.
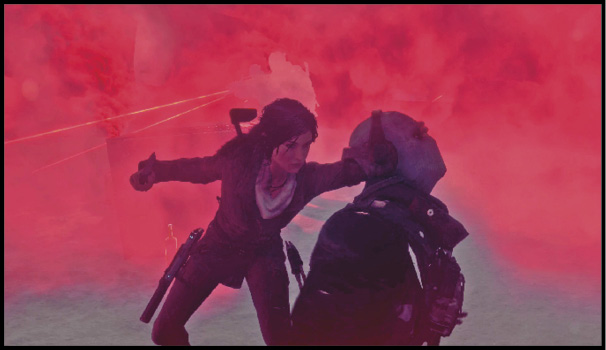
For a more aggressive solution, surface without killing anyone at the first hole. The enemies are searching in the other direction. This gives you time to climb out, ready a weapon, and aim. Skilled shooters can take out three targets before the enemies even turn around. At that point, you can dive back into the water or simply go for the remaining kills as more distant enemies close in.
Finish the slaughter and get back to your people. Watch the next scene.
After talking to Jacob, Lara goes into a secret basement. Break through a wall on the other side of the room below, and continue through a dark tunnel beyond.