
Rise of the Tomb Raider Guide Walkthrough Geothermal Valley
Prepare for Battle
Investigate the Valley
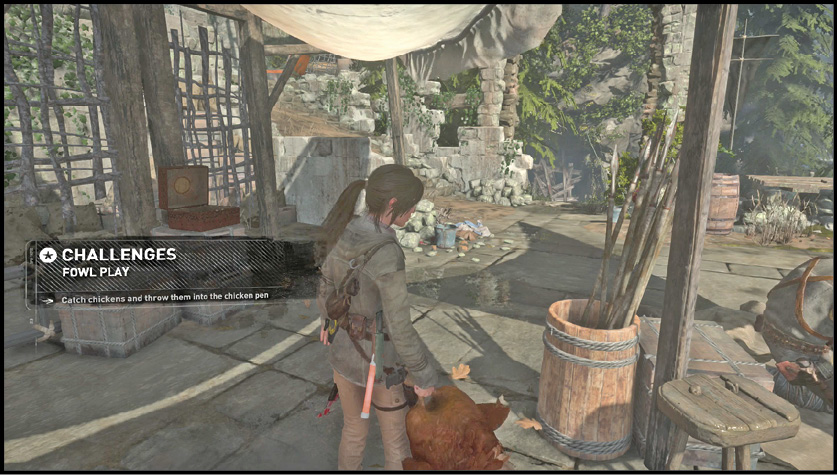
Look for a Strongbox after the scene ends. It’s near Lara, and you get a Crafting Tool when you open it. This important item lets you create a number of more powerful upgrades for your weapons. Ahead is the Valley Farmstead Base Camp. Rest there and see if you have the materials for any new upgrades! Search the area near the camp for a Relic (Planter Vase).
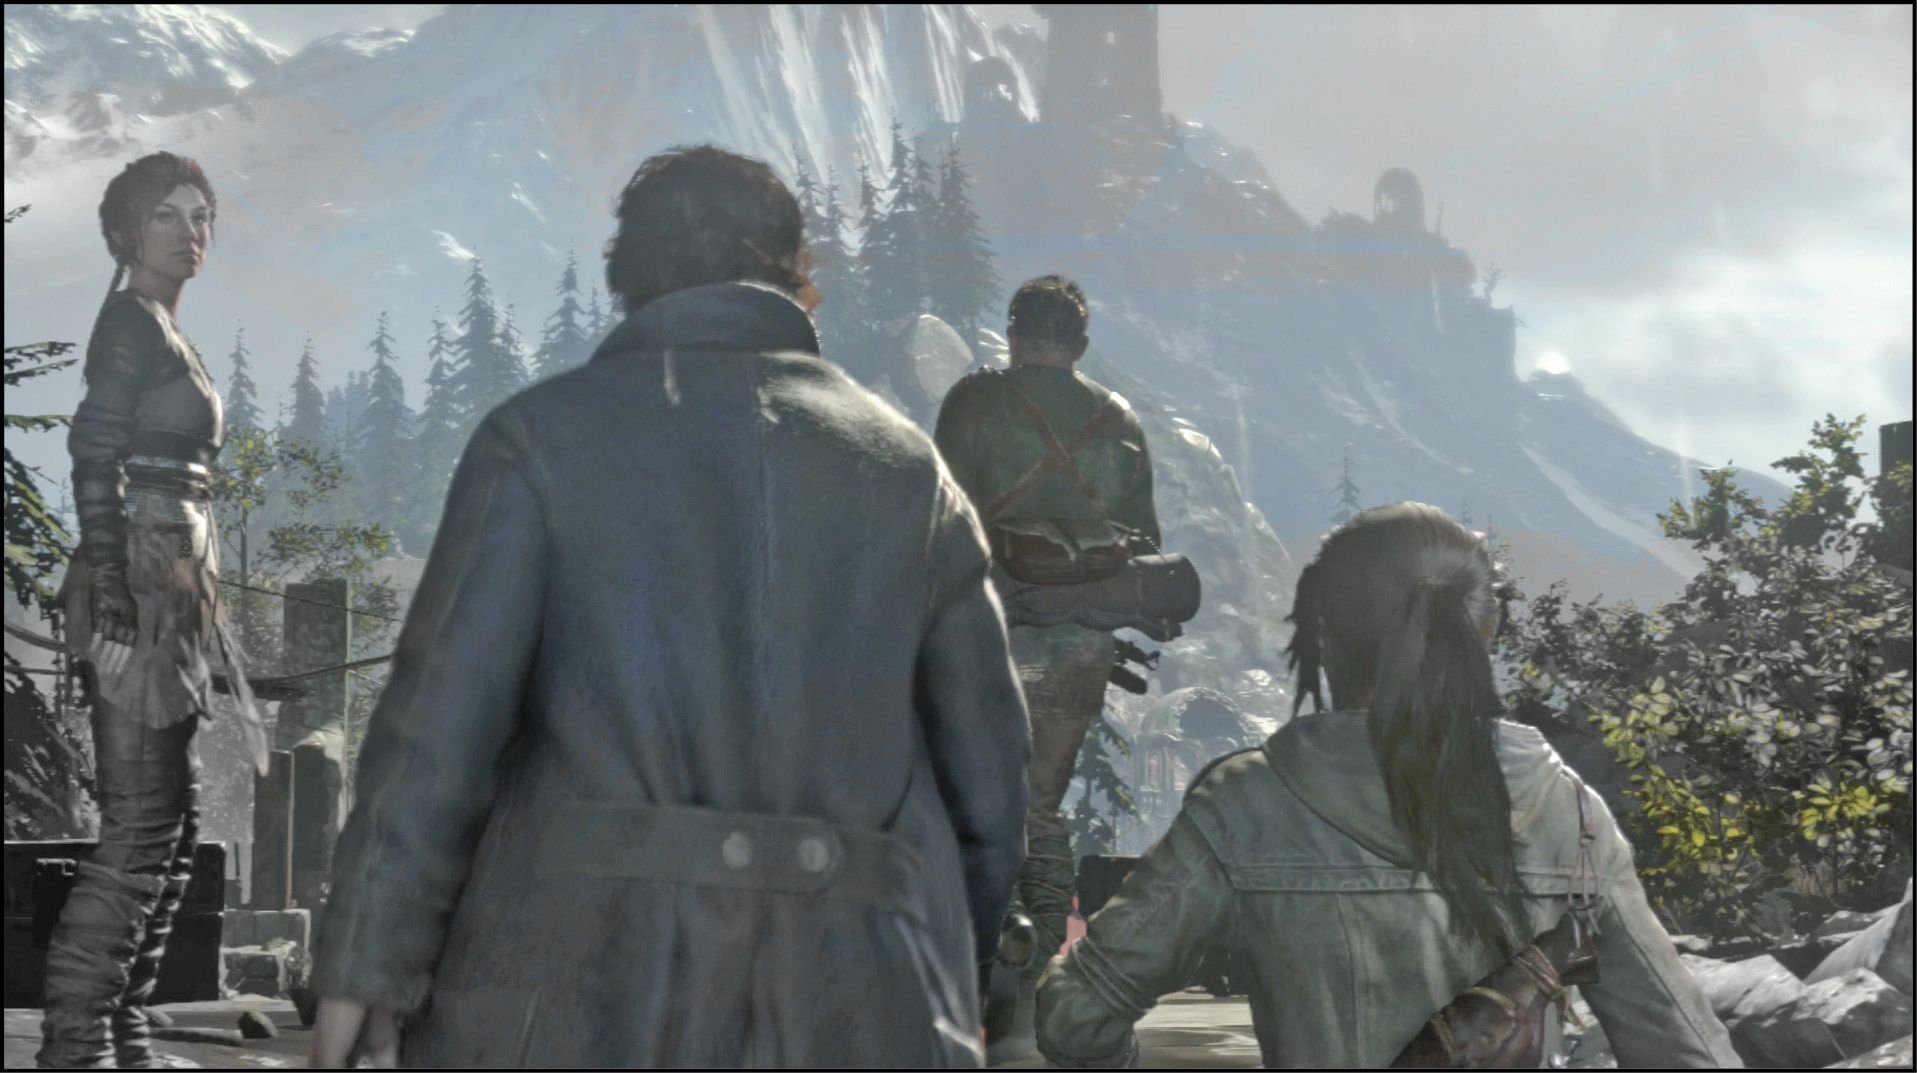
To proceed, leave the village and take the eastern route away from the buildings. If you leave via the northern route you have to leap across the river to get where you’re going. That’s fun, but unnecessary.
Approach the objective marker and zip down to the bottom of the valley. Jacob radios in, and you can talk with him while running south. Cross a wooden bridge and enter another Remnant outpost. Warriors are there, preparing themselves for a battle with Trinity.
Gather Arrows and ammo there before you leave, and then continue south, toward the Ruins Encampment. That Base Camp is very useful for getting back and forth between the main valley and the western settlement.
Break camp and keep going south, always to the south. Jacob gives you a task while you’re out there. He needs to contact everyone around the valley, and you can help him by lighting a signal fire that isn’t too far away from your current position.
Light the Signal Fire on the Spire
Use your Survival Instincts to see where you’re going and then walk to the end of a stone bridge that has fallen into the water. Your objective is there. Stand by a Rope Coil and shoot at another Coil across the gap. Use this zip line you’ve created to get across to the small island.
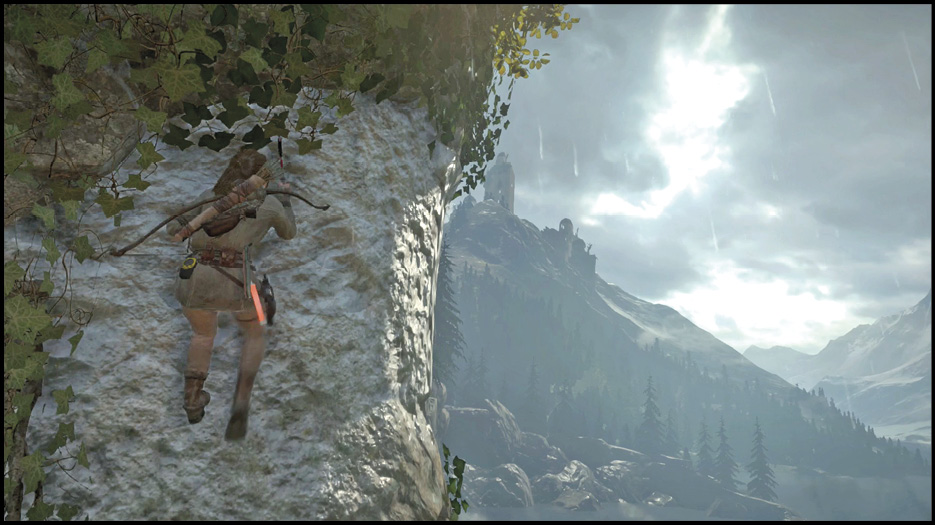
Climb the path around the right side of the hill, and vault over to a section of stonework ahead. Shimmy to the right side of the stones and then drop to a lower part of the hill. Make sure to catch the rocks with your Axe, or else Lara goes plummeting all the way down. If you have trouble, make sure that Lara isn’t moving at all before she drops. Hold onto the wall, press the button to let go, and then tap Interact quickly to reengage as soon as Lara gets close to the lower rockface.
Jump farther right and start to climb once you reach the handholds. Climb up and run around the corner. Vault to another platform, and scamper up the next wall so that you reach a handhold instead of falling short.
Shimmy farther right and jump to a rock wall. Climb up and approach the next jump on the path, but be careful with this one. It’s easy to jump wide when trying to reach the next handhold. Stay closer to the wall as you jump so that you don’t miss your target. You don’t need a running start, so line up your jump ahead of time.
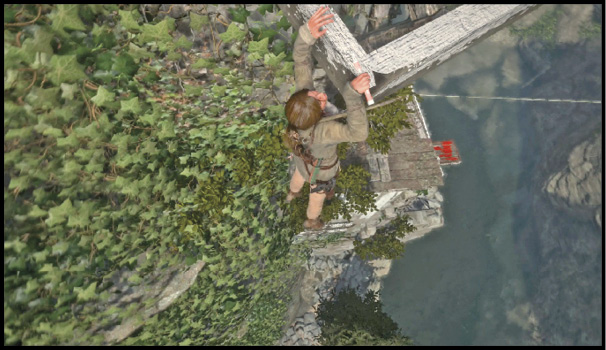
Shift to the right and make another tenuous jump to a rockface. As before, be careful of overshooting. Climb to the top and get an Oil Flask from the desk inside.
Go out the other side of the room and climb up the tower. After a couple of jumps up, leap to the left and grab a rockface.
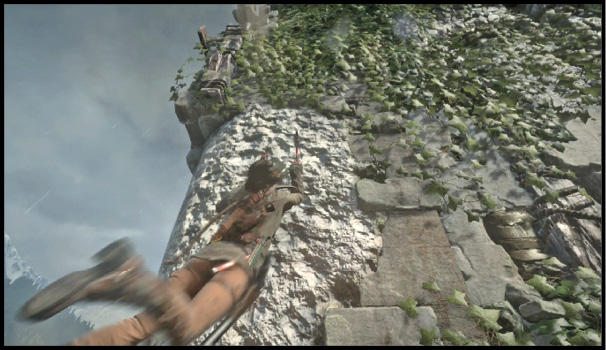
Shift to the left, scramble up the wall, and get over to a place where you can leap onto a hanging platform. Pull Lara onto that platform and craft a Fire Arrow. Shoot it into the top of the tower and talk to Jacob afterward.
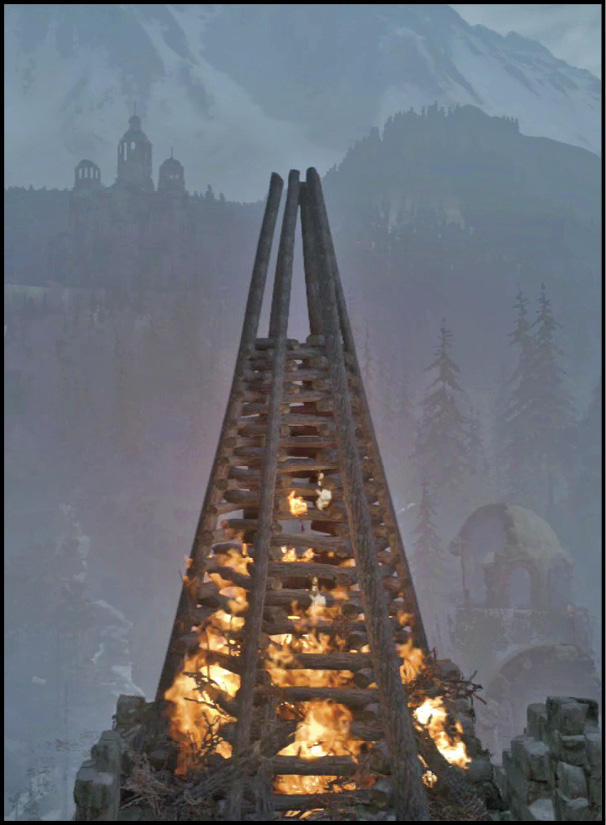
Rejoin Jacob at the Upper Village
Make a new zip line for yourself after the scene ends, and then get back to lower ground. Follow the marker toward the right side of the settlement and start to climb the hill to the east. Trinity gunships fly overhead as you get to the objective, so pick up the pace.
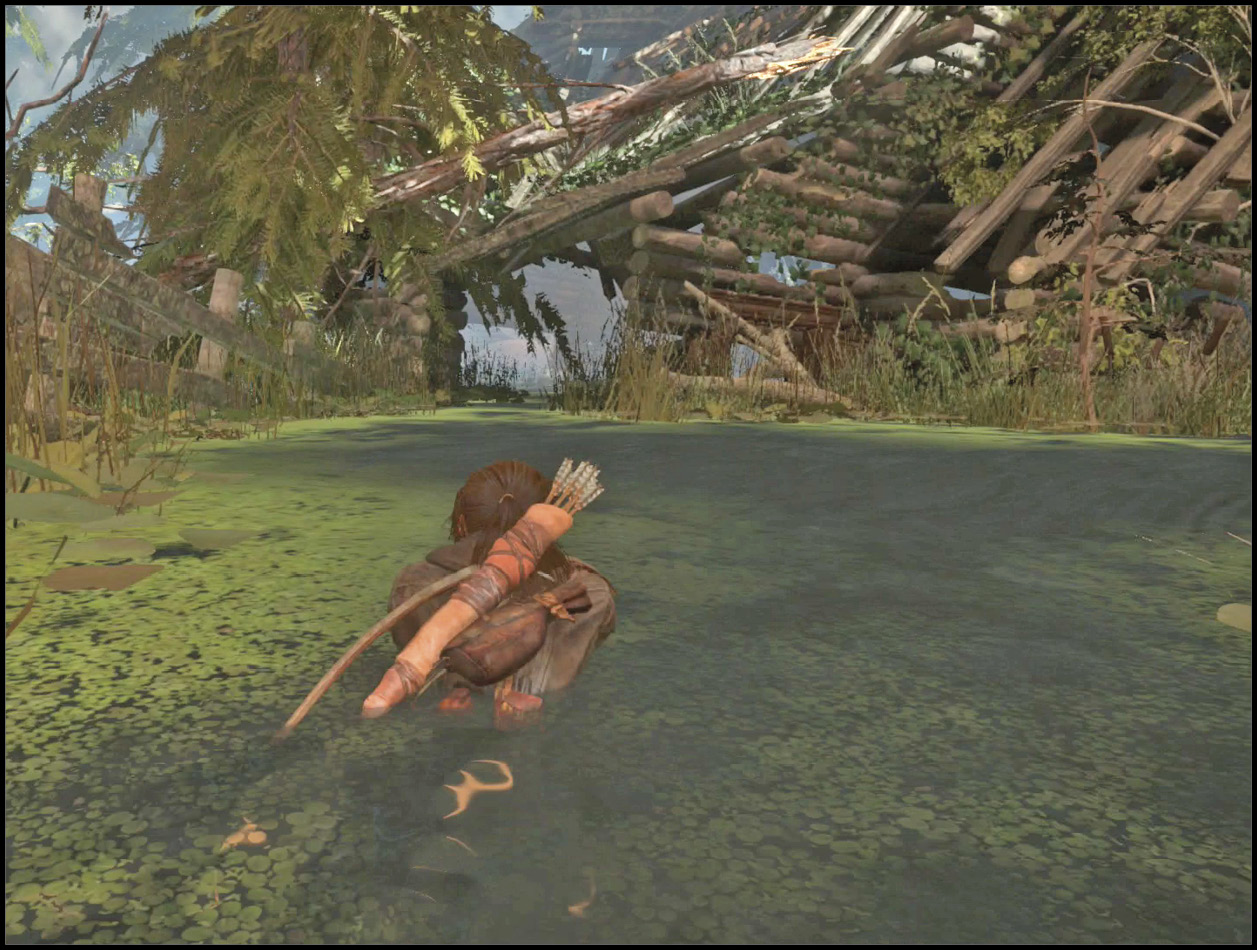
Swim through the marsh on your way to the village. This keeps you out of the way and lets you reach your target without wasting any time. It’s a straight shot through the wilderness, so you get there very quickly.
Everyone should be glad that you hurried. You get to the village in time to see Trinity men interrogating some of the Remnant villagers. A scene plays out, and Lara gets a Pump Action Shotgun as you regain control. Shoot the Soldiers that are close by. The Shotgun does enough damage per hit that it staggers its targets. If you’re attacking the final Soldier of a group, run up to them for a Takedown while they’re staggered to ensure that you get an easy kill.
Advance through the next two buildings with bloody resolve. There are many Trinity Soldiers in your way. The Shotgun is indeed a good weapon for the fight. You’re in close quarters most of the time, and the enemies take huge damage each time you throw a slug in their direction.
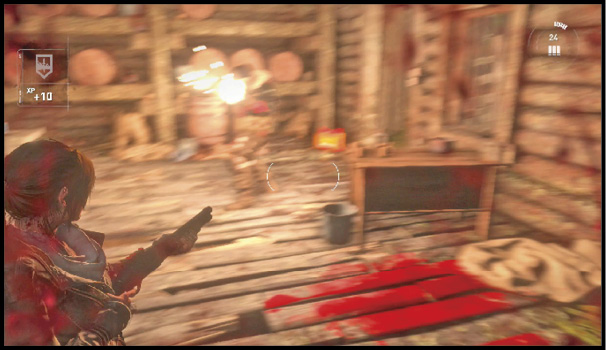
The last building’s front door blows open as you enter from the side. Several Soldiers run into the room. Hang back and kill them with your Shotgun, and then reload everything you have to get ready for the next fight.
As you step outside, you square off against a Firefly, a Trinity attacker with massive armor and a full tank of petroleum on his back. Direct attacks aren’t going to work well against him, so this fight won’t be easy.
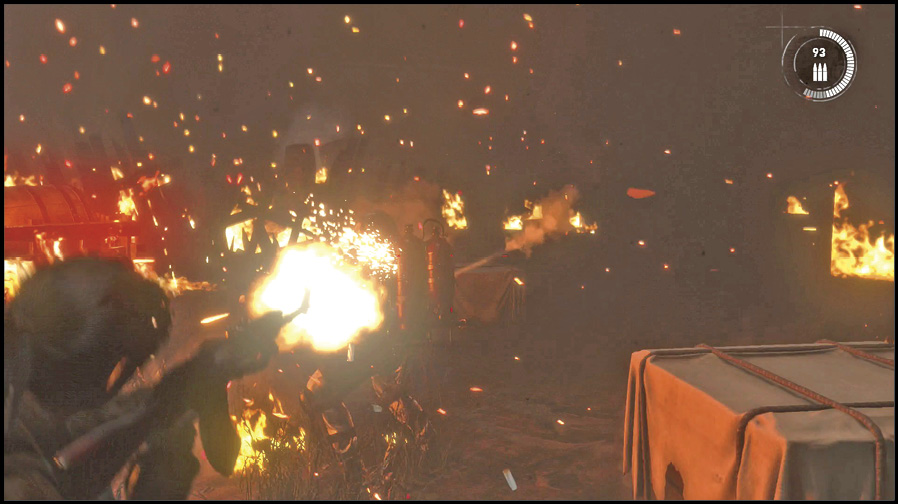
Switch to your Pistol or Rifle. Both of these are fast firing, and that’s very helpful against the Firefly. Aim for his bright, red tanks. A few hits on that spin the guy around, leaving his fuel tanks even more exposed for several seconds. Quickly switch to your Shotgun and fire as fast as you can directly into the tanks.
When the Firefly recovers, reload and run away. Heal if you need to while getting behind larger cover, and set up your next attack. Repeat this technique to win the fight. Damage the tanks with a fast weapon, and then go for maximum damage with the Shotgun. Boom, boom, boom.
The action breaks as soon as the Firefly dies. A scene plays, and you return to Lara as morning dawns.