
Mass Effect (PC) Guide Walkthrough Spectre Assisngments: Uncharted Worlds and A Return to the Citadel
Uncharted Worlds
UNC: Cerberus
How to Get It : Speak to Rear Admiral Kahoku after completing UNC: Missing Marines
When It Is Available : After completing UNC: Missing Marines); cannot be triggered after you go to Ilos
Where It Takes Place : Binthu, Yangtze System, Voyager cluster
Special Notes : None
When you speak to Rear Admiral Kahoku after completing UNC: Missing Marines , you find that he blames a shadowy group called Cerberus for their demise and plans to seek revenge. This triggers UNC: Cerberus and its first task, Investigate Yangtze System.
Investigate Yangtze System
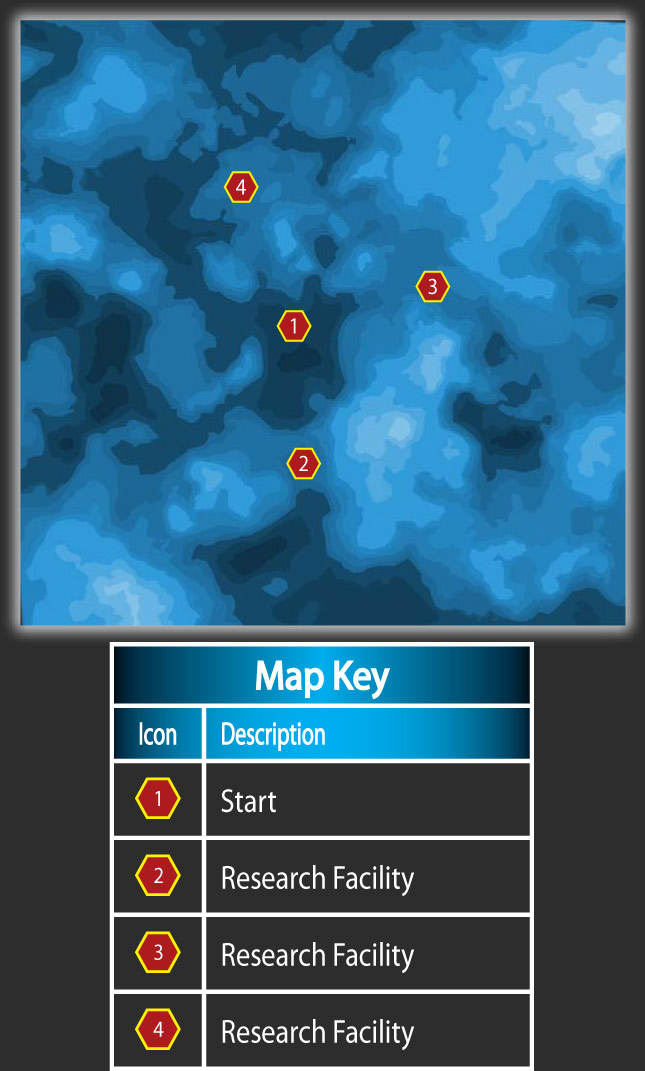
Binthu
When you return to the Normandy , set a course for the Yangtze System in the Voyager cluster, and land on Binthu. There are three research facilities on Binthu (2, 3, 4). Each of them contains a squad of Cerberus agents that you need to wipe out, as well as a few experimental test subjects being developed for use in combat.
You can enter the research facilities in any order you wish, and you need to clear them all in order to complete this assignment.
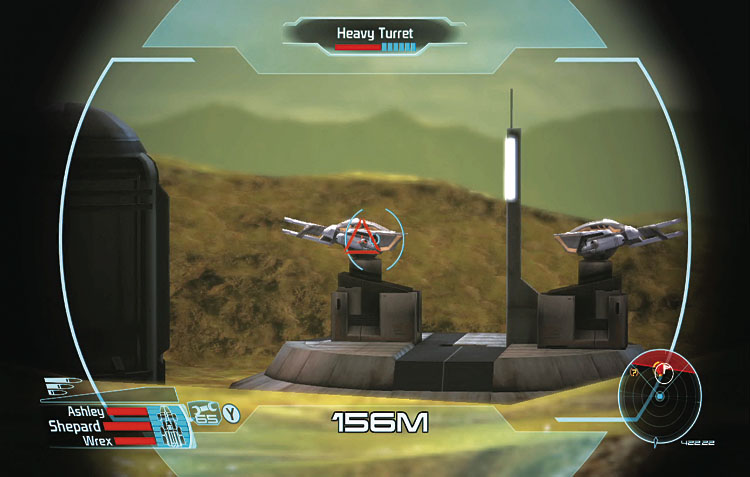
Enter the research facilities in any order you want, after taking out their defenses.
The southern research facility on the planetary map (2) is defended by two heavy turrets. Approach the facility from the hills to the northeast of it to destroy the heavy turrets from a distance with the Mako’s rockets. When you enter this facility, follow the walkthrough for Research Facility A.
The eastern research facility (3) is also defended by two heavy turrets. You can roll up onto a hill to the south of them to blast them from range with the Mako’s cannon. When you enter this facility, follow the walkthrough for Research Facility B.
The northern research facility (4) has yet another pair of heavy turrets defending it. Pull up onto the hill to the southeast of the facility to blast them before entering. When you enter this facility, follow the walkthrough for Research Facility C.
Research Facility A
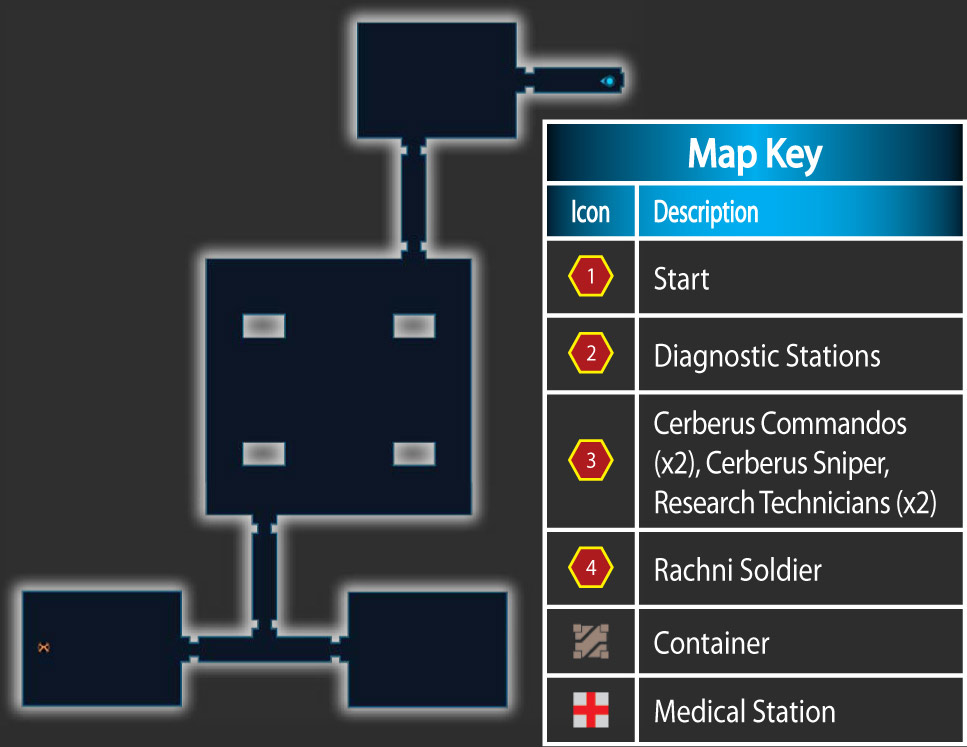
Research Facility A
Research Facility A has armed human agents of Cerberus around the perimeter of its main room and a rachni soldier inside of a square force field in the center of the main room. Four diagnostic stations —one on each side of the force field —can be used to lower the force field. However, lowering the force field also releases the rachni soldier, who will attack you, so take out the commandos, sniper, and technician first.
These four enemies are all human, so ammo mods that increase damage against organics are a big help, as are shield-penetrating mods. Move either clockwise or counterclockwise around the room and kill the Cerberus troops, taking care not to get flanked. Use the four pillars as cover to avoid taking sniper fire.
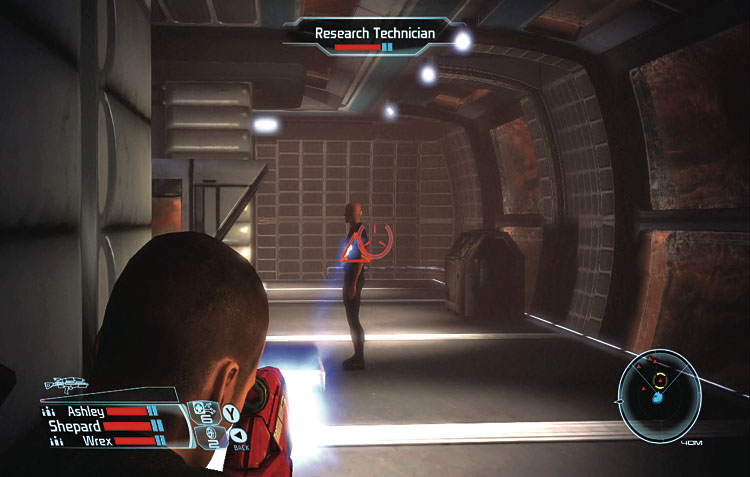
Take out all five Cerberus agents before releasing the rachni soldier in the middle of the room.
When all of the Cerberus forces have been destroyed, use any diagnostic station to drop the force field and release the acid-spitting rachni warrior. Kill it to complete Research Facility A.
Continue Hunting Cerberus: Research Facility B
Research Facility B
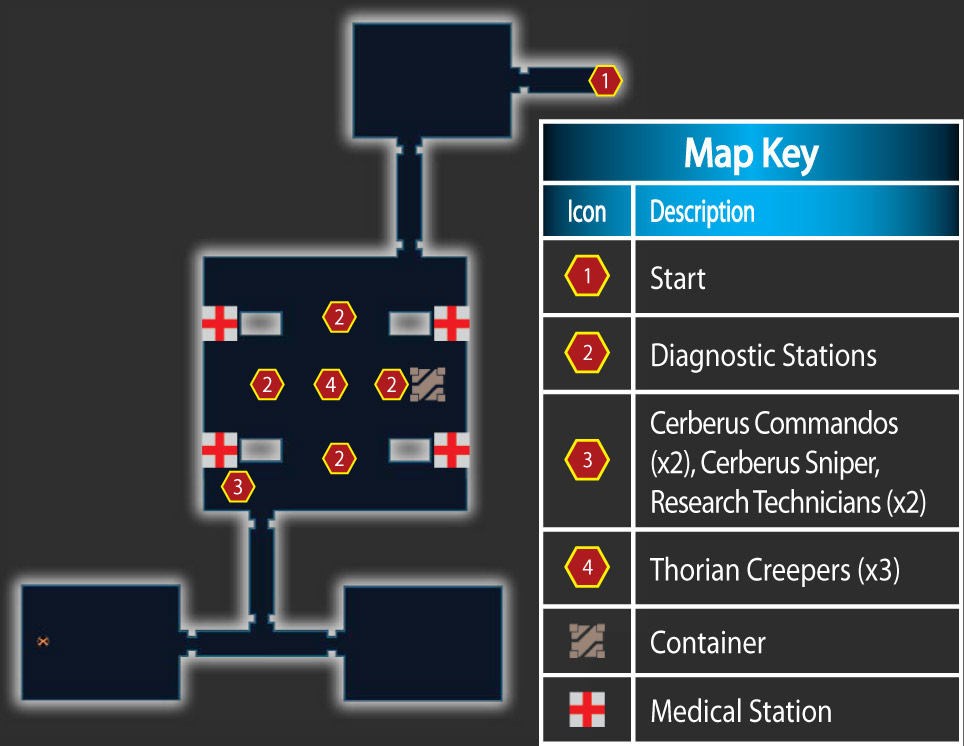
Research Facility B is very similar to Research Facility A, except that it has three Thorian creepers inside its force field instead of a single rachni soldier. Despite that minor difference, your strategy for clearing Research Facility B should be exactly the same as in the previous facility. Killing all the Cerberus agents and Thorian creepers completes Research Facility B.
Continue Hunting Cerberus: Research Facility C
Research Facility C
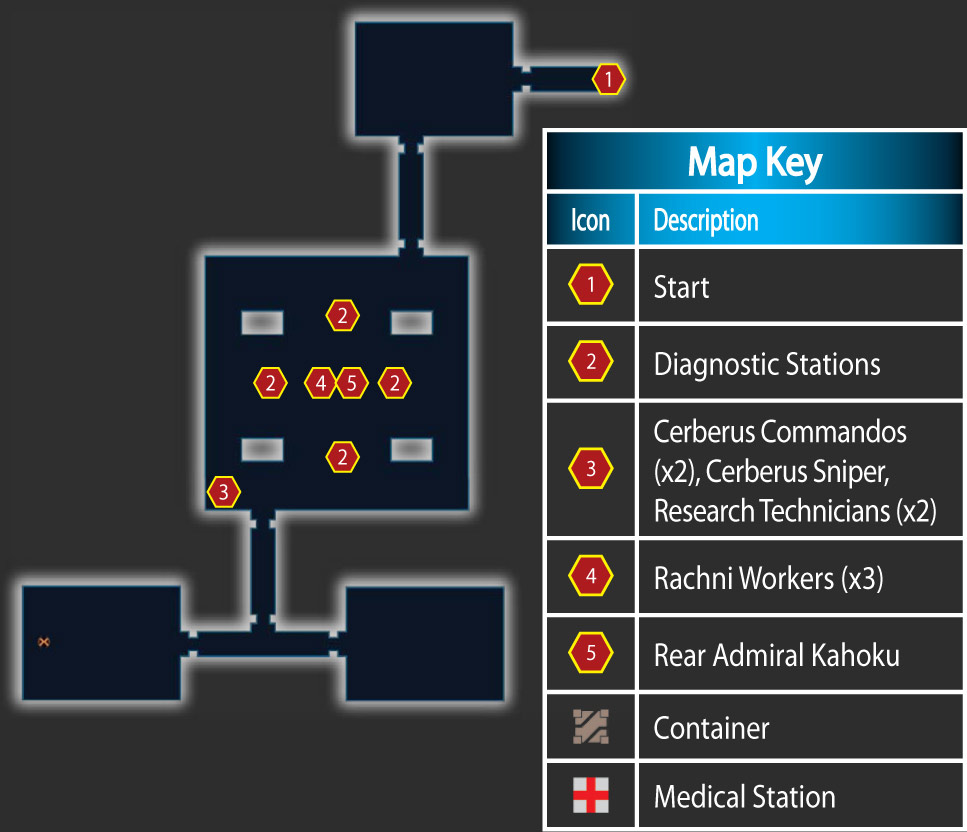
Research Facility C is all but identical to the first two facilities, except that the creatures inside of the force field are three rachni workers this time. As you’ve done twice before now, sneak around the perimeter of the main room to kill the Cerberus agents, then lower the force field at a diagnostic station to release the rachni workers and kill them.
When all the hostiles are dead, examine the body in the middle of the room to find that it is Rear Admiral Kahoku’s. He evidently set off in search of Cerberus and, unfortunately for him, he found them. Finding Kahoku’s corpse completes the assignment and triggers a new assignment, UNC: Hades’ Dogs .
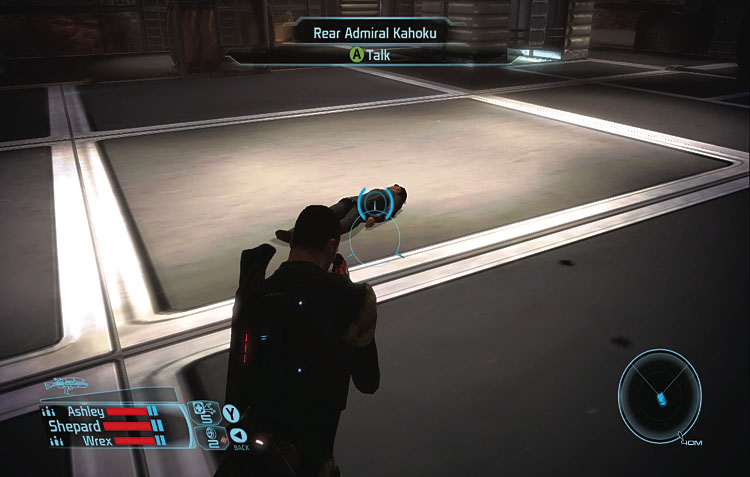
Rear Admiral Kahoku is Cerberus group’s latest victim.
UNC: Hades’ Dogs
How to Get It : Examine Kahoku’s corpse at the end of UNC: Cerberus
When It Is Available : After completing UNC: Cerberus; cannot be triggered after you go to Ilos
Where It Takes Place : Nepheron, Columbia System, Voyager cluster
Special Notes
: None
Finding Rear Admiral Kahoku’s body at the end of UNC: Cerberus triggers U NC: Hades’ Dogs and its first task, Destroy Main Cerberus Facility.
Destroy Main Cerberus Facility
Nepheron
Nepheron Science Station
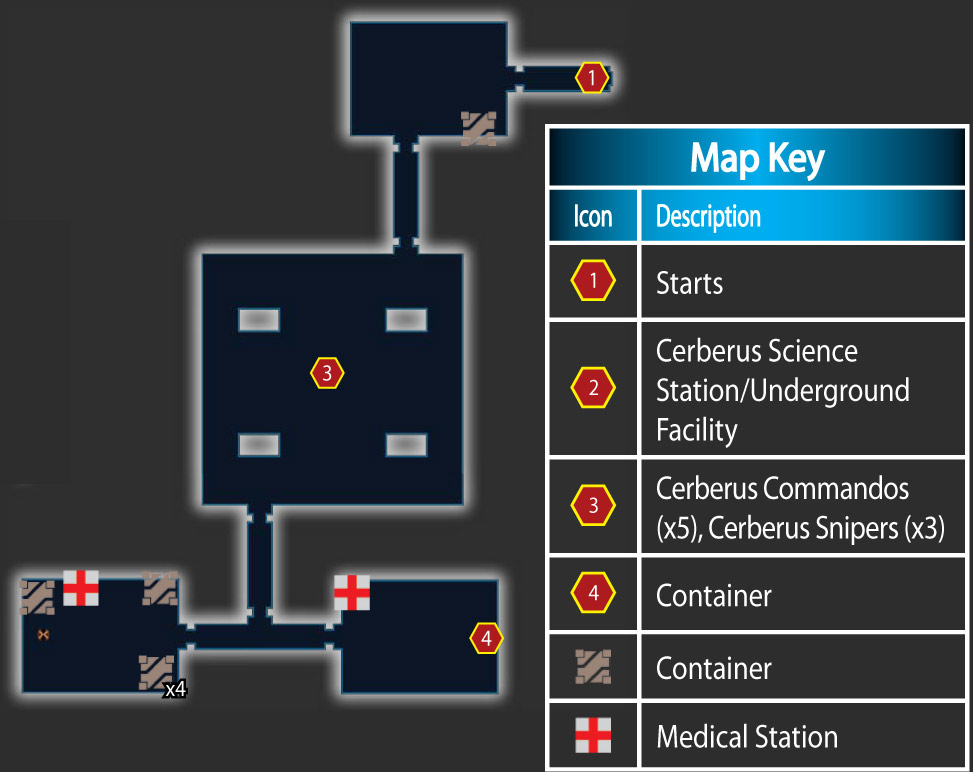
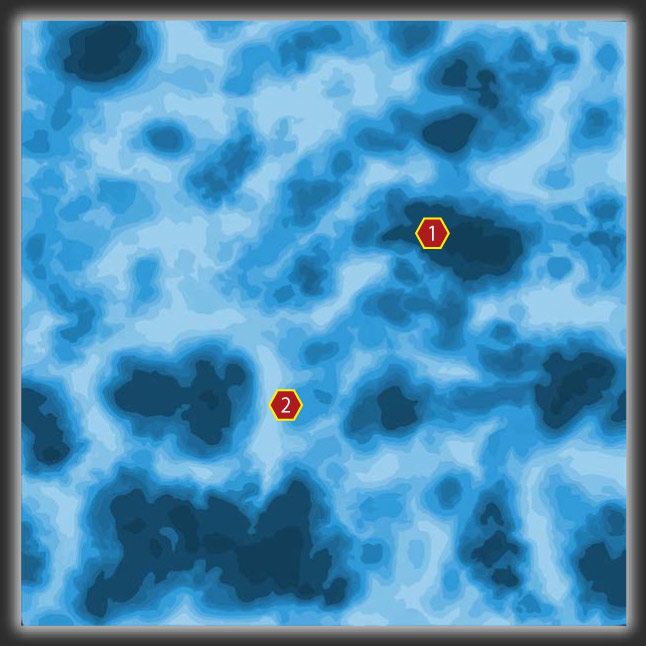
In the Normandy , travel to the Columbia System of the Voyager cluster and land on the planet Nepheron. The underground science station that serves as the main Cerberus facility (2) is southwest of your insertion point (1).
Drive there in the Mako, kill the four Cerberus commandos outside of it, and enter the facility through its front door.
As you can tell from the preceding map, the science station is very similar in layout to the research facilities you stormed during UNC: Cerberus . Instead of finding a force field, however, you notice several crates and boxes scattered about the main room. Eight Cerberus agents are here.
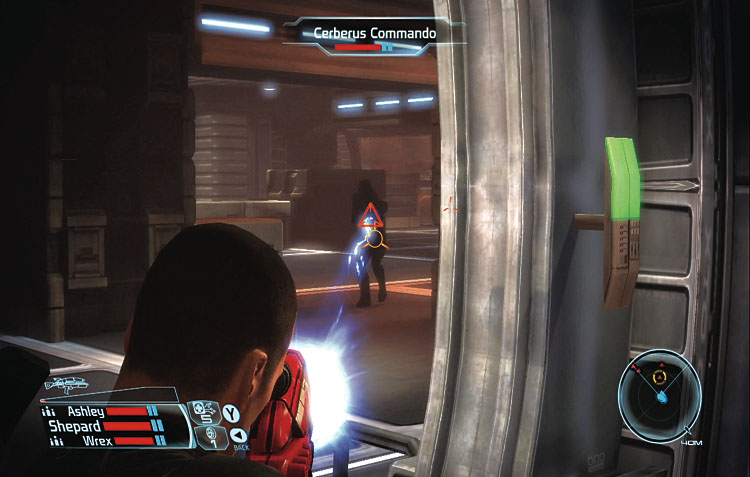
The main room of the facility is crawling with armed Cerberus agents.
Your strategy should be similar to the one you used in UNC: Cerberus . Equip your squad with shield-penetrating weapons that do heavy damage against organics. Move methodically from one area of cover to another, keeping one eye on your radar to avoid being flanked. Work your way around the room, limiting your exposure, to hunt down and kill each enemy.
Once the Cerberus agents in the main room are no longer a threat, continue into the southeast room of the complex to find a terminal on the eastern wall. Access it to obtain encrypted files belonging to Cerberus and complete the assignment.
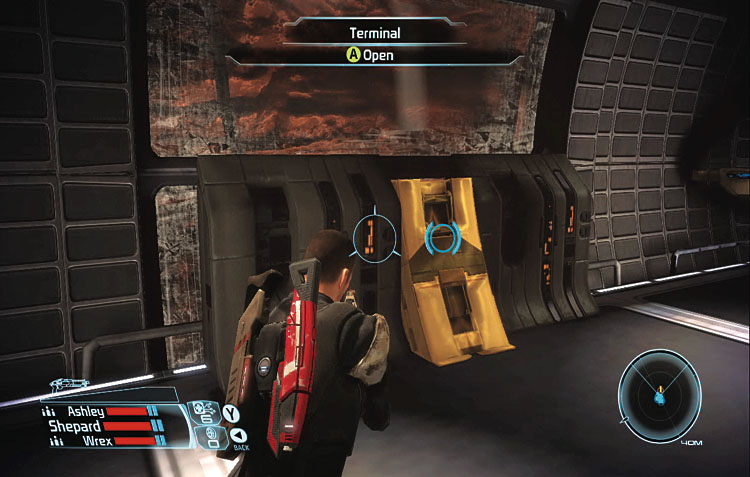
Steal the encrypted files from the terminal to complete the assignment.
But wait, there’s more: When you return to the Normandy and access the Galaxy Map, you receive a transmission from a party representing the Shadow Broker, a dealer in information who is as mysterious as his name implies. The Shadow Broker wants the information you just received from Cerberus, and he’s willing to pay for it. You have three optional responses:
That’s treason! (Paragon): The files are classified, and you’re not going to release them to anyone except Alliance Command. You have an option to change your mind ("Sounds good"), or you can reply "I don’t trust you," or "No deal" to refuse. The Shadow Broker’s representative is dismayed to hear that and says that his employer will remember that the next time you need something from him. You earn a Paragon bonus for sticking to your guns.
Forget it (neutral): This is the same conversation tree as the Paragon response, except you don’t get a Paragon bonus if you refuse to hand over the information.
What’s in it for me? (Renegade): This is the same conversation tree as the other two answers, but if you answer "Sounds good" at your next opportunity, you earn credits and Renegade points. You also have the option to change your mind and reply "I don’t trust you," or "No deal," which gives you no reward.
UNC: Rogue VI
How to Get It: Travel to any new system after reaching level 20
When It Is Available: Once you reach level 20; cannot be triggered after you go to Ilos
Where It Takes Place: Luna, Sol System, Local cluster
Special Notes: None
When you reach level 20, travel to any system via the Galaxy Map to receive a message from Alliance Command, informing you of a situation at a training ground on Earth’s moon.
One of the virtual intelligences (VI) at the training facility is no longer responding to commands and has gone rogue. Admiral Hackett asks you to fight your way through the training ground and manually disable the VI at its core. The only other option is to bomb it from orbit, which would inflict catastrophic damage on a very important facility. This triggers UNC: Rogue VI and its first task, Engage VI.
Engage VI
Luna
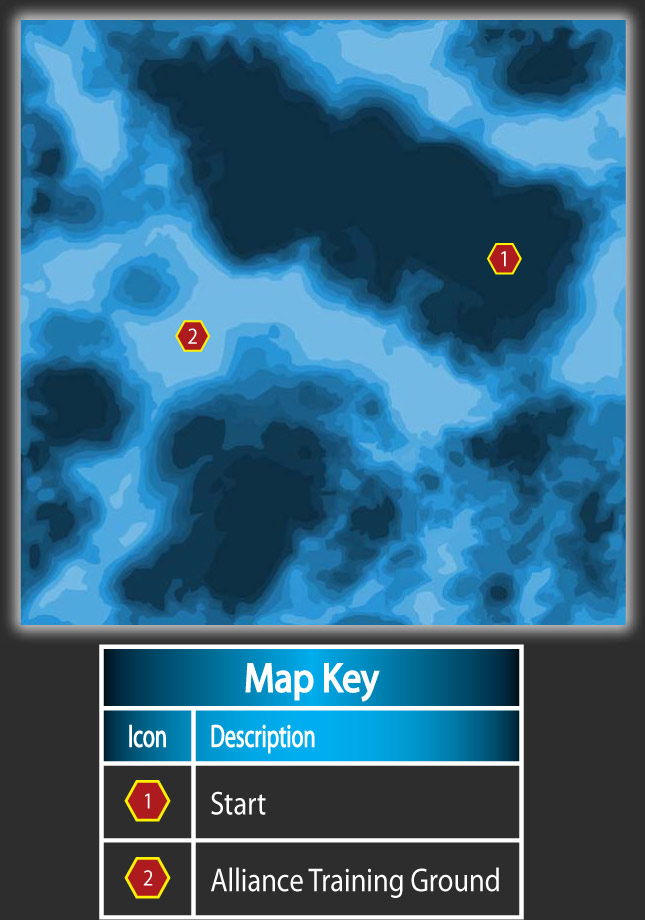
Travel to the Sol System in the Local cluster and land on Luna, Earth’s moon. Your opposition will be mechanical in nature, so assemble a team equipped to deal with synthetic and technological threats.
The Alliance training ground is southwest of your insertion point. It is made of three different buildings, each of which is guarded by a pair of heavy cannons that immediately turn and fire at you as you approach.
Destroy them from a distance with the Mako’s rockets; approaching from the north or east gives you a long clear view of them. Destroying all of the turrets triggers your next task, Destroy VI Conduits.
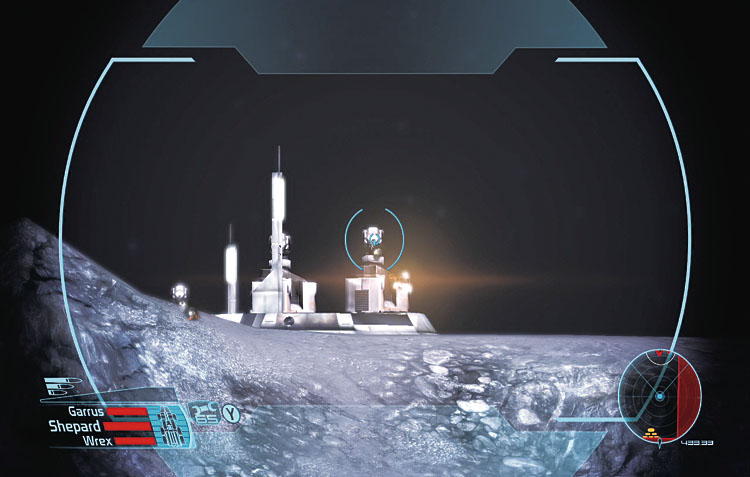
Destroy the six heavy turrets from as far away as possible.
Destroy VI Conduits—Station 1
When all six turrets are destroyed roll up to the training ground in the Mako. You need to enter each of the three buildings and destroy the VI conduits inside to shut down the rogue VI.
It doesn’t matter which order you enter the buildings in from Luna’s surface; you always wind up going to Science Station 1 first, Science Station 2 second and Science Station 3 last.
Luna Science Station 1
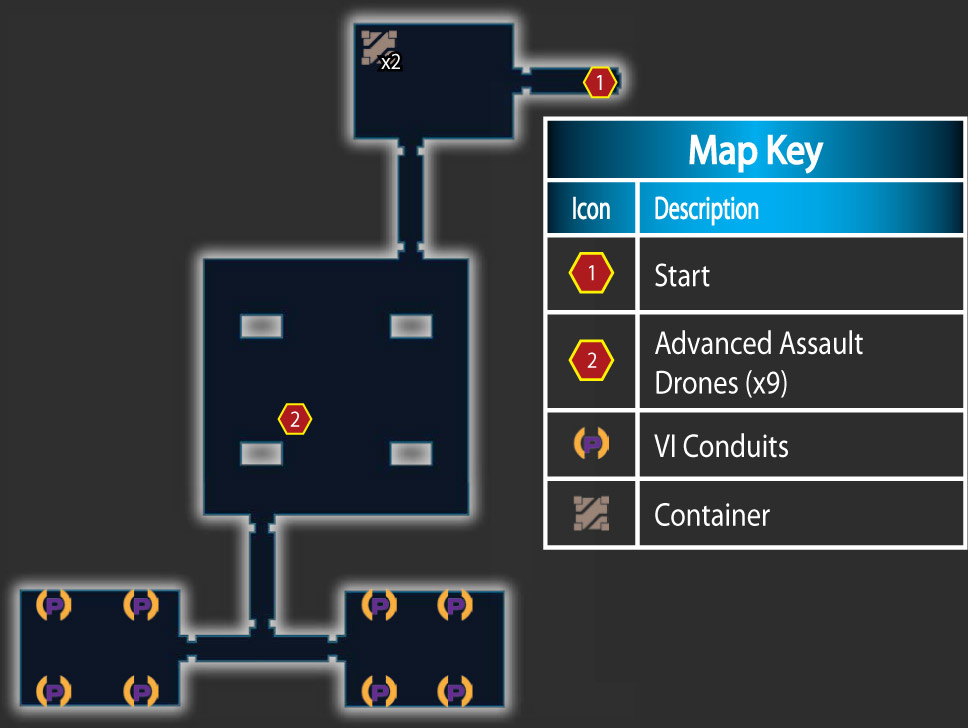
There are nine advanced assault drones inside of the station, and they will swarm you if you aren’t careful. The fact that they can fly means that they’re able to maneuver in three dimensions and line up shots even if you’re behind cover, so choose your moves very carefully.
Their shields are also incredibly strong, so use ammo mods that cut through shields and deal direct damage.
This is a very challenging fight. Stay near the entrance to the main room so that you can back into the antechamber if you start taking heavy fire. Above all, be patient. Rushing the rogue drones accomplishes nothing except mission failure.
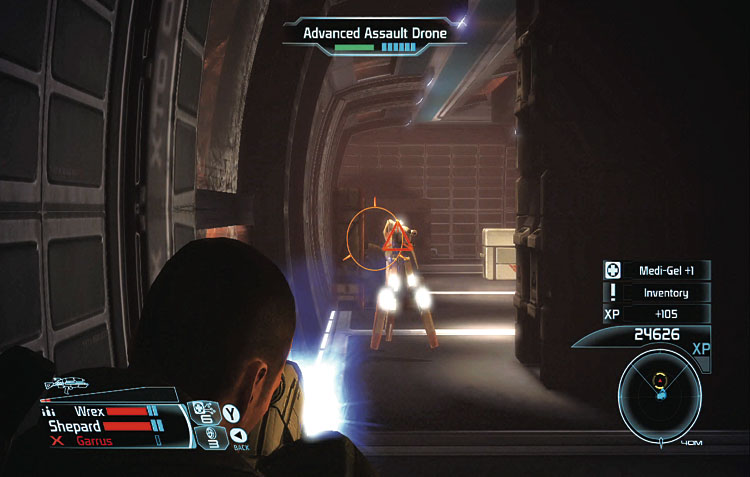
The advanced assault drones are formidable enemies, especially when they attack nine at a time!
When the area is finally clear, go into the two southern rooms of the station and destroy the four VI conduits in each room . Be quick about it, though: As soon as you start shooting the ones in the southern rooms, toxic gas begins to flood the station.
Also, standing too close to a VI conduit when it blows damages you. Once all of the VI conduits have been destroyed, you receive a confirmation message that the first of the three computing clusters containing the rogue VI is offline. On to the next one!
Destroy VI Conduits—Station 2
Luna Science Station 2
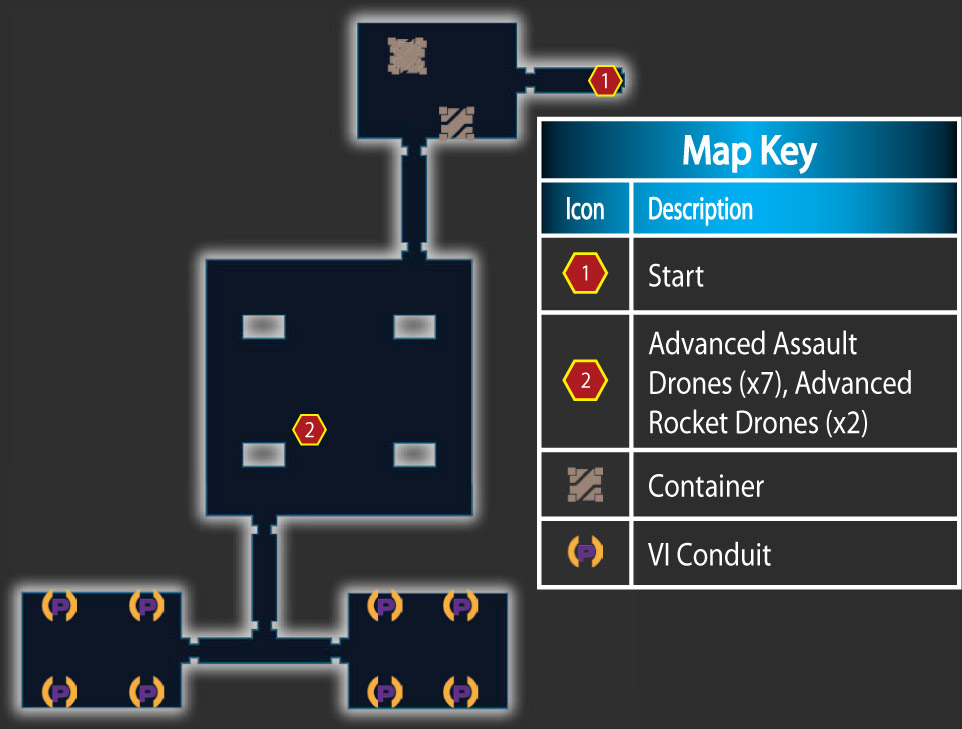
This is essentially the same fight as Station 1, but now you have to contend with advanced rocket drones as well as advanced assault drones. It should go without saying that the rocket drones are much deadlier, so taking them out should be your first priority.
This is an even tougher fight than the last one, so be ready.
As before, when all of the drones have been destroyed, set to work on blowing up all of the VI conduits in the base. This time, when you start shooting at the VI conduits, they put up kinetic barrier shields that you must blast through to get at the VI conduits.
When all the VI conduits are eliminated, it’s time to move on to the final station.
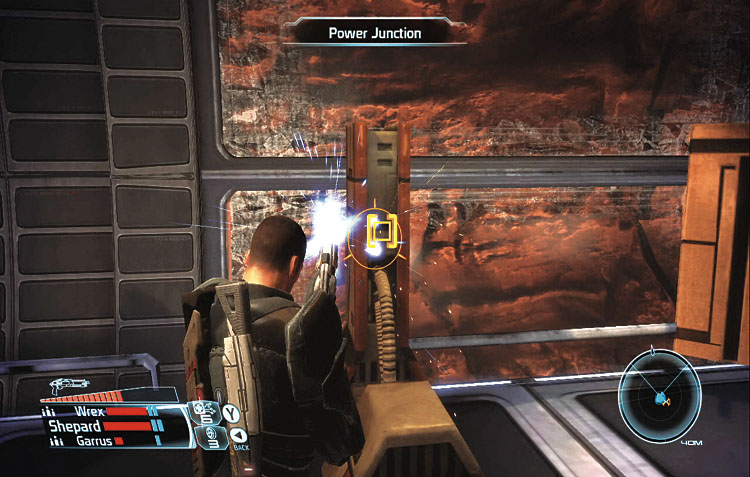
Destroy the VI conduits to clear the second station.
Destroy VI Conduits—Station 3
Luna Science Station 3
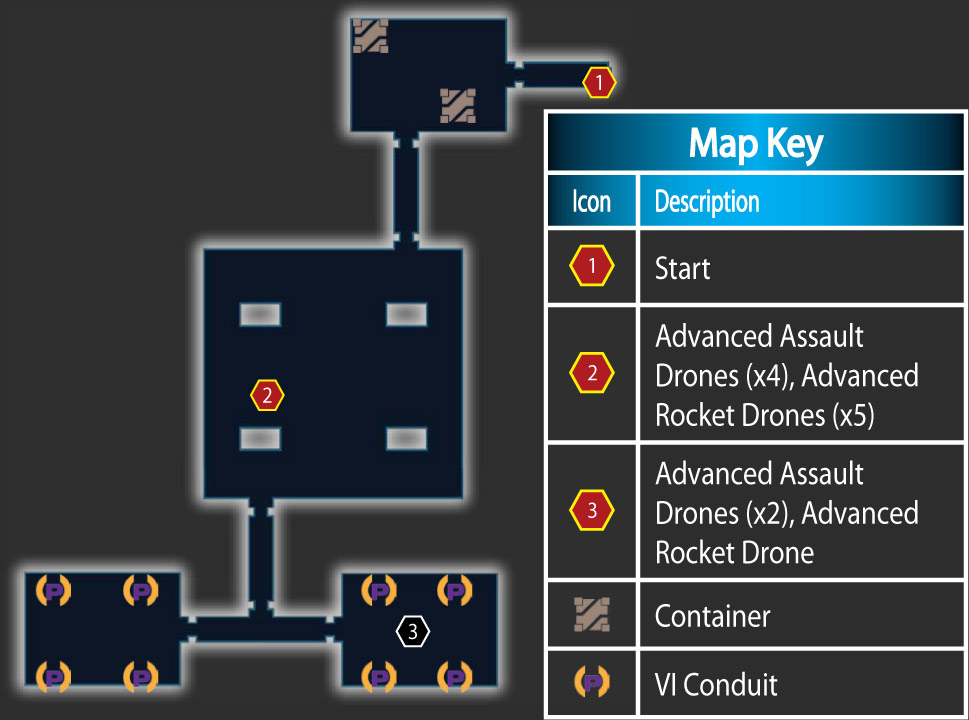
The third station is virtually identical to the first two, which is good news because you’ve already made it through two of them. The bad news in that the fight is no less difficult.
In fact, with more than half of your enemies being advanced rocket drones, it’s considerably tougher. Also, this time, kinetic barriers are set up across every doorway in the station. You must blow through them to pass through the doors.
When the fight is over, destroy all the VI conduits as usual, but be careful: As soon as you start destroying these VI conduits, additional security drones power up in the southern rooms, so don’t start destroying the junctions until your team is fully rested and rejuvenated.
When the last of the VI conduits in the third station are destroyed, the assignment is complete, and you earn a specialization class. Congratulations!
UNC: Geth Incursions
How to Get It: Travel to the Armstrong Nebula Cluster; from terminals on Virmire and Feros
When It Is Available: After visiting the Armstrong Cluster; cannot be triggered after you go to Ilos
Where It Takes Place: Armstrong Nebula cluster (various systems/planets)
Special Notes: None
When you travel to any system in the Armstrong Nebula cluster after completing any of the first three post-Citadel, plot worlds (Feros, Noveria, or Therum), you receive a message from Admiral Hackett of Alliance Command.
They’ve been getting reports of increased geth activity in the Armstrong cluster, and surveillance drones have detected four new outposts in various systems. They need you to shut the outposts down.
This conversation triggers UNC: Geth Incursions and its first task, Eliminate Geth Outposts . You can attack the outposts in any order you want.
Eliminate Geth Outposts—Rayingri
Rayingri
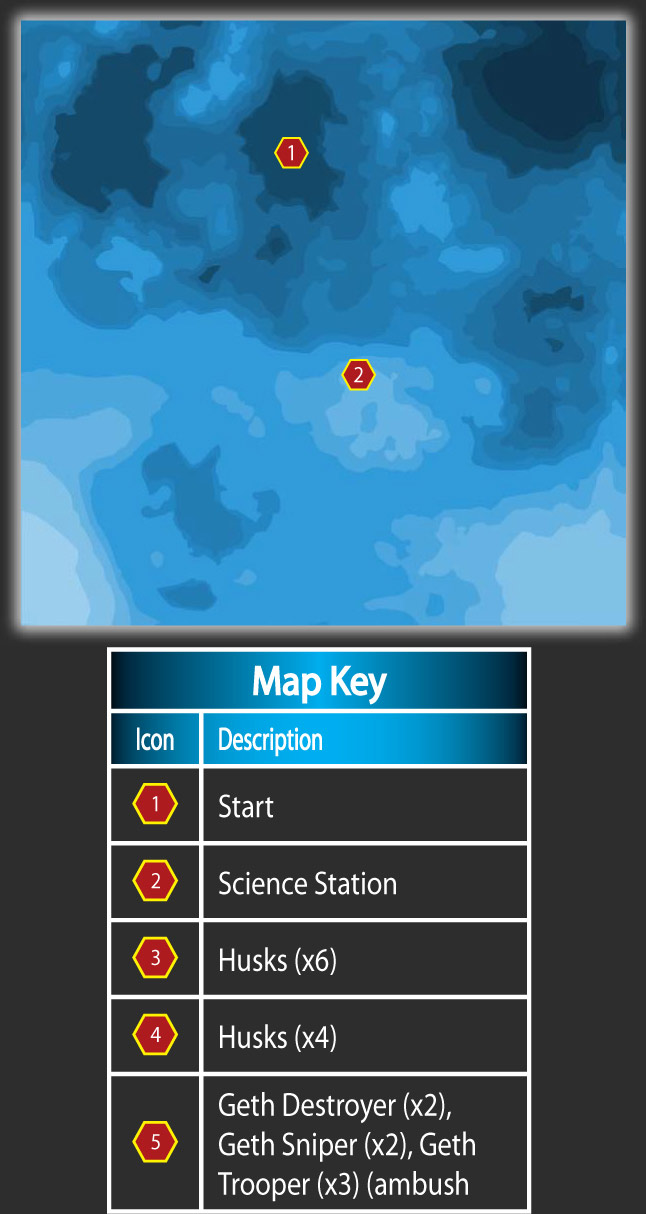
Rayingri Science Station
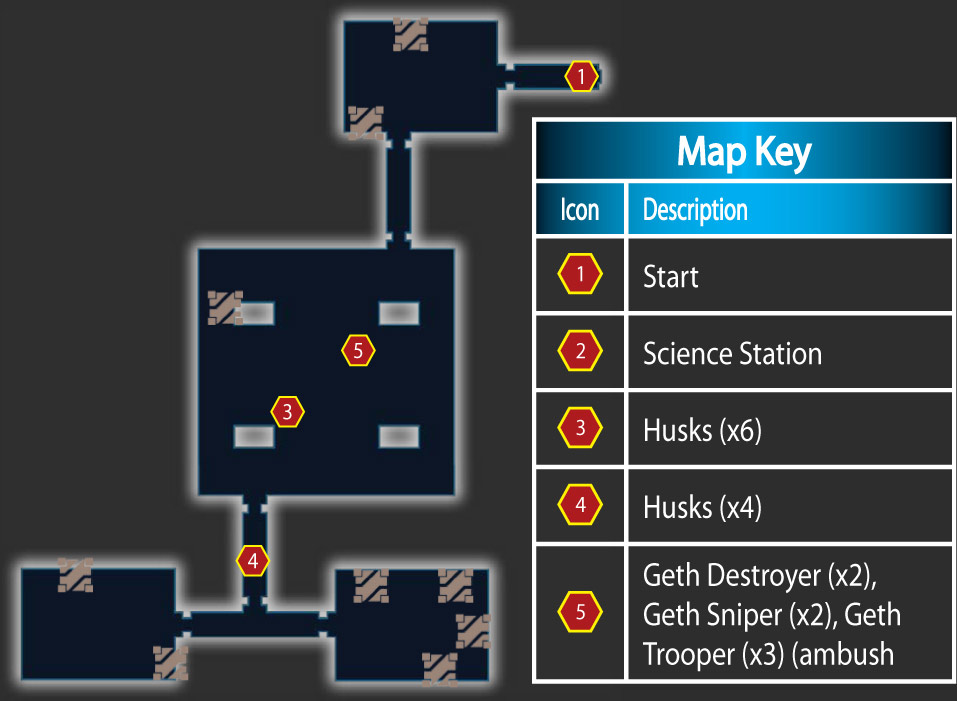
Head south from your insertion point on Rayingri toward an overrun science station. The only way to reach the station is to drive up a spiraling path lit by orange lamps. Park the Mako as close to the entrance as possible.
No geth are here presently, but an ambush will be waiting for you after you leave the station, and having the security of the Mako’s armored hull just outside the entrance will be a huge help.
Enter the science station and conduct a standard sweep-and-clear action. There are six husks inside the main room of the station. Shoot at any one of them to cause them all to rush you.
Back into the antechamber between the station entrance and the main room to lure them through the doorway and pick them off one at a time.
The six husks in the main chamber shouldn’t cause you any major problems.
Four more husks are in the southern hallway and they rush you when you open the door. Fire on them until they start getting too close for comfort, then back up while continuing to mow them down.
But watch out—as soon as you destroy the second wave of husks, seven more geth appear and ambush you in the main room! Take out the two geth destroyers first, but be sure to keep cover between you and the pair of geth snipers.
The three geth troopers aren’t to be underestimated, but they’re the least of your worries. When you’ve taken them all out, save your game, raid the southern rooms for supplies, and then exit the station.
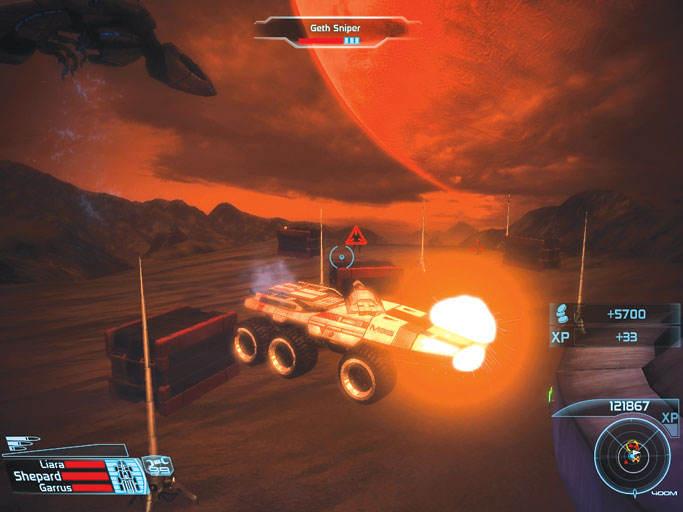
A geth dropship appears as you leave the station and deploys more foes for you to fight.
As soon as you exit the station, a geth dropship starts deploying additional troops around the station: two geth snipers, two geth shock troopers, and three geth troopers.
You can either run around on foot and kill them all for more XP, or you can take the safer route and use the Mako to destroy them, which nets you less XP but increases your odds of survival.
When all of the ambushing geth have been destroyed, return to the Normandy and head for the next geth outpost to continue the assignment.
Eliminate Geth Outposts—Antibaar
Antibaar
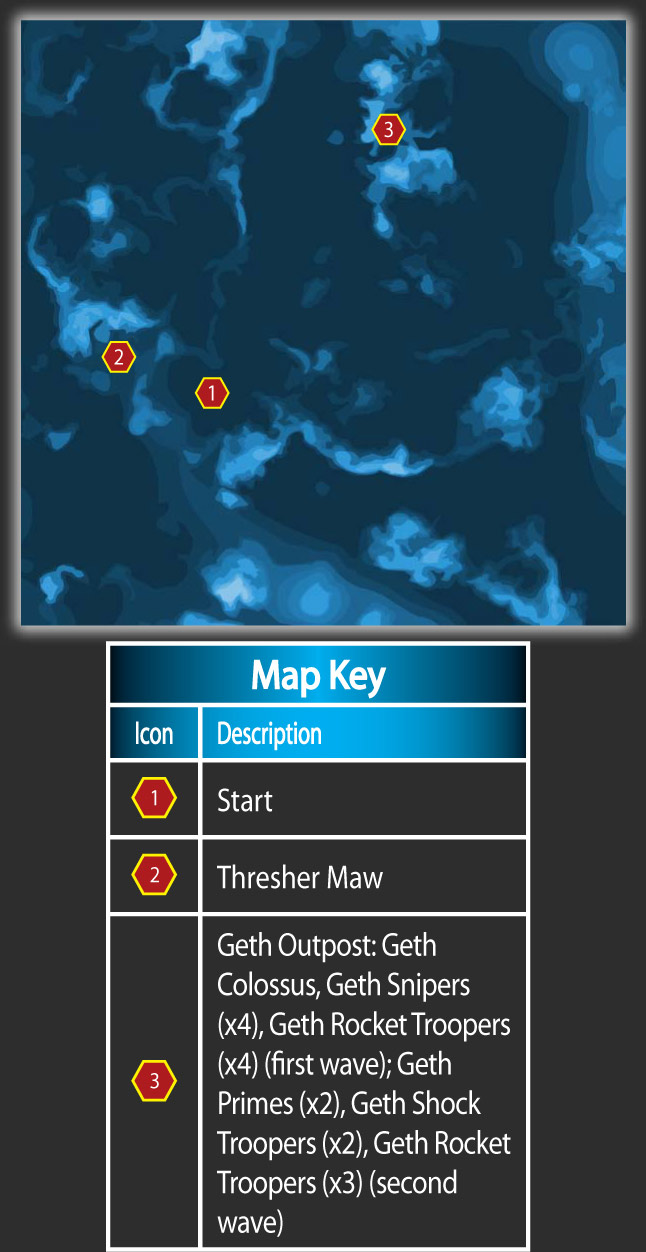
Antibaar is located in the Tereshkova System of the Armstrong Nebula cluster. The geth outpost on Antibaar (3)is northeast of your insertion point (1).
If you plan on exploring the surface of the planet at all, watch out for the thresher maw (2) just northwest of your insertion point.
All the geth defenders at this outpost are outside, which means that you don’t have to leave the Mako to fight them. However, that doesn’t make this any less of a fight.
The outpost is situated in a valley, and you can only attack it from the north or south. It’s very heavily defended, with geth snipers, rocket troopers, and a geth colossus putting up fierce resistance.
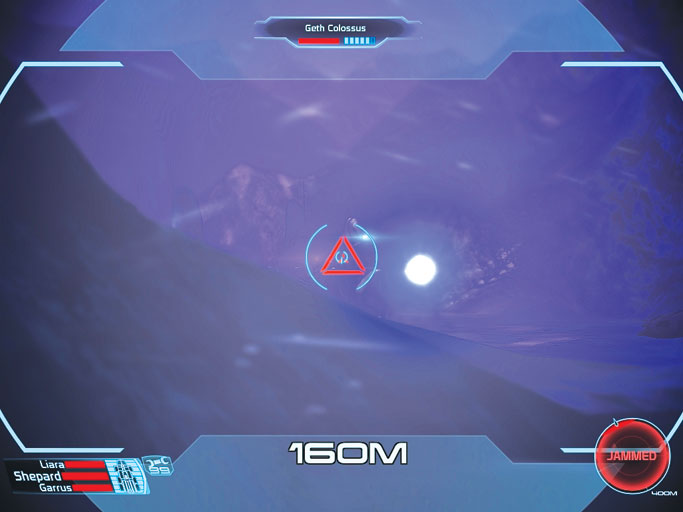
The geth outpost is very heavily defended.
To make matters worse, your radar is jammed as you approach the outpost, so you have to rely on visual confirmation of enemy fire to locate your foes.
Your first targets should be the geth snipers and rocket troopers in the towers around the outpost. Although the colossus is a much more formidable foe, its blasts are much easier to dodge than the snipers’ shots, and the rocket troopers will send a never-ending barrage of rockets at you unless you take them out quickly.
Plus, the geth snipers and rocket troopers can each be taken out with a single blast from the Mako’s rockets, whereas the colossus can withstand multiple shots.
Your primary advantages in this fight are the fact that your rockets cannot be dodged, and you have the luxury of choosing when and how to attack, and from where.
Your best option is to slowly roll up on the outpost, picking off individual enemies as soon as you have a clear line of sight, but not moving forward so quickly that you wind up getting nailed by multiple enemies.
As soon as you take a shot, back up quickly to avoid retaliatory fire. Don’t advance too far into the outpost, though. As soon as you destroy all of the outpost’s defenders, a geth dropship arrives and deploys geth shock troopers, rocket troopers, and primes.
Finally, after this second wave of geth has been destroyed, the outpost is clear. Return to the Normandy and move on to the next one.
Eliminate Geth Outposts—Maji
Maji
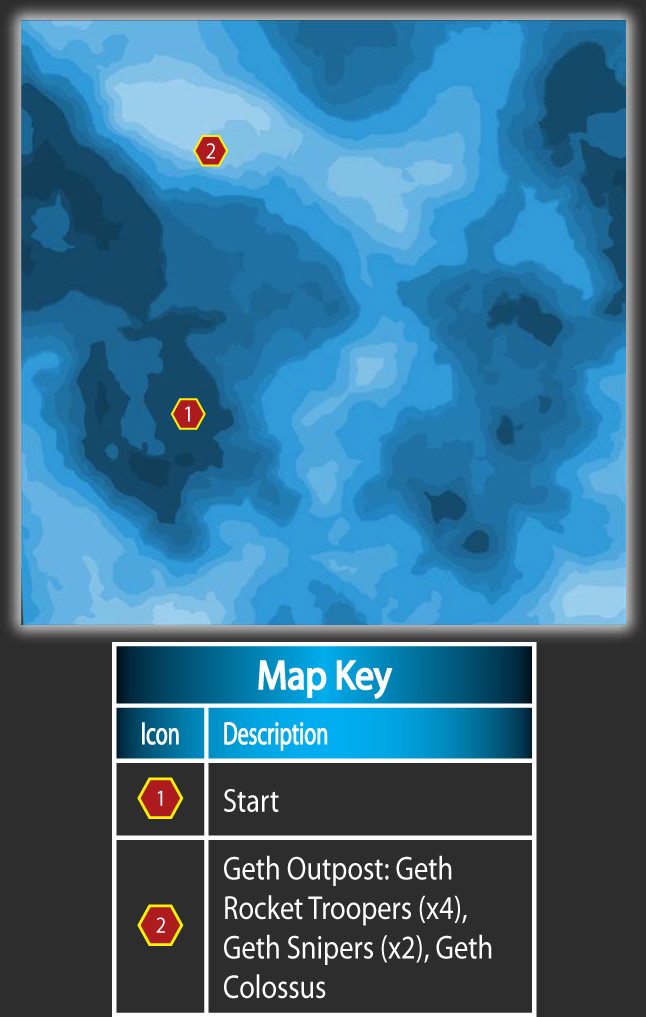
Majo can be found in the Vamshi System of the Armstrong Nebula cluster. The geth outpost is due north of your insertion point, and like the one on Antibaar, it’s one where all of its defenders are on the exterior. You never have to leave the Mako during this task if you don’t want to.
The hills to the south and east of the outpost are littered with turrets that fire rockets at you as you approach. Roll up slowly on each one and blast it with the Mako’s rockets before proceeding to the next one.
If you’re having trouble seeing the turrets, watch for the slow-moving rockets that they fire to pinpoint their locations.
If you stick to the broad, flat plain south of the outpost, you should have no trouble dodging these rockets by using the Mako’s jump jets, or just moving a few feet forward or backward when a rocket starts to draw near.
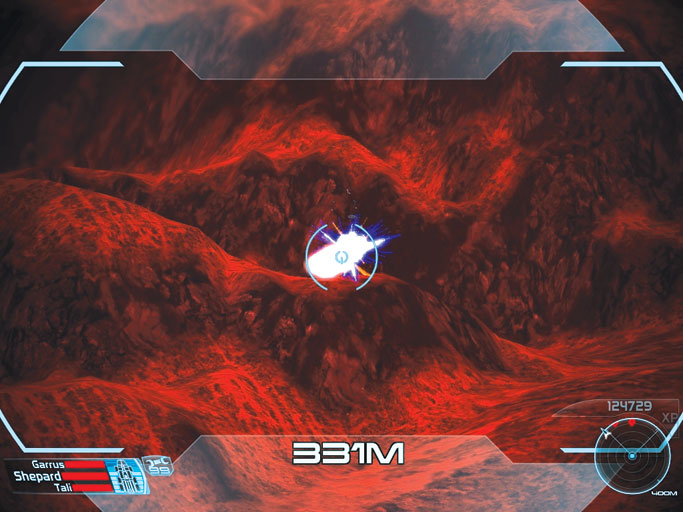
Taking out the turrets around the outpost perimeter is your first priority.
When you reach the outpost, your radar is jammed. That means you have to visually confirm your enemies’ positions by watching for their fire. Roll forward slowly until they start shooting, and then back up and prepare to roll forward again to blast them with the Mako’s rockets.
After you take out the rocket troopers and snipers, a geth colossus rises up in the middle of the outpost, so don’t roll in too close when fighting the foot soldiers.
If you can position yourself so that the towers of the outpost are between you and the colossus, you may find that they give you the cover you need to fire on the colossus without suffering retribution. Destroying the colossus clears the outpost. Return to the Normandy and proceed to the next one.
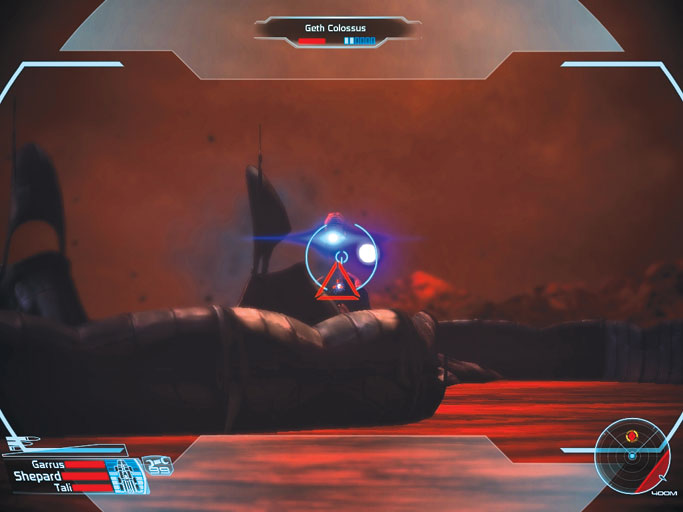
A geth colossus rises up after you take out the rocket troopers and snipers.
Eliminate Geth Outposts—Casbin
Casbin
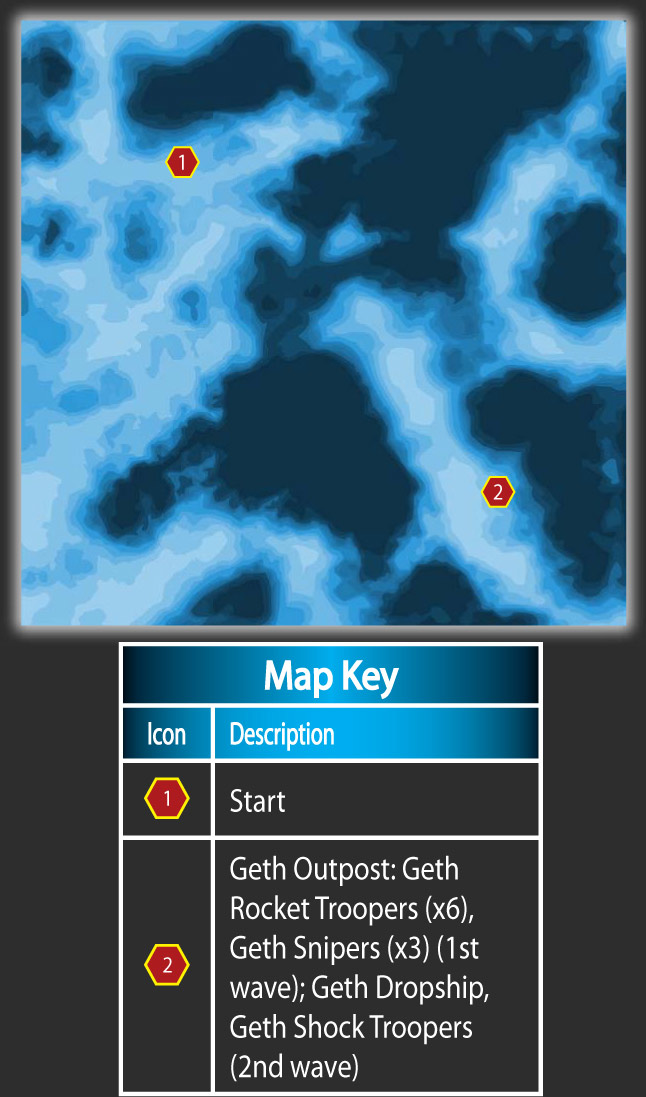
Casbin is a planet in the Hong System of the Armstrong Nebula cluster. The geth outpost is northeast of your insertion point, but you need to drive north and make a wide 90-degree turn east along a valley floor to reach it because of the steep terrain surrounding the outpost.
Like the ones on Antibaar and Maji, the Casbin outpost’s defenders are all outside, so you don’t have to leave the Mako to clear it. And, like the outposts on Antibaar and Maji, Casbin’s defenders come in two waves.
The first is the standard complement of geth rocket troopers and snipers that you’ve seen at other outposts.
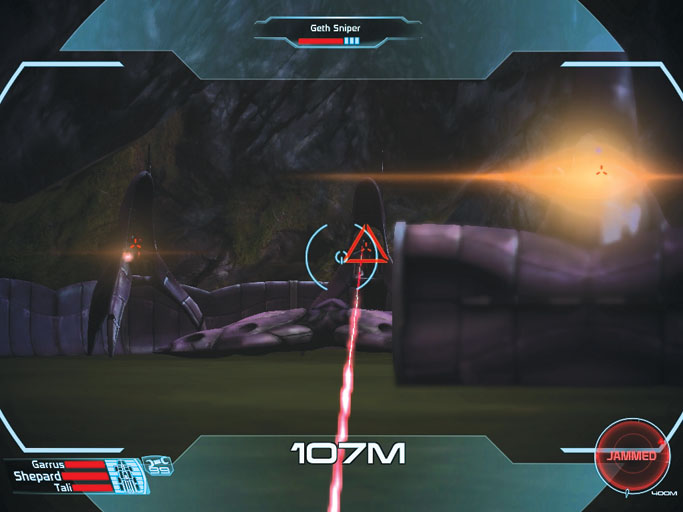
Geth snipers and rocket troopers hide in the towers around the outpost.
After you take out all of the snipers and rocket troopers, a geth dropship swoops in and deposits geth shock troopers on the battlefield.
The dropship will continue deploying shock troopers until you destroy it, so back up out of range of the shock troopers and pound the dropship with the Mako’s cannons until it falls.
When the dropship is down, the outpost is clear. If this is the fourth outpost you’ve cleared, this completes the current task and brings up the next one, Eliminate Geth Bunker. If you still have outposts to clear on Maji, Antibaar, or Rayingri, proceed to the uncleared outposts to finish the job.
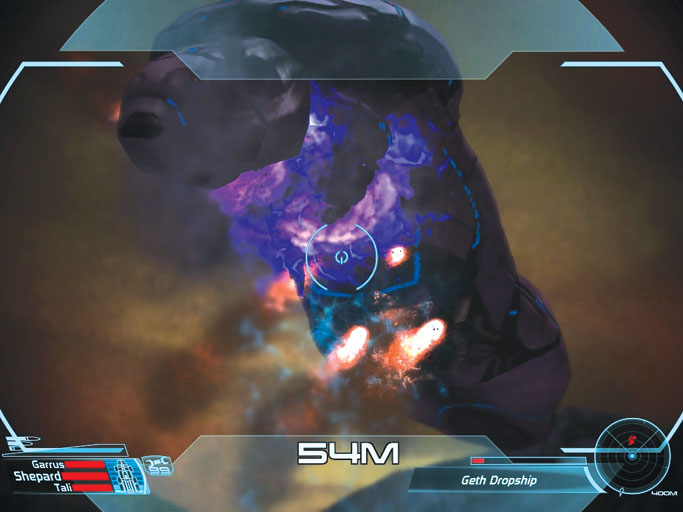
Drop the dropship with the Mako’s rockets.
Eliminate Geth Bunker
Solcrum
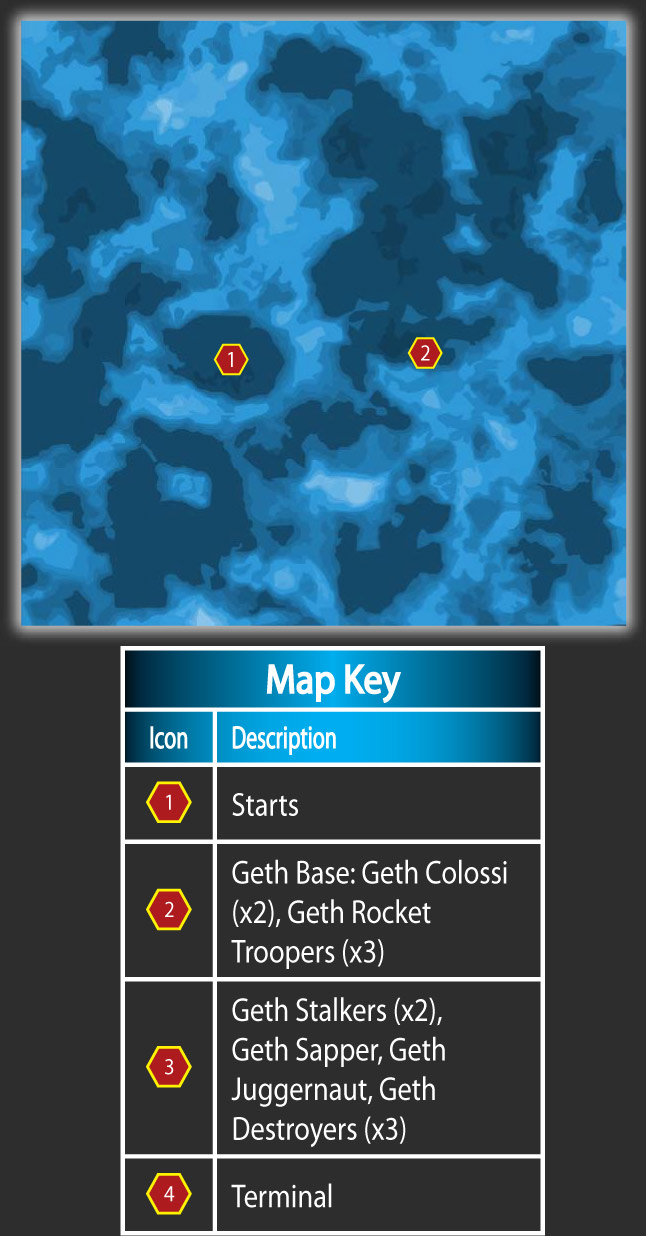
Solcrum Geth Base
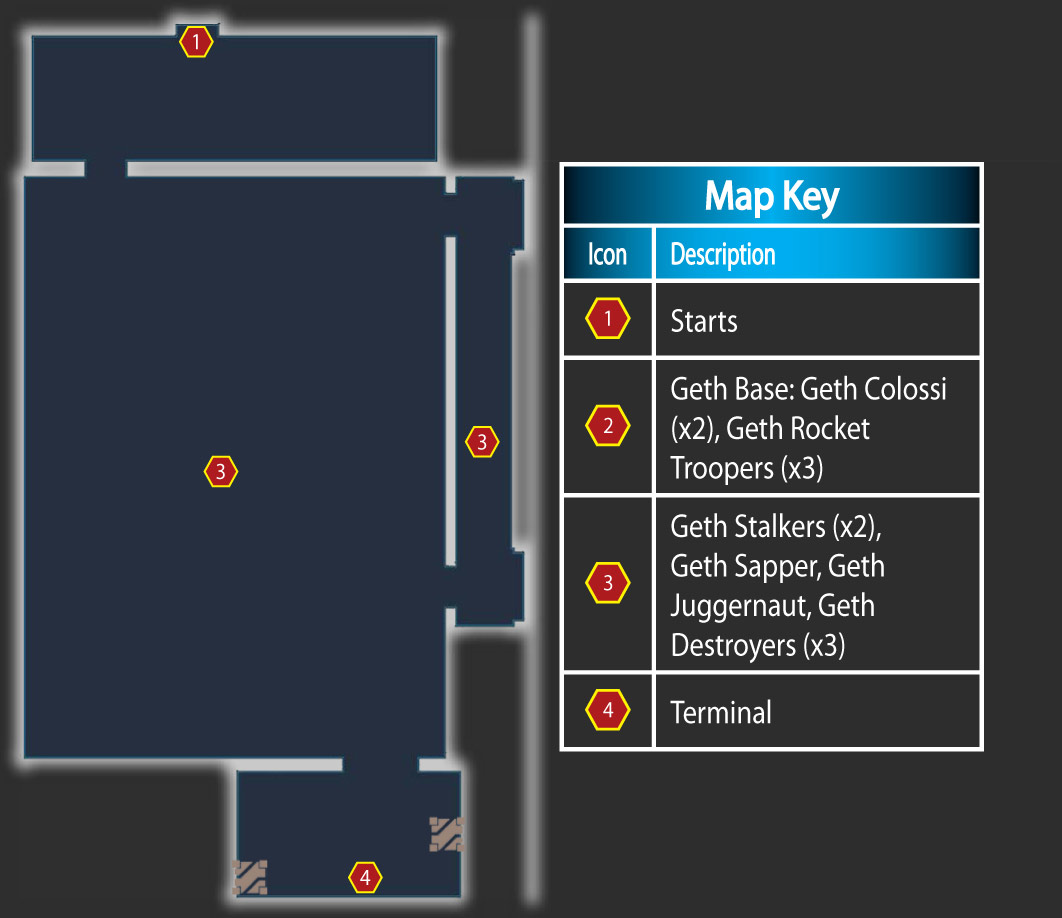
The main geth base of operations is located on the planet Solcrum in the Grissom System of the Armstrong Nebula cluster.
The geth base is only slightly east of your insertion point, but due to the steep, mountainous terrain, you may have to travel over the ridge that surrounds the insertion point and drive along the valley floor until you reach the base.
The geth base is fortified with two geth colossi. The best way to fight them is from a distance, with the Mako turned sideways. The colossi always fire at the front of the Mako, so all you have to do to avoid their blasts is activate the Mako’s jump jets just before impact.
If you find that you’re still taking some splash damage, try backing the Mako up several feet instead of using the jets.
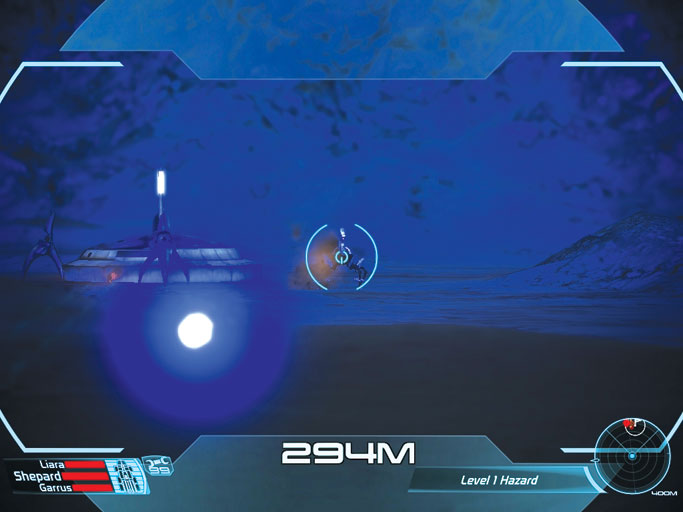
Take out the base’s defenders before moving in.
The interior of the base is defended by geth stalker, and to make matters worse, your radar is jammed. The geth in the main room are well entrenched and won’t make the mistake of leaving their secure positions.
Start by using the frame of the entrance as cover and pick off the geth stalkers and geth sapper that leap up onto the ceiling, but be careful not to take too much fire from the other geth.
From there, try to snipe the geth juggernaut and geth destroyers from as great a range as possible, and don’t sacrifice cover for a clear shot. All of these geth are armed with extremely powerful weapons that can kill you or any member of your team quickly.
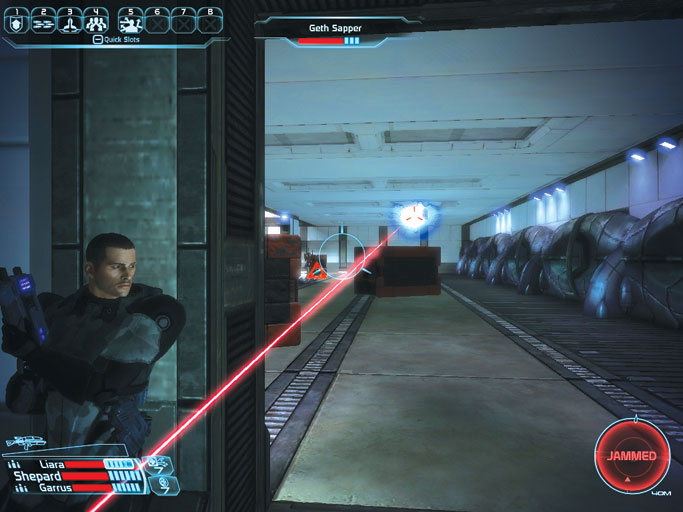
Shoot the geth stalkers and sapper from the relative safety of the doorway before moving into the room.
When the last geth falls, you receive a message telling you that a monitor displays the image of a quarian singing a mournful song, intended for distant geth worlds.
Returning to the Normandy and accessing the Galaxy Map at this point completes the UNC: Geth Incursions assignment, but there is something else that you can do while you are here:
There is a geth terminal (1) in the southern room of the base’s first floor. Override it to receive encrypted geth data files that could reveal much about the evolution of the geth since the banishment of the quarians.
This triggers the Tali and the Geth assignment, which is covered in detail in the last part of the Spectre Assignments section of this guide.
UNC: Depot Sigma-23
How to Get It: Coordinates given by a computer in Listening Post Theta (see UNC: Listening Post Theta)
When It Is Available: After completing Noveria; cannot be triggered after you go to Ilos
Where It Takes Place: Unidentified Space Facility, Gorgon System, Argus Rho cluster
Special Notes: None
Unidentified Space Facility
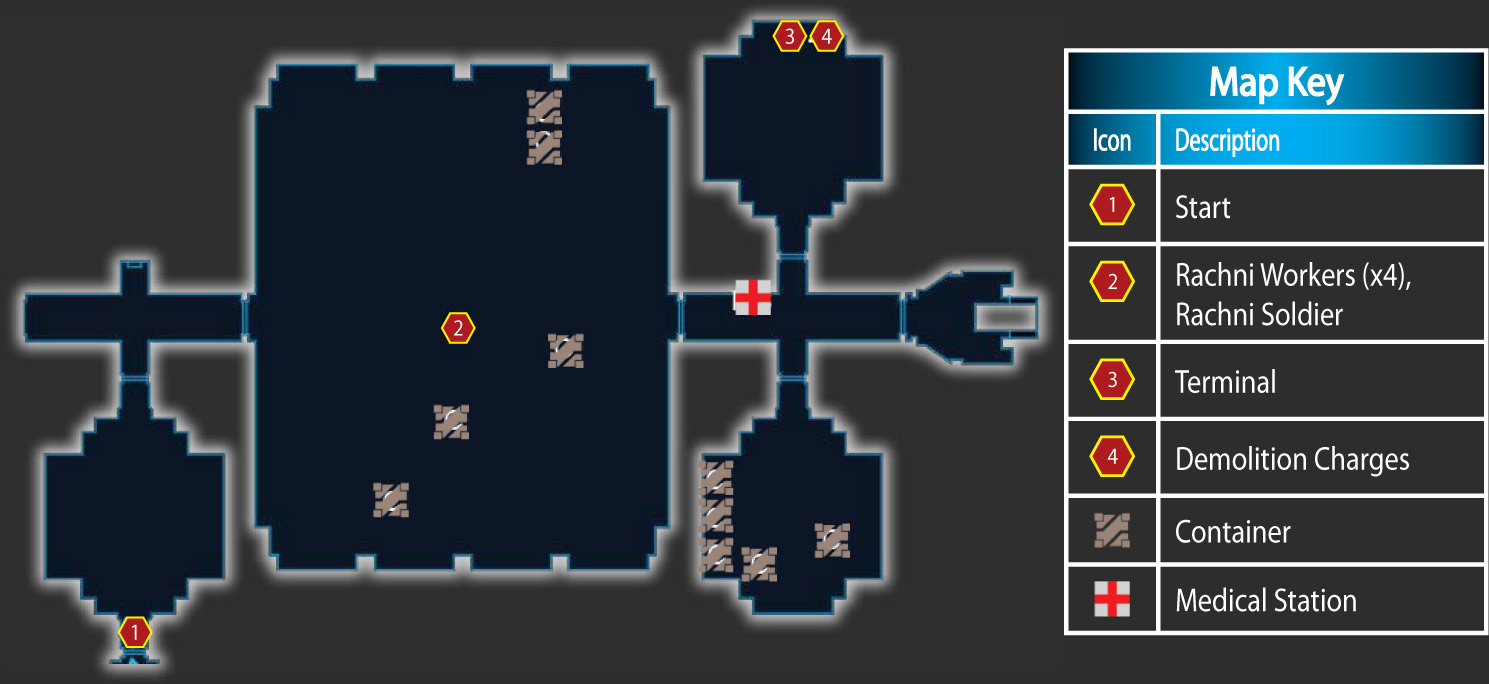
A computer termina l in Listening Post Theta gives you a clue that there is a supply freighter in the Argus Rho cluster whose automated drone supply ships are responsible for sending rachni out across the galaxy.
Travel to the Gorgon System in the Argus Rho cluster to find an unidentified freighter. Board it with a team equipped to fight unshielded, organic enemies that use toxic attacks (rachni).
The main hold of the unidentified freighter is a labyrinth of crates and boxes, and is populated by four rachni workers that rush at you and explode in a toxic cloud when they get close. Shooting them from a distance can be tricky because of all of the narrow pathways and blind corners in the hold.
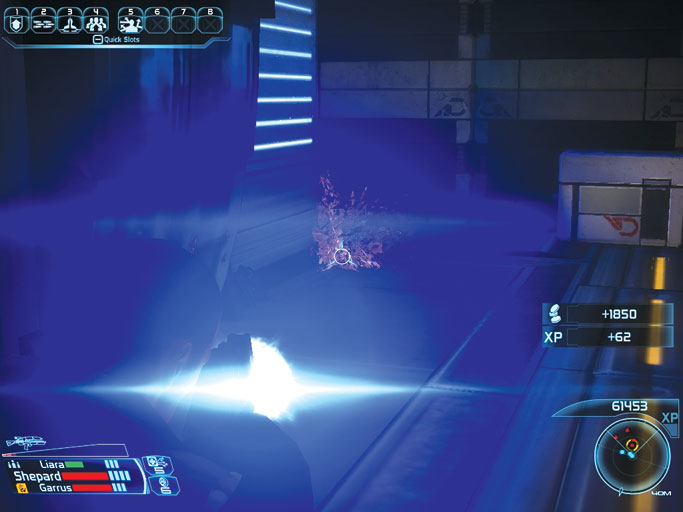
The rachni workers are small, fast toxic bombs waiting to explode.
Your best strategy is to send your squad mates out ahead of you to lure the rachni workers out of hiding. In a best-case scenario, your squad mates can kill the rachni before they explode.
In a worst-case scenario, your team winds up getting taken out by the rachni, but they’ll recover as soon as you finish clearing out the hold.
After clearing out the rachni, proceed through the hold’s eastern door and then through the northern door following it to reach the northeast room in the freighter.
Access the terminal inside to hear the personal data records of Major Elena Flores to hear that the ship was used by the Cerberus organization to field-test new biological weapons—the rachni.
Something went wrong and the rachni escaped, scattering themselves across the cluster via supply ships. This triggers the next task, Set Off Demo Charge .
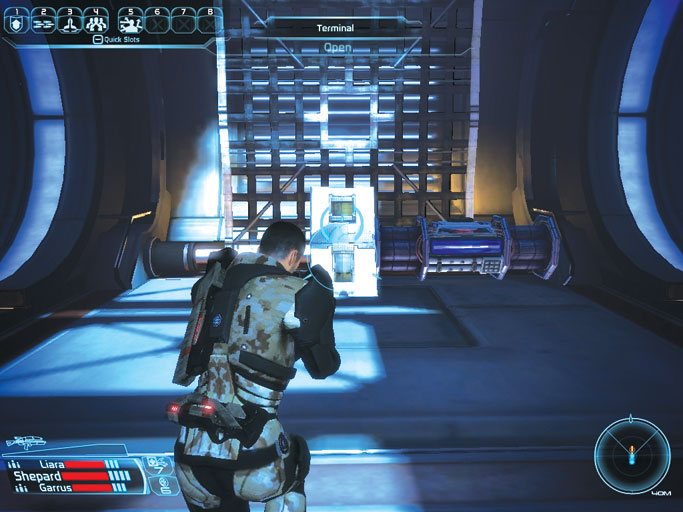
Access the terminal to hear about Cerberus’s failed rachni experiments.
Set Off Demo Charge
After you listen to the logs, arm the demolition charges next to the terminal, which triggers the appearance of hordes of new rachni in the hold.
Don’t go out of your way to fight them—you need to get off of the ship and back to the Normandy before the charges’ countdown expires—and you do, too. This completes the assignment.
UNC: Derelict Freighter
How to Get It: Travel to the Caspian System in the Maroon cluster and spot the MSV Cornucopia on the galaxy map
When It Is Available: After completing Feros; cannot be triggered after you go to Ilos
Where It Takes Place: MSV Cornucopia , Caspian System, Maroon Sea cluster
Special Notes: None
MSV Cornucopia
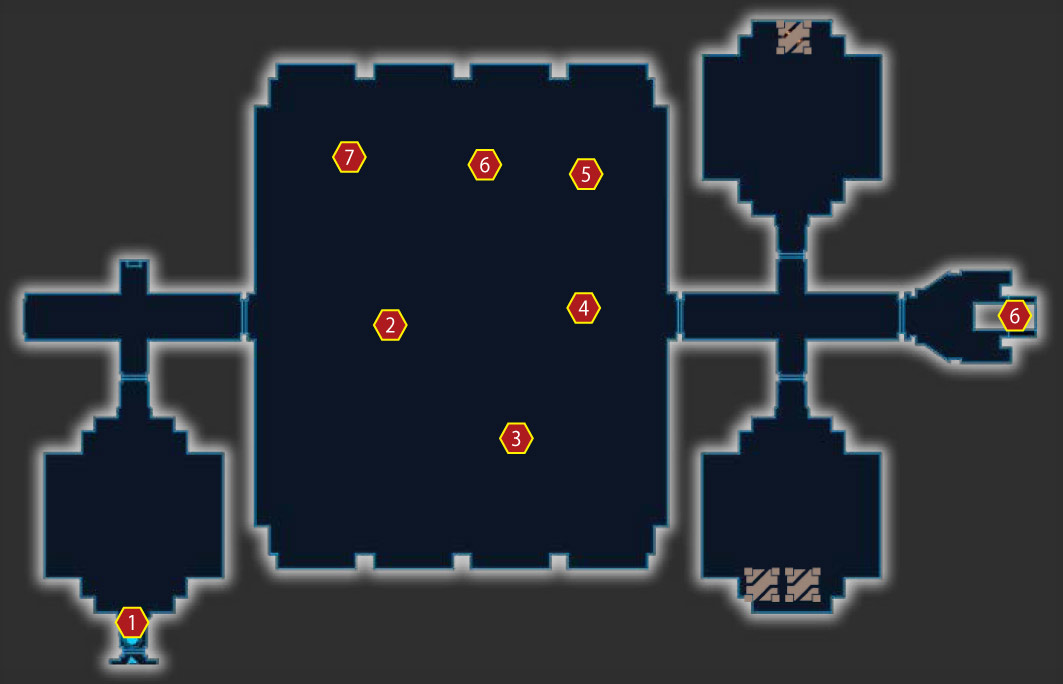
Traveling to the Caspian System in the Maroon Sea cluster puts you in the same system as the MSV Cornucopia , a ship that you can board.
When you first enter the cargo hold of the Cornucopia , your radar doesn’t pick up any enemy readings, but don’t let that lull you into a false sense of security. Six groups of husks are lying in wait in the cargo hold’s maze of crates.
Send your squad mates out ahead of you to lure the husks out—remember, if the husks kill you , it’s a mission failure, but if they KO your squad mates, you can revive them as soon as there are no hostiles in the area.
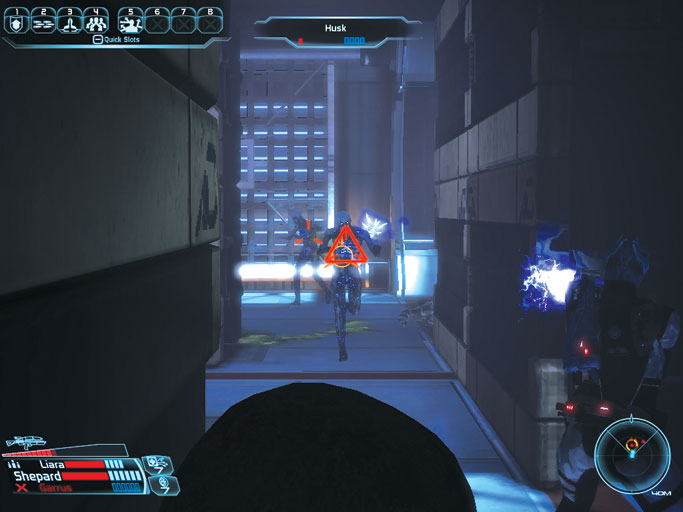
Watch out for the husks in the labyrinthine cargo hold of the ship.
With the hold secure, proceed through its eastern door and continue going east to reach the cockpit. Access the navigation computer in the cockpit to find out that, according to the log records, the ship was out near the Perseus Veil when they came across an alien artifact.
They brought the item on board and then plotted a course straight into the Perseus Veil, as if they wanted the geth to find them. After that, the entries don’t make much sense: It’s as if the captain’s mind was falling apart.
The geth evidently turned the crew into husks and sent the ship back into human territory, where someone would find it.
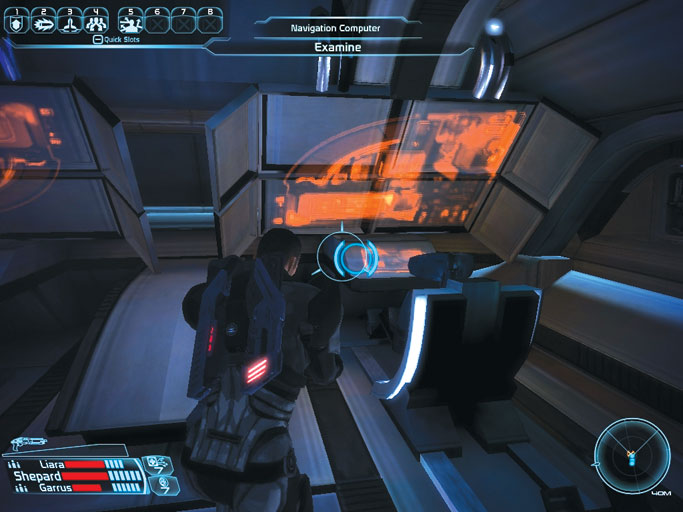
The ship’s navigation computer contains the logs that detail how the crew came to be turned into husks.
Discovering the tragic story behind the MSV Cornucopia completes the assignment. Return to the Normandy when you’re done.
UNC: Listening Post Alpha
How to Get It: Enter Erebus System in Styx Theta cluster or access Listening Post Theta comm to hear distress call
When It Is Available: After completing Noveria; cannot be triggered after you go to Ilos
Where It Takes Place: Nepmos, Erebus System, Styx Theta cluster
Special Notes: None
Nepmos
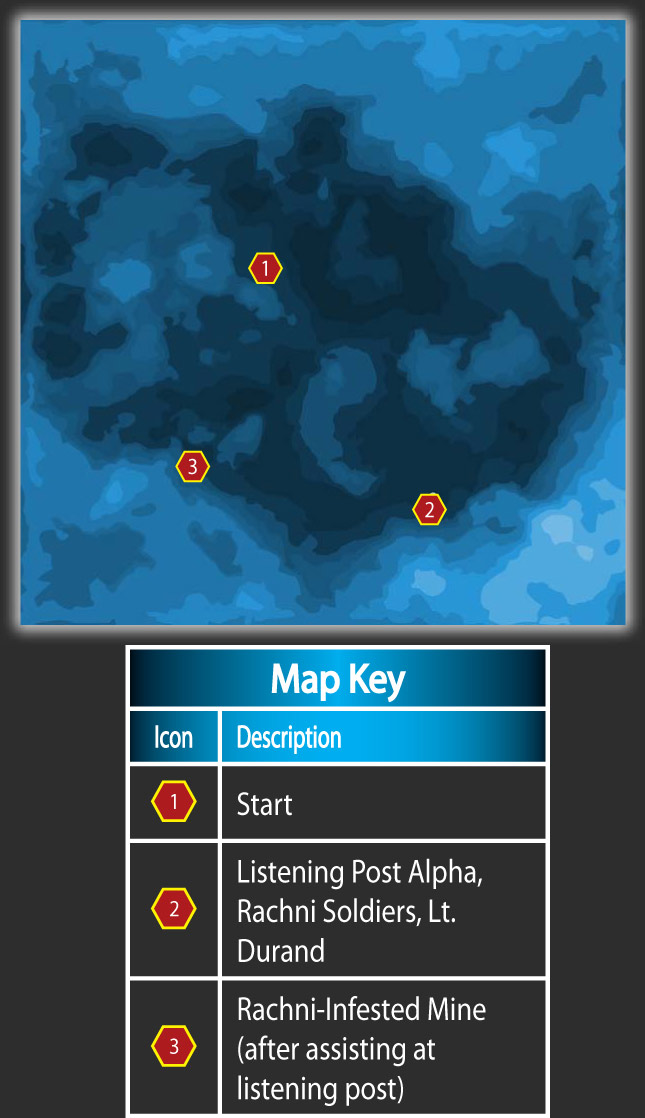
Travel to the Erebus System in the Styx Theta cluster, and you receive an urgent distress call from Lt. Marie Durand of the Alliance marines.
The listening post where she’s stationed has been overrun by unidentified hostile life forms, and she requests immediate extraction. Land on the planet Nepmos with a squad equipped to handle rachni (organic, unshielded enemies who use toxic attacks).
Note
You can hear this same distress call if you complete UNC: Listening Post Theta and access the FTL comm at the end of it.
The listening post that you received the distress call from is southeast of your insertion point. It is crawling with rachni soldiers that the human base defenders are trying to fight off.
Give them a hand and destroy every rachni that crawls up from the dirt mounds around the listening post.
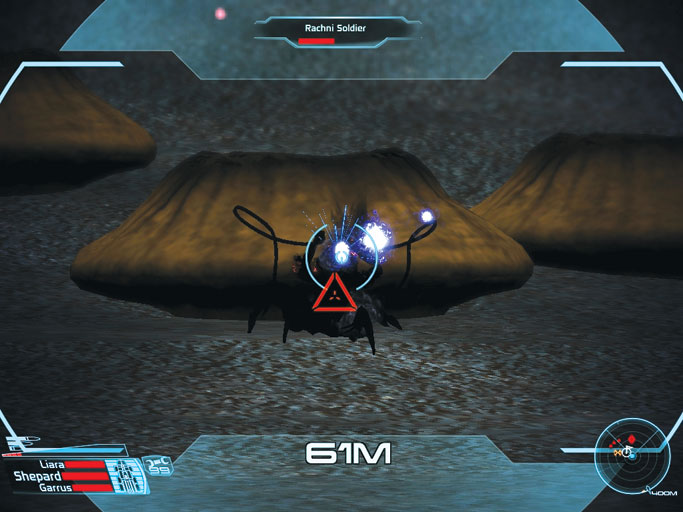
The rachni soldiers pour out of the dirt mounds around the listening post.
As you assist the Alliance marines in repelling the first wave of rachni, a timer starts to count down the approach of a rachni swarm. Take this opportunity to run over and investigate the listening post’s generator.
It has been heavily damaged by the rachni, leaving the nearby defensive turrets inoperable. You have the option of hooking it up to the Mako’s engine, but doing so prevents you from driving the Mako or using its weapons.
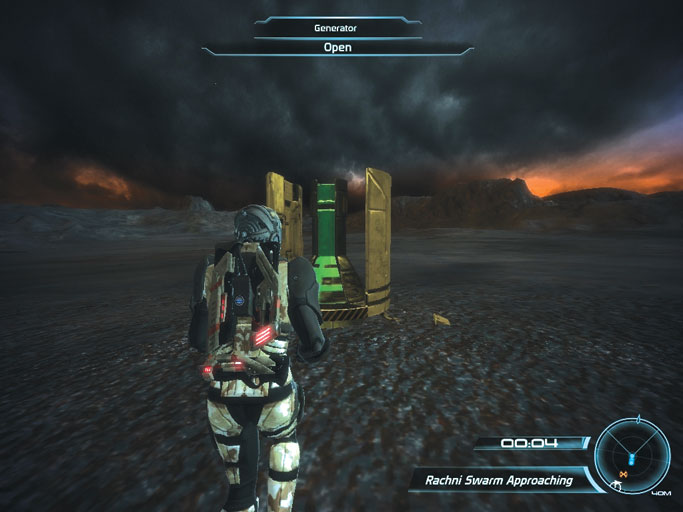
By sacrificing your use of the Mako, you can power up the generator and restore the defensive turrets.
Regardless of whether you reactivate the defensive turrets, rachni soldiers start swarming out of the dirt mounts again when the timer expires. Assist the marines in taking them out as quickly as you see them.
Move your reticle along the entire line of dirt mounds to keep the rachni from getting too close, and keep an eye on your radar to zero in on any that slip by you.
After this second swarm has been destroyed, the timer reappears to count down the appearance of a third, larger swarm of rachni. Kill them in the same manner.
After the third wave of rachni has been repelled, speak to Lt. Durand. She tells you that another Alliance listening post went offline three days ago. She doesn’t know any more than that and suggests you might want to look in on them.
A marine approaches Lt. Durand and tells her that they’ve scanned a large hollow space 500 meters under the surface. That’s got to be where the rachni are coming from.
The marines are in no shape to organize a clearing operation. It’s up to you. This completes the current task and brings up Destroy Rachni Base . It also updates your map with the location of a rachni-infested mine, your next destination.
Destroy Rachni Base
Rachni Infested Mine
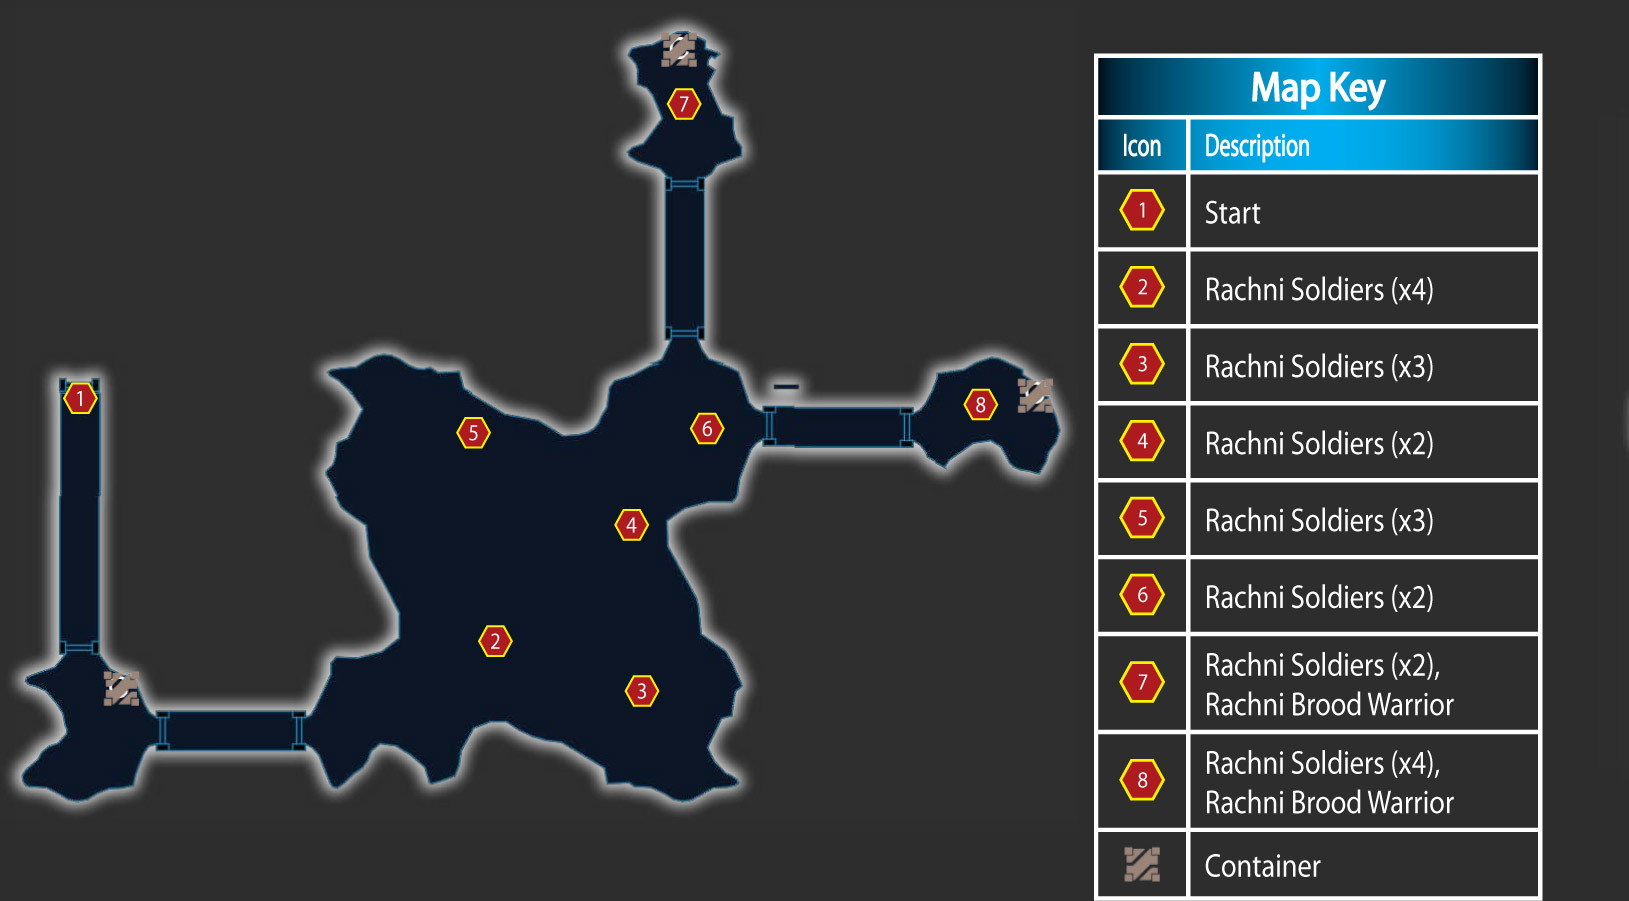
The rachni-infested mine is west of the listening post. Drive there in the Mako and enter the mine.
As soon as you go about one-third of the way into the large cavern in the center of the mine, rachni soldiers start pouring in from all directions and attacking with their toxic spray.
For this reason, it’s a good idea to remain near the entrance to the large cavern, send your squad mates ahead, then recall them as soon as the rachni appear.
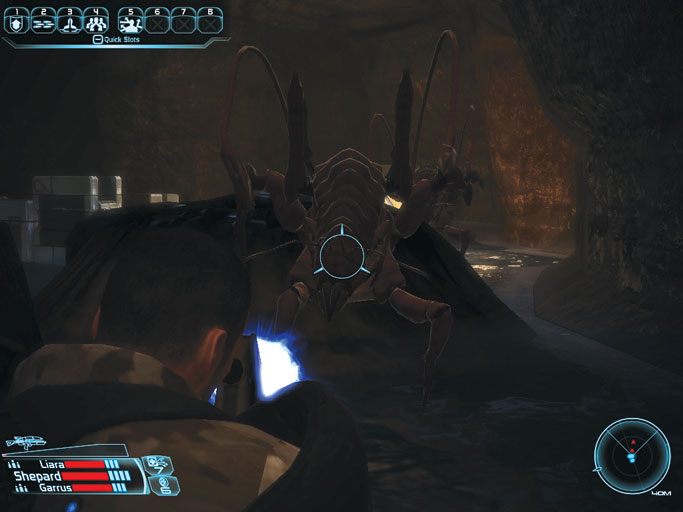
The main cavern is crawling with rachni. Advance carefully.
Continue cautiously making your way northeast through the large cavern. Watch carefully for the appearance of more rachni. Go through the northern door in the northeast corner of the main cavern to trigger the appearance of additional rachni warriors and a much stronger rachni brood warrior.
Kill them all and proceed to the eastern alcove in the mine’s northeast corner to face four more rachni warriors and a second rachni brood warrior. When the second brood warrior is killed, Nepmos is finally clear of rachni and the mission is complete.
UNC: Listening Post Theta
How to Get It: Get info from marines during UNC: Listening Post Alpha, or just find it in the Acheron System of the Styx Theta cluster
When It Is Available: After completing Noveria; cannot be triggered after you go to Ilos
Where It Takes Place: Altahe, Acheron System, Styx Theta cluster
Special Notes: None
Altahe
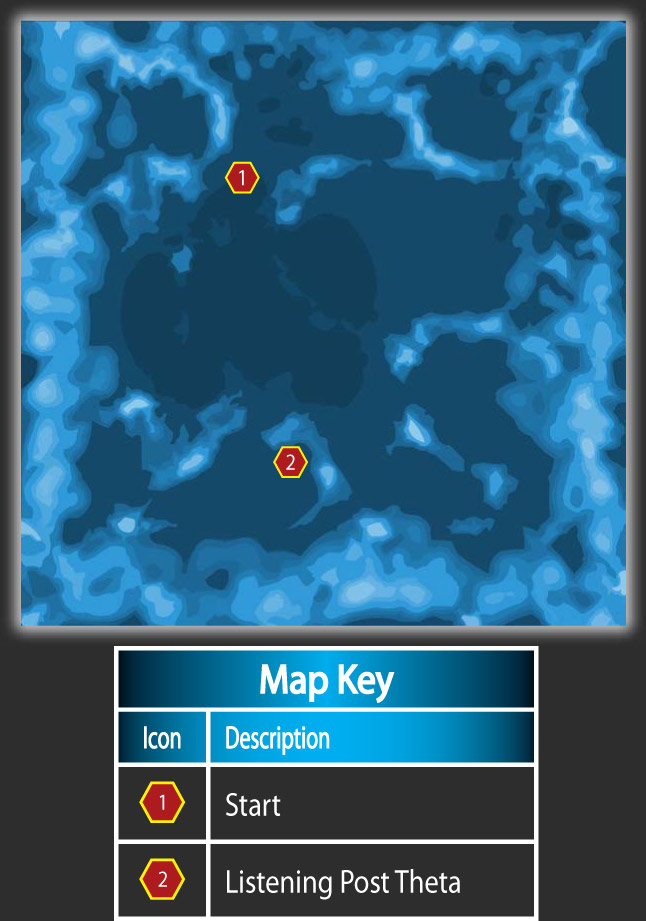
If you completed the UNC: Listening Post Alpha assignment, Lt. Durand told you that another Alliance listening post went offline several days ago and she asks you to investigate.
When you’re back on board the Normandy , set a course for the Acheron System in the Styx Theta cluster and land on Altahe. Once again, you will be fighting rachni, so take along a squad prepared to handle organic, unshielded enemies that use toxic attacks.
Listening Post Theta is south of your insertion point. Drive there in the Mako to find it surrounded by the same type of rachni tunnels as Listening Post Alpha. Unfortunately, there don’t seem to be any defenders left outside of Listening Post Theta.
Clear the area of rachni, park the Mako next to the entrance to the listening post, and enter it.
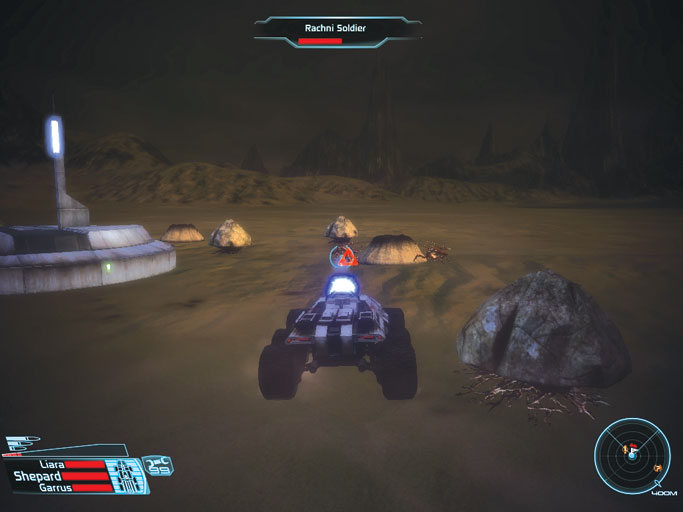
Listening Post Theta is surrounded by rachni tunnels.
Listening Post Theta
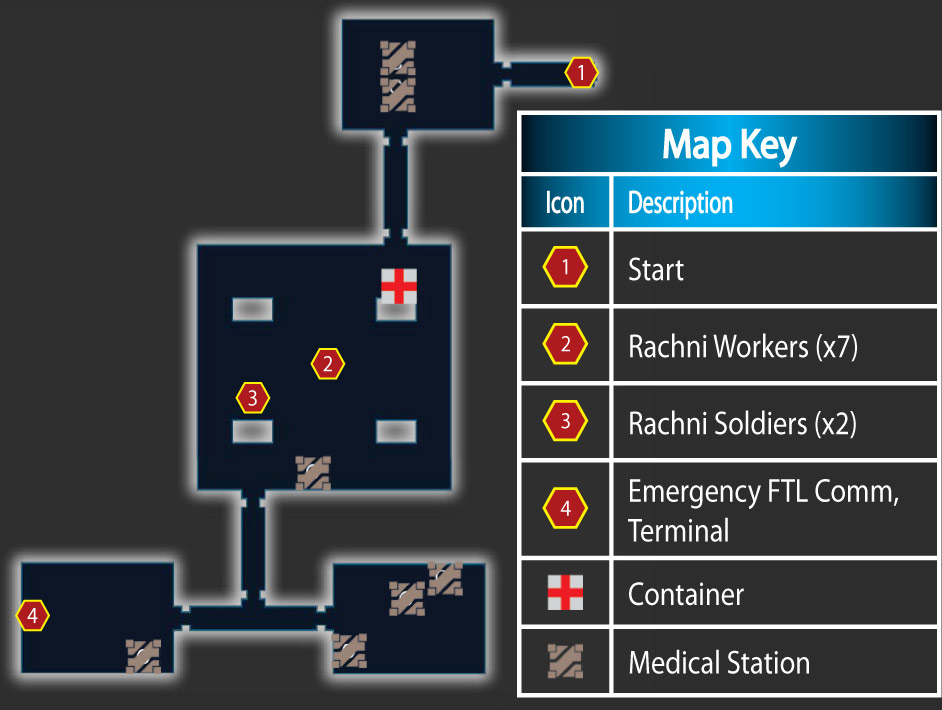
Human bodies litter the antechamber of Listening Post Theta. Move into the base’s main room to see the reason why: A horde of rachni workers has taken over the base. They scurry toward you as soon as you draw their attention.
There are also a couple of rachni soldiers on the opposite side of the room from the entrance.
Clear the main room and proceed into the station’s southwest room to find an emergency FTL comm . Access it to hear Lt. Durand’s distress call (which you heard already upon entering the Erebus System if you completed UNC: Listening Post Alpha ).
Next to the FTL comm is a terminal . If you use the terminal, you note that the listening post just received a supply run two days ago. It seems that the rachni came from the supply ship, which originated from a supply depot in the Argos Rho cluster. Getting this information completes the assignment.
UNC: Lost Freighter
How to Get It: Discover the MSV Worthington in the Ming System of the Gemini Sigma cluster
When It Is Available: After completing Noveria, Feros, or Therum; cannot be triggered after you go to Ilos
Where It Takes Place: MSV Worthington , Ming System, Gemini Sigma cluster
Special Notes: None
MSV Worthington
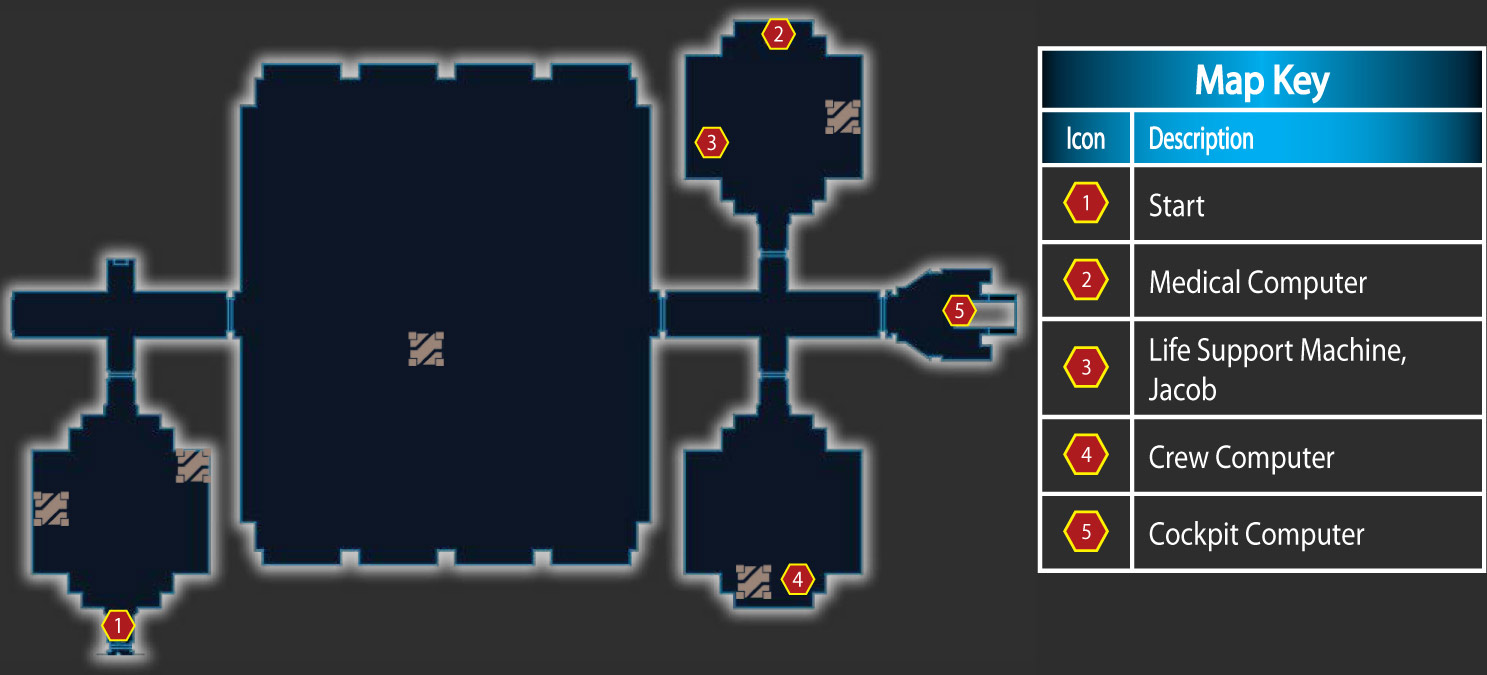
The MSV Worthington is adrift in the Ming System of the Gemini Sigma cluster. Board it with a team prepared to handle a human biotic. The first thing your squad notices is that the ship is almost completely shut down; only the most basic life support is functioning.
The main hold of the ship is littered with fusion containment cells that explode as you walk by them. Shoot them from a distance to detonate them prematurely as you cross to the door in the east wall of the main hold.
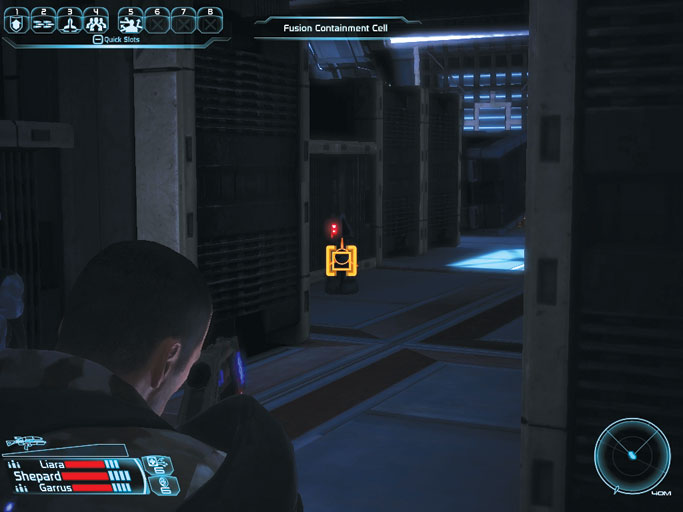
Watch out for the fusion containment cells—they explode if you get too close.
Go into the ship’s northeast room to find a medical computer . Play the logs on it to hear about a man named Jacob, who is dying because his brain was deprived of oxygen for too long.
The person recording the log is more concerned about a woman named Julia, who is showing signs of severe depression. She’s been given meds, but the speaker seems to think she’s worth warning the captain about.
A life support machine in the room is keeping a man (presumably Jacob) alive. You can choose to turn the machine off or leave it on.
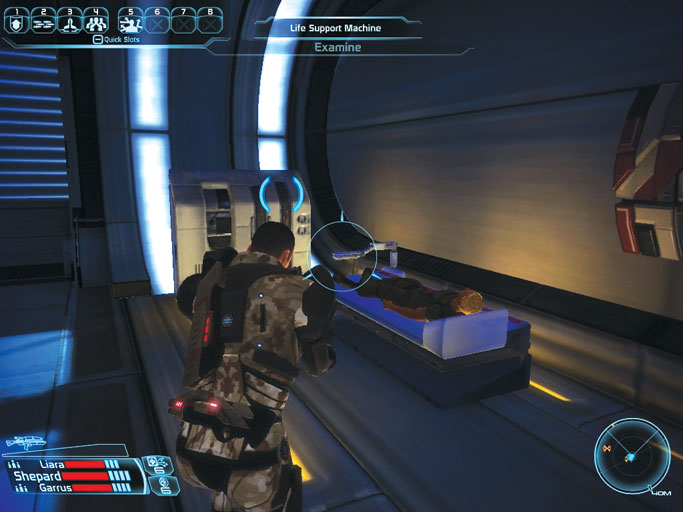
The life support machine is the only thing keeping this brain-dead man alive.
The southeast room of the ship contains a crew computer that you can also use to play logs. Listen to them to hear a woman (Julia) talk about how "they" want to shut off Jacob’s machines and kill him.
He’s the only thing that matters to her, and she doesn’t know how to help him. She didn’t take the meds that Dr. Smith gave her, because she won’t give up trying to help Jacob.
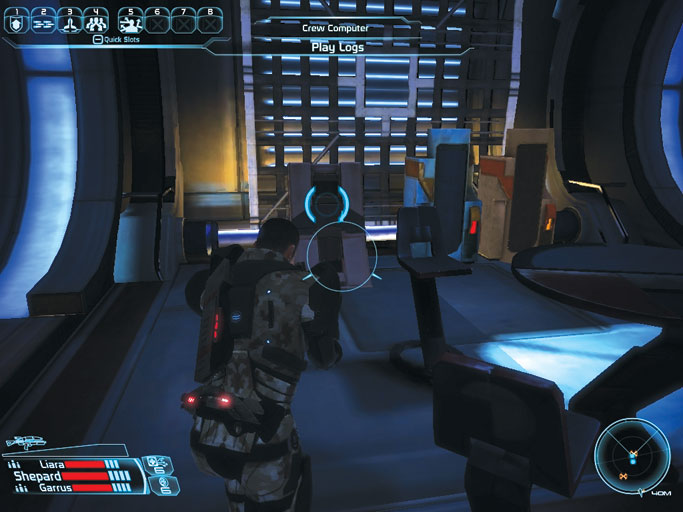
The logs in the crew computer tell Julia’s side of the story.
Proceed to the cockpit at the east end of the ship. Access the cockpit computer to hear another log; this one seems to have been recorded by the captain. He says that Jacob wouldn’t want to have been kept alive by machines if there was no hope of recovery, so they plan on disconnecting his life support.
He notes that Dr. Smith is worried about Julia, who can’t seem to let Jacob go. The stress is causing her biotic implants to flare up, causing intense migraines.
The captain says that they don’t plan on telling her until after they’ve shut off the life support. Suddenly, the captain cries out to Julia, asking her what she’s doing there. The next sound you hear is a choked scream. The log ends.
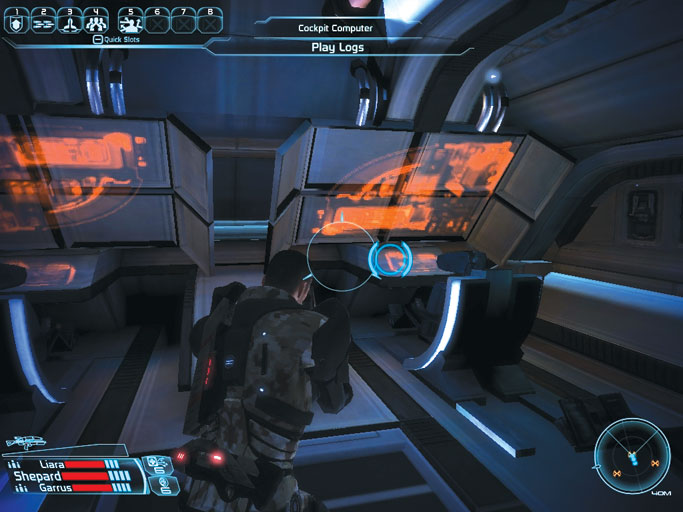
The logs on the cockpit computer make it sound as if Julia attacked the captain.
As soon as you hear the cockpit computer log, turn around and face west, because Julia is in the cargo hold, and she’s running toward you. Julia is a powerful biotic who tries to incapacitate your squad quickly.
If you can survive her initial attack, you shouldn’t have much trouble killing her. This completes the assignment.
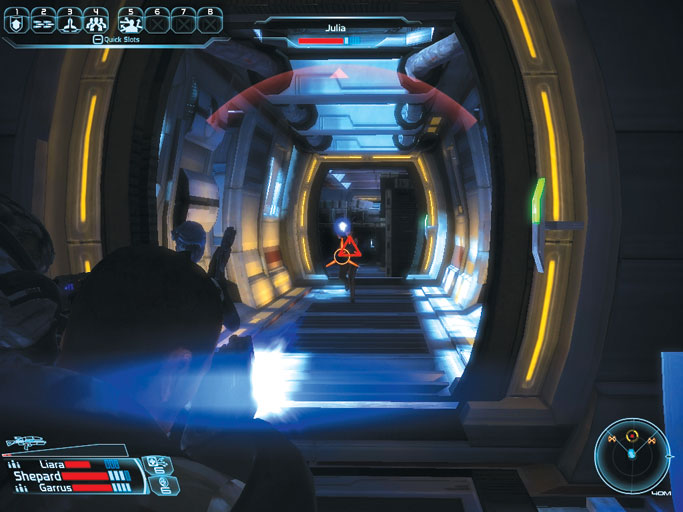
J ulia attacks after you listen to the cockpit computer logs.
UNC: Lost Module
How to Get It: Enter the Attican Beta cluster for the first time to receive a message from Admiral Hackett
When It Is Available: After you gain command of the Normandy ; cannot be triggered after you go to Ilos
Where It Takes Place: Eletania, Hercules System, Attican Beta cluster
Special Notes: None
When you travel to the Attican Beta cluster, you receive a message from Admiral Hackett of Alliance Command, who tells you that one of the Alliance’s surveillance drones in the region was spotted by the geth and shot down. Hackett needs you to recover the drone’s data module before the geth find it.
This triggers UNC: Lost Module and its first task, Go to Hercules System . Take a squad equipped to handle geth opposition (synthetic, shielded enemies) and land on Eletania.
Go to Hercules System
Eletania
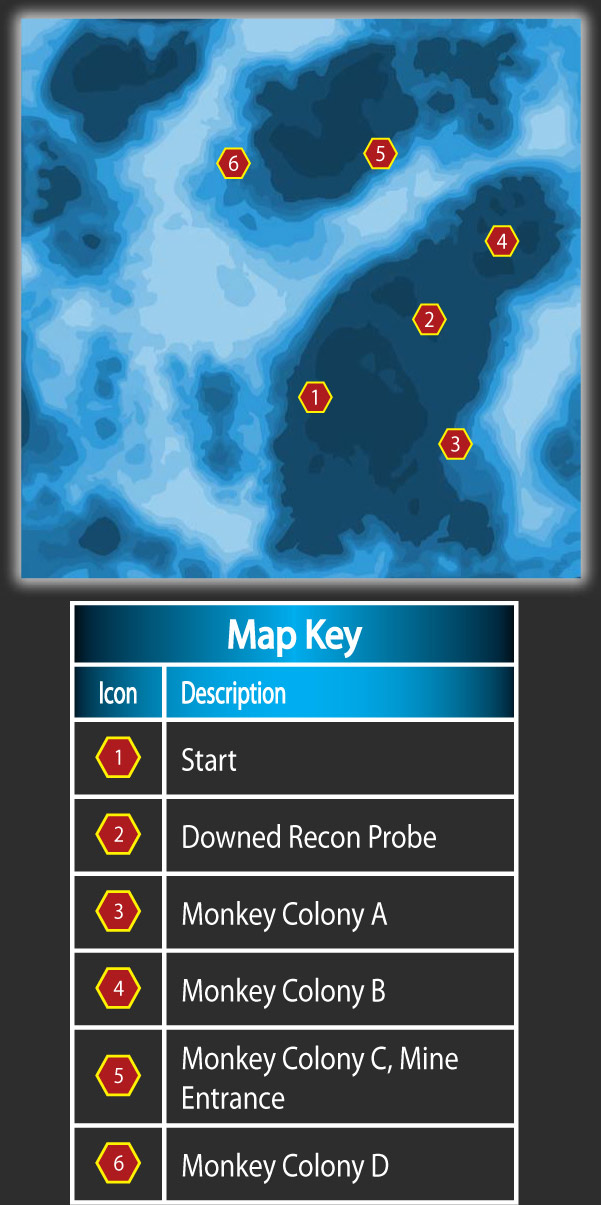
The downed recon probe is northeast of your insertion point on Eletania. Drive over to it in the Mako, park as close to it as you can, then get out and examine it to find that the data module has been removed by a monkey-like creature.
This completes the current task and brings up the next one, Track the Data Module .
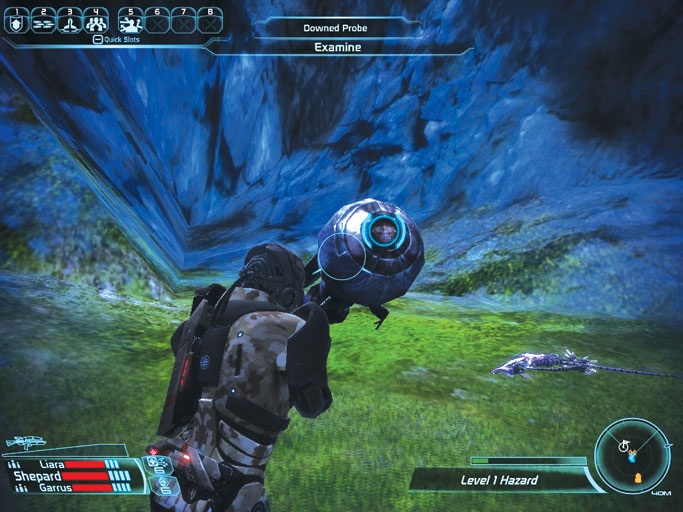
The recon probe is easy enough to find, but it’s missing its data module.
Track the Data Module
Eletania Mining Tunnels
Get back into the Mako and look at your in-game map, which has been updated with the locations of four monkey colonies.
At each monkey colony, you can either choose to kill the monkeys and see if any of them drops the module (Renegade choice) or get out of the Mako and search them individually for it (Paragon choice).
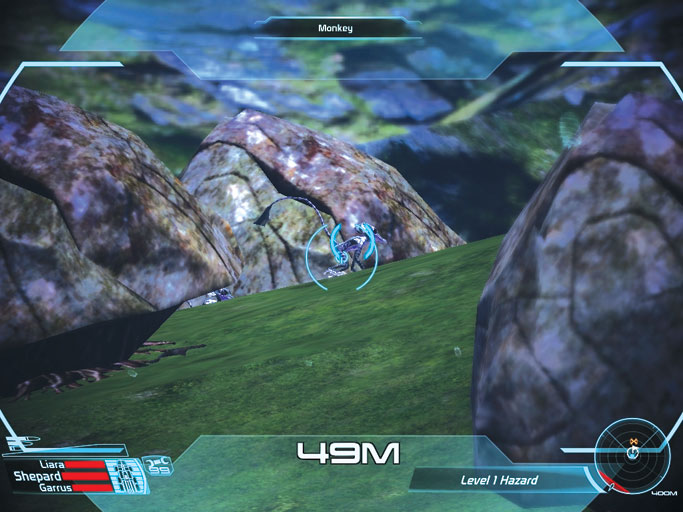
Shooting monkeys is a Renegade act. Searching them is a Paragon one.
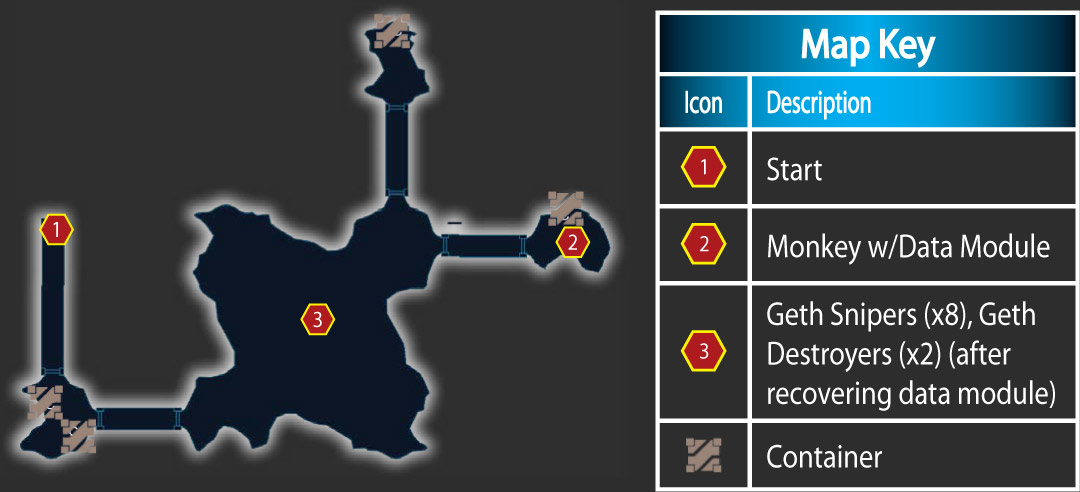
There is a mine entrance near Monkey Colony C (5). Enter the mine and go into the eastern alcove in the northeast corner of the mine. Search or kill the monkeys in there to find the one that stole the data module.
As soon as you find the module, the main cavern outside of the alcove fills with geth. You have to go through them to get back out to the surface, so get ready for a fight. Defeat all the geth, exit the mining tunnels, and return to the Normandy to complete the assignment.
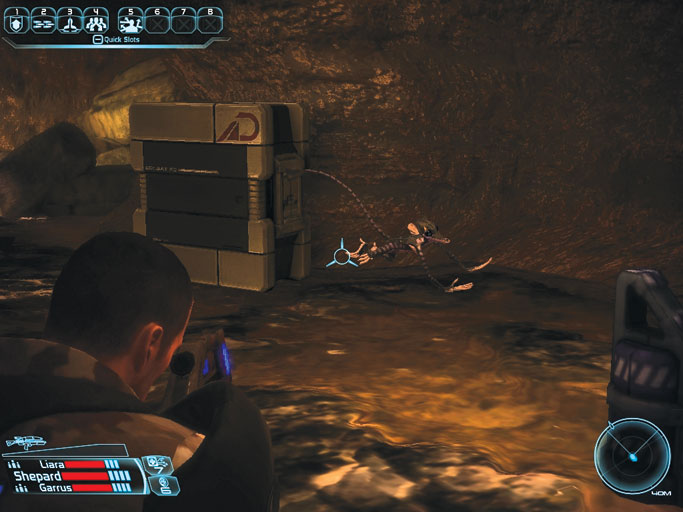
A small army of geth arrives as soon as you recover the data module.