
Mass Effect (PC) Guide Walkthrough Chapter 5: Virmire
Objective 2: Infiltrate Saren's Base
Virmire: Base Approach
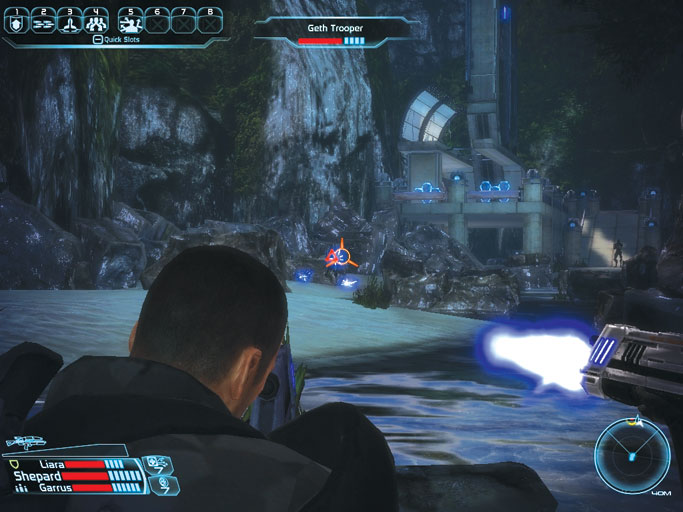
Kirrahe gives a rousing speech and the teams deploy without further ado. Upon arriving at your team’s approach site, begin moving north to assault the geth forces stationed near the northeast communications tower.
Shock troopers fire on you as you advance along the watery trail. Use the fallen rocks as cover, crouching to press Shepard’s back against them as you return fire.
Assaulting the Comm Tower
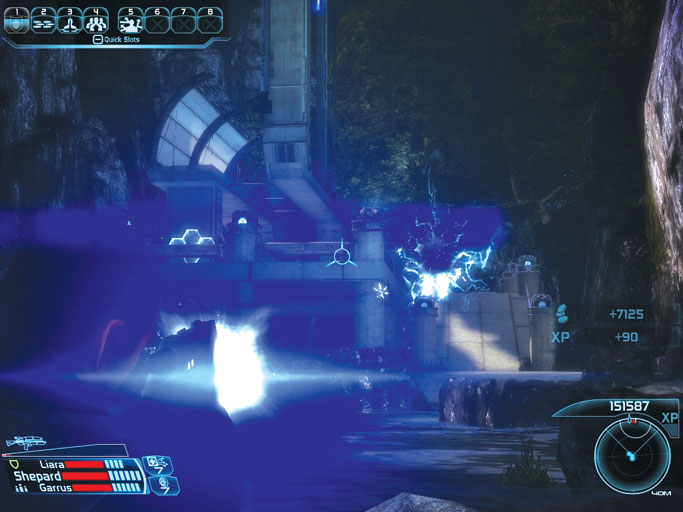
Advance on the communications tower when it’s safe to do so. Again, use the fallen rocks as cover while firing on the base’s defenders. Kill all geth on the walls and then move to infiltrate the base itself.
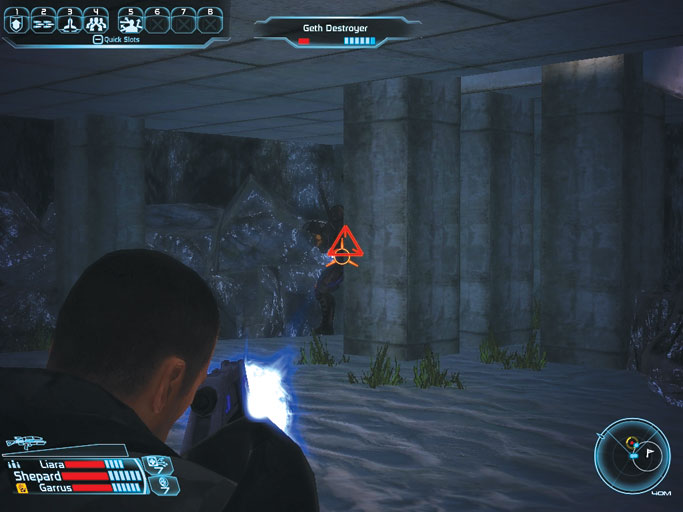
You may also assault the base from the rear by looping around the western trail. You face a few geth troops along the way, but there’s plenty of cover to utilize as you combat them. Picking off the comm tower defenders is a bit easier through this approach.
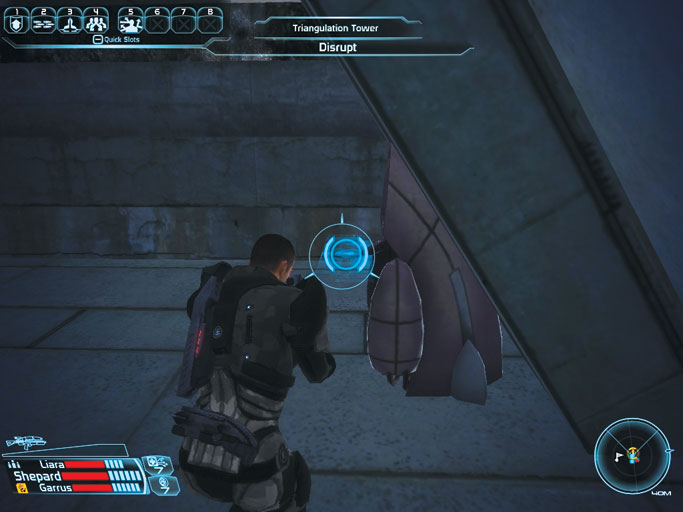
No matter how you choose to assault the comm tower, work at annihilating its defenders so you may disable the triangulation tower inside the small complex.
This benefits the salarian attack groups, advancing the Virmire: Assisting Kirrahe’s Team assignment and earning you a few Paragon points.
Satellite Uplink Tower
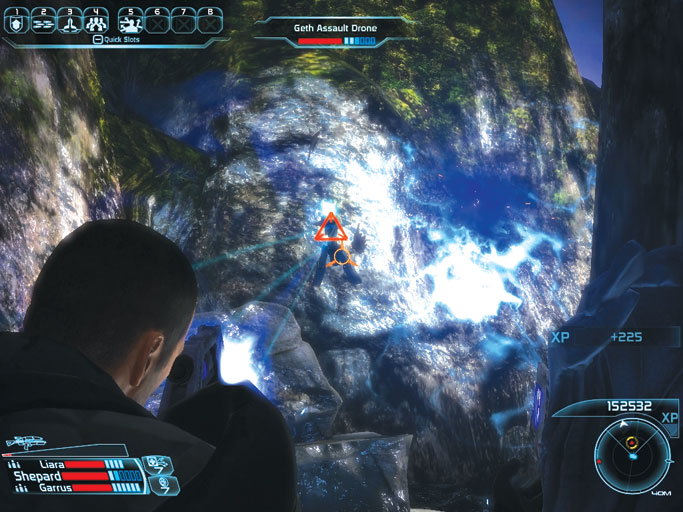
West of the communications tower, the trail splits into northern and southern branches, which then reunite in a wide clearing just east of a satellite uplink tower.
The northern branch is guarded by two geth assault drones and doesn’t offer much in the way of cover at first.
The southern branch offers more cover but pits you against a formidable geth rocket drone. Choose whichever trail sounds best to you, or explore both if you like.
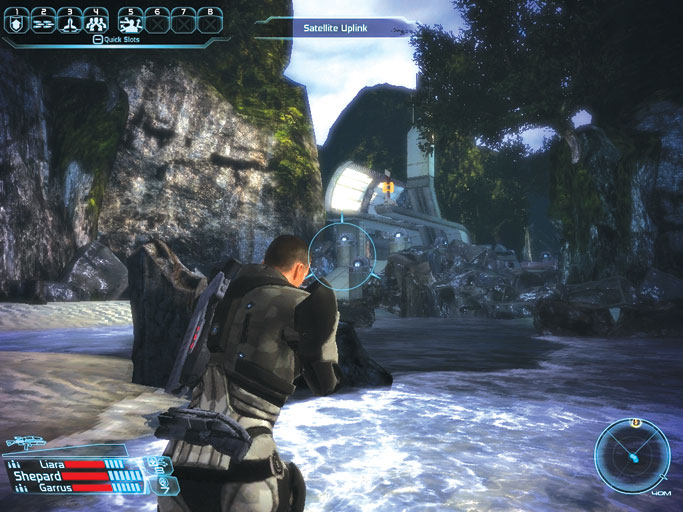
The two trails converge in a wide clearing. Take cover and pick shots at the geth soldiers stationed on the walls of the satellite uplink tower ahead. Advance when it’s safe to do so by moving between rock formations as you inch ever closer to the structure.
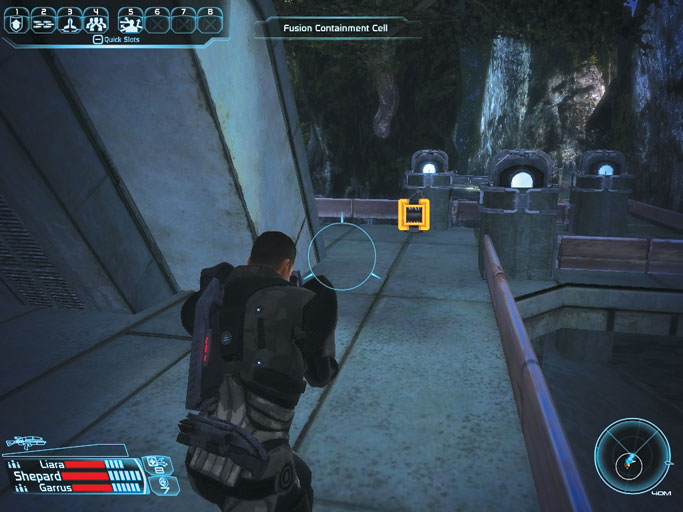
The satellite uplink tower is defended by a formidable krogan warrior , who shares abilities similar to those of the krogan commander you faced within the ExoGeni compound at Feros.
Use the volatile objects positioned about the tower to weaken the krogan and focus your team’s fire and abilities to bring him down as quickly as possible.
Base Approach Options
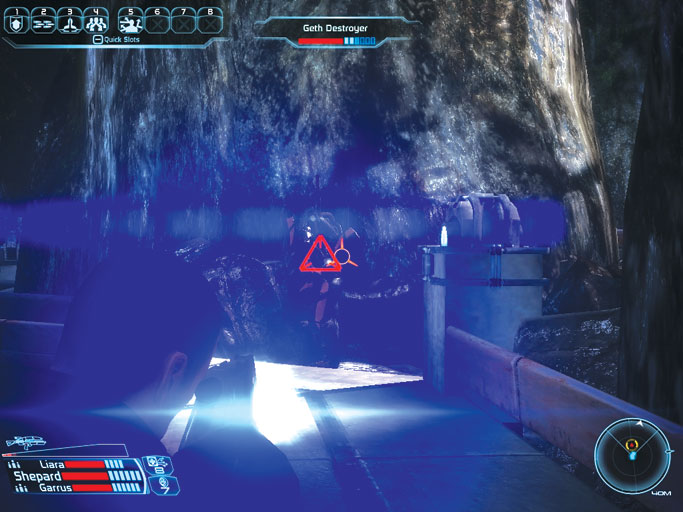
A network of elevated walkways extends westward beyond the satellite uplink tower, offering numerous ways to approach Saren’s research base.
The nearby walkways are guarded by a rocket trooper and destroyer, so advance with caution and look to pick off these hostiles from afar.
Sniper Perch
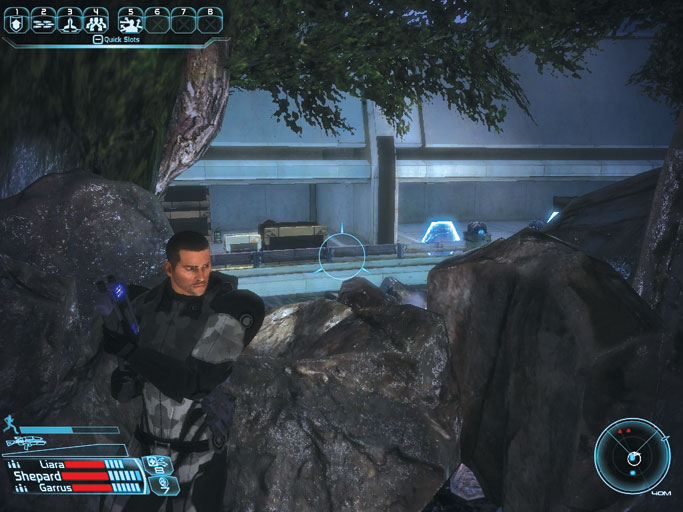
After securing the walkways, you have the option of moving north to assault Saren’s base directly.
However, if you’d like to thin the defenders’ ranks before advancing on the facility, you may also travel southwest to take shots from a fantastic sniper perch that overlooks the compound.
If you’re not in a rush, head through the western tunnel to reach the sniper perch, then crouch behind the low wall and pick off the geth forces stationed along the base’s balcony.
Southern Platform
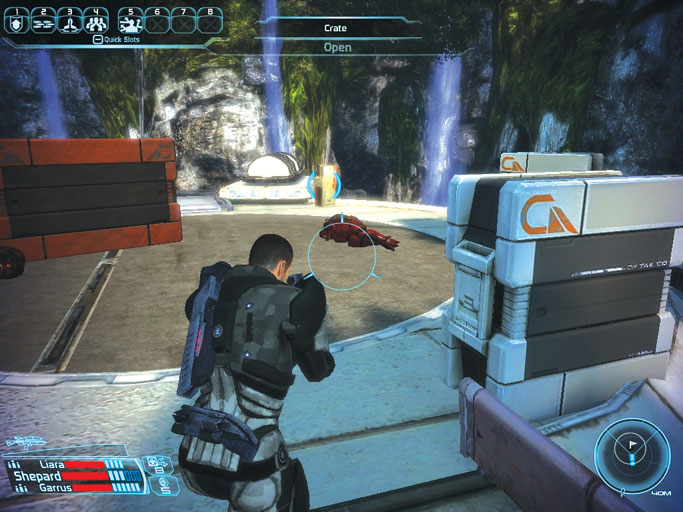
The southern walkway leads to a dead end, but securing it lets you acquire additional items from a crate . Beware: another powerful krogan warrior stands ready to defend the southern platform.
Keep a distance and do your best to annihilate the krogan from a safe range.
If the krogan rushes forward (after they fall and regenerate), switch to a shotgun and utilize Lift and Throw abilities to keep him at bay.
Refueling Platform
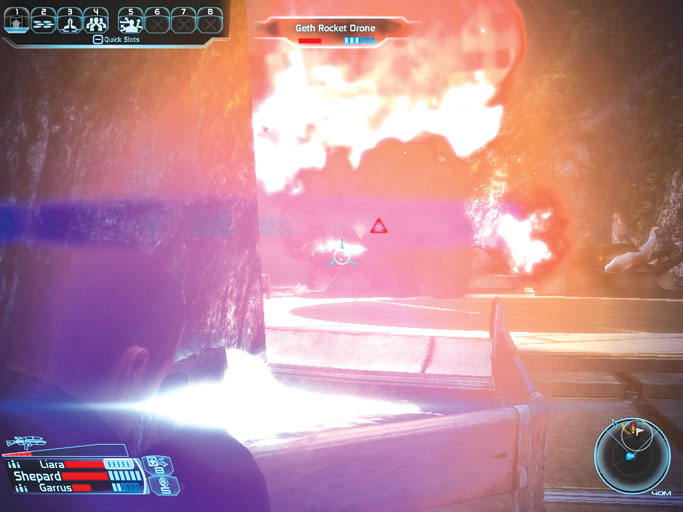
When you’ve finished utilizing the sniper perch and raiding the southern platform, head north to reach a small fuel depot.
The site is well defended by numerous geth assault and rocket drones, but you can wipe out most of these hostiles in short order by detonating the pair of massive fuel tanks that sit atop the platform.
Ignore the fuel tanks if the drones advance toward you, however, and instead target the flyers to bring them down.
Rocket drones are extremely dangerous to your team, so backpedal as necessary and strive to avoid their deadly projectiles.
Tech skills such as Sabotage and Overload can help simplify this fight a great deal.
Breaching Saren’s Base
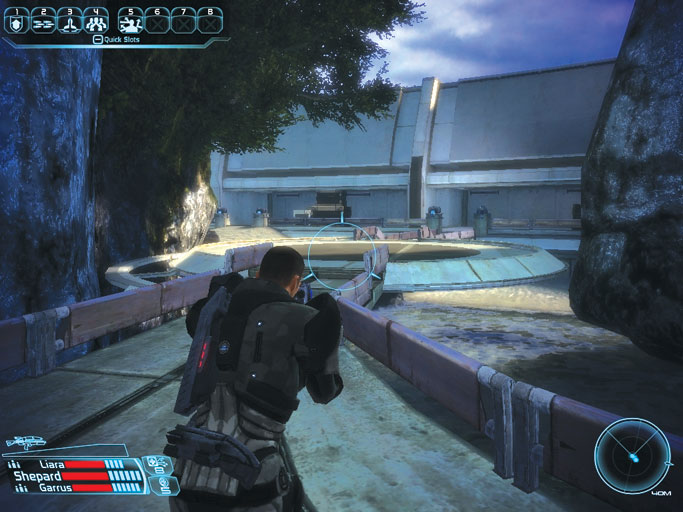
The time has come to assault Saren’s base. You should meet little resistance if you’ve utilized the sniper perch to pick off the base’s defenders earlier.
If the geth seem to have regrouped, feel free to return to that position to whittle them down once more.
A pair of krogan warriors defends the main entrance, and there’s no point in fighting them on their terms.
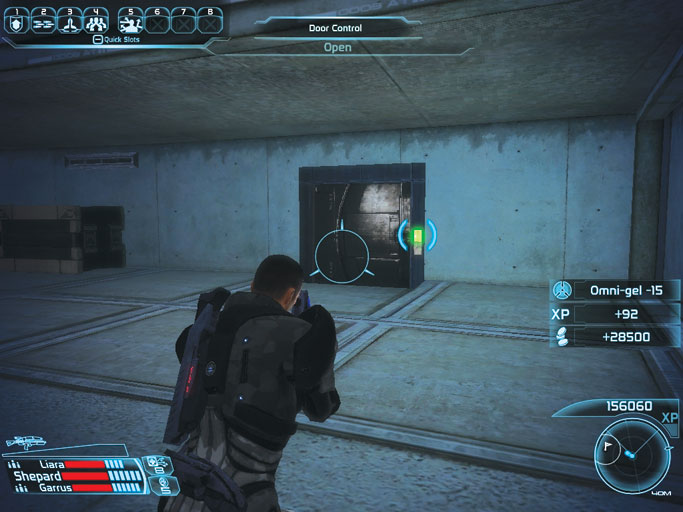
Secure the base’s balcony, then loot the northern storage locker and southern crate . You must now choose between the facility’s two entrances; the most obvious is the main balcony door.
There’s a more-covert lower entry as well, which is accessed by descending the sandy hill that slopes from the south end of the balcony.
This walkthrough leads you through the main door, but we examine all regions of the base’s interior.
If you choose to take the lower entry for a stealthy infiltration, skip ahead to the Detainment Level: Maintenance Bay section.