
Mass Effect (PC) Guide Walkthrough Chapter 4: Feros
Objective 3: Investigate ExoGeni
Main Level—Interior Garage
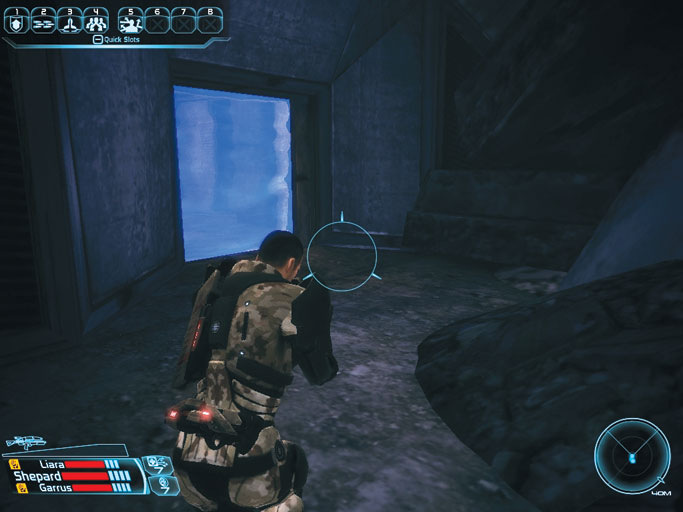
Explore ExoGeni’s garage with caution; some of the geth soldiers might still be alive. There’s nothing to see amid the rubble, so make for the garage’s slightly less-destroyed east side.
The southern passage is blocked by a force field. You need to find another way inside.
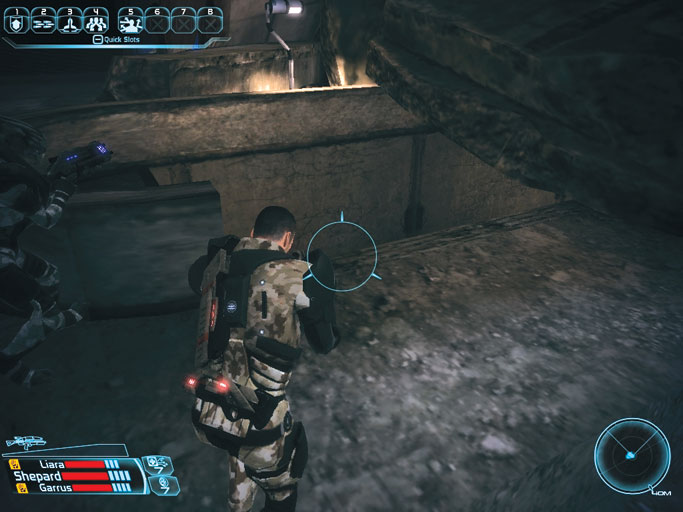
The northern door is locked and there’s no need to explore the small room beyond. (See the sidebar if you’re interested in learning what’s inside). Your way forward is the eastern service tunnel.
Drop from the spot where there’s no wall to block you to access the passage below. There’s no way of climbing back out, so make sure you’re ready to take the plunge before you leap.
ExoGeni Midden
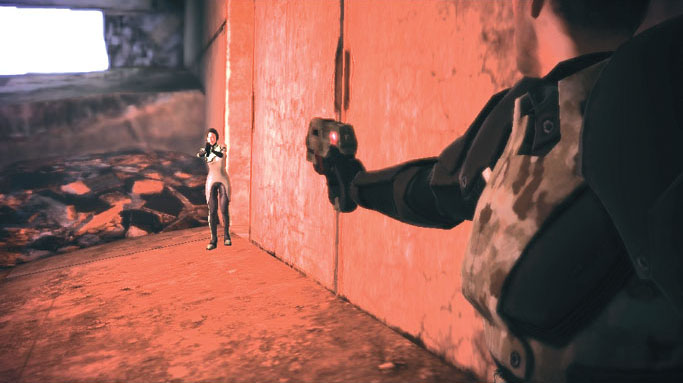
Upon reaching the end of the tunnel, Shepard narrowly avoids taking a bullet to the head. The squad has startled another ExoGeni survivor: a frightened young woman who immediately apologizes for firing on them.
The woman says she fell behind her colleagues while they were making their escape from ExoGeni. Before she could catch up, the geth’s dropship latched onto the complex and the power went out. The woman has been trapped here ever since, struggling to survive.
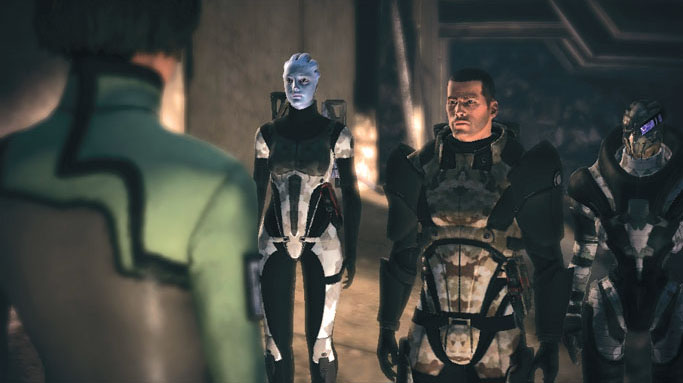
The young woman goes on to explain that the geth have raised a force field to lock down the majority of the ExoGeni compound. They must be searching for something here.
But what? Shepard urges the her to tell all she knows about why the geth have come to Feros. She guesses that the synthetics are most likely here to locate an indigenous life form called the Thorian, which ExoGeni has been studying for quite some time.
She agrees to take Shepard to the Thorian, but says they’ll need to find a way past the force field first. Apparently, the geth dropship is powering the barrier; the connection must be severed.
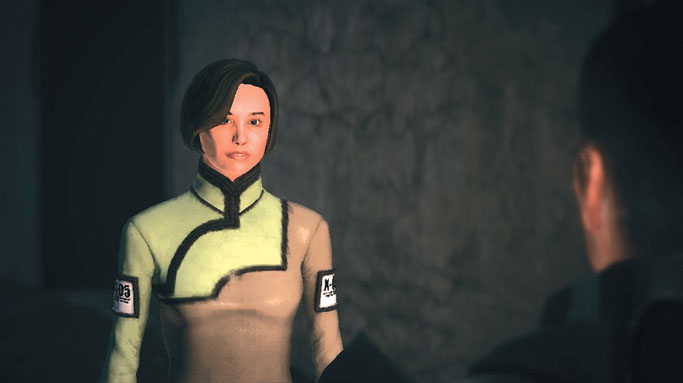
Question the young woman to learn more about her. She’s worried for her mother, which leads Shepard to believe this must be Juliana Baynham’s daughter, Lizbeth. Tell her that her mother’s still alive to set her mind at ease.
Then continue probing Lizbeth about the Thorian to learn that it’s some sort of ancient plant being. She has no idea why the geth would be so interested in such a mundane find, but offers Shepard her ID card so the squad can open locked doors within the compound.
Varren Attack
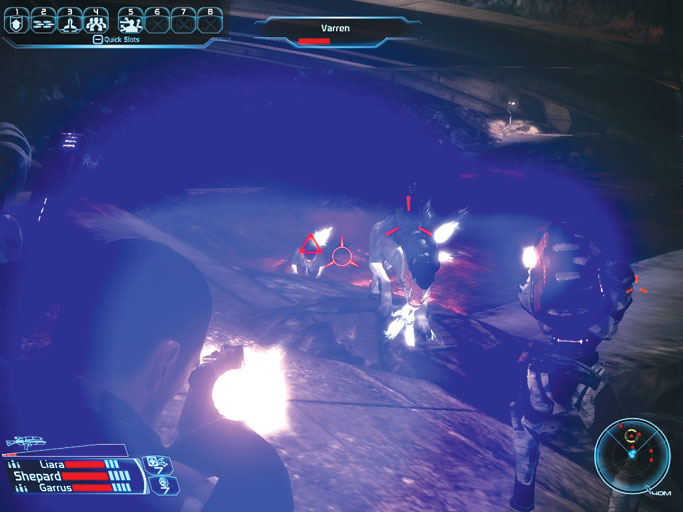
Lizbeth wishes Shepard luck and then runs off to find a safe hiding spot. This turns out to be a good idea, as a giant pack of wild varren soon rushes Shepard’s team from the surrounding compost.
These creatures are fast and vicious, but they can only inflict damage from a short range. Blast each one away with a shotgun or assault rifle while backpedaling throughout the fight to present a difficult target.
Back to the Main Level
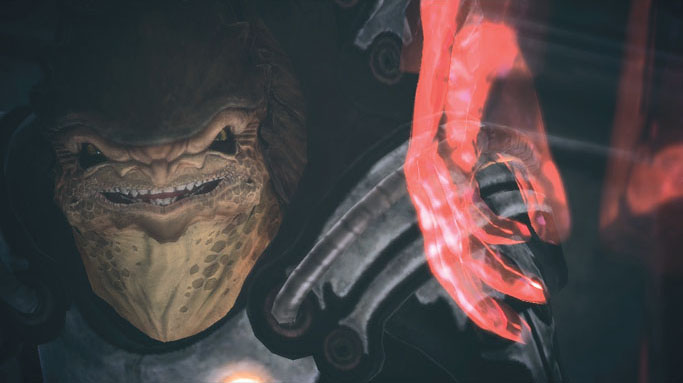
Take the southwest stairwell after destroying the varren to reach the far west side of ExoGeni’s main level. While scaling the stairs, the team overhears a burly krogan arguing with some sort of VI interface in the room above.
The VI program gives away the party’s presence, and the krogan commander immediately draws a weapon.
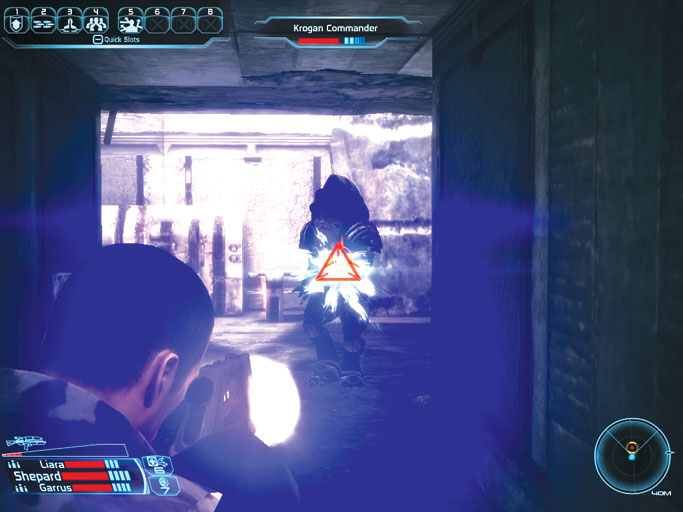
The krogan commander is a serious threat within the confines of the stairwell, so you’ve got to drop him fast. Employ your most powerful abilities and combine your squad’s fire to defeat the krogan as quickly as possible.
Shotguns are ideal in this tight area, and biotic abilities work well at keeping the krogan at bay.
ExoGeni VI
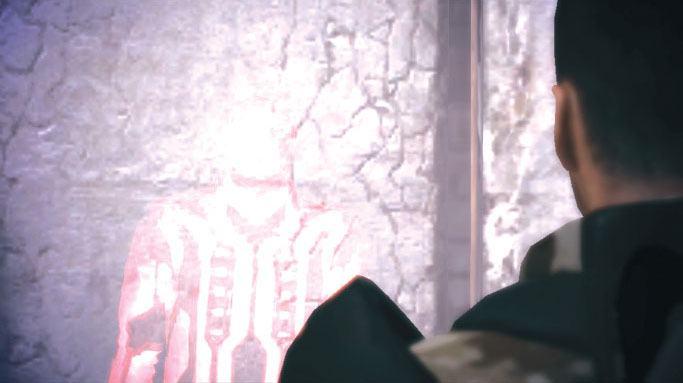
Approach the VI terminal after dispatching the krogan. The program detects Lizbeth’s ID card and believes Shepard to be the young research assistant.
This gives you the ability to question the VI program as much as you’d like. Do so to learn that the krogan was attempting to uncover information related to ExoGeni’s research on the mysterious Thorian.
Fortunately, the krogan didn’t get very far. He didn’t have clearance to access such classified info.
The VI interface tells you that the Thorian is in fact housed within an underground observation post back at Zhu’s Hope. Probe deeper to learn that the Thorian is a sentient plant life form unlike any other type of known flora.
Through dispersion and their eventual inhalation of its spores, the Thorian is able to exert control over other organisms, including humans.
Apparently, the vast majority of the Zhu’s Hope population have been infected by the Thorian’s spores. This goes a long way toward explaining the colonists’ unusual behavior.
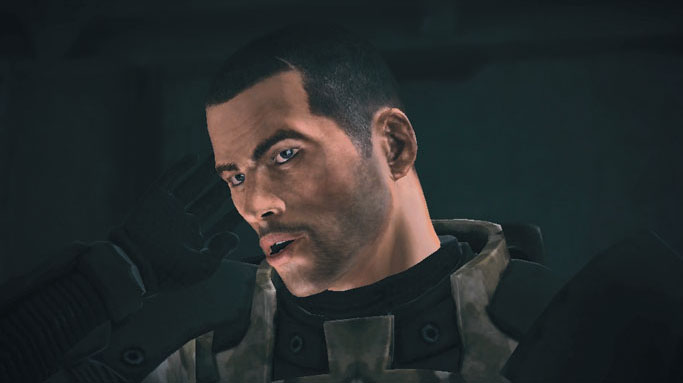
Shepard tries to contact Joker to warn him of this new potential threat, but is unable to raise the Normandy ’s helmsman on any channel. The geth dropship must be interfering with the signal.
Question the VI interface to confirm this and to learn much more about the Thorian and the way it controls those infected by its spores.
Apparently, the Thorian is able to trigger pain in the minds of the infected, thereby forcing them to do its bidding.
When no specific duties are required, the Thorian’s subjects are free to go about their lives—though there’s no question as to who is really in control.
This gives one explanation as to why Saren could be attacking the Thorian.
The Glowing Orb
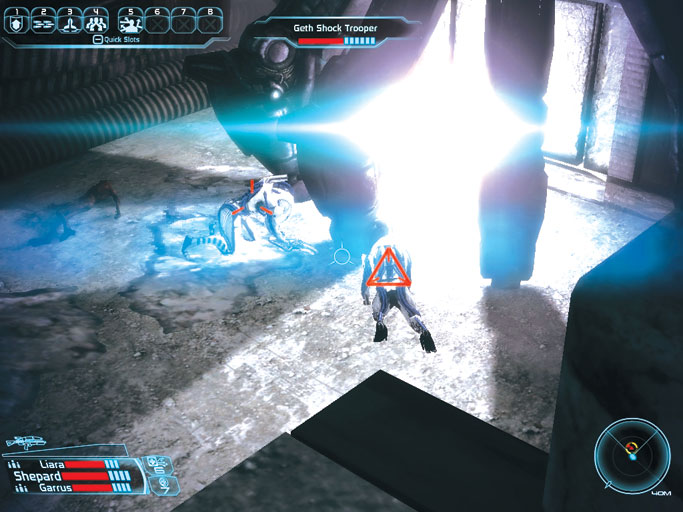
Save your progress after interrogating ExoGeni’s VI. Your next objective is to lower the force field being projected by the geth dropship so that you may return to Zhu’s Hope and confront the Thorian.
Proceed through the corridor that follows and notice that a pair of red blips appear on your radar. Silently enter the next chamber ahead and spy a pair of geth shock troopers kneeling before some sort of odd, glowing orb.
Take aim from the balcony and obliterate both shock troopers from this superior vantage.
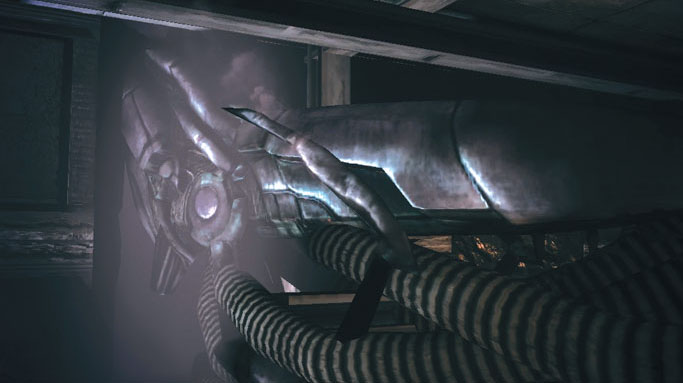
The team notices several large, mechanical claws sticking through the walls. These belong to the geth dropship. The claws must be how the ship is able to hold onto the side of the building.
Perhaps the claws can be destroyed in some way to remove the ship and lower the force field.
Conventional weapons won’t do the trick, but there must be another way. You can’t do much with the glowing orb, so head into the nearby corridor.
Geth Ambush
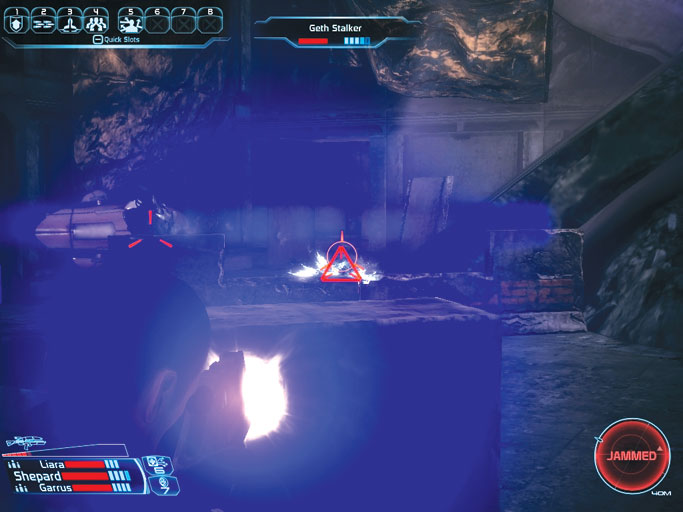
You radar soon becomes blocked; a number of geth soldiers have taken up position inside the next chamber. Work with your squad to dispatch the synthetic trooper, sniper, shock trooper, and stalker inside the room.
Fire from the hallway, and send in your team to finish the job after you’ve killed most of the enemies.
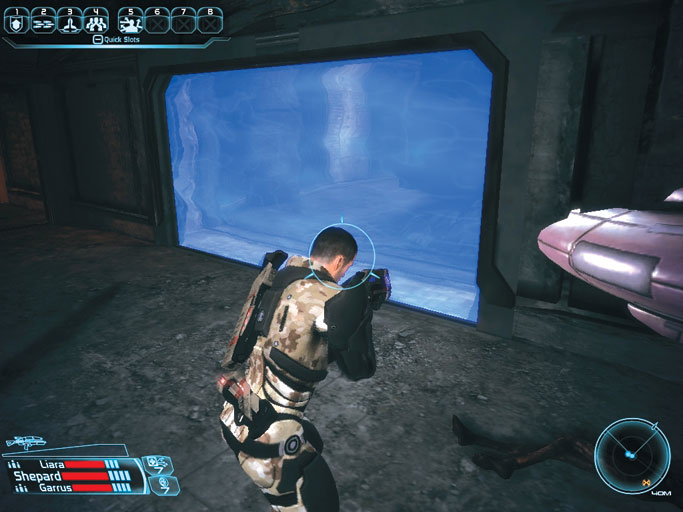
You’ve come to the opposite side of the force field you noticed earlier when exploring ExoGeni’s garage. There must be a way to shut this barrier down.
Proceed up the northern stairwell to reach the west side of ExoGeni’s upper level.
ExoGeni Upper Level
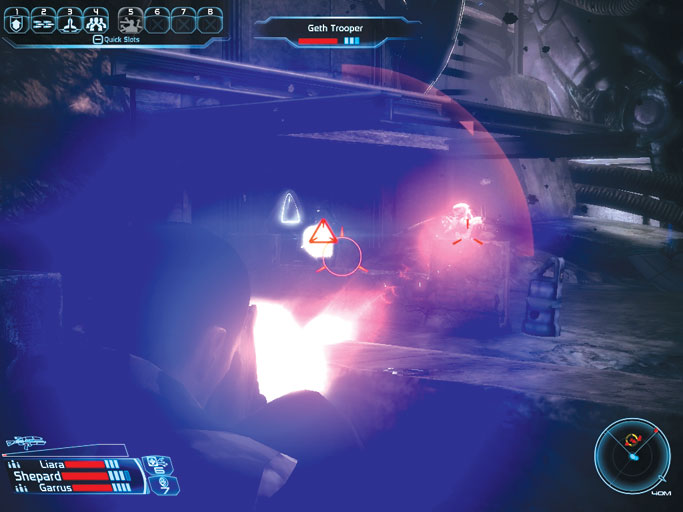
Your radar registers multiple hostiles as you near the top of the stairwell: More geth await you in the large chamber ahead. Open the nearby crate and look over your squad’s gear, then carefully move down the hall.
The geth open fire the moment you move within view. Take cover behind one of the room’s low walls, popping up to fire on the hostiles.
You face a similar crowd of troopers, shock troopers, and snipers here; nothing your team can’t handle.
Assignment Acquisition
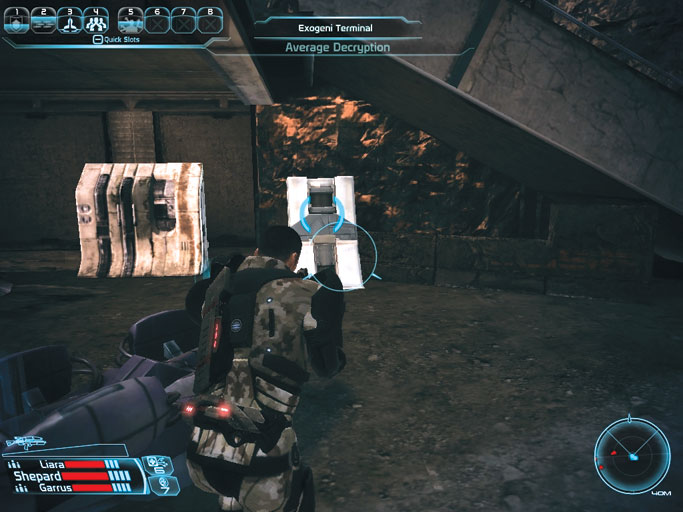
Your radar shows more hostiles at the chamber’s far end, but they’re not an immediate danger.
After securing this half of the room, decrypt the nearby ExoGeni terminal to acquire yet another off-world assignment entitled Investigate Facility.
Looks like you’ll have lots of optional jobs to pursue after you’ve completed your mission here.
Securing the Upper Level
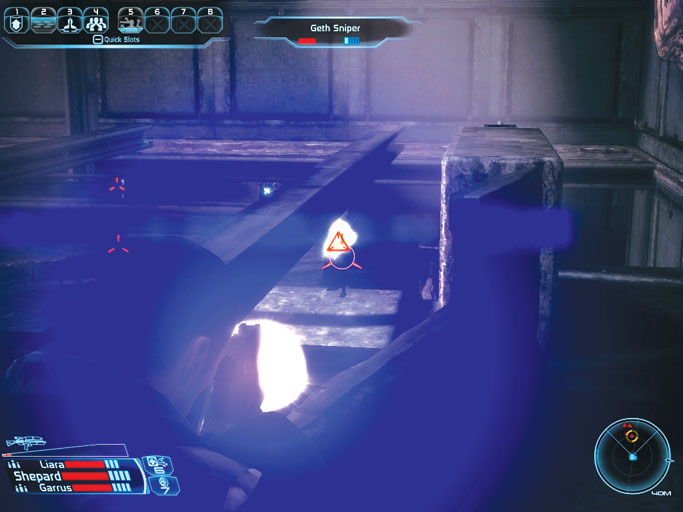
A tough battle against heavy geth forces awaits you at the far west end of ExoGeni’s upper level.
Make a thorough equipment check after securing the east half of the chamber, then fall back until you’re able to save your game.
Return to the room and scale the northern ramp to proceed to the chamber’s west half.
There your squad spies a vast number of shock troopers, snipers, and even a few destroyers. A pair of ghosts are responsible for blocking your radar.
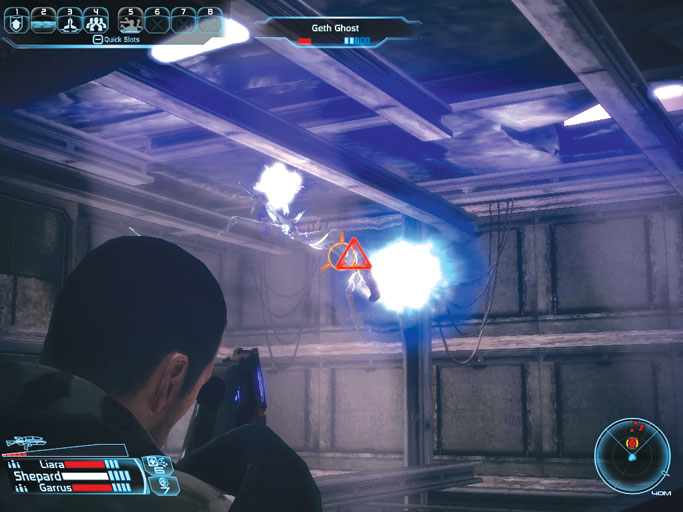
Crouch and sneak along the ramp to avoid detection. Creep just far enough to line up a shot on any of the geth milling about the chamber below. Start firing, then skulk backward a bit and let the geth come to you.
The nimble ghosts are usually the first ones you can target. Cut them down with assault rifle fire to recover your radar early into the fight. This helps you keep tabs on the rest of the geth troops.
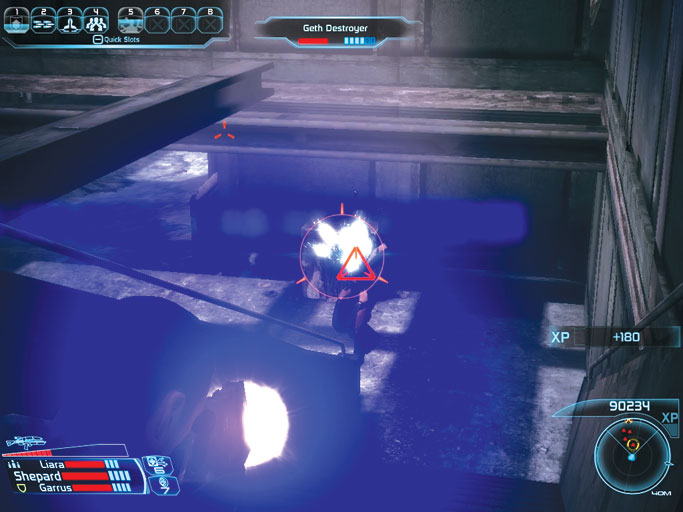
It doesn’t take long for destroyers to begin running up the ramp, intent on smashing you. Keep low and creep backward as you pepper these brutes with heavy fire.
Drop each one as fast as you can. Hold your position on the ramp until the geth stop coming. Then slowly advance to eliminate any synthetics lingering in the chamber below.
Assignment Acquisition
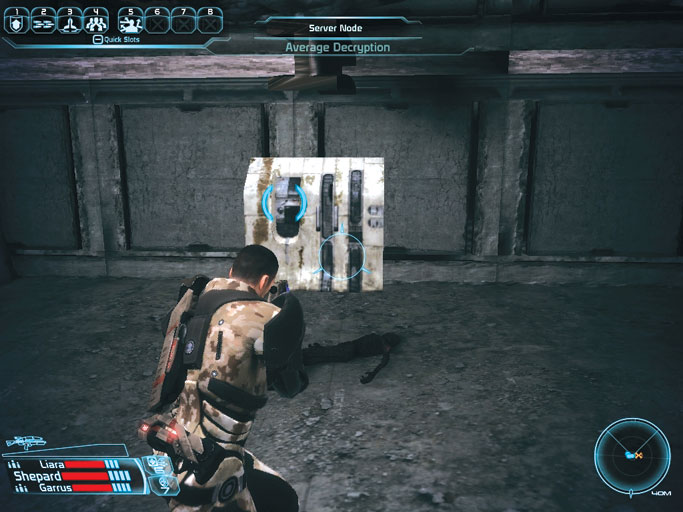
Save your game the moment you clear the upper level of geth activity. Open the nearby crate for valuables and then approach the server node at the far end of the chamber.
Decrypt the node to gain yet another optional off-world assignment: Investigate Samples. Sounds interesting.…
Severing the Ship Claw
It soon becomes obvious why the geth were so determined to defend this area: one of their dropship’s massive claws has become lodged inside a shuttle bay door.
If the door was lowered with enough force, the claw would likely be sheared off. This could very likely send the dropship plummeting off the side of the ExoGeni complex.
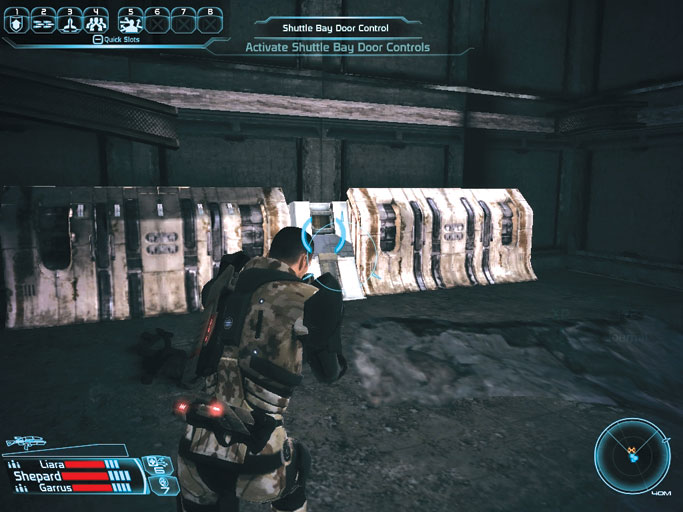
Approach the shuttle bay door control at the far end of the chamber.
Shepard notices a warning message displayed on the control panel alerting the operator that lowering the bay door with a force of between 31–34 PSI causes it to slam down with hazardous results. You don’t say…
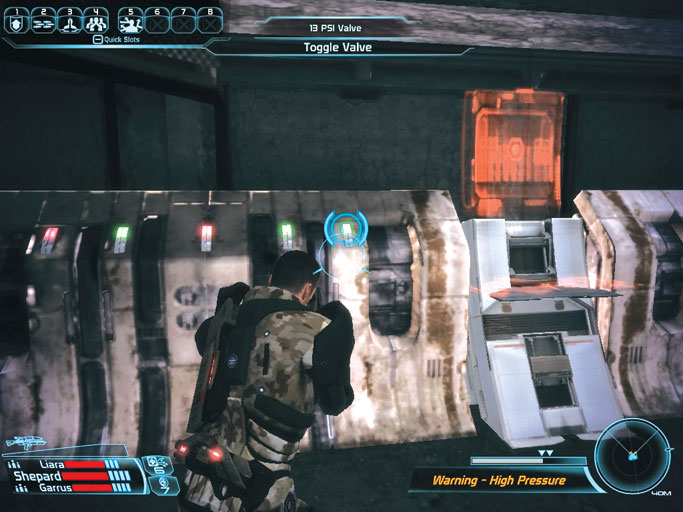
A series of PSI valves extend to the left of the controls. Activate the valve that’s second from the left, followed by the two nearest the central control panel (as pictured).
This preps the bay door with a hazardous amount of closing pressure, as indicated by the meter at the lower-right corner of the screen. Utilize the central panel to shut the door.
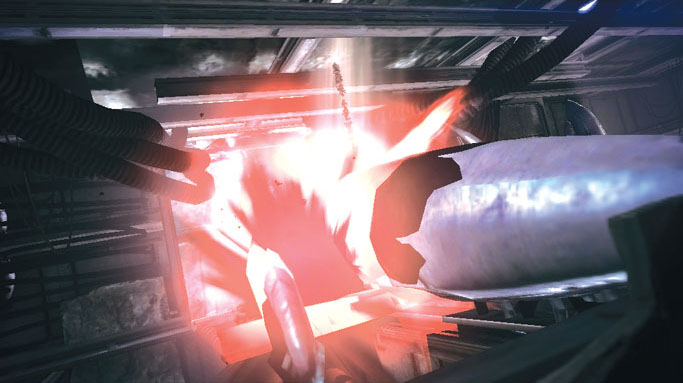
As advertised, the door closes with enough force to chop the dropship’s claw clean off. The massive vessel then plummets from the side of the facility, tumbling into the abyss below.
With the dropship out of the picture, there’s nothing left to supply power to the force field that had been blocking your squad’s escape. Well done, Commander.
Time to Go
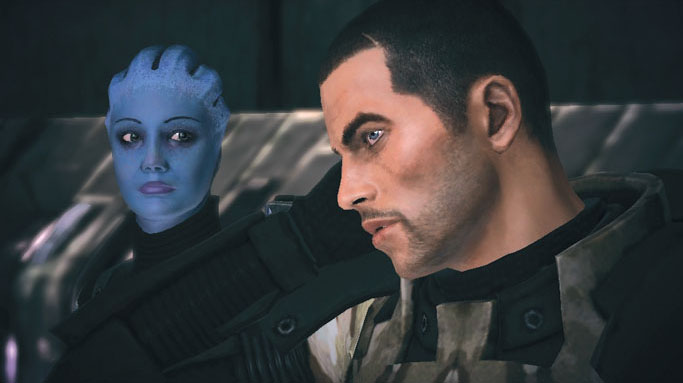
Communications soon clear up and the crew receives a frantic message from Joker.
Apparently, the Normandy has fallen under "attack" by the Zhu’s Hope collective; Joker reports that the colonists are banging and scratching away at the Normandy’s airlock doors, striving to get inside the ship.
Shepard tells Joker to sit tight; the colonists have no chance at breaching the Normandy’s hull. The Spectre assures his helmsman that they’ll be leaving soon.
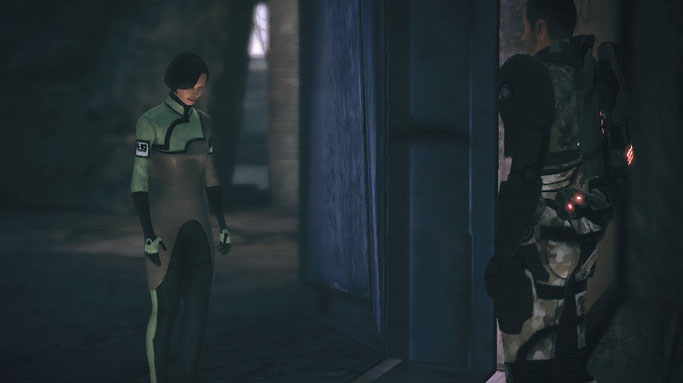
Backtrack downstairs to return to ExoGeni’s main level. Lizbeth Baynham waits at the bottom of the stairwell; with the force field down, she’s finally managed to escape the midden.
Shepard asks Lizbeth why she didn’t say more about the situation here on Feros before. The young woman apologizes, saying she was acting out of fear. The tone you take with Lizbeth can net you a few morality points.
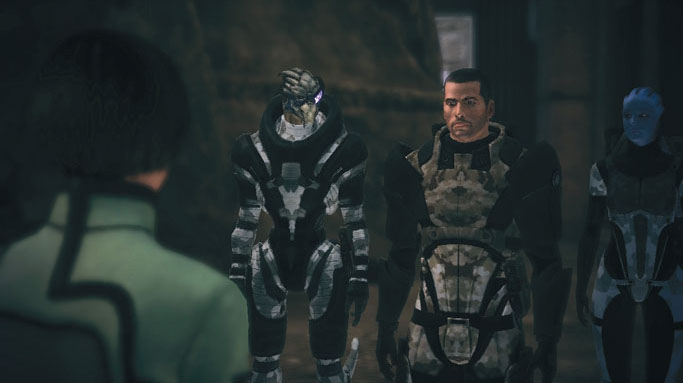
Lizbeth finally comes clean, informing Shepard of ExoGeni’s research into the mysterious Thorian. She gives the Spectre its exact location: an underground lair beneath the surface of Zhu’s Hope.
Joker soon radios in, warning his commander that more geth contacts are inbound. There’s no time to lose.