
Mass Effect (PC) Guide Walkthrough Chapter 3: Noveria
Objective 2: Access Port Hanshan's Garage
Port Hanshan Mezzanine
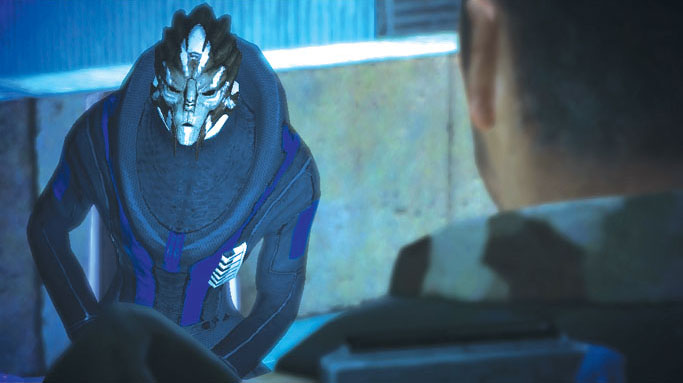
Exit the administration offices after speaking with Gianna and head for the plaza’s northwest elevator. Ride up to the mezzanine and locate a friendly turian named Lorik Qui’in sitting alone.
Confess your need to leave Port Hanshan; Lorik hints that you might be able to help each other out.
Lorik Qui’in informs you that Administrator Anoleis has closed the turian’s office at Synthetic Insights for an astonishing reason.
Apparently, Lorik found evidence that the Administrator was involved in some sort of rent-based scandal that was lining his pockets with credits.
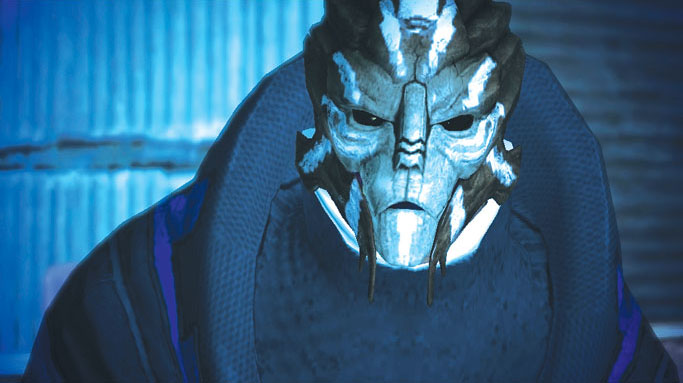
Lorik proposes a deal: if you agree to recover this evidence from his office at Synthetic Insights before Anoleis’s goons can, the turian will give you his garage pass so you may leave the port.
Accept this plan if it sounds agreeable; doing so advances the main plot.
Great Raid
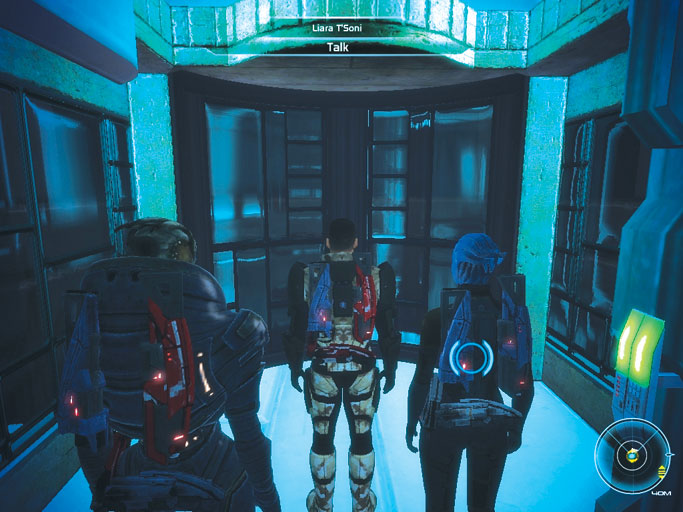
Accept Lorik Qui’in’s mutually beneficial plan to acquire his pass and gain entry into the Synthetic Insights lab. This allows you to activate Port Hanshan Plaza’s southwest elevator to access Synthetic Insights.
Check that your squad is ready for battle. Anoleis’s hired thugs are currently ransacking the office, and it’s likely that you’ll run into some trouble.
Running Into Trouble
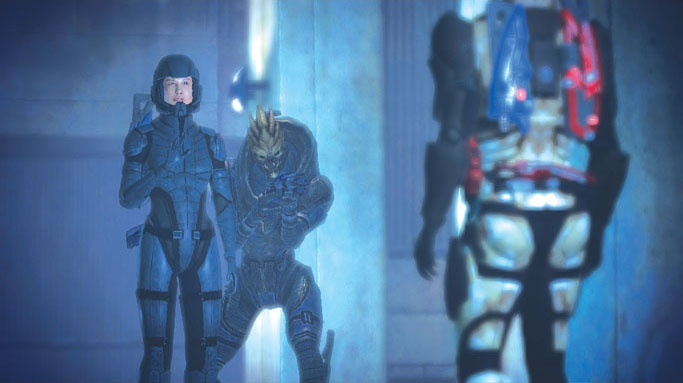
Sure enough, a pair of ERCS guards stand watch just inside the SI lab. If you can, choose to persuade these first few guards and convince them to leave without a fight.
This earns you a significant amount of morality points appropriate to the type of persuasion you use.
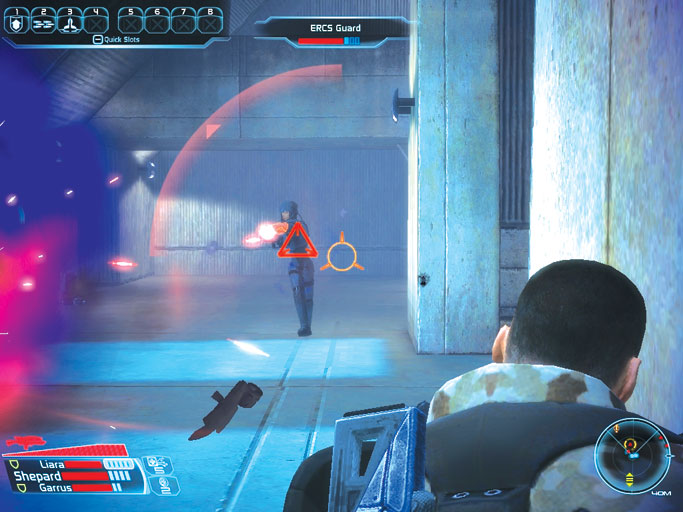
The rest of Anoleis’s goons aren’t interested in talking and fire on Shepard and company the moment they move within range. These ERCS guards are on par with thugs you’ve encountered before.
They don’t have much in the way of armor or shields, and they’re easily dispatched with a bit of tactical gunplay. Keep close to cover, monitor your radar carefully, and eliminate all hostile targets.
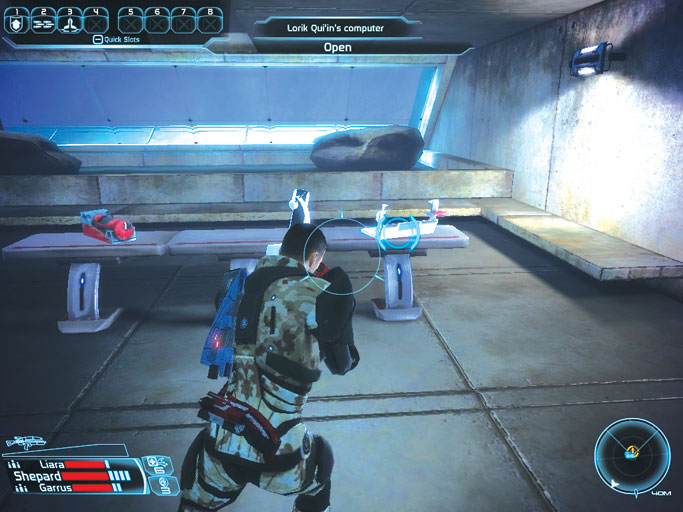
Secure the area, make a sweep for item-holding containers, and then sprint upstairs to explore the lab’s second floor.
Lorik’s office is to the southwest; dash there without delay and decrypt Lorik Qui’in’s computer to recover the evidence you seek. Save your progress now; a tough fight lies ahead.
Kaira’s Revenge
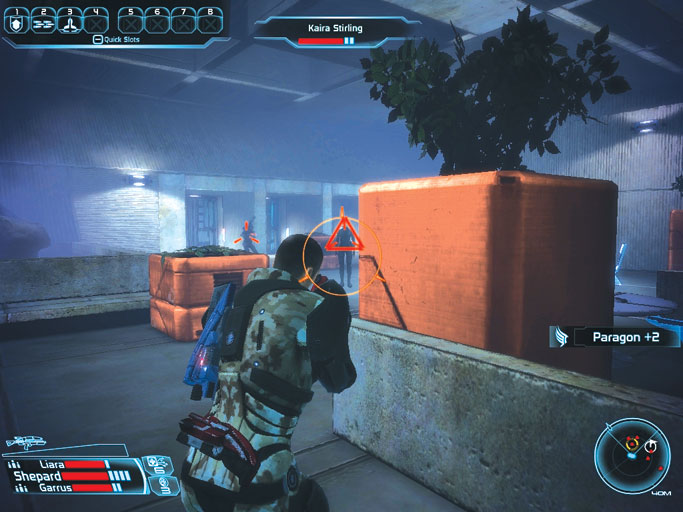
Shepard and crew are treated to an unexpected encounter just outside Lorik’s offices: ERCS Sergeant Kaira Stirling—Maeko Matsuo’s ill-tempered subordinate—is intent on recovering the evidence she’s been hired to steal.
There’s no talking your way out of this fight, so be prepared for an intense battle. Find cover as soon as you can and do your best not to become a target for Kaira or her goons throughout this melee.
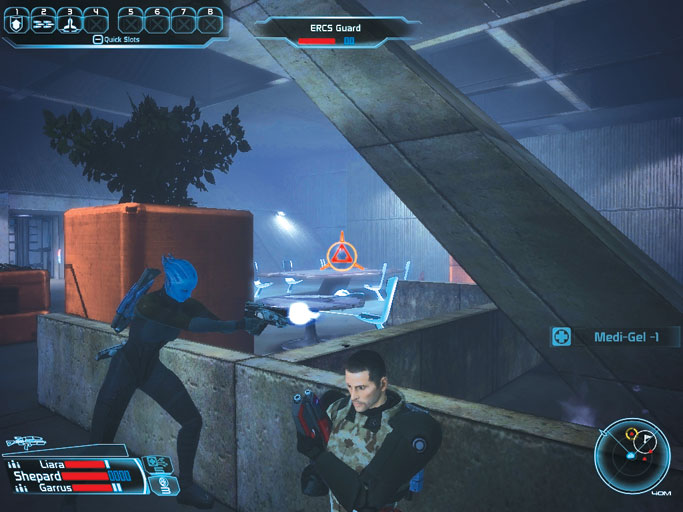
Kaira is the biggest threat in this battle and killing her quickly is a good plan. Her large detachment of guards must be dealt with, too.
At first, it’s best simply to find cover and fire on any target that moves within your line of sight during the frantic skirmish.
Kaira’s biotic abilities can become quite a nuisance, so target her and press [A] to focus your squad mates’ efforts on keeping her at bay.
Defeat this final wave of crooked guards to complete your work here at Synthetic Insights.
Lady in Red
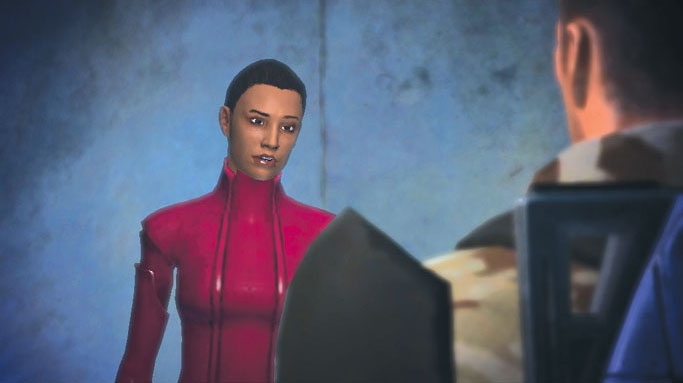
Shepard receives another unexpected visitor shortly after leaving Synthetic Insights, but this one doesn’t point a gun at him. Gianna Parasini stands just outside the elevator, eager to speak with you.
She knows what you’ve done and asks you to speak with her at the mezzanine before you talk to Lorik Qui’in. Gianna then departs, leaving you to consider your options.
Back to the Mezzanine
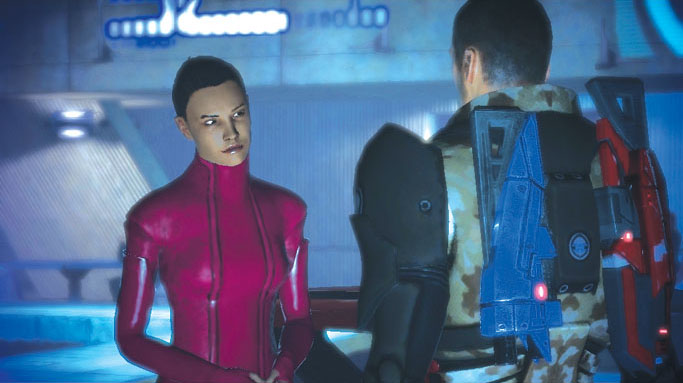
Lorik Qui’in awaits you at the hotel bar, but Gianna stands not far away. Speak with the woman in red before updating the turian to learn that she’s actually working for Noveria’s Internal Affairs department.
Apparently, the IA department has known about Anoleis’s corruption for quite some time; Parasini has been working undercover for six months trying to crack the case.
She asks you to convince Lorik to testify his knowledge of Anoleis’s corruption before Noveria’s board of directors.
If you’re able to help Gianna with her investigation, she agrees to provide you with whatever you need.
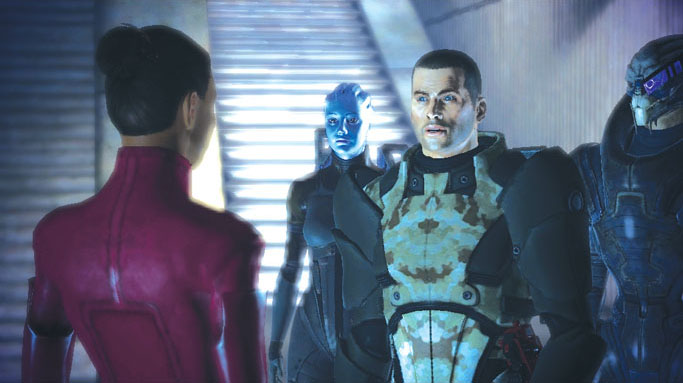
Question Gianna further and she’ll provide a few more details about the situation at Peak 15. Apparently, Port Hanshan has received a Code Omega signal from the Peak 15 facility, indicating a severe security breach.
That’s why the complex has been locked down: no one goes in or comes out until the port receives an all clear.
If such a message isn’t received, the board will take a vote as to whether they should destroy the facility. Here’s hoping that doesn’t happen while you’re up there!
Convincing Qui’in
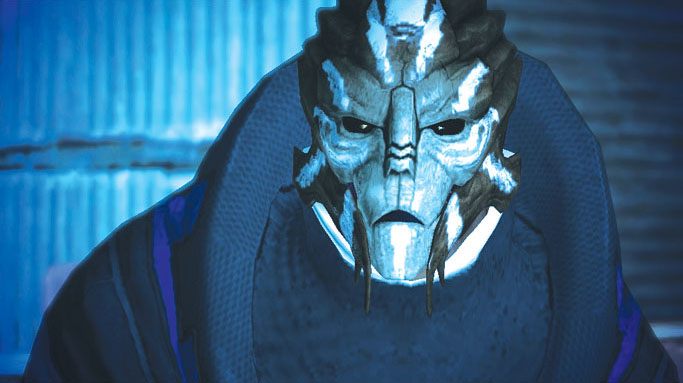
If you feel like bringing Anoleis down, tell Gianna you’ll lend a hand and then speak to Lorik Qui’in, who’s seated nearby.
If your persuasion talents are strong, you’ll be able to Charm or Intimidate Lorik into helping Internal Affairs bring the port’s corrupt administrator to justice, and earn a massive amount of morality points in the process.
If you’re unable to persuade Qui’in, simply hand over the evidence to complete your dealings with him.
This earns you a garage pass and a significant amount of Paragon points, but far fewer points than you’d get for Charming the old turian into cooperating with the investigators.
Putting Things to Rights
Assuming you managed to persuade Lorik and solicit his help, return to the plaza and visit Gianna at her desk. She’s surprised to hear of your success and quickly makes her arrest, hauling Anoleis away.
This nets you a garage pass and several more Paragon points, along with the gratitude of the entire station. Well done, Commander.
To the Garage
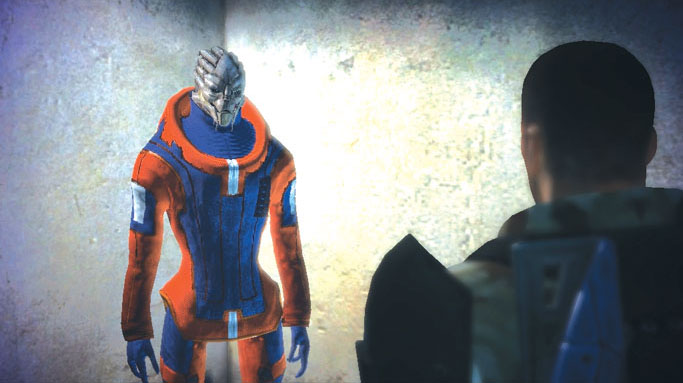
It wasn’t easy, but you’ve finally managed to acquire a garage pass and are now free to leave Port Hanshan in pursuit of Matriarch Benezia.
Lilihierax has heard of Anoleis’s arrest and congratulates you. Speak with him for a moment if you’d like, then proceed toward the garage entrance.
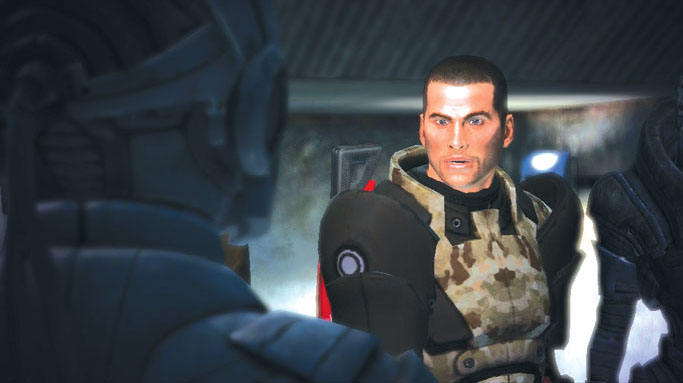
Speak with the ERCS guard stationed just outside the garage to show off your shiny new pass. The guard sees that the pass is genuine and asks you to be careful out in the blizzard.
Save your progress before entering the garage; you’re about to walk into an ambush.
The Matriarch’s Cargo
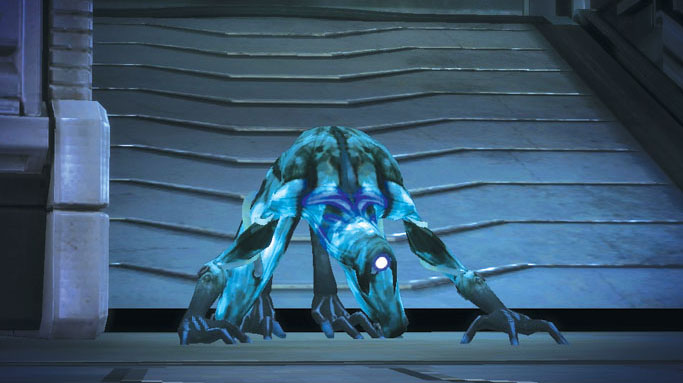
Enter the garage to find a heavy crawler/rover parked inside. Unfortunately, you find trouble in the garage as well: a number of geth stalkers and destroyers initiate a deadly attack without warning.
Matriarch Benezia must have snuck these synthetic hostiles into the port inside her cargo crates!
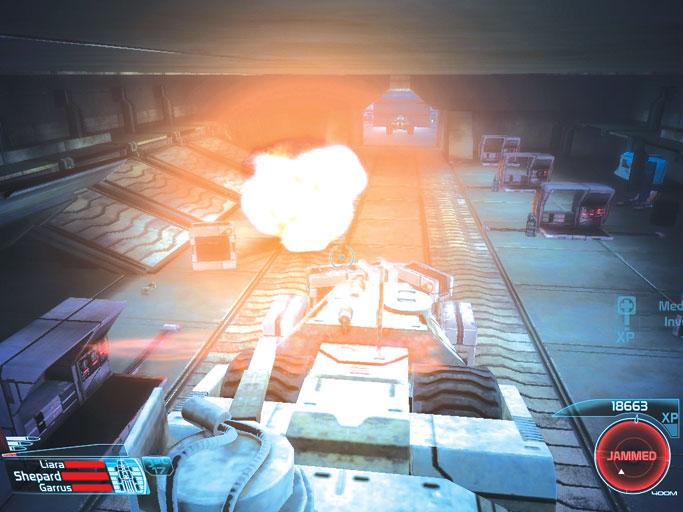
Use the surrounding crates as cover while fighting the geth. Make the destroyers your primary targets, as they pose the greatest threat to your squad’s health.
Work with your team to secure the garage before the geth turn you into mush.
A Visit from Maeko
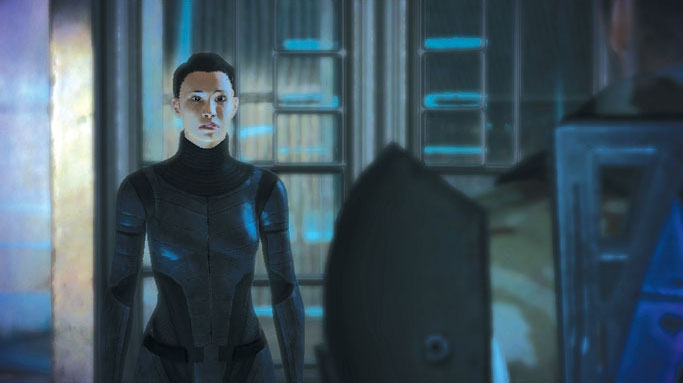
Captain Matsuo enters the garage shortly after the conflict resolves. She demands to know what happened and finds it hard to believe Shepard’s story of a geth attack.
There seems to be no other possible explanation, however, and Maeko finally accepts the Spectre’s story.
She then warns Shepard that the Matriarch brought scores of cargo crates with her to Peak 15. Shepard acknowledges the warning and Matsuo departs to file her report.
To Peak 15
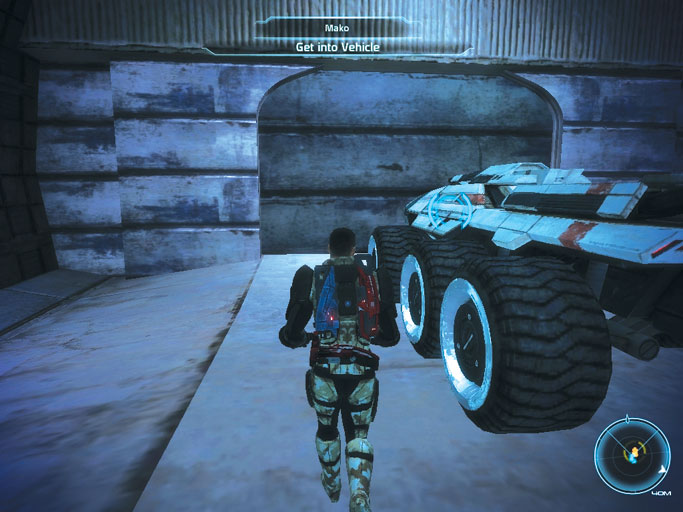
There’s nothing else for you here; the answers you seek lie hidden at Binary Helix’s Peak 15 facility.
The vehicle you could have used to repel the geth can’t actually be driven, so dash to the Mako near the garage’s northern door instead.
No lock need be picked to enter this vehicle; simply climb aboard and start off into the blinding snow.
Summit Trail—Aleutsk Valley
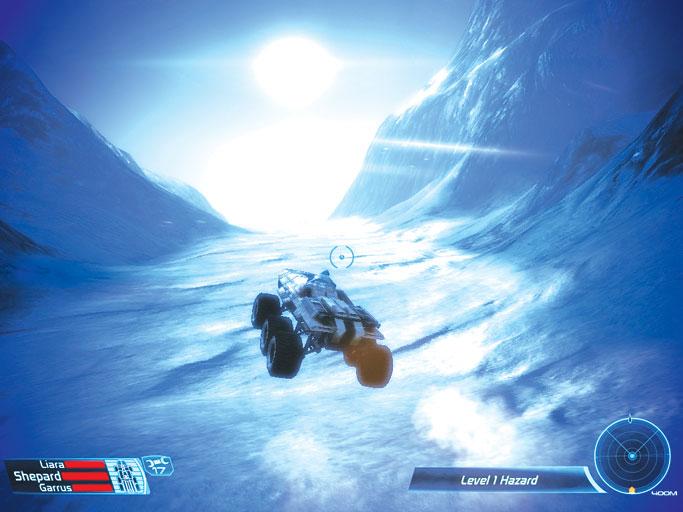
Weather may not have been the cause of the severed communications between Port Hanshan and Peak 15, but one thing’s for sure: There is a major blizzard in effect outside.
Be very careful not to stray from the path while journeying to Peak 15. Falling off the tall cliffs here means a sure death.
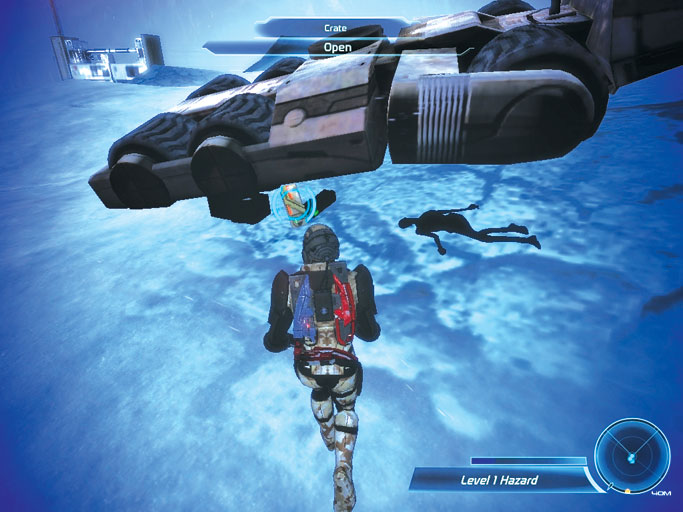
Rounding the first bend in the trail, the team happens upon an overturned heavy vehicle half-buried in the snow. The emaciated corpse of the vehicle’s pilot lies nearby, along with a crate full of supplies.
Park near the ruined heavy vehicle and press [Q] to make your squad hop out. Quickly loot the crate for goodies and then hurry back to the vehicle before your team takes damage from the elements.
Geth Blockade
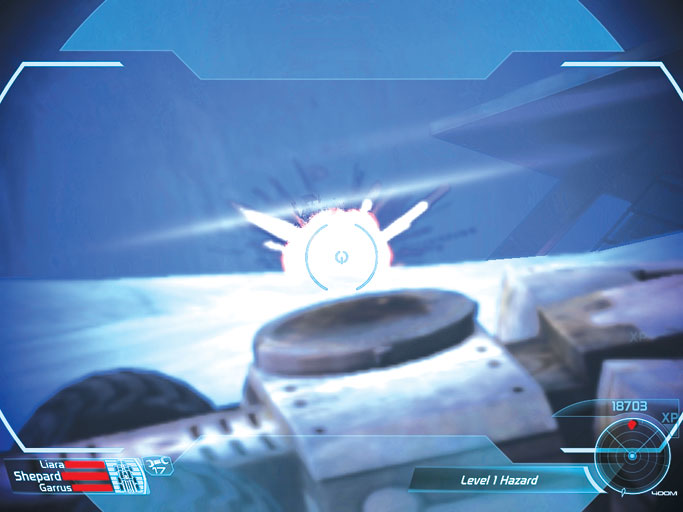
The tunnel beyond the upturned vehicle is heavily fortified by geth shock and rocket troopers. A heavy turret stands near the tunnel’s entrance as well.
Roll just a few meters past the ruined vehicle until you can sight the heavy turret. Press [Shift] to zoom in on the turret. Blast away at the device with the vehicle's heavy cannon.
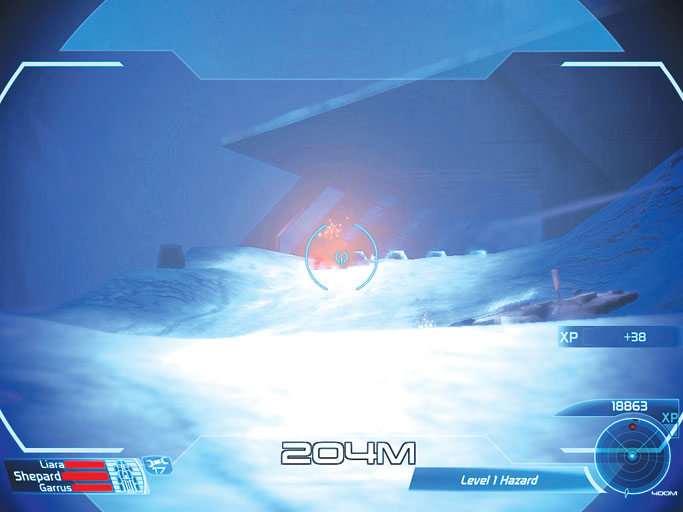
Obliterate the geth’s heavy turret, then turn your attention to the collection of troopers who have taken position behind kinetic barriers just inside the tunnel.
Storming forward would be unwise against so many shock and rocket troopers, so simply employ the same tactic of picking shots with the Mako’s cannon from range.
Reverse down the slight slope whenever projectiles start soaring your way, and make sure to use the Mako’s scope for improved accuracy.
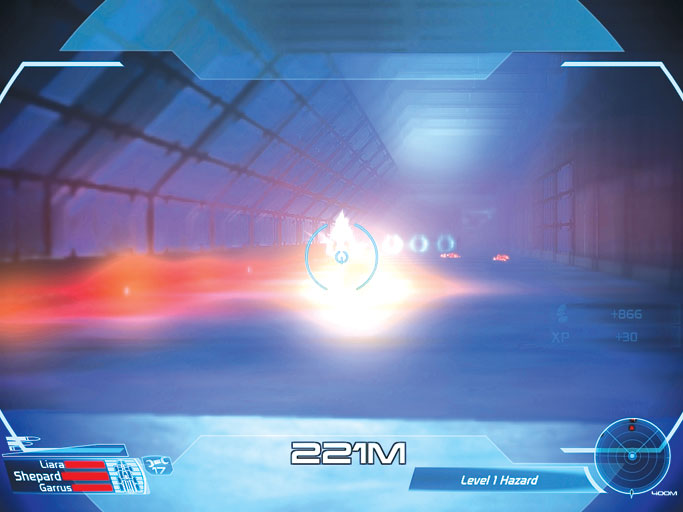
Yet more geth have placed barriers deeper inside the tunnel. Again, roll only as close as necessary to target these hostiles, reversing downhill to avoid inbound rockets. Clear the tunnel so you may safely pass through.
Armature Action
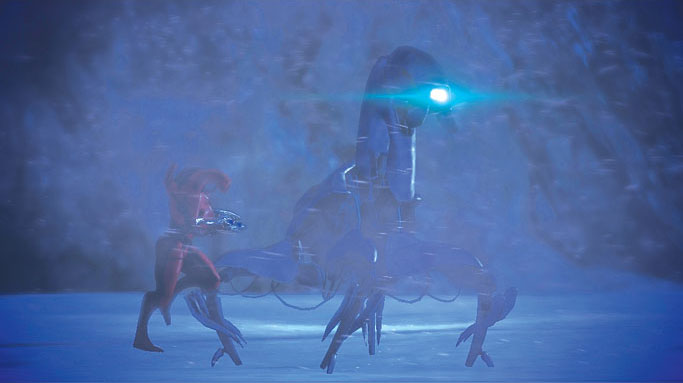
Exiting the tunnel, the squad spies a hulking geth armature come online in the distance. Retreat just inside the tunnel, using the tunnel’s right side as shelter from the armature’s powerful pulse attacks.
A few more geth soldiers are behind kinetic barriers near the armature as well. Just keep popping out from the tunnel’s mouth to fire on these foes, reversing as necessary to avoid damage.
The Second Tunnel
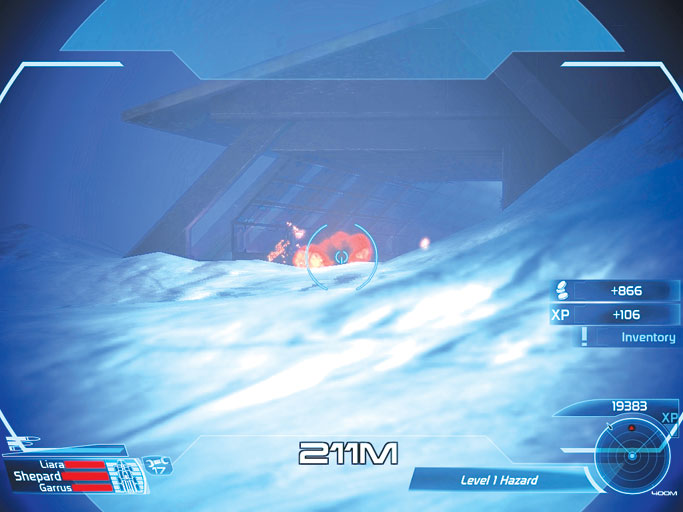
Before rounding the next corner, aim eastward and open fire on more geth troops and turrets stationed near the mouth of the next tunnel ahead.
These enemies won’t have much chance of striking you, as they’re poised on slightly lower ground.
Still, be prepared to back off if you start suffering damage. If this long-range assault isn’t working for you, feel free to continue along the trail, rounding the bend and positioning yourself a bit closer to the tunnel’s guards.
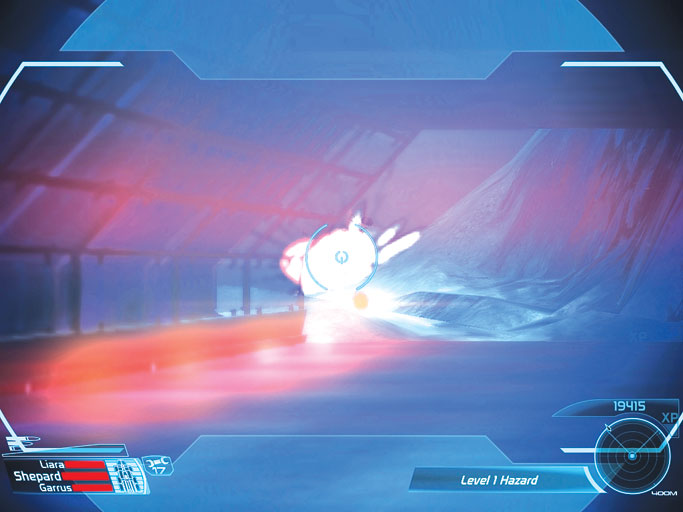
After crippling the exterior defenses, you’ll find the second tunnel to be hostile-free.
Roll through, keeping your eye on your radar until you spy a large red blip; another heavy turret stands just beyond the tunnel’s opposite end.
Remain inside the tunnel and obliterate the turret from a safe distance. It’s hard to avoid this one’s rockets in such an enclosed area, so do your best to destroy it quickly.
A few hits won’t matter much against the Mako’s sturdy shields.
Final Approach
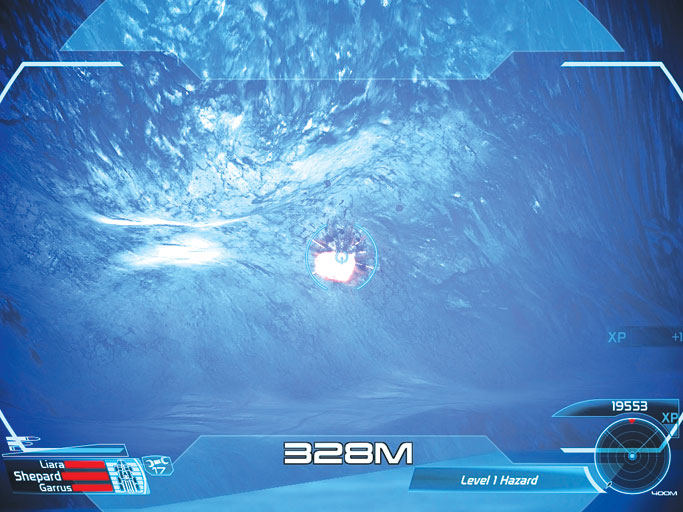
Exiting the second tunnel, scan the far mountainside to your left for signs of a geth heavy turret stationed along the rock wall.
The signs should be clear enough: the turret begins sending rockets your way the moment you exit the tunnel. Obliterate the turret from this vantage, dodging its sluggish projectiles with ease.
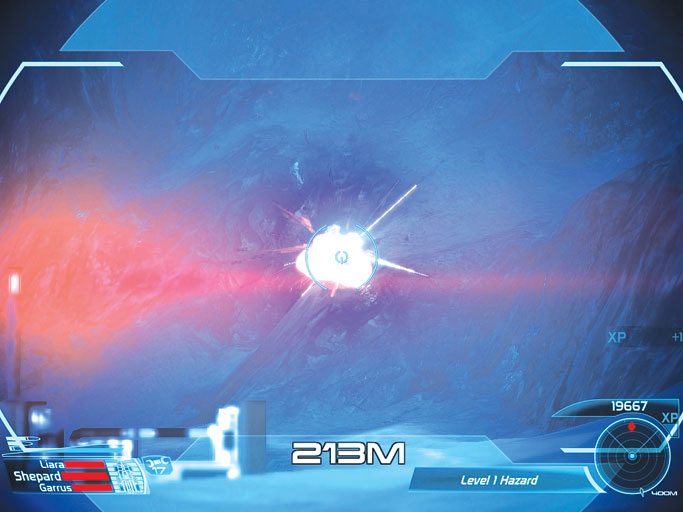
Approach the next bend carefully; yet another turret is stationed along the cliffside. Get close to the corner to gain a clear shot at this one, so roll forward until you can blast it away.
You face no more resistance for a while, so proceed around the corner and along the trail.
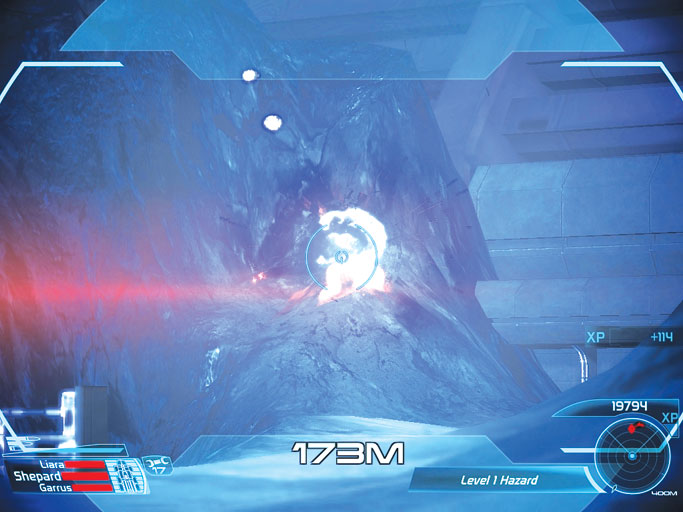
The last heavy turret is stationed on the cliff to the right (your left) side of Peak 15’s entrance. You must round the final corner to sight this threat.
Destroy the turret from range as fast as you can, and don’t worry if the Mako takes a few hits; its usefulness has come to an end.
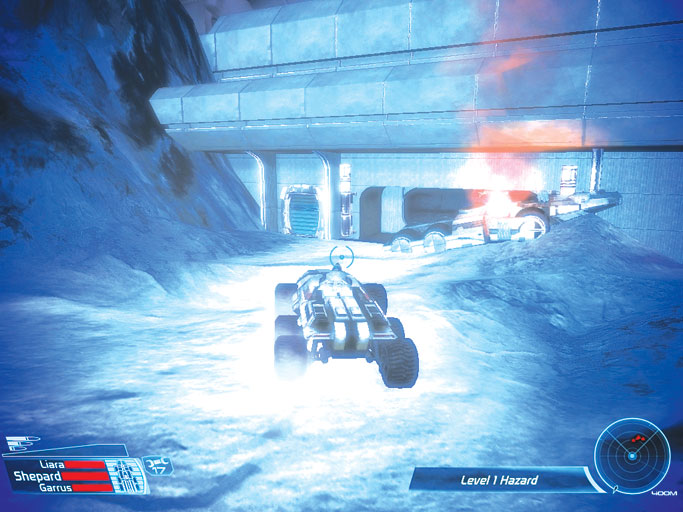
Drive to the facility’s entrance and park your Mako near its upturned cousin, which is still smoldering. Your radar registers hostiles, but these enemies are all within the Peak 15 complex.
Your Mako can go no farther, so hit Q to make your squad exit the vehicle and strike out on foot. Quickly enter the facility via the small door to your left before the blizzard claims your crew.