
Mass Effect (PC) Guide Walkthrough Chapter 5: Virmire
Objective 1: Visit Virmire; Reach the Camp
Destination: Virmire
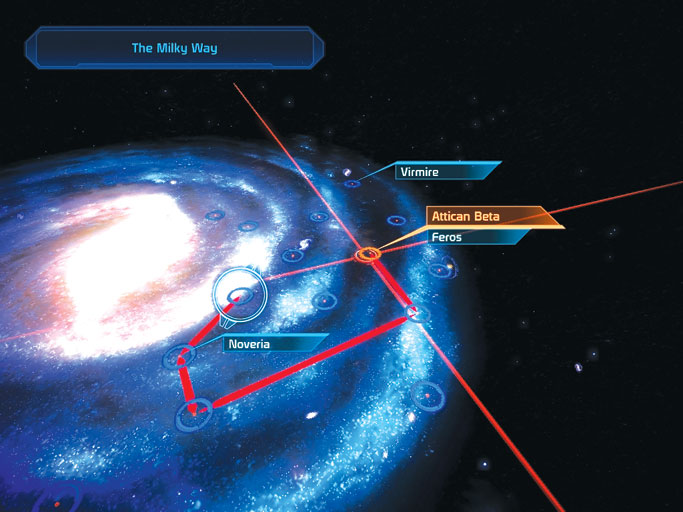
When you’ve finished exploring the Normandy and completed any active assignments you wish to fulfill, open the galaxy map and select the Sentry Omega cluster, labeled with a "Virmire" tag.
Select the Hoc system, also tagged "Virmire," then select planet Virmire as your destination when you arrive there. Then pick your away team.
Virmire: Landing Zone

Sensors detect a powerful anti-air (AA) tower active near the Council’s infiltration team. The Normandy can’t make a direct approach, so Shepard’s away team is deployed in the Mako to take out the AA tower instead.
The commander tells Joker to perform evasive maneuvers until the squad manages to bring the tower offline. Climb into the Mako and start rolling down the shoreline.
It doesn’t take long for the first batch of hostiles to register on the Mako’s radar. Round the bend and take ranged shots at the many geth assault drones and rocket drones hovering about.
These initial enemies pose little threat, particularly the assault drones.
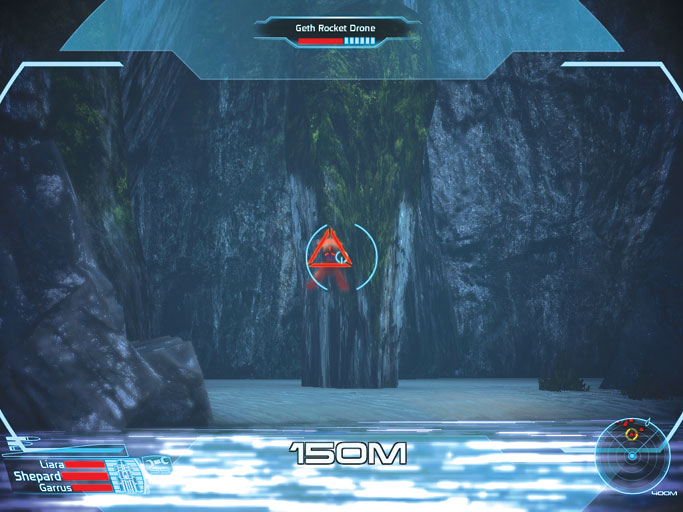
You encounter a few ground troops a short distance beyond, mostly rocket troopers. Use the radar to mark these enemies’ locations and blast each one apart with the Mako’s lethal cannon.
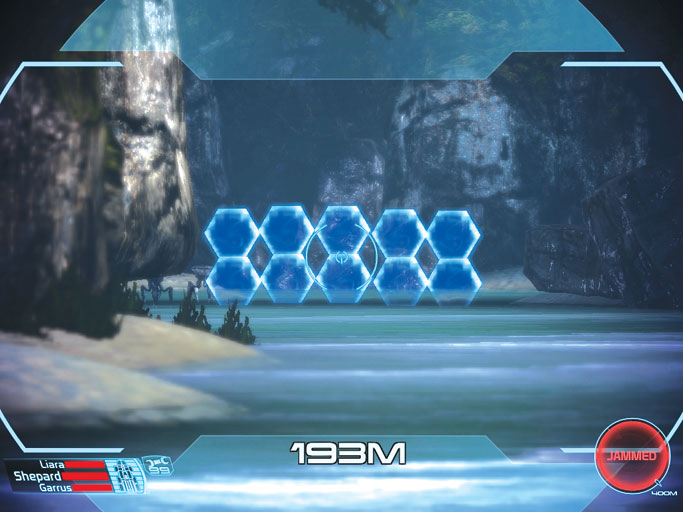
Your radar becomes jammed as you near the second gang of hostiles. Use the Mako’s scope to help you view and fire on these enemies from afar.
Blast their networked barriers to destroy them all in short order. Take it nice and slow, and don’t advance until you’re certain the way is clear.
Gatehouse 1
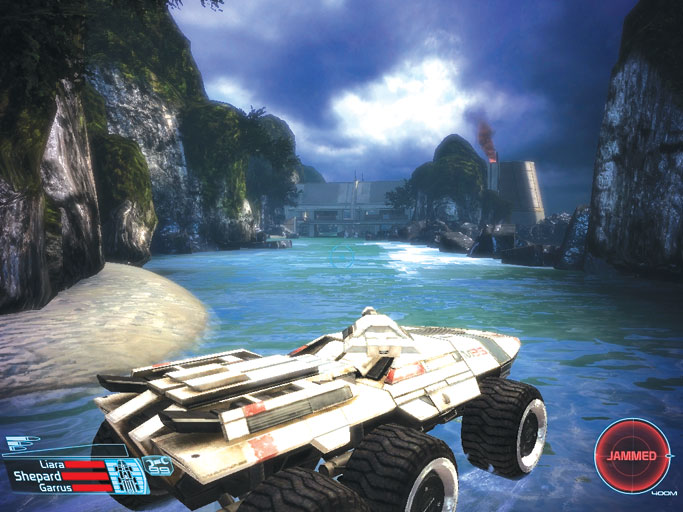
You soon come to a giant gatehouse fortified by geth forces. Keep back and use the left rock wall as cover. Roll out to take a shot or two, then quickly reverse to dodge inbound rockets.
Zoom in with the Mako’s scope, watch for weapons fire to mark each enemy, and obliterate all geth forces before you advance past the gate.
Enter: Colossus
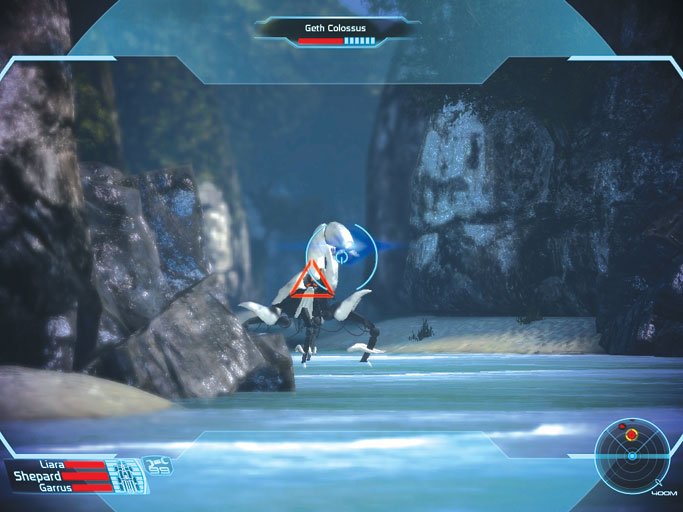
Just beyond the gatehouse, the crew encounters a massive armature-like creature called a geth colossus . This brute is a force to be reckoned with, but the left rock wall provides fantastic cover.
Roll out and take a shot or two at the colossus, then retreat behind the cliff just as you did when assaulting the gatehouse. Repeat this procedure until the mighty colossus finally falls.
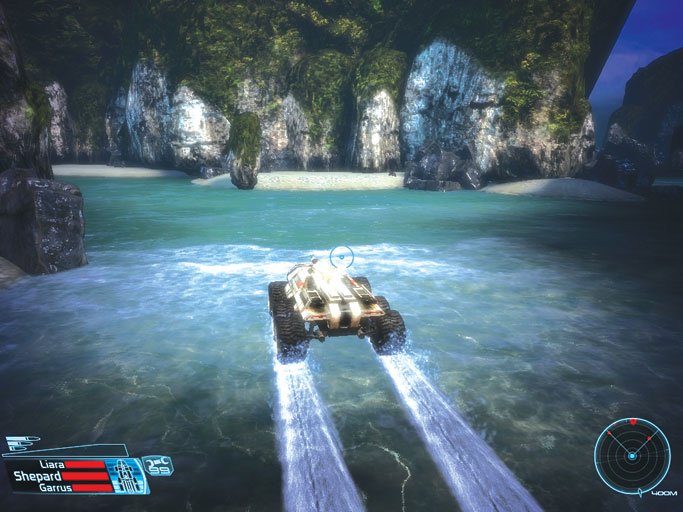
The trail forks just beyond the colossus. Each fork features another colossus that must be defeated, and a handful of armatures as well. Pick either branch and look to use the surrounding rock walls for cover as you’ve done before.
Gatehouse 2
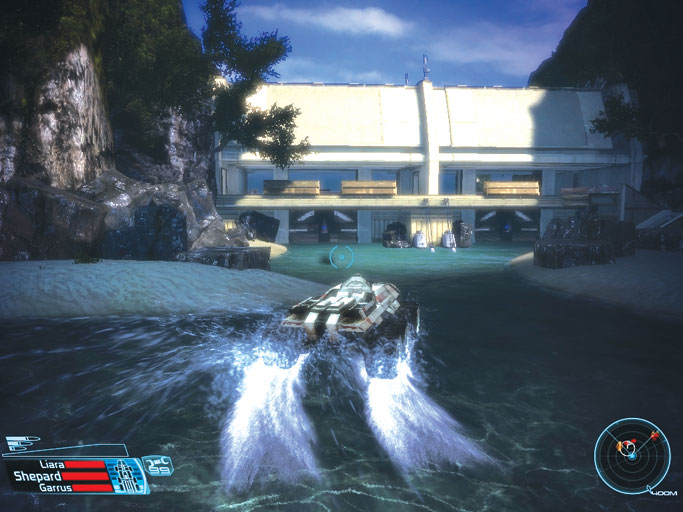
The trail reconnects with itself just before leading to the landing site’s second gatehouse. This is where the AA tower is stationed.
Use the surrounding cliffs as cover and poke out to assault the gatehouse defenders. Advance as necessary and be quick to obliterate any troops that move to attack.
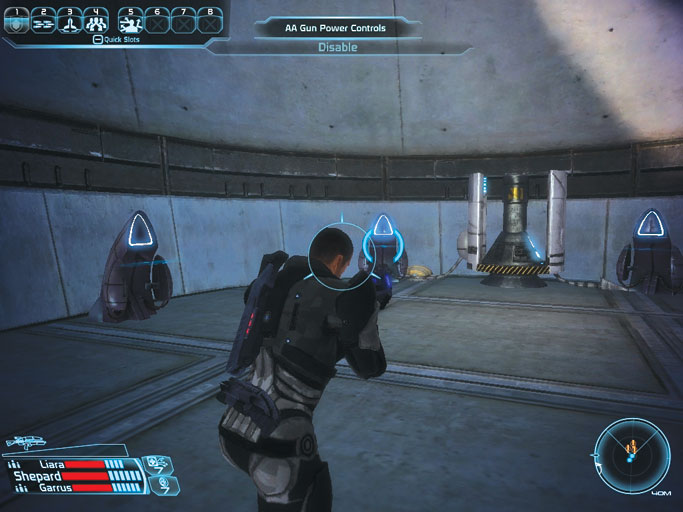
Inflict as much damage as you can in the Mako, rolling right up to the gate in an effort to lure the geth out of hiding.
Park near the gatehouse stairs afterward, climbing out and moving to assault the gatehouse on foot. Make a tactical approach, keeping close to cover and being wary of lingering defenders.
When it’s clear, move to the gatehouse’s far end, and utilize the AA gun power controls to disable the AA tower so the Normandy may land safely at the Council infiltration team’s campsite.
Then activate the nearby gate controls to raise the lower gate so your squad may proceed in the Mako.
Gatehouse 3
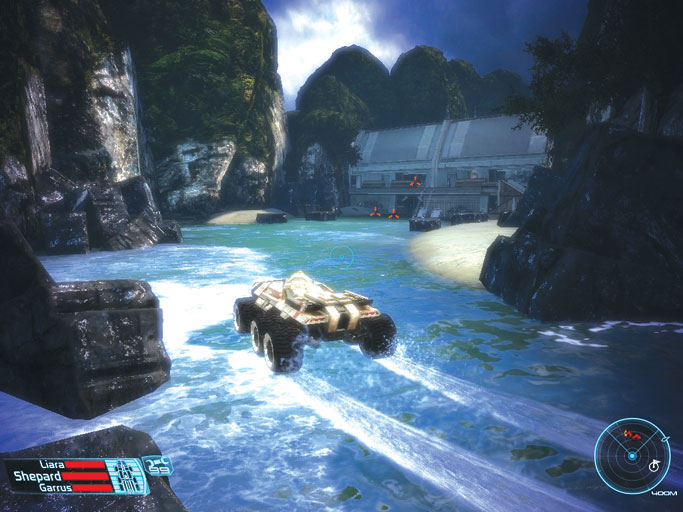
The third and final gatehouse stands just beyond the second. Employ the exact same tactics as before: thin the geth forces in the Mako as much as possible before you strike out on foot to secure the gatehouse.
Work with your squad to secure the station and then use the gate controls to raise the lower gate. Next, loot the area, then return to the Mako and proceed to the campsite ahead.
Infiltration Team Campsite
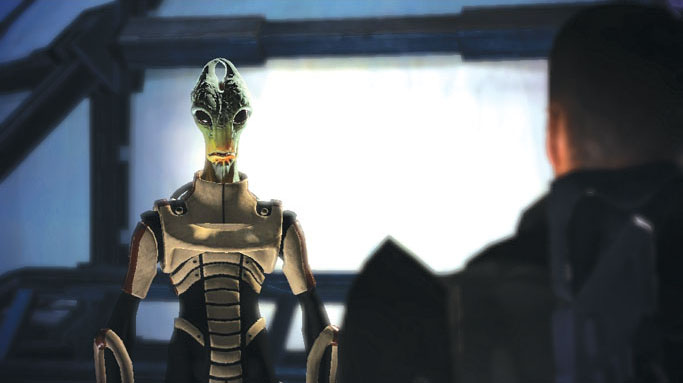
Arriving at the campsite at last, Shepard finally gets his first look at the Council’s infiltration team: a crew of salarians led by one Captain Kirrahe.
Speak with Kirrahe to learn that his team has discovered one of Saren’s research bases here on Virmire.
Apparently, the base is heavily fortified by geth forces. The salarians haven’t actually seen the rogue Spectre himself, but are certain this is the site of his primary base.
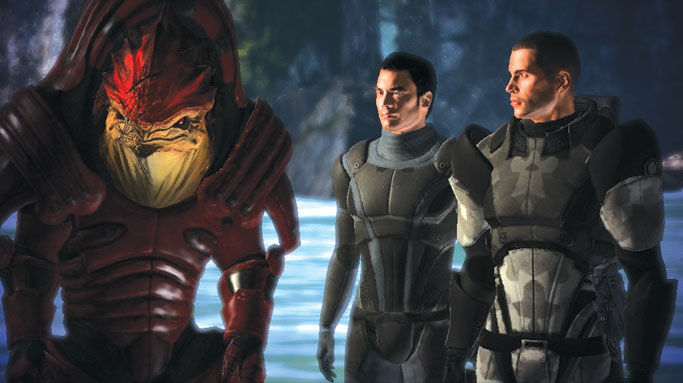
Kirrahe informs Shepard that Saren’s using his base to breed an army of krogan. This piques Wrex’s attention, who asks how such a feat could be possible.
Kirrahe says Saren must have developed some sort of cure for the genophage, the horrible weapon used against the krogan race to quell the Krogan Rebellions more than 1,000 years ago.
If Saren has truly developed a cure, he could quickly amass a krogan army capable of conquering the galaxy as they nearly did before.
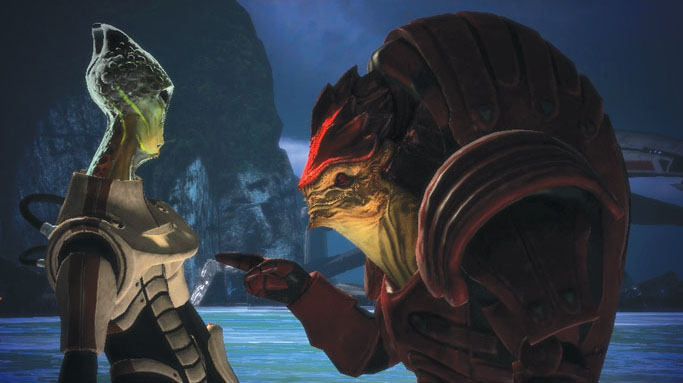
Shepard and Kirrahe agree: Saren’s base must be annihilated to end the potential krogan threat. Naturally, Wrex doesn’t see it that way.
His people are dying, and Saren’s cure could save them. Becoming agitated, the krogan warrior storms off before he can say something he might regret.
Kirrahe tells Shepard he needs time to meet with his team and come up with a plan. He invites Shepard to speak with Commander Rentola in a nearby tent if the Spectre seeks supplies.
When the dialogue concludes, you’re free to speak to Wrex and explore the campsite. When you’re ready to move on, simply speak with Captain Kirrahe a second time.
Commander Rentola
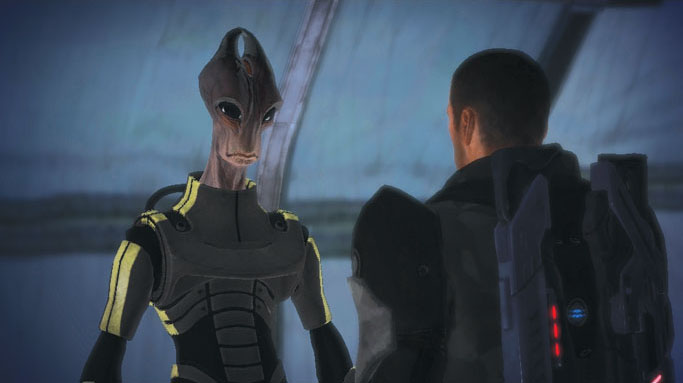
Heed Kirrahe’s suggestion and make a quick visit to Commander Rentola’s tent to browse the salarian’s stock of supplies.
The commander is obviously displeased with the current situation. His team had been expecting the Council to send a fleet to assist them.
Nevertheless, he does have a few items to sell. Purchase all that you can. The geth and krogan at Saren’s base are sure to be quite a handful.
Kirrahe’s Plan
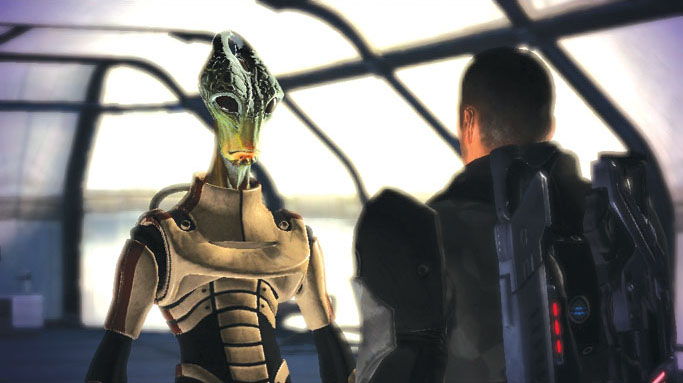
Speak with Captain Kirrahe when you’re ready to move on.
The salarian has come up with a remarkable plan: he’ll use his ship’s drive core as a small nuke, which is easily capable of destroying Saren’s facility if detonated in the proper location.
Unfortunately, the makeshift bomb must be brought to the heart of the compound, and it’s too big to carry. It must be deployed by air via the Normandy .
Saren’s base is well fortified, so a team will need to infiltrate the base and disable all the defenses.
Kirrahe’s scheme is crazy enough to work, but it risks significant losses. The salarians plan to divide themselves up into three assault groups tasked with attacking the front of the base and keeping its defenses occupied.
As the salarians throw themselves against the facility’s frontal armaments, Shepard will sneak a "shadow team" in through the rear to disable the AA weaponry.
This will allow the Normandy to deploy the salarian’s nuke and extract any survivors.
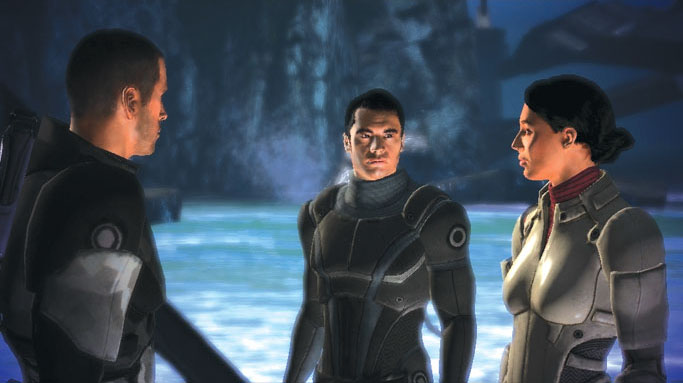
Unfortunately, Kirrahe requires one of Shepard’s crew members to lead one of his assault teams. You must choose who will accompany the salarians on their risky op: either Kaidan or Ashley must go.
Pick whichever crewmate is less likely to be of value to your own squad, then question Kirrahe about the mission to gain more insight, along with a few new secondary Codex entries.