
Mass Effect (PC) Guide Walkthrough Spectre Assignments: Noveria and Feros
Noveria Assignments
All of these assignments can be triggered during your visit to Noveria, although not all of them can be completed on Noveria. They’re listed here in a chronological order that complements the Noveria mission walkthrough presented earlier in this guide.
1) Noveria: Smuggling
How to Get It: Speak to Merchant Opold in Port Hanshan Plaza
When It Is Available: Upon arriving at Noveria; cannot be triggered after you go to Ilos
Where It Takes Place: Port Hanshan
Special Notes: Need 8 Charm and 6 Intimidate to see all potential dialogue options
Speak to the hanar merchant, Opold, in the northeast corner of Port Hanshan plaza to find that it wants to recruit you to smuggle a delivery past Noveria customs.
As a Spectre, you are not subject to the restrictions that prevent Opold or anyone else from bringing this item into the station.
Opold is sketchy on the details unless you have sufficient Charm and Intimidate scores to bring up persuasions. Use the persuasions to draw more information out of Opold.
His customer is a krogan bounty hunter named Inamorda, and Opold assures you that the contents of the package pose no danger to anyone in Port Hanshan.
If you want to accept this assignment, choose "I’ll do it" from the dialogue wheel. If you choose not to accept it, select "Goodbye," or "No. Sounds shady." Accepting the assignment triggers Noveria: Smuggling and its first task, Retrieve the Package.

Merchant Opold in the northeast corner of Port Hanshan Plaza wants you to smuggle an item for it.
Retrieve the Package
Merchant Opold arranges to have the package delivered to the Normandy. Opold says that all you need to do is pick it up, carry it through customs, and bring it to Opold.
And while that’s true, there are a number of other uses for the package once you have it. Here are your options:
1. Bring the package back to Opold to complete the assignment as requested.
2. Bring the package back to Opold, but tell him that you’re keeping it, and add the item to your inventory.
3. Find Inamorda in Port Hanshan Mezzanine and give him the package directly, cutting out the middleman.
4. Give the package to Anoleis in the administration office of Port Hanshan Plaza in exchange for a pass to the garage.
Regardless of which way you choose to go, you have to pick up the package first. Backtrack to the Port Hanshan docking bay and look near the airlock leading to the Normandy to find it.
It appears to be a powerful, experimental weapon mod. After you pick it up, you can easily carry it through Port Hanshan customs with no issue whatsoever.
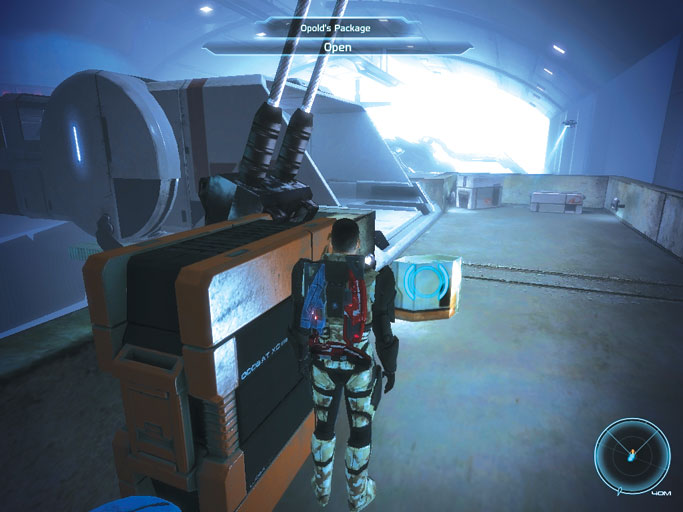
Pick up Merchant Opold’s illicit package in the Port Hanshan docking bay.
Give the Package to Opold
When the package is in your possession, you can return to Opold and give it to him, or you can decide to hang onto it and keep it for yourself.
If you want to give the package to Opold, choose "Yes" from the dialogue wheel. Opold thanks you and offers 250 credits as payment.
If you have high enough Charm and Intimidate scores, you have access to a pair of persuasions that bump the price up to 500 credits and earn you a Paragon or Renegade bonus in the bargain.
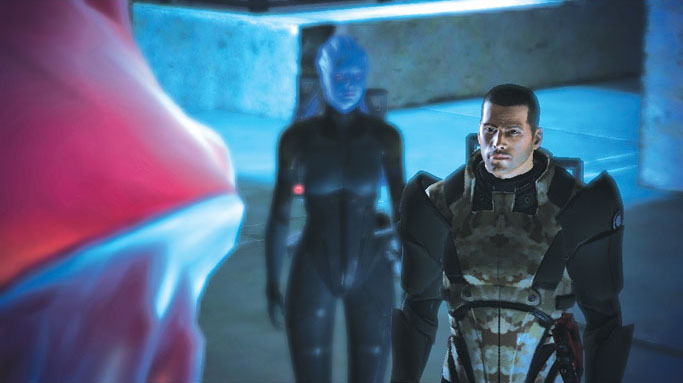
Merchant Opold does not offer as many credits for the item as Inamorda does.
Keep the Package
If you decide to hang onto the package, return to Opold and choose "I’m keeping it" from the dialogue wheel. Opold becomes as angry as a hanar is capable of becoming and asks you to leave (although you can still return to it and buy items from the merchant’s shop).
Choosing to keep the package gives you a mod of varying type and rank, depending on your experience level—the higher your level, the more valuable the mod is.
Give the Package to Inamorda
Inamorda waits in the middle of the upper walkway of the mezzanine. You can talk to him about Opold’s package before or after you retrieve the package.
Tell him that you have (or will soon have) the package. He offers you a business proposal. He’s paying the hanar more than he wants to pay, and he’s guessing that it’s paying you less than you want.
If you’re interested, tell Inamorda to "Give me a figure." He offers 500 credits. If you have high enough Charm and Intimidate scores, you can respond with one of two persuasions that drive up the price to 750 (and give you a Paragon or Renegade bonus in the bargain).
You can accept that price and complete the assignment, or you can tell Inamorda that it’s not enough and hold onto Opold’s package for the time being.

You can speak to Inamorda in the mezzanine and deal with him directly.
Give the Package to Anoleis
Administrator Anoleis is completely corrupt (not to mention a first-class jerk), but he has something you need: a pass to the Port Hanshan garage. Without that pass, you can’t progress in the main plot and proceed to Peak 15.
If you speak to Anoleis in the administration offices (located in the southeast corner of Port Hanshan Plaza) after picking up Opold’s package, you have the option of telling Anoleis about the package and handing it over to him.
Anoleis seems to be less delighted that you intercepted a potentially dangerous shipment than he is at having an excuse to shake down Opold for his dirty dealings, but it does convince him to part with the garage pass.
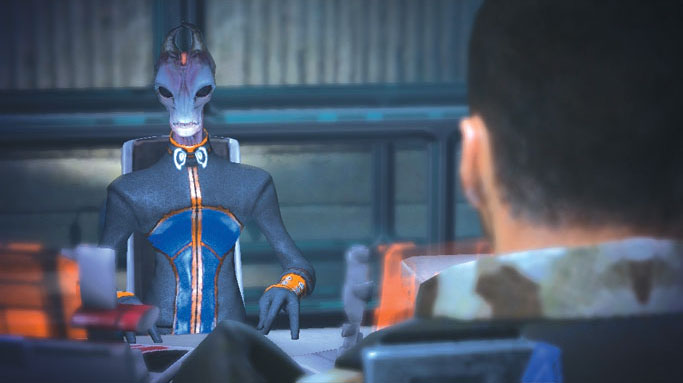
Give the package to Anoleis and he’ll give you a garage pass.
2) Noveria: Espionage
How to Get It: Speak to Mallene Calis in Port Hanshan Mezzanine
When It Is Available: Upon arriving at Noveria; cannot be triggered after you go to Ilos
Where It Takes Place: Port Hanshan Mezzanine
Special Notes: Need 12 Charm and 9 Intimidate to see all potential dialogue options
When you first enter the Port Hanshan Mezzanine, an asari by the name of Mallene Calis calls to you from the southeast corner of the mezzanine’s lower floor.
Speak to her; she tells you that the male human at the bar is a Binary Helix salesman named Rafael Vargas.
Mallene needs you to distract him by posing as a potential buyer of military enhancement technology for the Alliance, while she cracks into Vargas’s personal network and determines whether Binary Helix has violated any asari biotic copyrights.
She offers you a tidy sum of credits if you successfully complete the assignment. Accepting the assignment triggers Noveria: Espionage and its first task Keep Him Talking.
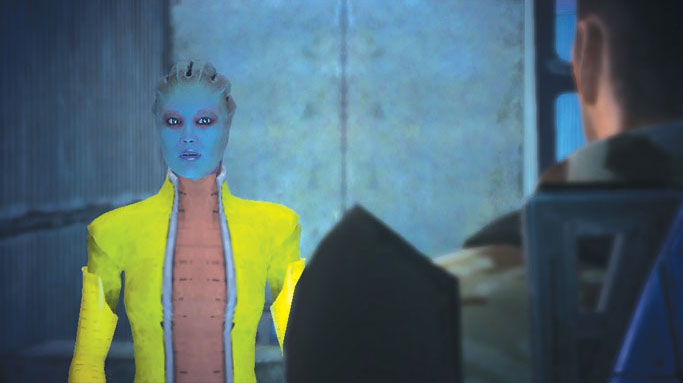
Speak to Mallene Calis to trigger the assignment.
Keep Him Talking
When you accept the assignment, Mallene gives you the device that will crack into Vargas’s network and tells you that it will beep when it is finished. Ask about Vargas.
Mallene tells you that he has no patience for wasting time. He also rubs the back of his neck when he’s nervous, so press him when you see that to distract him and keep him talking.
Armed with this knowledge, go to the bar’s north side and start talking to Rafael Vargas. Right from the beginning of the conversation, you can tell him that Mallene asked you to spy for her, or you can play along and pretend to be interested in his services.
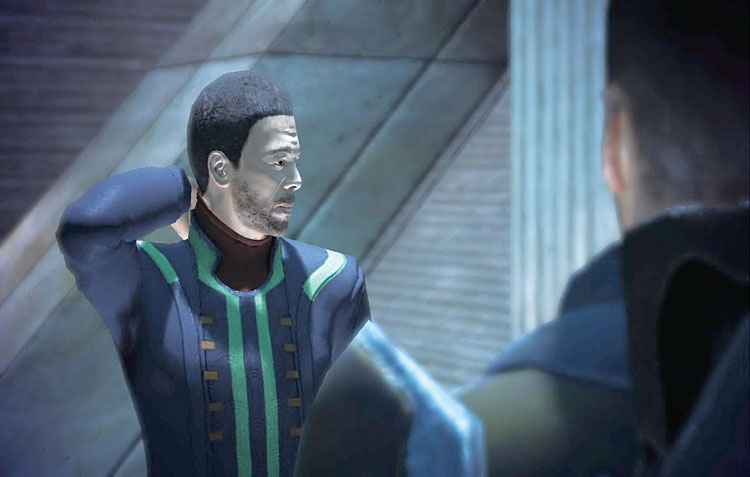
Speak to Rafael Vargas to continue the assignment.
If you tell Vargas that Mallene tried to recruit you as a spy, Vargas thanks for you telling him and leaves. The assignment is updated with the next task, Turned Mallene In.
If you choose to do as Mallene asked and pose as a buyer, you need to keep Vargas talking. To do that, just continually press him with persuasions every time they appear as options.
This keeps the conversation going until Mallene’s device beeps. As soon as this happens, make any excuse you want to get out of conversation with Vargas and complete the current task. The next task is Hacking Complete.
Turned Mallene In
If you told Vargas about Mallene’s plan, return and speak to her. You can either tell her that you told Vargas about her, or you can lie and say that you completed the job.
Return to Mallene after turning her in to Vargas.
If you tell Mallene the truth, she doesn’t seem to be all that angry, but she does realize that it’s probably time for her to leave Noveria. This completes the assignment and awards you a Paragon bonus.
If you lie to Mallene and tell her that the job is done, she is pleased and says that she will transfer 500 credits to your account.
If your Charm and Intimidate scores are high enough, you see a couple of persuasions. Using either of these talks her up to 750 credits and earns you a large Renegade bonus for completing the assignment.
Hacking Complete
If you successfully hacked Vargas’s personal network, return to Mallene and tell her so. She thanks you for a job well done and promises to transfer 500 credits to your account.
To bump that number up to 750, use either of the persuasions that appear (if your Charm and Intimidate scores are high enough). You also earn a Paragon or Renegade bonus for using a persuasion. This completes the assignment.
3) Doctor At Risk (A.K.A. UNC: Dead Scientists)
How to Get It: Hack the terminal in the southwest corner of the Port Hanshan Mezzanine’s upper floor
When It Is Available: Upon arriving at Noveria; cannot be triggered after you go to Ilos
Where It Takes Place: Ontarom, Newton System, Kepler Verge cluster
Special Notes: Electronics skill required
There’s a terminal in the southwest corner of the upper floor of the mezzanine that you can hack if you have sufficient skill in Electronics. A successful override attempt allows you to view the following security log of an unauthorized transmission:
Not sure if you will receive this, Doctor, but it is imperative you make your way to the safe location. Your history with our organization has been leaked.
Your base in the Newton System is no longer secure. I repeat, make your way to the safe location immediately.
Overriding the terminal and viewing the message triggers Noveria: Doctor At Risk and its first task, Find the Doctor.
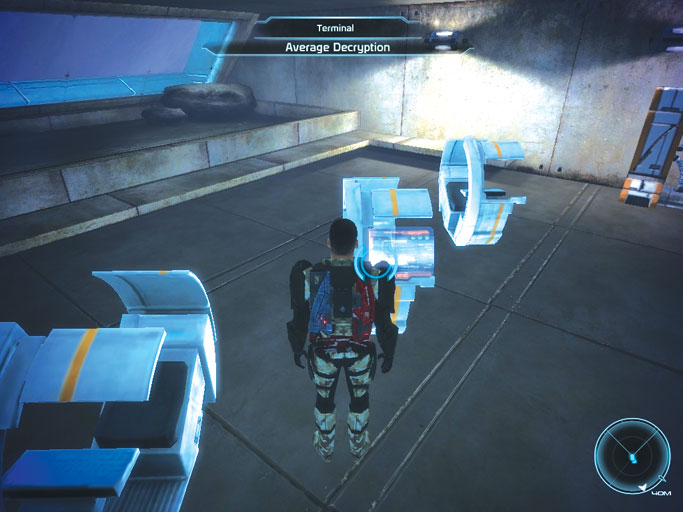
Override the terminal in the mezzanine to trigger the assignment.
Find the Doctor
When you arrive in the Newton System of the Kepler Verge cluster, you receive a transmission from Admiral Hackett of Alliance Command, who tells you that someone is killing former Alliance scientists.
Four have been killed so far, and all of them worked together on a secret project on Akuze, the planet where your entire unit was wiped out (if you have the Sole Survivor background).
Only one scientist who worked on the project is still alive, and Hackett gives you his last known coordinates.
At this point, the name of the assignment changes to UNC: Dead Scientists , and its next task appears in your journal: Find the Scientist.
Find the Scientist
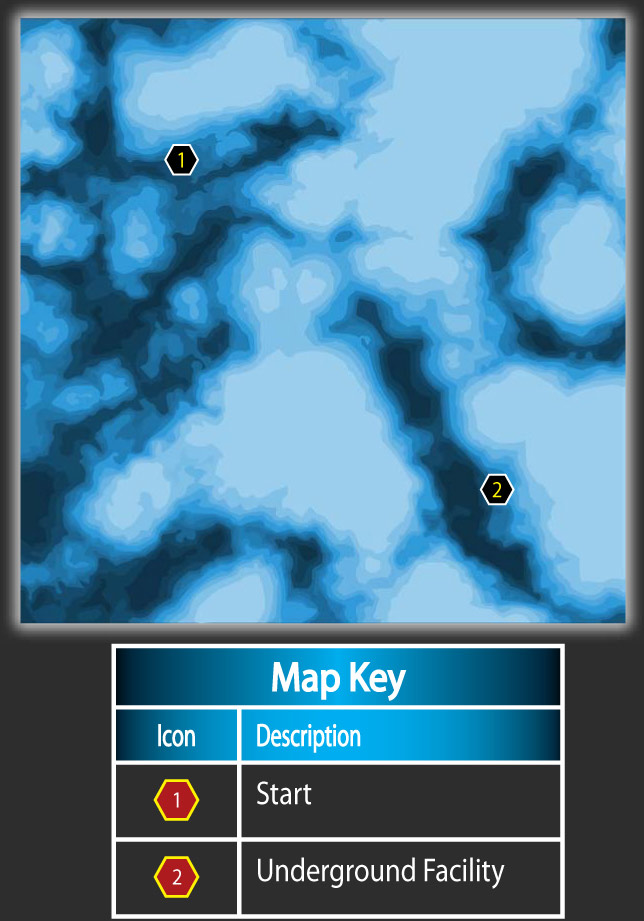
Ontarom
When you land on Ontarom, drive southeast along the valley that leads to the underground facility (2), but be careful: It is surrounded by mercenaries.
Before you get too close to it, you might want to detour to the debris just north of it (indicated on your in-game map) and pick off the guards from a distance with the Mako’s rockets.
Use your radar to keep an eye on how many guards there are, and use their fire to visually confirm their locations.
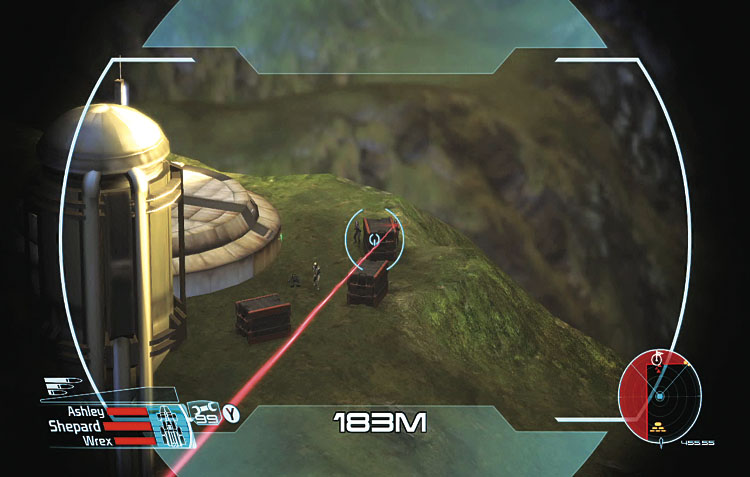
The underground facility is surrounded by mercenaries. Attack them from a distance to pick them off.
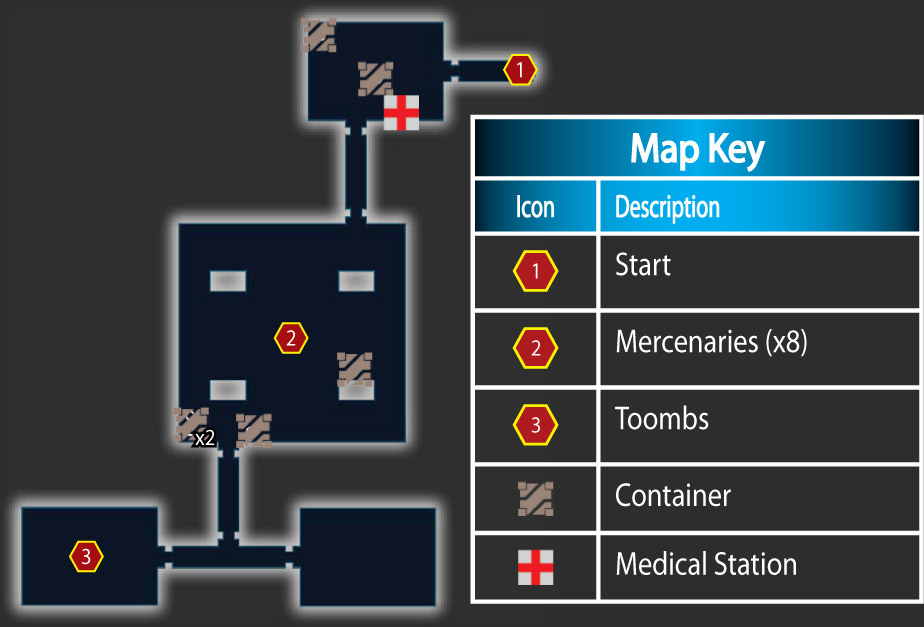
Noveria: Ontarom Science Station
Once the mercenaries have been disposed of, drive up to the underground facility, get out of the Mako, and go through the facility’s main entrance to reach the Ontarom Science Station.
The main room of the Science Station is guarded by eight more mercenaries. Weapon mods that inflict additional damage on organics and bypass shields are very useful in this fight.
Make good use of cover and squad tactics to eliminate all enemies in the main room. Be aware of the numerous explosive devices littered around the room—shoot them when enemies are near them, and avoid standing next to them during the firefight.
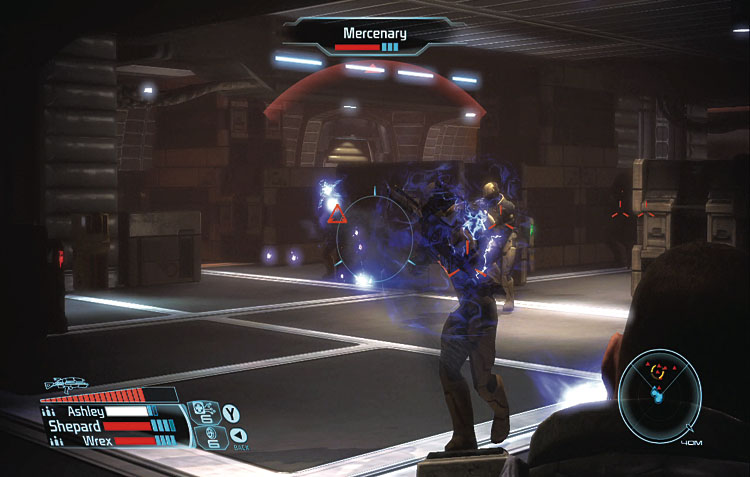
The eight mercenaries in the main room of the Science Station put up quite a fight.
When the mercenaries have all been wiped out, proceed into the southwest room of the Science Station, where you’ll find a soldier named Toombs (3) holding a gun at the head of the scientist you came to save.
If you have a Sole Survivor background, Toombs recognizes you from Akuze, and you’re shocked to see that he didn’t die there with the rest of your unit.
He reveals that the scientists he’s been killing were conducting an experiment on Akuze. They led the thresher maws to the base to study what would happen when they attacked.
Toombs wasn’t killed; he was recovered by the scientists, who proceeded to run a brutal battery of tests on him.
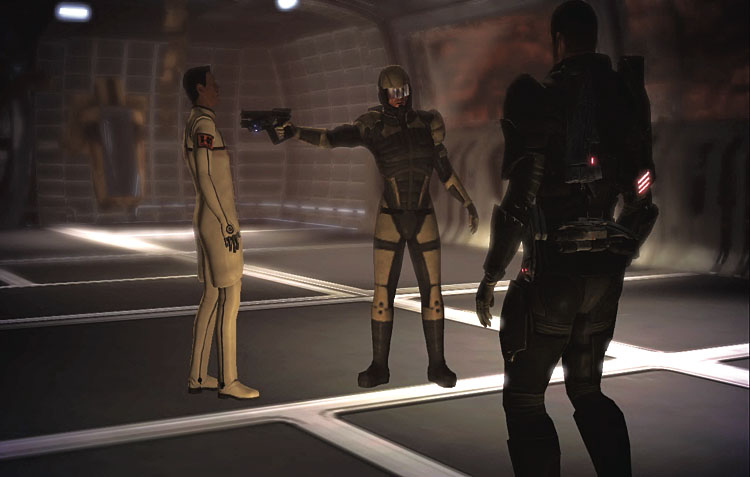
Toombs is determined to get revenge for what the scientist did to him on Akuze.
If you have the Charm and Intimidate scores, a pair of persuasions appears in the dialogue wheel ("This isn’t justice" and "Let me do it").
Your other, non-persuasion options include: "Let’s make this public," "Think about this," "Go ahead," and "Do it." Here’s what they do:
"Let’s make this public" : Toombs says that the scientists were part of a secret organization called Cerberus, and will never allow their actions to be made public. This returns you to the same dialogue wheel you saw before, but "Let’s make this public" is no longer an option.
"Go ahead," "Do it," and "Think about this!" : Toombs shoots the scientist and then himself.
"This isn’t justice" : You tell Toombs that he’s better than this. He argues, which brings up three additional dialogue options. All of them lead to Toombs lowering his weapon and agreeing to let the scientist live.
"Let me do it" : You tell Toombs that if he kills the scientist, he’s a criminal. But as a Spectre, you can kill him with impunity.
Toombs demands the chance to kill the scientist himself. This brings up three more options, all of which lead to your killing the scientist and Toombs remaining alive.
Regardless of how you resolve the standoff, it completes the current task and returns you to the Mako with a new task, Report to Hackett.
Report to Hackett
Get back into the Mako and return to the Normandy. Access the Galaxy Map to automatically report back to Admiral Hackett and complete the assignment.