
Mass Effect (PC) Guide Walkthrough Chapter 3: Noveria
Objective 3: Investigate Peak 15
Welcoming Committee
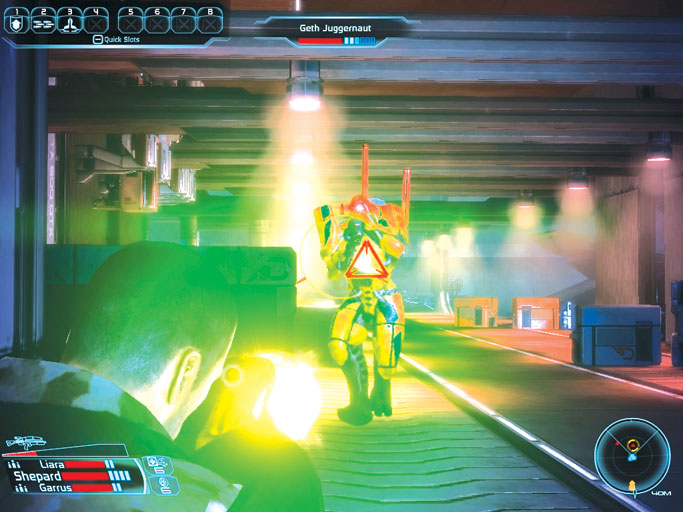
You’ve finally arrived at Peak 15 and have accessed its entry garage. Approach the shutter door until it opens, then fall back when your squad falls under fire.
A geth juggernaut quickly advances from the south end of the garage while a powerful krogan shoots at you from a balcony to your left.
Keep out of the krogan’s sights as you retaliate on the juggernaut, and be quick to destroy the fragile geth repair drone that’s attempting to keep this war machine up and running.
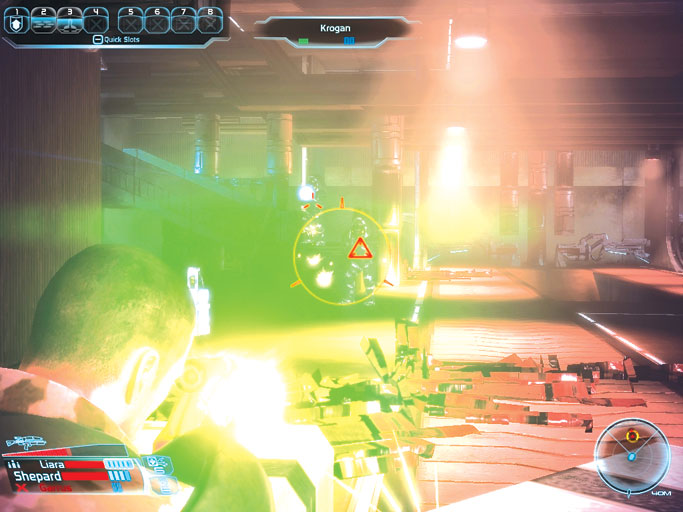
Move up after dropping the juggernaut and take up position behind the first large crate on your left. Advancing this far into the garage prompts two more krogan adversaries to attack from farther ahead.
These guys aren’t as quick to rush you as the juggernaut, so keep behind the crate, using it as cover while you pick them off from afar. After you drop both foes, turn your attention to the lone krogan on the left balcony.
Exploring the Garage
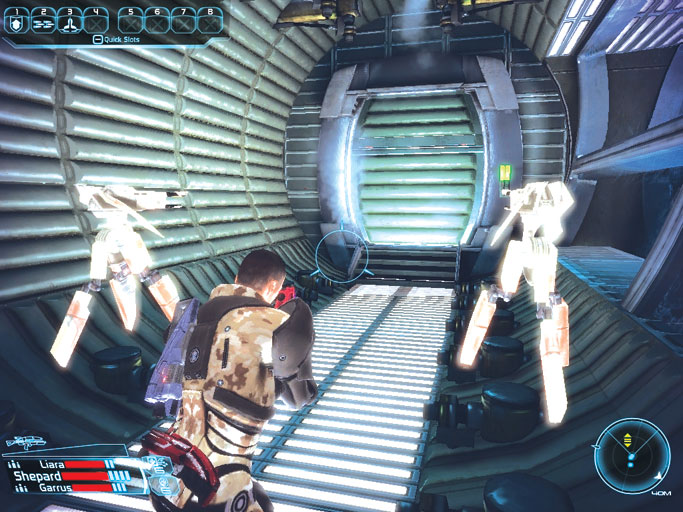
Securing the garage prompts a warning message to play out over the station’s comm network. Peak 15 has suffered a great deal of damage, and many of its faculties and VI interfaces are currently offline.
There isn’t much to see on the ground floor of the garage, so head upstairs to find a crate and an upgrade kit sitting on the balcony the krogan was defending.
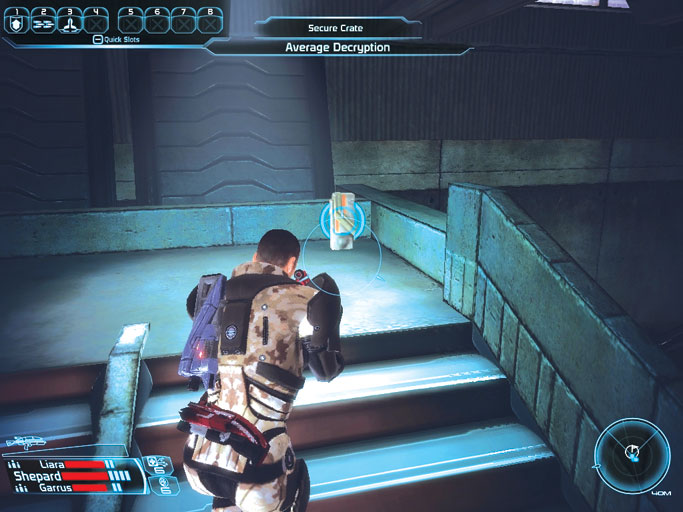
The team notices two inactive gun turrets pointing not at them, but toward the garage’s second-floor elevator. One squad mate asks why the weapons are facing the wrong way.
The other replies that the facility’s researchers probably want to keep whatever’s inside in as much as they want to keep others out…a chilling prospect.
Raid the nearby security office for valuables and make an fast equipment check before using the elevator to reach the station’s administration level.
Peak 15 Administration
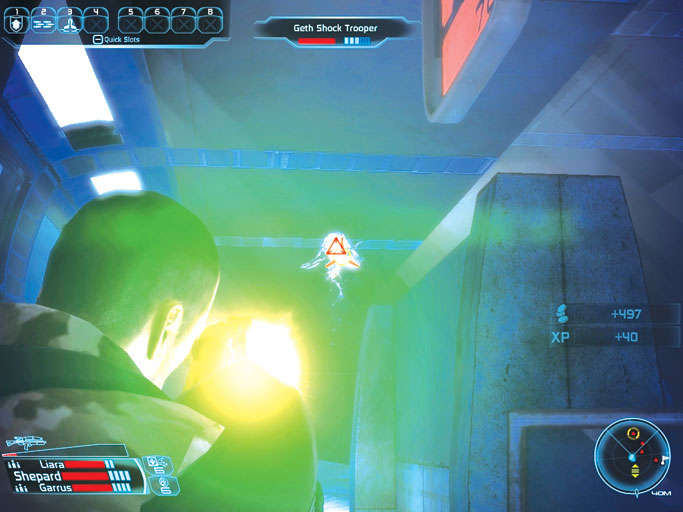
The facility’s automated alert message wasn’t kidding; Peak 15’s administration level is severely damaged. The whole place looks like it’s been hit by a nuke.
You don’t have time to sift through the wreckage; geth troopers open fire as you near the cafeteria.
Remain just outside the room. Push Shepard’s back to a wall and peek out to take shots from the doorway.
Keep watching your radar and let the hostiles come to you; move into the cafeteria only after you thin the enemy ranks.
Rachni Attack
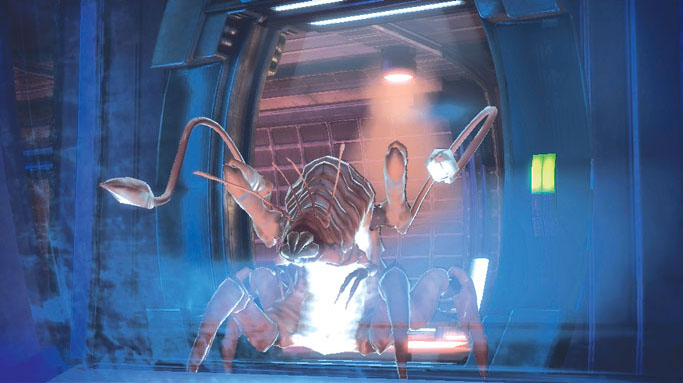
Shortly after eliminating the geth, the team listens as terrible rumbling and unnatural screeching noises ring out from all directions.
Within moments, a horde of horrific, spider-like aliens comes crawling out of nooks and crannies all about. This can’t be! It’s a swarm of rachni !
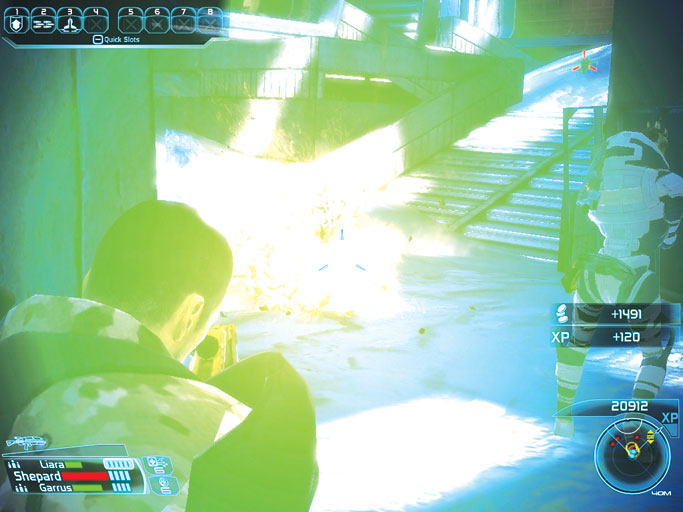
Immediately back off to avoid becoming surrounded by the creatures. Target the tiny rachni workers skittering along the floor first to pop them before they move close and explode in a shower of poisonous toxins.
Then turn your fire on the two large rachni soldiers that run down from the north stairs.
Focus your squad’s fire on the soldiers to quickly drop each one in turn while keeping as far away from their whipping tentacles as possible.
Scare Tactics
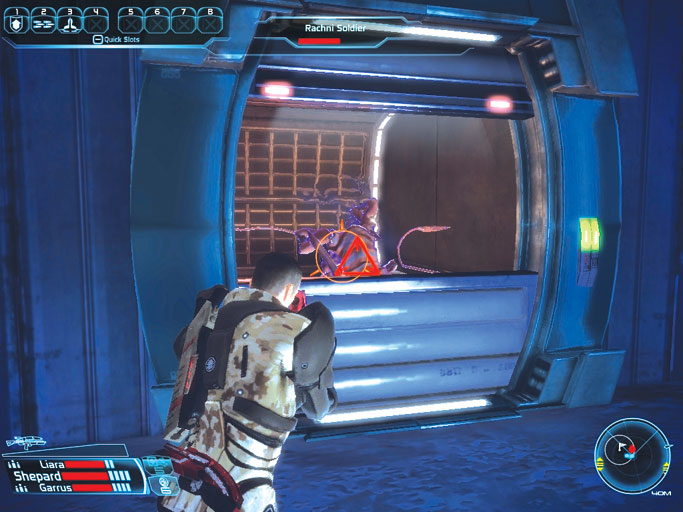
Save your progress after repelling the rachni swarm. There isn’t much to see or do around the cafeteria, so head up the snowy north stairs to explore the administration level’s second floor.
Keep your weapon at the ready; more rachni soldiers burst out from ventilation shafts and the like in surprise attacks.
One pops up from a floor vent in the small northern room. Another drops in from behind just as you near the far-south elevator.
Each time you face a soldier, back away and unleash hell with your weapon of choice. Shotguns and assault rifles are ideal against these advancing foes.
Peak 15: Mira Core
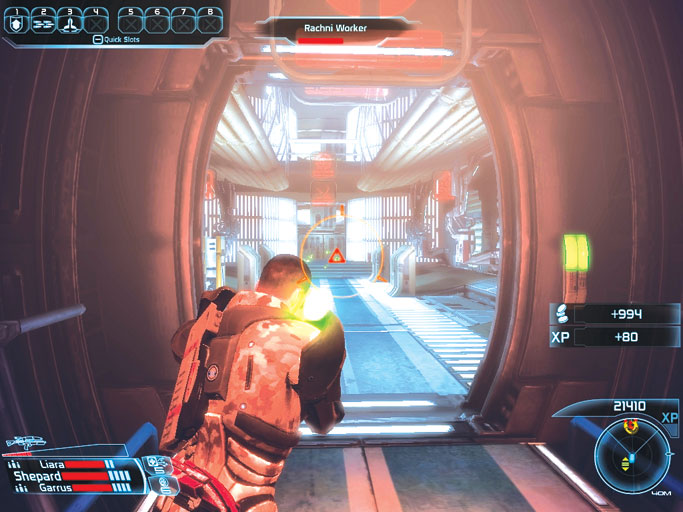
Take the administration floor’s south elevator to reach what is known as the Mira Core portion of Peak 15.
Your radar registers hostiles: A host of rachni workers awaits you in the short hall just outside the elevator.
Equip an assault rifle and eradicate these pests from afar before they rush close enough to explode at your team’s feet.
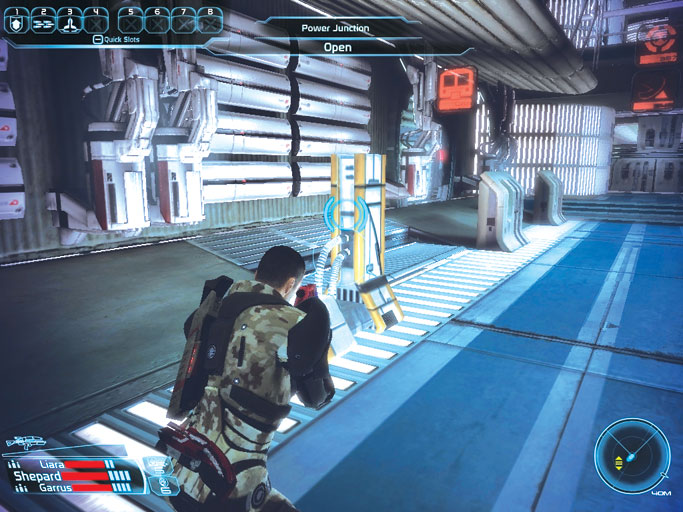
Repel the workers, then approach the power junction that stands just to your left inside the corridor. One of your squad mates thinks the facility’s power systems can be reactivated from this terminal, but the attempt fails.
The damage is too extensive—a manual reboot of Peak 15’s VI program is required.
All electronic door locks are not responding, so you’ve no option but to proceed through the west door. Open the nearby technician kit along the way.
To the Core
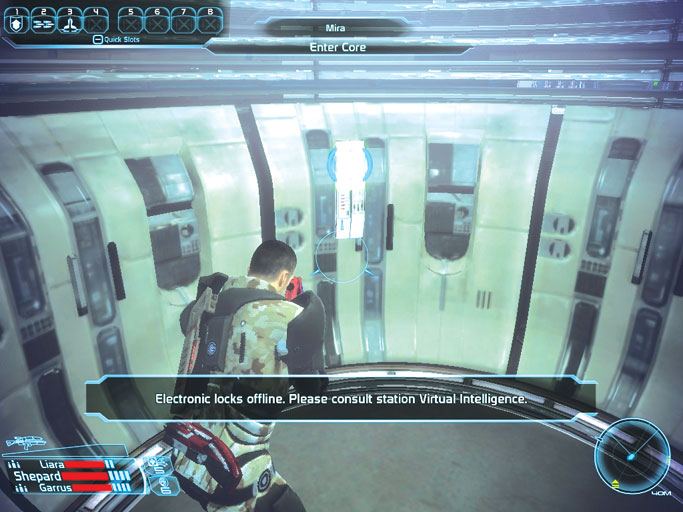
The west chamber houses the facility’s circular core interface. Round the chamber and enter the core, pressing [E] or [Enter] to access the VI mainframe.
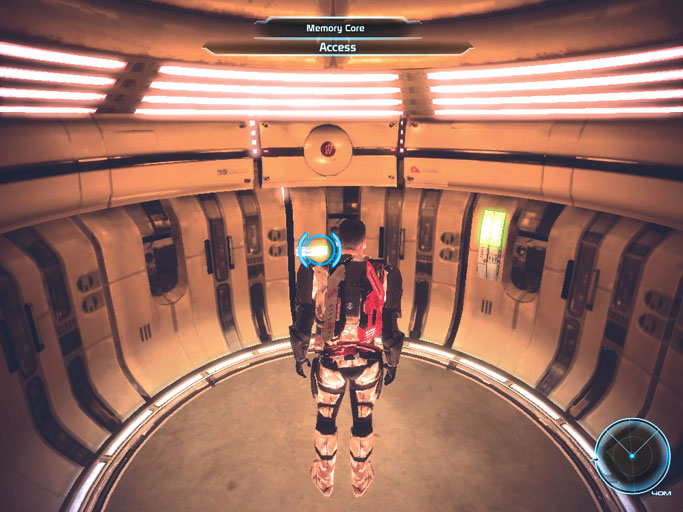
Interact with the memory core to learn that the entire VI system is offline and must be repaired. You then have the option of spending 100 units of omni-gel for automatic repairs, or you may attempt a manual reactivation.
Use omni-gel if you’re in a hurry; there’s no downside in doing so, except that you’ll use up some of this valuable resource. Or check the following sidebar for details on how to perform a manual reactivation.
A Chat with Mira
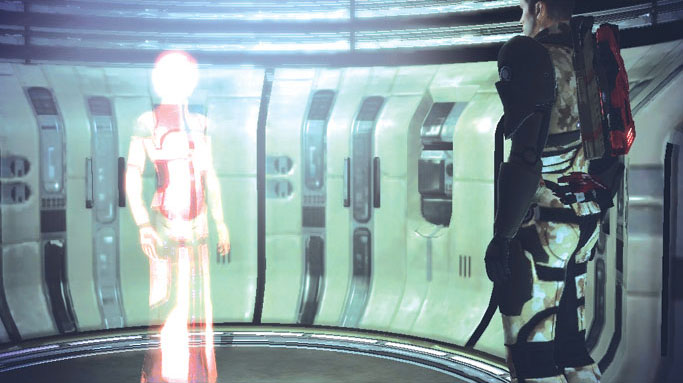
Upon reactivating the system core, a female VI persona suddenly appears in front of Shepard. The VI system introduces herself as Mira and asks if Shepard is trying to restore power to the facility.
Say you’re trying to do just that, then inform Mira that you’re a Spectre to gain clearance access to all of Peak 15’s systems.
Mira informs you that details related to corporate secrets and research are only available to Binary Helix executives, however.
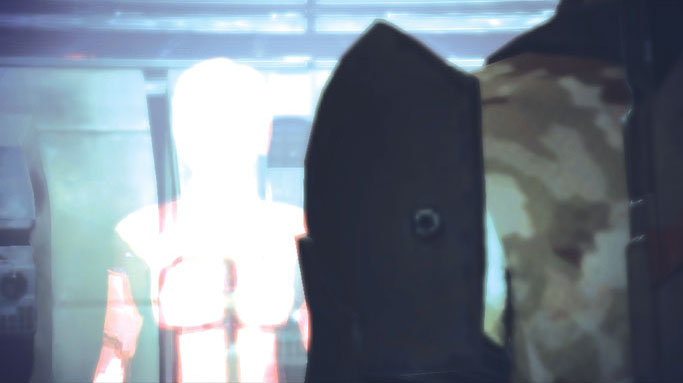
Mira informs you that she’s ready to process your queries, and that she can be accessed again at any time through any of the various holographic interfaces housed within Peak 15.
Begin questioning the VI program to learn that Matriarch Benezia has left Peak 15 via a tram that runs to a remote rift station.
Mira then alerts you that the tram system has since been taken offline; a manual restart is required.
Probe Mira further to learn that you must reconnect the fuel lines within Peak 15’s main reactor, along with the landlines atop Peak 15’s roof, to get the tram running again.
Mira can also tell you a bit more about what’s happened here at Peak 15 prior to the VI console being shut down.
To the Reactor
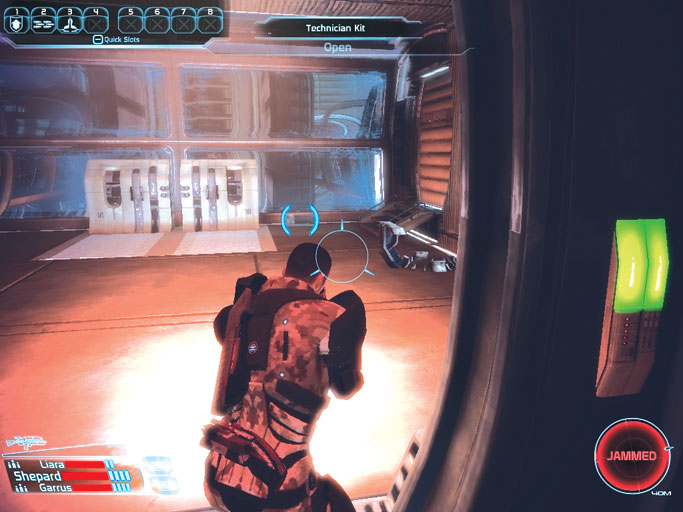
With the station’s VI systems enabled, you’re now able to explore more of Peak 15. Gear up your squad, save your progress, and then use the north elevator to reach the station’s main reactor core.
Loot the entry chamber for goodies, then equip your weapon of choice and move to one of the reactor core’s side walkways.
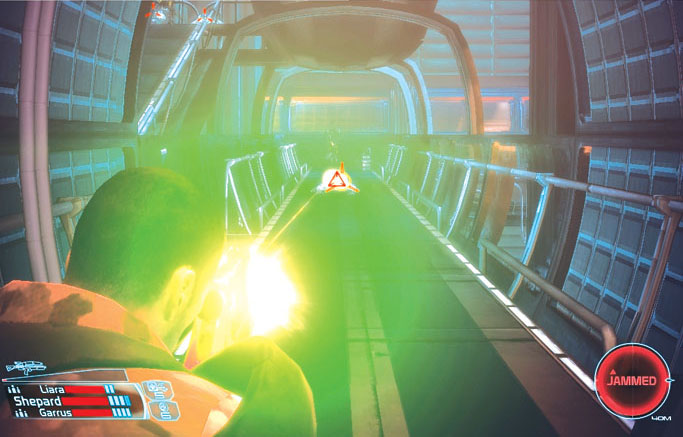
The walkways are guarded by a geth destroyer and a stalker. If you’re quick on the draw, fire on the explosive canisters at either end of the walkway to inflict heavy damage on the destroyer before it notices you.
Focus your squad on the destroyer to bring it down fast, then work at picking off the hopping stalker.
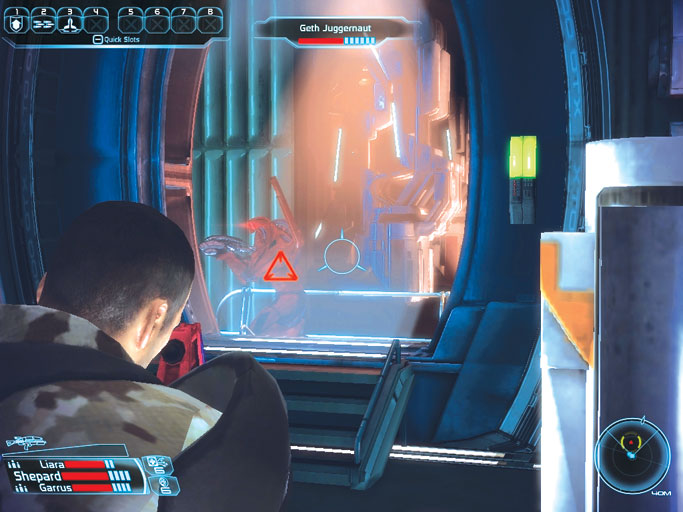
Beware when advancing down the walkways: a geth juggernaut will rain bullets and rockets down on you from an elevated platform behind you
Backpedal down the walkway, aiming upward to fire on the juggernaut. Dash forward to seek shelter within the entry chamber if your shields happen to fail.
Fixing the Fuel Lines
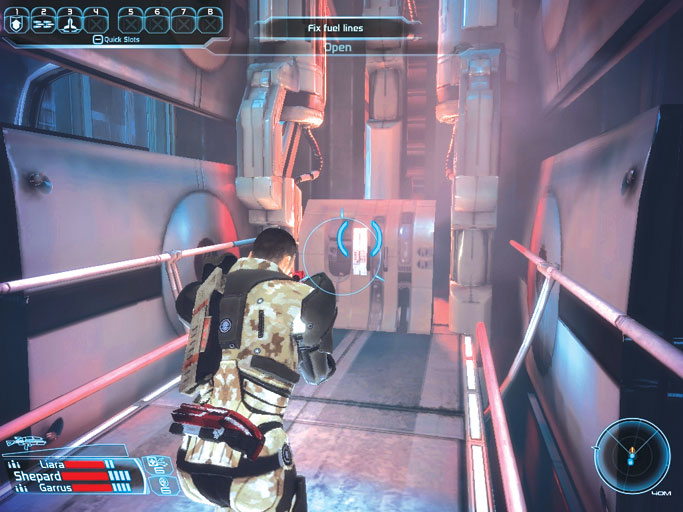
The fuel line repair terminal is at the far end of the walkways. Secure the vicinity and then activate the fuel line controls to initiate repairs.
Good work! You’ve just moved one step closer to activating the tram to the rift station.
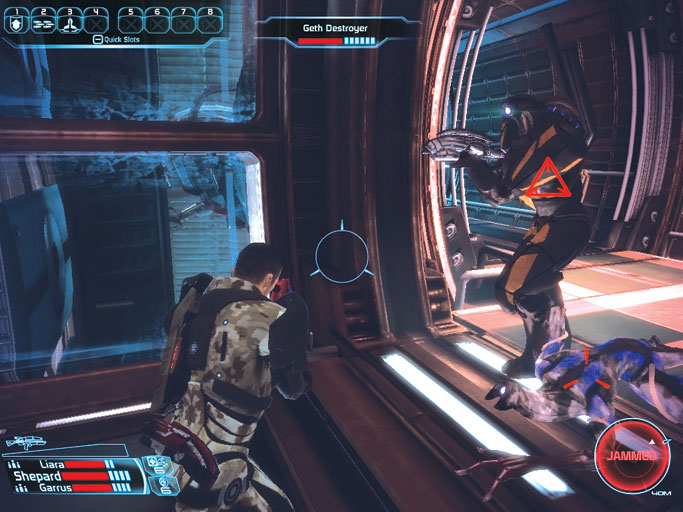
Two more destroyers advance on your position after you repair the fuel lines. Let them approach, then blast the remaining explosive container to inflict heavy damage.
Finish off these brutes, then hurry back to the elevator and return to the Mira Core.
To the Roof
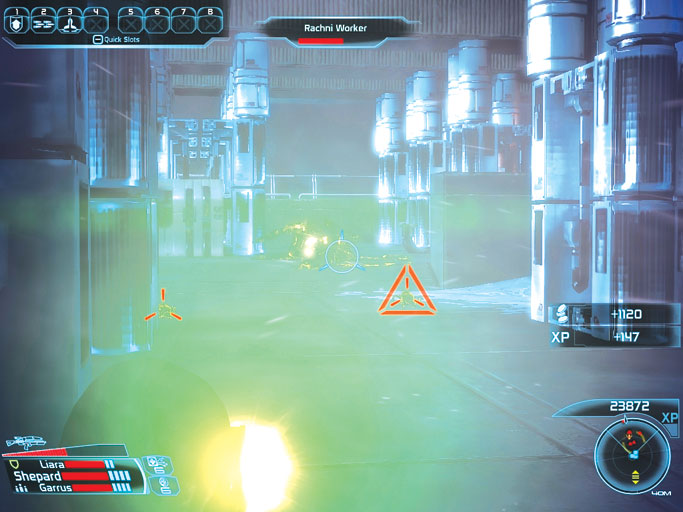
Return to the Mira Core and ride the west elevator to access Peak 15’s roof. Check your squad’s equipment and save your game right after stepping off the lift.
You face a massive horde of rachni on the frigid rooftop; mow down the workers and rip into the soldiers with an assault rifle. Switch to a shotgun when the soldiers swarm in.
Reconnecting the Landlines
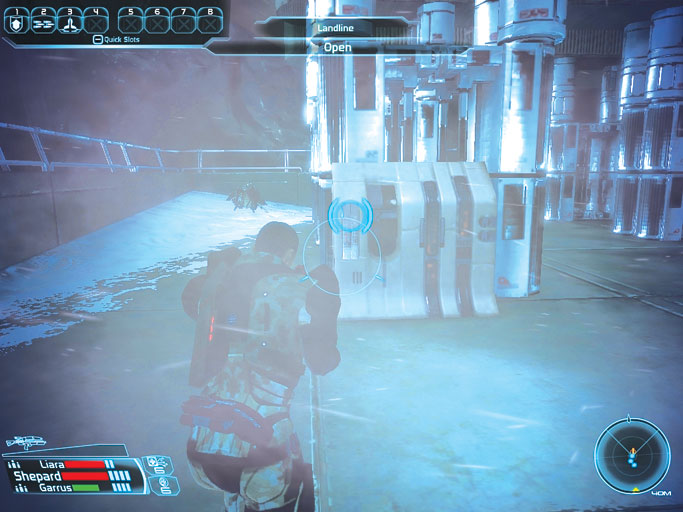
When the bugs finally stop coming, save your game and then move to investigate the rooftop. The landline controls aren’t far; activate them to reconnect the landlines and complete your repairs to Peak 15.
Back to Mira Core
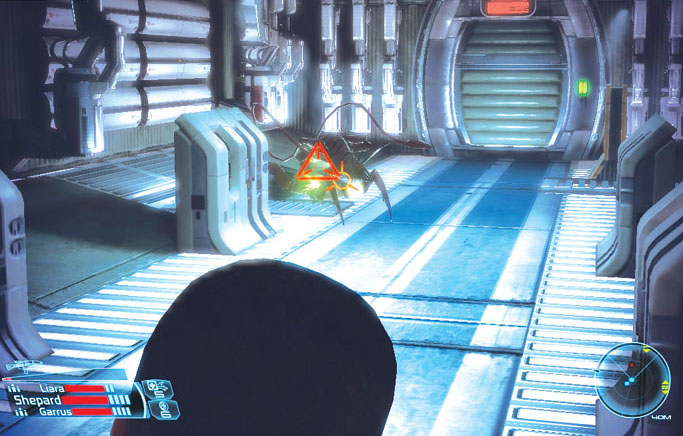
Peak 15 is now fully operational. You’re finally able to venture to the rift station in pursuit of Matriarch Benezia.
Make for the Mira Core level’s south elevator, but beware: a rachni soldier bursts out from a floor vent in the east hall. Put the soldier down without delay, then use the south elevator to reach the station’s tram.
Peak 15 Tram
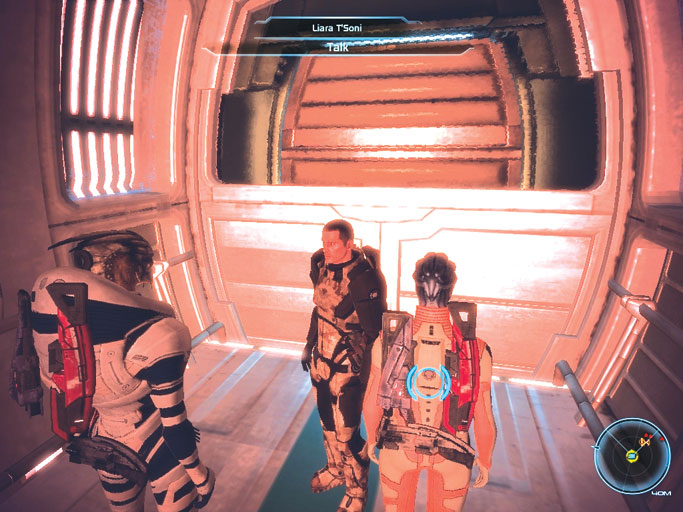
The crew receives a warning message while riding the elevator: contaminants are present in the tram’s decontamination chamber, making access to the tram car inadvisable.
If these contaminants are anything like the ones you’ve already encountered, you know you’ll soon be facing more ferocious rachni. Better make sure your squad is ready to fight.
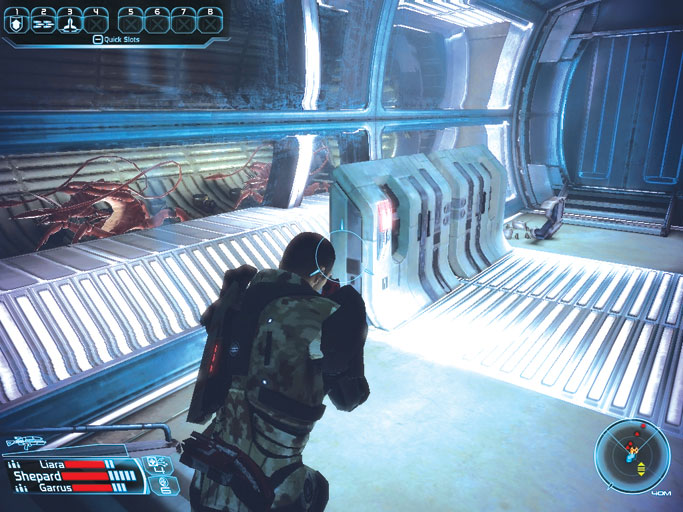
It turns out that the rachni aren’t quite within striking distance; they’re locked inside the nearby decontamination chamber, unable to attack.
Enter the control room to find the corpse of a salarian scientist lying on the ground. Use the nearby computer console to listen to an audio playback of what is apparently the salarian’s last words.
Clearing the Decon Chamber
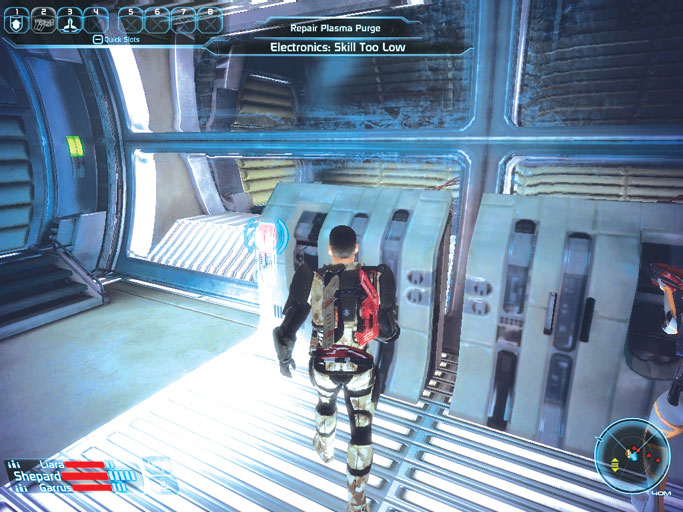
There are three ways of dealing with the rachni soldiers in the decontamination chamber.
The easiest method requires a high skill in the Electronics talent.
If your squad has the talent, you can simply repair and utilize the nearby plasma purge to fill the decon chamber with deadly plasma and purify the rachni "contaminants" without incident.
The third method involves using the Mira terminal and having her open the door for you.
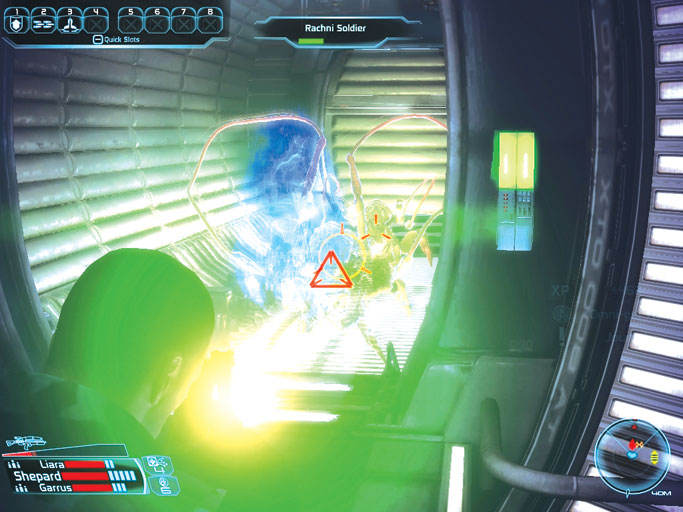
If Electronics isn’t your bag, you can purify the decon chamber in the old fashioned way: picking the door’s lock and blasting apart the pair of rachni soldiers trapped inside.
This requires only moderate skill at decryption and a quick trigger finger.
Either way, you must clear the decontamination chamber so you may proceed into the tram tunnel. You can also order Mira to unlock and open the decon door—no Electronics or Decrypt skill required.
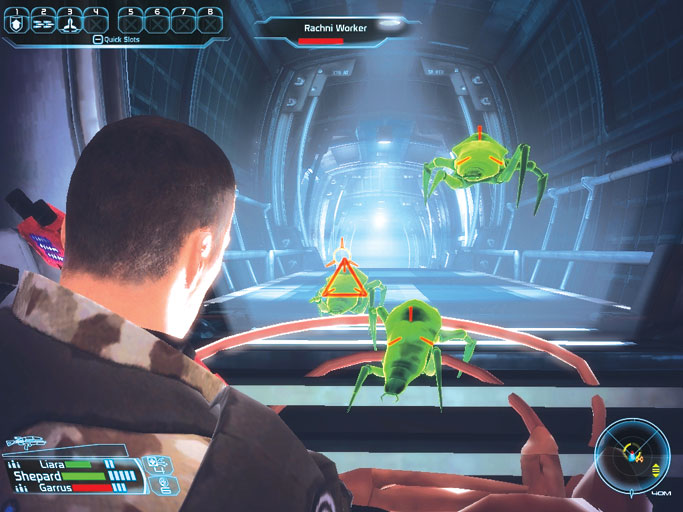
You encounter a handful of rachni workers in the tunnel beyond the decon chamber, but nothing your team can’t handle
Cut them down from afar as you make for the distant tram car. Board the tram car and activate the panel on the wall to set off for the rift station. The Matriarch must be found.