
Mass Effect (PC) Guide Walkthrough Spectre Assignments: Noveria and Feros
Feros Assignments
All of these assignments can be triggered during your visit to Feros, although not all of them can be completed on Feros. They’re listed here in a chronological order that complements the Feros mission walkthrough earlier in this guide.
1) Investigate Shipments (a.k.a. UNC: Espionage Probe)
How to Get It: Override the terminal in the downed freighter in Zhu’s Hope
When It Is Available: As soon as you arrive on Feros; cannot be triggered after you go to Ilos
Where It Takes Place: Agebinium, Amazon System, Voyager cluster
Special Notes: Electronics skill required
There is a terminal in the downed freighter in the middle of the Zhu’s Hope colony that you can override if you or one of your squad mates has a high enough Electronics skill. Successfully overriding the terminal gives you the following message:
CARGO LOGS: While decrypting these logs, you found something suspicious. Several months’ worth of human rations were delivered to an uncharted world in the Voyager cluster.
The logs aren’t clear, but it appears they maybe have been dropped off somewhere in the Amazon System.
This triggers the Investigate Shipments assignment and its first task, Go to Amazon System.
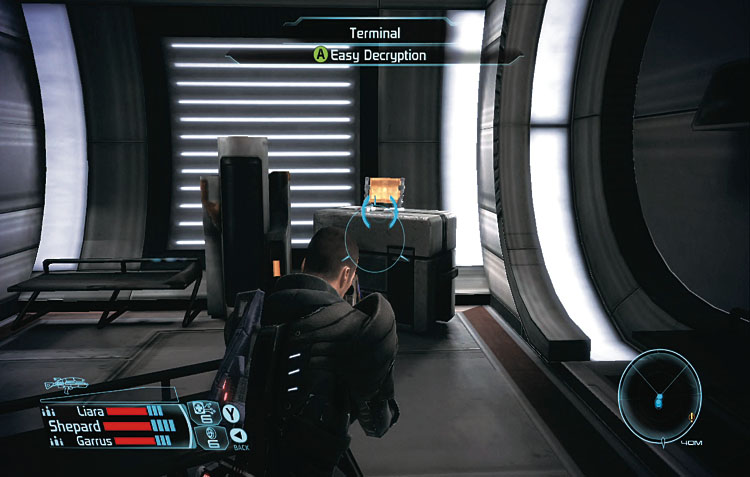
Override the terminal in the downed freighter to trigger the assignment.
Go to Amazon System
When you return to the Normandy, set a course for the Amazon System in the Voyager cluster.
Your arrival in the system triggers a transmission from Admiral Hackett, who says that an espionage probe that was fired into turian space during the First Contact War decades ago just sent a “mission complete” broadcast.
The probe has a 20-kiloton nuclear self-detonation device that will be triggered if anyone finds and tampers with the probe. You might not be trained for explosive ordnance disposal, but you’re the best choice to handle this quickly and discretely.
This changes the assignment name to UNC: Espionage Probe and brings up the next task, Find the Probe.
Find the Probe
Feros: Agebinium
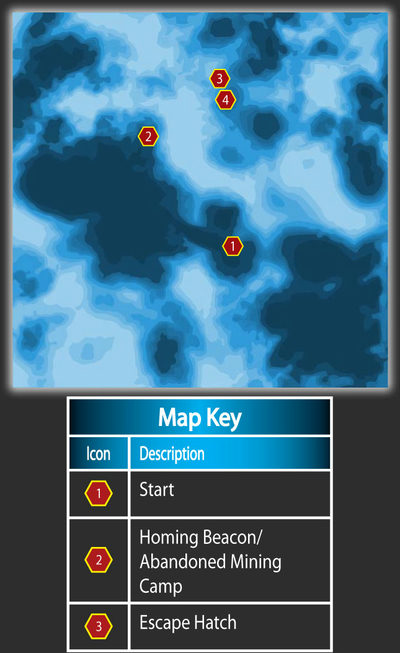
Take a landing party to Agebinium that has a good mix of combat power and technical skill. Not only will you have to deactivate the probe (having someone with a high Electronics skill won’t hurt), you’ll also need some firepower.
Your enemies will all be organics, so pick shield-penetrating weapon mods and mods that inflict additional damage against organics.
When you arrive on the surface, travel northwest toward the espionage probe’s homing beacon (2), as indicated on your in-game map.
As you draw close, it becomes obvious that the beacon’s signal is coming from some mining tunnels under an abandoned worksite. Get out of the Mako and enter the mining tunnels through the large structure in the center of the camp.
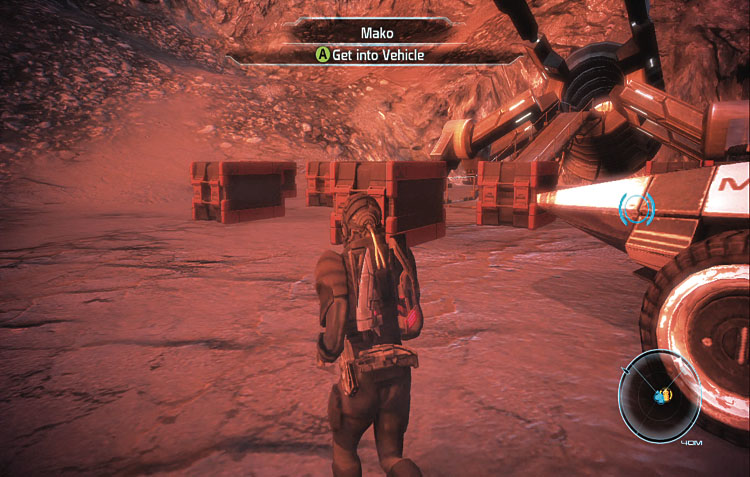
The homing beacon’s signal is coming from under an abandoned mining camp.
Feros: Agebinium Mining Tunnels
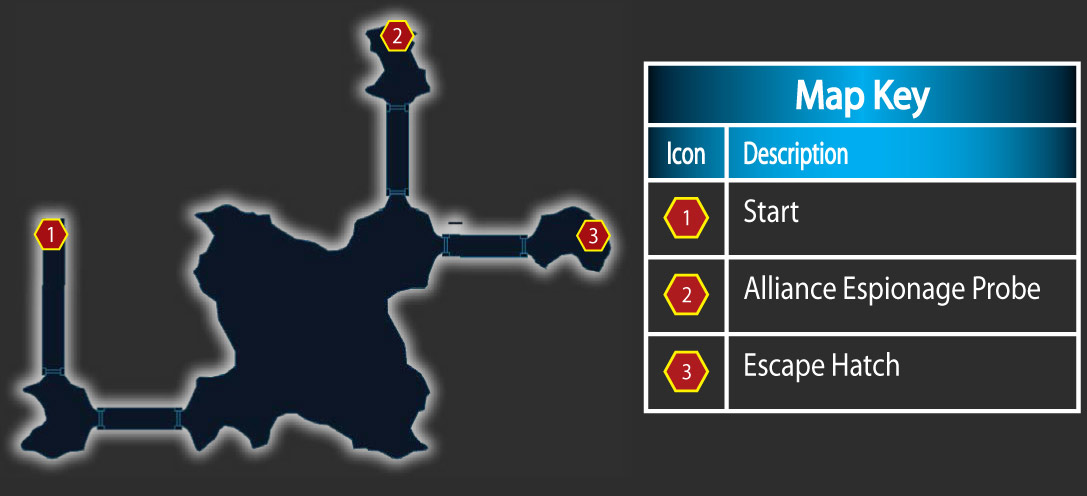
There are no enemies in the mining tunnels. The espionage probe that you’re looking for is in the northernmost alcove of the mining tunnels, behind a large round door (2).
As soon as you enter the alcove, something explodes behind you. The main cavern caves in, preventing you from leaving the way you came in.
A ghostly hologram of a man named Elanos Haliat appears before you. He’s the leader of the Terminus clan, and he led his band of pirates and cutthroats in the blitzkrieg on Elysium.
It was to be his crowning achievement, but he was ruined when the human colony fended off the attack. He aims to restore his reputation by eliminating the first human Spectre.
As soon as Haliat finishes taunting you, the counter on the espionage probe’s bomb starts ticking down. You have 10 seconds to disable it.
To disable the bomb’s hardpoint, you must make three consecutive successful decryption attempts, or use 100 Omni-Gel three times (300 Omni-Gel total) to do it.
Disabling the probe completes the current task and brings up the next one, Escape.
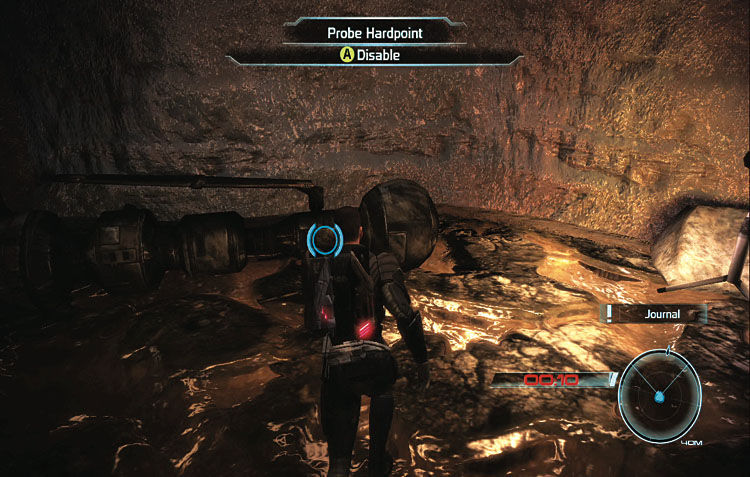
Disabling the bomb requires three successful decryption attempts, or three expenditures of 100 Omni-Gel, or a combination of both.
Escape
You can’t leave the mining tunnels the same way you entered them because the blast that trapped you sealed off most of the tunnels’ main chamber.
However, there is a shaft leading east in the northeast corner of the tunnels, and at the end of it is a hatch (3) that brings you back to the surface.
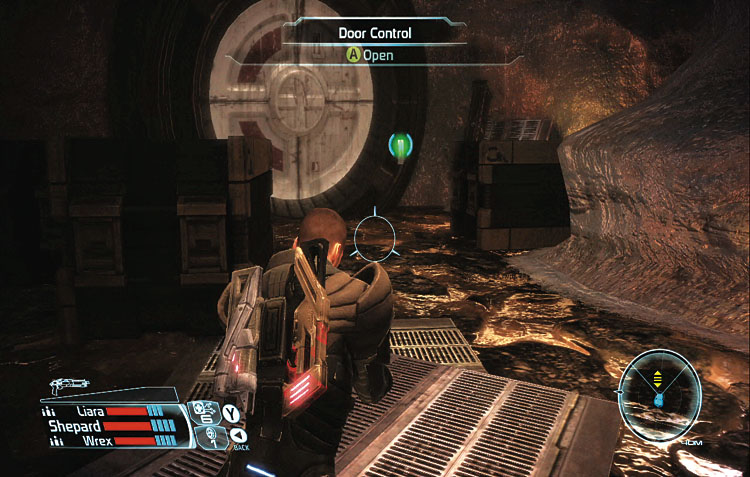
An escape hatch in the northeast corner of the mining tunnels takes you back to the surface.
The escape hatch puts you back on the surface of Agebinium on a ridge overlooking a mercenary camp guarded by seven mercenaries and pirates of various races, and one of them is Haliat.
Your Mako is parked right outside of the camp.
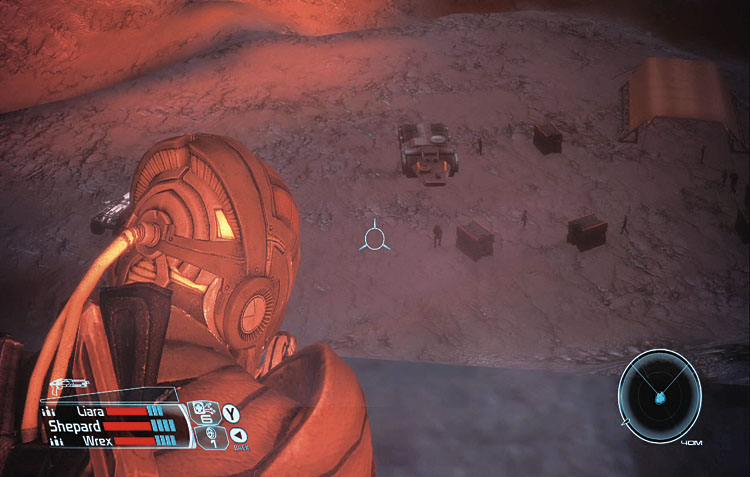
Haliat and his thugs are in the mercenary camp below you, and they stole your Mako!
Two general strategies work well for taking out Haliat and the mercenaries. The first is to remain on the ridge and pick off your enemies with sniper rifles.
Unfortunately, there’s not much cover on the hillside, but you can back up out of sight of the camp if you start taking too much damage.
Be careful, though, because the mercenaries have sniper rifles of their own, and they’re crack shots.
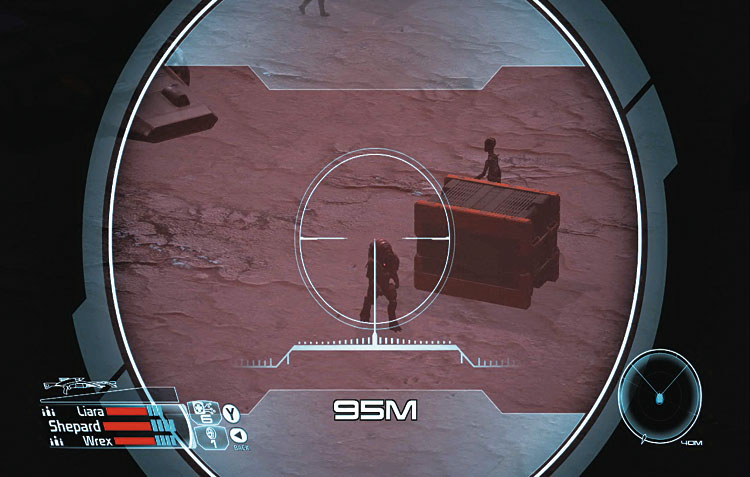
Sniping the mercenaries from range is one way to take them out.
The second strategy is to creep down the hillside, staying out of sight as much as possible, and then make a break for the Mako.
Then unleash all sorts of mechanized havoc on them from within the safety of your Mako’s armored hull.
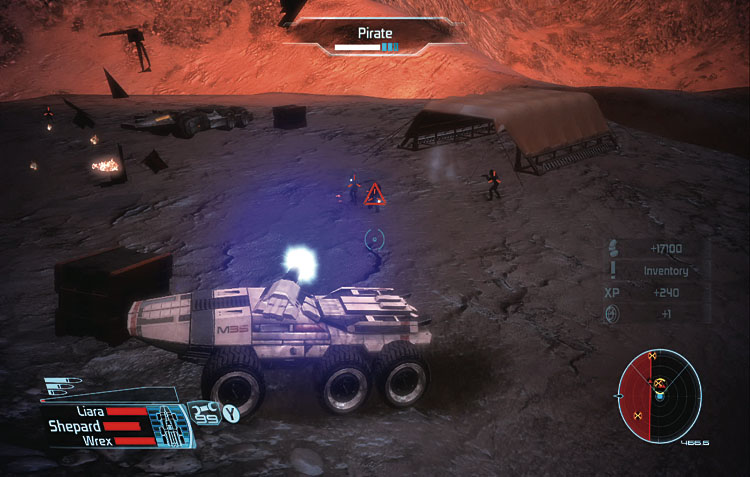
If you can reach the Mako, the mercenaries are completely outmatched.
Regardless of how you do it, wiping out all seven enemies completes the current task and the assignment.
2) Feros: Geth in the Tunnels
How to Get It: Speak to Fai Dan
When It Is Available: Upon arrival to Feros and after killing the Thorian, as long as the colonist completing the mission was saved in the assault on Zhu’s Hope
Where It Takes Place: Zhu’s Hope Tunnels Special
Special Notes: None
After you speak to Fai Dan for the first time and clear out the geth invaders in the tower in the center of the Zhu’s Hope colony, return to Fai Dan and engage him in conversation.
Choose “Information,” then “Operational,” and then “geth in tunnels” from the dialogue wheel to find out that there are still geth in the tunnels under Zhu’s Hope.
Finding and destroying the transmitter that they’re operating down there will increase the colonists’ chances for survival and earn you valuable Paragon/Renegade points along the way.
Speaking to Fai Dan about the geth transmitter triggers Feros: Geth in the Tunnels and its first task, Find the geth .
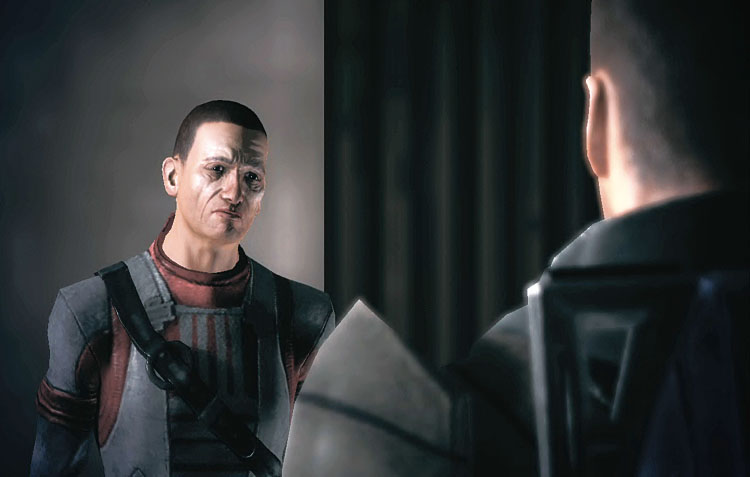
Fai Dan needs your help destroying the geth in the tunnels under Zhu’s Hope.
Feros: Tunnels
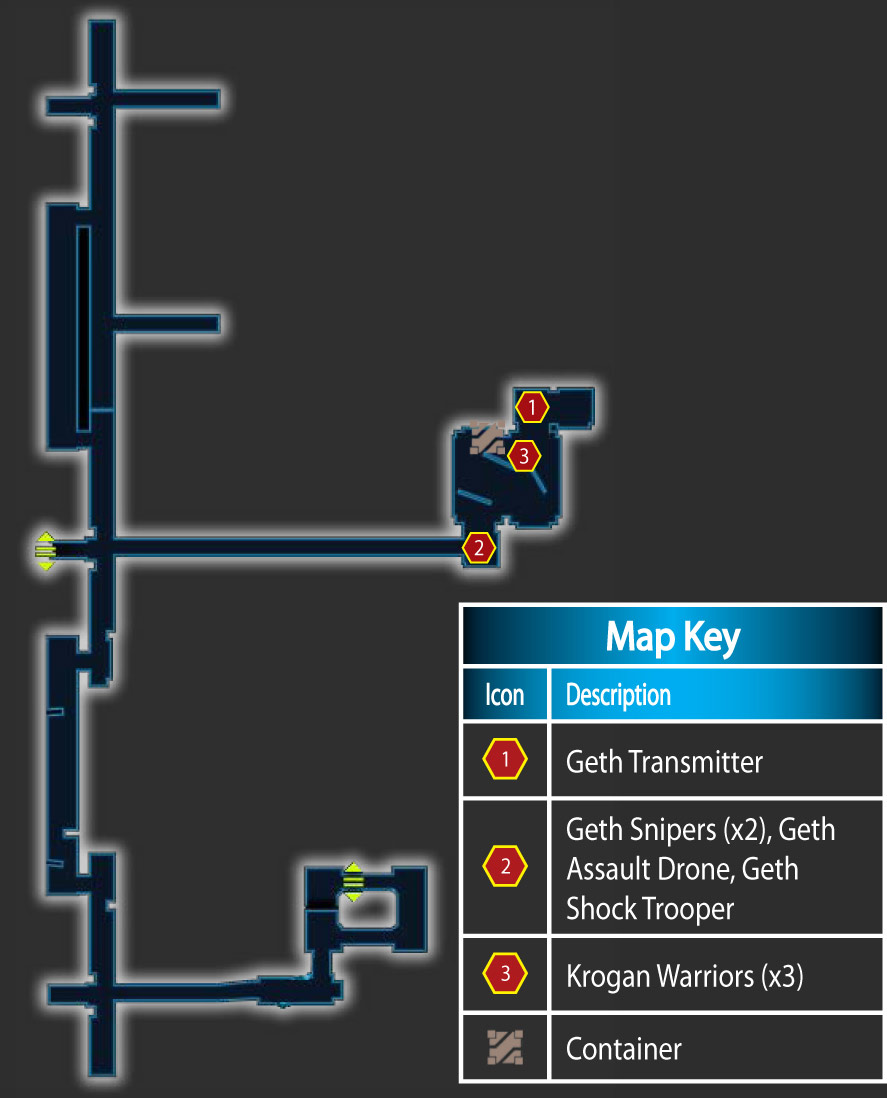
The geth transmitter is located in an eastern alcove in the middle of the tunnels section of Zhu’s Hope.
It’s not hard to find, but unfortunately, getting to it is another story altogether. This strategically vital piece of equipment is heavily guarded by the geth.
As soon as you open the door to the alcove, two geth snipers (2) train their weapons on you, so be ready to back up quickly and dodge their fire while returning some of your own.
Also, a geth shock trooper and geth assault drone are right below the snipers.
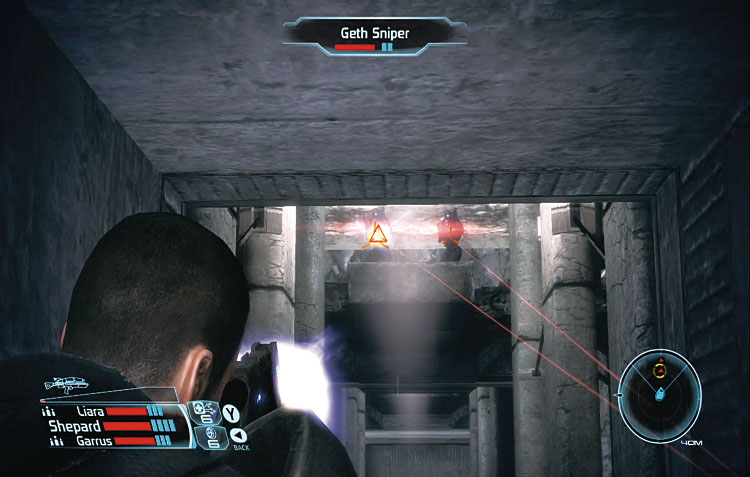
Watch out for the pair of geth snipers in the entryway.
The real danger, though, are the three krogan warriors (3) guarding the geth transmitter. Krogan are tough adversaries under practically any conditions, but the tight confines of the alcove give them the advantage if they’re able to rush you.
Be sure to use biotic abilities like Lift and Throw to keep them from running roughshod over you, and take them out as fast as you can.
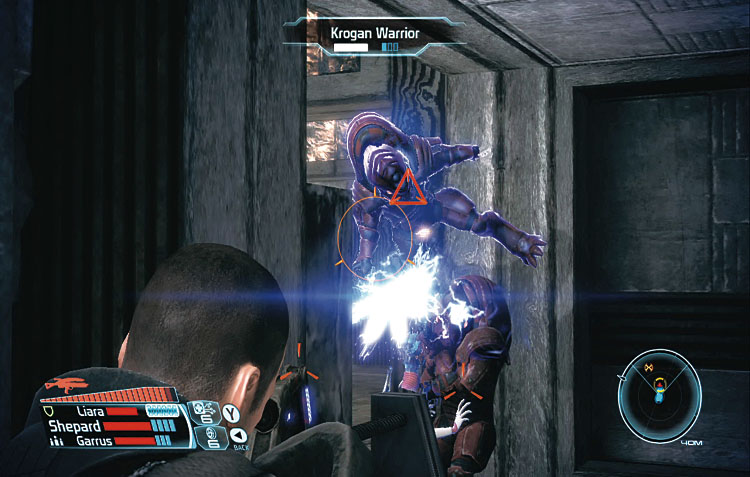
The three krogan warriors near the geth transmitter are fearsome foes.
When the area is clear, approach the geth transmitter (1) and fire at it until it is destroyed. This completes the current task and brings up the next one, Inform Fai Dan.
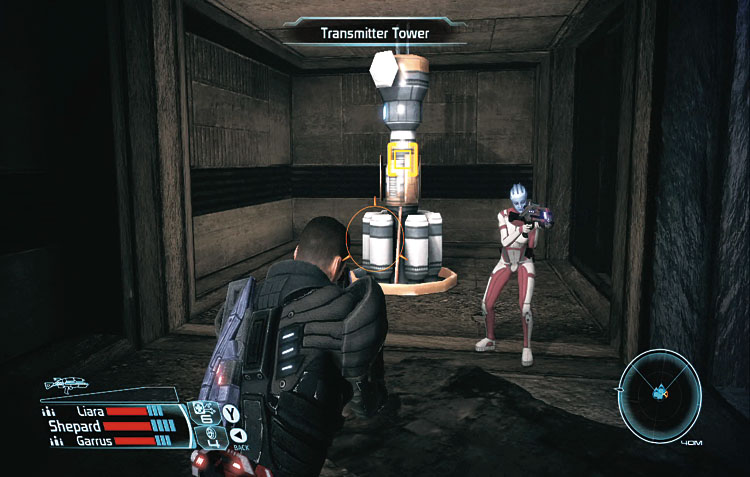
Destroy the geth transmitter by shooting it until it blows.
Inform Fai Dan
With the geth transmitter a smoking heap of twisted metal, return to the Zhu’s Hope colony and find Fai Dan in his usual spot.
Speak to him and tell him that the geth transmitter has been destroyed to complete the assignment.
3) Feros: Varren Meat
How to Get It: Speak to Davin Reynolds
When It Is Available: Upon arrival to Feros and after killing the Thorian, as long as the colonist completing the mission was saved in the assault on Zhu’s Hope
Where It Takes Place: Zhu’s Hope Tunnels Special
Special Notes: None
After earning the trust of the colony by repelling the geth invasion of the tower, speak to Davin Reynolds in the downed freighter in the center of Zhu’s Hope.
He thanks you for your help, but he’s afraid that if the geth don’t get them, he and the other colonists will die of hunger soon enough.
Reynolds needs to boost the rations by hunting varren in the tunnels under Zhu’s Hope, but it’s too dangerous to do so because the alpha varren is too large and angry for the colonists to bring it down. They can’t do anything until the alpha varren is dead.
Complete the conversation in any way you wish. This triggers Feros: Varren Meat and its first task, Find Alpha Varren .
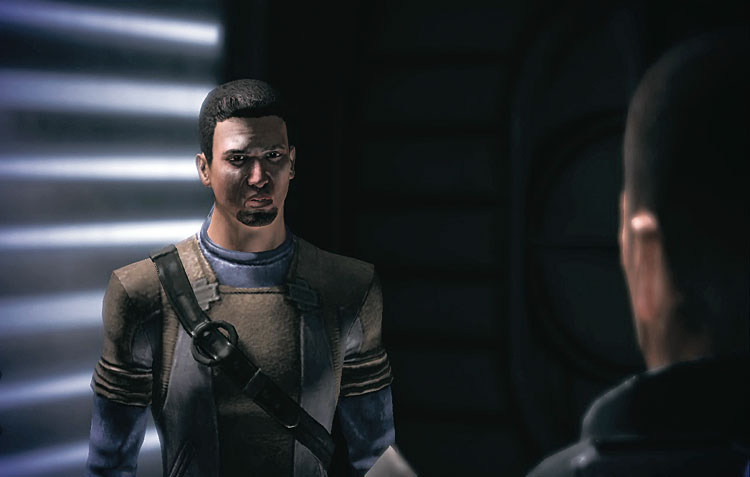
Speak with Davin Reynolds about the varren to trigger the assignment.
Find Alpha Varren
Feros: Tunnels
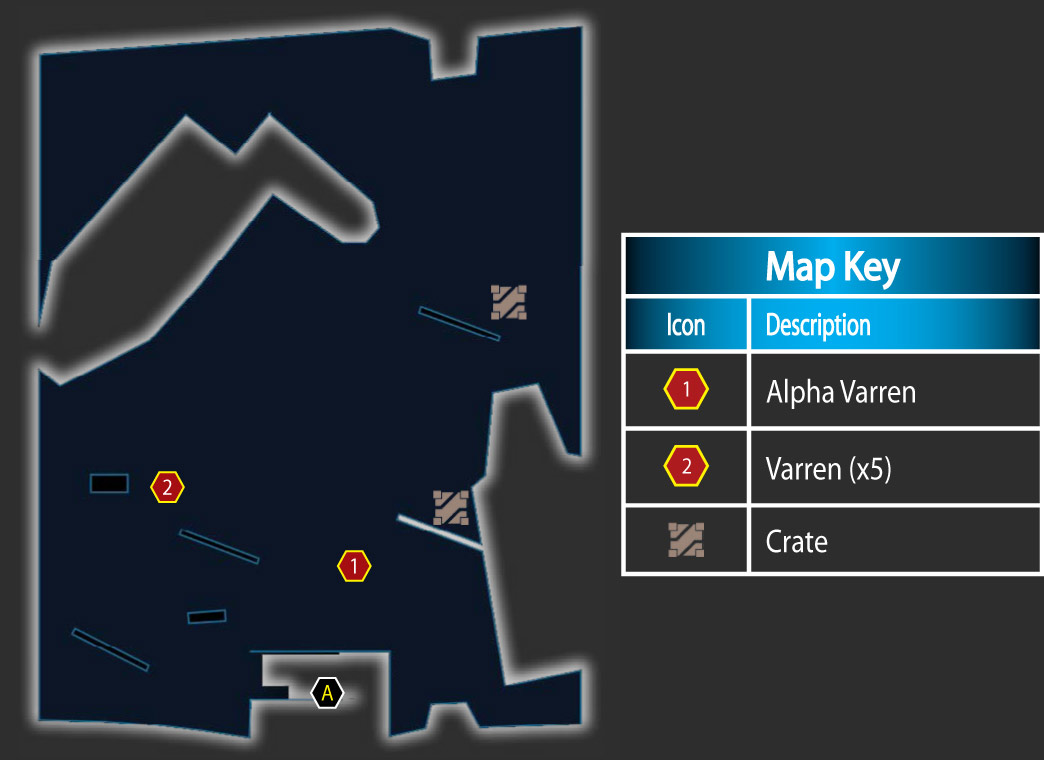
The alpha varren and other varren are in the collapsed bridge section of Zhu’s Hope, which is accessible via a large door in the middle of the western side of the tunnels.
As soon as you enter the area, the varren rush you. Fortunately, except for the alpha varren, they’re not very tough and don’t even have shields.
The alpha varren is a formidable threat, though, so don’t underestimate it. It can easily take out any member of your squad with a single attack.
If you can incapacitate it with biotic attacks, do so. Focus on killing the alpha varren to the exclusion of everything else. This completes the current task and brings up the next one, Inform Davin Reynolds .
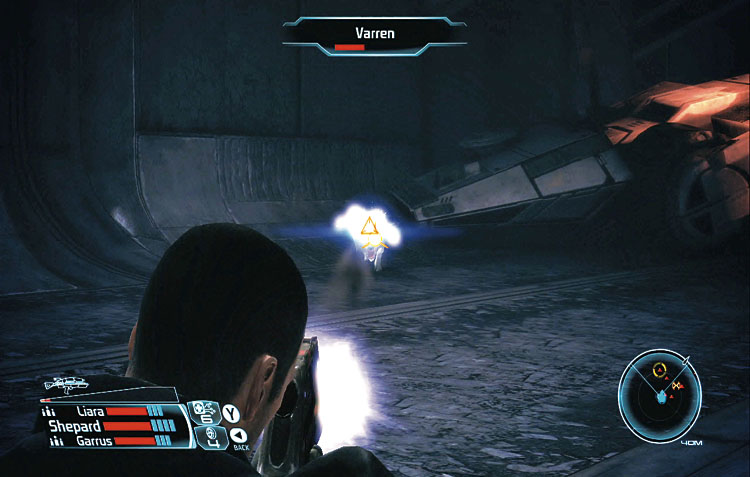
Kill all of the varren in the collapsed bridge area to complete the current task.
Inform Davin Reynolds
With the alpha varren dead, return to Zhu’s Hope and find Davin Reynolds in the wrecked freighter, right where you left him.
Speak to him to tell him that the alpha varren is dead. This completes the assignment and earns you valuable Paragon/Renegade points.
4) Feros: Water Restoration
How to Get It: Speak to Macha Doyle
When It Is Available: Upon arrival to Feros and after killing the Thorian, as long as the colonist completing the mission was saved in the assault on Zhu’s Hope
Where It Takes Place: Zhu’s Hope Tunnels
Special Notes: None
After repelling the geth invasion in the tower at the heart of Zhu’s Hope, speak to Macha Doyle near the colony entrance.
When she mentions the colony’s water shortage, ask “What’s wrong?” She tells you that you need to find the water mains and turn them back on.
Finish the conversation any way you wish, and Feros: Water Restoration is triggered, along with its first task, Find Water Valves .
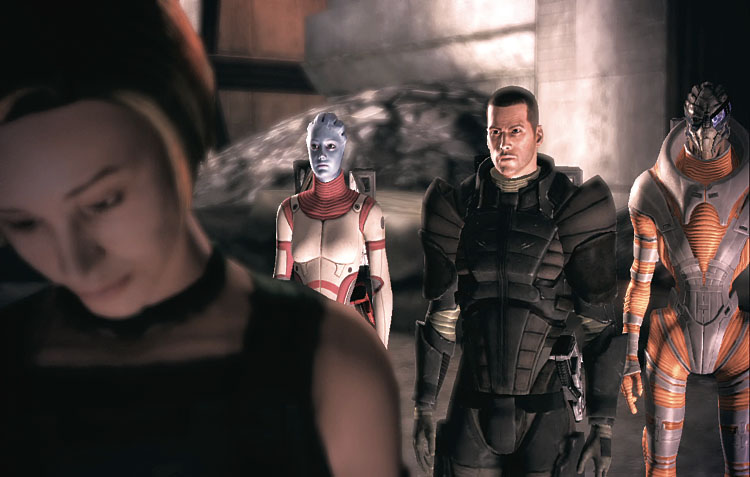
Macha Doyle can fill you in on the colony’s water shortage and how to solve it.
Find Water Valves
Feros: Tunnels
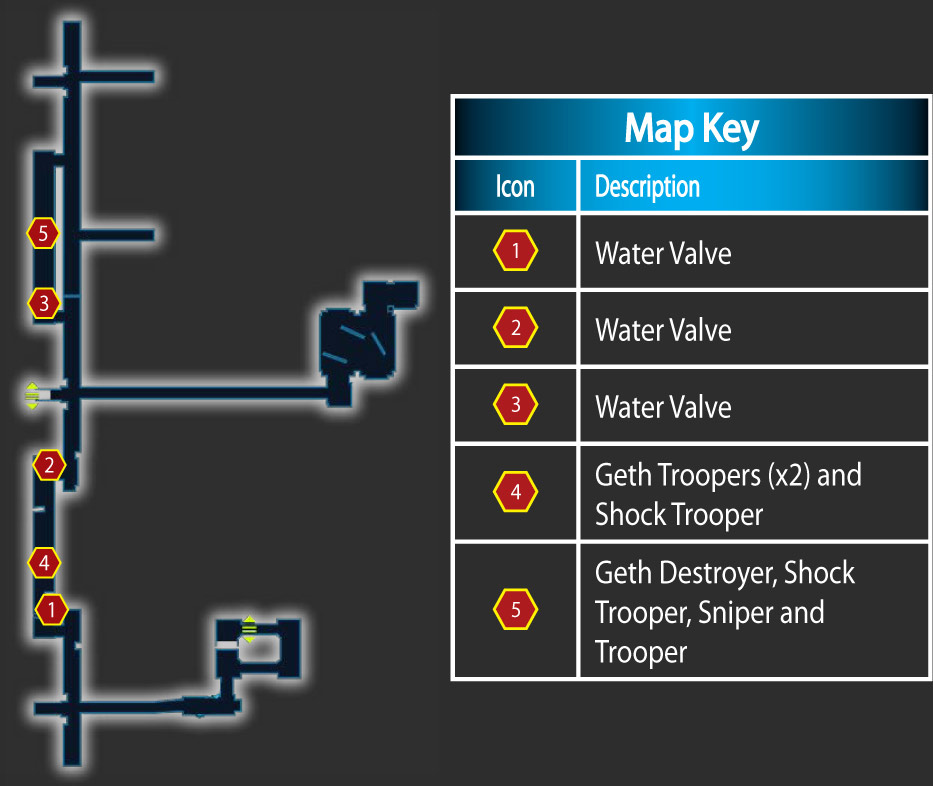
This is a very straightforward task. All three water valves are embedded in the eastern wall of the north-south tunnel on the west side of the tunnels area.
Your general strategy should be to advance carefully along this tunnel, since plenty of geth are lying in ambush for you.
Fortunately, there’s also a lot of cover, and as long as you’re not rushing recklessly through the tunnel, you shouldn’t get overwhelmed.
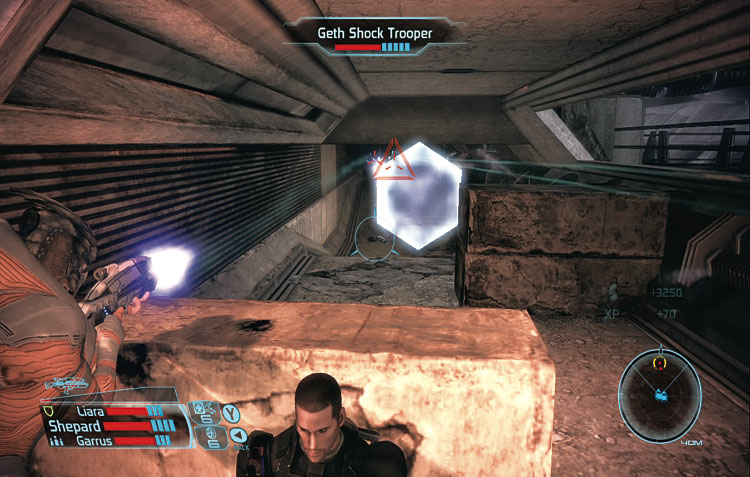
The tunnels are crawling with geth, so proceed carefully and use cover wisely.
When you come to the first water valve, make sure the area is secure, then target it and press [A] to open it. This updates your journal with the next task, Find More Valves ). One down, two to go!
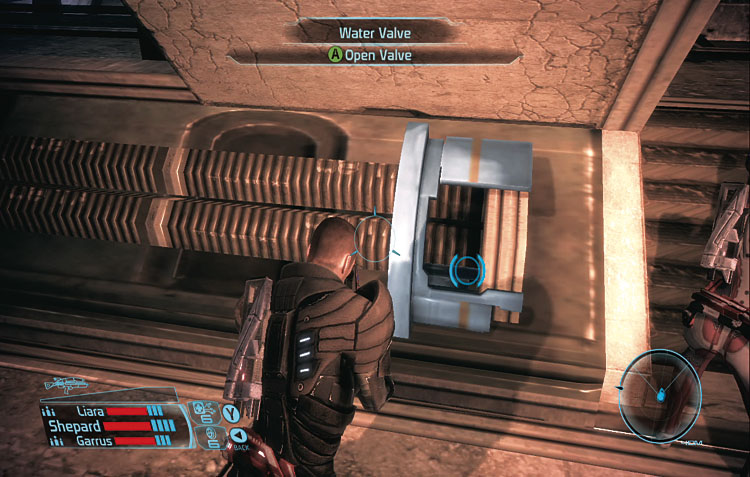
Open all three water valves to restore running water to the colony.
Find More Valves
The locations of all three water valves are marked on the preceding map, as are the locations of two squads of geth through which you have to fight to reach all three water valves.
The second group of geth is much tougher than the first, but neither should be an insurmountable obstacle to your completing the task at hand.
When all three water valves are open, the next objective appears in your journal: Inform Macha Doyle .
Inform Macha Doyle
Once you’ve opened all three water valves, return to Zhu’s Hope and speak with Macha Doyle again; she hasn’t moved since you last spoke with her. This completes the assignment.
5) Feros: Power Cells
How to Get It: Speak to May O’Connell
When It Is Available: Upon arrival to Feros and after killing the Thorian, as long as the colonist completing the mission was saved in the assault on Zhu’s Hope
Where It Takes Place: Zhu’s Hope Tunnels
Special Notes: None
After repelling the geth advance in the tower at the center of Zhu’s Hope, speak to May O’Connell about the colony’s energy crisis.
She needs power cells for their generator, and the Normandy ’s are incompatible with her older machinery.
May asks you to keep an eye out for any power cells you might come across if you enter the tunnels below Zhu’s Hope. Speaking with May O’Connell triggers Feros: Power Cells and its first task, Find Cells .
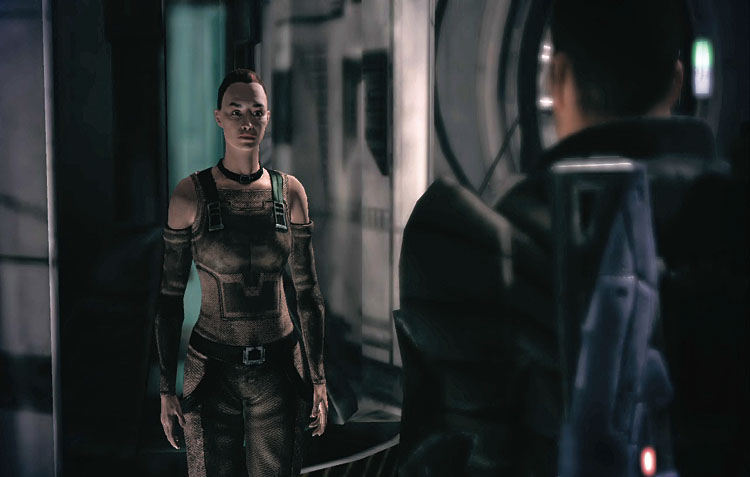
May O’Connell is trying to restore power to the colony, and she needs your help.
Find Cells
Feros: Tunnels
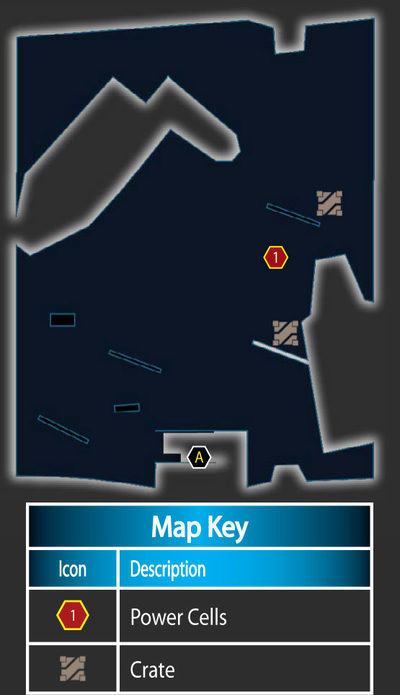
The power cells that May is looking for are in the front end of a wrecked vehicle on the east side of the collapsed bridge area.
Simply approach the vehicle to target the power cells and press [1] to remove them. This completes the current task and brings up the next one, Deliver Cells to May O’Connell .
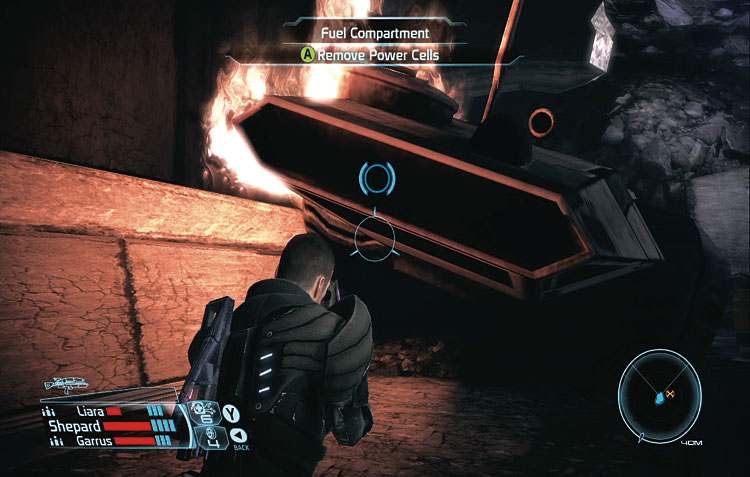
Retrieve the power cells from the front of the ruined vehicle.
Deliver Cells to May O’Connell
Return to Zhu’s Hope and find May O’Connell where you last saw her. Speak to her to tell her that you found the power cells she needs to complete the assignment.
6) Feros: Data Recovery
How to Get It : Speak to Gavin Hossle in the refugee camp
When It Is Available: After clearing the Exogeni HQ, and after killing the Thorian
Where It Takes Place: Feros
Special Notes: None
When you arrive at the refugee camp, speak to Gavin Hossle, who needs you to retrieve some data from the ExoGeni facility that you’re heading toward.
He asks you to find his console at ExoGeni headquarters, copy the data to an optical storage disc (OSD) and bring it back to him on your return trip.
As long as you don’t refuse outright to take on the assignment during your dialogue choices, this triggers Feros: Data Recovery and its first task, Find the Console .
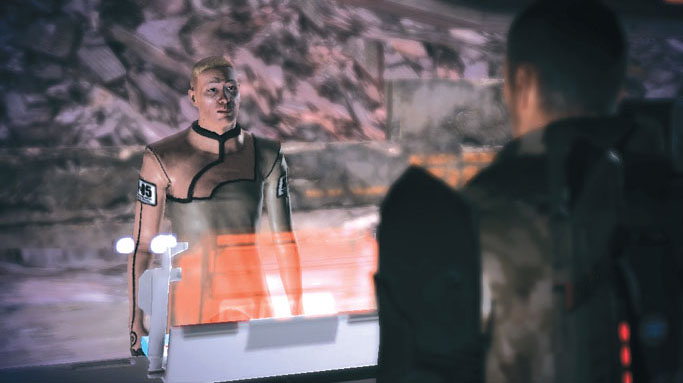
Gavin Hossle promises to make it worth your while if you find and return his data to him.
Find the Console
Feros: ExoGeni Upper Level
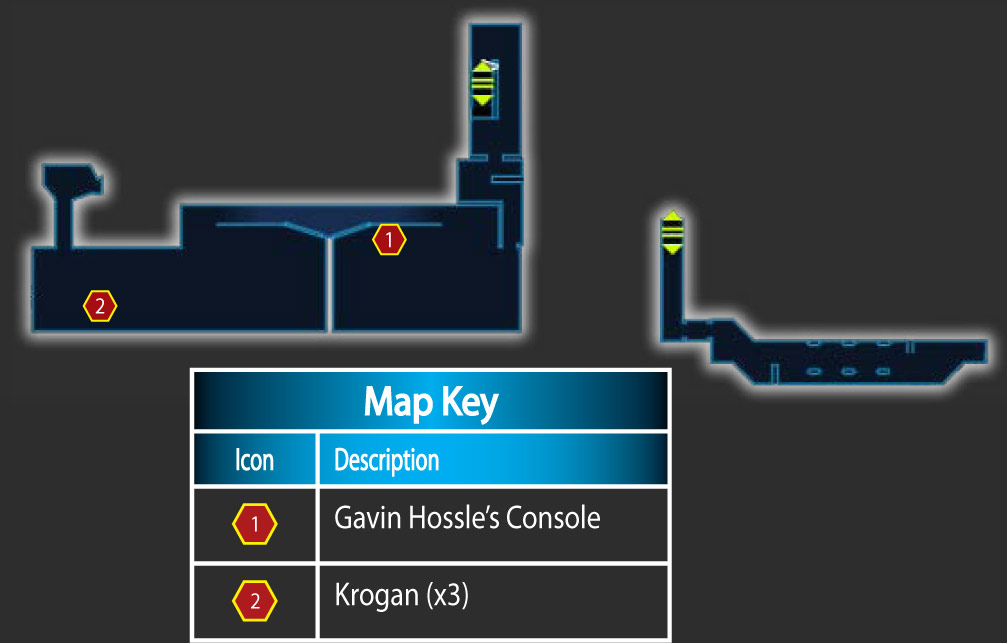
Gavin Hossle’s console is on the eastern end of ExoGeni upper level, and it’s guarded by three dangerous krogan. The narrow room suits the krogans’ smashmouth fighting style perfectly.
Make every attempt to incapacitate and immobilize the krogan with biotic abilities to keep from being overwhelmed by their charging attacks.
Once the area is clear, approach Gavin Hossle’s console and download his data; no override is necessary. This completes the current task and brings up your next one, Deliver OSD to Hossle .
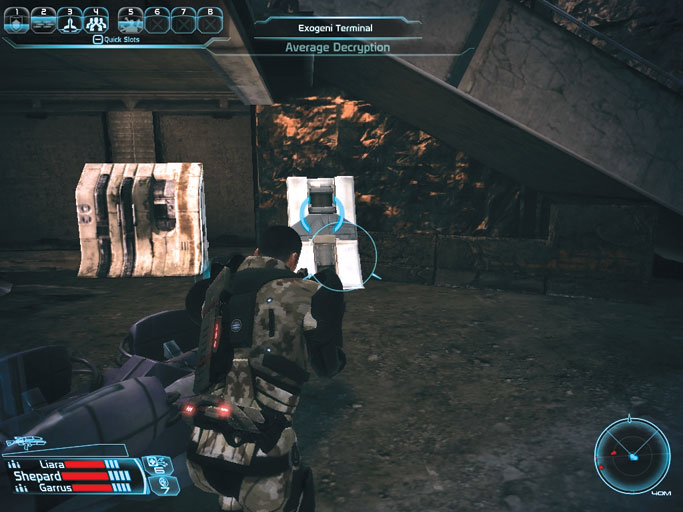
Gavin Hossle’s console is located on the east side of ExoGeni upper level.
Deliver OSD to Hossle
On your way back to Zhu’s Hope after destroying the geth ship, take a detour to the Refugee Camp and return to speak with Gavin Hossle. Tell him “I found your data” to complete the assignment.
7) Investigate Facility (a.k.a. UNC: ExoGeni Facility)
How to Get It: Override an ExoGeni terminal on ExoGeni upper level
When It Is Available: As soon as you arrive at ExoGeni; cannot be triggered after going to Ilos
Where It Takes Place: Nodacrux, Vostok System, Maroon Sea cluster
Special Notes: Achieve Electronics skill
There is an ExoGeni terminal located on the western half of ExoGeni upper level, which you encounter just after seeing the claw of the geth ship for the first time.
It’s guarded by three geth enemies (a shock trooper, trooper, and sniper), but you shouldn’t have much trouble taking them out if you’ve made it this far.
Override the terminal to trigger Investigate Facility (and its first task, which shares the same name) and receive the following message:
CONFIDENTIAL: The test samples were due to arrive three days ago, but we haven’t heard anything from the colony or the cargo vessel.
We suspect the samples became volatile and recommend cutting off all further contact with the Nodacrux colony. Even if the colony is discovered, no one should be able to trace the events there back to us.
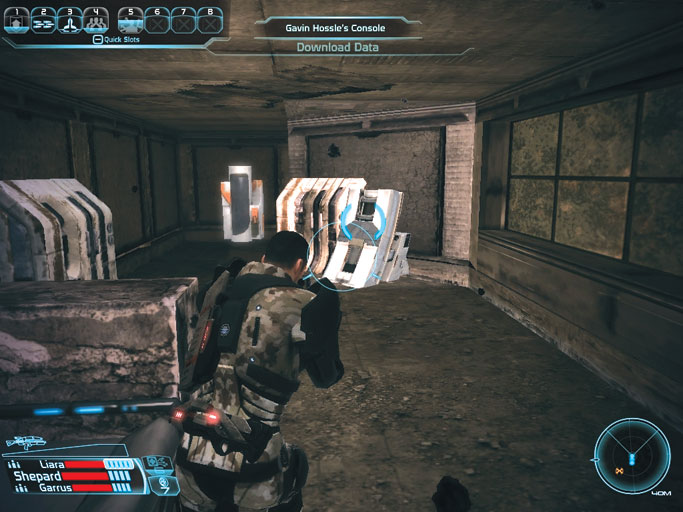
Override the ExoGeni terminal in ExoGeni upper level to retrieve a message and trigger the assignment.
Investigate Facility
When you return to the Normandy , set a course for the Vostok System in the Maroon Sea cluster. When you arrive in the system, choose to land on Nodacrux.
Joker tells you that there is an active distress beacon on the planet—no message, just a locator signal. At this point, the assignment name changes to UNC: ExoGeni Facility, and its next task appears: Explore Colony .
Explore Colony
Feros: Nodacrux
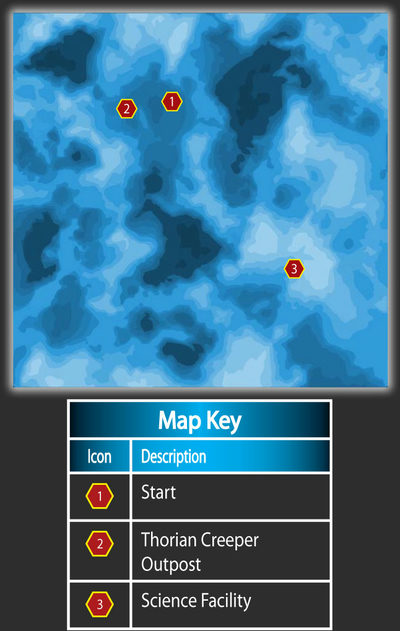
Just west of your Start (1) is an outpost that has been overrun by Thorian creepers (2). You don’t have to visit it, but the Creepers are easy XP for you, as long as you remain in the Mako.
Also, there are several containers in the area that you can open for items. This also gives you an idea of what you’re in for at your next stop, the science facility (3).
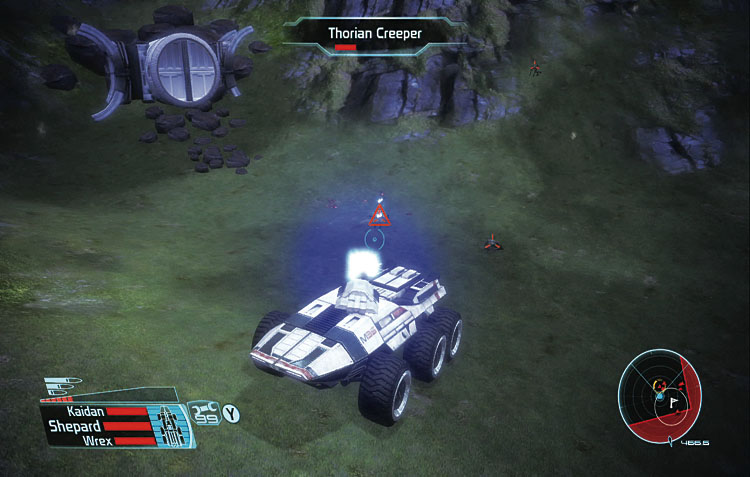
The Thorian creepers are no match for the Mako.
The science facility is surrounded by Thorian creepers. You’re safe as can be inside the Mako, so you can either take them out with the Mako’s wheels and weapons, or you can exit the Mako and confront them face-to-face for more XP.
After you’ve destroyed all the creepers, enter the science facility.
Feros: Nodacrux Science Station
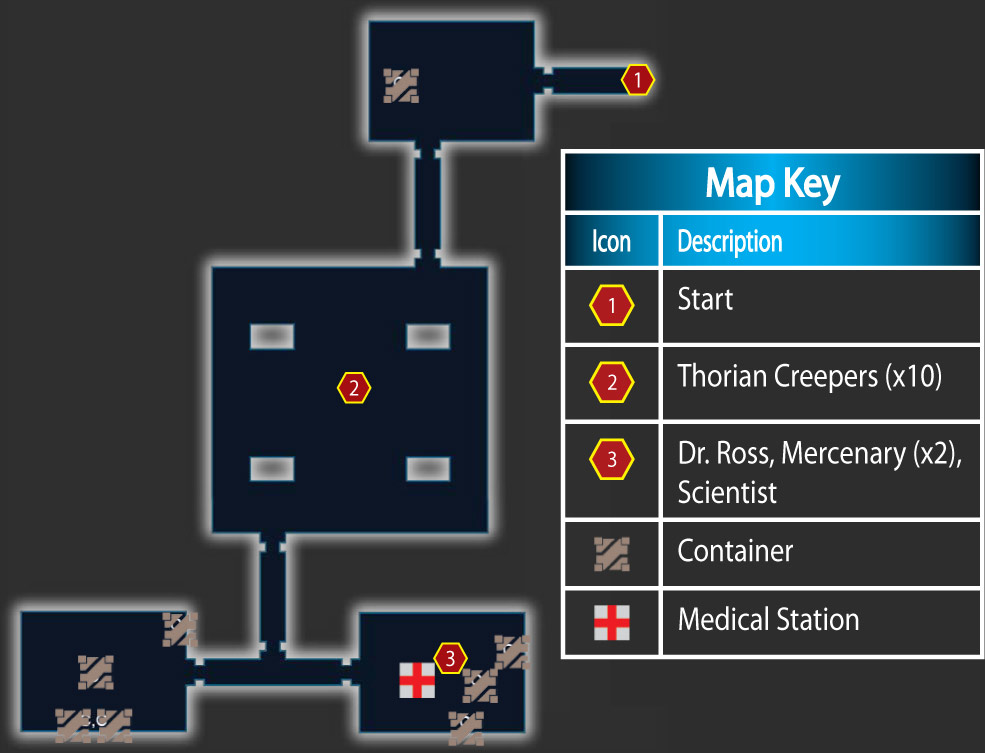
The main room of the science facility is filled with ten Thorian creepers.
The best way to weed them out quickly is to get their attention by firing a few shots, then retreat back via the door you came in through and wait for them to mindlessly rush you.
Shotguns work best for close-quarters combat like this.
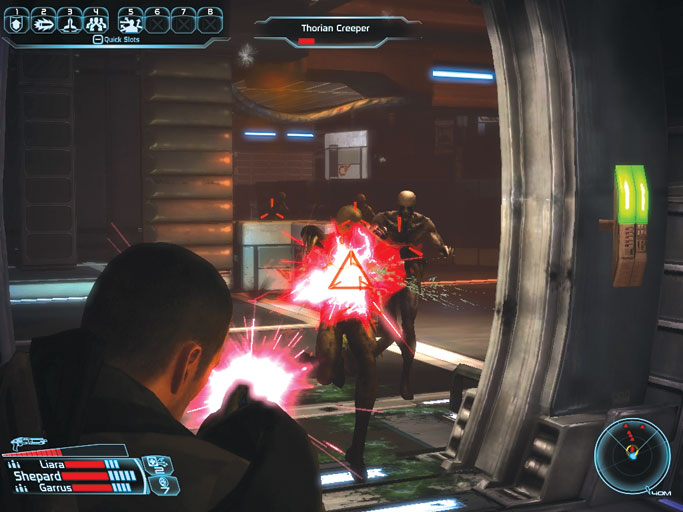
A good shotgun makes short work of Thorian creepers.
With the Thorian creepers destroyed, proceed to the southeast room in the science facility to meet Dr. Ross, who had holed up behind the sealed door with several other scientists and mercenaries.
During your conversation with her, you tell her that you know about the Thorian from your experiences on Feros.
She tells you that the creepers on Nodacrux were created from a sample of the Thorian on Feros and were designed to be docile and obedient. But a few days ago, the creepers all suddenly went berserk, and only a few of the scientists managed to survive.
When you’ve heard enough, Dr. Ross tries to talk you out of reporting their illicit research to the authorities. You have three responses to choose from, but all three of them lead to the exact same outcome:
Dr. Ross tries to bribe you. You can tell her “I can’t do that,” “Okay,” or “I should kill you right now!”
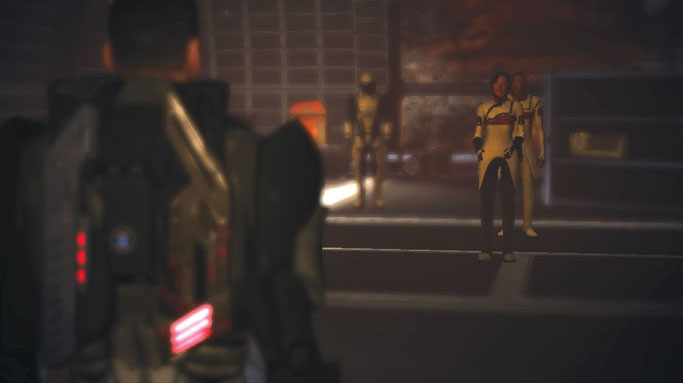
Dr. Ross will either bribe you or fight you to keep from going to jail.
Choosing “Okay” accepts the bribe and completes the mission without bloodshed.
Choosing either of the other two options starts a fight with the scientists and mercenaries, who aren’t very tough at all. When they’re all dead, the mission is complete.
8) Investigate Samples (a.k.a. UNC: Colony of the Dead)
How to Get It: Override a server node on ExoGeni upper level
When It Is Available: As soon as you arrive at ExoGeni; cannot be triggered after going to Ilos
Where It Takes Place: Chasca, Matano System, Maroon Sea cluster
Special Notes: Achieve Electronics skill
At the far western side of ExoGeni upper level, you’ll find a server node guarded by several geth, including a geth ghost, shock trooper, sniper, trooper, rocket trooper, and destroyer.
Destroy all of the enemies, approach the server node, and override it to receive the following transmission:
PRIVATE LOG OF DR. GAMORLE: I don’t trust this Cerberus group. They may pay us well, but if this gets out before we’ve developed an antidote…it’s just not smart.
They won’t tell us what they want the samples for or why they wanted them delivered to the Matano System. My records show nothing of interest out there.
Overriding the server node and receiving this message triggers Investigate Samples and its first task, Go to System .
Go to System
Feros: Chasca
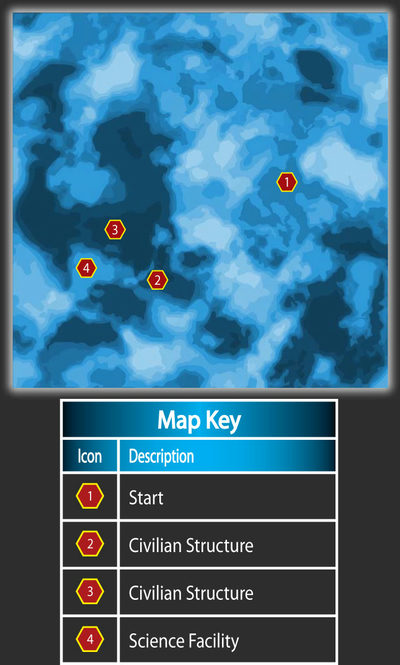
Return to the Normandy and travel to the Matano System in the Maroon Sea cluster and land on Chasca. You’ll be facing relatively weak synthetic enemies in this assignment, so choose a team and equip them accordingly.
There are three structures of importance for this assignment, and they’re all southwest of your Start. Two are civilian structures, and the third is a science facility. You can approach and clear them in any order you want.
As soon as you roll up to the first one in the Mako, the name of the assignment changes to UNC: Colony of the Dead, and the next task (Search for Clues) is triggered.
Search for Clues
Feros: Civilian Structure A (2 on planet map), 1st floor
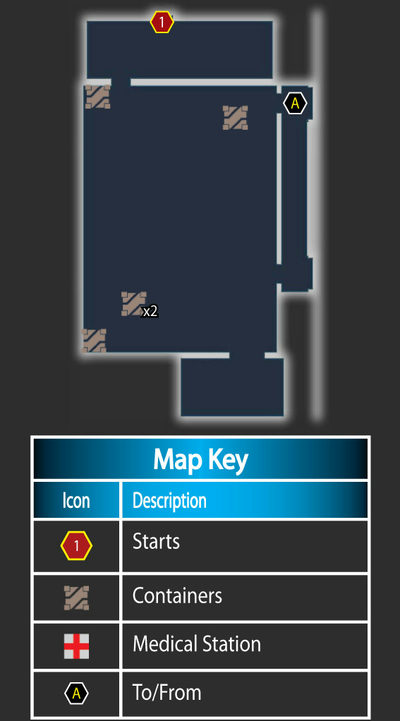
Feros: Chasca Civilian Structure A (2 on planet map), 2nd floor
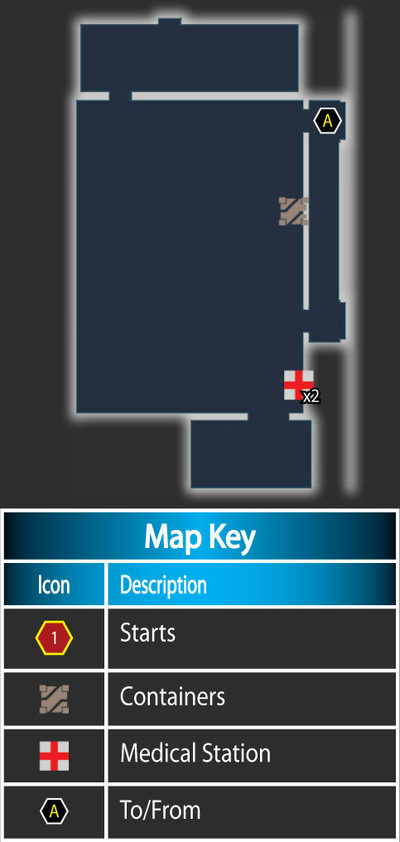
Feros: Chasca Civilian Structure B (3 on planet map), 1st floor
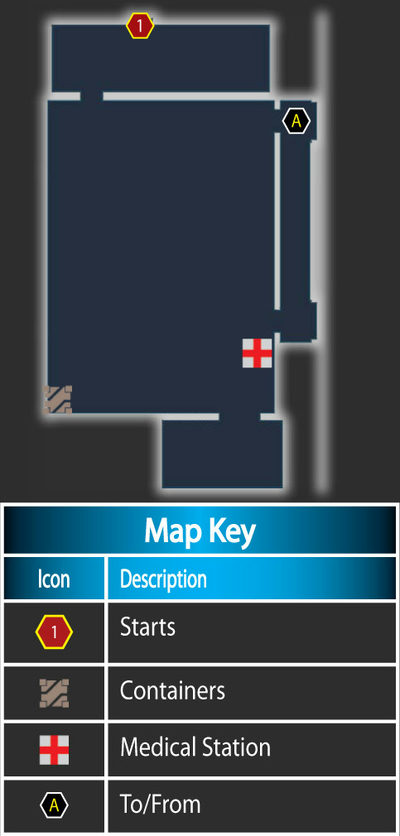
Feros: Chasca Civilian Structure B (2 on planet map), 2nd floor
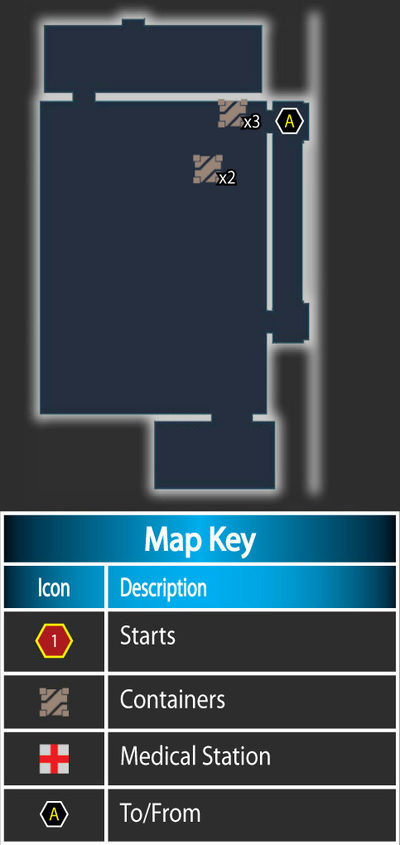
The civilian structures (2, 3) are surrounded by—and filled with—husks. Approach them in any order you want, get rid of the husks outside, and enter the buildings to eliminate the husks inside. Expect to face about ten to 12 husks in each structure.
The Husks’ default attack pattern is to rush at you and blast you with a close-proximity energy field, so your best strategy is to enter the main rooms where the husks are gathered, shoot at one or two of them, and then double-back through the door you entered.
Pick off the husks as they rush toward the door. You shouldn’t have any trouble.
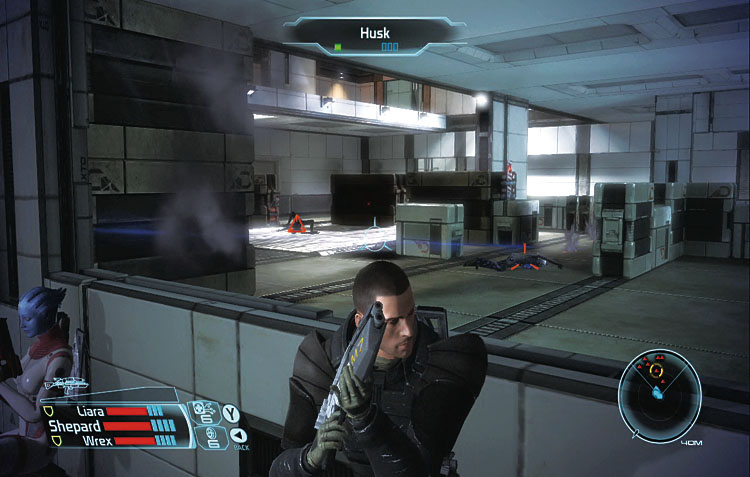
There are a lot of husks in each structure, but good tactical strategy makes short work of them.
Feros: Chasca Science Station
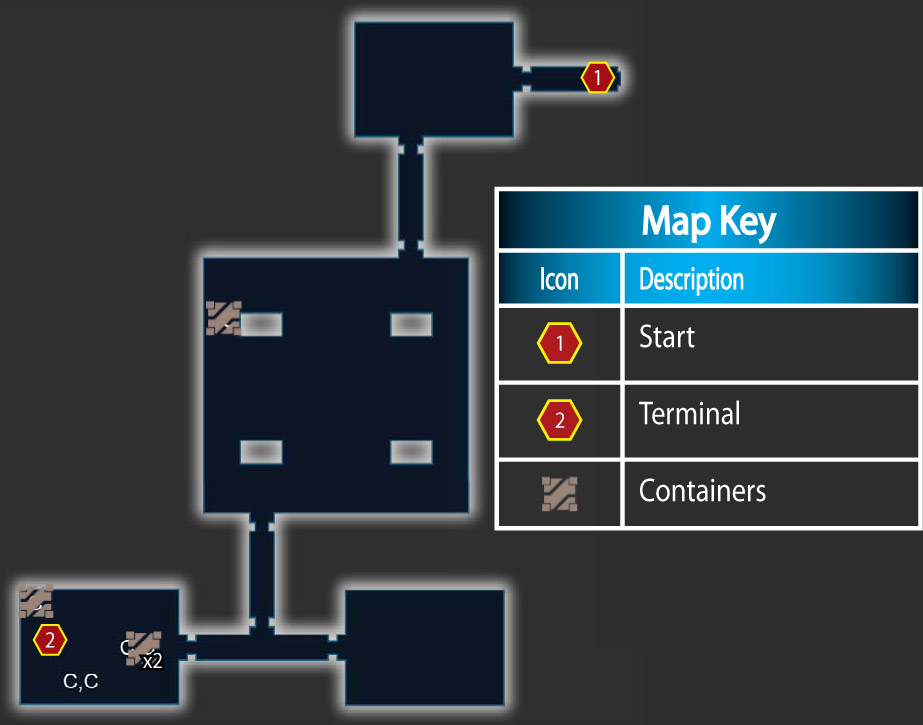
The science station is surrounded by several more husks—surprise! Your strategy is the same as it was for the civilian structures: Clear the husks outside of the science station, then enter the station and clear out the husks within.
Once again, expect to face about ten husks, and lure them through a doorway to pick them off most efficiently.
When the main room is clear of husks, proceed to the southwest room in the science station to find a terminal that you can use to download the colonists’ logs. By doing so, you find out that the colonists were victims of the Cerberus group.
Apparently someone from Cerberus passed through the colony just before the colonists transformed. Acquiring this information completes the assignment.