
Mass Effect (PC) Guide Walkthrough Chapter 2: Finding Liara
Objective 2: Land and Explore Planet Therum
Make Mine Mako
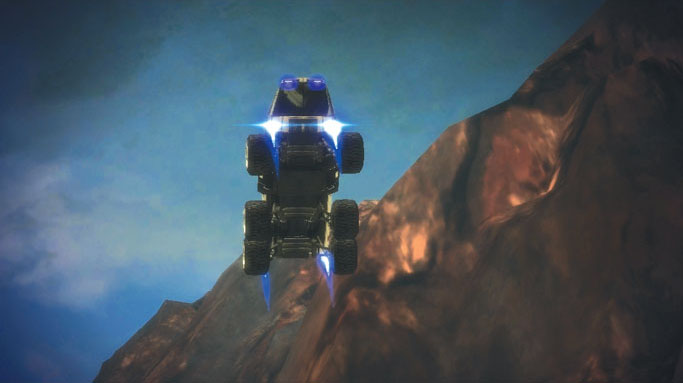
With stealth systems engaged, the Normandy dives into Therum’s atmosphere and deploys Shepard’s squad onto the planet’s surface.
Shepard and company don’t have to huff it on foot this time: Dr. T’Soni’s exact location isn’t known, so the crew uses the Alliance’s surface exploration vehicle, the M35 Mako, to expedite their search.
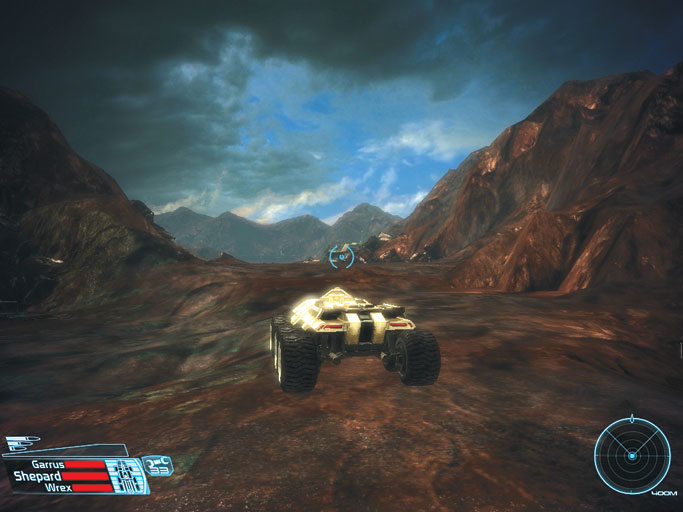
The drop zone features no immediate dangers. If this is your first time piloting the Mako, spend a moment acquainting yourself with its controls.
The Mako steers as you’d expect: it’s built for intense exploration ops and can scale rocky surfaces with ease. It also features boosters that can be engaged with a press of [spacebar] to help it clear obstacles.
Armature Encounter
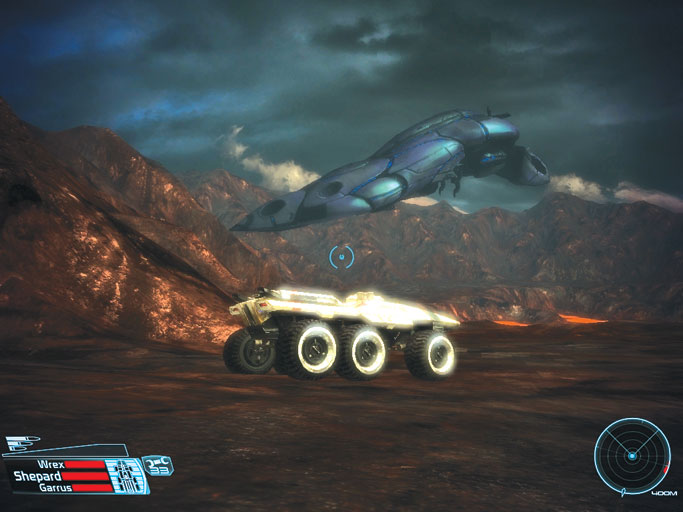
Joker radios in shortly after you land to say that he’s picking up strange readings about two miles north of the insertion point.
Start rolling along the trail, rounding the first sharp bend and cruising onward until you notice a massive dropship fly past.
Prepare yourself: the vessel deploys a pair of formidable geth armatures at the next bend ahead!
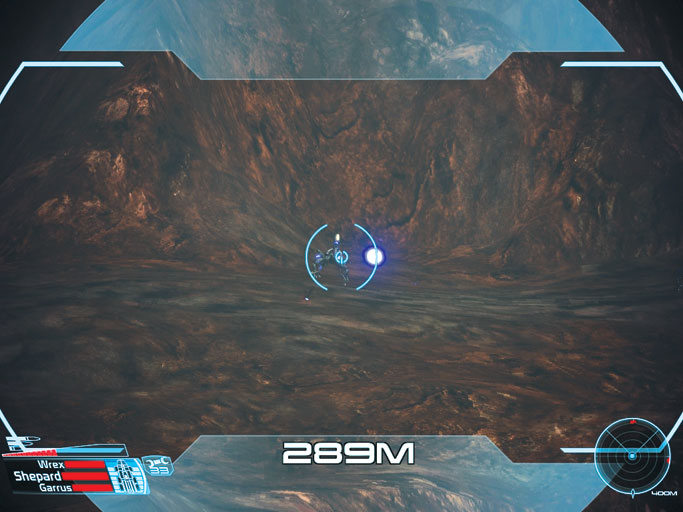
It’s time to test out the Mako’s combat capabilities. Stay far away from the armatures and press the right mouse button to fire devastating shells from the Mako’s main cannon.
Pressing and holding the left mouse button fires the Mako’s machine gun, which is primarily intended for use against weaker troops and foot soldiers.
Press Left [Shift] once or twice to zoom in for a closer view of the armatures if you’re having trouble lining up shots.
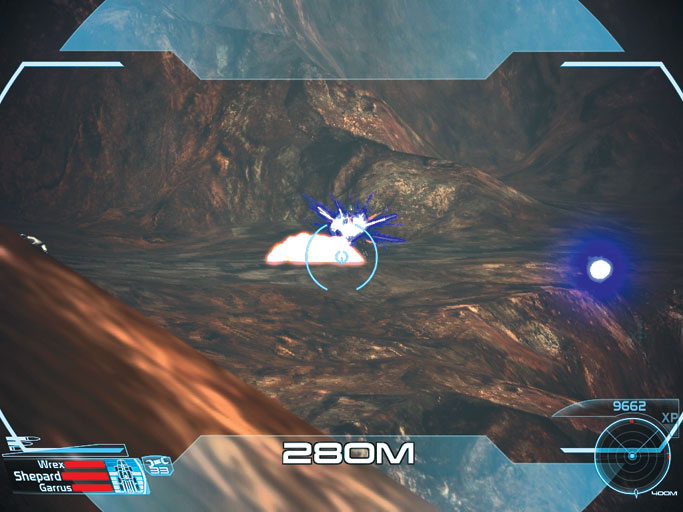
Blast each armature twice with the Mako’s cannon to destroy them (it takes much more than 2 shots to kill the armatures when playing on Hardcore or Insanity).
This fight is a breeze if you keep a distance and position the Mako sideways so you can strafe left and right to avoid the armature’s pulse attacks.
Continue onward after the fight and round the bend ahead to reach a nearby refinery controlled by the geth.
Assaulting the Refinery
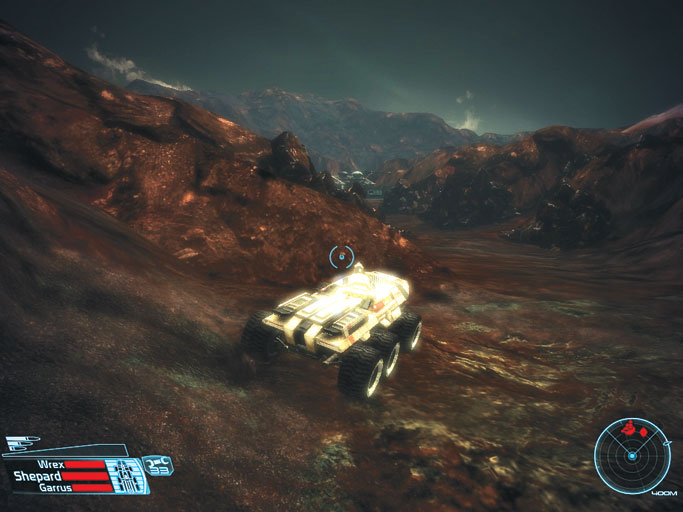
Your radar shows several large red blips as you near the refinery. These diamond-shaped blips signify powerful turrets that the geth have erected to fortify the outpost’s main entrance.
Your squadmates suggest utilizing a side passage to the right for a more tactical approach.
Back the Mako away from the refinery until the outpost’s turrets lose track of you, then make a dash for the side passage (shown on the map).
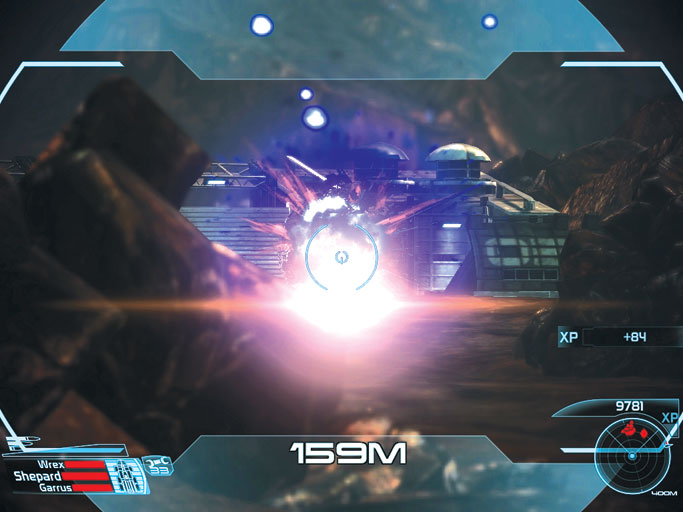
The side passage isn’t completely clear; one lone geth heavy turret stands near its midpoint. Blast the turret the moment you see it, then quickly reverse so the device can’t strike you with its slow-moving rockets.
Pop into view once more and blast the turret a second time, repeating this process until you destroy it.
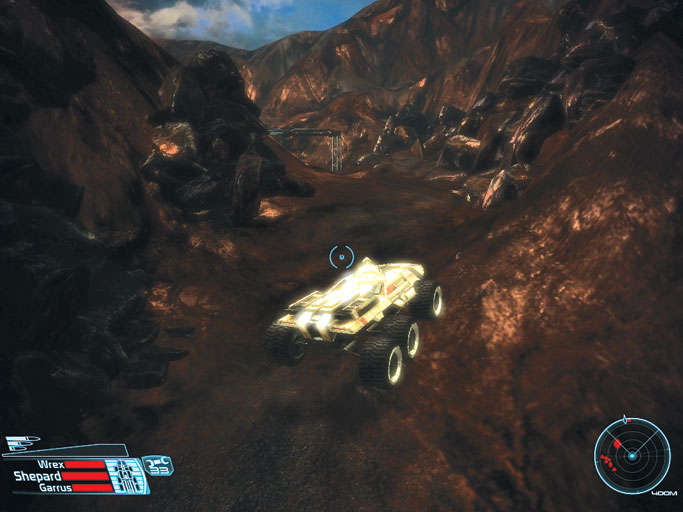
After destroying the turret, use the side passage as a staging ground from which to conduct your assault on the refinery’s interior forces.
Two new and dangerous adversaries patrol the refinery: A fearsome geth juggernaut , and a number of lesser geth rocket troopers .
The juggernaut is akin to the geth destroyer you faced at Eden Prime, but even more powerful.
Rocket troopers are similar to normal geth troopers, except they carry potent rocket launchers capable of inflicting tremendous damage.
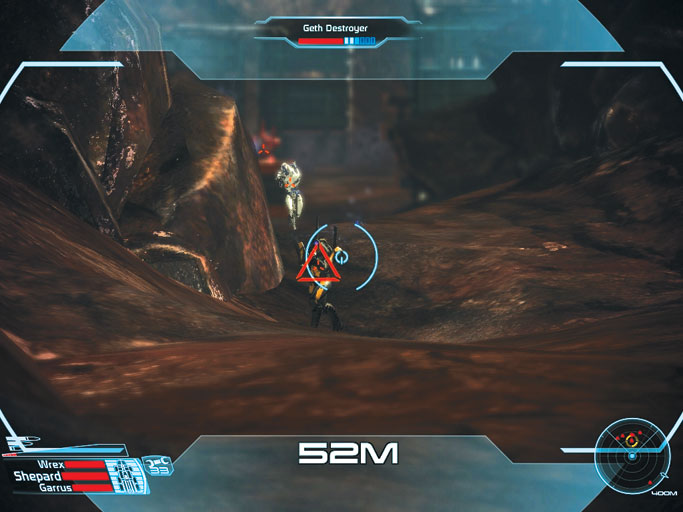
Destroyers and shock troopers guard the refinery as well. Fortunately, none of these threats are a match for the mighty Mako.
Remain in the side passage as you fire on the juggernaut, destroyer, and lesser geth troops. Take your time and monitor your radar, eliminating all hostile forces in the vicinity before striking out on foot.
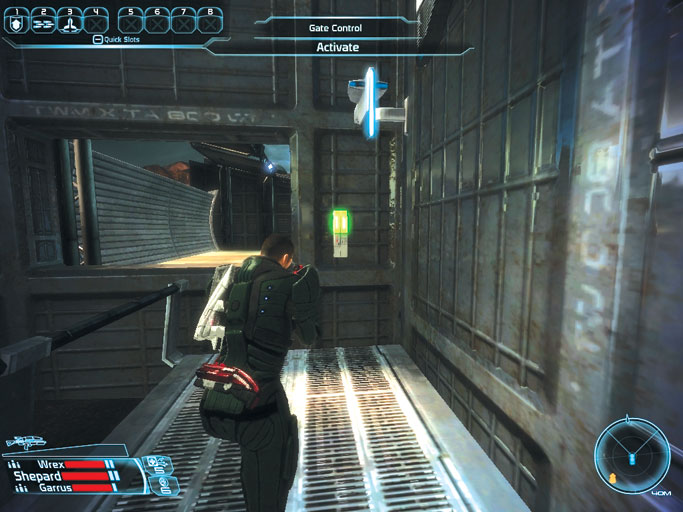
After securing the refinery’s interior, press [Q] to exit the Mako and explore the area on foot. Locate and open three item-holding containers in the refinery (check the map for their locations).
After looting the place, approach the northern gate, eliminate any geth troops hiding inside the gate’s walls and then activate the nearby gate control . The northern gate rises, allowing you to proceed northward in the Mako.
Trek to the Ruins
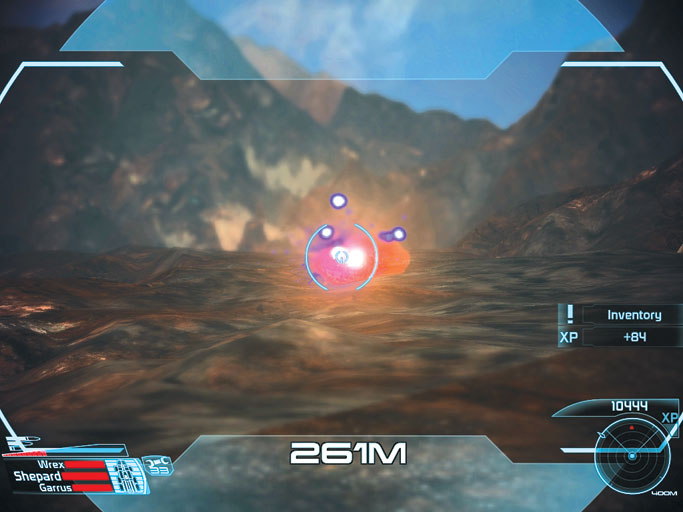
You encounter another armature just beyond the refinery. Find it with your radar and obliterate it from range just as you did before.
A few more armatures open fire from a remote position across the lava ahead. Again, use your radar to locate these threats from range, then blast them to bits with the Mako’s cannon.
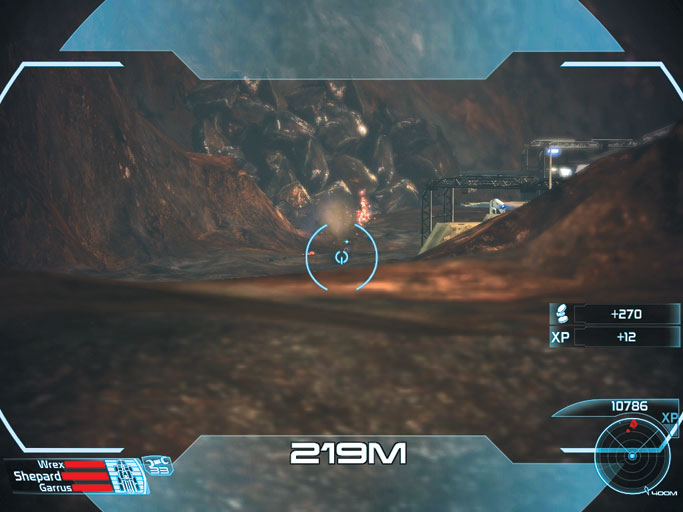
You encounter rocket troopers and a geth Colossus as you near a tunnel entrance. Use your radar and the Mako’s scope to identify and blast them all from afar.
Turn the Mako sideways and roll right and left to avoid the slow-moving rockets and pulse blasts that come sailing your way. Clear the area and then roll up the ramp to enter the tunnel.
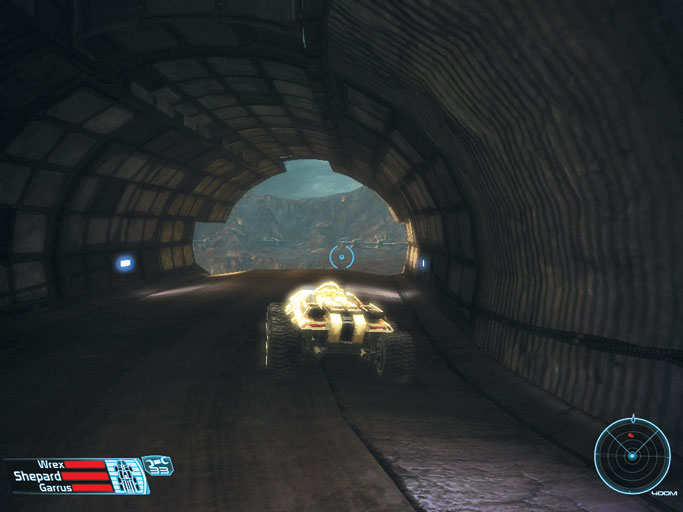
The tunnel is free of enemies but two geth rocket troopers stand guard just outside its opposite end. No use messing around with these guys:
Simply run them down in the Mako and then proceed northward, rounding a bend and cruising into the next tunnel ahead. Two more rocket troopers patrol the second tunnel and are best dispatched by simply running them down.
Therum Ruins
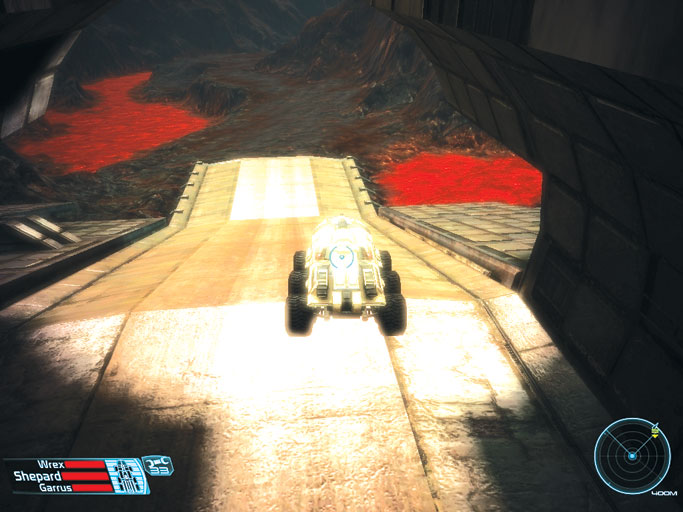
The second tunnel spits you out at the base of a hill. Run down the geth trooper and pair of rocket troopers at the tunnel exit, then cruise toward the hillside.
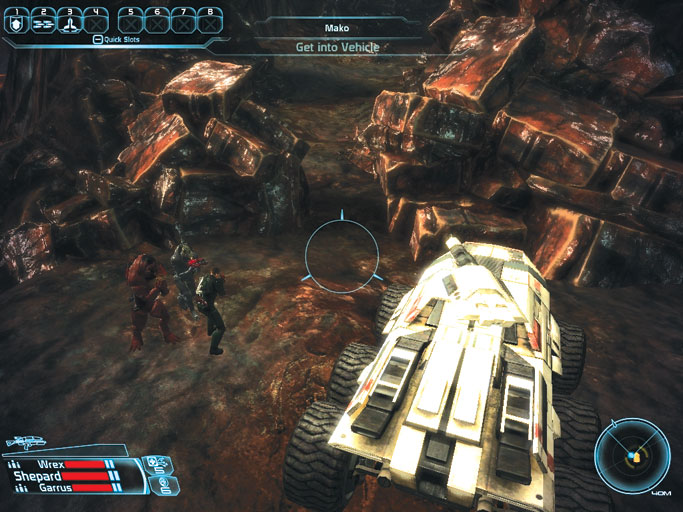
You soon come to a collection of stones that won’t allow the Mako to proceed any farther. Park the vehicle and press [Q] to make your squad hop out.
Save your progress and then proceed through the narrow opening between the rocks on foot.
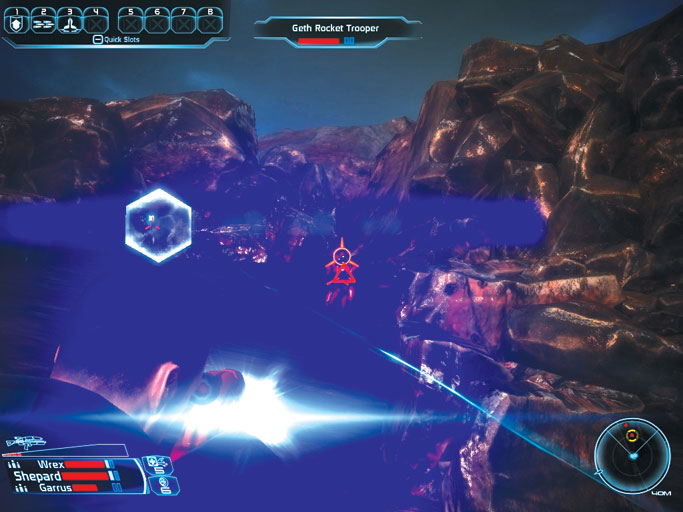
It doesn’t take long for hostiles to register on your radar; geth soldiers and rocket troopers come storming down the hillside, intent on halting your advance toward the ruins.
Use the surrounding large stones as cover as you combat these foes. You no longer have the protection of the Mako to rely on, so beware of the rocket trooper’s explosive projectiles.
Basin Ambush
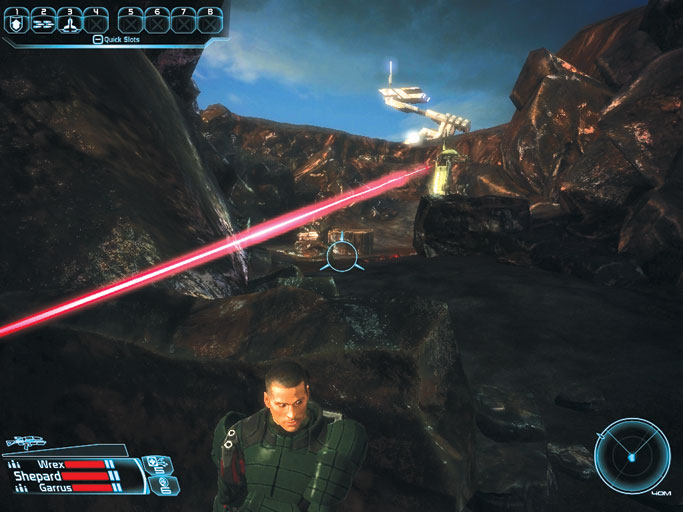
Save your progress after defeating the initial geth wave and continue up the hill.
The geth lie in wait for you in the next clearing, with rocket troopers and geth snipers positioned on the high ridge ahead, and several shock troopers who advance on your position.
Crouch and hide behind the left rock, peeking out to fire on the advancing troopers. Stop firing and take cover whenever a rocket or Carnage blast comes sailing your way.
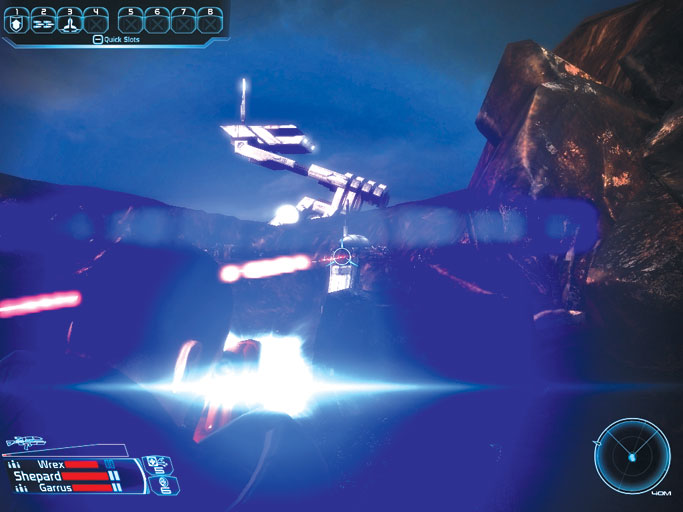
Turn your attention to the geth on the ridge after the shock troopers stop coming. Try using the sniper rifle and see if you can pick off the hostiles on the ridge directly ahead.
The better you are at using sniper rifles, the easier it is to pick them off. The pistol can be effective from this range as well.
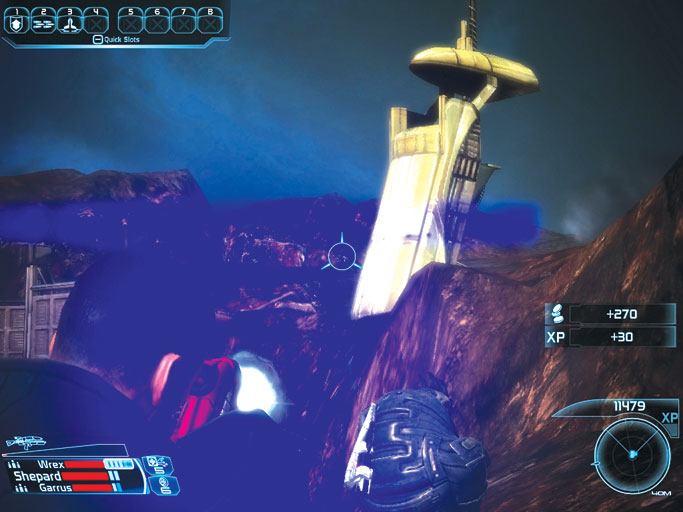
Move forward with caution after picking off the geth on the ridge directly ahead of you. More snipers may be positioned on the ridge to the left as well, so keep alert, utilize cover and pick off any that remain.
If a sniper won’t move out from behind cover and fight, simply switch to a shotgun or assault rifle and scale the hill to eliminate it.
Last Stand
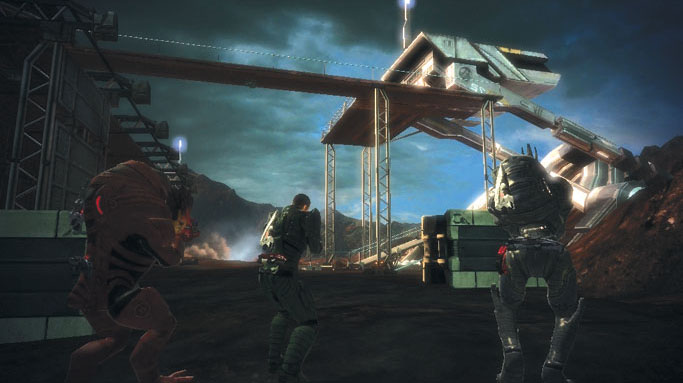
After securing the basin and surrounding ridge, check your team’s equipment and make sure everyone’s armed to the teeth.
Save your game afterward, then approach the structure atop the ridge. You fall into a deadly ambush here.
A dropship flies by, deploying several geth forces backed by a massive armature and a new breed of enemy: geth stalkers. Numerous geth snipers fire down from the surrounding rafters as well.
This is the most difficult fight you’ve faced up to this point by far, so be prepared for a brutal battle. Having some tech and abilities such as Sabotage or Warp can help out tremendously in this fight.
A team too focused in combat will actually face more dificulty here than a well-balanced team.
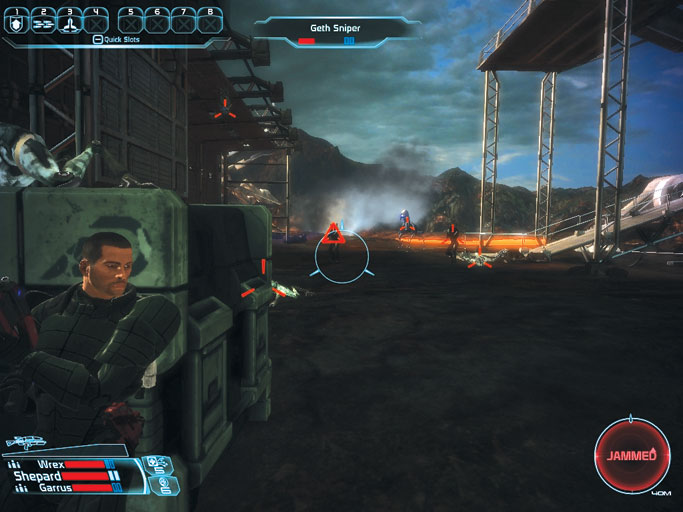
You begin this fight in open ground, so your first task is to find some cover. The large crate to the left makes for a perfect camping spot. Dash to the crate as soon as you can, pressing Shepard’s back against it.
Immediately lean out to the right and open fire on the advancing geth soldiers. Now that you’ve found some cover to hide behind, focus on preventing the geth’s ground troops from drawing close and flushing you out.
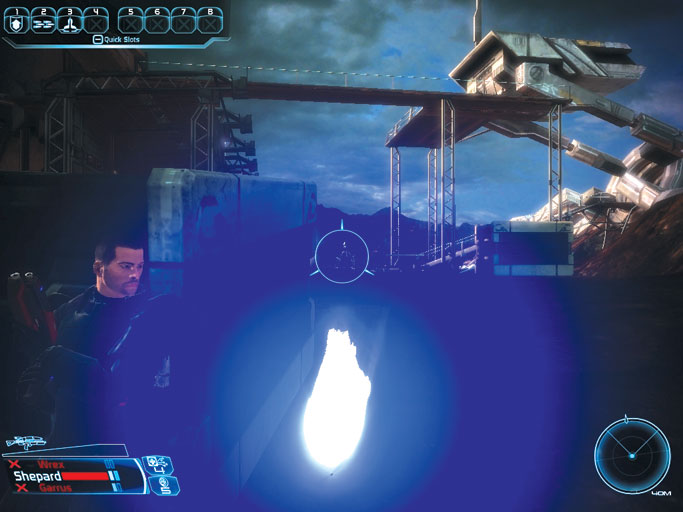
Utilize every power and ability at your disposal to whittle down the geth troops. It won’t take long until only the sluggish armature is left advancing on your position.
When all other ground forces have been eliminated, the armature becomes your primary target.
Pop out and assail the hulking monstrosity with heavy gunfire and retreat to cover each time you see it ready a glowing Siege Pulse blast. The armature is a tough nut to crack, so take your time and focus on whittling it down.
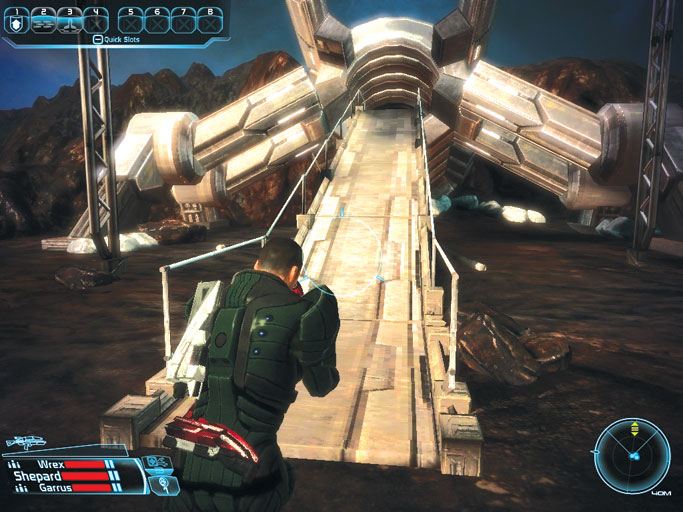
Destroy the armature, then assist your teammates in wiping out any remaining stalkers or snipers.
When the area is secure, save your game, then scale the long metal ramp leading into a mining tunnel.The geth certainly seem intent on keeping you out of here; perhaps Dr. T’Soni is being held somewhere inside.