
Mass Effect (PC) Guide Walkthrough Chapter 5: Virmire
Objective 4: Set the Nuke; Flee Virmire
Ambushed
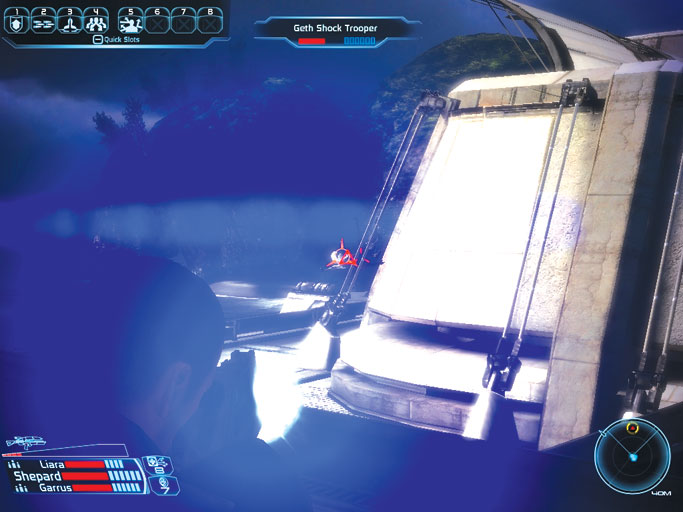
Well done. You’ve disable the base’s primary AA tower, but there’s still one left to deal with.
Don’t let your guard down just yet; two strike teams of geth shock and rocket troopers advance on your location just after you disable the AA tower. The first wave storms up the nearby stairs you used to reach the controls.
The second uses the nearby elevator. Wipe out both assault parties before they can do much damage, then use the elevator to proceed.
Krogan Breeding Grounds
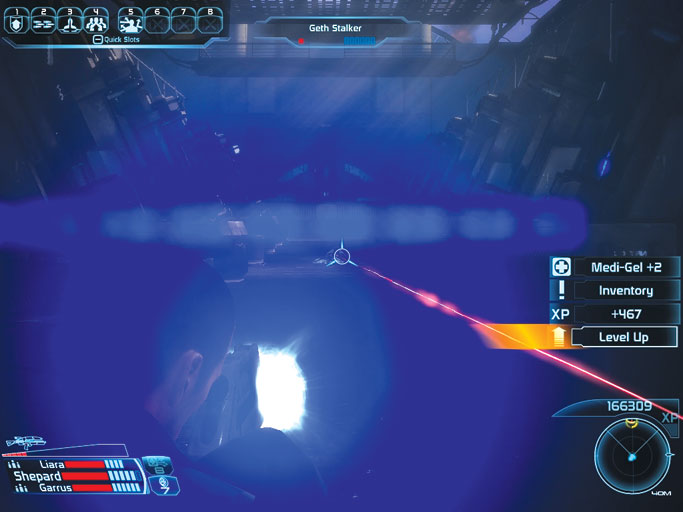
The elevator takes you to the krogan breeding grounds. You’re close to the area where the nuke must be detonated.
Step off the elevator and loot the nearby aid station for medi-gel, then open the door at the end of the hall.
Open fire on a pair of geth stalkers in the large breeding trench that follows. Take out both to restore your radar.
No other hostiles attack you in the breeding trench, so you can now make for the far door to reach the Normandy landing site.
Special Delivery
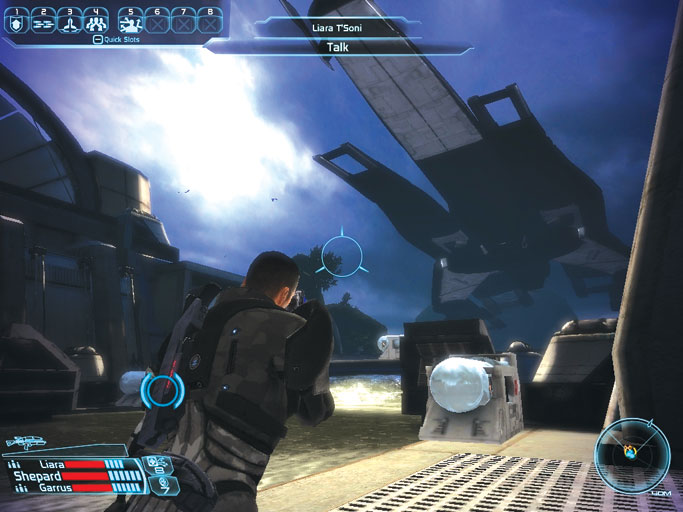
Captain Kirrahe’s team is successful at destroying another AA tower just as Shepard’s team reaches the landing site.
Although one tower still remains, your offensive has done enough to allow Joker to bring the Normandy in for a safe landing. The ship touches down and the crew hurries to unload the nuke.
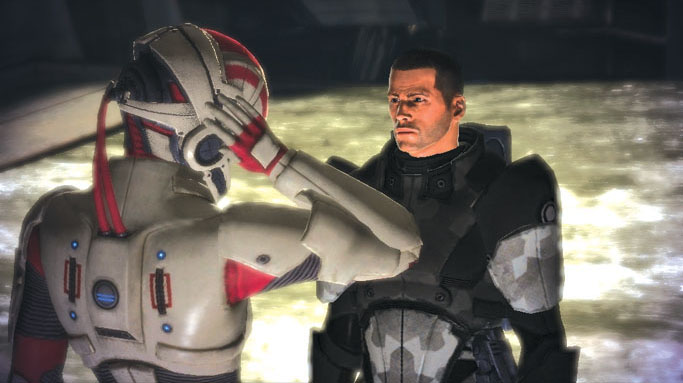
The squad mate you chose to lead one of Kirrahe’s strike teams soon radios in with an update, saying that they’ll never make it to the rendezvous point before the bomb needs to be set off.
Unable to leave a teammate behind, Shepard hurries off to the rescue. The Normandy returns to the sky.
To the AA Tower
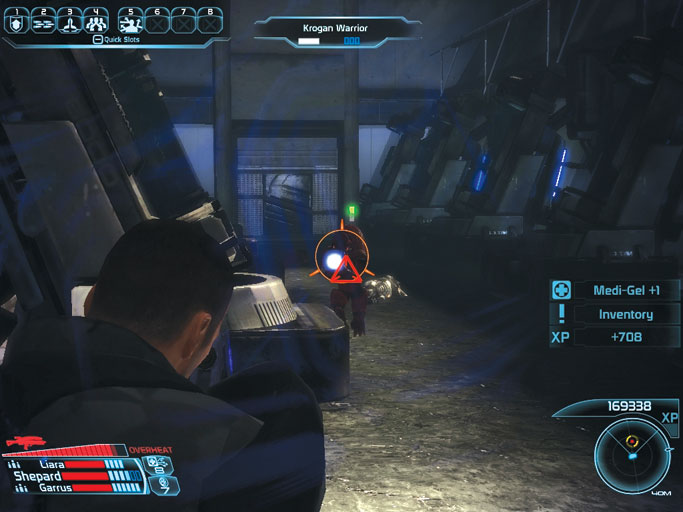
There’s no time to lose. Open the large western door to reach the western breeding trench, but beware: a large number of krogan warriors and geth ghosts lie in wait at the trench’s far end.
Keep your distance and annihilate these foes as quickly as possible.
Employ powerful abilities to help you cut them down fast. Secure the trench and then take the far elevator to reach the western half of the base’s main level.
A Difficult Choice
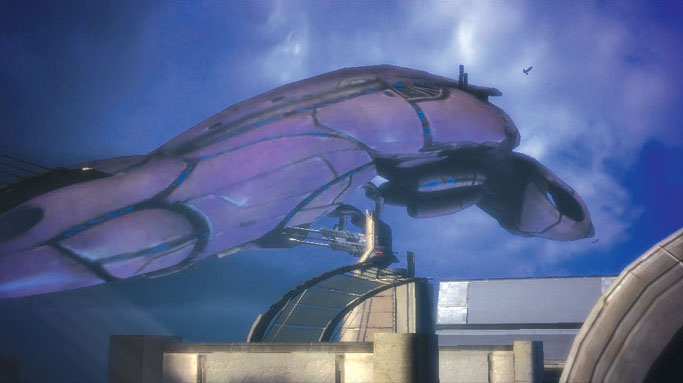
While crossing the catwalk leading toward the AA tower, Shepard notices a massive geth dropship flying past. The squad mate near the bomb site radios in, saying the dropship is deploying geth forces all over the area.
Fearing they’ll be overrun, the team member arms the bomb preemptively, ensuring that it will go off.
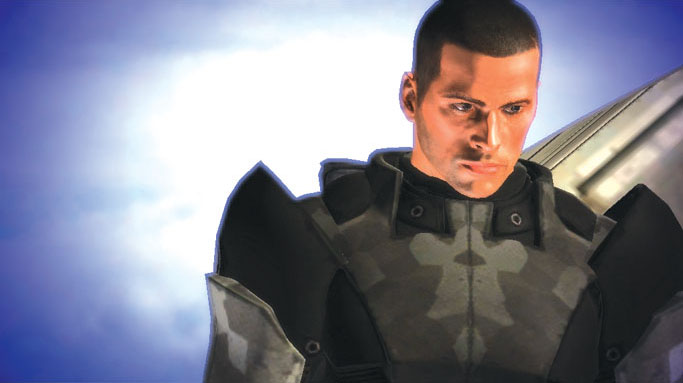
Shepard is now faced with a terrible choice: there’s only enough time to save one of his two crewmates before the nuke detonates.
Whomever you choose not to save will die in the imminent blast. This is perhaps the most difficult decision you must make in Mass Effect. Search your heart and make your choice.
To the Rescue
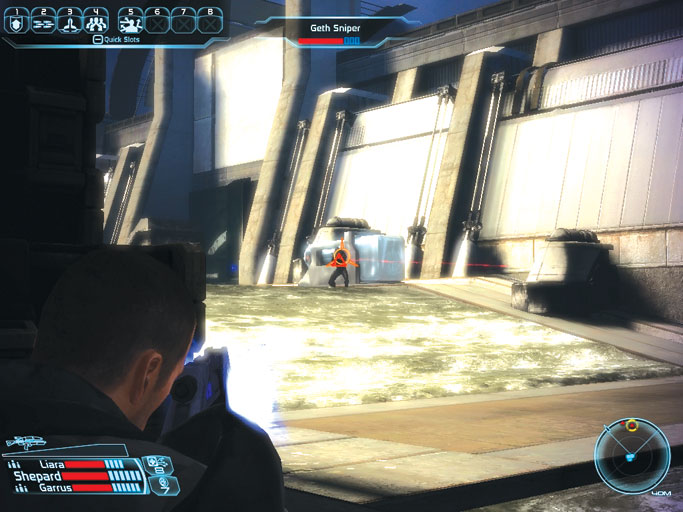
If you chose to help the teammate near the bomb site, you must forgo the AA tower and double-back to the site. If you decided to rescue the other crew member, continue onward and use the nearby elevator to reach the AA tower.
Arriving at either location lands you in a massive battle against several powerful geth forces, including snipers, a juggernaut, and a hulking geth prime.
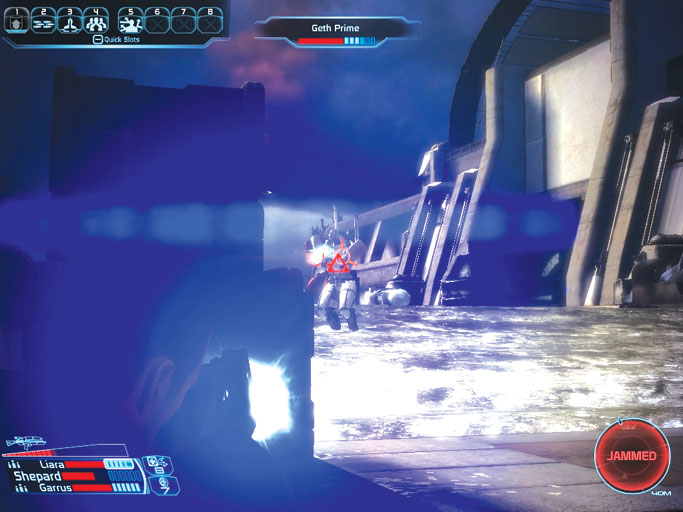
Put your most powerful abilities to effect and strive to destroy the geth prime and juggernaut before they can inflict much damage. Wipe out the snipers afterward to secure the area—that is, until Saren arrives.
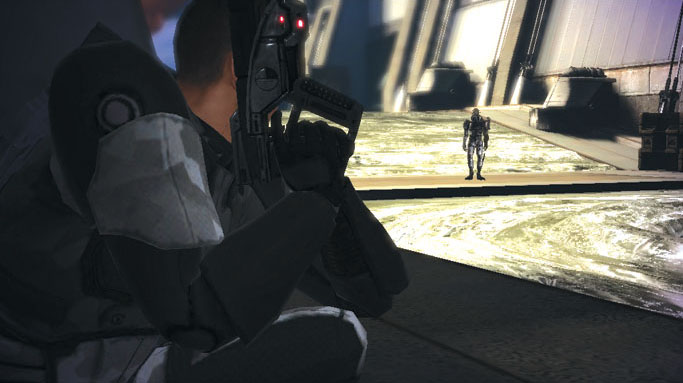
The traitorous former Spectre zips through the sky on his awesome glider, lobbing energy projectiles at Shepard and his crew from on high. The team seeks cover and Saren halts his assault for a moment to speak with Shepard.
Question Saren to finally learn why he’s been helping the geth and the Reapers: he believes bowing before the synthetics’ might will actually spare him and those who serve him from their wrath.
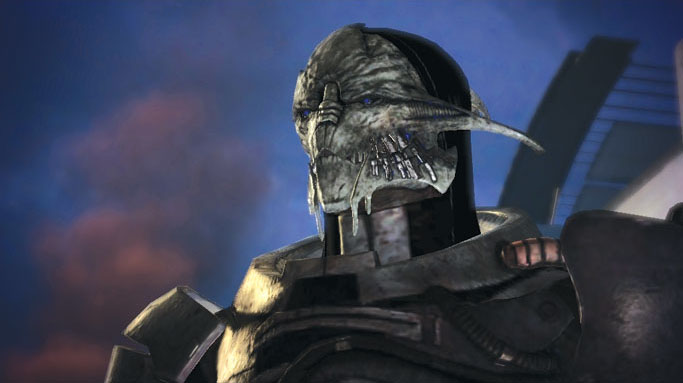
Continue probing Saren to learn that the geth view the Reapers as gods, which explains their role in the whole ordeal.
The turian won’t say much about the Conduit, except that Sovereign wants it to facilitate the destruction of the galaxy’s organic life.
If your skill level is high enough, Charm or Intimidate Saren to gain a few morality points when the dialogue concludes. Sadly, Saren can’t be persuaded to rally against Sovereign.
Though subtle, the Reaper’s indoctrination effect is strong enough to convince the turian that organic life has no hope of survival if they do not bow before the Reapers.
Showdown with Saren
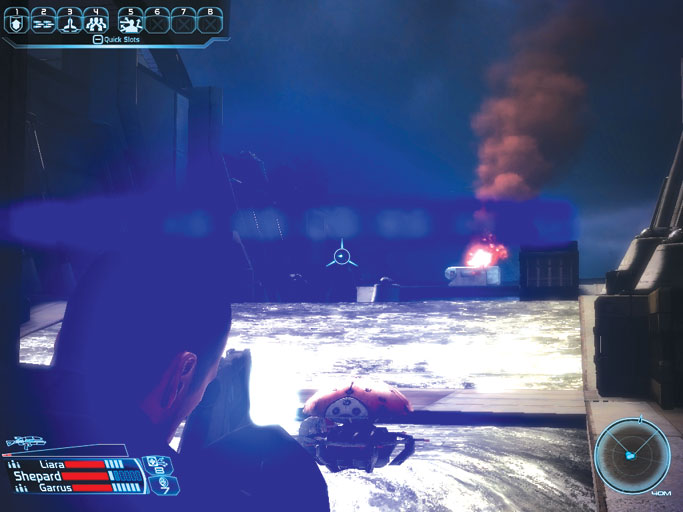
Fearing Shepard’s interference will doom all life to extinction at the hands of the Reapers, Saren takes to his glider once more.
The moment the battle begins, immediately seek cover behind the nearest object so you may pick shots at Saren without leaving yourself exposed to his deadly counterfire.
Employ your strongest abilities and strive to put an end to the fight before Saren can annihilate Shepard and crew.
Retreat!
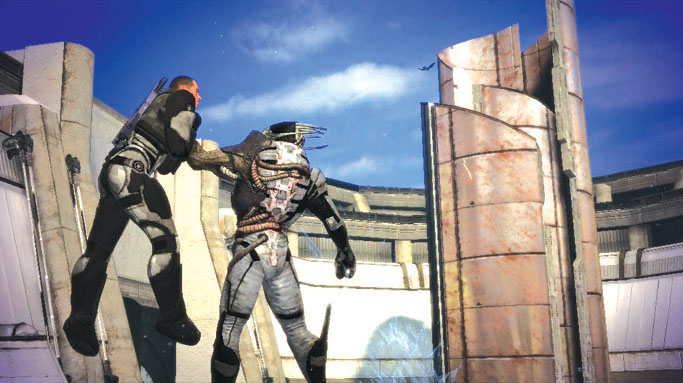
Having suffered enough, Saren unleashes a tremendous blast and then rushes in for the kill. Shepard is able to knock the powerful turian away, and Saren decides the time has come for a tactical retreat.
Soaring off on his glider, the turian shoots Shepard one last menacing glare. The two are sure to meet again.
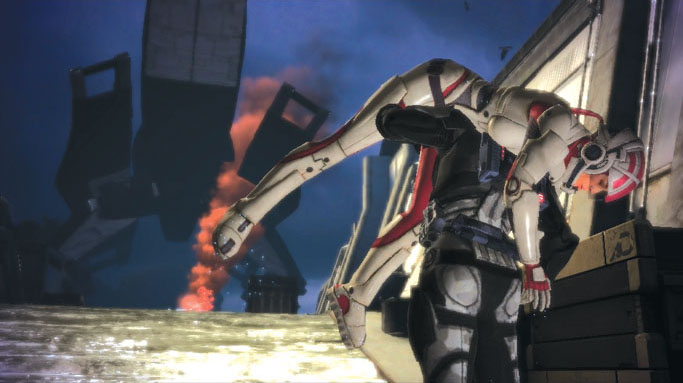
Just in the nick of time, Joker swoops down in the Normandy . Shepard hurries to gather up his squad and climb aboard.
The ship takes off at full speed, cruising away from Virmire just seconds before the nuke goes critical. Talk about cutting it close!
Mission Accomplished
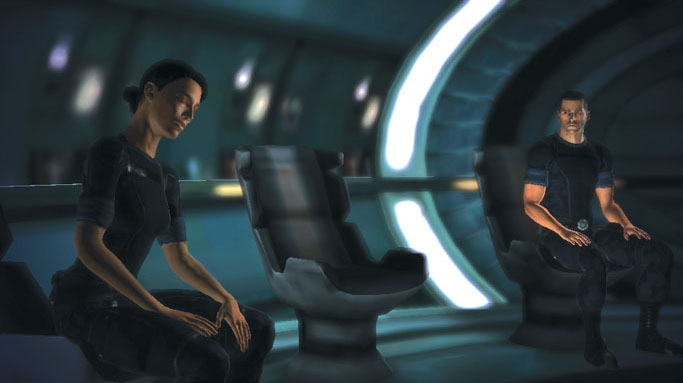
Safely aboard the Normandy , the crew mourns the loss of their fallen teammate. The responses you choose can earn you a few morality points.
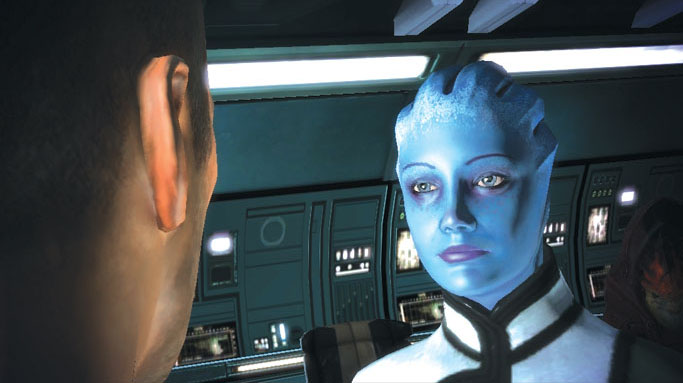
Quick to change the subject to a more productive topic, Liara suggests she might be able to help Shepard make sense of the visions brought forth by the beacon they discovered in Saren’s lab.
Indeed, Liara is finally able to determine the location of the mysterious Conduit: it’s at a remote planet called Ilos.
Saren apparently tasked Matriarch Benezia with tracking down the lost relay node because it’s the only way a ship would be able to travel to such a far-off world.
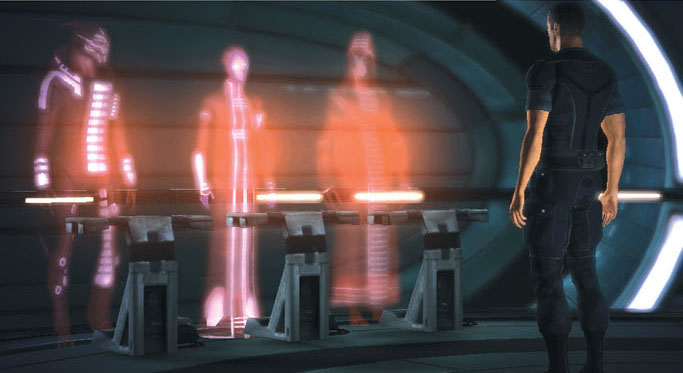
Have Joker patch the Council through so you may give them a full debriefing. The Council is pleased to hear of your success at Virmire. An army of krogan would not have been easy to handle.
However, the Council isn’t so quick to accept Shepard’s report of a sentient doomsday machine—a Reaper—called Sovereign . They believe Saren is simply trying to divert Shepard’s attention away from his own malevolent schemes.
Without evidence to support such wild claims, the Council is unable to take any sort of official action against the so-called Reapers.
Bringing the transmission to a close, the Council reminds Shepard that Spectres are free to investigate matters however they see fit. It seems the commander will have to go after the Conduit without the Council’s aid.