
Mass Effect (PC) Guide Walkthrough Chapter 8: Endgame
Objective 2: Scale the Tower
Citadel Tower: Maintenance Shaft
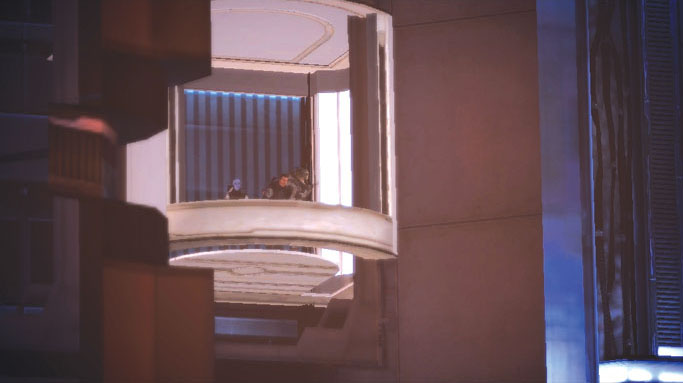
Unfortunately, the elevator doesn’t quite go to the top. Saren has already accessed the station’s main control unit and has locked down all automated transport systems. The crew has no choice but to suit up and ascend the tower via an exterior maintenance shaft.
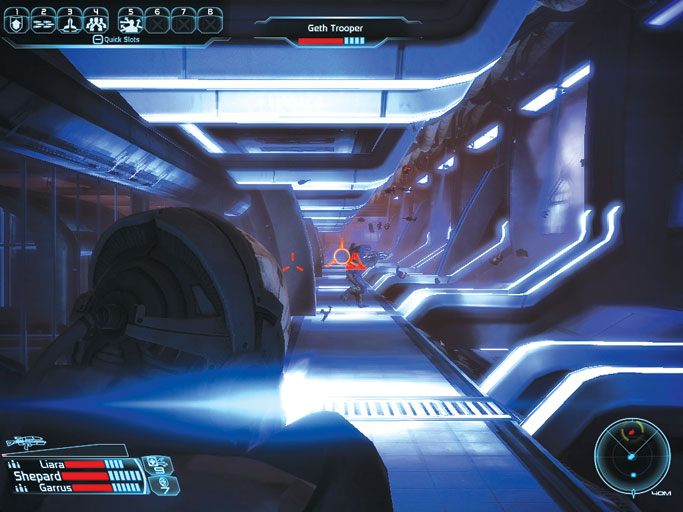
Not far into the climb, the team is ambushed by a detachment of geth troopers and rocket troopers, who come barreling past in an elevator. A shock trooper also opens fire from the far end of the tunnel as the crew draws near.
Crouch and take cover in the low alcoves to the right, or press Shepard’s back against the narrow walls that stick out from the left. Avoid rockets and Carnage blasts, and cut the geth down as fast as you can.
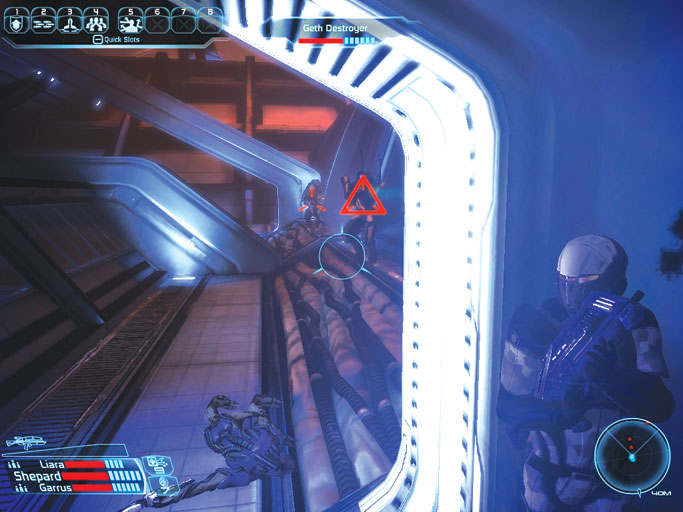
More geth engage the party beyond a steep rise, including a number of powerful geth destroyers, and a rugged krogan warlord . These krogan are beefed-up versions of the warriors you faced at Virmire: they become immune to health-based damage, they can super-charge their shields, and they regenerate after they fall once.
Advance slowly, keeping behind cover and picking off each hostile that moves into view. Avoid the krogan and destroyers’ Carnage bombardments, and use your own abilities to dispatch them in short order.
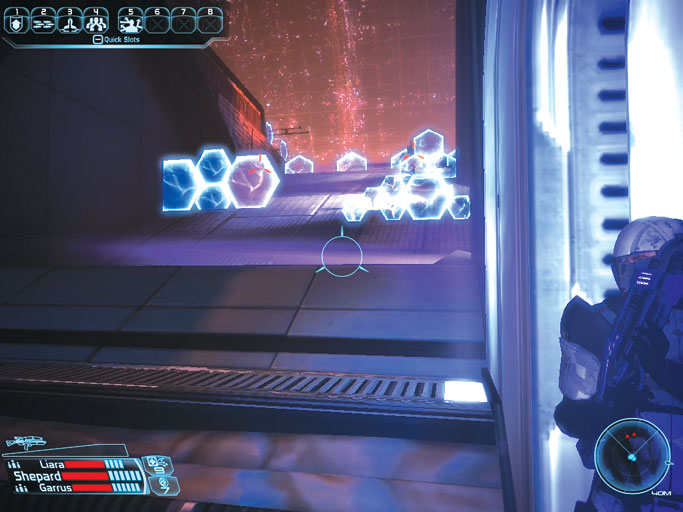
More geth troopers have entrenched themselves behind a network of small kinetic barriers at the far end of the maintenance shaft. Peek out from the corner and fire on the barriers to destroy them and expose the geth. Cut the synthetics down without mercy.
Citadel Tower: Exhaust Plain
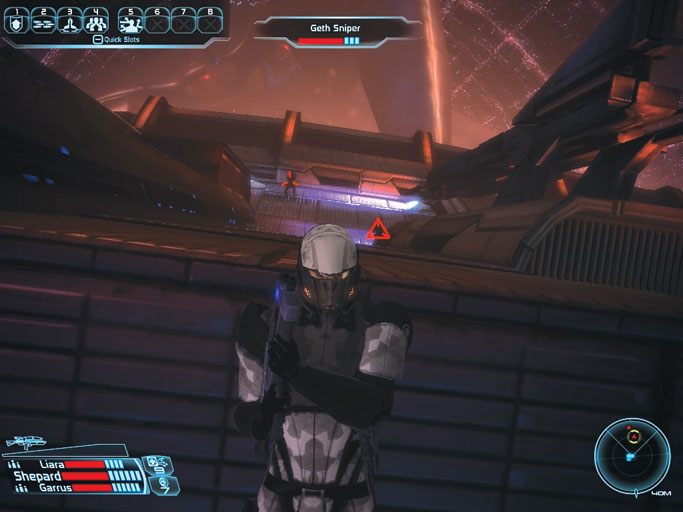
Use caution when scaling the rise that follows; a geth sniper and rocket trooper lie in wait to the left. They are ready to blast your team the moment you move into view. Remain on the ramp, crouching and using the low southern wall as cover. Pop up to fire on these hostiles and duck to avoid their attacks as necessary.
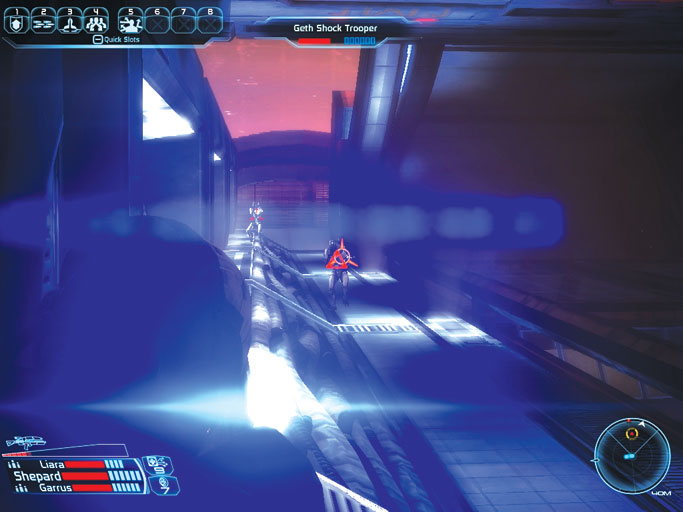
Navigating exhaust plain can be quite disorienting. Check your map often to ensure that you’re on course, and use your radar to detect the presence of hostile forces.
There’s all sorts of cover to utilize up here, so don’t leave yourself exposed. You encounter numerous geth shock troopers and destroyers in the middle trench, so keep alert and proceed with caution.
Downing the Dropship
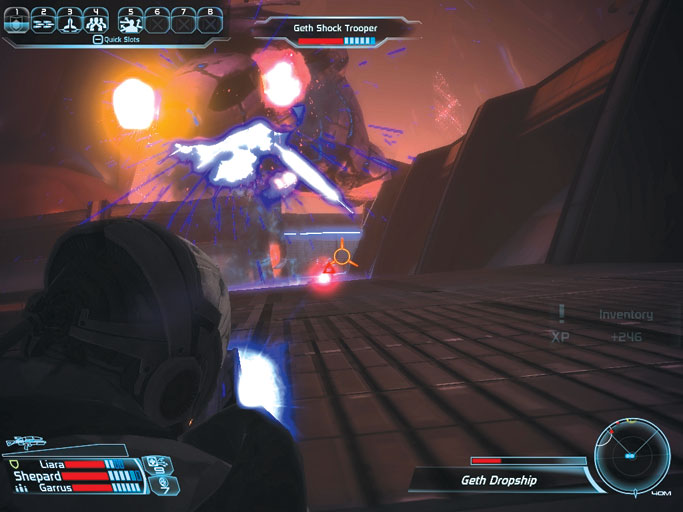
As the team exits the exhaust plain’s central trench, a massive geth dropship flies past and begins deploying additional synthetic forces. Firing on the dropship won’t get the job done; you must activate the surrounding Citadel defense turrets to batter the vessel with heavy ordnance.
You don’t need to activate all three of the turrets, but the more you trigger, the faster the dropship will flee.
Citadel Tower: Exterior Defense Grid
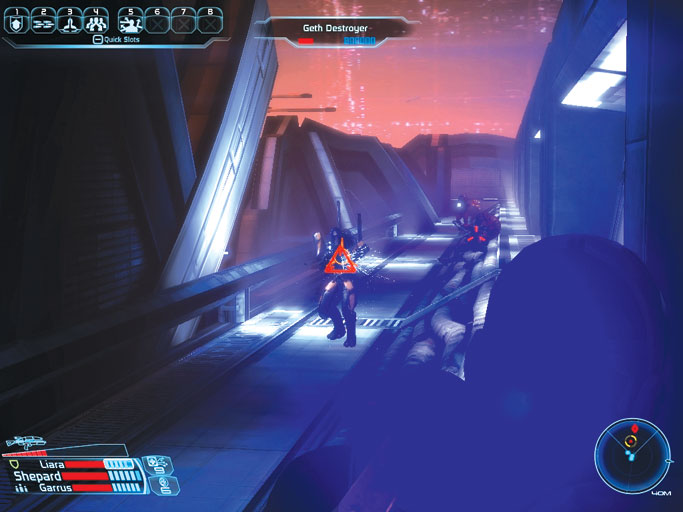
Beyond the exhaust plain, a long trench stretches out toward the tower’s exterior defense grid. The trench is heavily defended by krogan warriors (similar to those you faced at Virmire), geth destroyers, and juggernauts, so keep behind cover and pick off these dangerous enemies from range.
Advance when it’s safe to do so, but remain wary of possible reinforcements ducking out from the trench’s far end.
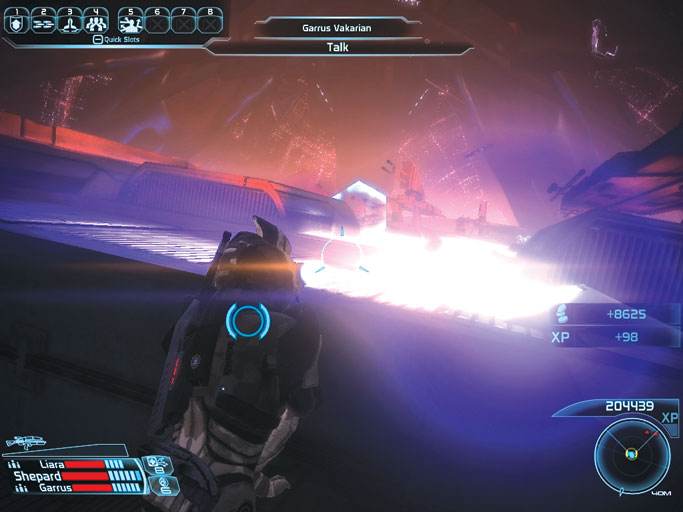
Saren’s forces have taken control of the many rocket turrets stationed about the main portion of the exterior defense grid. Sprint forward and take cover behind the low domes sticking up from the ground.
Crouch down but don’t press Shepard’s back against these objects; keep a few paces back to avoid suffering splash damage when inbound rockets hammer against them. When you’ve found a suitable position, open fire on the nearest turret.
Aim for the emplacement’s unshielded "head." The turrets are quite resilient, but a healthy dose of gunfire eventually does the trick and destroys them.
Side Tunnel
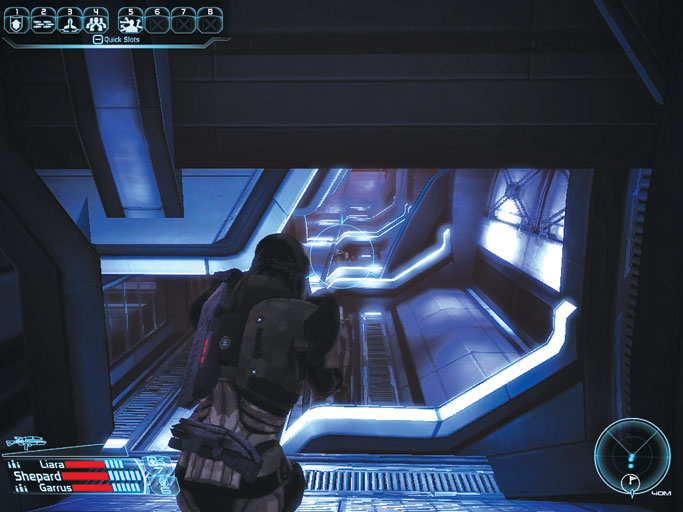
If those rocket turrets are giving you grief, consider dipping into the eastern side tunnel for a chance at circumventing them. You face a large number of krogan in the tunnel, however, including warriors, warlords, and even a fearsome battlemaster (like the one you faced while rescuing Liara from Therum).
In short, this approach isn’t without its share of danger. No matter which way you choose to tackle the exterior defense grid, your goal is the same: reach the hatch at the area’s far southeast corner, and use it to arrive at the tower’s apex at last.