
Mass Effect (PC) Guide Walkthrough Chapter 5: Virmire
Objective 3: Disable the AA Tower
Base Entry
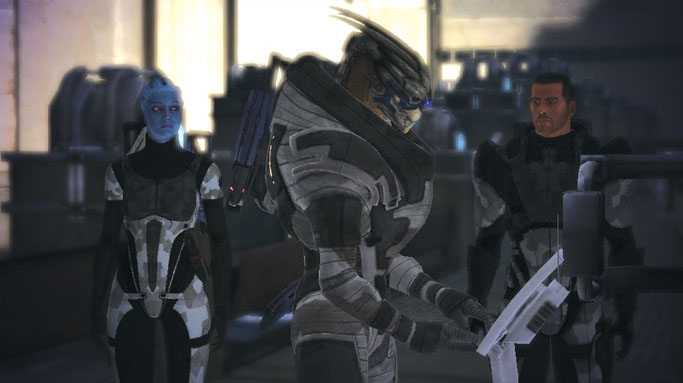
The exterior balcony door leads to a long interior walkway. Oddly enough, no guards are present and a security console is completely undefended.
Interact with the panel to gain the option of either cutting the alarms on this side of the base, or the ones closer to the salarian strike teams.
Cutting the alarms near your squad makes your infiltration a bit easier, but the salarians will meet with stronger resistance when they trigger their alarms.
The choice you make earns you a good heap of morality points, so weigh your options carefully.
Base Entry: Warehouse
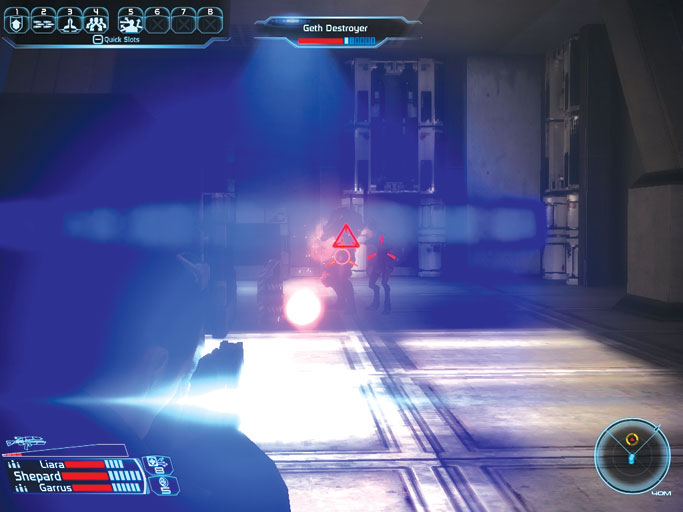
Enter the warehouse through one of the three doorways that become unlocked after you interact with the security console.
Inside, you face heavy resistance in the form of a few geth shock troopers, a destroyer, and several indoctrinated salarians who are under Saren’s control, on par with the low-threat thugs you faced back at the Citadel when assaulting Fist’s club so long ago.
Make the synthetics your primary targets; the indoctrinated pose little hazard to a strike force of your team’s caliber.
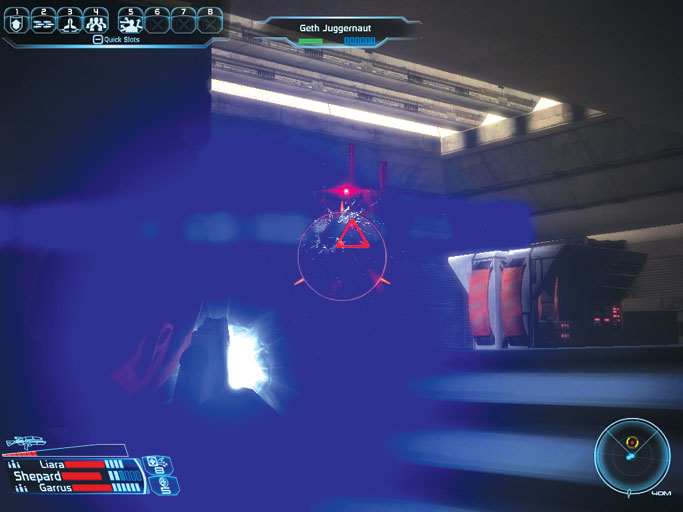
Exercise extreme caution when moving southward beyond the aid station; the lone enemy that registers on your radar is in fact a burly geth juggernaut.
It’s usually best to send your teammates forward to draw the giant’s ire, while standing ready to assist them with Shepard’s most powerful abilities.
Naturally, you should wait before moving your crew up until they’ve had a chance to rest and recover the use of their powers. Bring the juggernaut down as fast as you can, then proceed through the door he was guarding.
Base Entry: Security
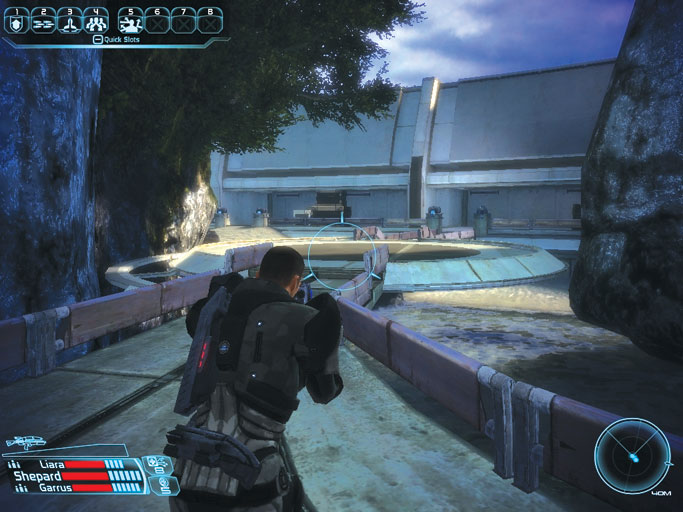
The door leads to a long walkway overlooking a detainment center. One of the imprisoned salarians calls to Shepard’s crew as they move past.
You’ll get to him in a moment. For now, simply cross the walkway to reach the security office beyond.
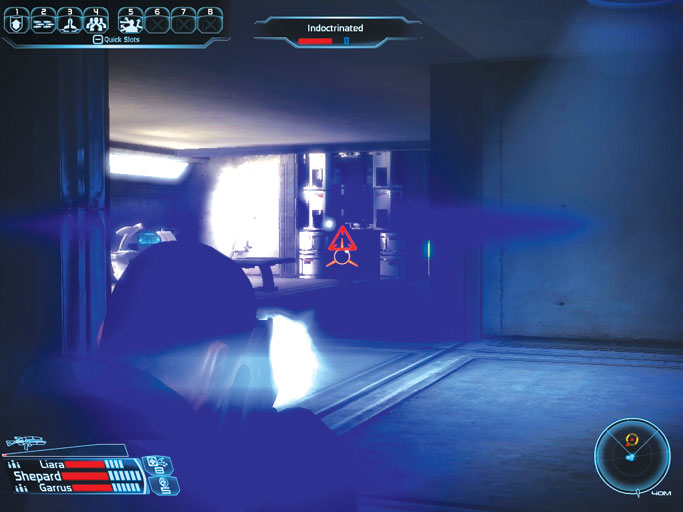
Two hapless indoctrinated salarians stand guard inside the security office. They can’t be reasoned with, so cut them down without mercy.
You then have a choice of entering one of two nearby doors, or you may ride the elevator between them.
Pick the northern door (to the right of the elevator) to reach the complex’s detainment level if you’re interested in speaking to the salarian prisoners.
Detainment Level: Cell Block A
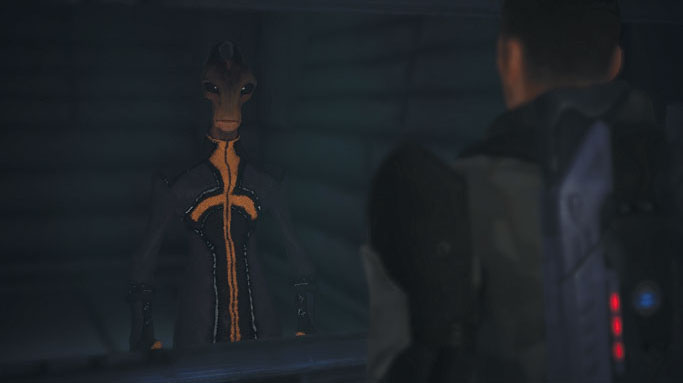
Take the door to the right of the security office’s elevator to reach the detainment level. There you may speak with an imprisoned salarian trapped inside the northern cell.
The salarian tells Shepard a bit about the indoctrination process, the terrible procedure Saren has performed on many salarians at Virmire to turn them to his side.
Choose to free the prisoner for a small Paragon point reward. Or leave the poor soul to his fate for a slightly larger Renegade point boost.
Labs: Cell Block B

Return to the security office, then take the southern door (to the left of the elevator) to reach the facility’s other set of holding cells, which are housed off the facility’s labs.
Sadly, the prisoners here are far worse for wear. The one prisoner able to speak with you begs to be released, but Shepard’s squad mates aren’t so confident that he’ll behave.
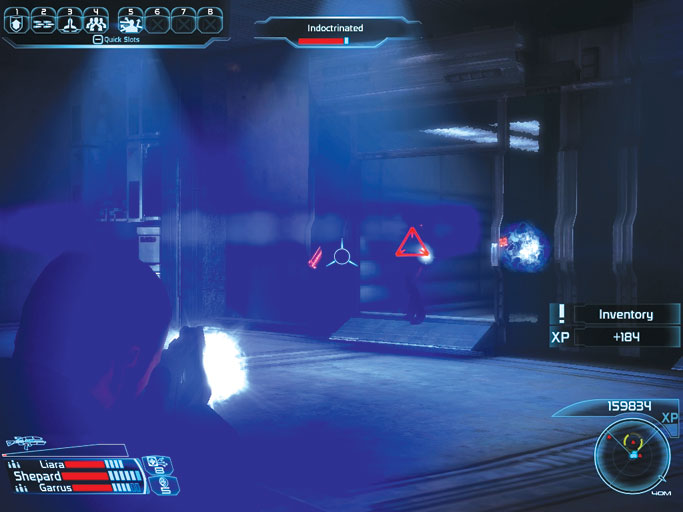
Freeing the prisoner earns you a good amount of Paragon points, but also releases all other indoctrinated salarians from their holding cells. The salarians then quickly turn on your crew, firing at them with concealed weapons.
The indoctrinated pose little threat of course, and the fight is a slaughter. Choose to leave the madmen to their fate to avoid this massacre and earn a few Renegade points in the process.
Base Entry: Storage Room
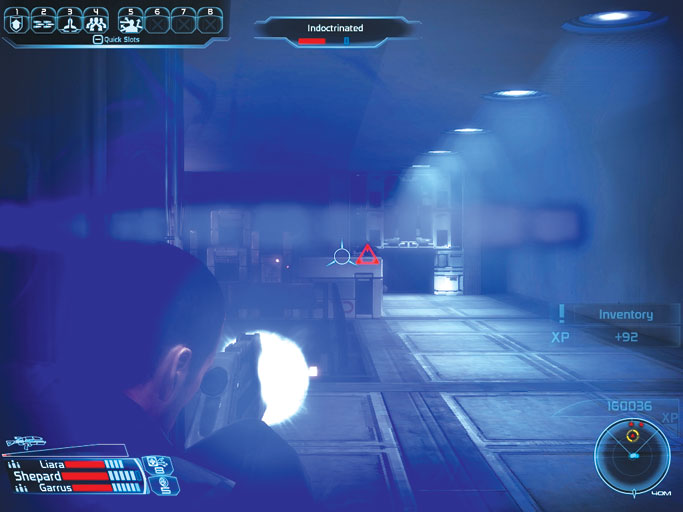
After dealing with the salarians in cell block B, take the far southern stairs to reach the base entry’s southern storeroom. A few more indoctrinated salarians await you here.
Cut them down, then use the nearby aid station to replenish your medi-gel.
Proceed down the central staircase to reach the detainment level’s southern end—the place you would have entered from had you taken the lower entryway when first breaching Saren’s compound.
Detainment Level: Maintenance Bay
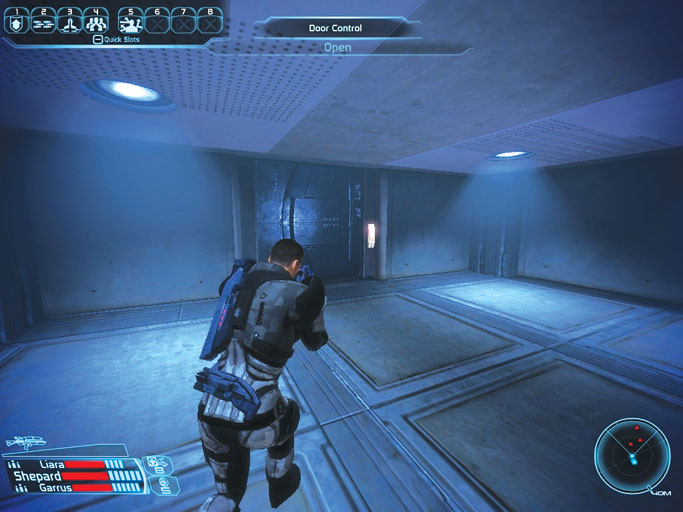
Only a handful of indoctrinated salarians defend the maintenance bay, making this a far easier means of infiltrating Saren’s base.
There are three crates and a technician kit to find in here as well, making this a very profitable area to visit.
Secure the bay and loot the containers, then retrace your steps to the security office. This time, take the central elevator to access the main section of the facility’s labs.
Labs: Genophage Lab
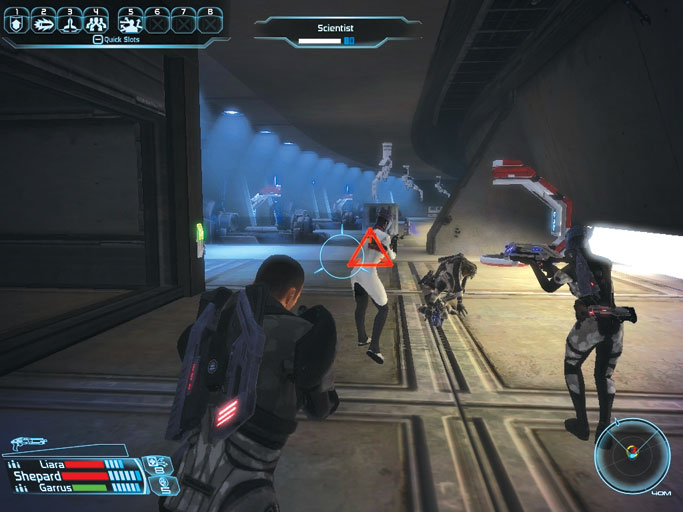
The security office elevator brings the team to the base’s main genophage lab. There the crew is attacked by a vast number of husks backed by an asari scientist and a large krogan named Doctor Droyas .
The strategy for fighting the husks is the same as ever: backpedal to avoid their short-range Tesla Pulse attacks, and use shotguns and powers to keep them at bay.
The asari scientist is little more threat than an indoctrinated salarian; she is easily killed with a bit of gunfire.
Doctor Droyas seems to be the krogan in charge of the genophage lab; he’s by far the greatest threat, on par with the krogan warriors you’ve recently encountered. Eliminate all of these hostiles to secure the area.
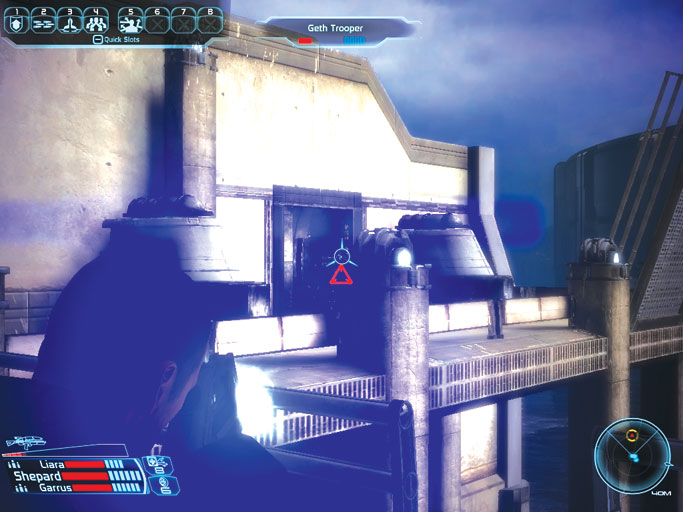
Exit the genophage lab through the west door to reach an outdoor balcony. Proceed along the catwalk, cutting down a pair of geth troopers standing guard near a raised footbridge.
You can’t proceed northward without lowering the bridge. Perhaps its controls are located inside the nearby security office.
Labs: Security Office

Entering the security office, the crew finds an asari scientist named Rana Thanoptis hiding beneath her desk. The asari begs for mercy, saying she just wants to leave this whole terrible place behind her.
Question Rana to learn that she’s been working for Saren against her will, studying the effects of indoctrination. She offers to let Shepard’s team into Saren’s private lab, where they’ll have full access to all of his private files.
Question Rana further to learn that the indoctrination process is somehow influenced by Sovereign, Saren’s massive warship. Its effect is so pervasive and powerful, the asari even believes Saren might be falling victim to the ship’s will.
After interrogating Rana, decide whether you want to allow her to leave. Granting the asari mercy gains you nothing but a clear conscience; ordering her death nets you a significant amount of Renegade points.
Loot the nearby weapon locker after making your choice, then use the elevator Rana activated for you so you may explore Saren’s private lab.
Saren’s Beacon
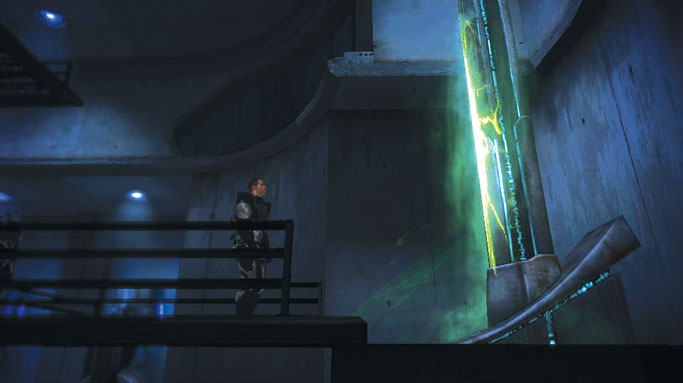
Move downstairs to explore the chamber. Shepard notices a beacon against the far wall, just like the one the colonists found on Eden Prime.
Approach the communications panel to make Shepard activate the beacon. The commander receives another chilling vision.
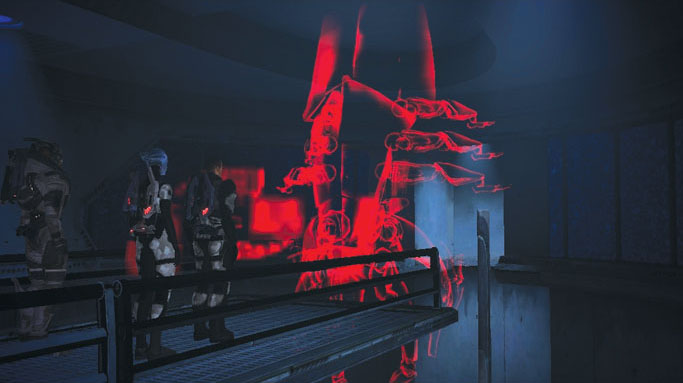
Return upstairs after using the Prothean beacon. The team is suddenly contacted by a holographic image of Saren’s vessel, Sovereign . The ship is somehow able to communicate with your crew, and voices its dominance.
Suddenly, everything falls into place for Shepard: Sovereign isn’t just some Reaper ship found by Saren. The ship itself is a Reaper! Sovereign confirms this in a way, then says that the term Reaper is irrelevant.
Organic life is flawed, while Sovereign ’s kind is eternal—the very pinnacle of evolution. The extinction of all living things at their hands is inevitable.
Shepard is quick to voice his people’s unwavering will to fight and stop the Reapers from annihilating their kind.
Sovereign mocks the Spectre’s ignorance, saying that the cycle has repeated itself more times than Shepard can fathom.
The Protheans were not the first; they did not create the Citadel, nor the mass relays. They rose to power, like countless organic civilizations before them, only to be crushed by the universe’s "superior" beings.
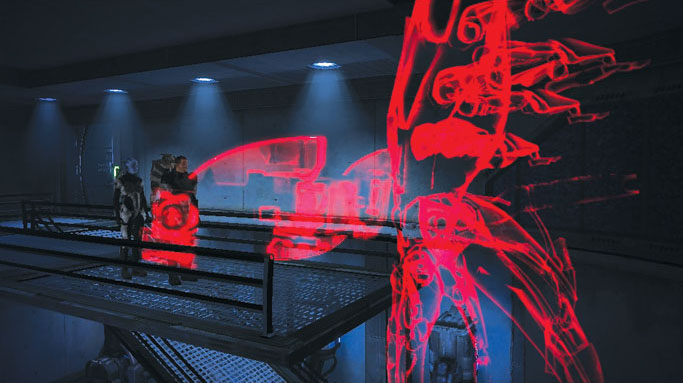
Sovereign says it was his kind that built the Citadel and mass relays. They left them for organic life forms to discover, prompting their civilizations to follow along the paths the Reapers desired.
Question Sovereign to have it tell you that its kind is eternal; they have always existed, and they will always endure.
Their numbers are legion, and they will stop at nothing to eradicate all life in the galaxy. Sovereign won’t say why this must be done.
It simply insists that the extermination of organic life will happen. It then terminates the communication with a violent circuitry overload.
Time to Go

Regaining their senses after the blast, the crew is suddenly contacted by Joker.
The Normandy’s helmsman informs his commander that Sovereign has made a drastic change in course and is headed straight for Virmire at incredible speed.
He urges Shepard to hurry and wrap up the mission so they can flee the system before Sovereign arrives.
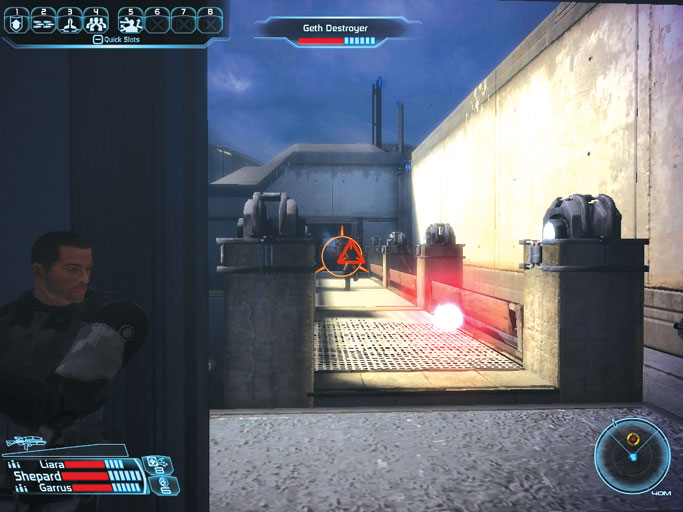
You’ve gotten all you can out of Saren’s lab. It’s time to do what you came here to do. Exit the building with caution.
A giant geth destroyer now guards the walkway leading back to the lab security office. Drop it with your most powerful attacks and abilities, then hurry across the footbridge.
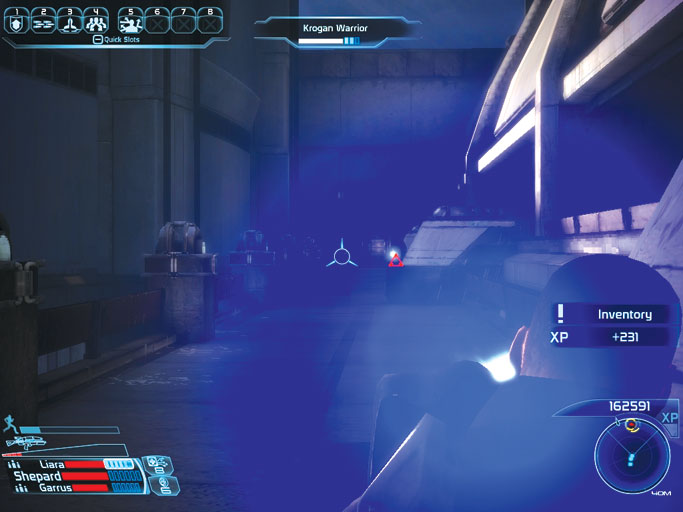
Pass through the security office to return to the lab’s footbridge. The raised section of the walkway lowers as you approach it, allowing you to proceed.
Head’s up: a trio of krogan warriors opens fire from the far end of the walkway.
Take cover behind the stout pillar and drop the nearest krogan, moving up to the next bit of cover so you may fire on the distant pair with greater accuracy.
Cross the walkway after dispatching the krogan and proceed through the far door.
Base Main Level
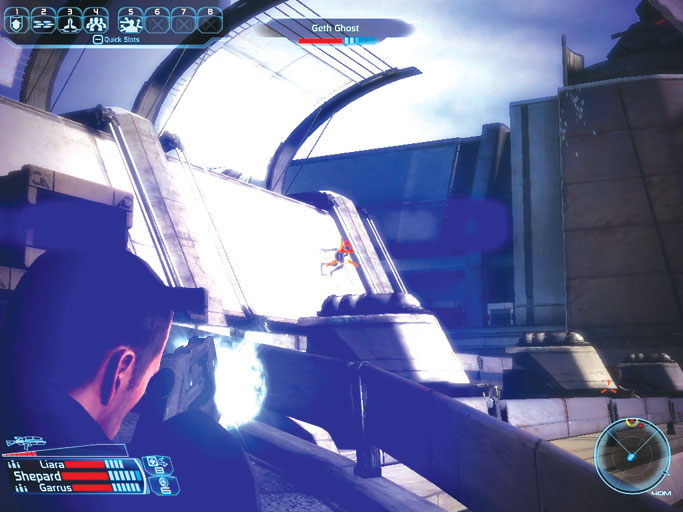
Continue along the curved walkway that stretches toward the massive AA tower in the distance. Your radar becomes jammed just as your team rounds the bend.
Look for a collection of geth stalkers and ghosts hopping about the walls ahead.
Blast the hoppers to bits before advancing any farther, and fire on the nearby krogan warrior as well. Crouch to take cover behind the low railing if you start suffering heavy fire.
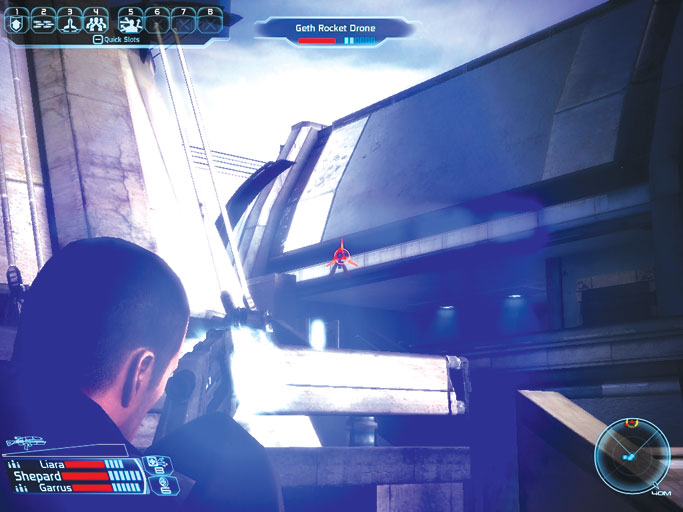
A group of geth rocket drones engages your squad as you advance to the far end of the walkway. Move to the walkway’s lower landing so you may use the side of the walkway as cover while combating the drones from range.
Obliterate all three rocket drones to secure the area, then deactivate the turret controls the drones were guarding to disable the base’s AA tower.