
Mass Effect (PC) Guide Walkthrough Chapter 3: Noveria
Showdown: Matriarch Benezia
Dispatching the Guards
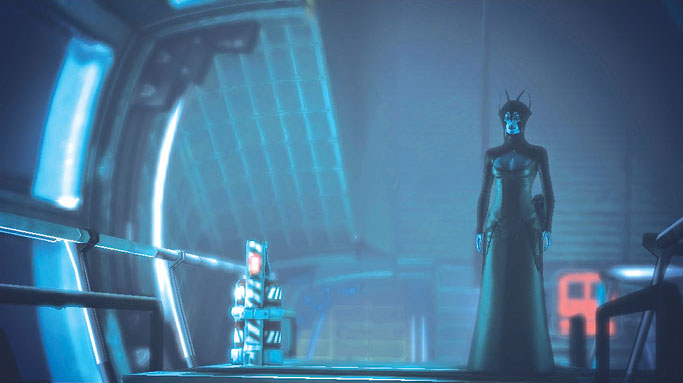
Entering the secure lab, Shepard and crew find Matriarch Benezia staring listlessly at a massive rachni encased in a protective cell.
It must be the queen! The Matriarch informs her visitors that Saren had been planning to raise an army of rachni soldiers—one that would easily lay waste to all who would oppose his will.
Seeing her daughter standing at Shepard’s side, Benezia goes on to say she won’t be moved by sympathy.
No longer interested in exchanging words, the Matriarch quickly summons a pair of asari commandos to her side, and the epic battle begins.
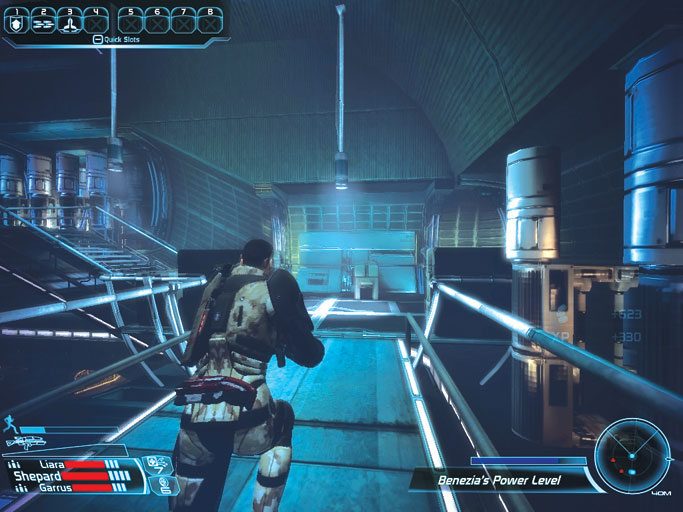
The moment you gain control, dash to your right, sprinting down the walkway and heading for the chamber’s west side. This helps you avoid the initial onslaught of biotic attacks you’re sure to face.
More importantly, Benezia is unable to target you while you remain on the chamber’s west side; the rachni queen’s massive holding cell features protective glass that cannot be penetrated by bullets or biotic powers.
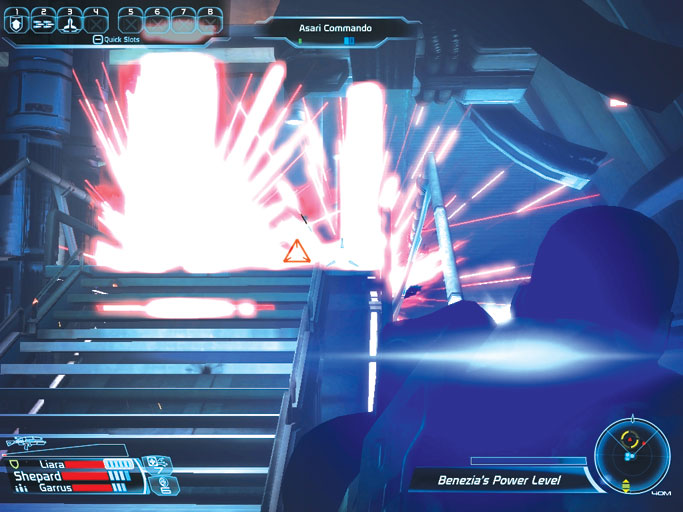
When you and your squad have reached the west side of the lab, focus your attention on dispatching the asari commandos who quickly give chase.
Benezia remains in the central chamber and will call for reinforcements when her commandos fall.
Her second wave of guards includes a number of geth snipers; seek cover immediately, using your radar to gauge the snipers’ positions.
Keep out of sight, peeking out to shoot at the snipers and eliminate each one in turn.
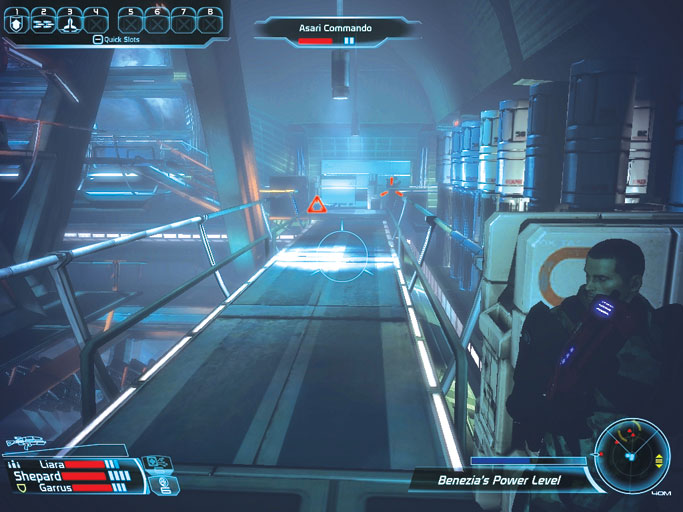
The Matriarch’s third and final crew of minions are yet more geth snipers—a lot more. Find a corner to hole up in and work at eliminating these threats without exposing yourself to risk, just as you did before.
Confronting the Matriarch
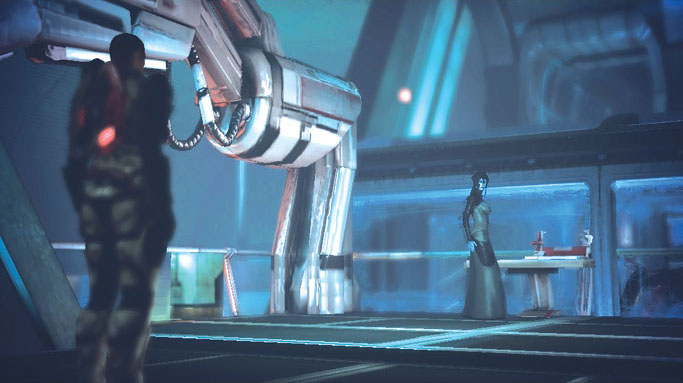
The battle concludes when you manage to defeat Benezia’s third crew of guards.
Shepard and company then confront the weakened Matriarch, who reveals that she’s been forced to serve Saren’s will by some mysterious power.
Benezia is able to shake loose Saren’s influence and speak her mind for a brief period, but warns Shepard that Saren’s command is strong. She may turn on the Spectre at any time.
Benezia reveals that much of Saren’s power is linked to his vessel: a massive dreadnought called Sovereign .
She doesn’t know where the ship came from or who could have constructed it. Its technology far exceeds that of any known species.
The Matriarch describes how the ship’s influence is able to warp the thoughts and hearts of all who remain on board for any length of time—even one as powerful as she.
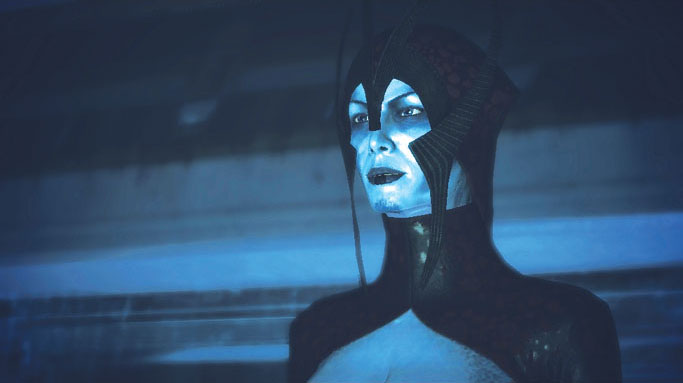
At last, Benezia explains why she’s come to Noveria. It seems Saren sent her here to track down a mass relay node whose position had been lost thousands of years ago when a nearby star went supernova.
The resulting shockwave didn’t destroy the relay node, but instead knocked it away to an unknown location.
Apparently, the rachni discovered the lost node a few thousand years ago, prior to their near-extermination at the hands of the krogan.
Benezia goes on to say that rachni queens have the unique ability to inherit the knowledge of their mothers, and are therefore able to share memories across generations.
The Matriarch has taken the location of the lost relay node from the imprisoned rachni queen’s mind.
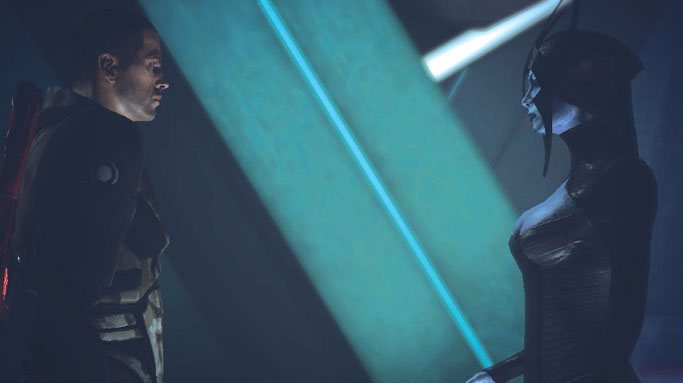
Shepard tells Benezia that she still has a chance to make things right. The Spectre asks for the location of the lost relay node so they may pursue Saren to wherever he may be headed.
The Matriarch sees the wisdom in Shepard’s words and hands over a data disk containing the location of the lost relay node. She then warns the Spectre that she has already transmitted the coordinates to Saren.
The Final Showdown
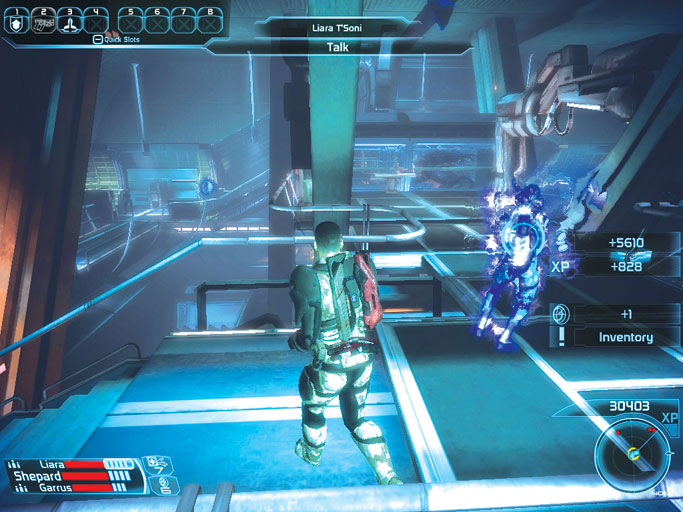
Shortly after handing Shepard the information regarding the lost relay node, Benezia loses control and succumbs to Saren’s commanding influence. The battle begins once more.
Immediately pound Benezia with your most powerful attacks and abilities in an effort to incapacitate her before she can inflict much damage with her devastating abilities.
Then loose your squad on the three asari commandos that enter the labs and attack.
The Matriarch’s Fate
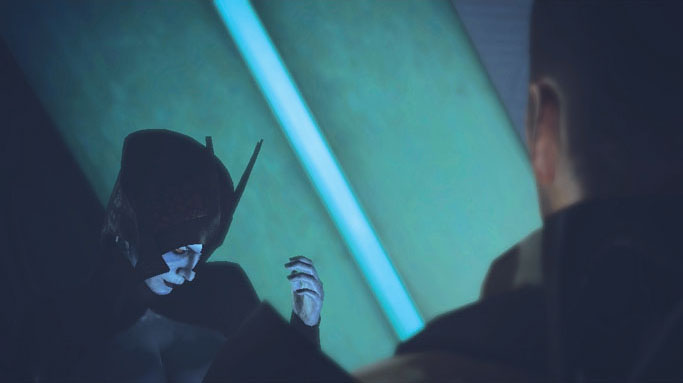
Near death, Benezia begs Shepard to stop Saren before it’s too late. She denies the Spectre’s help, saying she’ll never be able to truly free herself from the grip of Saren’s power.
Collapsing to the ground, the Matriarch whispers a final goodbye to her daughter, then fades away to nothingness.
The Rachni Queen
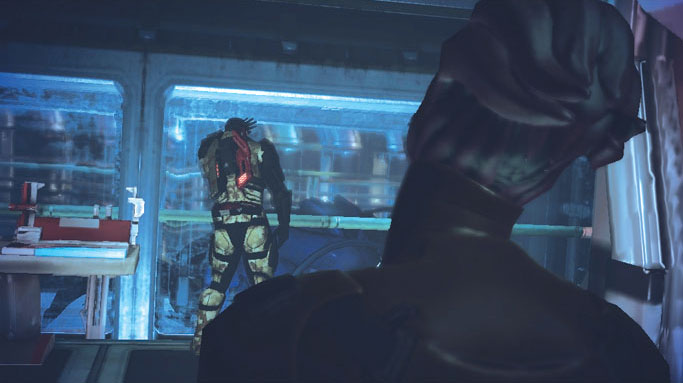
Approach the giant rachni’s holding cell after the battle with Benezia. As Shepard eyes the creature, one of the Matriarch’s fallen asari commandos suddenly gets to her feet and begins staggering toward the cell.
The asari then starts speaking in an alien voice—the rachni queen is talking through her!
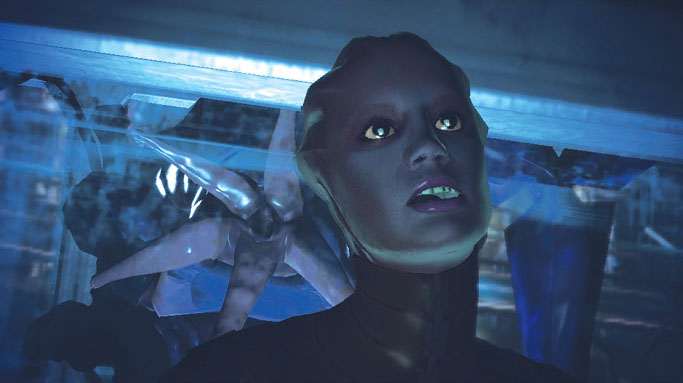
The communication is difficult, and it takes some time for the rachni queen to get out what she’s trying to say.
She eventually asks Shepard to end the suffering of her children, saying they were not allowed to be raised by their queen, and have therefore gone mad—like children without a mother to care for them.
It’s regrettable, but there seems to be no saving the crazed rachni populating the facility. The queen asks Shepard to destroy them.
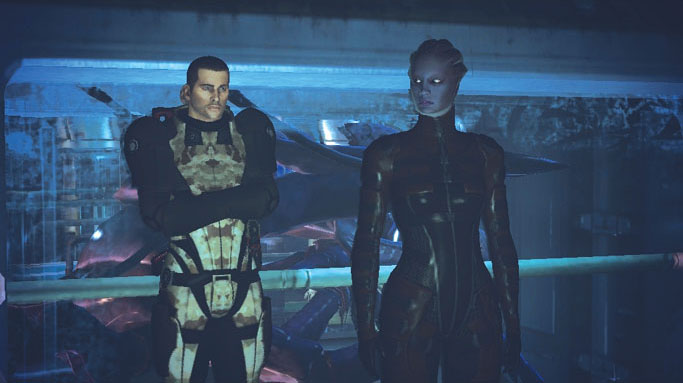
Before dealing with her offspring, the rachni queen asks Shepard to consider releasing her from captivity.
Question the queen to learn that she simply intends to find a world to inhabit where she might raise her offspring in peace; she wasn’t a part of the rachni wars and wouldn’t seek revenge against the krogan, who nearly wiped her species from existence.
After interrogating the queen, you must make your decision: kill the queen, or set her free so she may flee the station unharmed. The choice you make earns you a vast amount of morality points, so choose wisely.
To the Hot Labs
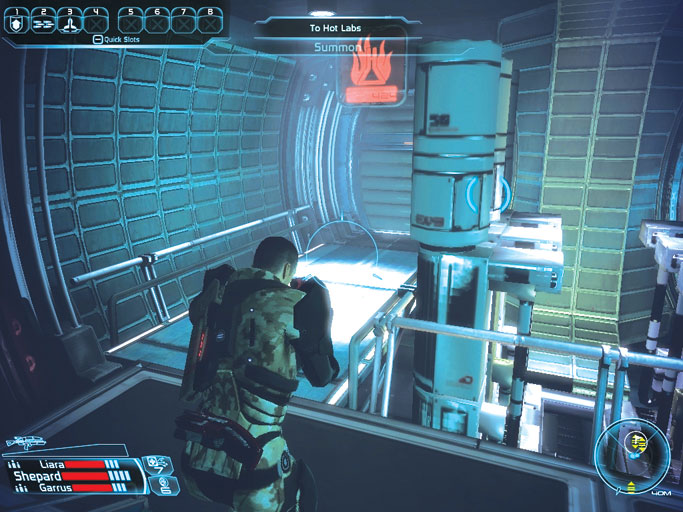
Regardless of your decision to kill or free the queen, you still must deal with the crazed rachni swarming the hot labs.
Peek at your map to see that the hot labs elevator isn’t far; just sprint south from the secure labs and ride the hot labs elevator.
Yaroslev Tartakovsky
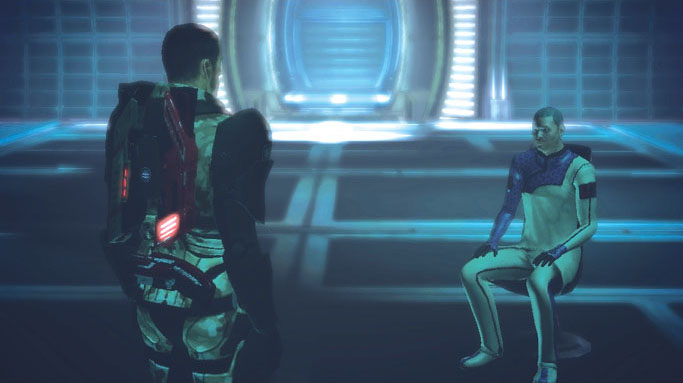
The hot labs isn’t exactly the hub of rachni activity everyone’s been making it out to be. In fact, the place is completely vacant, save for one man sitting on a chair in the chamber just outside the elevator.
The man’s name is Yaroslev Tartakovsky, and he pleads with Shepard to help contain the situation. Tartakovsky goes on to explain how Binary Helix was able to give new life to the near-extinct rachni species.
Question him if you’d like to learn more about their misguided plans, and how the rachni became so aggressive.
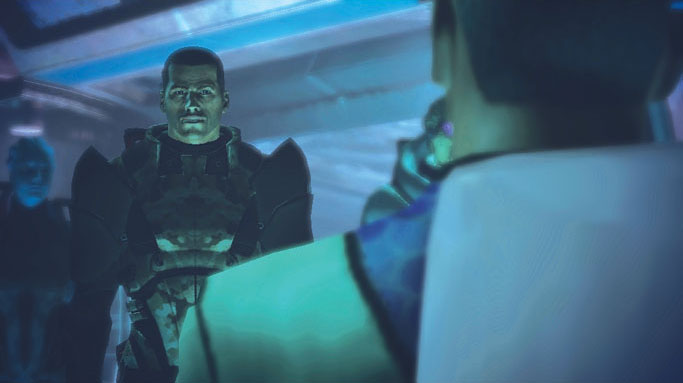
Eventually, Yaroslev gets to the matter at hand: a neutron purge must be set off within the hot labs to cleanse the entire station of all living things, rachni included.
Tell Tartakovsky you’d like a moment to equip and heal your squad. Do so, then save your game. Speak with the man afterward and ask him to tell you what you need to do.
Tartakovsky’s Demise
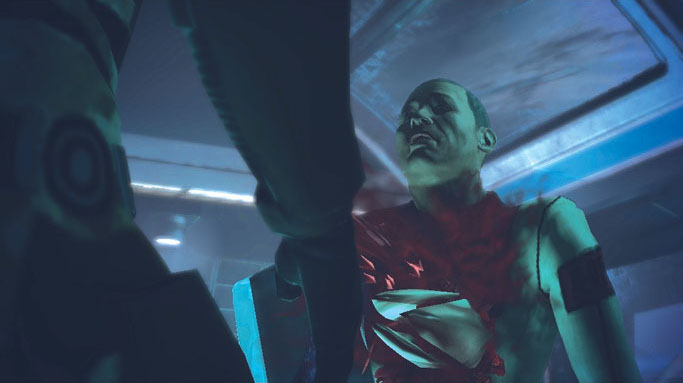
Just as Tartakovsky is about to give you the code you need to activate the purge, a massive rachni soldier bursts up from a floor vent behind the poor man and impales him with its deadly whiplike appendage.
Blast the murderous creature without delay before it has a chance to do the same to Shepard’s crew, then save your game once more.
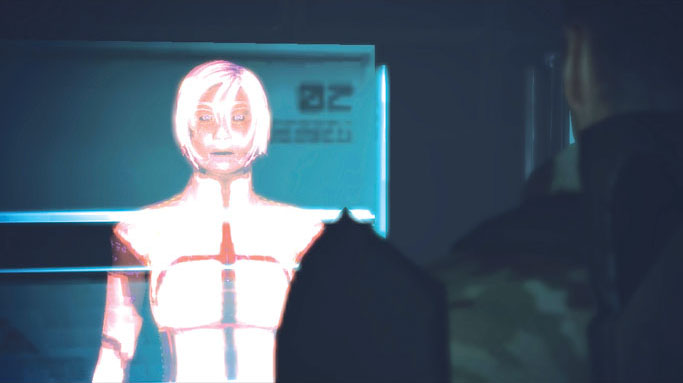
Collect the purge codes from Tartakovsky’s corpse and hurry to the hot labs’ back room. Activate the Mira terminal you find there to talk with the station’s VI system.
Question Mira about the neutron purge if you’d like; she informs you that the purge systems are online, but a code is required to arm them.
Take a deep breath, then give Mira the code you received from Tartakovsky’s corpse to initiate the purge.
Run for Your Life
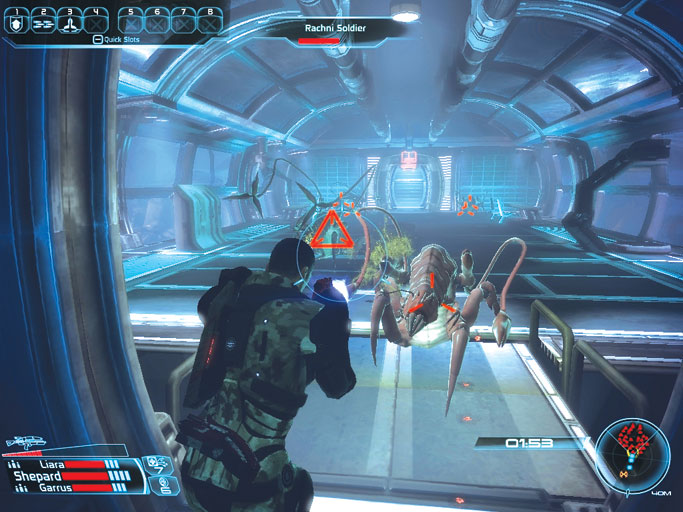
Mira obediently activates the purge when the proper code is given. A two-minute countdown timer then appears at the screen’s bottom-right corner; you must flee the station before the purge activates.
Unfortunately, a massive swarm of rachni fill the hot labs, intent on exacting their revenge. You don’t have time to combat all these creatures.
Fight the first few, advancing as you go, then press and hold [Shift] to storm through the mob, charging directly for the far elevator.
Once inside, immediately press the control to shut the door and ride up.
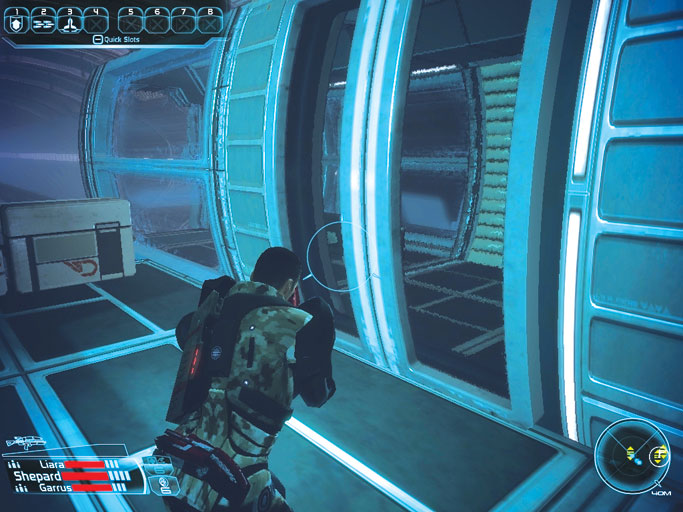
Escaping the hot labs ends the immediate threat; you’re safe from the neutron purge. No use lingering about, though. Dash to the nearby tram car and make good your escape from Noveria.
Mission Accomplished
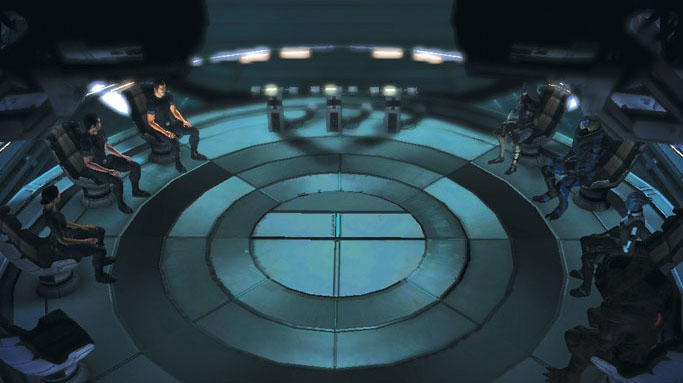
Back aboard the Normandy , Shepard’s crew is anxious to hear their captain decide their next move. Shepard sees no point in rushing off to explore the new relay node Benezia told them about.
It most likely links to dozens of systems, and they’ve no idea which one Saren would be interested in at present.
Besides, they still have other leads to look into; the recent geth attack at Feros is certainly worthy of investigation.
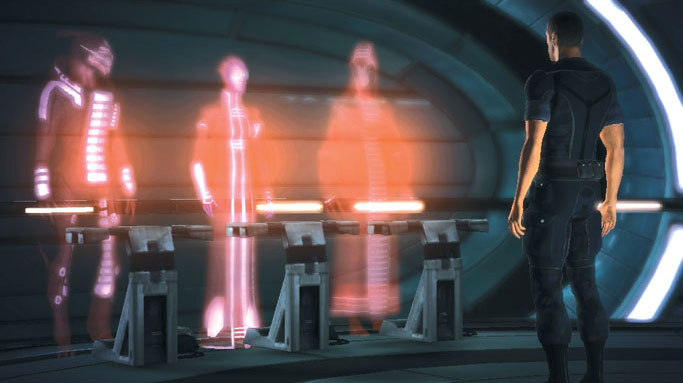
Shepard tells the crew to relax and rest up; the next mission will only be more challenging. Joker then radios in, asking if the commander would like to speak with the Council.
Tell Joker to patch in the feed so that you may tell the Council of your findings on Noveria; you can gain a few more morality points during this brief conversation.
The Council is shocked to hear of your encounter with the rachni and they respond to your decision about the queen (whether you let her live or not).
The transmission ends with the Council expressing their eagerness to hear of Shepard’s next discoveries.