World of Final Fantasy Guide The Mechanics of Grymoire
Battle Mechanics
Battles can occur under a variety of circumstances. The most prevalent are the random encounters that occur in the midst of exploring a dungeon, but boss battles can also be triggered during the story, within murkrifts, during side quests, and in the Coliseum. You never quite know when you’ll see that good old combat screen next, so it helps to be prepared ahead of time.
Battle Menus
There are two styles of menus you can use for combat, and you can switch between the two by pressing L1 in battle. You can select which menu you use by default in the Config menu.
Basic
Basic mode is for those who like their fights fast and efficient, and who also usually have a battle plan in place before they even get into a fight.
In Basic mode, abilities are mapped to the face buttons and clearly labeled. Just press one of the buttons (or one of the shortcuts you’ve set in the game menu—see the tip close by) to make use of that ability.
Also, in Basic mode, targets are normally chosen automatically for efficiency. However, you can press left or right on the D-Pad to override this and choose your own targets.
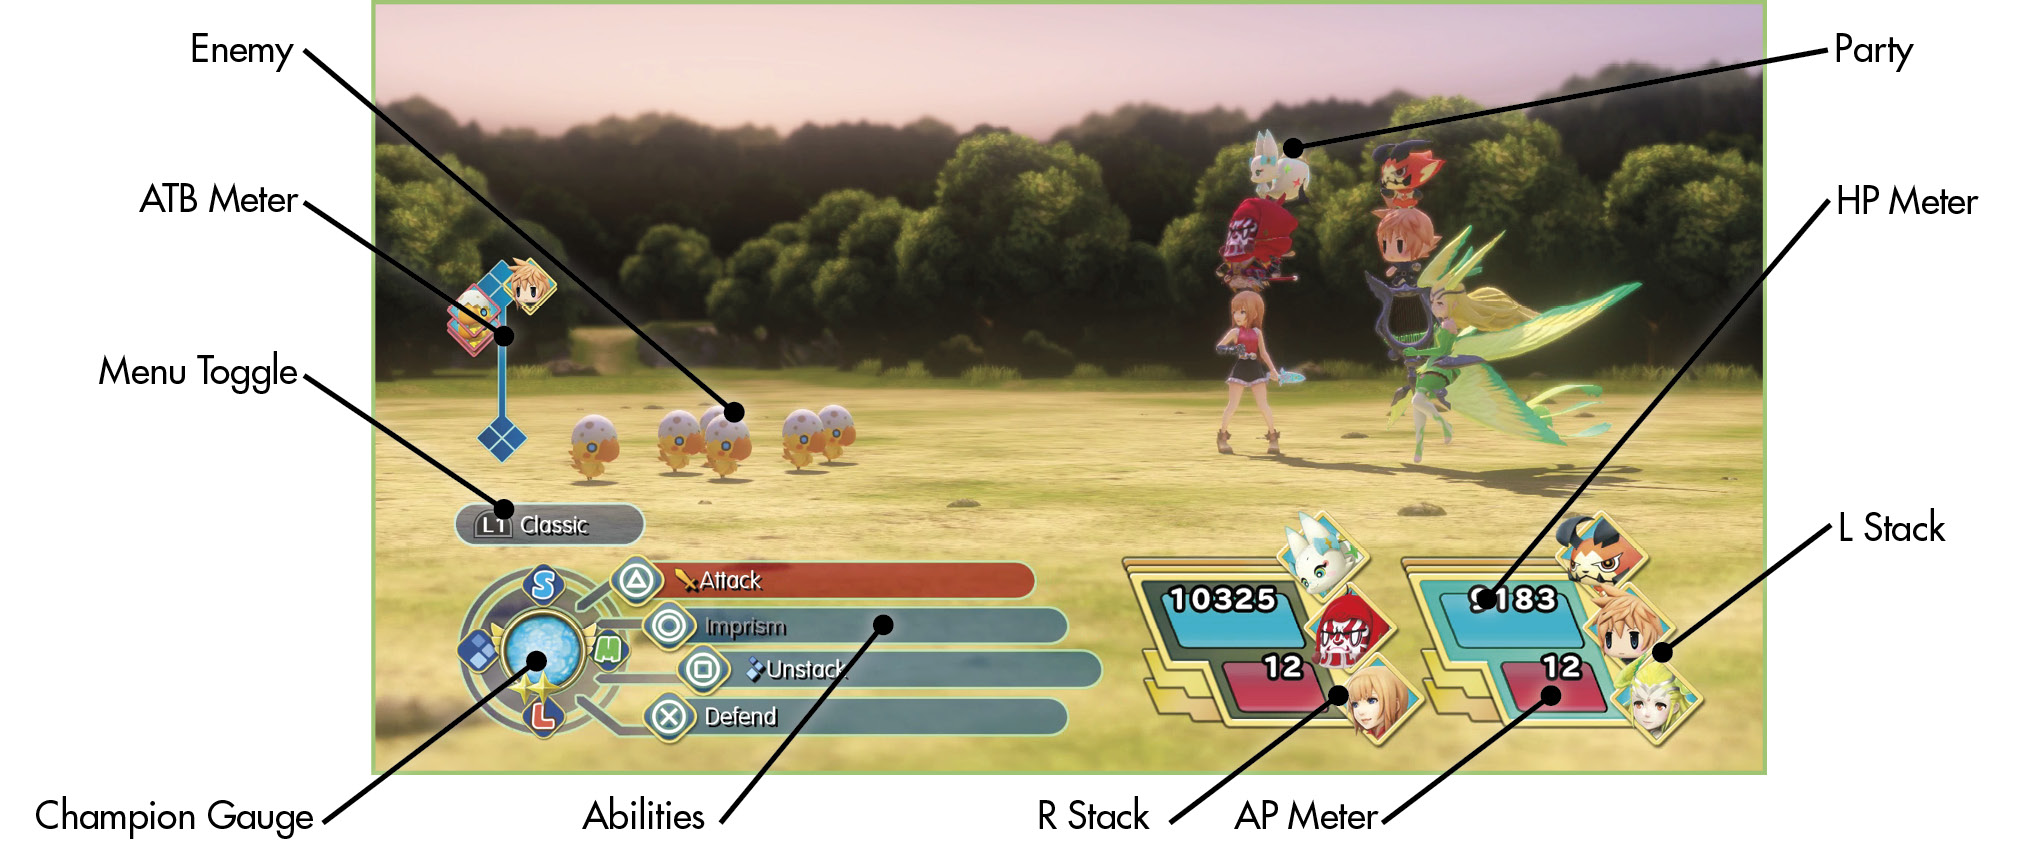
Classic
For the tacticians in the audience, this one’s the full moogle. The Classic battle menu gives you access to all possible actions, at the expense of there being much more to take in. Keep in mind that if you’re playing in Active mode, you’ll have to think and act faster because the Classic menu has more options to navigate through. You can also choose your targets manually in separate menus that show up when you choose most actions.
The Active Time Battle (ATB) System
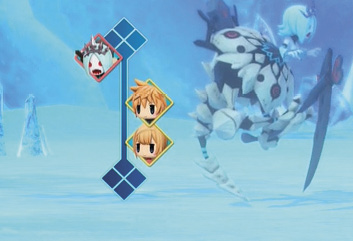
For most series veterans, Final Fantasy is synonymous with the Active Time Battle system, which returns in World of Final Fantasy with fanfare. Characters act when their turns come up, dictated by their Agility stat. The higher that stat, the faster a character is, and the sooner/more frequently they’re able to act in battle. You can influence this stat using abilities like Haste and Slow.
Battle Modes
You can switch battle modes via the Config menu to suit your playstyle.
Active
In Active mode, all characters take turns without hesitation. This means that while you’re thinking of a turn, the enemy can still attack, as many times as their speed allows. Use this mode if you like a blend of speed and challenge. You’ll have to think fast. If you can combine Active mode with use of the Basic battle system, you’ll have an edge in defeating enemies with the least interruption to battle flow.
Semi-Active
Semi-Active lets you switch your approach depending on which battle menu you’re using, allowing for versatility. If you have the Classic menu open, enemies will wait for you to take a turn before attacking, one at a time. If you have the Basic menu open, enemies will attack without waiting, just like in Active mode.
Wait
When any of your party members’ turns come up, time stops until you take action, period. Use that time to decide exactly the right action to take.
Wait mode is for those who like to think out every turn, and thus, it’s best combined with the Classic battle menu.
Action Points
Several abilities (mostly magic spells) cost AP to use. As a rule of thumb, the more powerful the action or ability, the more AP it will cost. In battle, your AP meter is located just below your HP meter.
You can refill AP by:
- Taking new turns (you recover some AP each time a party member’s turn comes up).
- Exploiting enemy weaknesses. Hitting an enemy with an elemental weakness will result in the word “Weak” showing across the enemy. The party member then gains AP while also dealing extra damage to the enemy.
- Using AP replenishment items like ethers.
- Using certain AP replenishment abilities like Charge.
- Using an ability/skill that converts elemental damage received to AP.
Experience and Levels
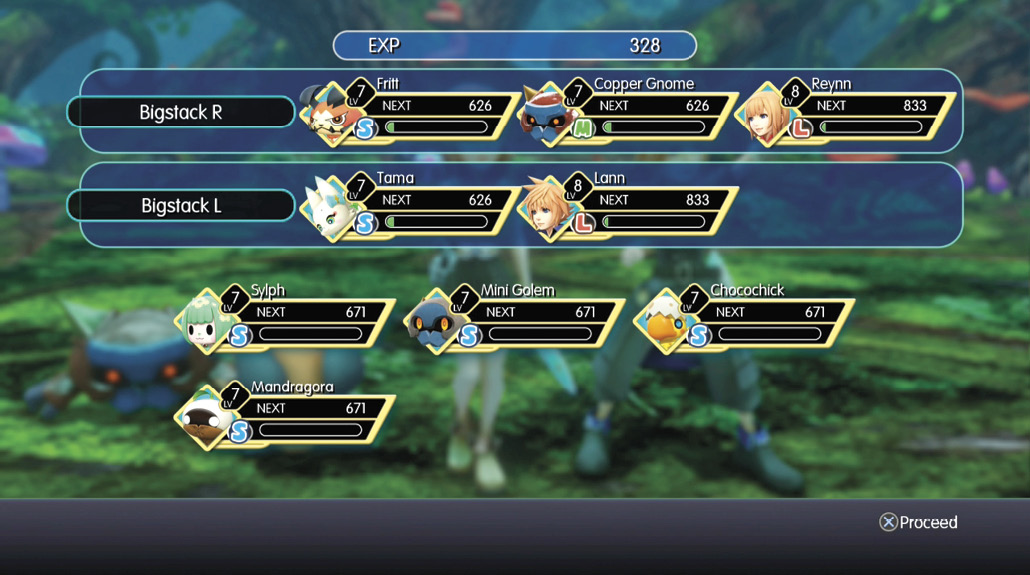
Emerging victorious in battle will net you experience (EXP), which in turn raises your character’s levels in battle the more EXP is accumulated. The more levels you and your Mirages rise, the higher your stats become, and the closer you come to acquiring new abilities.
You can check how much EXP is required to reach the next level in the game menu, or look on each victory screen directly after a battle. Mirages in your battle party receive all experience gained from battles evenly split between them. Mirages that are accompanying you but didn’t fight still receive 8% of said experience.
Elements and Statuses
Elements
Several elements are at your disposal through items and abilities. These figure heavily into effective combat, as enemies are invariably weak to some elements and strong against others.
The eight elements are:

|
Fire |

|
Ice |

|
Thunder |

|
Wind |

|
Water |

|
Earth |

|
Light |

|
Dark |
Status Ailments
Status ailments are negative conditions inflicted upon either the party members or the enemy during battle.
There are many items that can reverse the effects of these—check the Items section of the Encyclopedia to see which ones.
 Poison

Character’s HP decreases with each turn taken.
 Confusion

Character loses control of their actions. When they attack, they may hit the enemy, party members, or even themselves randomly.
 Sleep
Sleep

Character falls asleep and is unable to take action until this is reversed. This can be done using an item or magic spell that wakes them up…or by simply attacking the sleeping character.
 Blindness

Character becomes blind, and their accuracy for physical attacks drops sharply, making it hard for them to hit the enemy with them. Magic attacks are unaffected.
 Oblivion

Character becomes unable to use any abilities, including Imprism!
 Berserk

Character becomes unable to do anything but automatically attack, over and over.
 Slow
Slow

Character’s speed is decreased, making them unable to take as many turns over a period of time.
 Death
Death

Character gets a 30-second countdown clock over their heads. Once it reaches 0, the character is instantly KO’d!
Status Changes
Status changes can be positive or negative, and they are usually triggered by abilities, as well.
 Stun
Stun

Character is stunned and unable to take action.
 Protect

Character takes less damage from physical attacks while the effect is active.
 Shell
Shell

Character takes less damage from magical attacks while the effect is active.
 Reflect

While the effect is active, any magical attack the character receives will be redirected back at its caster.
 Regen
Regen

The opposite of Poison. Character’s HP increases with each turn taken.
 Haste
Haste

The opposite of Slow. Character’s speed is increased, allowing them to take their turns faster over a period of time.
 Bravery

Character’s physical strength is heightened.
 Faith
Faith

Character’s magic damage potential is heightened.
 KO
KO

Character is knocked out and unable to take action of any sort until revived with an item such as phoenix down, or a magic spell such as Raise.
Stat Modifications
These conditions affect your statistics directly.

 Strength
 /Strength


Physical attacks will deal more or less damage, respectively.

 Defense
 /Defense


Damage received from physical attacks overall will decrease or increase, respectively.

 Magic
Magic /Magic


Magic attacks will deal more or less damage, respectively.

 Magic Defense
 /Magic Defense


Damage received from magic will decrease or increase, respectively.

 Accuracy
 /Accuracy


The probability of landing your attacks is increased or decreased.

 Evasion
 /Evasion


The probability of avoiding an attack is increased or decreased.
The Party Has Fallen…
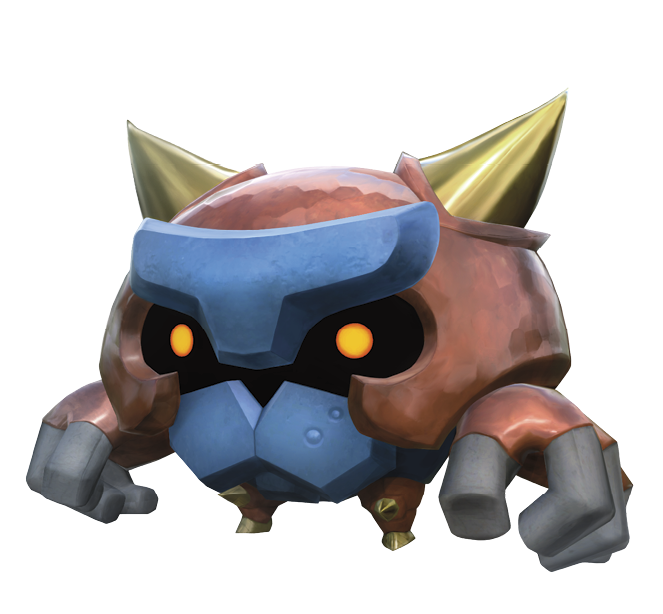
If your entire party is KO’d, everyone will be warped by Tama back to Nine Wood Hills. No other penalties are incurred. There is, however, one exception…
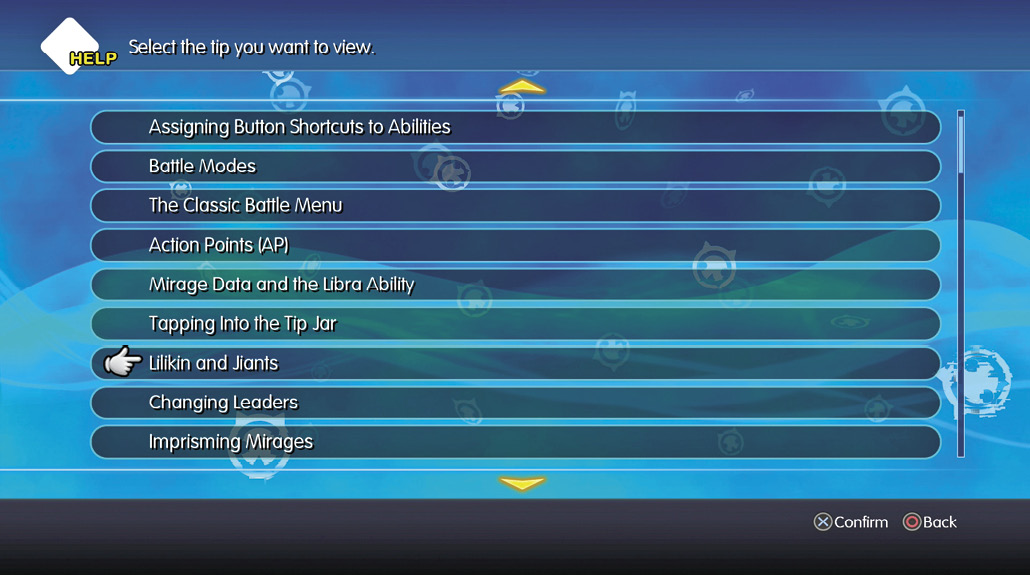
Stacking: The Key to Victory
Lilikin, Jiants, Stacking, and You
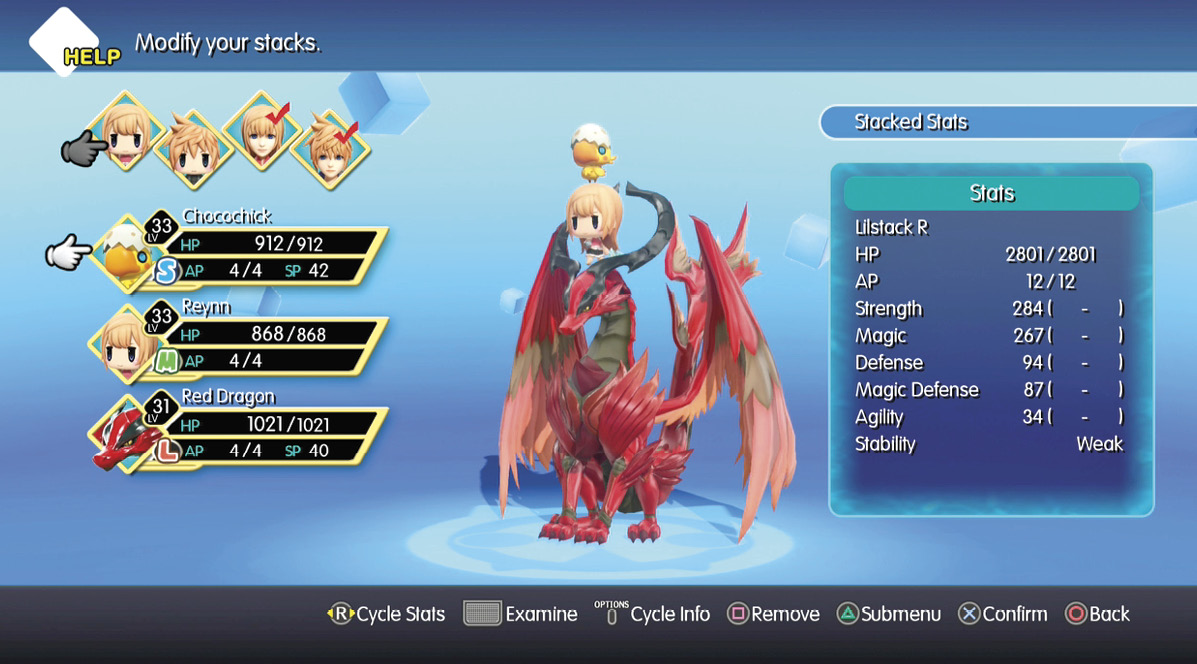
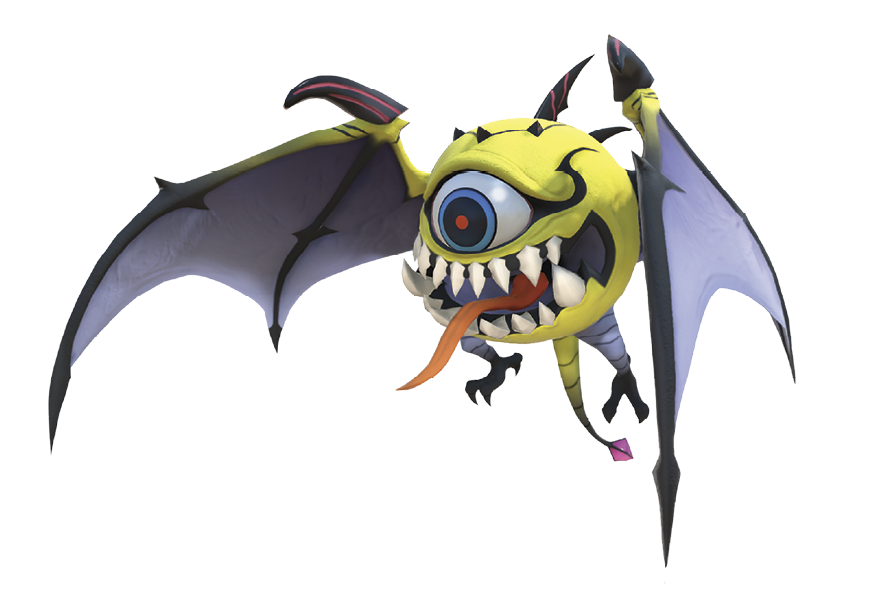
S, M, and L Mirages can be stacked on top of each other in order to combine their strengths, weaknesses, powers, abilities, defense, and damage potential. The first simple and easy rule is that smaller Mirages stack on top of larger ones. The second simple and easy rule is that you can only stack three Mirages at a time.
Up until the postgame, Reynn or Lann will always be one of the members in a stack, meaning that you can stack two other Mirages along with them. Let’s look into what this means.
When exploring, Reynn and Lann can switch between Lilikin and Jiant forms outside of battle (with L1 +  for Reynn and L1 +
  for Lann). This is important because whichever form they’re in once a random encounter starts depends on which stack they take into battle.
To prepare for this inevitability, you can set up your stacks in the Stack Setup screen. As mentioned above, stacks can be three members high, with smaller Mirages going on top of larger Mirages.
When Reynn or Lann are in Lilikin form, their size is M. As Jiants, they’re L-sized. This affects which Mirages they can stack with.
Now that you know how stacking works, what can you do with it? Keep reading to find out some more info that can help you in deciding your stack formation.
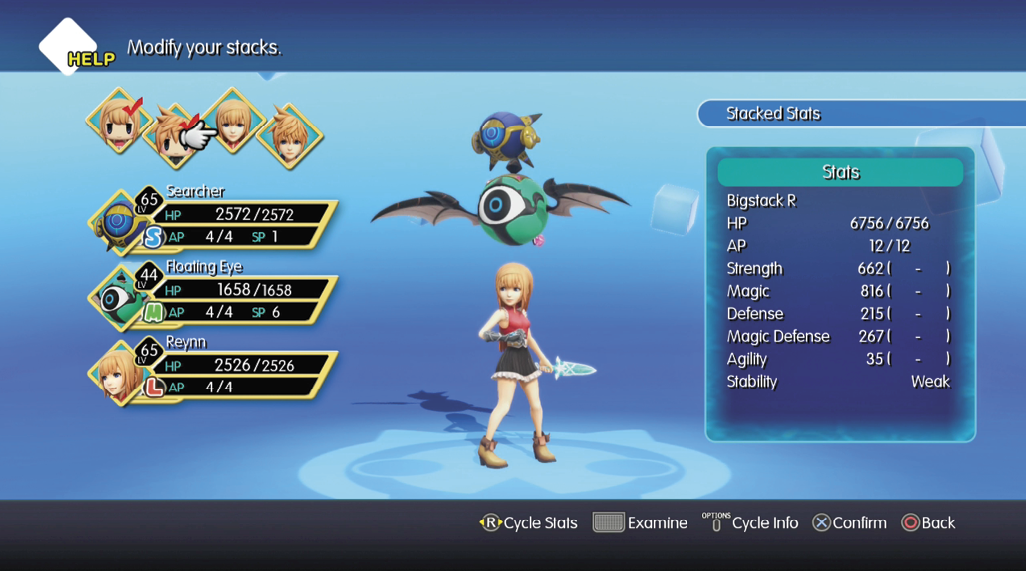
All-Mirage Stacking
Once you reach the post-game, you’ll be told that you have the opportunity to remove Lann and/or Reynn from your stacks. This opens up the opportunity for even more power through Mirage combinations. Go all out and see what you can come up with now that you have three full-fledged Mirages per stack at your disposal.
The Statistics of Stacking
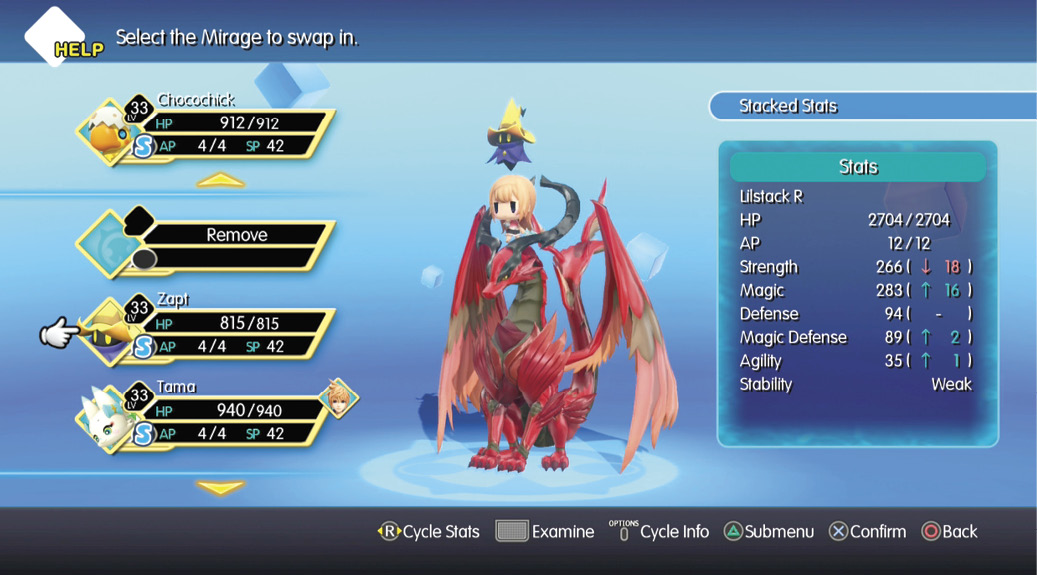
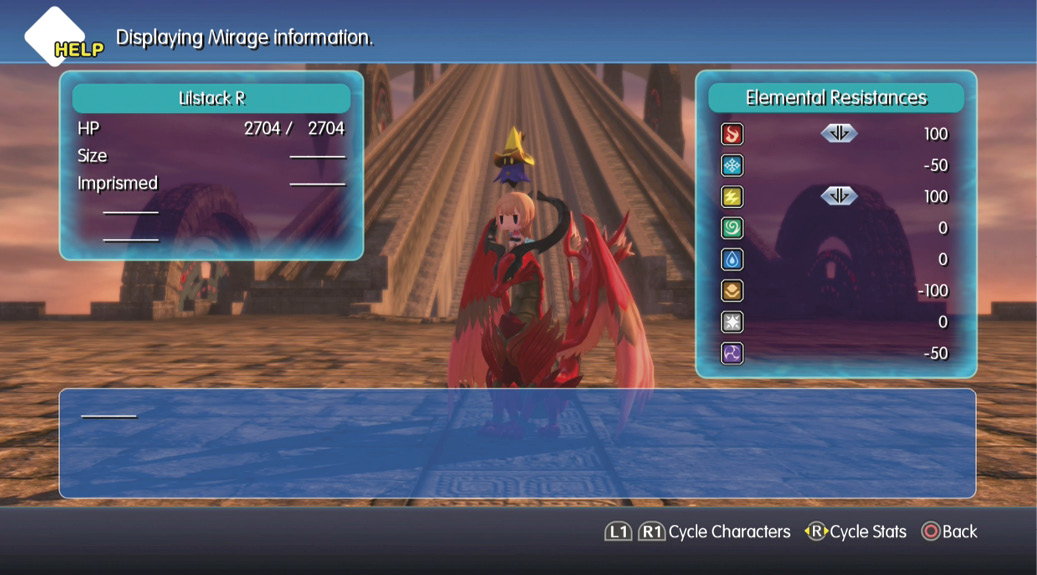
The primary use of Mirages in a fight is stacking them with Lann and Reynn. A single stack consists of one Small, one Medium, and one Large unit. In Jiant form, Lann and Reynn count as Large units; in Lilikin mode, they count as Medium. You cannot create a stack without either Lann or Reynn in it (until you reach the postgame).
A stack is a single unit with the merged basic statistics of all participants therein. The stack enjoys the sum total of its members’ HP, AP, attributes, and resistances, both positive and negative. All damage dealt to the stack in combat is done roughly equally to all of its participants, and no participant in a stack can be knocked out unless the entire stack takes enough damage to KO it.
The good news is that a full stack is tougher and more effective than any single participant is on its own. The bad news is that it’s surprisingly easy to put together a stack that has glaring weaknesses, particularly if you’re trying for certain specific combinations. You may have a world-beating combo going, only to discover to your surprise that it folds like a lawn chair to certain elemental attacks. It’s always a good idea to glance at your new stack’s stats before you take it into the field, just to make sure you haven’t (for example) inadvertently created the single most flammable thing to ever exist. It’s easier to do than you might think.
All effects that target a single unit will affect all participants in a stack equally after it falls or you unstack. For example, if you cast Haste on a stack and then unstack it, all three participants in the stack will still be Hasted as if you’d cast it on them individually. By the same token, if you debuff an enemy stack and then topple it, the participants will all still suffer from the debuff at its full duration.
The downside to stacking is that it renders you vulnerable to attacks and effects that induce instability. Most physical abilities in the game have a certain amount of Topple Strength, ranging from Low to Very High. If you’re hit by too many of these attacks in a row, your stack may begin to wobble dangerously. Another hit or two like that will knock it over, forcibly unstacking its participants and stunning them all for a turn. This is a mild concern because for most of the game, any attack powerful enough to knock over your stack faster than you can react is also probably powerful enough to KO the stack outright.
A more important reason to know how the stability mechanics work is so you can forcibly unstack your opponents. Random encounters can start showing up as stacks as early as the Saronia Docks, if not sooner, and many boss battles (such as in Forest Lake) have stacking mechanics. If you know your own capabilities and can unstack them, it inflicts a stun and makes all of the stack’s participants much more vulnerable.

When to Stack
As a rule, a stack of two Mirages and Lann or Reynn is significantly more powerful and durable than any single participant in the stack would be by itself. Even very early in the game, a full stack of two Mirages and a Keeper will have a big stat advantage over any individual non-boss Mirage you face.
You also start every combat encounter in World of Final Fantasy as a stack, regardless of whatever else you’d like to be doing. Any Mirages you intend to use in a fight will have to be in a stack with one of your Mirage Keepers before you start, or they’ll spend that fight on the bench.
In other words, the primary reason to stack is because it makes everything you do at least a little better. You hit harder, you heal for more, and you’re significantly more durable. There’s almost no reason not to do it.
When to Unstack
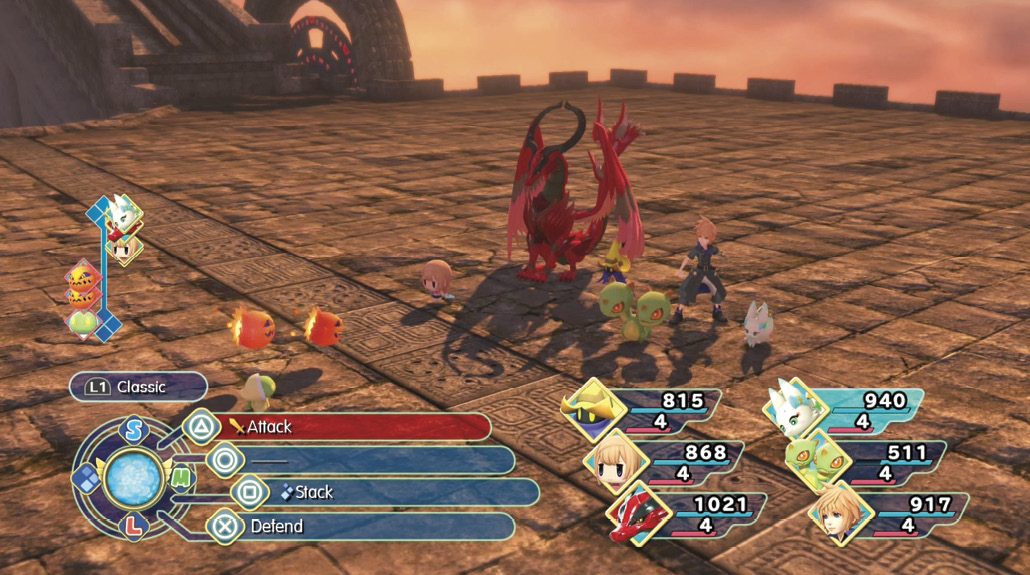
In the thick of combat, stacking is a question of balancing your available actions against the individual power of those actions. You can take up to six actions in a given round if you unstack, but each of those actions will be calculated according to the Mirage or Keeper’s individual stats and abilities. There are several Mirages that can actually be more effective in one way or another if they’re on their own, thanks to passive abilities like Unstacked Guard, but they’ll still be working off of a lower stat pool.
This obviously doesn’t apply to the use of items. In fact, one handy tip involves the use of combat items like fish scales or lightning marbles. Since an item’s strength has nothing to do with its user’s statistics, it’s equally powerful whether a stacked or unstacked character uses it. Against certain targets, such as bosses with an elemental vulnerability, it may be well worth your while to unstack, then have each participant hit your target with six items in a row. This can be expensive, but it’s a handy tip if you get into a tight spot or need to inflict a lot of damage in a hurry.
It’s also useful to unstack preemptively if your stack is about to topple on its own from incoming damage. There are several ways to stop your stack from teetering, such as using the Defend command to stabilize it briefly, items like wobblestoppers, or abilities like Balance, but unstacking has the benefit of being free and not costing you a turn. You can immediately re-stack on any of the participants’ next action, which restores your stack to full stability.
Finally, if you’re hunting particular Mirages, it can come in handy to unstack simply to hedge your bets. If you’re heading back to old dungeons to catch a new pal, you’re going to be better off using offensive abilities with unstacked characters to lower the risk that the attacks you’re using will simply KO your target in one hit. This can be especially useful in situations where a given Mirage’s prismtunity conditions also match up with its weak spots.
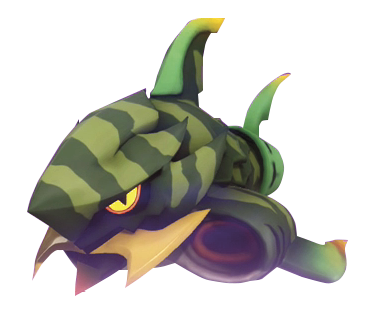
Mega Mirages
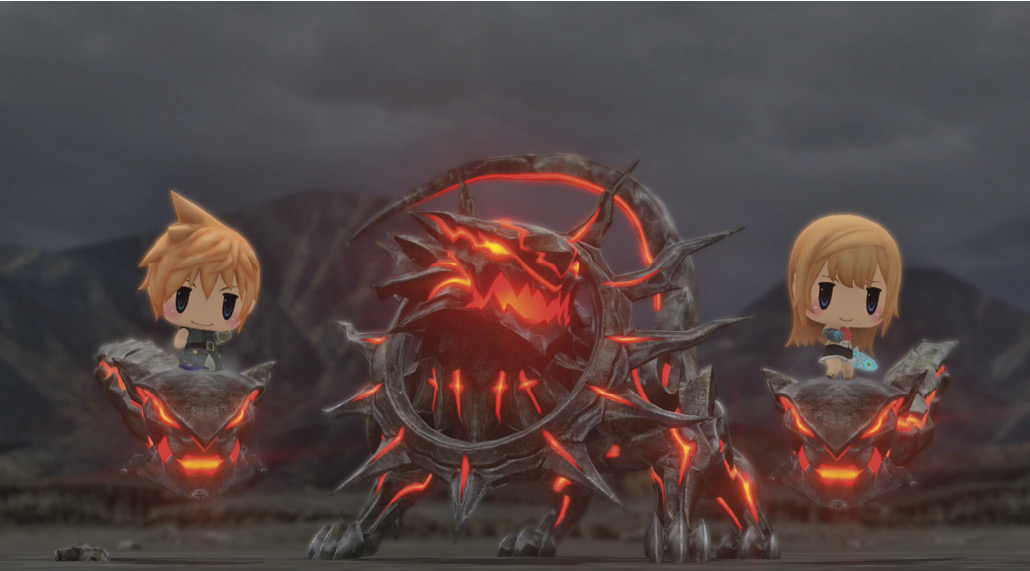
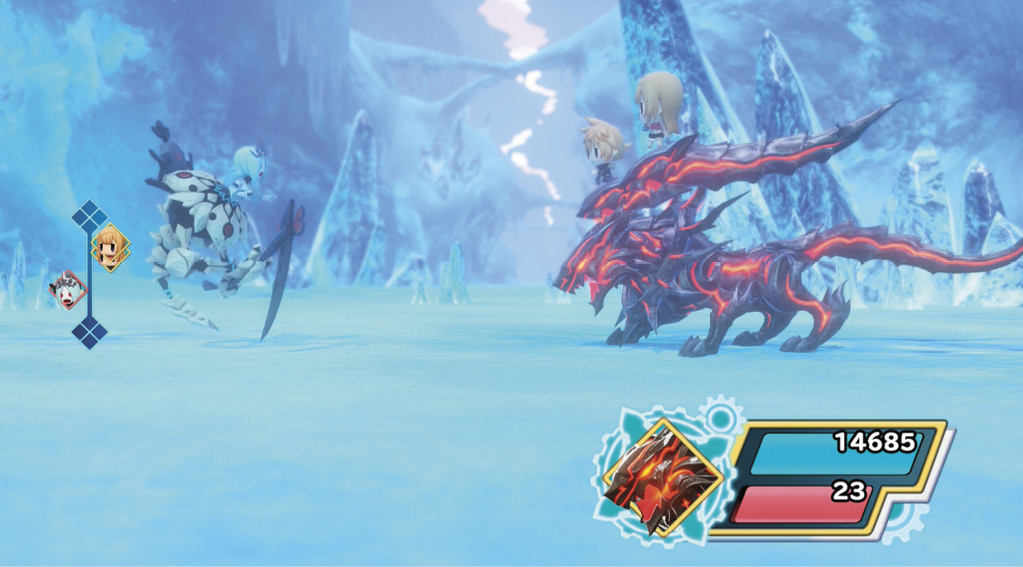
Certain advanced Mirages are much bigger and stronger than their cousins, which classifies them as Mega Mirages. You can capture and field Mega Mirages, but they’re governed by their own set of rules.
The first Mega Mirage you obtain will unlock an option of the same name in your combat menu. In exchange for a massive amount of AP, you can summon the Mega Mirage onto the battlefield, where it effectively replaces your active party. It remains until it’s knocked out or you opt to dismiss it.
A Level 1 Mega Mirage is basically a big sack of HP and has little else going for it. They have access to a wide variety of potent active and passive abilities, but you must fill out their boards like any other Mirage before they’re a real ally. Once you’ve built it up, a Mega Mirage is a powerful asset.
Even at low levels, you can use a Mega Mirage as a sort of shock absorber if you see a big hit coming (for example, if your enemies just decided to stack). Pull out the Mega Mirage, and it can eat a couple of powerful attacks and save the rest of your crew. This is very expensive, but it’s only AP, and it’s a useful tactic in situations where you know you’re about to start taking heavy damage.
Mega Mirages count as size XL, cannot participate in stacks, and cannot be used to help solve Puzzle Switches.
Harness the Power of Champions
Champions are a select few beings who have awakened to become heroes of Grymoire. These powerful summons can turn the tide of your battle in mere moments.
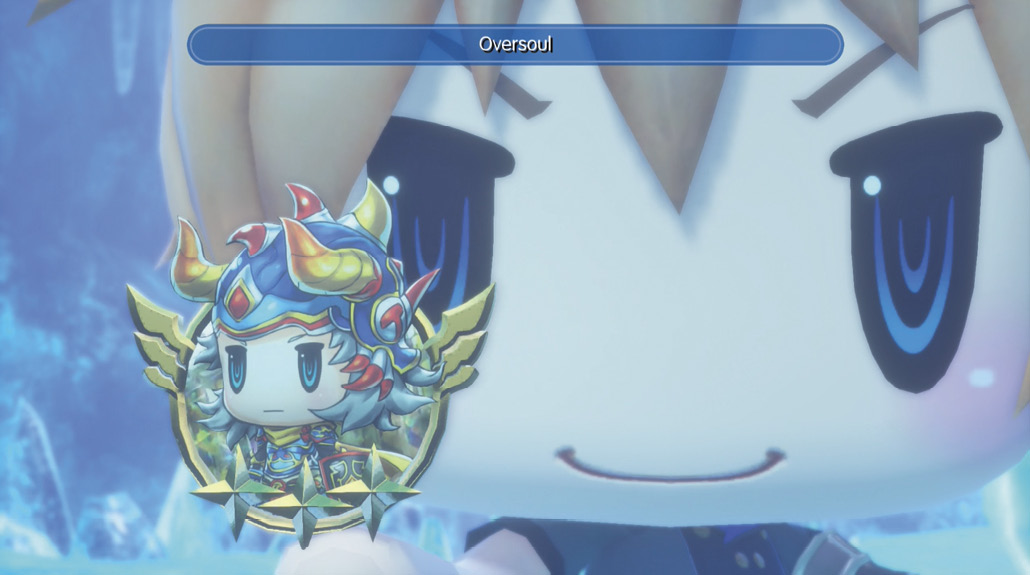
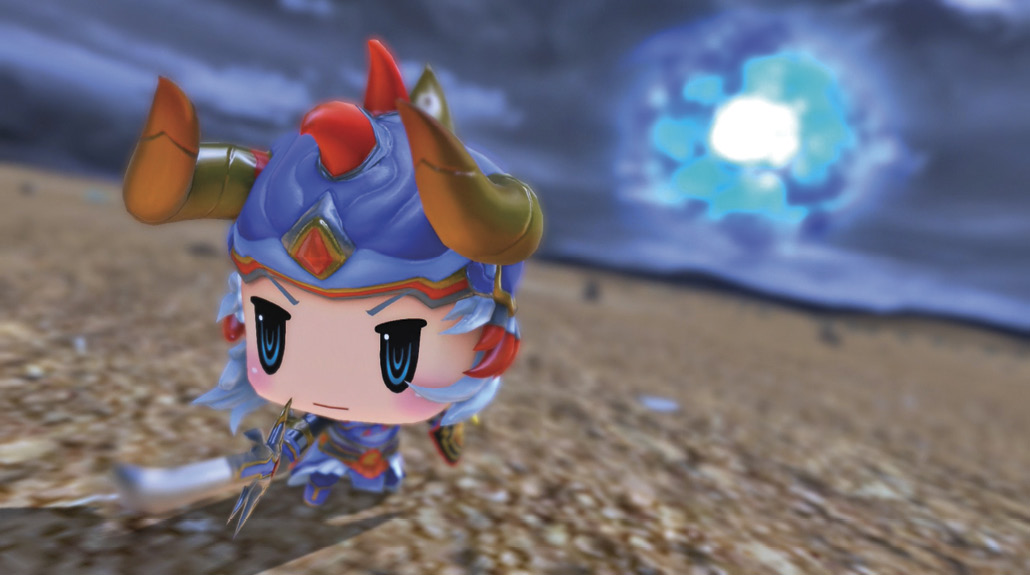
Champion Medals
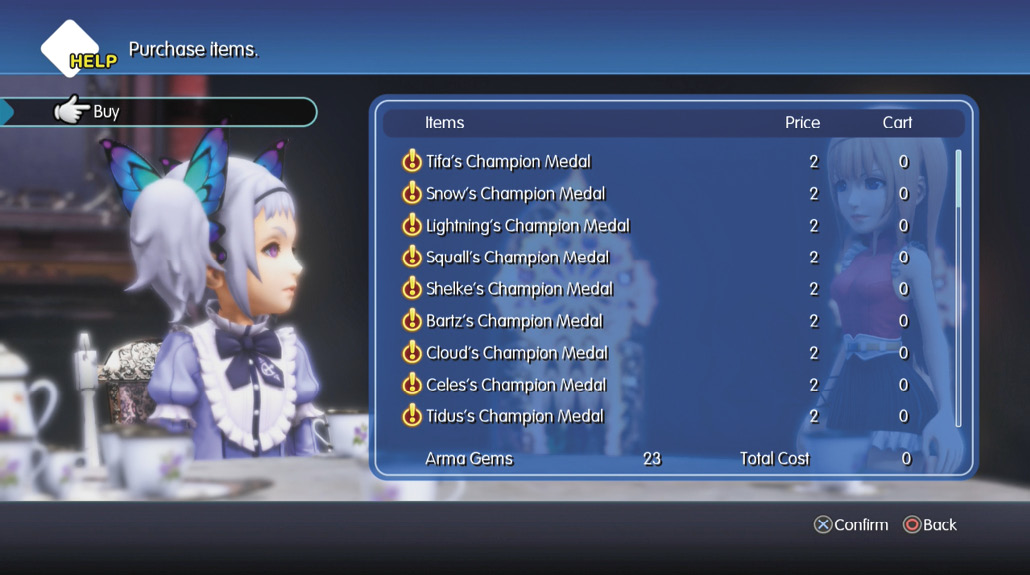
Through the course of the story, you will gain access to new Champion Medals for purchase in the Girl’s Tearoom. You can purchase the medals with arma gems, and then equip them in the Champion Medals menu. You can carry up to three Champion Medals into battle.
Champion Gauge
In battle, keep an eye on your Champion Gauge. You can see the gauge in the Basic battle menu—it’s the white gauge in the middle of the dial. Once it rises, you’ll gain a star. You can gain up to three stars, and summoning a Champion can cost either one or two stars.
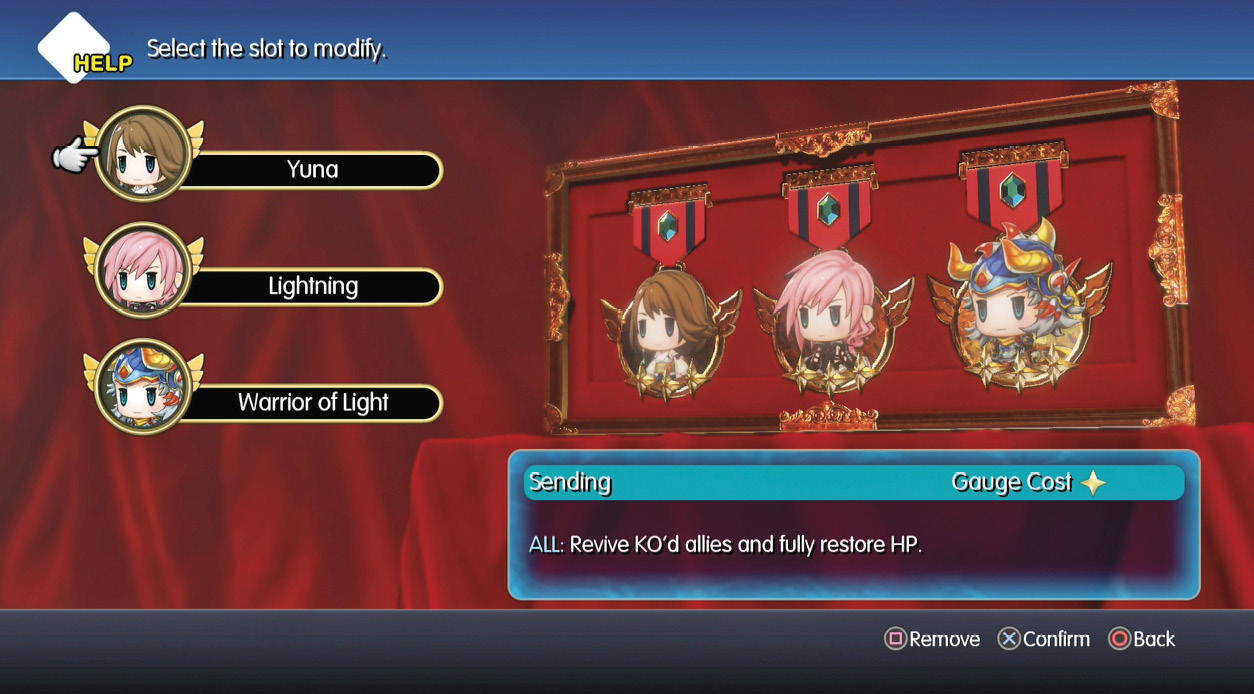
List of Champions
| Champion | Description | Star Cost | Unlocking for Purchase | Arma Gem Cost |
|---|---|---|---|---|
| Warrior of Light (Oversoul) | SINGLE: Inflict neutral physical damage. Bypasses defense. Also bestows defense to all allies. to all allies. |
1 | Meet The Girl Who Forgot Her Name in Chapter 5 | 2 |
| Refia (Healing Light) | ALL: Restore HP and remove status ailments/stun. | 1 | Reach the start of Chapter 8 | 2 |
| Tifa (Final Heaven) | SINGLE: Inflict neutral physical damage. Bypasses defense. Also bestows strength to all allies. to all allies. |
1 | Finish Chapter 10 | 2 |
| Snow (Sovereign Fist) | ALL: Inflict magical ice damage. Bypasses defense. Also bestows defense to all allies. to all allies. |
1 | Finish Chapter 12 | 2 |
| Lightning (Gestalt Drive) | SINGLE: Inflict neutral physical damage. Bypasses defense. Also bestows strength to all allies. to all allies. |
2 | Finish Chapter 13 (then escape the underground prison to be able to get back to the Girl’s Room) | 2 |
| Squall (Lion Heart) | SINGLE: Inflict neutral physical damage. Bypasses defense. Also bestows accuracy to all allies. to all allies. |
1 | Finish Chapter 14 | 2 |
| Shelke (Countertek) | ALL: Restore HP and remove all negative status effects. Also removes positive status effects from enemies. | 1 | Finish Chapter 15 | 2 |
| Bartz (Clash on Big Bridge) | SINGLE: Inflict neutral physical damage. Bypasses defense. Also bestows accuracy /evasion /evasion to all allies. to all allies. |
2 | Finish Chapter 16 | 2 |
| Cloud (Omnislash) | SINGLE: Inflict neutral physical damage. Bypasses defense. Also bestows strength to all allies. to all allies. |
2 | Finish Chapter 17 | 2 |
| Celes (Runic) | SINGLE: Inflict magical ice damage/oblivion. Bypasses defense. Also restores AP to all allies. | 2 | Finish Chapter 17 | 2 |
| Tidus (Blitz Ace) | SINGLE: Inflict neutral physical damage. Bypasses defense. Also bestows evasion to all allies. to all allies. |
1 | Finish Chapter 18 | 2 |
| Shantotto (Magic Burst!) | SINGLE: Inflict magical damage. Bypasses defense. Also bestows magic to all allies. to all allies. |
1 | Finish Chapter 18 | 2 |
| Yuna (Sending) | ALL: Revive KO’d allies and fully restore HP. | 1 | Receive the airship in Chapter 20 | 2 |
| Terra (Magitek Laser) | SINGLE: Inflict neutral magical damage. Bypasses defense. Also bestows magic to all allies. to all allies. |
1 | Receive the airship in Chapter 20 | 2 |