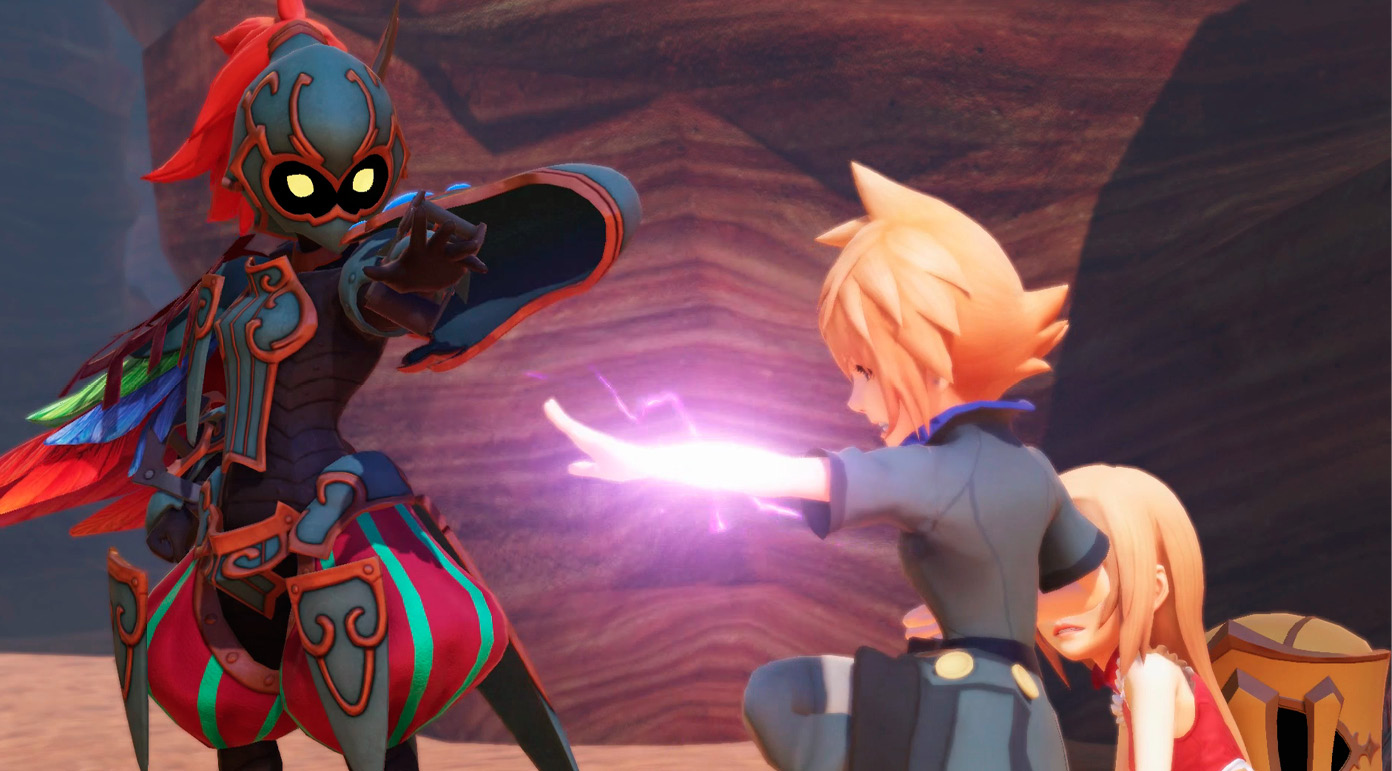
World of Final Fantasy Guide Main Story Walkthrough
Chapter 13: Castle in the Desert
With the help of Snow and Shiva-Ixion, the twin Mirage Keepers make it out of the wetlands and find themselves in a vast desert where a dust storm can be seen off in the horizon. Thankfully, there’s a caravan outpost nearby where they can rest for a spell.
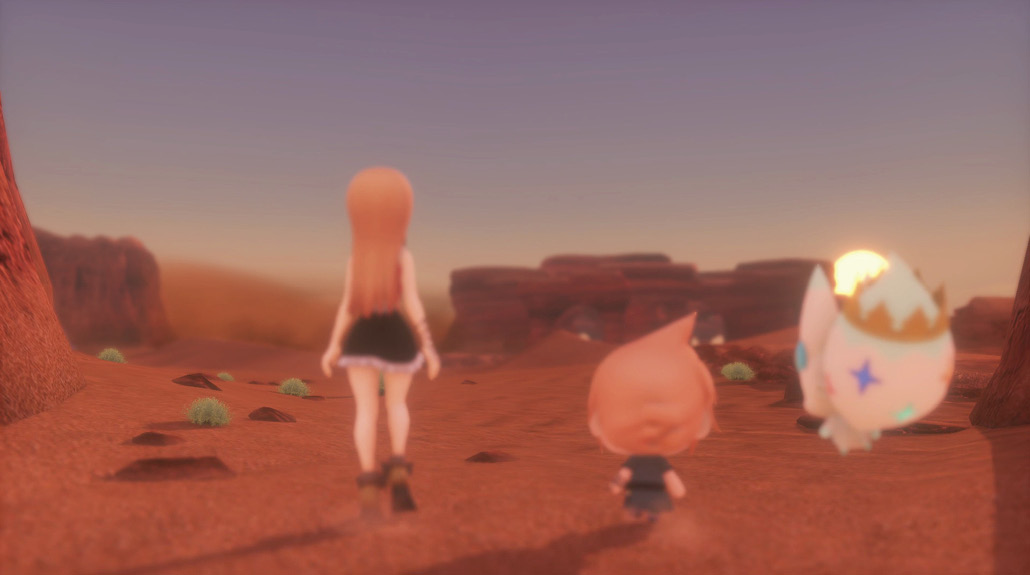
Desert Pit Stop
The chapter begins in a large desert bordering the wetlands. Here, there’s a Lilikin man standing by a caravan encampment nearby. Talk to him to inquire about the “Taking Care of Bizzy-izzyness—I” Miniventure. This Miniventure requires collecting three dragon wings, which are purchasable from the Chocolatte Mart.
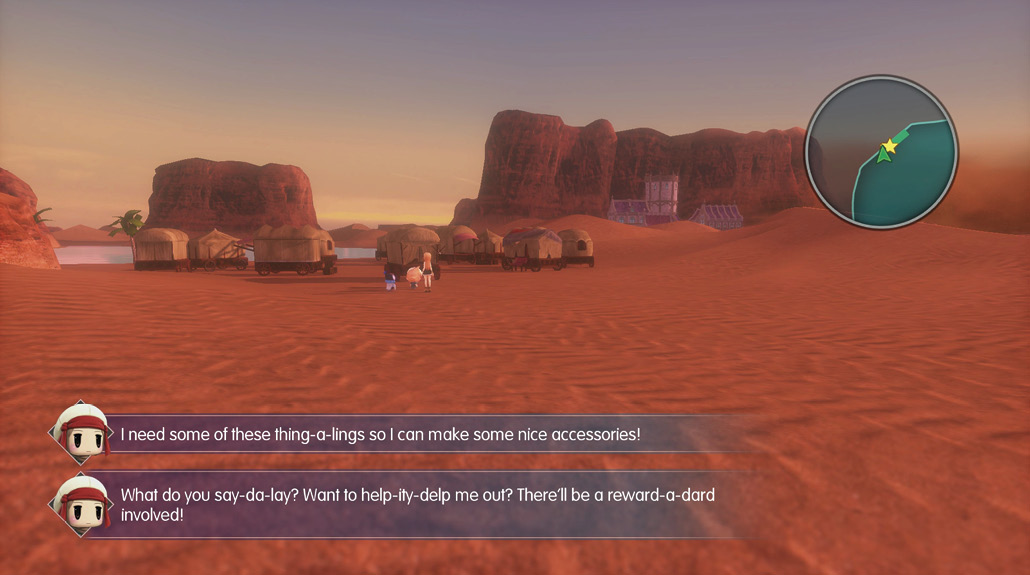
Next, enter the caravan behind the quest giver to view a cutscene with a Caravan Member and to take a much-needed break.
| Action Checklist |
|---|
|
1. Rest at the Caravan |
|
2. Navigate through the Phantom Sands |
|
3. Defeat the sand worms |
Chocolatte Mart—New Wares
| Items | Price |
|---|---|
| Protect Stone | 500 |
| Shell Stone | 500 |
New Miniventures
- Taking Care of Bizzy-izzyness—I
- Taking Care of Bizzy-izzyness—II
- Taking Care of Bizzy-izzyness—III
- Taking Care of Bizzy-izzyness—IV
- Taking Care of Bizzy-izzyness—V


There’s a Gate back to Nine Wood Hills here along with a Lilikin with the quest, “Her Jiggly Highness.” To obtain the quest, you need to have a flan in your party (you can imprism one from the Windswept Mire). You probably won’t be able to complete this quest now since the flan princess encounter in the Windswept Mire is difficult around this point in the story. When you do complete this quest, you receive a Berserk seed as your reward.
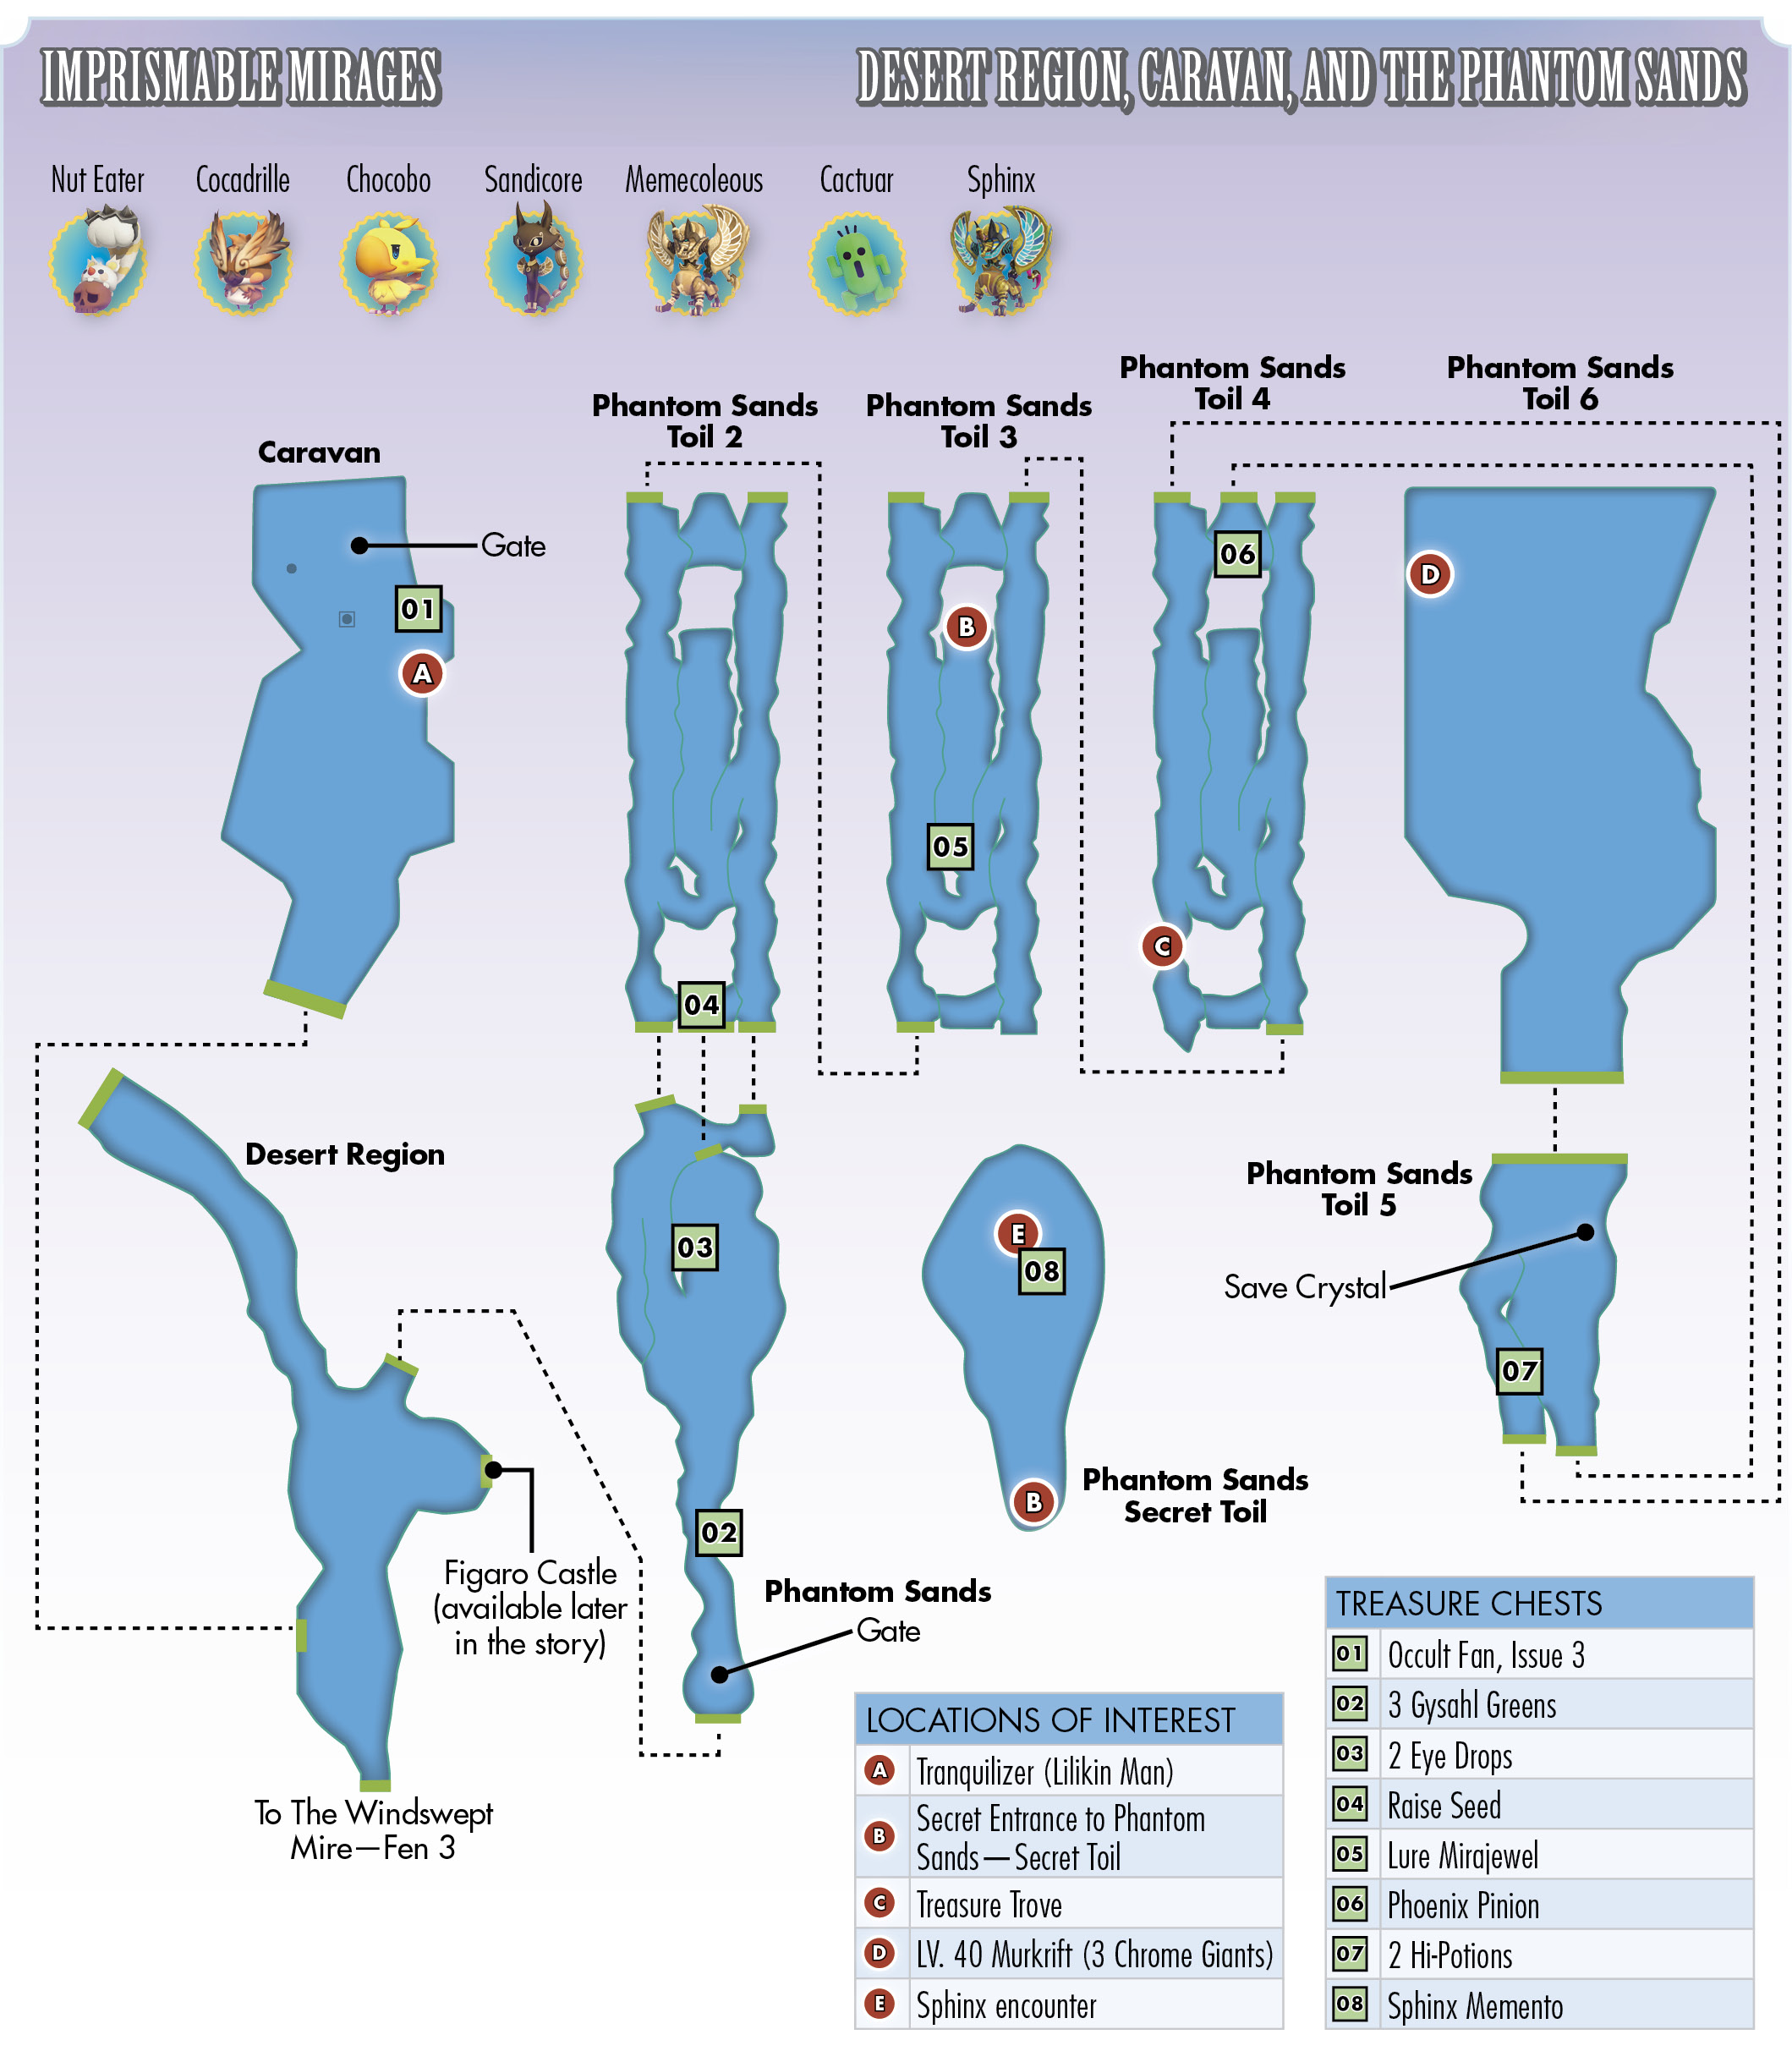
Before you leave, open the treasure chest slightly to its right to obtain Occult Fan, Issue 3. Read it for a hint on how to approach the maze in the Phantom Sands (an upcoming dungeon). You can also talk to the locals here to gather information about the area. There’s a Lilikin man to the right of the Gate you can talk to who gifts you a tranquilizer after explaining the Berserk status ailment.
If you need to take a break from the story to complete optional quests, collect Mirages, or peruse the new wares at the Chocolatte Mart, return to Nine Wood Hills from the Gate here. You can also purchase Snow’s Champion Medal from The Girl Who Forgot Her Name while you’re back home. It’s highly recommended that you do so, since it’s an extremely powerful ice-based attack that targets all enemies. You should have a decent amount of gil by now, too, so don’t be afraid to spend it on more ability seeds for the Blank Spaces in your Mirage Boards.
Once you’re ready, return to the caravan from the Gate in Sylver Park. Exit the caravan and proceed into the Desert Region. If you have three dragon wings, you can turn them in to the quest giver by the caravan entrance and accept the second part of his quest—refer to the Town Subquests section of this book for details. Then, enter the Phantom Sands to the northeast.
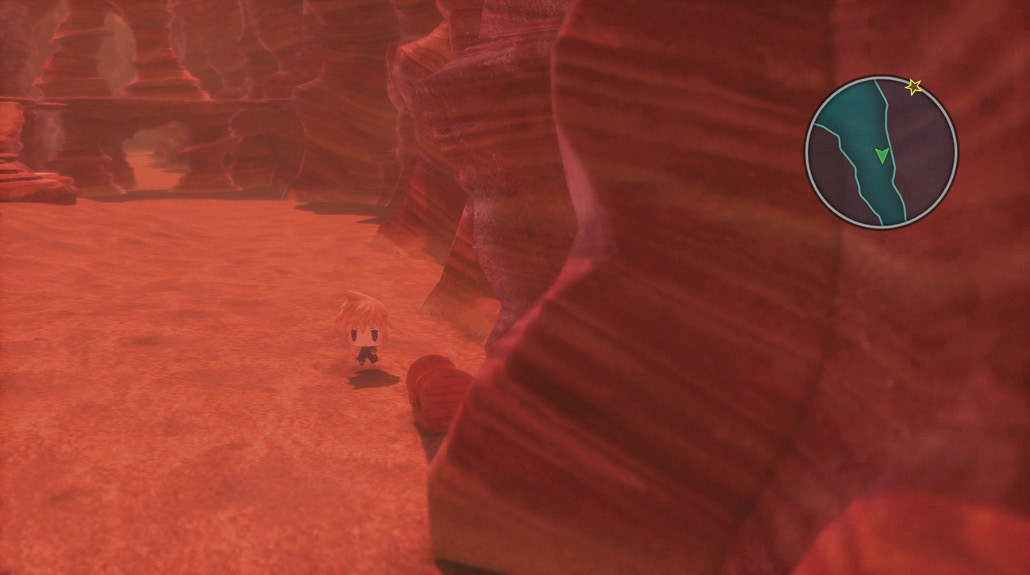
From the entrance, talk to the Lilikin woman up ahead. She gives you a similar tip to that seen in Occult Fan, Issue 3. Essentially, follow the sun and you won’t get lost. From the Lilikin, go north a few steps. To the right, open the treasure chest for three gysahl greens, which you can use to imprism a chocobo Mirage (encountered here in the Phantom Sands).
.png)
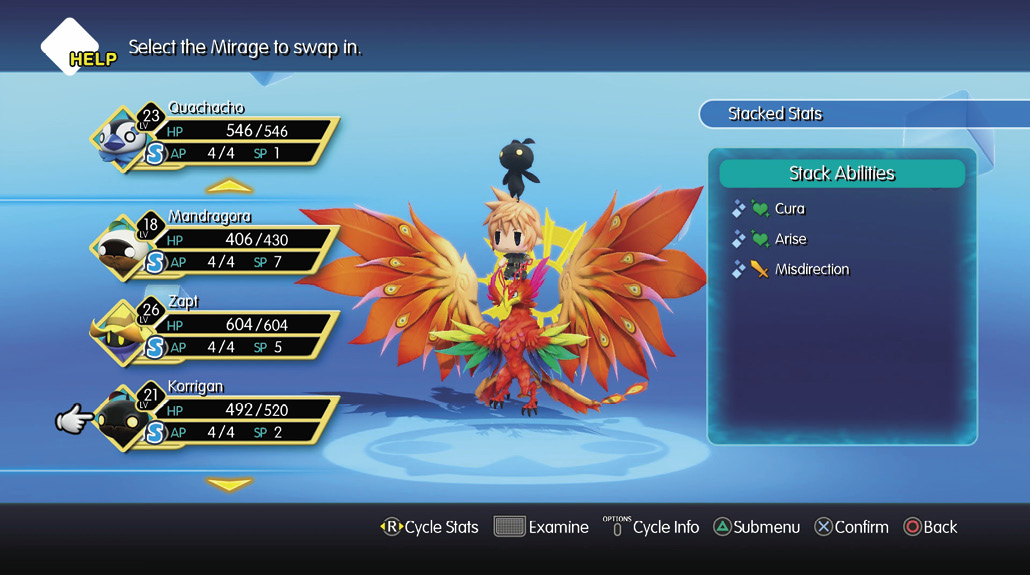
Keep heading north until you reach another treasure chest on ground level. Open it to obtain two eye drops. Stay on the ground level and exit into the next area, through the middle exit. This takes you to another chest, which contains a Raise seed. Place this in a Blank Space on one of your Mirage Boards. Note that if you have the phoenix Mirage (obtainable from Valley Seven) and another Mirage slotted with the Raise seed in the same stack, you can unlock the Arise spell. This spell is similar to Raise, but it is more powerful.
Now, return to the first area and head up the ramp to the west, entering the next area through the upper ridge. Notice the broken statue nearby. This is an indicator of your progress through the maze-like puzzle here; the statue’s form depicts how far you are into the maze.
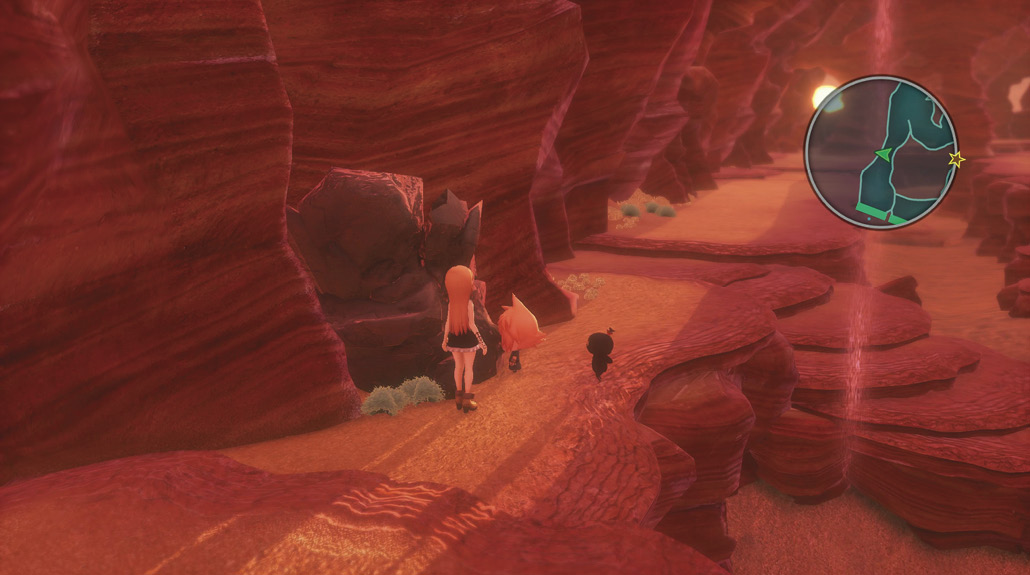
Continue north until you reach the end of the area, where there are two exits. The correct path is the one with the sun shining through it, whereas the other path takes you to the start of the area. You can also tell which one is the correct path by the cactuar-shaped rock formation next to it.
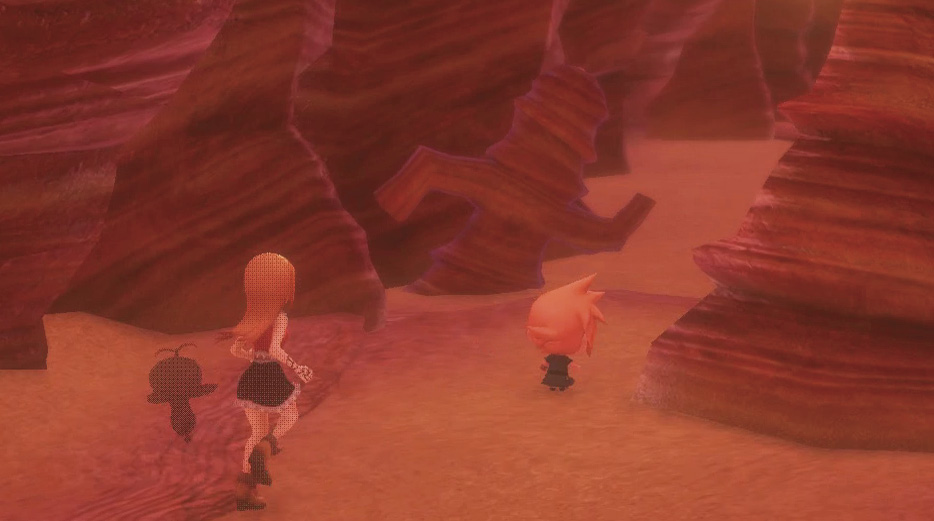
In the third area here, go down the first set of steps and open the treasure chest on the ground level to obtain a Lure mirajewel. Equipping this mirajewel increases your likelihood of encountering enemies, which is useful for grinding EXP and hunting Mirages.
From here, there’s an optional path to the secret area of the Phantom Sands at the north end on ground level. At the end of this middle path, where it looks like a dead end, you can interact with the pitfall to descend into a hidden room with a treasure chest. The fight here is manageable if you’re around Level 25 with access to water-based magic (or if you have a Mega Mirage to help you).
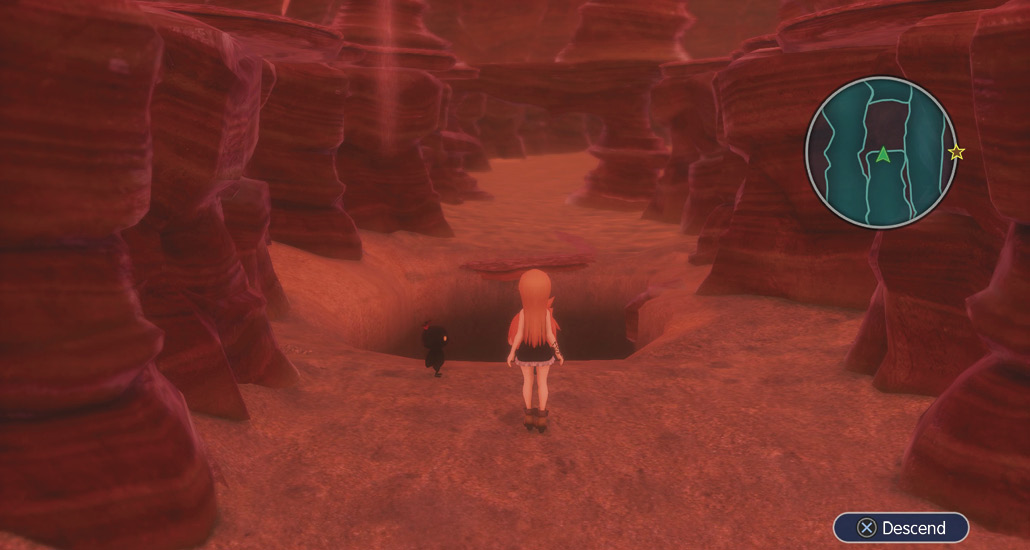
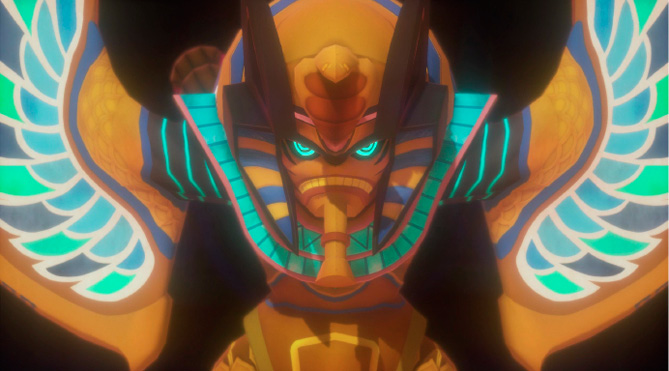
The only way out is to approach the chest, where a large sphinx Mirage attacks you. Defeat or imprism (see the following tip) the sphinx to obtain its guarded treasure, a sphinx memento. You’re then teleported out to safety (to the southeast portion of the third area).
Continue following the sun and cactuar-shaped rock formation, and exit the area through the northeast. If you cross to the west ridge and approach the completed statue, you can uncover a Treasure Trove if you have a strolling Mirage with you.
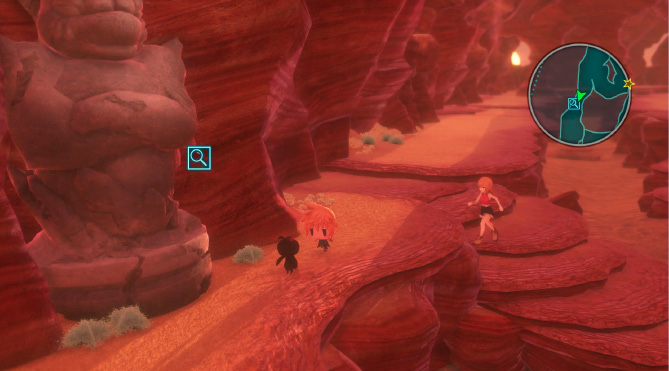
Finally, exit the maze by taking the northwest path, leading to an oasis. Open the treasure chest nearby for two hi-potions, then save your progress at the Save Crystal by the water. If you take the south exit on ground level, you can reach another chest with a phoenix pinion inside.
When you’re ready to take on the boss of the area, proceed north of the Save Crystal.
Boss Battle: Sand Worms
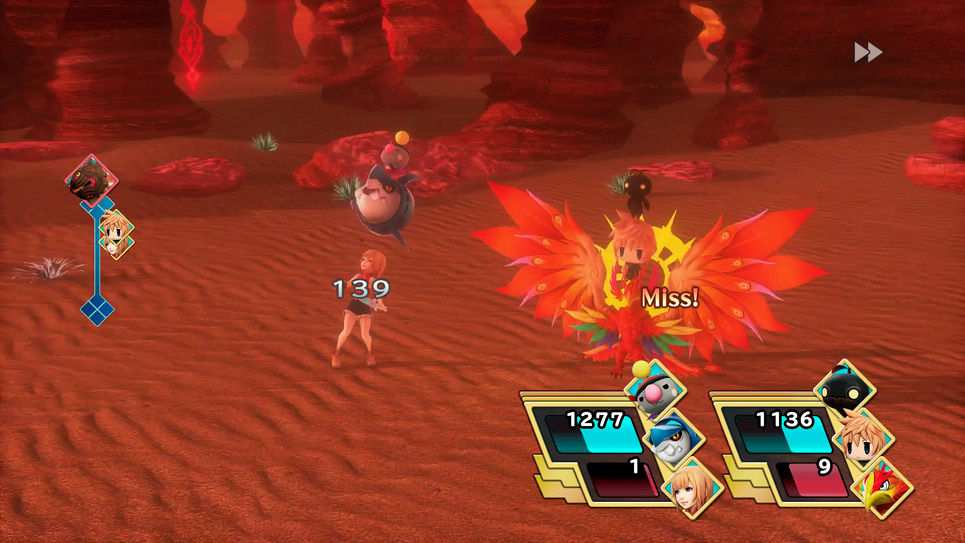
The party is ambushed by three sand worms. This encounter can prove challenging if your average party level is low, so you should be at least around Level 25. Sand worms primarily deal physical-based damage and can also cast Earthquake, dishing out earth-based damage. To prepare, make sure to have strong ice-based, water-based, and wind-based abilities such as Watera, Blizzara, Aerora, and Channel Element: Water. Additionally, you can prevent Earthquake damage by having a flying large-sized Mirage in your stack (like phoenix).
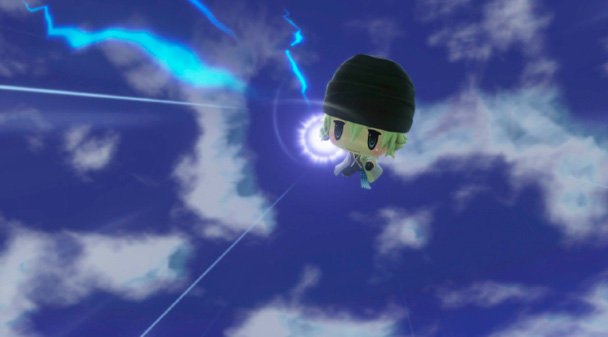
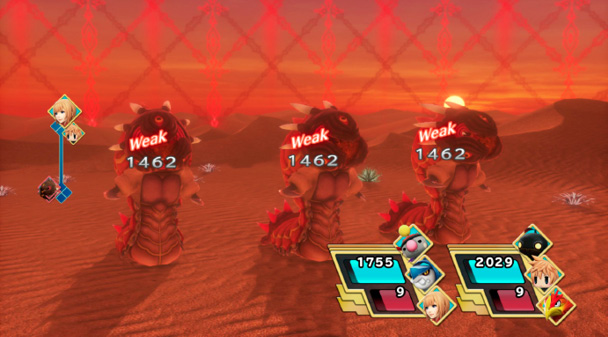
If you have Snow’s Champion Medal, summon him at the start of the battle to greatly weaken the sand worms while giving your party a defense boost.
Then, take out the sand worms one by one with Blizzara and Watera. Once victorious, the twins are attacked by even more sand worms, but thanks to Lightning, they make an escape.
At nightfall in the oasis, you can talk to caravan members. Then, when you’re ready, talk to Lightning to trigger another cutscene, progressing the story. Here, you’re introduced to Edgar, who has apparently laid a trap for Reynn and Lann, capturing them. The chapter concludes as the twins are taken as prisoners by Edgar and the Plumed Knight.