
World of Final Fantasy Guide Main Story Walkthrough
Chapter 8: Buccaneer Blues
Reynn and Lann discover a wicked plot involving a knight in a golden mask and gigantic chains in the sky latched on to the city of Saronia. Refia suggests that the two find a way to travel to the Low Seas. Naturally, since there’s a dock nearby, the twins ask the local townsfolk for help obtaining a ship.
| Action Checklist |
|---|
|
1. (Optional) Complete Intervention Quests |
|
2. Find and steal a pirate ship |
New Intervention Quests
- The Ice Bridge
- Never Cross the Boss
- A Grudge That Won’t Budge
Borrow a Boat
Now is a good time to take a breather if you want to backtrack to places you’ve cleared in order to complete optional tasks like Miniventures or murkrifts. The behemoth murkrift back in Wellspring Woods should be manageable for you now, and if you haven’t already explored further into the Nether Nebula, you can do that, too. You can also check out the Coliseum, as there’s surely a couple of new fights for you to try out there.
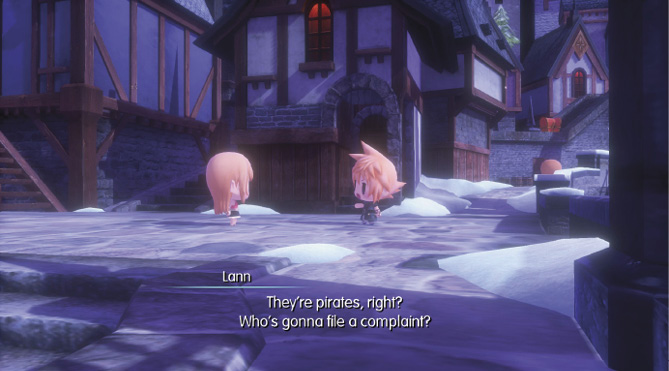
Otherwise, to progress the main story, inquire about sea travel with Saronia Harbor’s locals. Talk to the three townsfolk with purple exclamation points. Although the locals can’t help, this triggers a cutscene with a desperate Lann suggesting that they overtake and steal a pirate ship from Saronia’s docks.
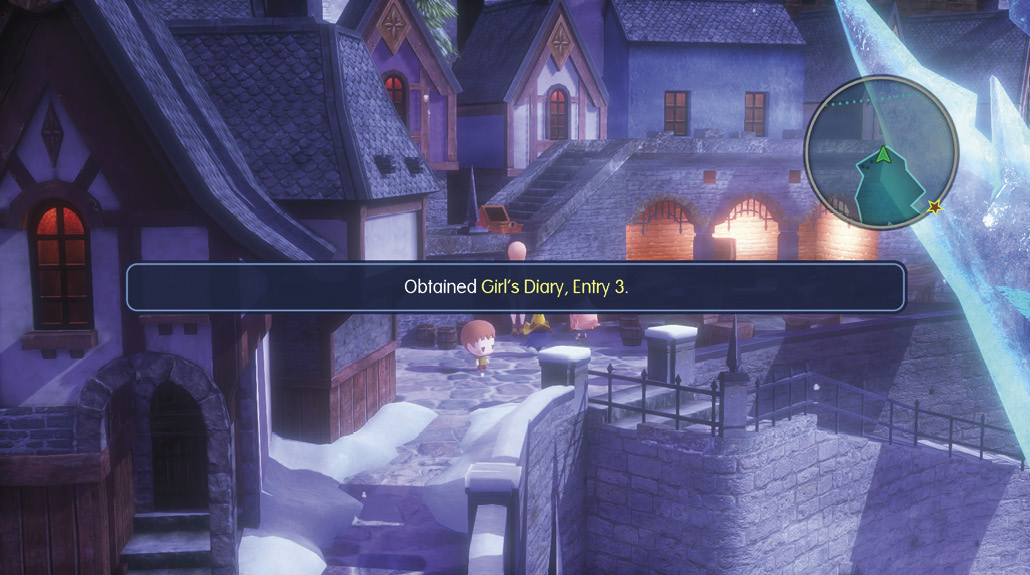
Before heading out through the northeast exit of town into the docks, open the nearby treasure chest sitting on top of a city wall to obtain Girl’s Diary, Entry 3.
Delve into the Docks
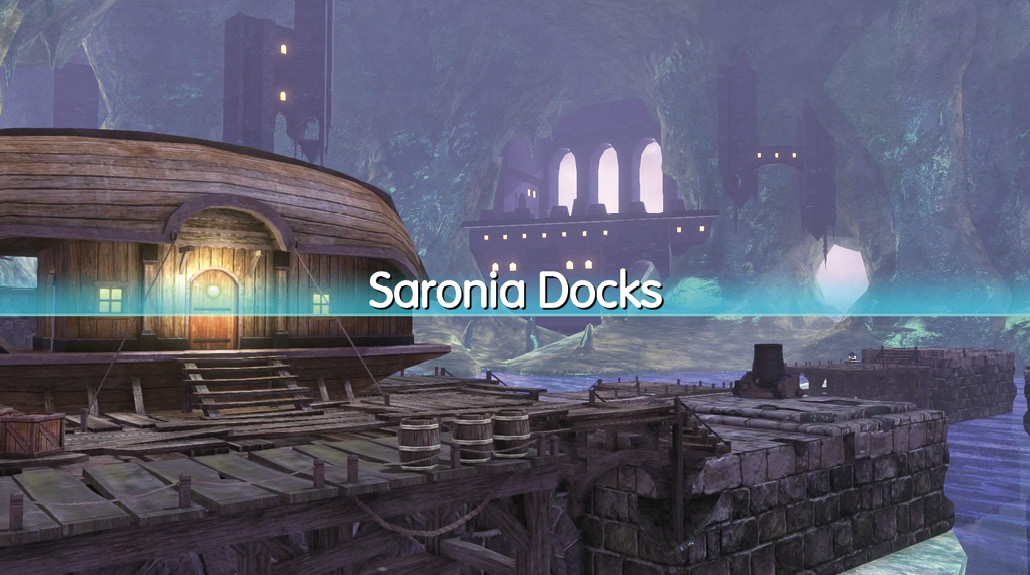
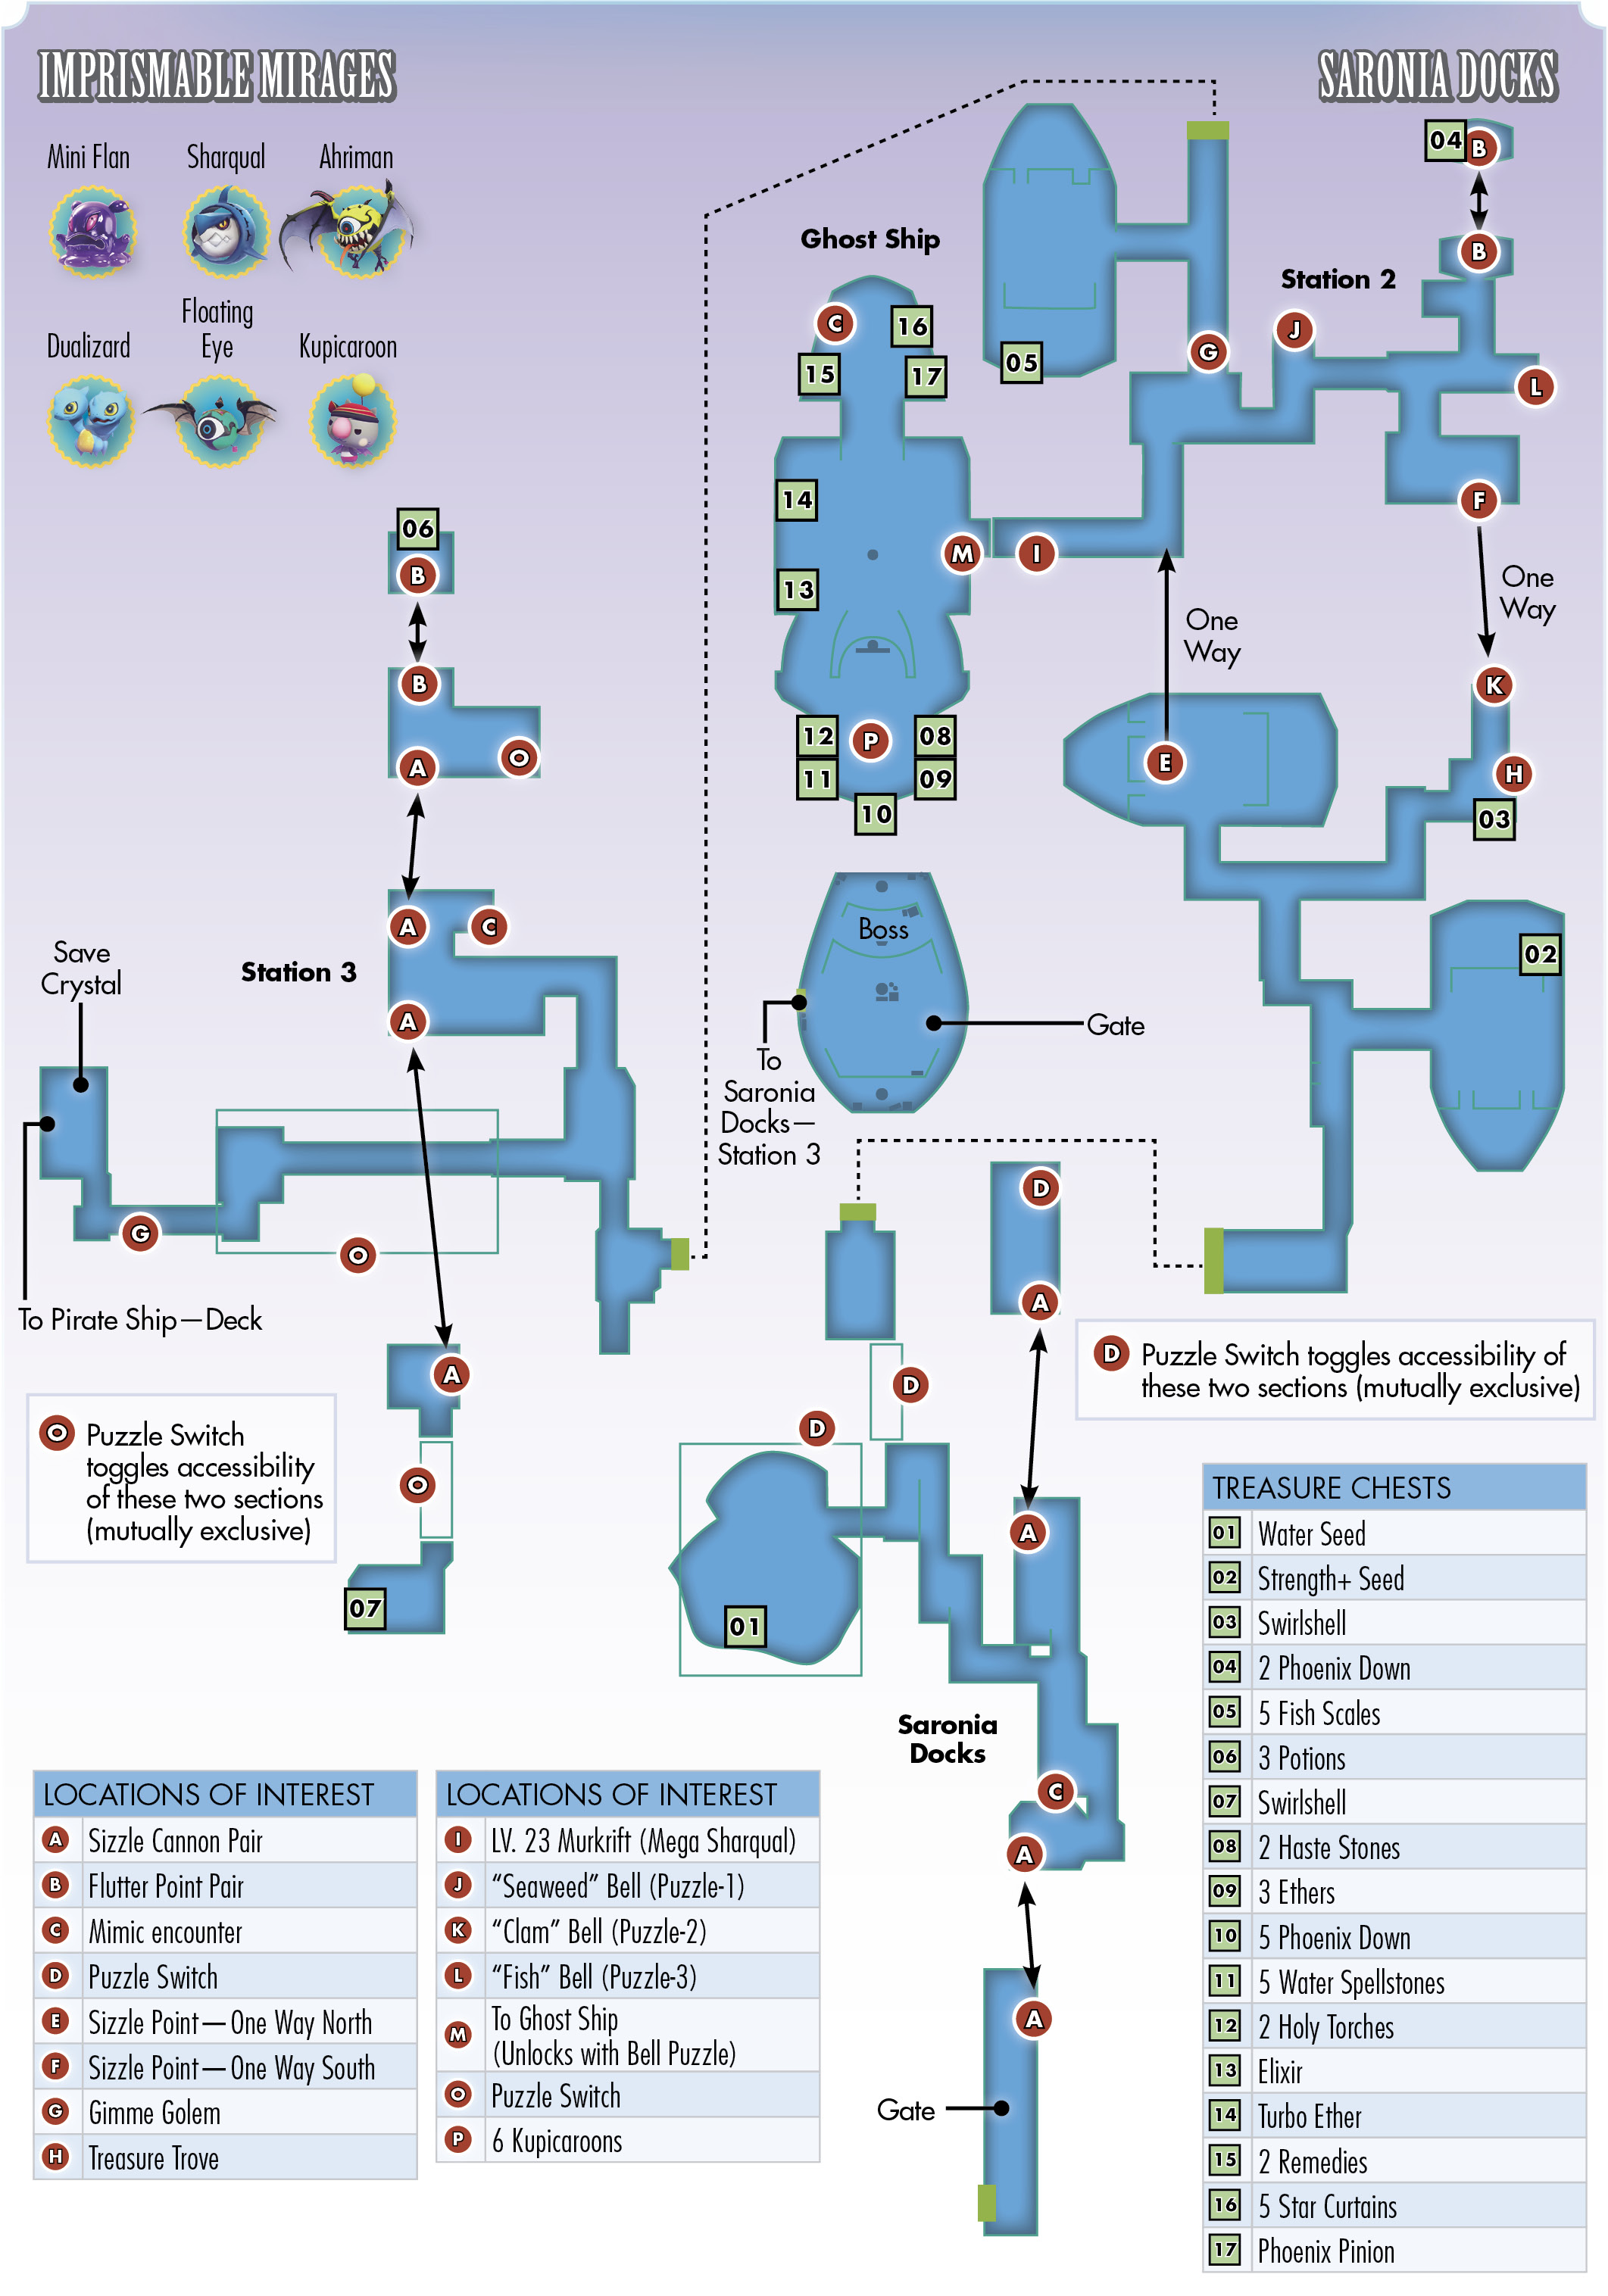
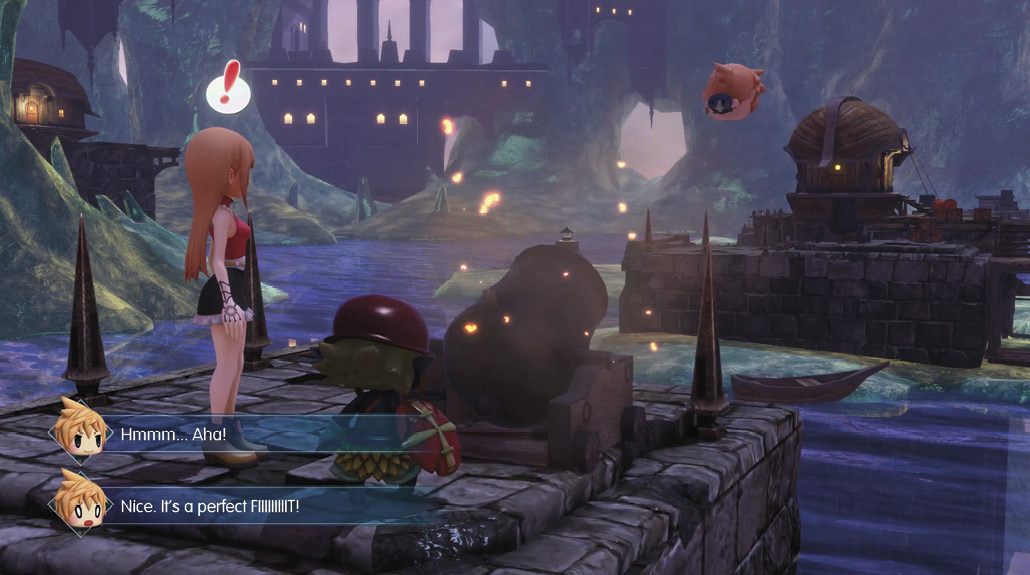
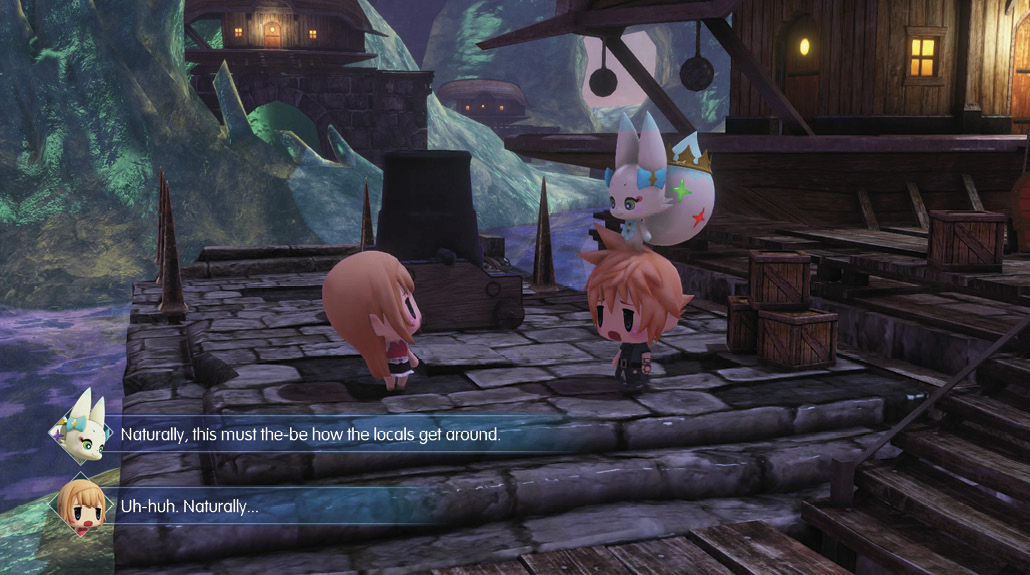
Like Icicle Ridge, having the Sizzle support ability is a requirement here in the Saronia Docks, since being fired from a cannon is apparently a conventional method of travel around these parts. Make sure to keep a red captain, black nakk, fritt, or cockatrice with you for this dungeon.
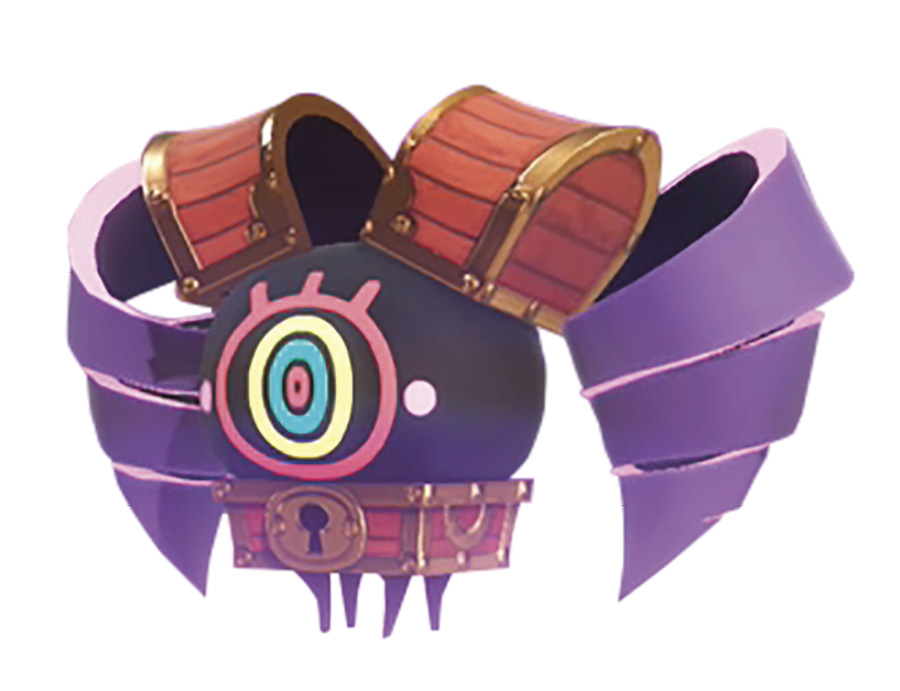
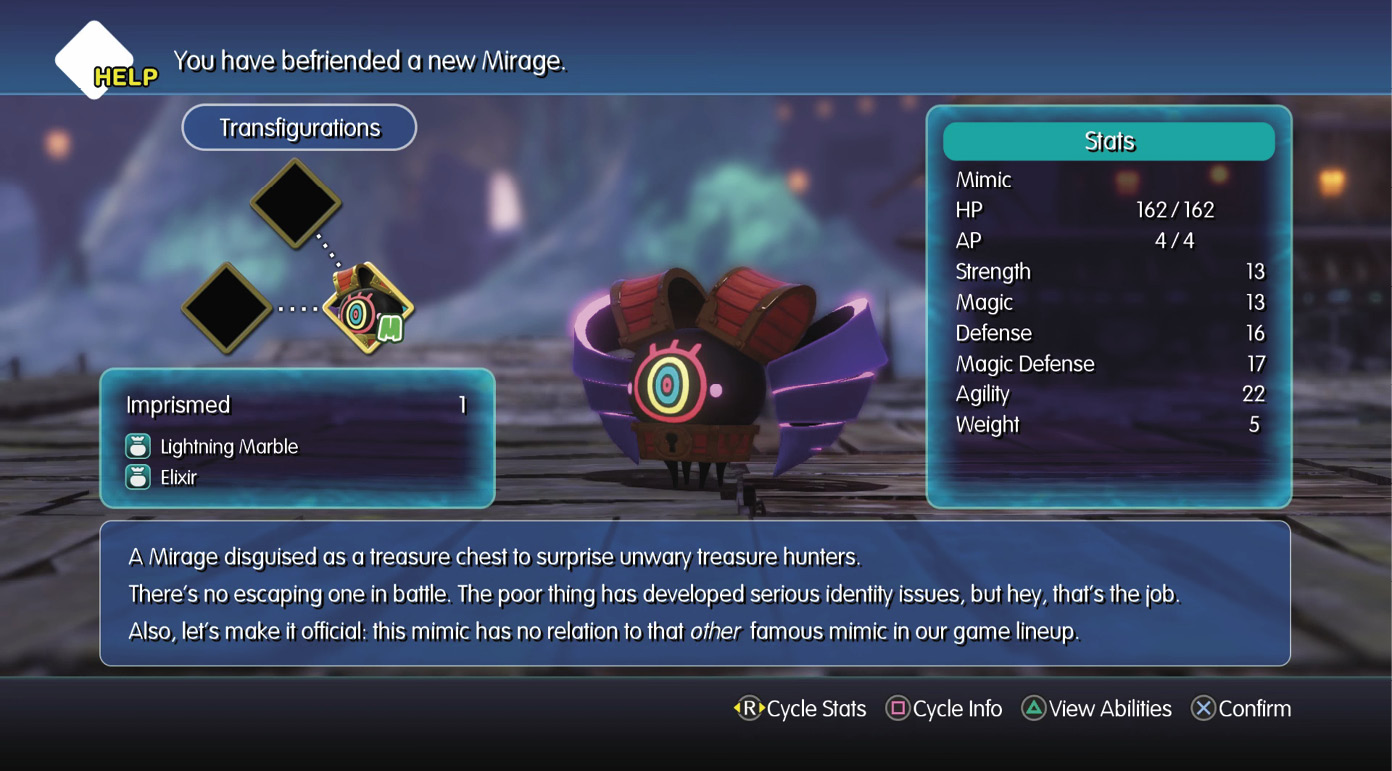
After the cannon cutscene, continue north along the docks. Next to a boathouse, there’s a treasure chest here that’s actually a mimic. Interacting with it triggers an encounter with the mimic Mirage. You can skip it, or if you’re a collector, you can go ahead and imprism it. Be careful of its Death ability, though. If necessary, you can unstack your stacks to keep casualties at a minimum since Death is a single-target spell. Mimics are handy Mirages to have since they have access to No Escape, a unique passive ability.
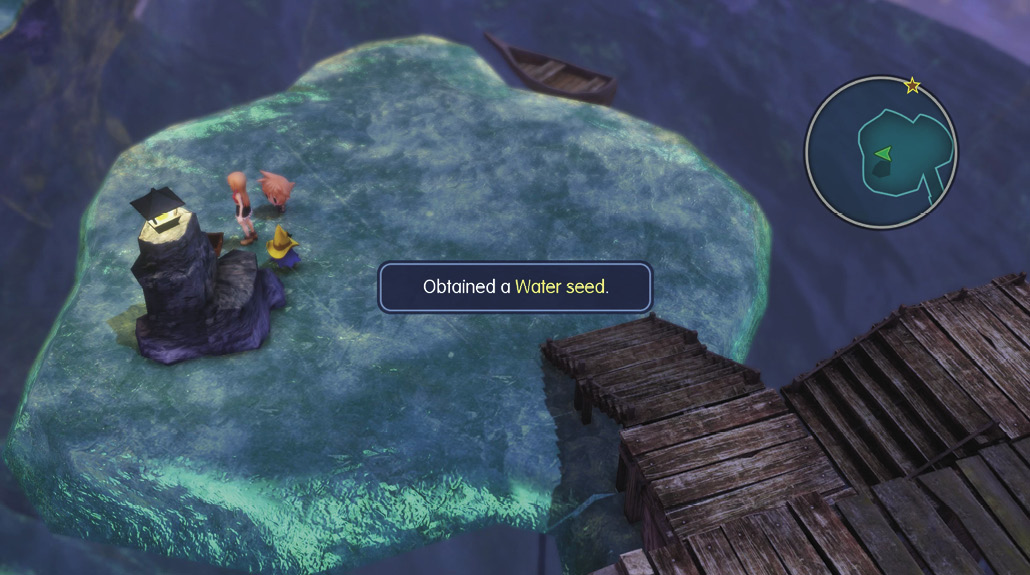
From the mimic chest, head downstairs (toward the background) where there’s a small island where the water level is low. Open the treasure chest here to obtain a Water seed.
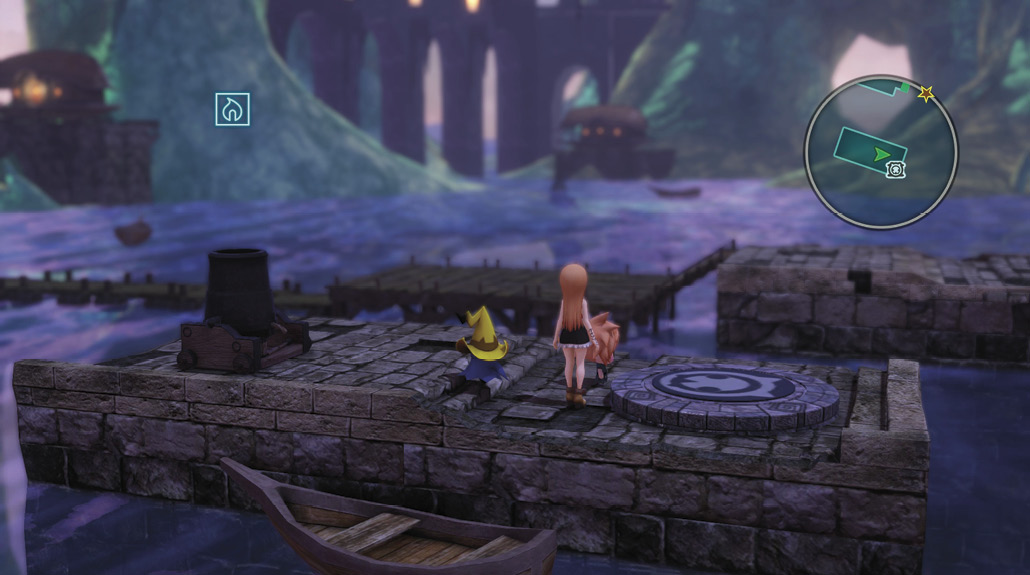
Return up the stairs, and take the alternate path toward another Sizzle cannon. Light up the cannon to boost the party over onto another platform. There’s a puzzle switch here. Its stack requirements include a weight of 5 or greater and a water resistance rating of at least 50. If you don’t have the proper Mirages yet, try to imprism a sharqual here. Quachachos also help, but only if you’ve caught one back in Icicle Ridge. Successfully toggling the switch makes the surrounding water level rise, which distinctly raises a bridge off in the distance.
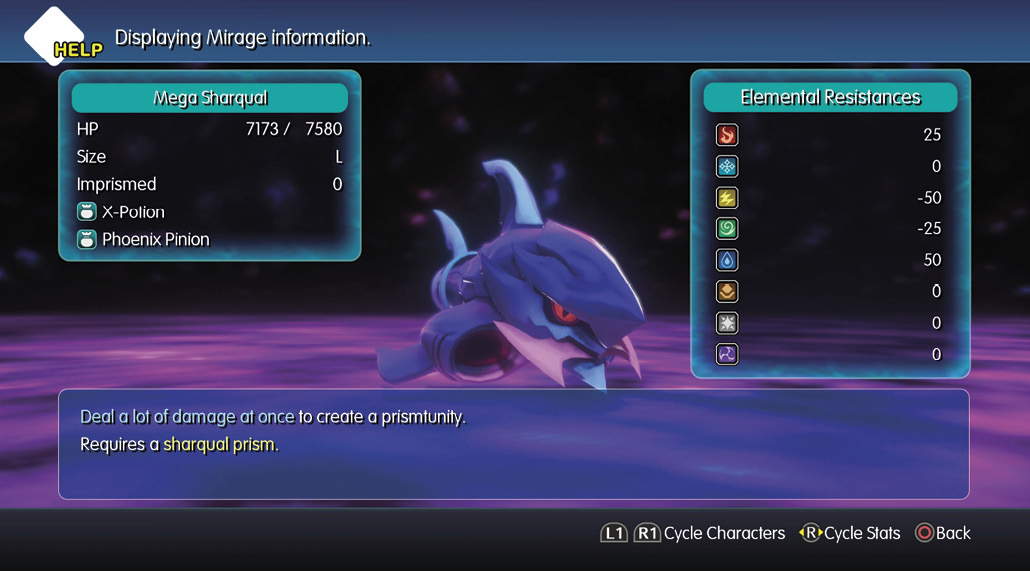
Head over and cross the new path you’ve created to enter Station 2. Proceed through the narrow dock paths until you reach an anchored ship to the east. Board the ship, and open the treasure chest near the stern of the ship for a Strength+ seed. Continue down the dock path until you reach another ship. This ship has a Sizzle cannon on it, so climb inside to launch yourself to the north section of the area. You land next to a murkrift here in front of an empty dock port. You can skip this murkrift for now since the Mirage inside is most likely way above your power level (a LV 25 mega sharqual). You can attempt it if your average party level is around 23 or so, provided you’re also boasting plenty of water resistance and thunder-based attacks. Otherwise, come back later when you’re stronger.
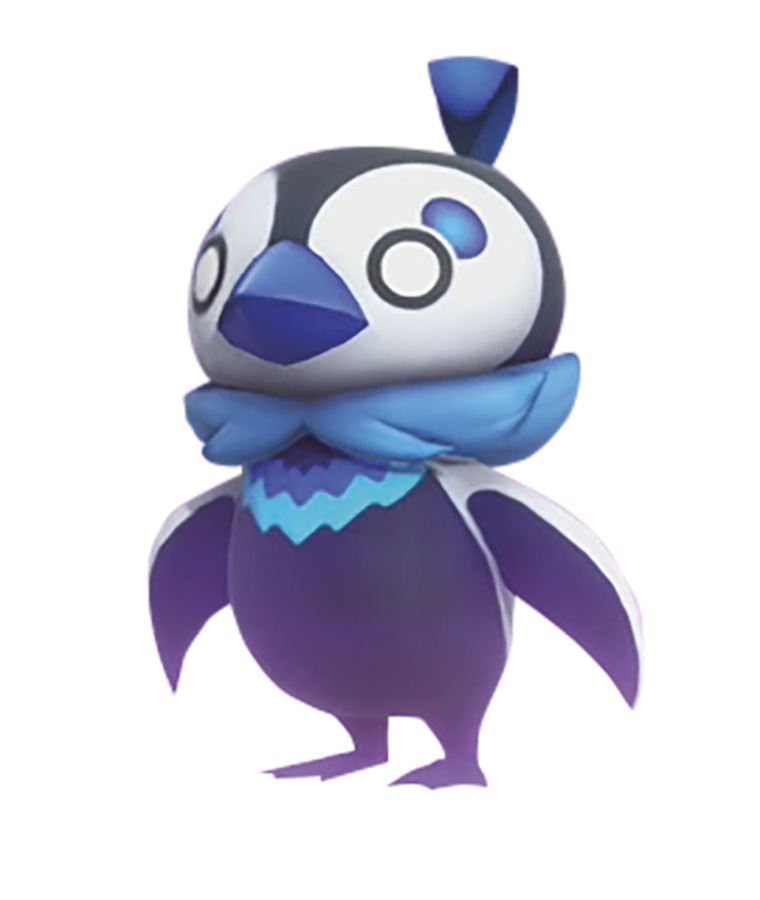
From the murkrift, continue following the dock path until you reach a Gimme Golem. To appease it, you need a swirlshell. For now, proceed to the bell that’s hoisted up nearby. Notice that there’s a basket full of seaweed next to the bell. Remember the diagram in Shanty Town? There are two more bells accompanied by baskets of items. Ring this one first, then proceed down the stairs nearby, ignoring the fish bell. Ignite the cannon slightly south of that bell to return to the other half of the area. Here, you land next to a treasure chest and a basket of clamshells, along with another bell. Open the chest to obtain the needed swirlshell, then ring the clamshell bell. If you have a strolling Mirage with you, there’s a Treasure Trove waiting to be discovered in the clamshell basket.
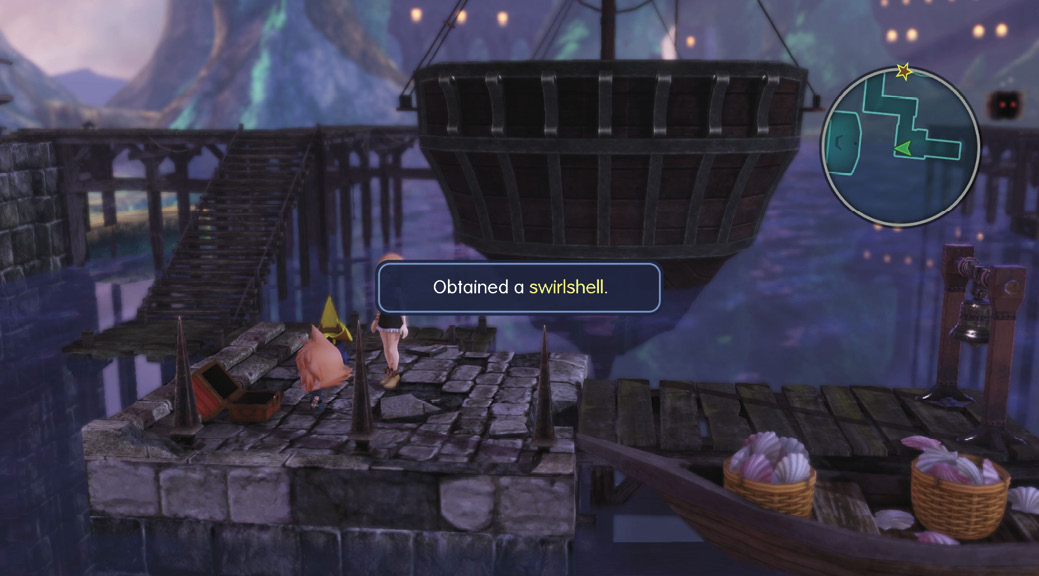
Now that you have the swirlshell for the Gimme Golem and you’ve rang two of the three bells in the correct order, return to the ship cannon and blast yourself back over. Go down and ring the fish bell to reveal the Saronia Docks’ secret area—a haunted pirate ship!
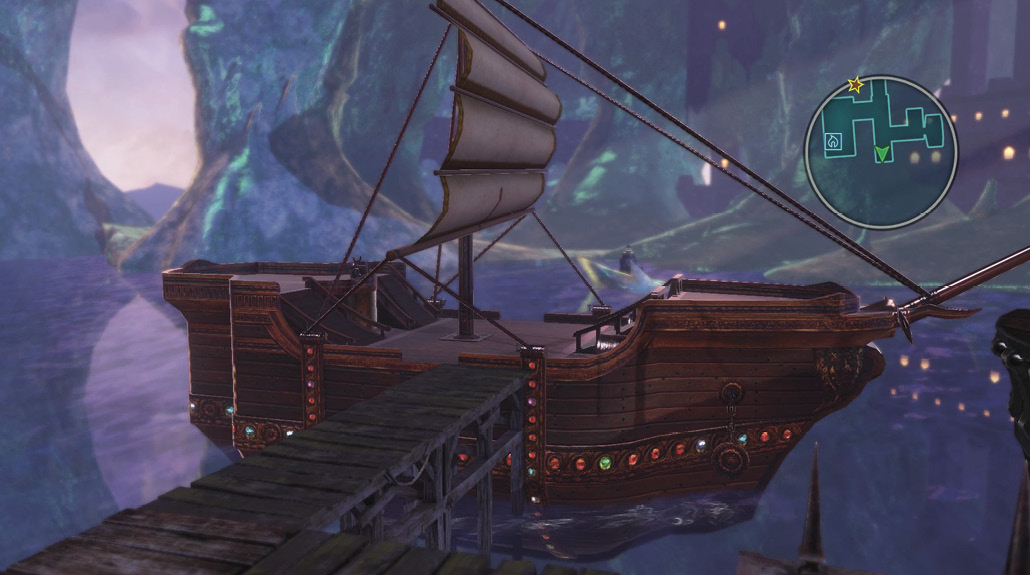
To enter the ship and loot its booty, you must clear the murkrift in front of the ship’s dock point. If you’re not strong enough to take on the mega sharqual, you can come back later to pillage the ship. Besides, there’s another encounter on the ship that’s even more difficult than the preceding LV 25 mega sharqual.
If you have the Flutter support ability, by leveling and taking either a moogle or floating eye Mirage along with you, you can grab two phoenix down on a boat in the northeast portion of the area.
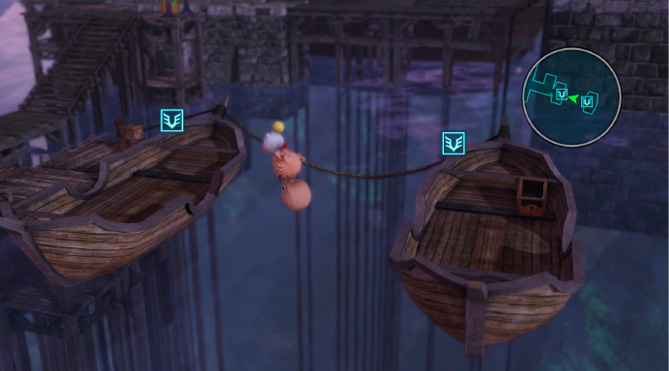
To progress through the docks, give the Gimme Golem the swirlshell that you picked up from the other side of the area. Before you exit the area, board the ship in the northwest area of the map to open a treasure chest containing five fish scales. That’s all for this area. Move on to the next area by heading north from here.
Your destination in Saronia Docks—Station 3 is straight ahead past the Gimme Golem. Of course, you’re going to have to find another swirlshell first.
From the starting point of this area, head north, where there are two Sizzle cannons with a treasure chest nearby. The chest is a mimic, so you don’t have to antagonize it if you don’t want to start a fight. Launch yourself from the cannon on the right here to reach a platform with another puzzle switch. This switch has the same conditions are the previous one: at least 5 weight and 50 water resistance. Once you’ve toggled it, the water level in the area rises, giving you access to the south portion of the map (while access to the Gimme Golem path is lost).
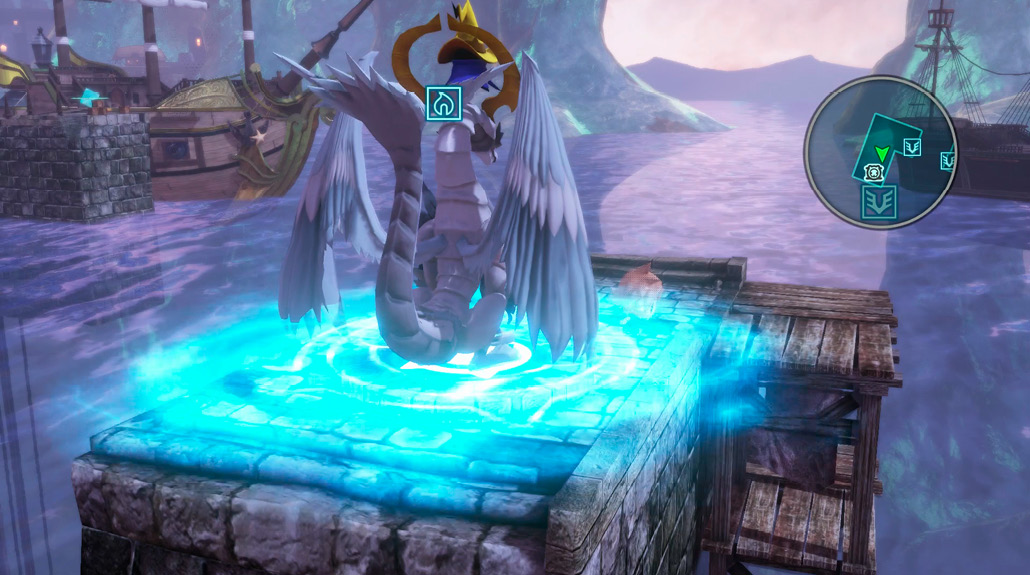
If you have the Flutter ability, you can fly to a platform to the north and pick up three potions. Now, head back over to the south side of the area. Now that the water level has risen, you can cross the floating dock path over to a treasure chest on the southern platform. Open the chest for a swirlshell.
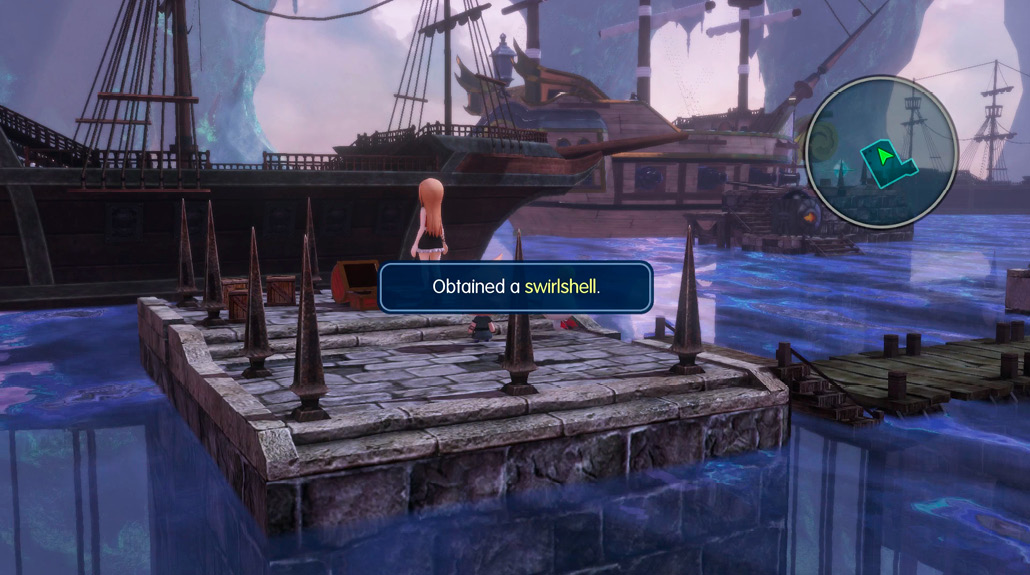
You have what you need now, so return to the north platform with the puzzle switch to toggle it again and regain access to the Gimme Golem path. Now you can take the central path west to appease the Gimme Golem. Save your progress at the Save Crystal just beyond the golem, and prepare for a minor boss battle.
Boss Battle: Kupirates, Their Captain, a Sea Dragon, and More
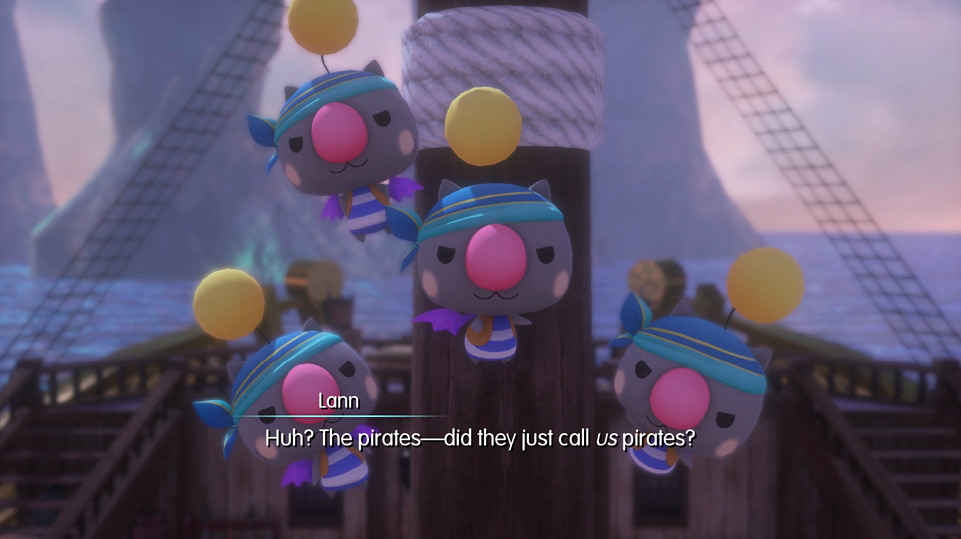
Enter the pirate ship and approach the ship’s wheel for an encounter with a band of kupirates.
These moogles-turned-pirates are water-based Mirages, so you can make quick work of them if you have access to thunder-based spells like Thunderbolt. Additionally, spells like Aeroga (accessible through the ahriman Mirage) can also wreak havoc on these moogles. Stacking water-resistant Mirages works as a great defensive measure here.
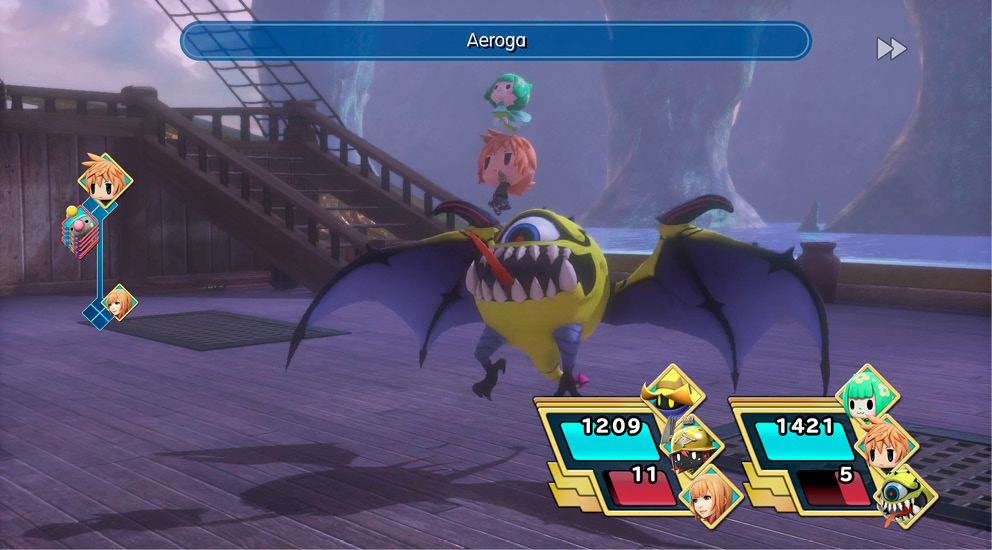
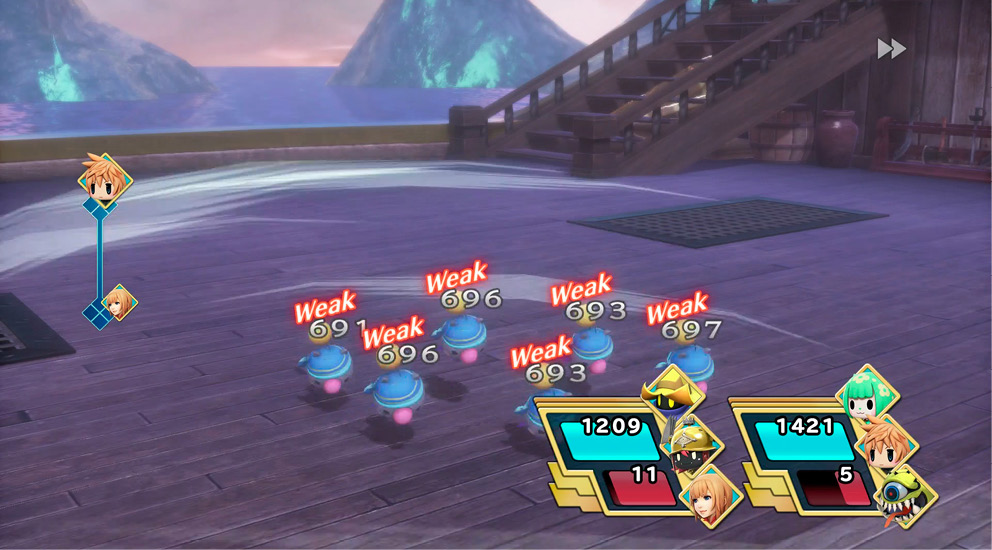
Once you’ve culled the kupirate herd, their captain shows up and attacks the party.
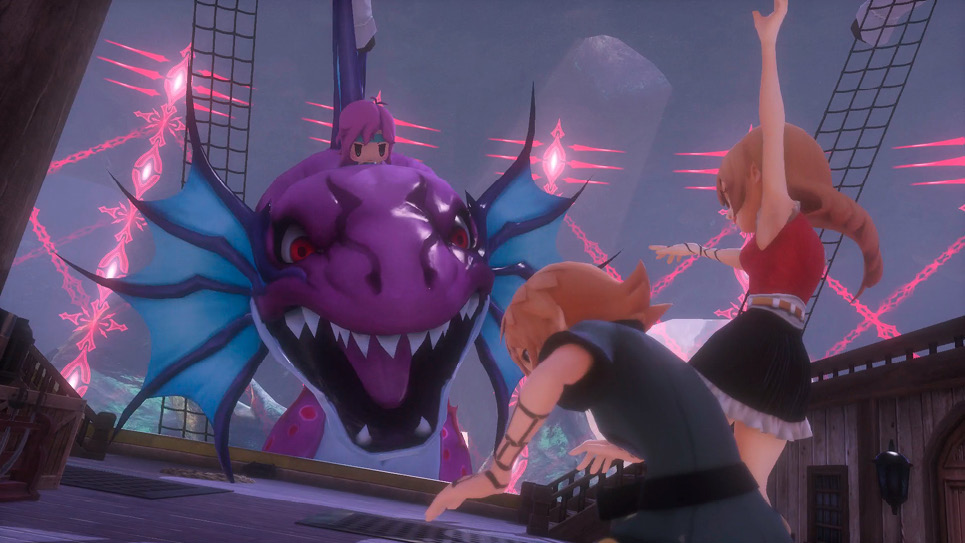
Faris and her sea dragon, Syldra, are too powerful for you, so your defeat is inevitable and unavoidable. Syldra repeatedly casts Thunderstorm until the party falls. The game isn’t over, though, as a familiar enemy emerges. The Bahamutian soldier from Saronia has followed the twins, and as he asks several cryptic questions, he attacks the party and another boss battle begins.
This encounter is similar to the one back in Saronia. Most of the soldier’s damage comes from physical attacks, and he’s not weak to anything in particular, so you can simply use your strongest abilities. When he’s low on health, the battle ends, and Faris finishes the job for you. Faris and the twins come to an understanding after Reynn and Lann apologize and explain the situation with the imposter thane. Faris decides to help the Mirage Keepers and cites another passage of the prophecy, which mentions the gathering of four keys. The first key lies in a valley of fire, south of the Low Seas…
You can save your progress when the cutscene ends. This concludes Chapter 8 of the story.