
World of Final Fantasy Guide Main Story Walkthrough
Chapter 5: The Champion Who Saved Grymoire
After a successful mission in the Watchplains, the twins return to Cornelia. Although Cornelia is liberated of the goblin threat, Princess Sarah expresses concerns over a follow-up attack. Alliances need to be formed as defense, so Reynn and Lann agree to travel north to Saronia in order to request aid from its thane. With an official Cornelian letter, the two start their trek to Saronia through the Pyreglow Forest.
| Action Checklist |
|---|
|
1. (Optional) Meet The Girl Who Forgot Her Name |
|
2. (Optional) Complete Intervention Quests |
|
3. (Optional) Earn 45,000 EXP and obtain Princess Goblin |
|
4. Pass through the Pyreglow Forest |
 prismarium
New Intervention Quests
- The Girl Who Forgot Her Name
- Where Art Thou, Smoochy—Poo?
Meet The Girl Who Forgot Her Name
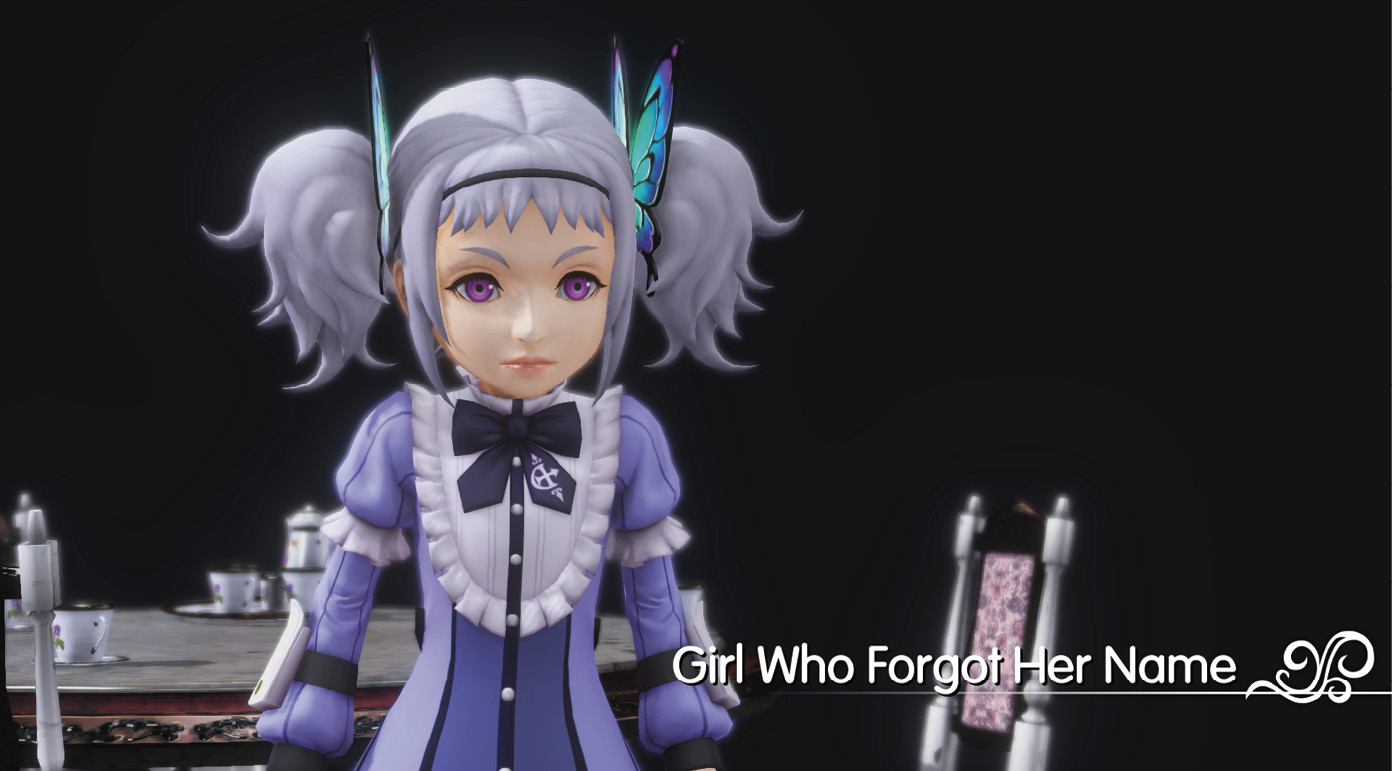
Before you traverse the forest, though, there are a couple of optional tasks you can get out of the way back in Nine Wood Hills. Take the Gate back home to unlock a cutscene with yet another enigmatic character known as The Girl Who Forgot Her Name.
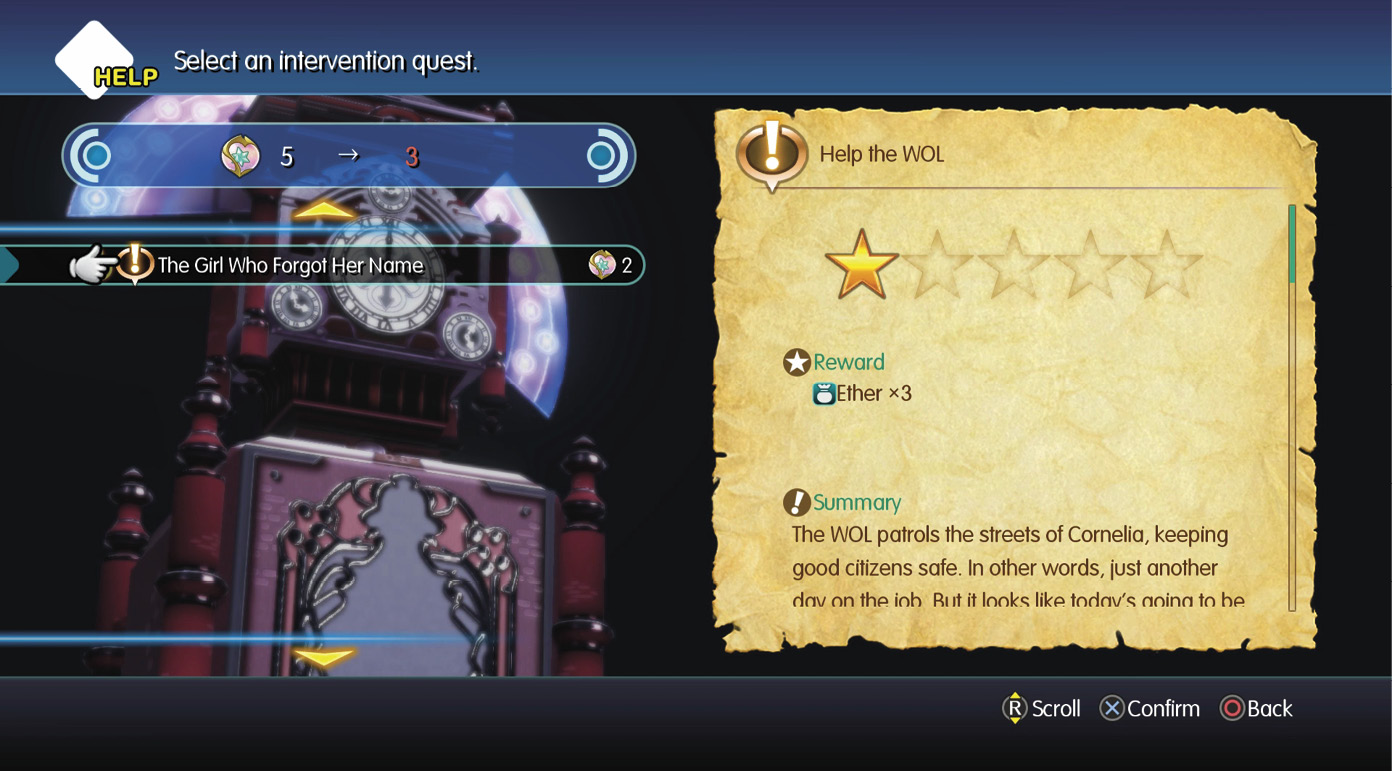
This seemingly omnipotent girl possesses a power that allows you to intervene and fight in place of your friends at key points in Grymoire’s timeline. These Intervention Quests are optional Miniventures accessed by talking to The Girl Who Forgot Her Name. Most Intervention Quests require trading in arma gems primarily obtained from main story boss battles (you should have a total of five at this point).
Intervention Quests give you a chance to meet and imprism new Mirages while sharing important key events of Champions that you’ve befriended. Most Intervention Quests cost two arma gems to unlock. Once you’ve unlocked an Intervention Quest, you can attempt it as many times as you want, so you don’t need to hand over additional arma gems if you fail an encounter (although there is one that’s unrepeatable upon completion).
The Girl Who Forgot Her Name also provides another avenue of spending your arma gems—Champion Medals. Talk to her about trading in arma gems for a tutorial on summoning Champions in battle. This system allows you to call in an ultimate attack delivered by a Final Fantasy Champion, provided you have enough Champion Gauge (see the Game Mechanics chapter of this book for details on storing Champion Gauge). As you progress through the main story, additional Champion Medals become purchasable. For now, you can opt to purchase the Warrior of Light’s Champion Medal to summon a devastating single-target physical attack. Alternatively, you can save your arma gems to complete two Intervention Quests instead (which opens up a huge potential EXP bonus).
The Enlightened Path in the Pyreglow Forest
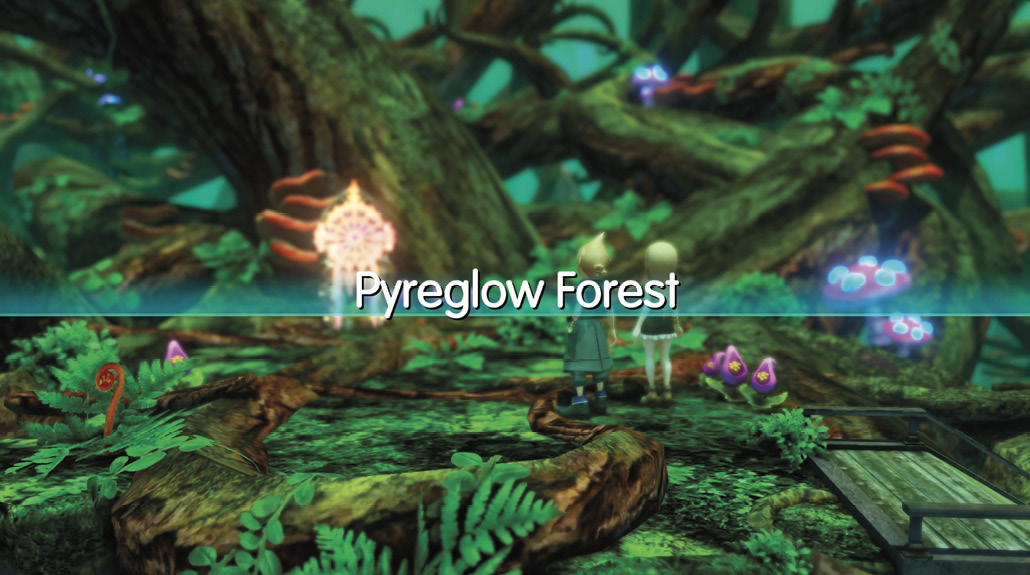
After leaving Princess Sarah’s audience chamber, you can now take the Cactuar Express to Pyreglow Forest. The train is located at the pinnacle of Cornelia, near the castle entrance.
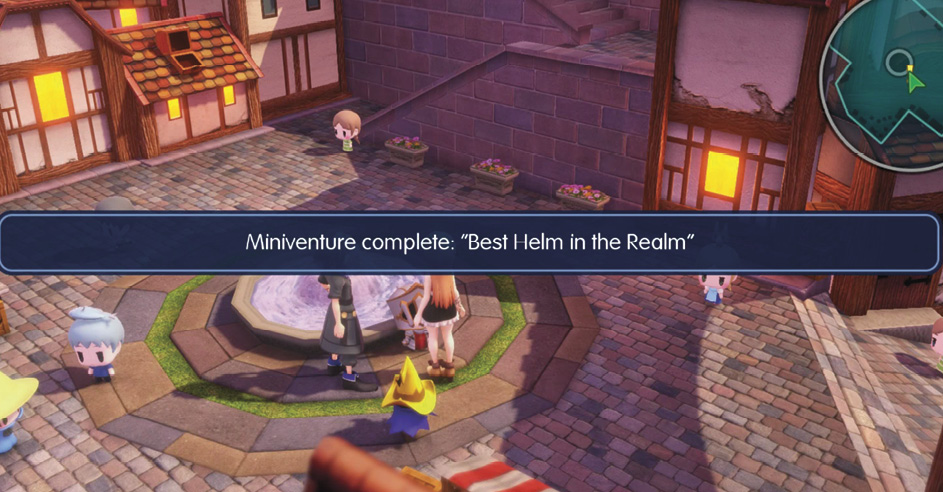
If you have completed the Best Helm in the Realm quest, you can turn it in to the guard in the central plaza in Cornelia now if you haven’t done so through the Adventure Log.
Talk to the Cactuar Conductor and select “To the north! (Saronia)” to take the Cactuar Express to Pyreglow Forest.
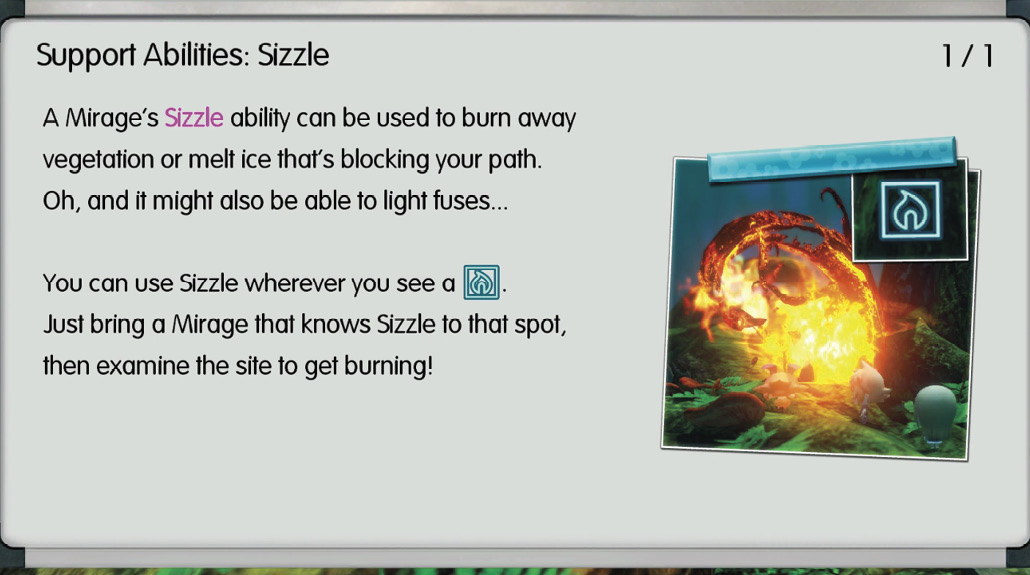
Here, you learn of a new support ability called Sizzle. This is one of several field support abilities that allows you to interact with a dungeon’s environment to either unlock hidden areas or to proceed through the level. If you’ve imprismed a black nakk from the Watchplains, you’re in luck—you can unlock the Sizzle ability on its Mirage Board. Otherwise, you can find and imprism a cockatrice here. Access to Sizzle isn’t required to progress through Pyreglow Forest, but it does grant you access to two treasure chests and an extra Mirage. However, Sizzle is required soon, so it’s advisable that you pick up a black nakk or cockatrice at this point.
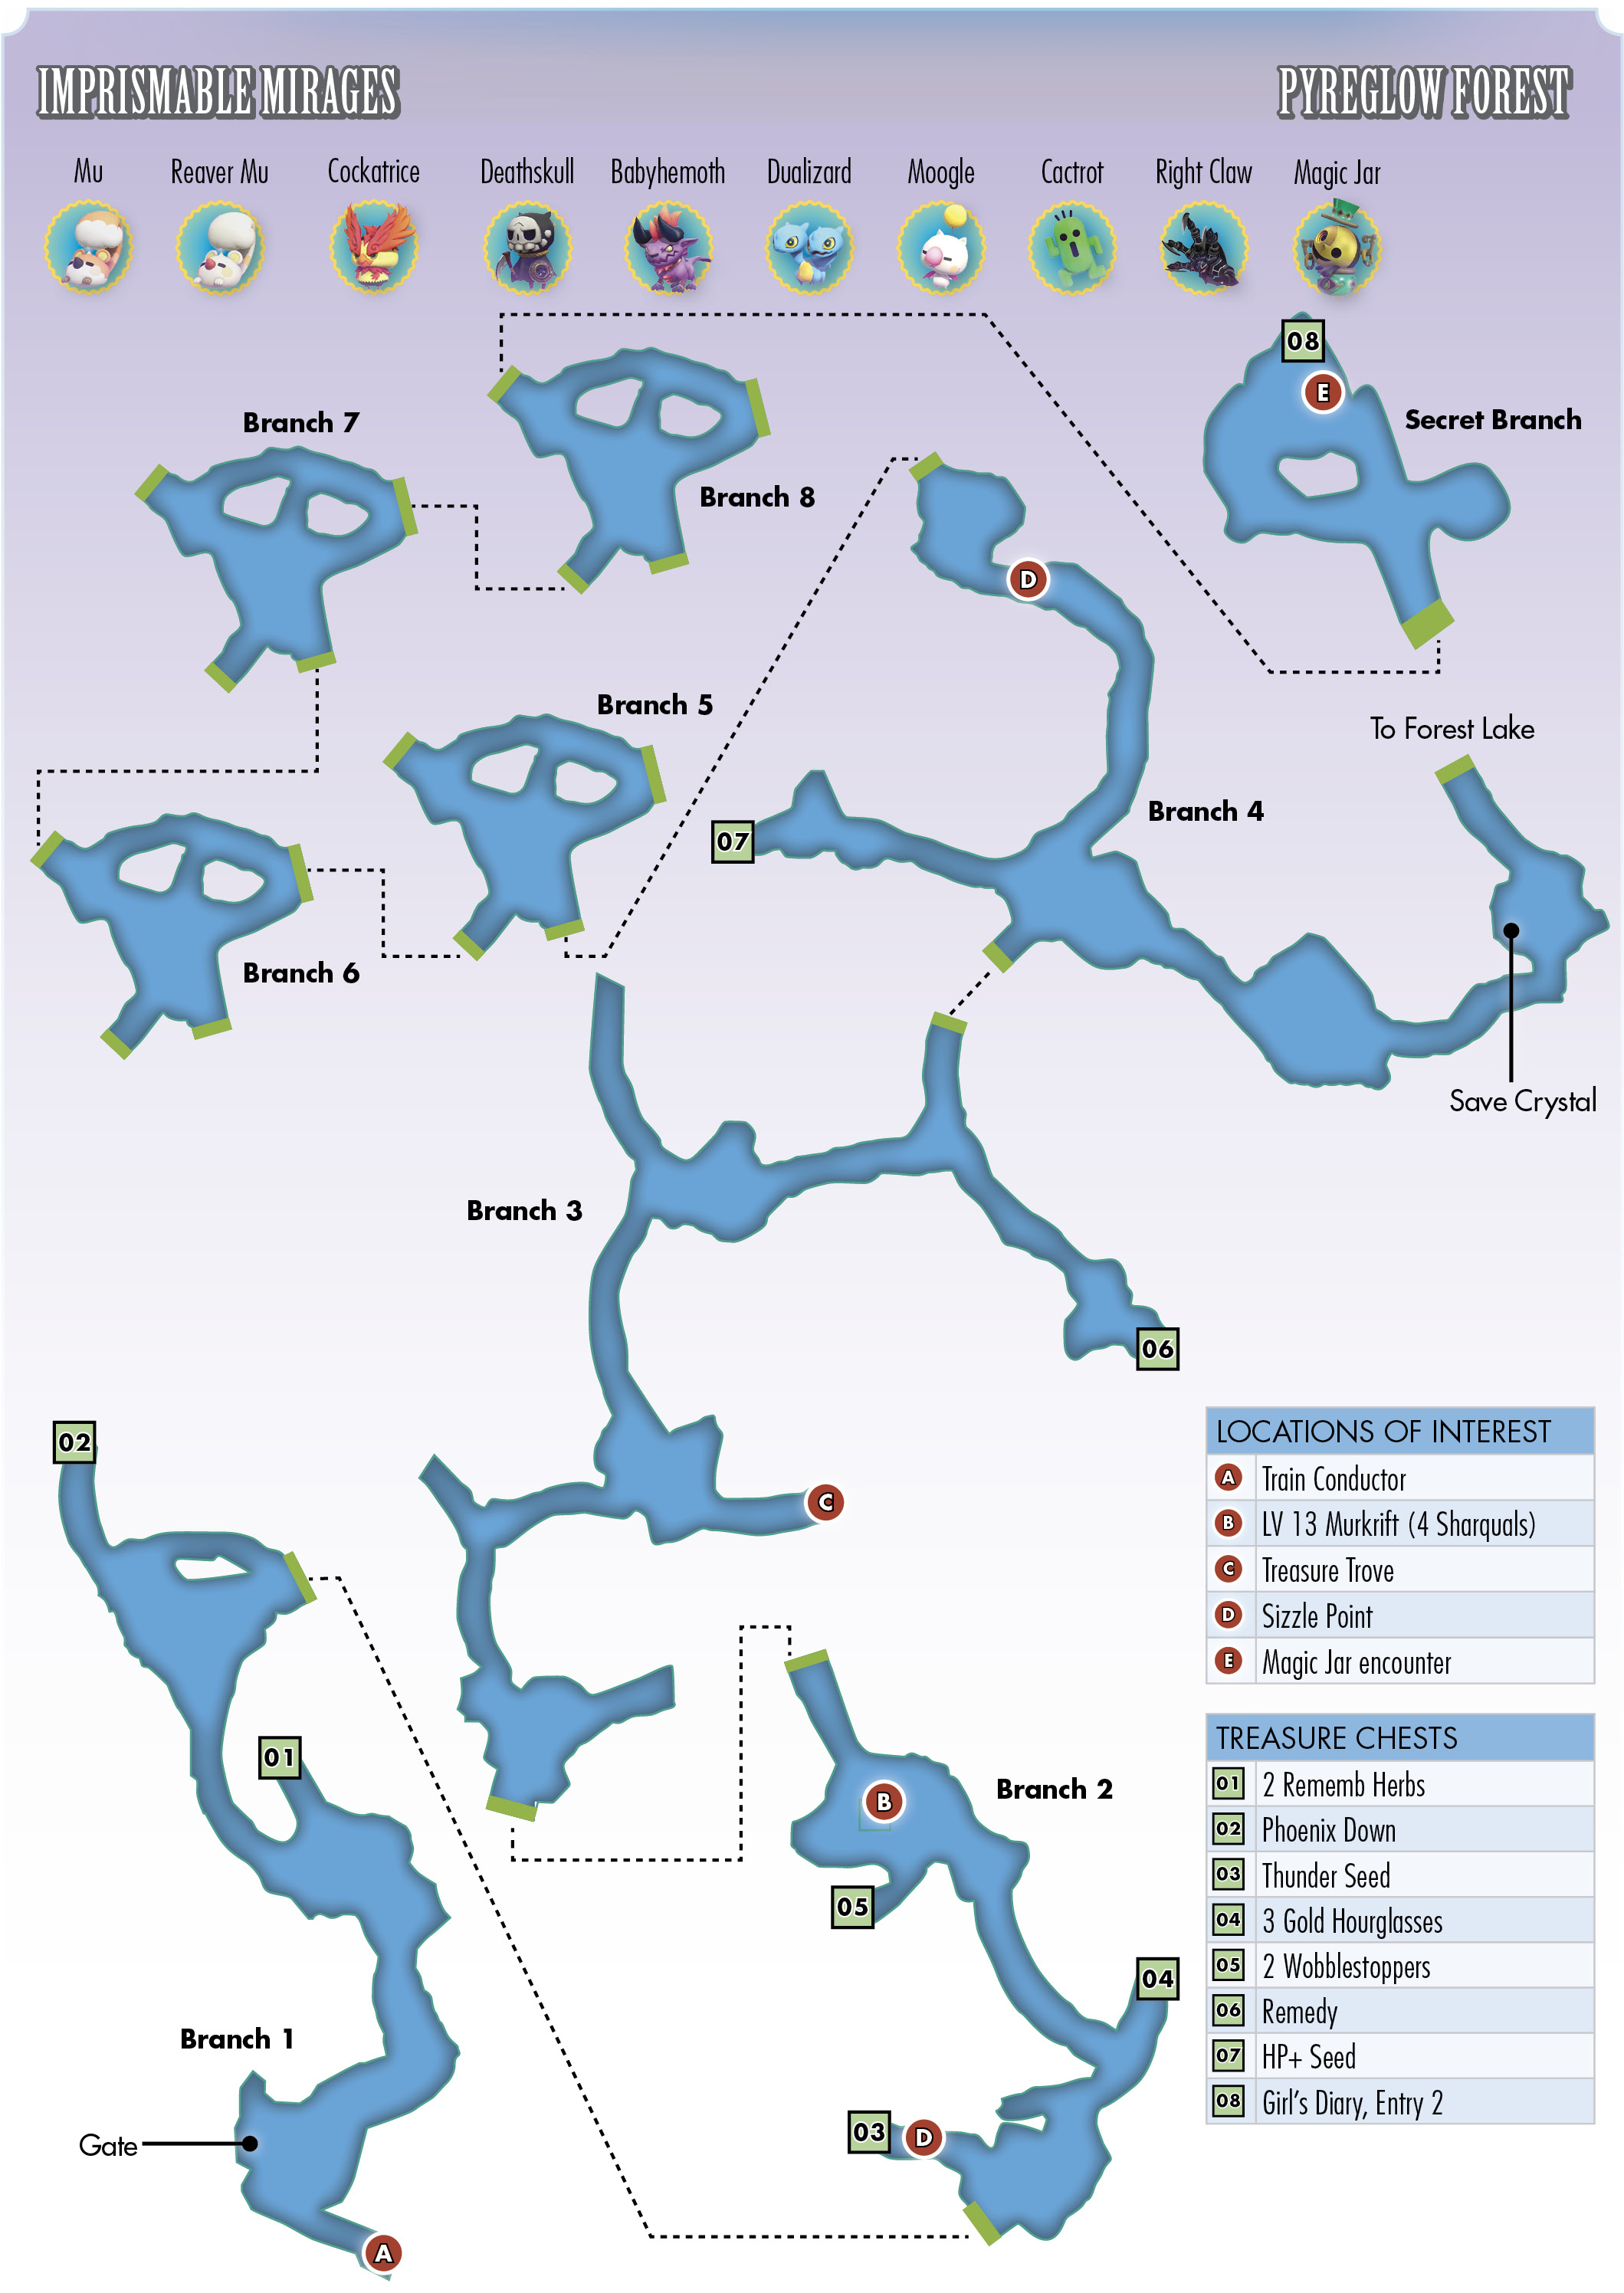
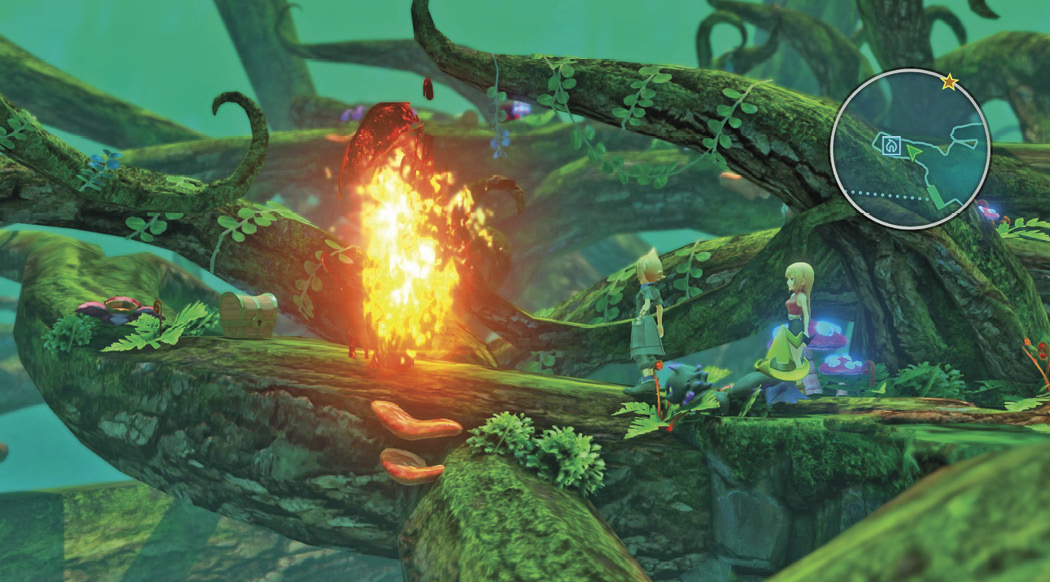
The first area of the forest is straightforward. Head north from the Gate until you reach the center of the area. Open the treasure chest in the small alcove here for two rememb herbs and continue to the northern portion of the map. In another alcove to the northwest, grab the phoenix down from the chest there, then enter Branch 2 through the northeast exit. If you have access to Sizzle, head west from the entrance of the area to burn down the vines blocking the path. Open the hidden treasure chest here to obtain a Thunder seed, which you can slot into a Blank Space on one of your Mirage Boards.
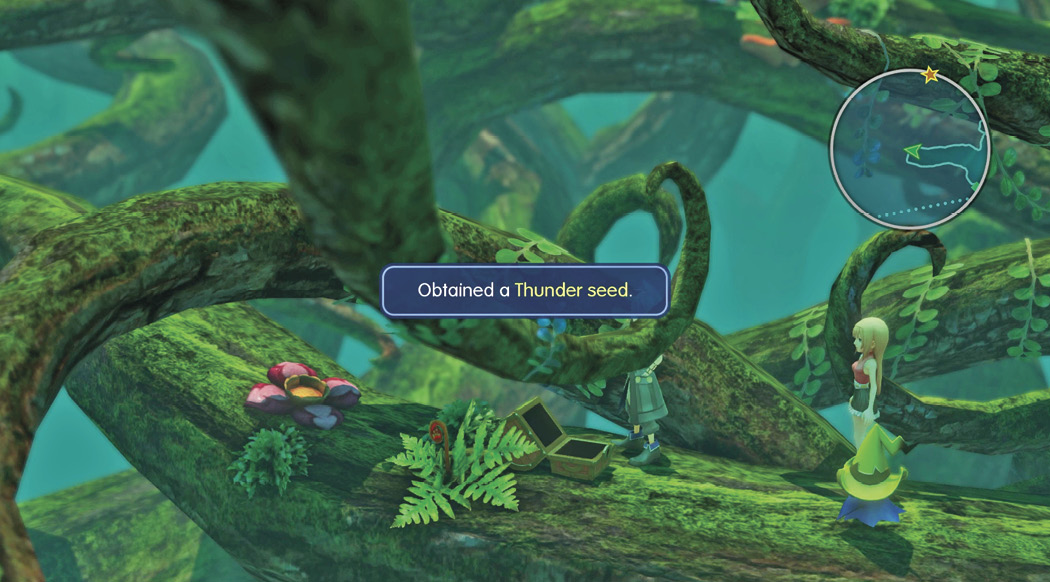
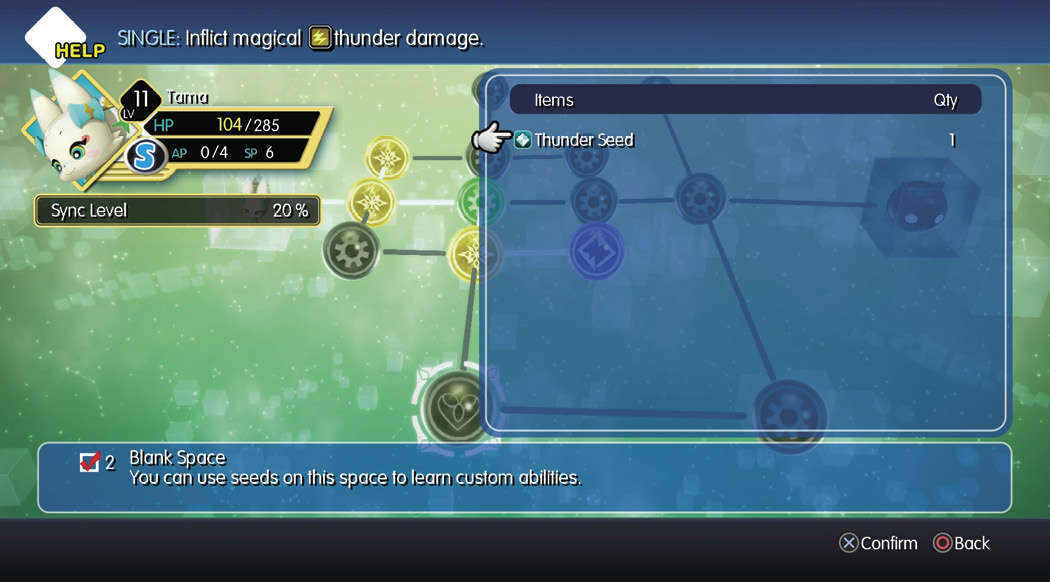
Turn around, and continue trekking through the forest. There’s another treasure chest off of a path to the northeast. Open it to pick up three gold hourglasses. Travel northwest from here until you reach a murkrift. There’s a hidden treasure chest containing two wobblestoppers nearby if you run slightly south from the murkrift. The murkrift consists of four sharquals and can be difficult if you’re under-leveled. Sharquals are water-based Mirages that are weak to lightning, so if you selected and defeated Ramuh in the Nether Nebula, you can make short work of these sharks with Zapt’s thunder magic (or by using the Thunder seed obtained earlier in the forest).
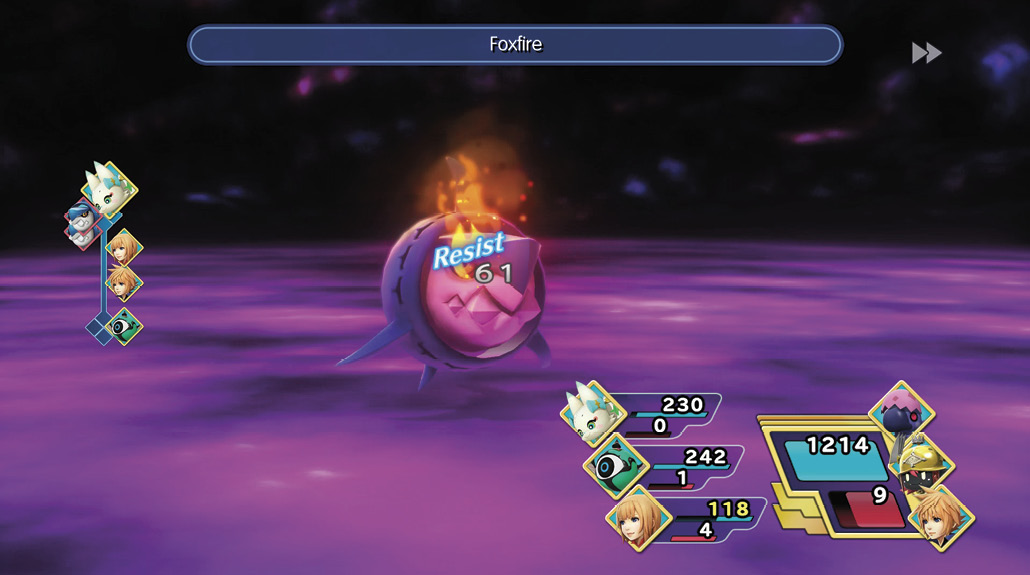
Additionally, you can imprism one of the sharquals by inflicting fire-based damage (such as Foxfire or Fire). Completing the murkrift rewards you with a hefty 7200 points of EXP.
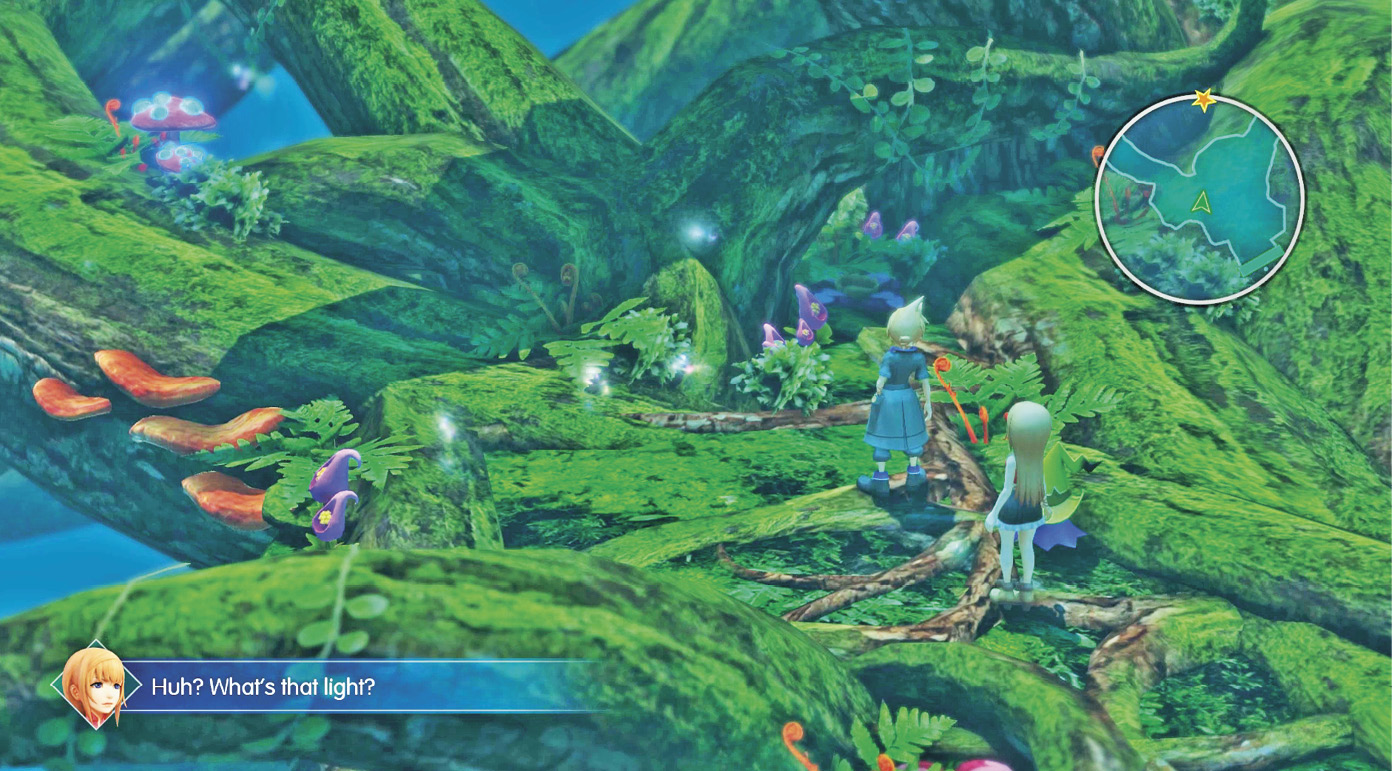
Now, exit to the north and into the third area of the forest. Notice the floating lights here. These lights act as a compass and direct you to the exit, so you can simply follow them if you get lost.
Follow the lights along the path leading you to the next portion of the area. From this platform, there’s a Treasure Trove point off of the east path on a growth of glowing mushrooms, so if you have a Mirage strolling with you, you can uncover an item.
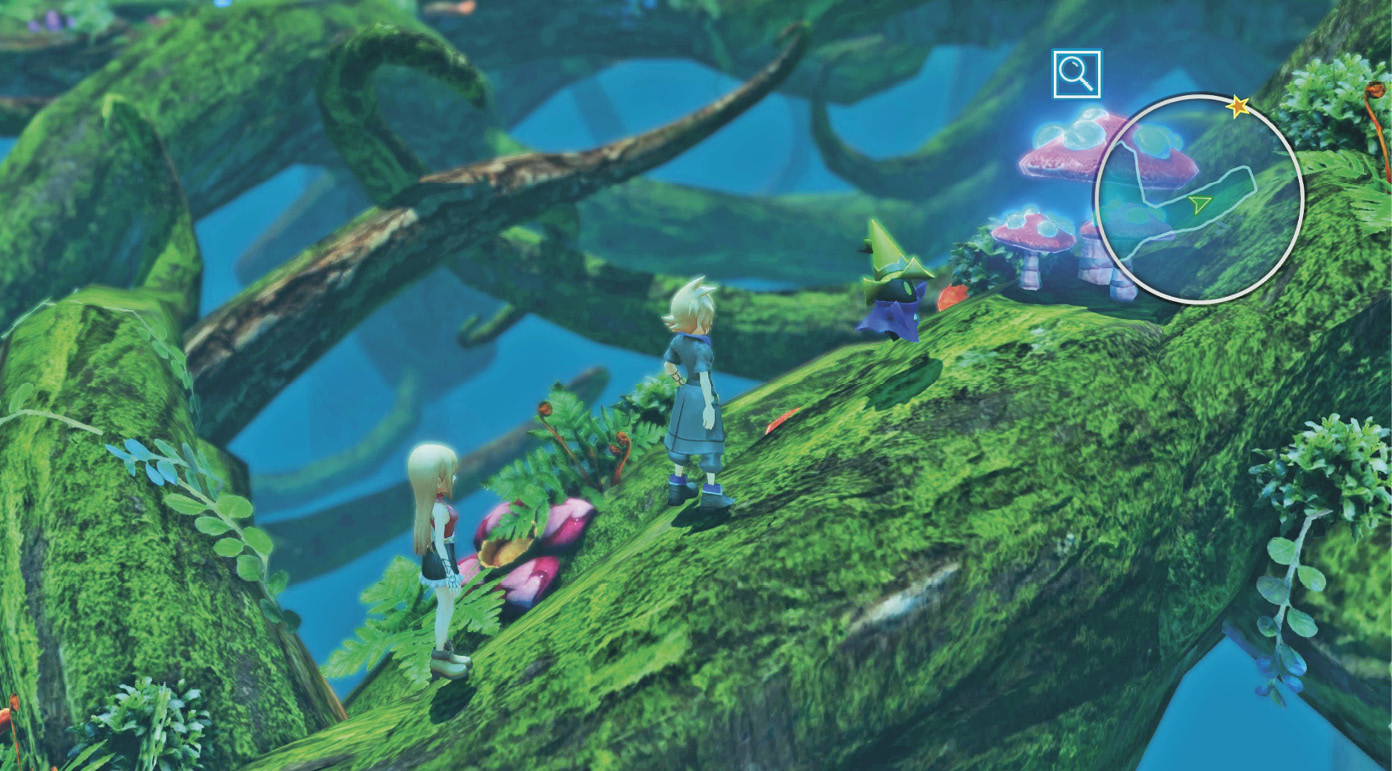
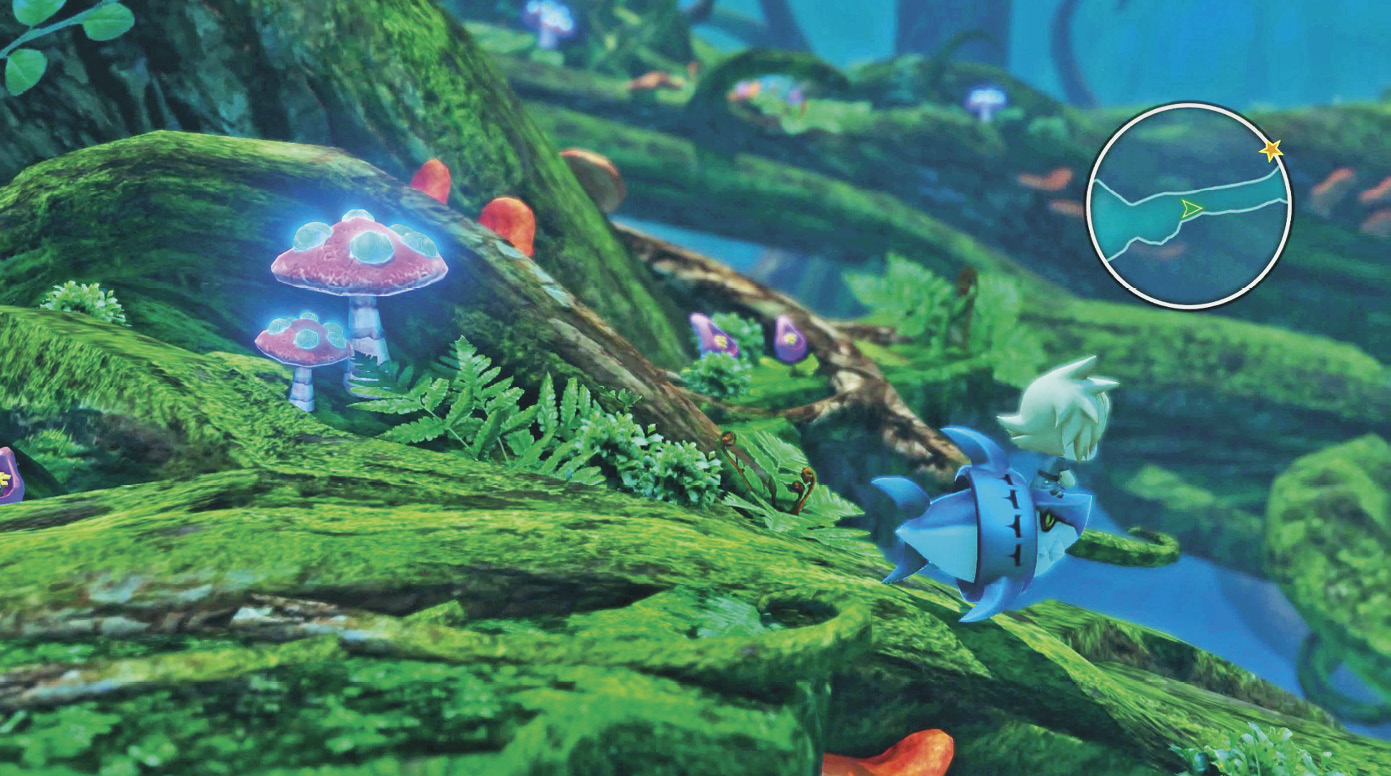
Continue following the floating lights until you reach the northeast section of the map. At the last divergence, take the southeast path to a treasure chest containing a remedy. Pick it up, then proceed to the fourth area of the forest. Here, Tama explains the Joyride ability, accompanied by a tutorial. Joyriding lets you zip around the map faster (although you sacrifice the company of a strolling Mirage).
From your starting point here in the fourth area, head west to a dead end to open a treasure chest containing an HP+ seed, then return to the central platform. If you have access to Sizzle, you can take the north path from here to burn down a blockade of vines.
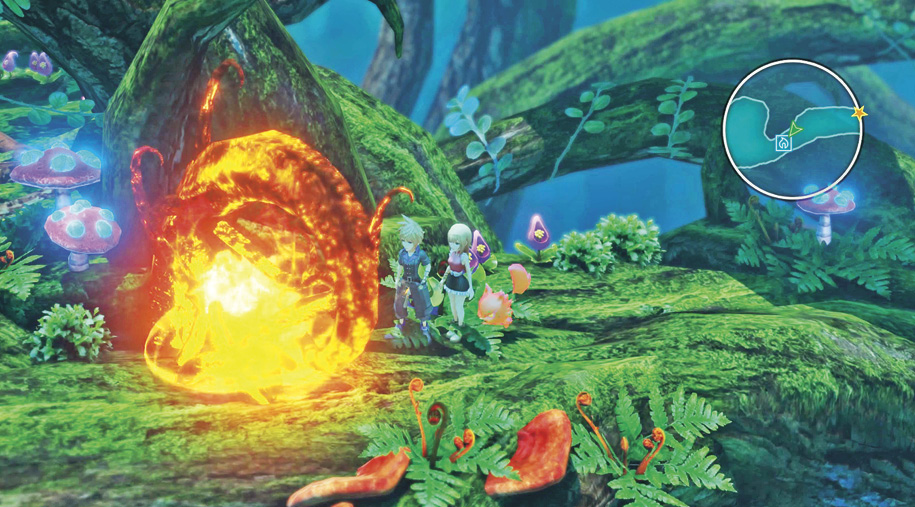

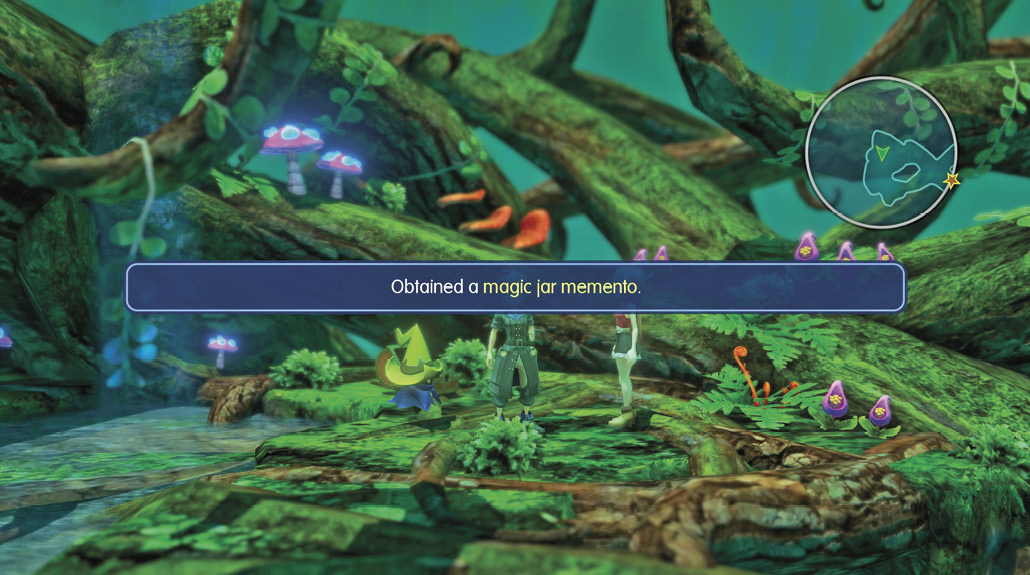
The northwest exit here takes you to Branch 5, which is a maze of sorts. Remember the floating lights? To gain access to the hidden area of the forest, simply follow the lights here (this is hinted at in Occult Fan, Issue 1). The exit order is southwest, northwest, northeast, and then northwest. Completing the maze takes you to a hidden area with a treasure chest containing Girl’s Diary, Entry 2. There’s also an imprismable magic jar here that you can fight. Its prismtunity condition requires an elixir (which you probably don’t have at this point). Magic jars are particularly powerful Mirages to have thanks to their elemental resistances, so remember to return to the forest when you obtain an elixir.
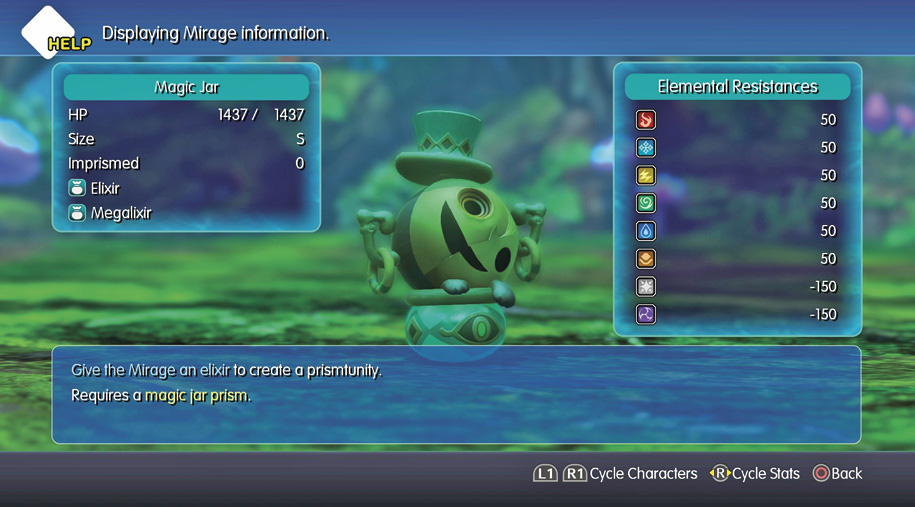
For now, you can fight it to obtain its memento (which allows you to transfigure a Mirage of the same family into a magic jar). It’s strong against everything but light- and dark-based abilities, so either destroy it with physical attacks or prepare one of your stacks with Channel Element: Dark (by including a floating eye in one of your big stacks, for example).
Now, return from the maze; you’re almost done with the forest. Completing the maze marks your map with waypoints, so finding your way back should be no problem if you bring up your map by clicking the touch pad on PS4 (or pressing SELECT on the PS Vita).
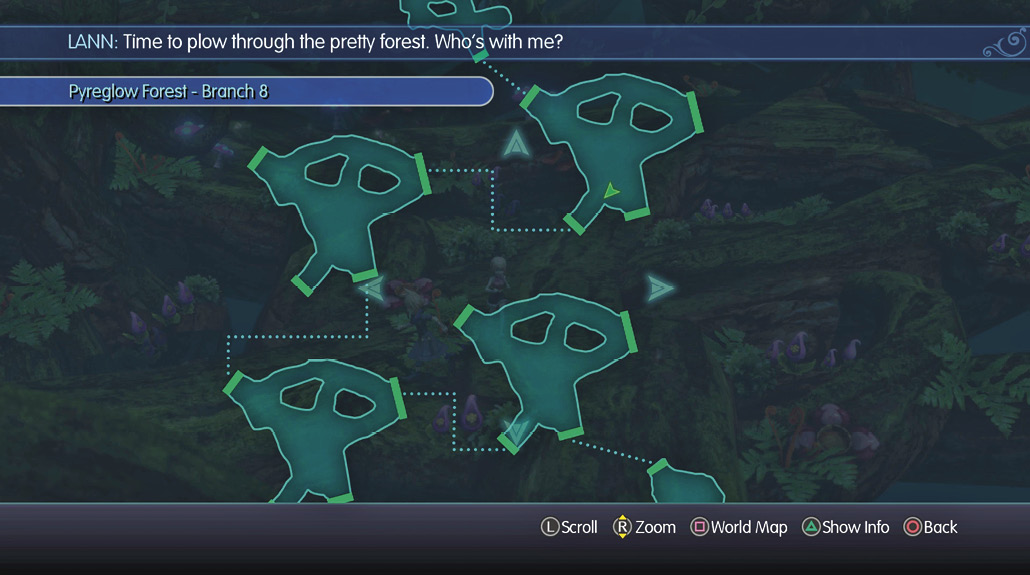
When you’re out of the maze and in Branch 4, head to the east part of the map. There’s a Save Crystal here. Save your progress, and get ready for a boss encounter in the next area. You can also stick around the Save Crystal to find and imprism Mirages that you’ve missed. Since touching the Save Crystal restores your HP and AP, you can remain here for as long as you’d like. A particularly useful Mirage to capture here is the right claw since it’s one of the first imprismable large-sized Mirage you can encounter. When you encounter it, make sure to topple it by hitting it with physical attacks (preferably with high-strength topple effects).
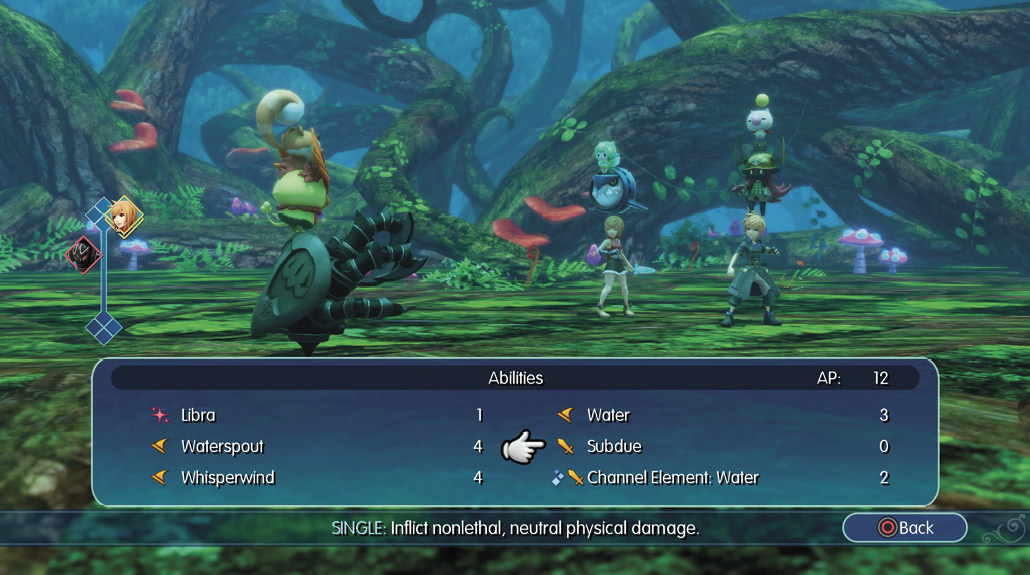
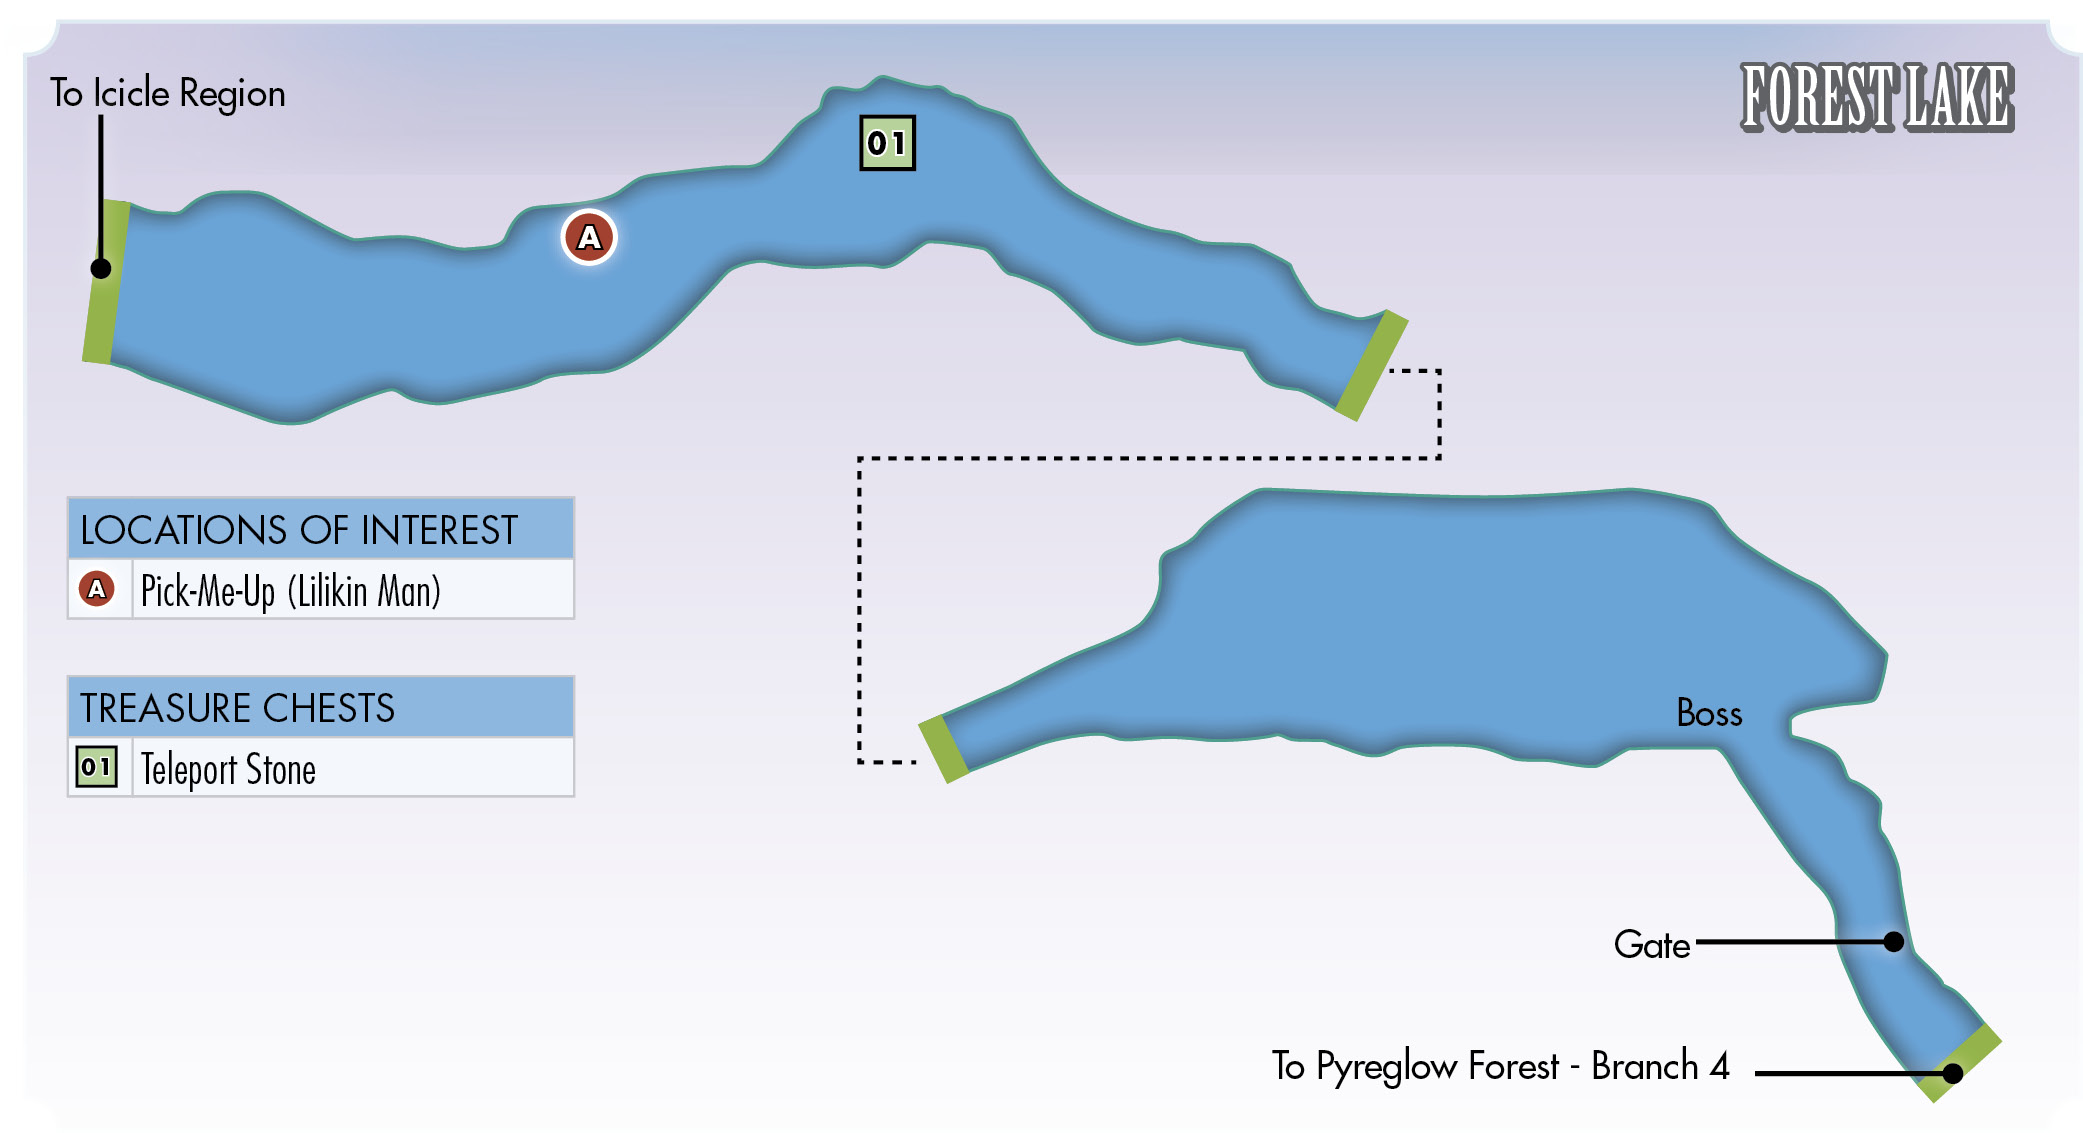
It’s recommended that you’re at least Level 9 for the upcoming boss and that you have at least one high-strength topple effect (such as the right claw’s Throw attack). Once you’re ready, enter Forest Lake by taking the north path from the Save Crystal. Approach the Lilikin in the lake to trigger a cutscene and a boss encounter.
Boss Battle: Lady Yuna and Valefor
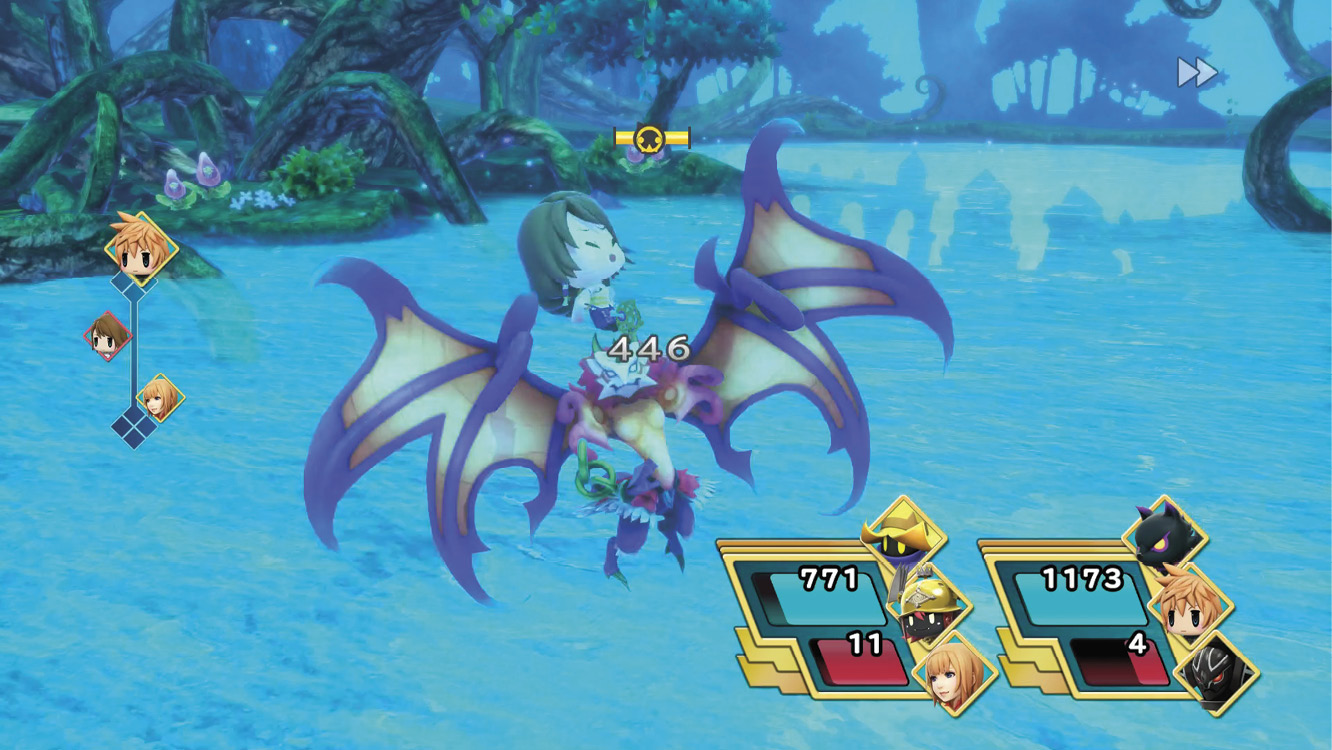
Yuna is a powerful summoner accompanied by her Mirage, Valefor. Although Yuna and Valefor begin unstacked, her first action is to usually jump on top of Valefor. Like your stacks, enemy stacks are much more effective in combat, so your first priority should be to topple them.
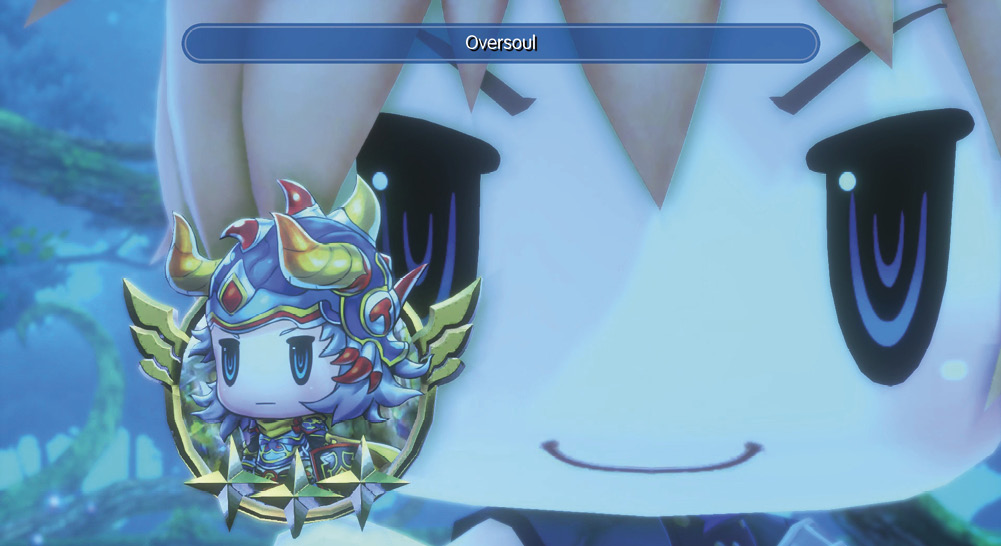
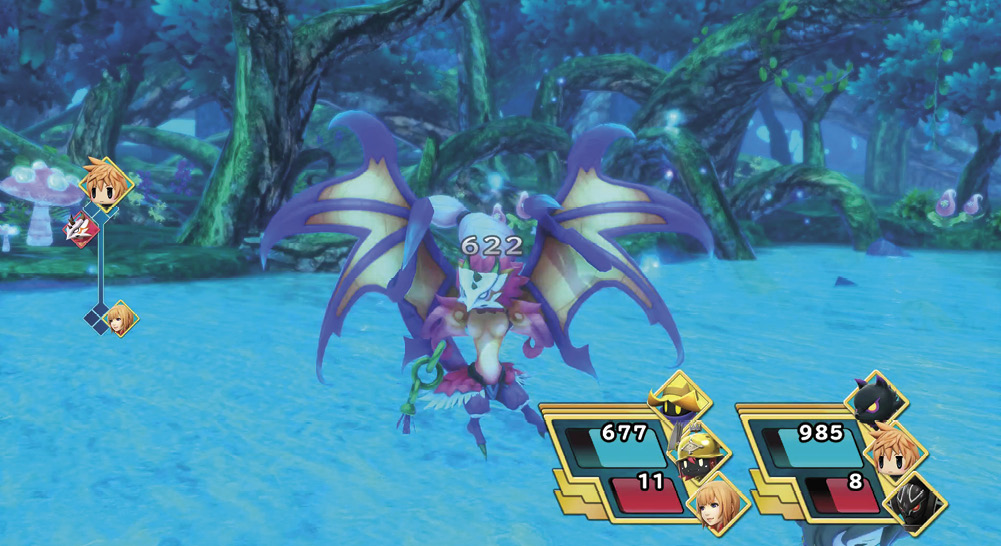
Yuna has considerably fewer hit points than Valefor and can cast supportive abilities like Cure and Protect, so you should focus your attacks on her after toppling their stack. Once Yuna is knocked out, the battle becomes much more manageable. Most wind-based Mirages like Valefor are weak to ice damage, so the Blizzard spell is handy for dishing out damage (if you have a bablizz Mirage from defeating Shiva in the Nether Nebula, for instance). If you purchased the Warrior of Light Champion Medal, you can unleash a devastating amount of damage while boosting your defense.
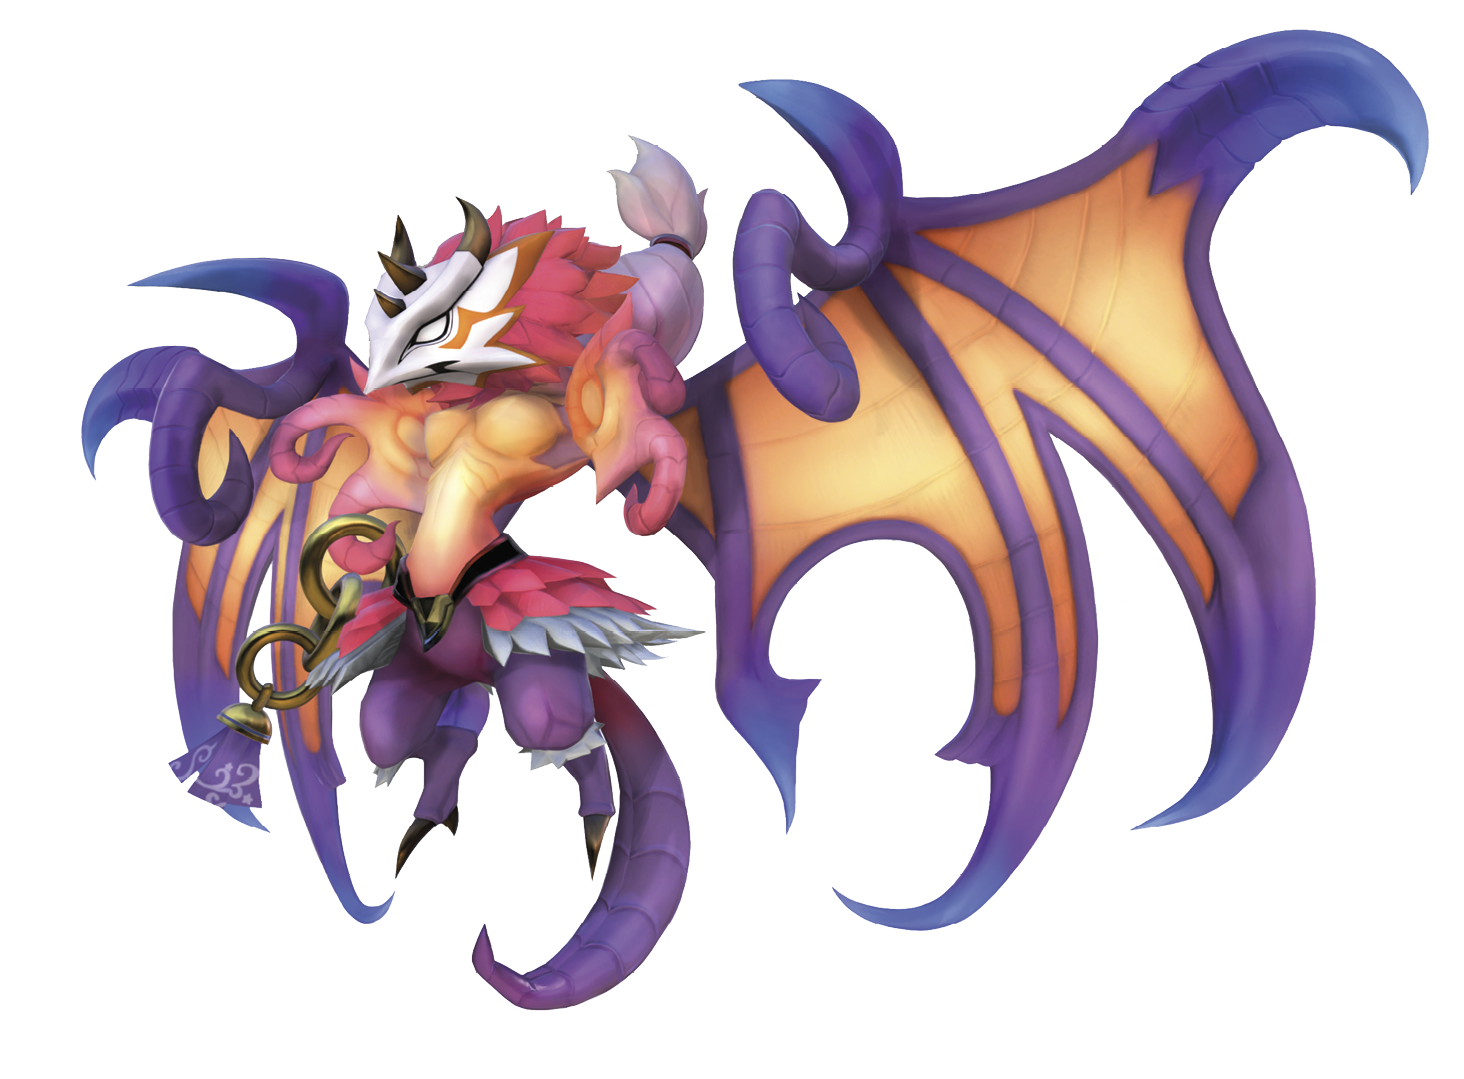
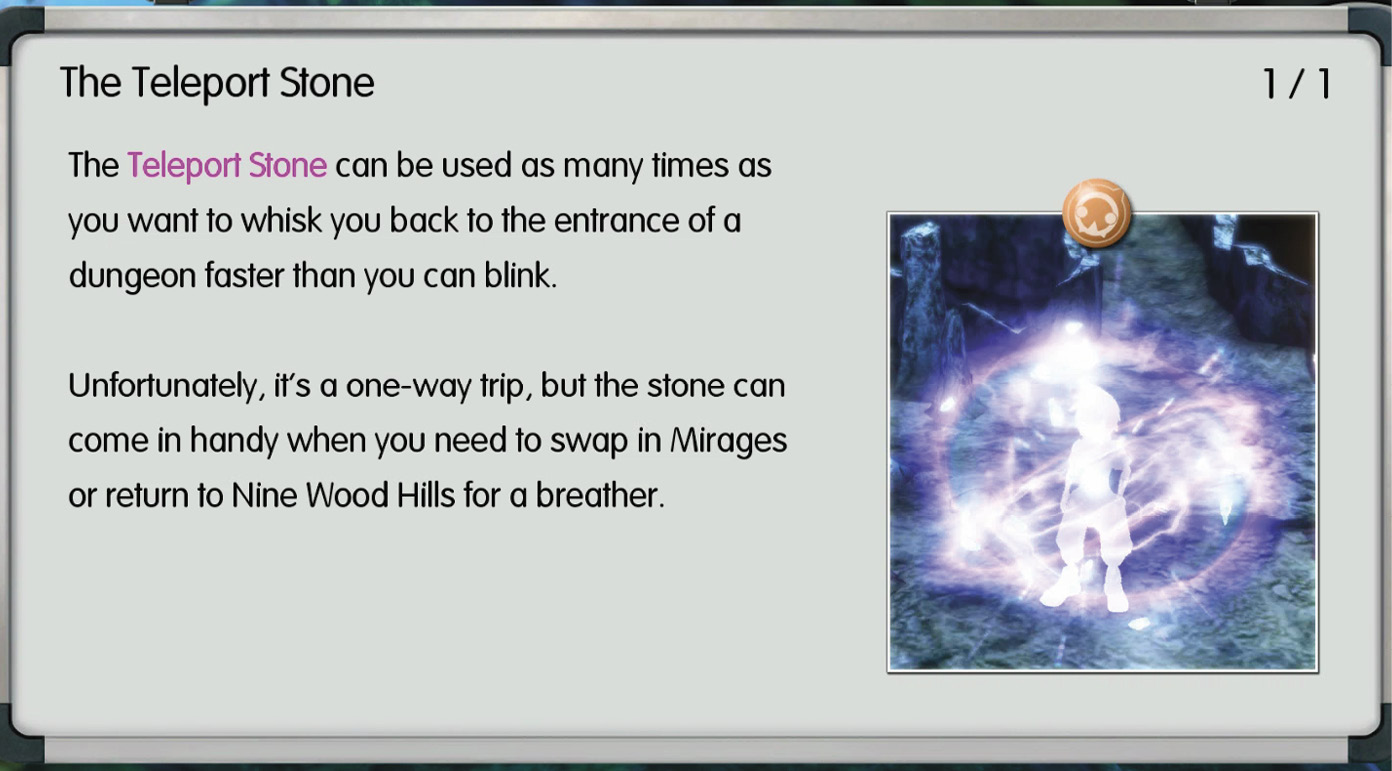
Once victorious, you’re rewarded with two arma gems and the valefor memento, allowing you to transfigure your cockatrice Mirage into a valefor. After the cutscene with Yuna, head west to continue your journey to Saronia and to save your progress. Near the entrance here is a treasure chest containing a Teleport Stone. You can use the Teleport Stone from the Items menu (under Miscellany) to warp the party to a dungeon’s entrance. Use it as many times as you want since it doesn’t expire upon use.
Before leaving the area, talk to the Lilikin gentleman just past the treasure chest. He gives you a pick-me-up and a tip regarding the Sleep status effect. Exit Forest Lake through the west exit to conclude Chapter 5.