
World of Final Fantasy Guide Main Story Walkthrough
Chapter 21: Chaos in Grymoire
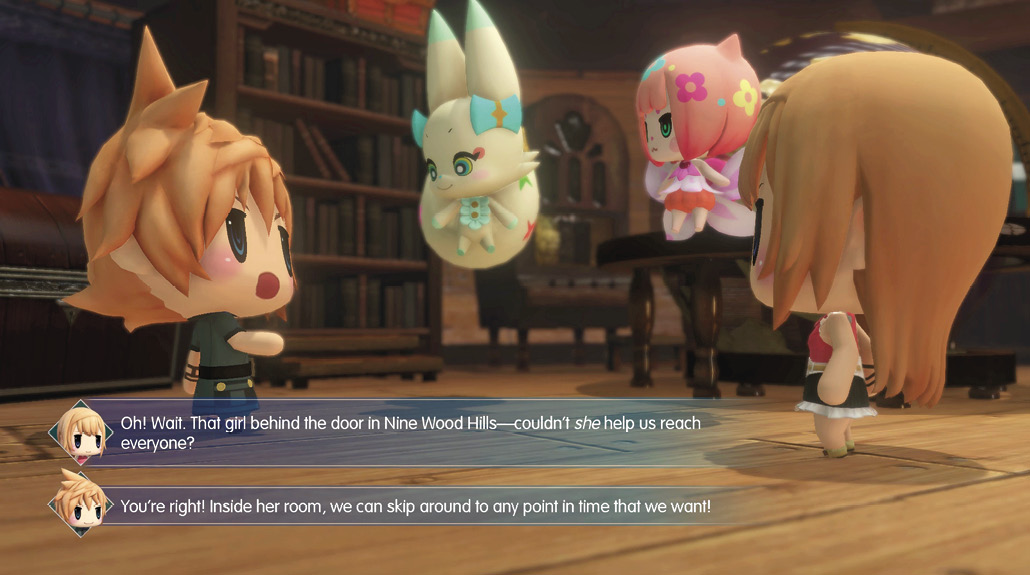
Now that the twins have access to an airship, it’s time for them to start planning a defense against the invading Cogna forces. However, the task is a difficult one, with enemies attacking multiple locations at once. Fortunately, Reynn and Lann are acquainted with a certain girl who can manipulate space and time…
| Action Checklist |
|---|
|
1. Check with Serafie and her Rumor Radar |
|
2. (Optional) Explore Grymoire using the airship |
|
3. Defend Grymoire from the Cogna |
|
4. (Optional) Complete additional Intervention Quests |
|
5. Visit the town of Agarthir |

New Intervention Quests
- The Five Cogna Lords: Figaro
- The Five Cogna Lords: Cornelia, Part I
- The Five Cogna Lords: Cornelia, Part II (available after completing part I)
- The Five Cogna Lords: Nibelheim
- The Five Cogna Lords: Tometown, Part I
- The Five Cogna Lords: Tometown, Part II (available after completing part I)
- Chocolatte’s Master
- I Have Awaited This Day…
- Steel That Forges Destinies
- The Unwritten Future
The Rumor Radar
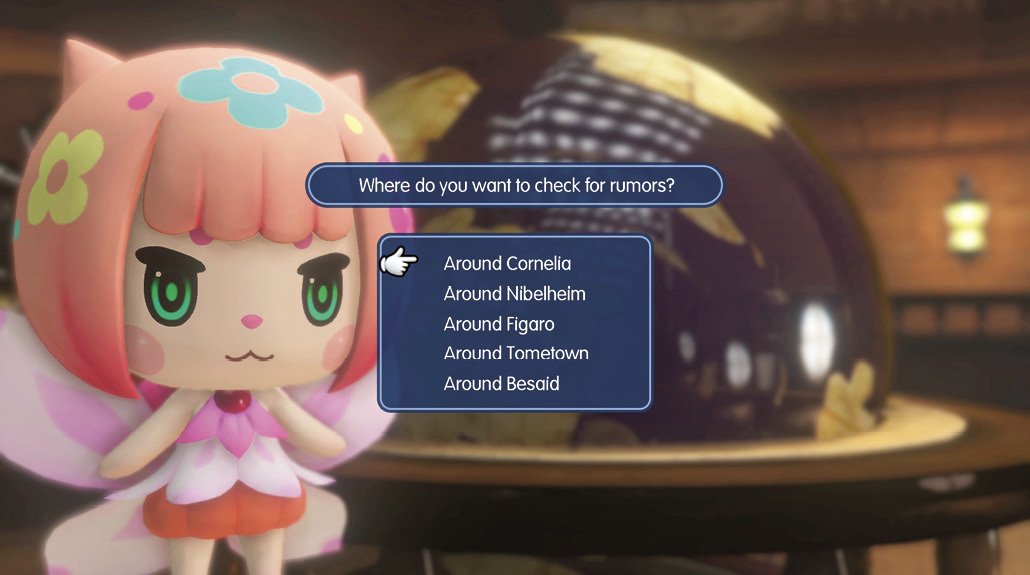
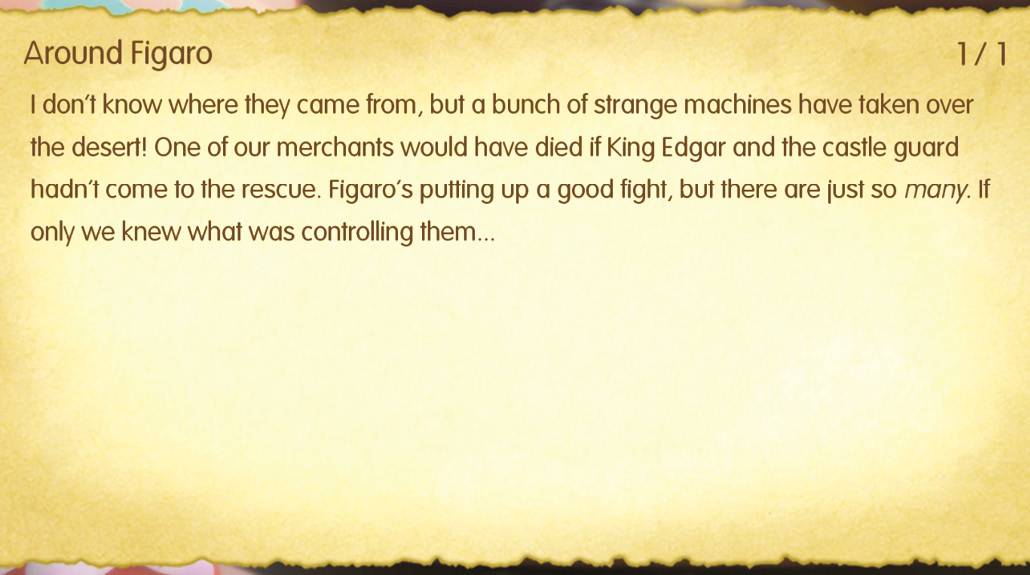
The chapter begins with Tama, Serafie, and the twins having a meeting and planning what to do next. Serafie boasts about her powers of gossip and how she essentially knows about everything going on in Grymoire. She then brings up a menu for you to navigate, so read and learn about each of the various threats around the world in order to continue.
Afterward, you arrive back in Plaza 99, where you’re introduced to a tutorial regarding airships. Press  while viewing the world map to switch to airship mode, then control the airship with the left and right analog sticks. As a bonus, you can now instantly travel to any area listed in the world map menu without the need for a Gate.
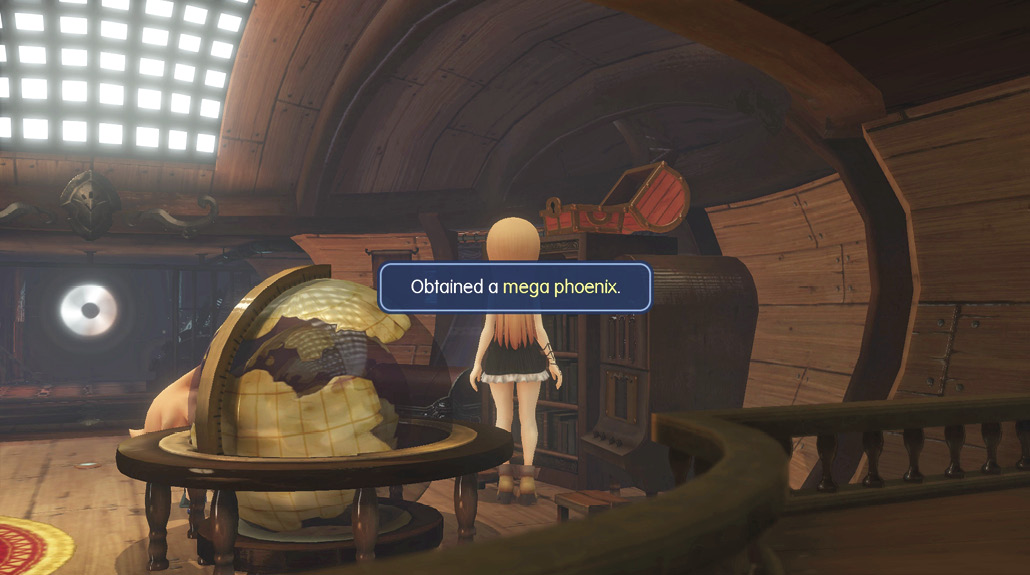
For now, you can take to the skies to explore Grymoire by airship, or you can take the Gate from Sylver Park to visit areas you’ve already been to in order to complete quests or imprism Mirages. You can also check out the interior of the airship under the Towns tab in the world map. There’s a mega phoenix for you to pick up sitting on top of a bookshelf in there (you can reach it as a Jiant).
Note that from this point on, you won’t be able to enter Saronia Harbor due to the Cogna invasion. By extension, Shanty Town is also off limits. These areas become accessible much later in the game, after the threat is completely vanquished. The Gate in Saronia Docks is still functional, however.
Although the town of Agarthir in the Babil Region has been overrun by Cogna, you can visit it to fight and imprism the enemies there. Consider making a trip to Agarthir now to imprism a couple of strong Cogna early on (such as the powerful magna roader with its Upshift ability). Alternately, you can wait until the main story requires you to visit the Cogna-infested town. Visiting Agarthir is purely optional, but it’s a great way to start your Cogna collection.
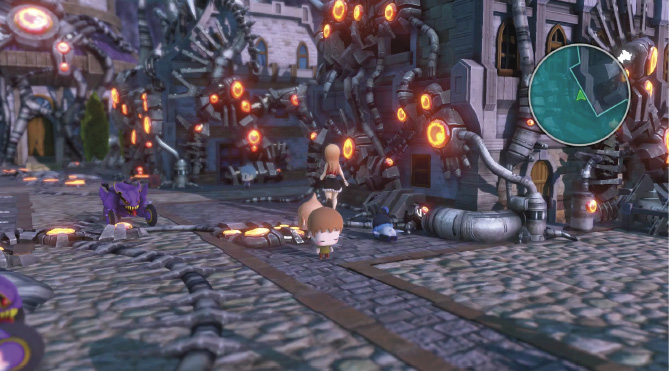
When you’re ready to fight back the Cogna, talk to the Girl in her Tearoom. She has several new Intervention Quests ready (some optional and some required for the main story). All Intervention Quests prefaced with “The Five Cogna Lords” are associated with the Rumor Radar reports received from Serafie and must be completed. These Intervention Quests are unique compared to most.
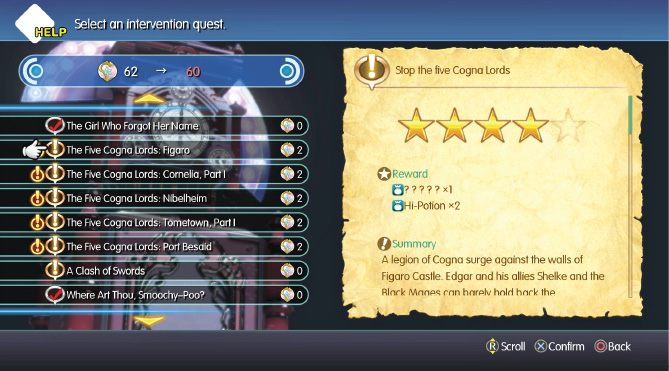
The Five Cogna Lords: Figaro
The first half of this quest is a mini-game involving positioning your units on a 5x5 grid and trying to land attacks on the invisible enemy team. Each team consists of a large, medium, and small unit. Large units take three hits to destroy, medium units take two, and small units take one.
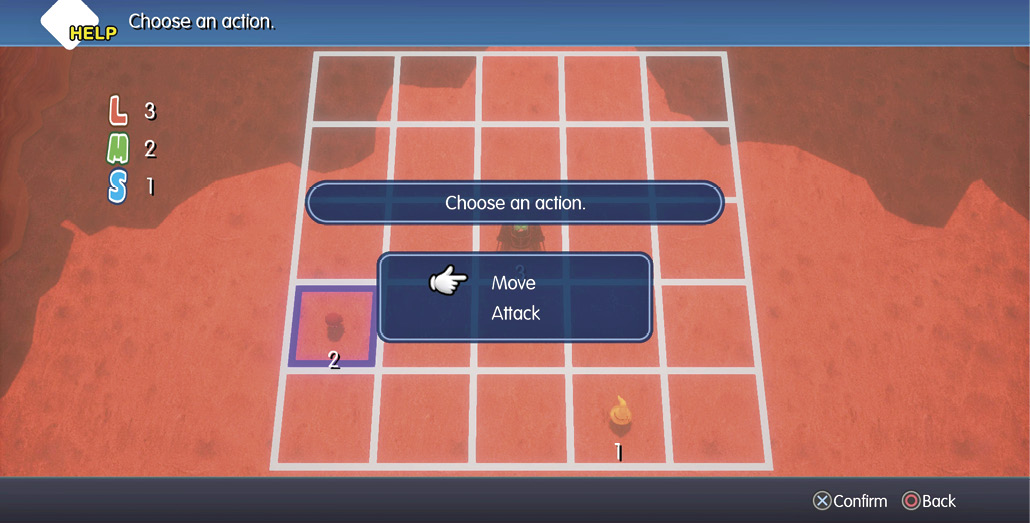
The name of the game is about deducing where the enemy is positioned relative to your attacks. As the rules state, enemies can be sharing a square with one of your units. If you attack a spot resulting in a “Miss!” message, then there are no foes around. If you get a “Resist” message, it means an adversary is in a bordering square of your attack position. If you score a hit, it will say “Critical!” and one point of life is reduced from the unit you hit.
Note that when an adversary moves, a message appears showing which unit moved and how many steps they took. This is helpful if you’ve found an enemy and scored a hit, allowing you to follow them.
If one of your units is hit, immediately move that unit somewhere else. The enemy can be persistent in tracking your units down.
You can attempt the mini-game as many times as you want. Alternatively, you can skip the mini-game altogether by pressing  and opting out of it. However, beating the mini-game rewards you with an additional battle and an opportunity to imprism a Cogna.
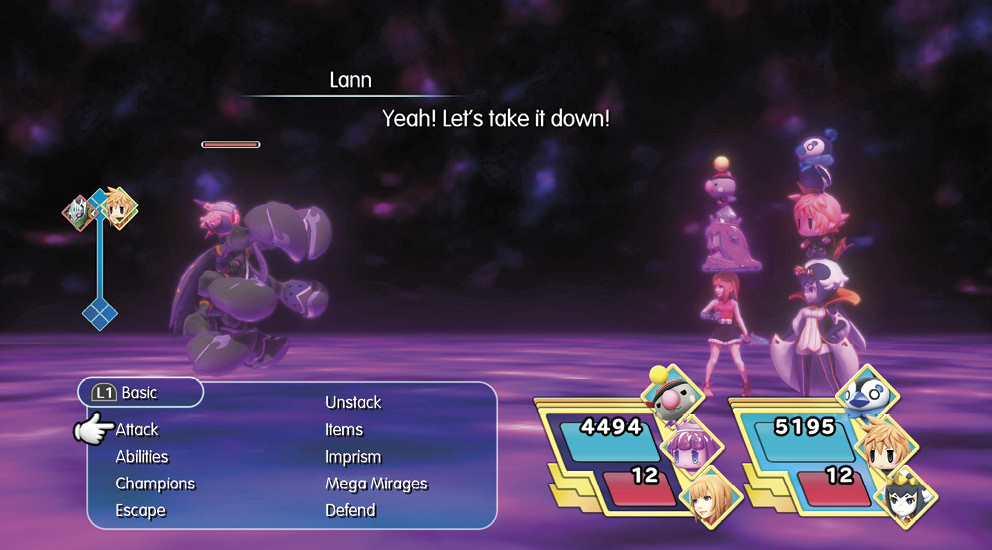
The encounter consists of a combination of the following Cogna: entom soldier, security eye, death machine, and magna roader. Note that the group of Cogna here can be random. If you’re looking for a specific one, you can retry the Intervention Quest, although these Cognas aren’t rare and you can find these in other areas. Completing this quest (regardless of the outcome of the mini-game) rewards you with an entom soldier memento and two hi-potions.

The Five Cogna Lords: Cornelia, Part I
This Intervention Quest consists of an arcade-style mini-game where you play as Lightning climbing the Nether Nebula. The rules here are simple: pushing up on the left stick moves you forward along a predetermined path on “rails.” On the way, Mirages will pop out in front of you, and you must cut them down with the correct button. Press  when you see fritts,
  for bablizzes, and
  for zaphrs. Pressing the incorrect button or touching the Mirage bumps you back, causing you to lose ground. You have two minutes to reach the top of the level; otherwise, you must try again from the beginning.
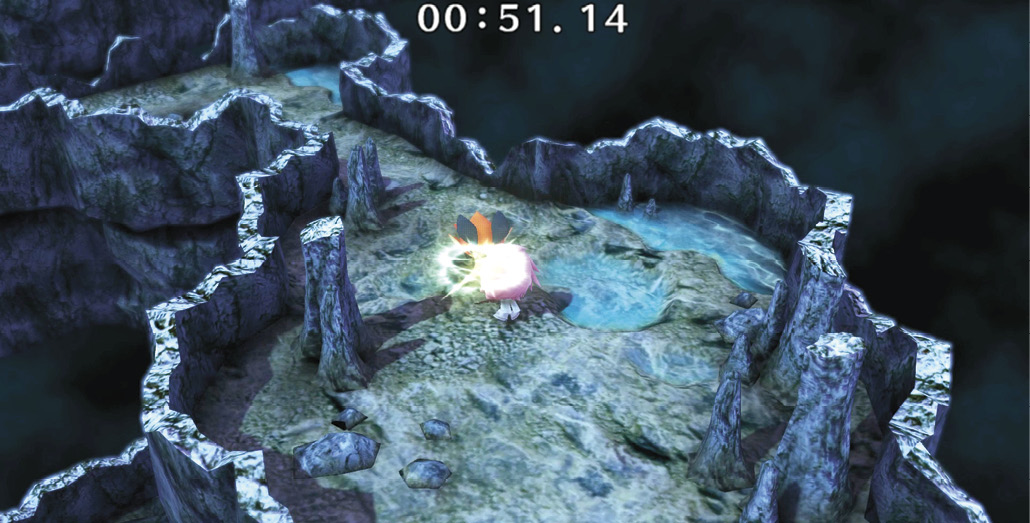
Once you get accustomed to which Mirage is associated with which button, you should be able to make the climb without too much trouble. Beating the mini-game without giving up rewards you with an additional cutscene with Ramuh’s granddaughter, Ramewl, as well as an encounter with her. (Although she’s unimprismable, you get a ramewl memento and two hi-ethers as a reward for completing the quest.) If you skip the mini-game, you still obtain the memento, but you miss seeing the cutscene and battle. Either way, part two of this quest is unlocked upon completion.

The Five Cogna Lords: Cornelia, Part II
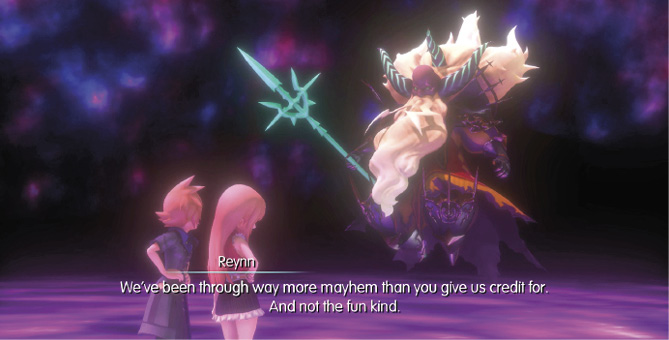
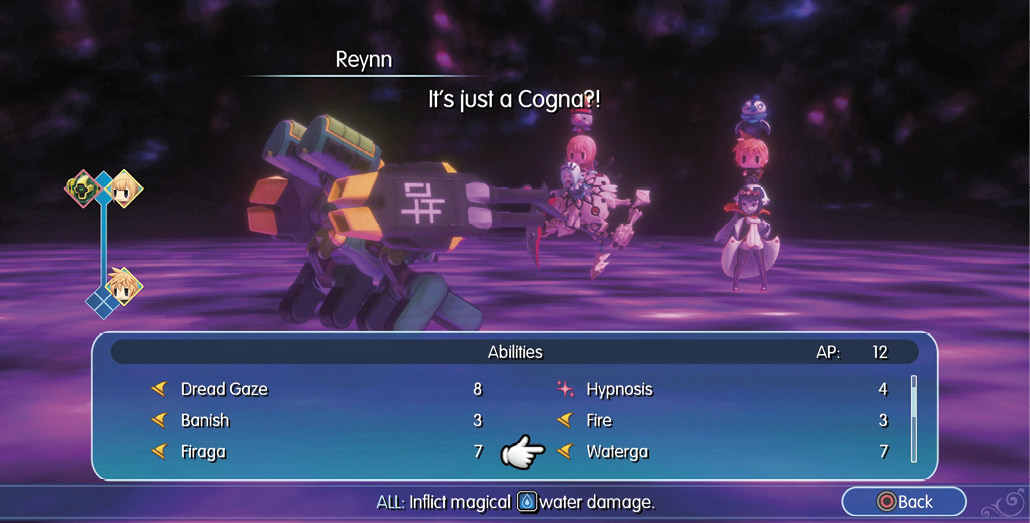
The next quest involves helping the Warrior of Light defend Cornelia from an Omega Cogna. The Omega Cogna is extremely vulnerable to thunder, so if you’ve put that ramewl memento to use and transfigured a zapt, you can make short work of it with its powerful thunder attacks. It’s also very susceptible to the Berserk status effect, so you can essentially disable its special spells if you have war gongs, the Berserk spell, or an ability like Kuparrr! Defeat the Cogna to obtain an omega memento and two phoenix pinions from the Miniventures log (or by speaking with the Girl).
The Five Cogna Lords: Nibelheim
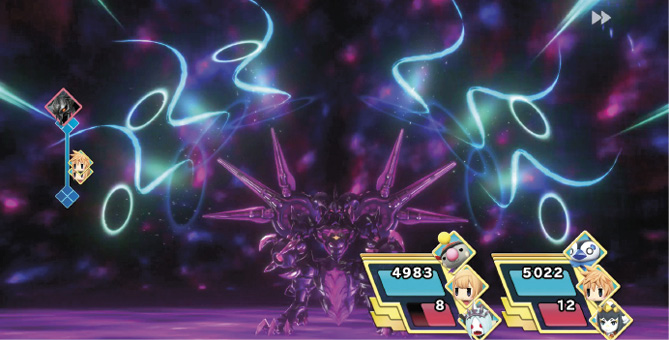
Here, you help Cloud, Rydia, and Tifa defeat a Supraltima Weapon in the Babil Region. Your attacks seemingly only chip away at its HP bar, but fortunately, you can retry the battle as many times as you’d like, and its HP does not refill. Keep hacking away at it. After a certain period of time, if you haven’t defeated it, the battle ends, giving you a moment of respite. You return to the Save Crystal in the Tearoom, and when you restart the Intervention Quest, the progress you’ve made on the Cogna’s HP is saved. Repeat until you’ve defeated the weapon. Beware, though: it has access to the Ultima spell. This is a high magic damage attack, so make sure your party members are buffed with Shell and have enough HP to withstand it.
The Supraltima Weapon has roughly 74,000 HP, so it may take several tries to take down. It’s mainly a battle of survival, so keep at it. You get two remedies for completing this quest for the first time.
The Five Cogna Lords: Tometown, Part I
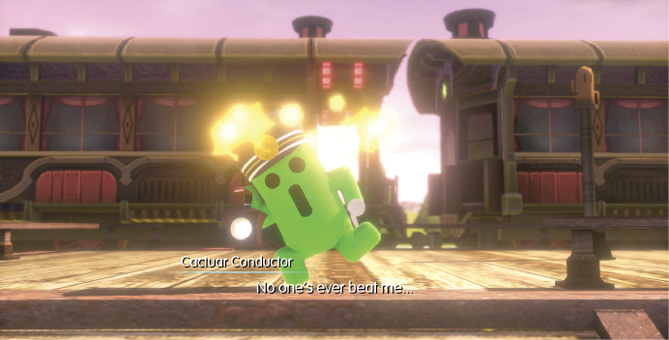
This Intervention Quest is a mini-game where you control Reynn, who’s trying to get her revenge on the Cactuar Conductor for humiliating her earlier in the story. This game can be extremely frustrating since it’s mostly about luck. You basically have to pick a direction with the left stick, then press one of the four face buttons:  or
or  to punch, or
  or
or  to kick.
The cactuar disappears and reappears in a specific interval at one of the four cardinal directions. Your goal is to guess where he will be and intercept him with one of the attacks. It only takes one good hit to complete the game, so keep guessing until you hit it.
Alternatively, you can give up and skip the mini-game (by answering “No” after failing) to complete the quest. Skipping the quest prevents you from seeing the follow-up cutscene but technically rewards you with the quest completion and two hi-potions.
Note that replaying this Intervention Quest results in a different mini-game. Instead of having to predict where the Cactuar Conductor appears, you simply play a game of “whack-a-mole,” except with several cactuar Mirages. This mini-game, aptly called “Whack-a-Cactuar”, is unlocked upon successfully completing the initial mini-game.
The Five Cogna Lords: Tometown, Part II
Part two of the Tometown Intervention Quests is a straightforward fight with a war machine Cogna. Like most machines, this one has a slight vulnerability to thunder and water. This encounter is much easier than the Omega and Supraltima Weapon battles, so if you were able to defeat those two, this one should be fine. It has a propensity for countering physical attacks, but it’s not too life-threatening. Completing this quest for the first time rewards you with a war machine memento.
The Five Cogna Lords: Port Besaid
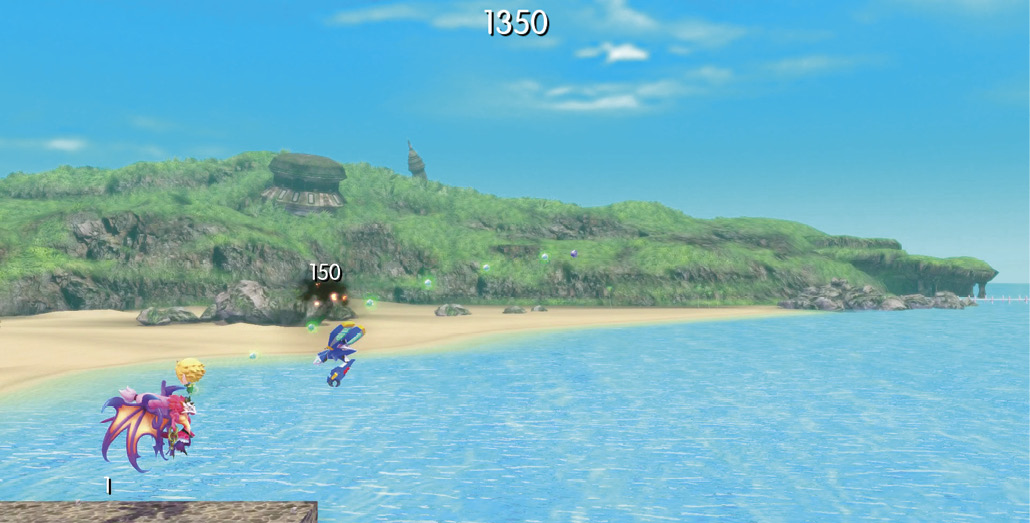
The final required Intervention Quest takes place in Port Besaid with a unique flying Cogna called an einhänder (not exactly something from Final Fantasy, but it may be familiar to those who have played the Square Enix shooter of the same name). The mini-game here includes Tidus on top of a valefor stack, attempting to knock down an einhänder by kicking a blitzball into it.
Aim Tidus’s kick with the left stick. Then, press and hold  to start a fluctuating power gauge on the left side of the screen. The power gauge represents the distance Tidus will kick the ball upon release, so your goal is to aim and gauge your kick distance in order to take down an einhänder. You get three misses before you have to try again. You can retry as many times as you’d like, or you can skip the mini-game to complete the quest.
Like the other Intervention Quests, skipping the mini-game also skips the follow-up encounter but rewards you with a completion regardless. The einhänder fight is a standard battle with a Cogna—use water and thunder to take it down quickly. Completing the quest for the first time rewards you with an einhänder memento and two phoenix pinions.
New Intervention Quests
- Chosen by the Tribe
- Freak of Nature
- The Sad Spiral
- The Sunken Temple’s Secret (non-repeatable)
- The Eye of the Desert
- Finger-Whistle Crisis
- For Friends or Vengeance
- Investigating the Garden
- Operation Opera (unlocked upon completing Freak of Nature)
- No One’s Tools
The Cathedral
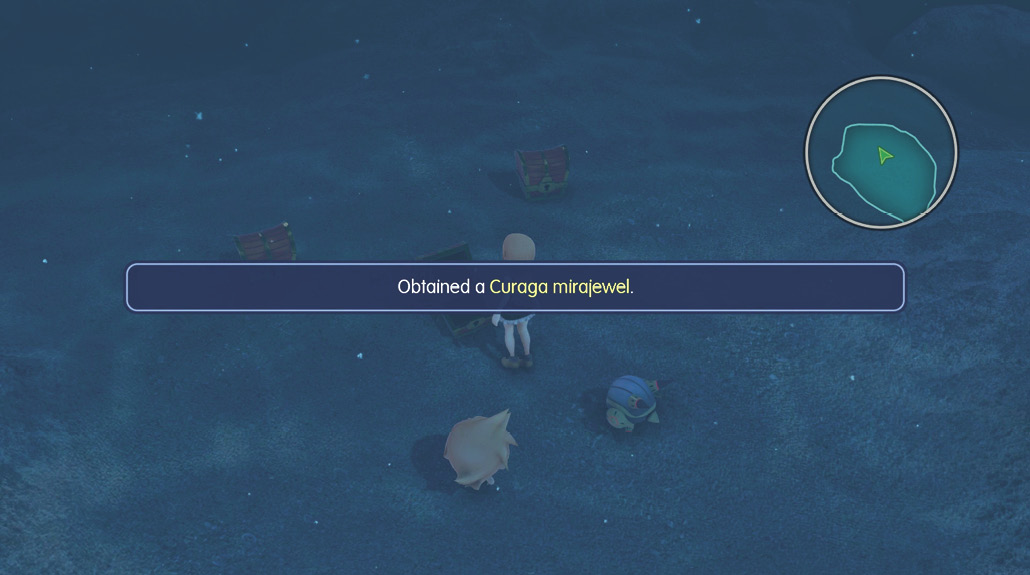
Completing the “The Five Cogna Lords” Intervention Quests triggers a cutscene with Quistis and the League of S. They’ve found the king of Bahamut located at the top of the chains that are seen connecting to each of the Federation-ruled regions. Quistis explains that the twins can reach the castle by locating a cathedral in one of the Federation’s towns. Reynn mentions Agarthir in the Babil Region as one of these towns. You can head there now, or you can power up even more by completing several of the optional Intervention Quests that have just opened up in the Tearoom. (For tips and reward details for these quests, see the Intervention Quests at the Girl’s Tearoom chapter of this book.)
Once you’re ready to progress the main story, resupply at the Chocolatte Mart with hi-potions, status ailment curatives, and preferably some elemental bombs (elements of abilities your stacks don’t have immediate access to). Once you’re all ready to undergo another demanding climb, travel to Agarthir through the world map menu or Gate menu.

The town is plagued with invading Cogna, and making contact with any of the roaming enemies here initiates a forced encounter. You can imprism or defeat these for extra EXP on your way to the north side of town, where the entrance to the cathedral is located. Enter the cathedral to initiate a cutscene, exposing the truth about the Federation’s “Architects” program.
To begin the climb to the final confrontation, activate the console in the center of the room.
The Chainroad
The climb up the Chainroad is a relatively straightforward one. The random encounters here consist of not only powerful Cogna, but also several non-machine Mirages, so be prepared with more than just thunder-based attacks.
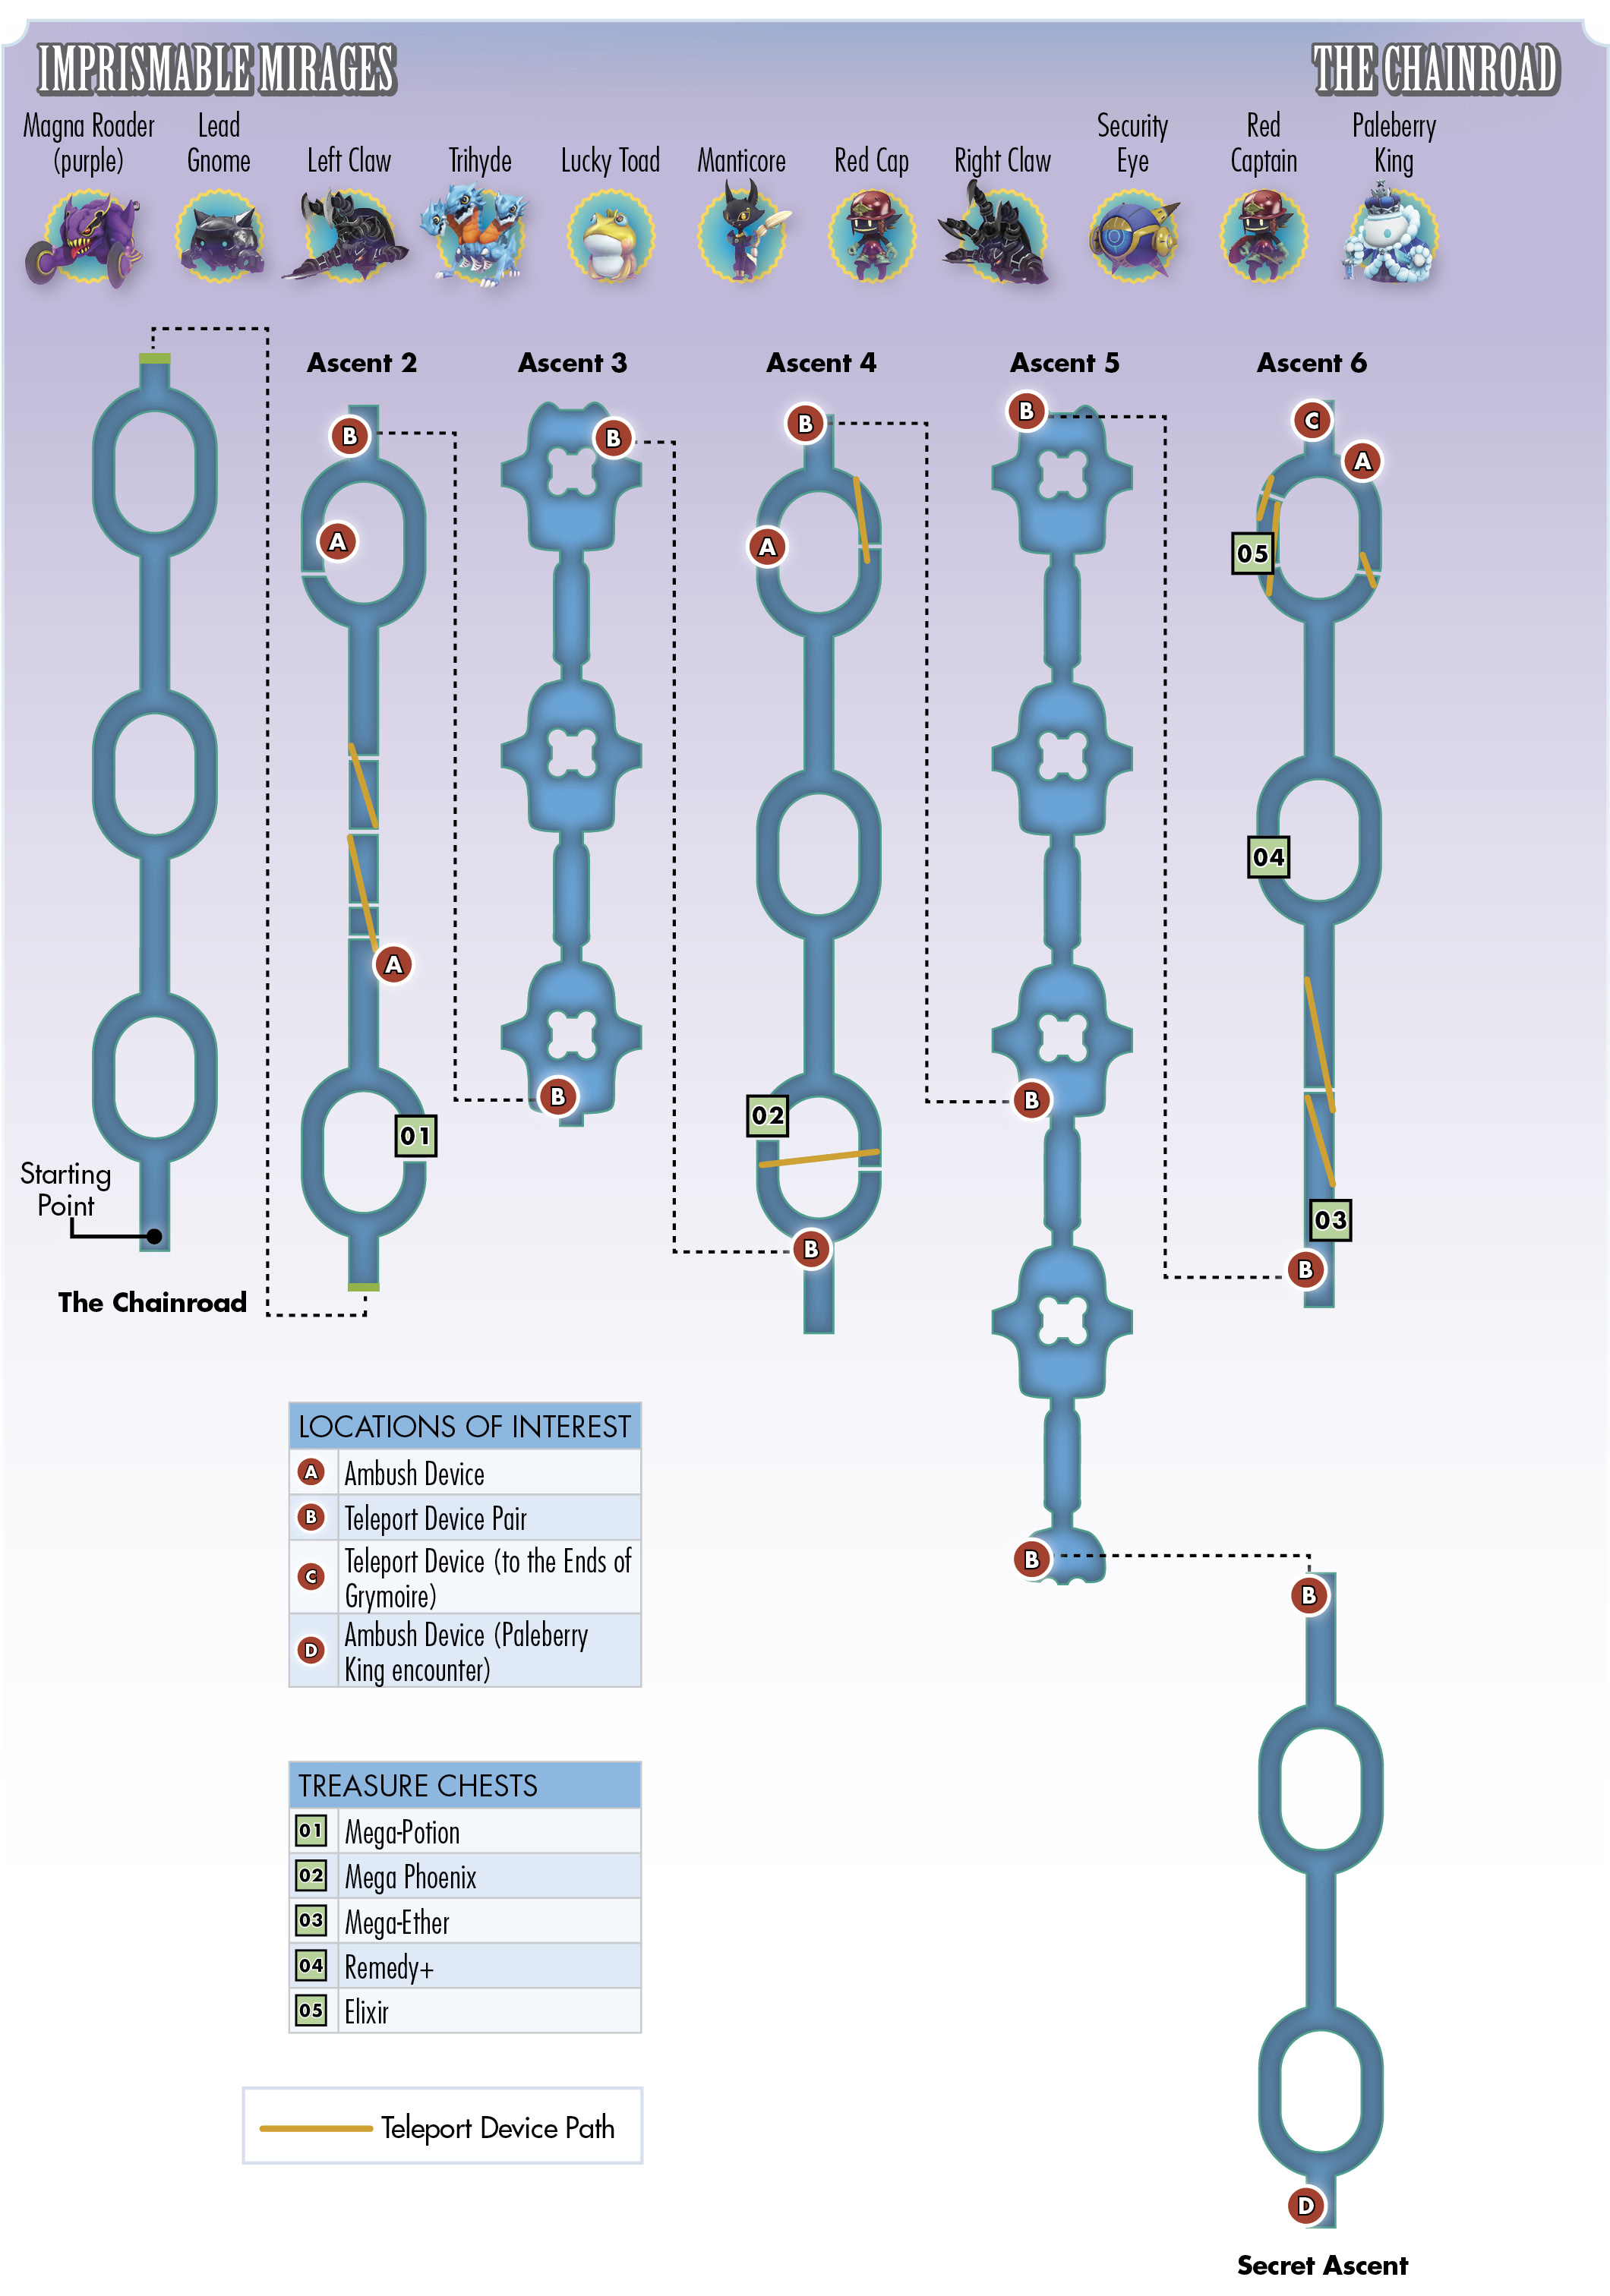
Begin your climb heading north through the links of the road. Your destination is at the end of the third segment. In the Chainroad—Ascent 2, take the left path of the first chain, wrapping around to the east and ending with a treasure chest in a corner. Open the chest for a mega-potion. Continue the climb north until you reach a mysterious device to trigger a cutscene.
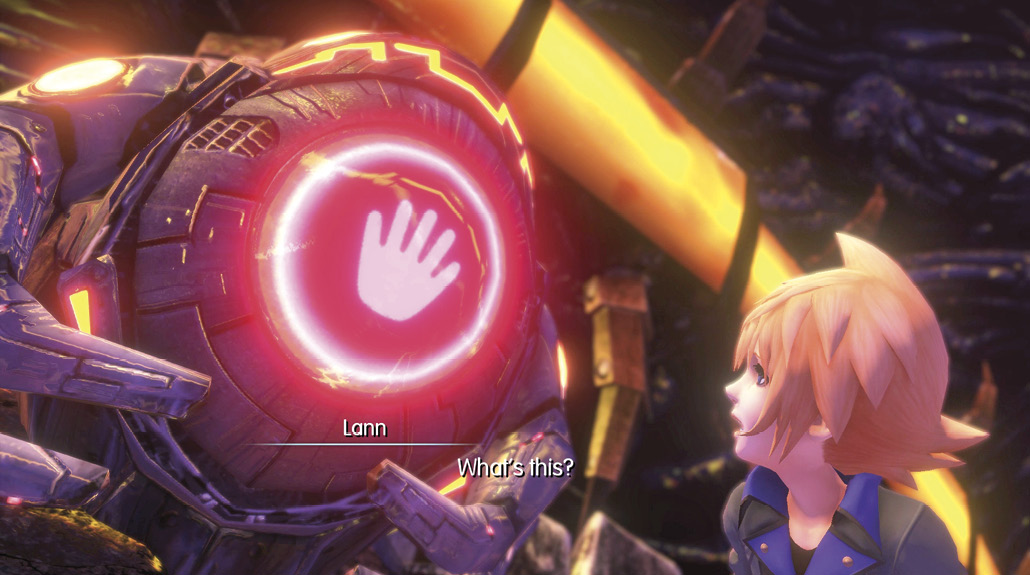
These contraptions either teleport you to a designated location or cause a minotaur stack to ambush you.
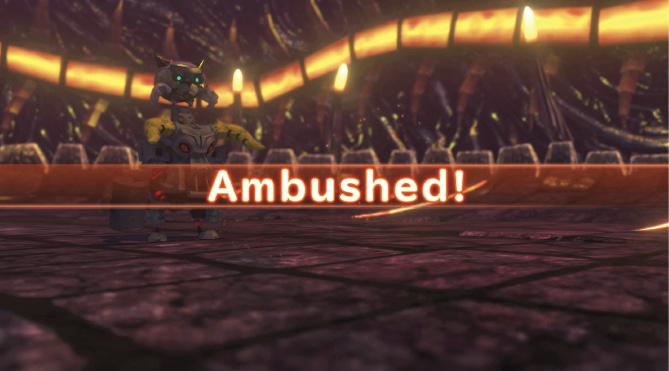
Defeat the ambushing minotaur stack, then activate the device at the end to the right so you can continue to the next segment of the road.
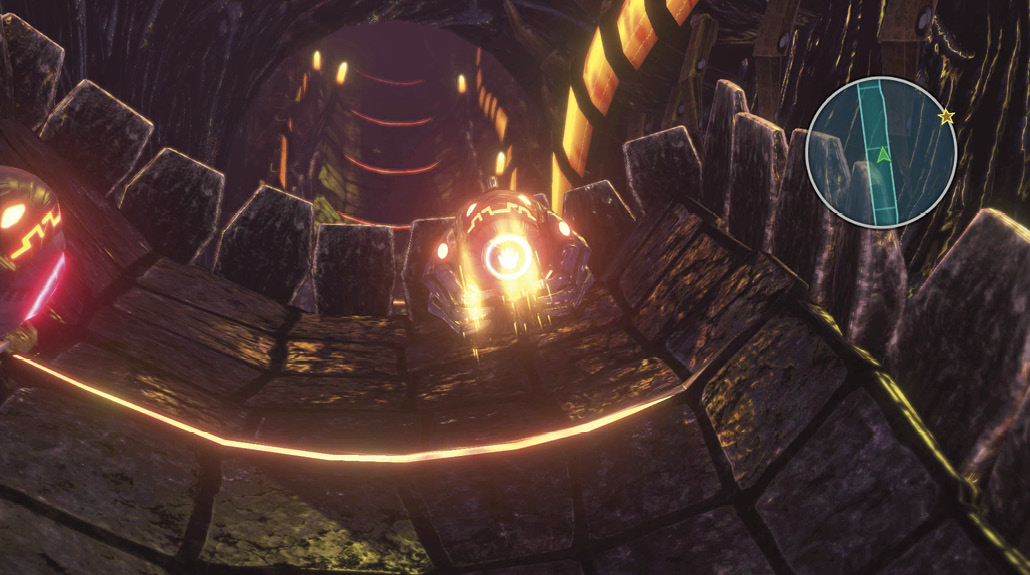
At the divergence up ahead, take the right path. If you wrap around to the west part of the chain, you find a trapped device. You can activate it if you want to fight another minotaur. Otherwise, proceed to Ascent 3 by activating the teleportation device at the north end of the chain.
This part of the road takes place on top of a chain, where there are no enemy encounters. Simply follow the path north and activate the apparatus at the end to get to Ascent 4.
On Ascent 4, take the first left and activate the teleportation device to get across the break in the chain. Return to the west part of the chain to open the treasure chest containing a mega phoenix.
Now, proceed north up to the third segment. At this last fork are two devices, one on each side. The left device is a minotaur stack trap, whereas the right side is the teleporter to the next area. You can fight the minotaur stack if you want, but to progress, activate the device on the right side. Once you’re teleported to the northernmost section of the area, skip the nearby device (this one just teleports you back south), and continue north. Activate the apparatus at the end of the map to warp to Ascent 5.
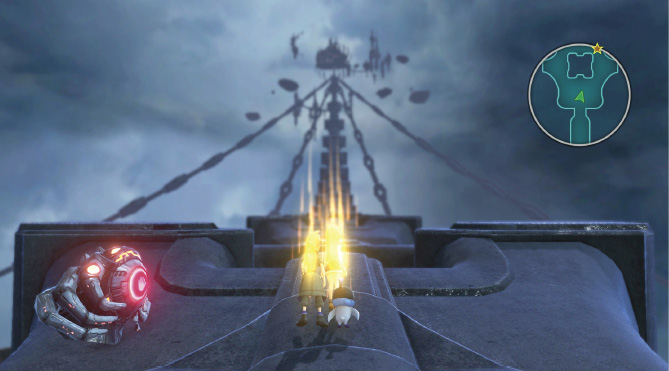
On Ascent 5, there are no enemy encounters, but you do have a choice between going north or south here. Going south and taking the teleporter at the bottom of this chain takes you to the Chainroad’s secret area, Secret Ascent. If you’re up for imprisming a paleberry king, go ahead and enter the Secret Ascent, then head all the way south.
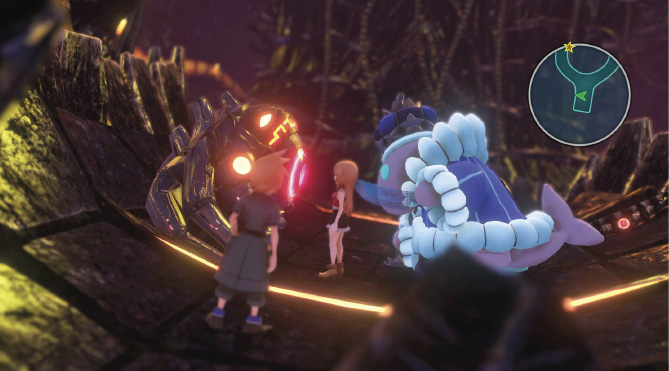
Before activating the ambush device, make sure to restore your HP/AP and ensure that at least one of your stacks has access to a high-chance critical hit ability, like Cross Slash or Helldiver. A high dark elemental resistance helps, as well, since the king can cast Everyone’s Grudge (dark-based magical damage that scales off of damage taken by enemies). Start the fight and try to land your critical hits early to trigger the prismtunity at least two or three times, then imprism the Mirage. Next, backtrack to Ascent 5 and climb to the north end to activate the teleporter there.
In Ascent 6, keep traveling north to another device. Activate it, then open the treasure chest in the foreground to obtain a mega-ether. Slightly north of here is another teleportation device. Activate it to get to the next segment. Keep going north, take the right at the split, then wrap around to the west side of this chain to pick up a remedy+ from a treasure chest there. Then, continue north and take the left path at the divergence. The device here teleports you slightly north to a segment with two more devices nearby. Before activating either of these, walk south (toward the foreground) to reach a chest containing an elixir.
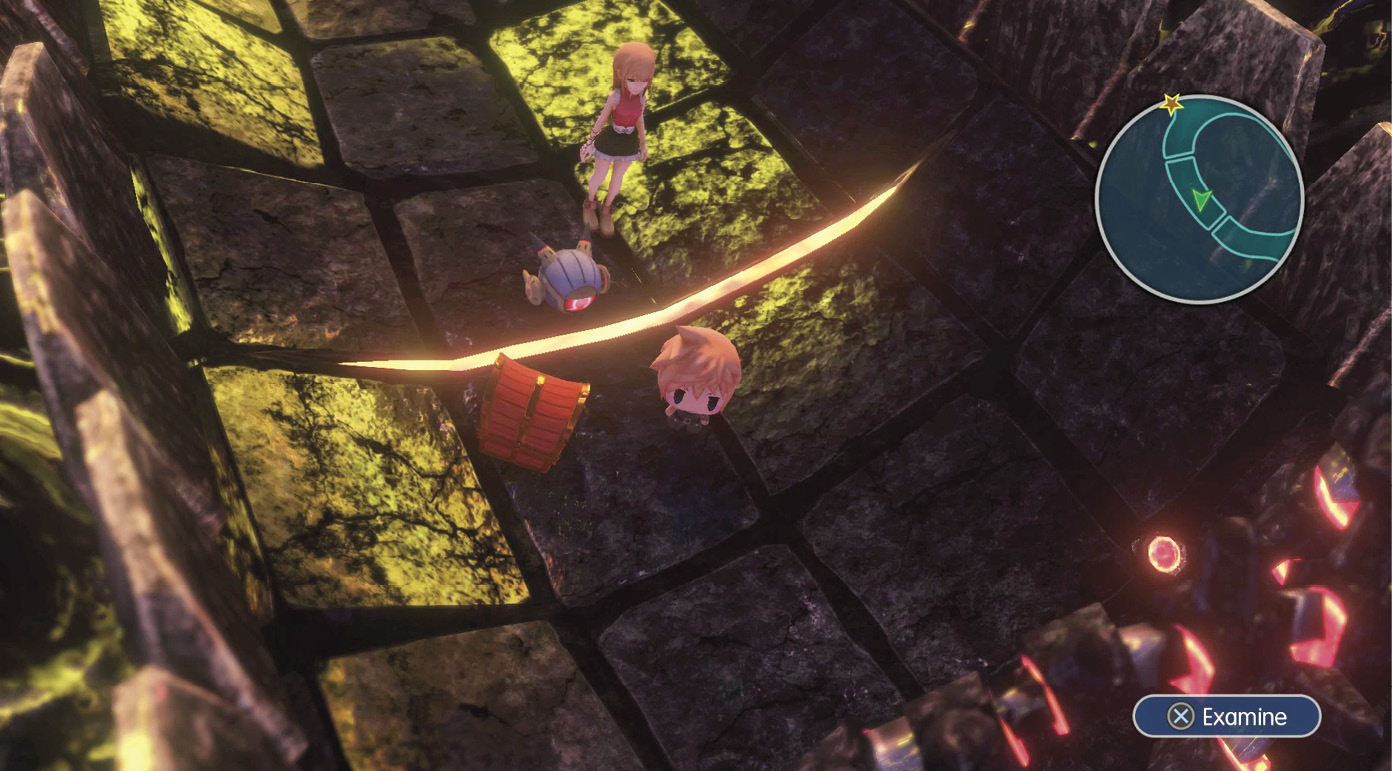
Open the chest, then return to the two devices and activate the one on the left to proceed to the end of the road. Activate the apparatus at the far north end of the area to reach the final stretch of the Chainroad: the Ends of Grymoire.
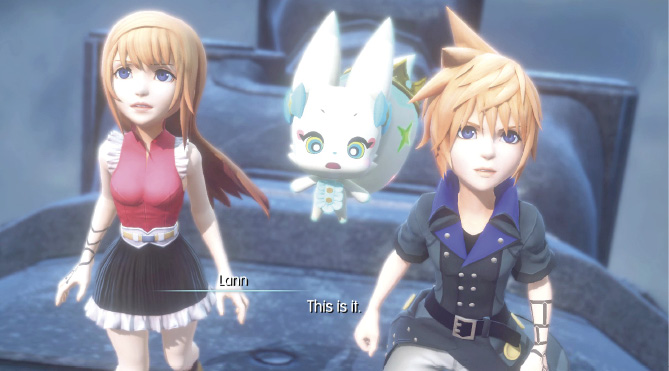
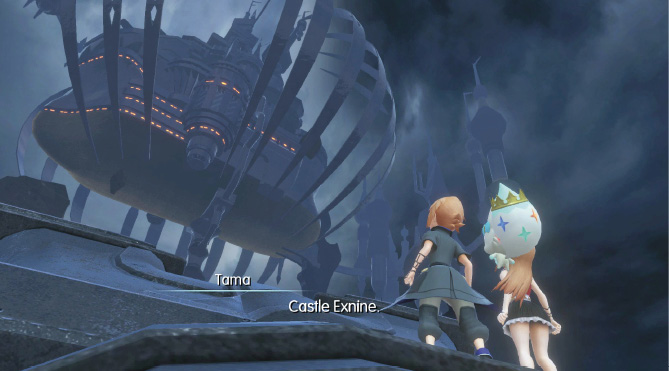
Climb the chain to the top. There’s a Gate here you can use as a checkpoint. You can return to Nine Wood Hills and warp back here if you need to take a breather. Otherwise, activate the device at the top of the chain to enter Castle Exnine.