World of Final Fantasy Guide Main Story Walkthrough
Chapter 1: Land of the Lilikin
The interdimensional gate from Sylver Park sends the twins to Wellspring Woods, a location within Grymoire. Thanks to Enna Kros’s foresight, Lann and Reynn have been transformed into miniature versions of themselves so they can blend in with the locals. Here, they continue with their search of Mirages while they learn more about the world of Grymoire.
| Action Checklist |
|---|
|
1. Imprism a chocochick |
|
2. Obtain a lusterleaf key item |
|
3. Give the lusterleaf to the Gimme Golem |
|
4. Learn about murkrifts and take a lesson in death |
|
5. Visit Chocolatte in North Promenade |
|
6. Meet Serafie and obtain a sylph prismarium |
|
7. Return to Wellspring Woods |
|
8. Enter Bridge Overlook |

Catch a Chocochick and Appease the Gimme Golem
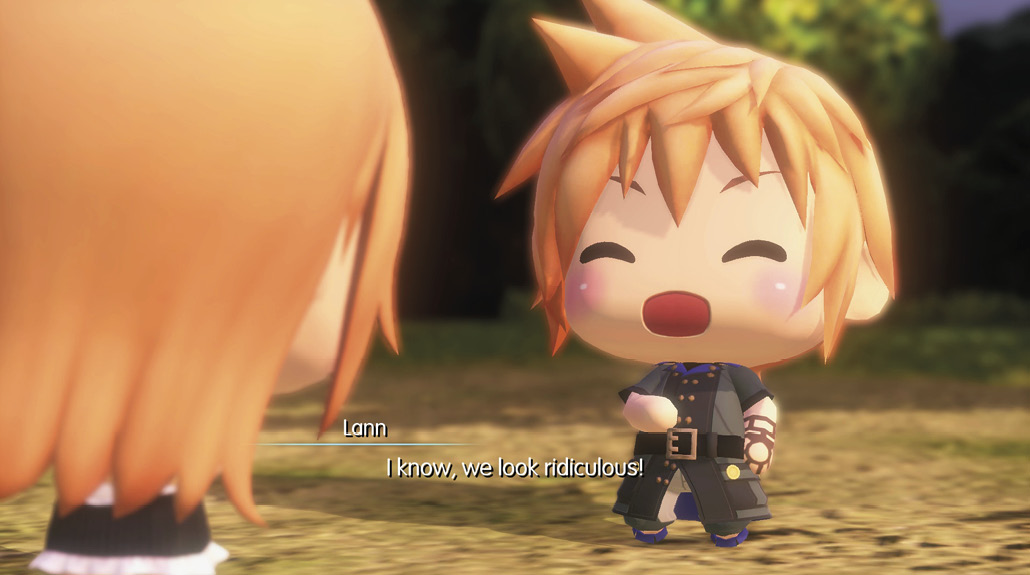
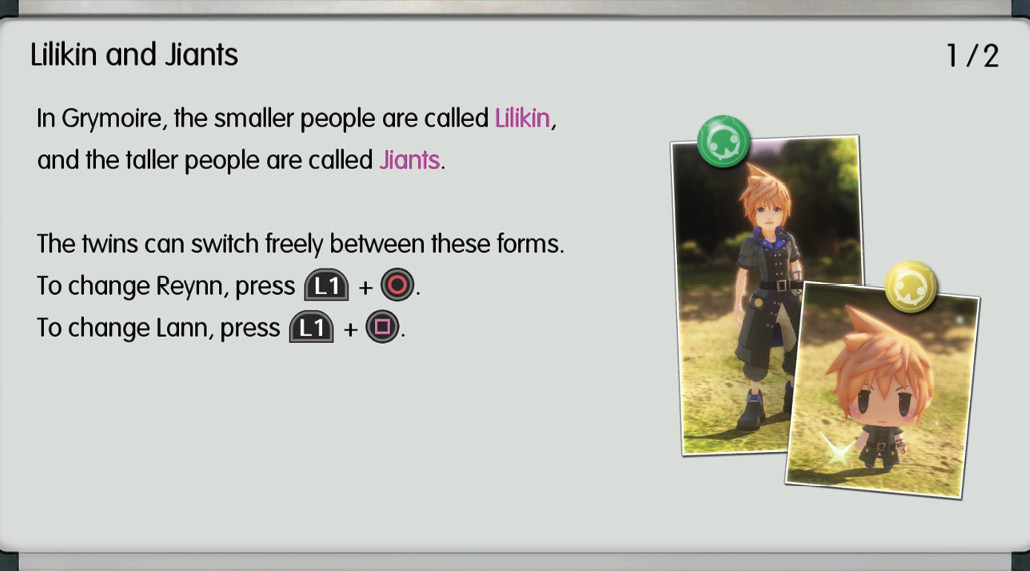
After a humorous exchange between the Lilikin versions of Lann and Reynn, you’re presented with two more text tips. The first tutorial explains Lann and Reynn’s ability to switch between Jiant and Lilikin forms. While out of combat, pressing L1+ toggles Reynn’s form, whereas L1+
 toggles Lann’s.
The tutorial tip displayed afterward explains the Tip Jar. Whenever you have a question regarding a certain game mechanic, you can take a peek into the Tip Jar.
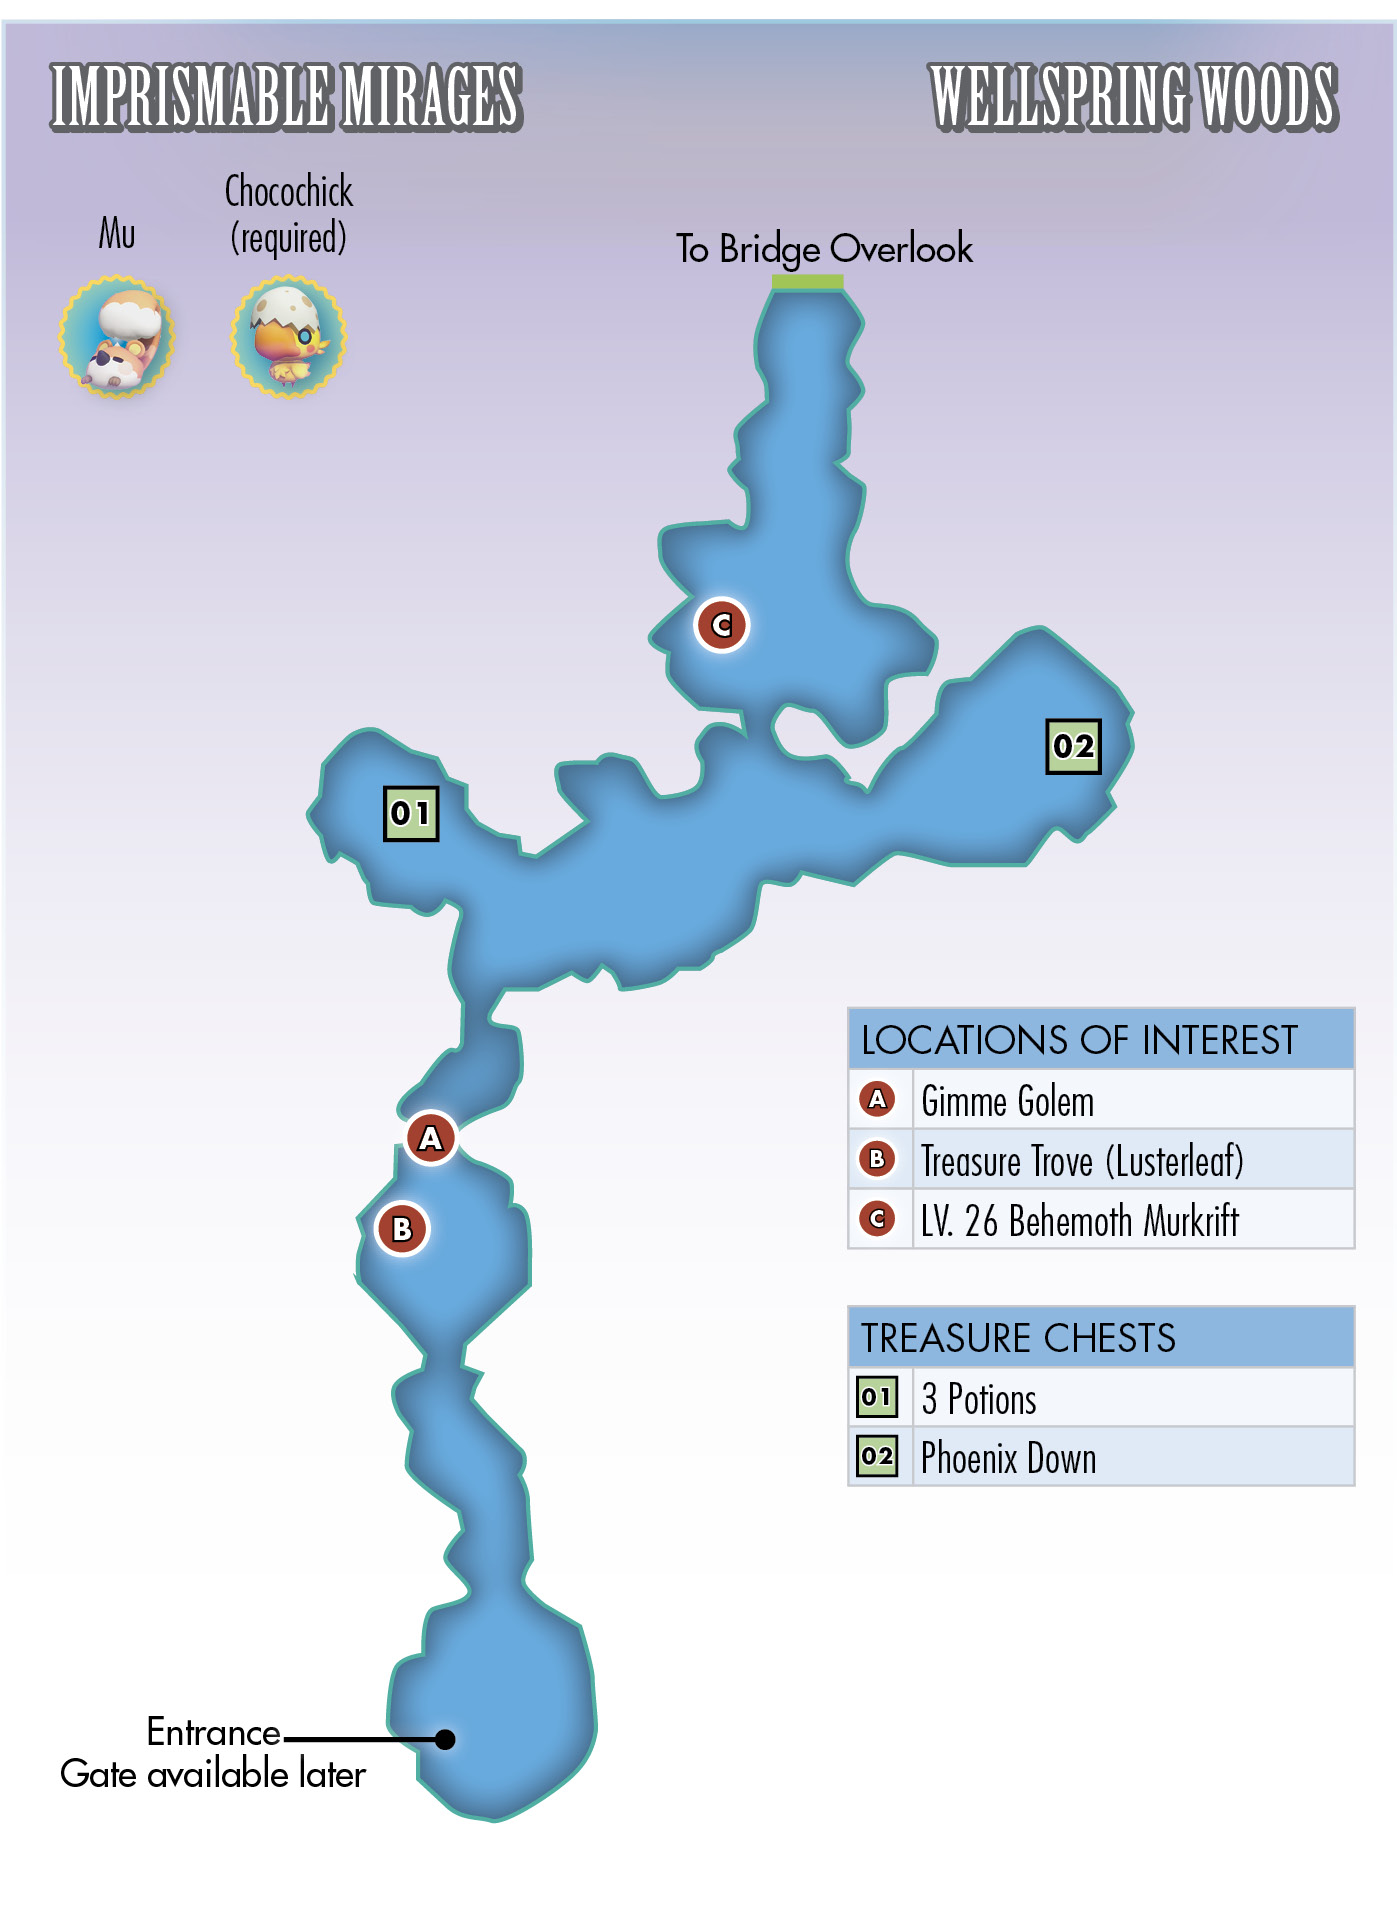
Continue exploring the Wellspring Woods by heading north. There’s a familiar-looking creature just up ahead! Walk up to the chocochick for another battle tutorial concerning imprisming Mirages and prismtunities.
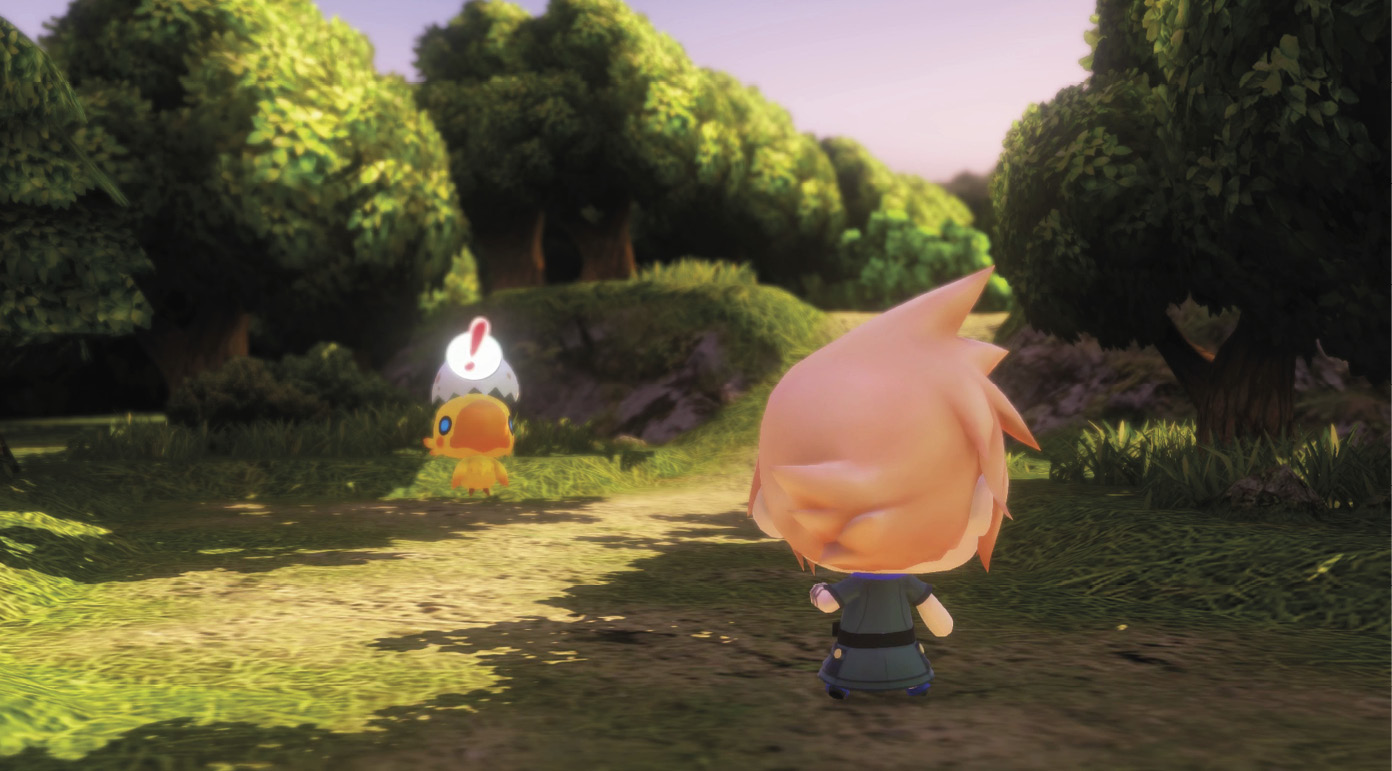
After imprisming your first Mirage, you get to name it and keep it in its own prismarium. To utilize your new Mirage, you need to learn about “stacking,” which Tama graciously explains next. For now, you only have a couple of small Mirages stacked on top of medium or large characters. When medium- and large-sized Mirages become accessible later on, you’ll get to fully fill out your stacks.

After your lesson in stacking, keep trekking forward until you encounter a unique-looking Mirage blockade. Tama explains that the object is a Gimme Golem, a pest that blocks your path until it’s appeased. Interact with it to see what it wants. This one apparently wants a lusterleaf.
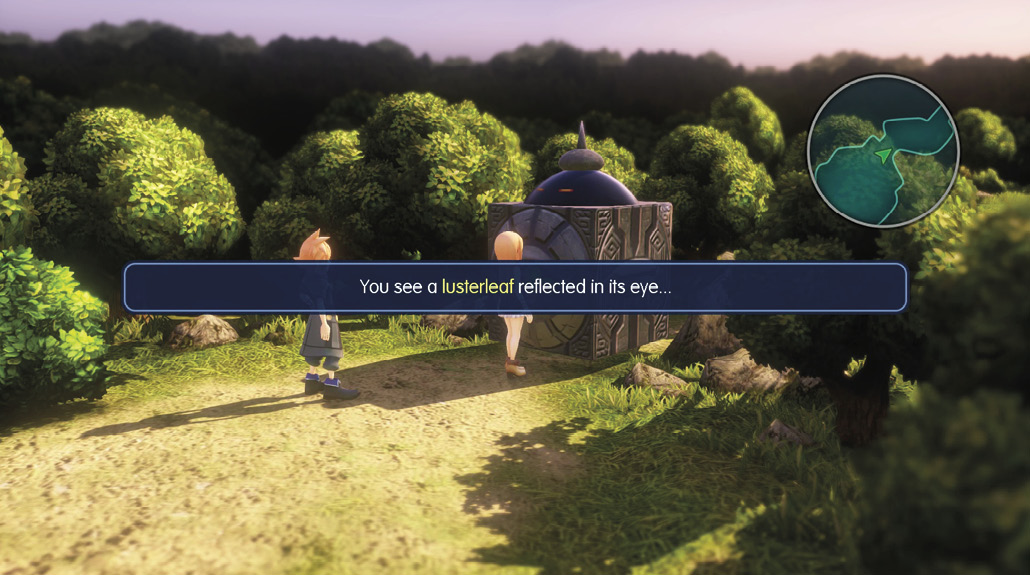
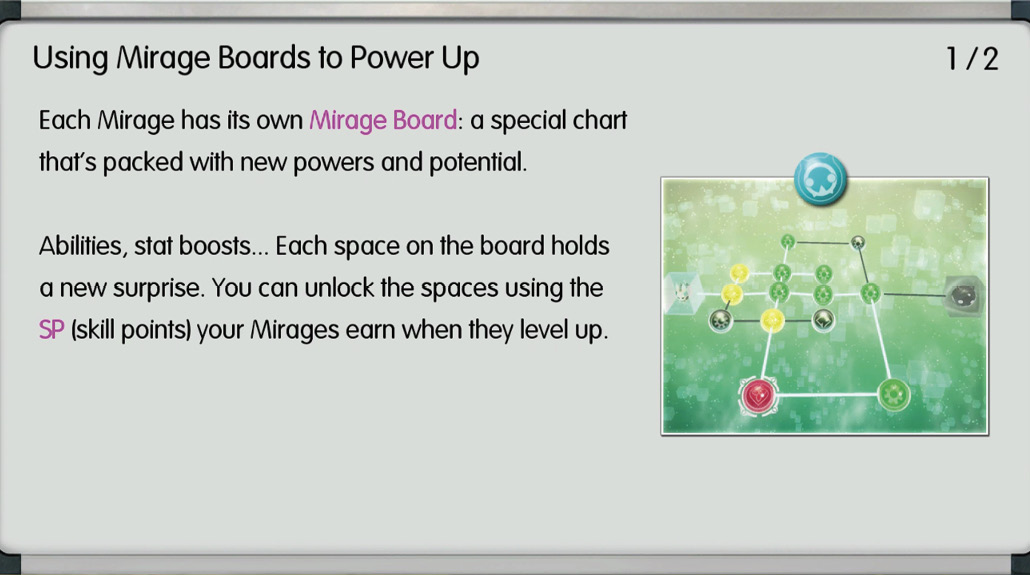
Whatever lusterleaf is, it’s time to find one. To do so, Tama has a few more lessons for you to learn first, so a text tip regarding Mirage Boards is presented (a leveling system similar to the Crystarium system from the Final Fantasy XIII series). See the The Mechanics of Grymoire chapter for further details.
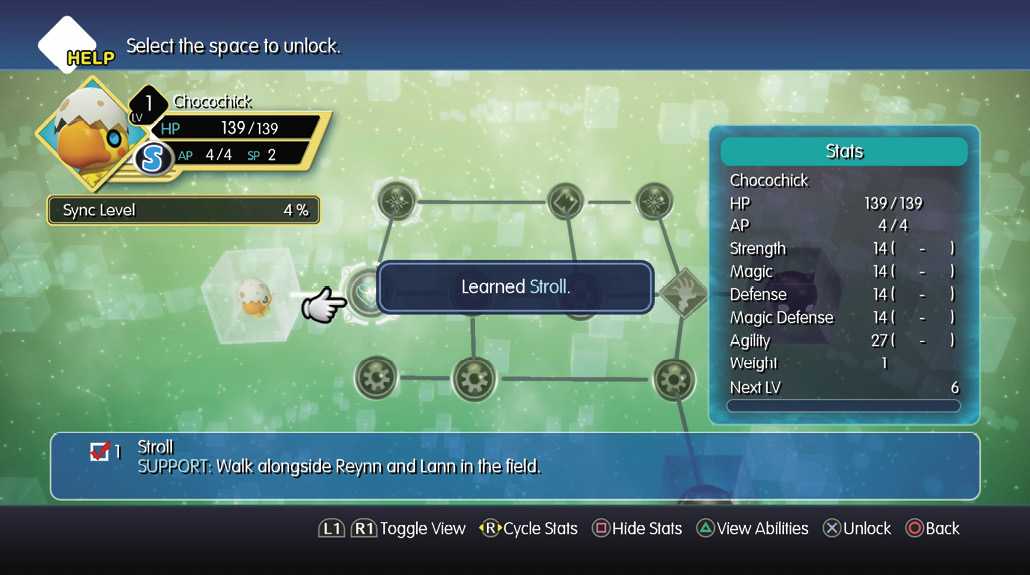
After the Mirage Board text tutorial, another one pops up explaining the Stroll support ability. Mirages with the Stroll ability unlocked can be activated and will appear running alongside the twins while on the field. These supportive Mirages can uncover hidden items called Treasure Troves. The type of items found in the Treasure Troves can vary.
For now, since you’re looking for the lusterleaf key item and your new chocochick companion can sniff one out for you, unlock the Stroll ability on the chocochick’s Mirage Board through the game menu.
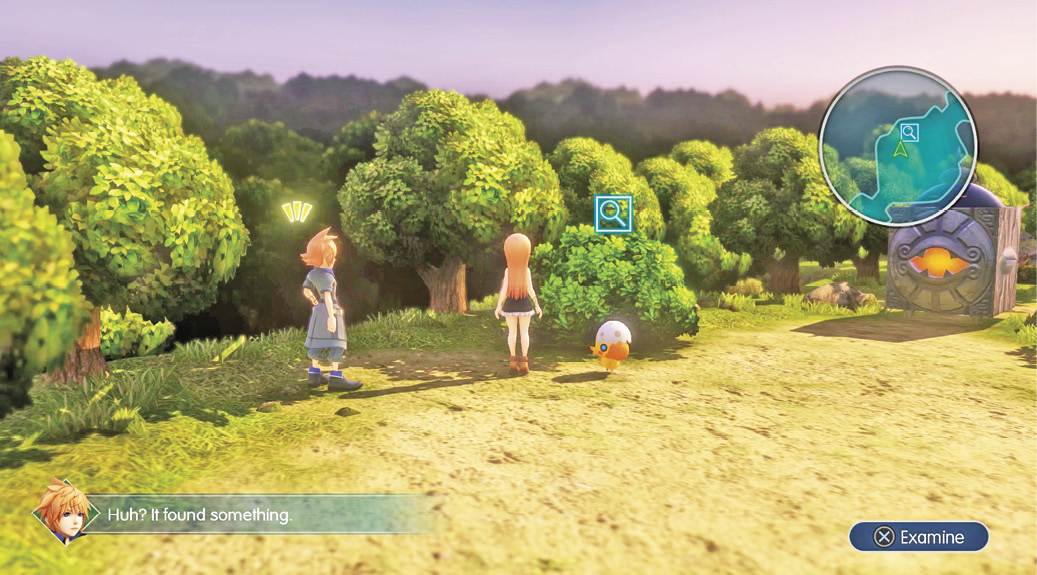
Now that you have a chocochick by your side, backtrack slightly southwest from the Gimme Golem. There’s a bush in this area that your chocochick can investigate to uncover an item. All you have to do is walk by it with your chocochick. When the magnifying glass icon appears over the bush, get next to it and press  to retrieve the lusterleaf.
Now you can fulfill the Gimme Golem’s request and move to the next portion of the map. Remember this process of retrieving a key item to proceed to another area, since it’s repeated frequently throughout the course of the game.
Life and Death Lessons
Keep running along the linear path north until you reach an alcove with a treasure chest in it. Open the chest to obtain three potions.
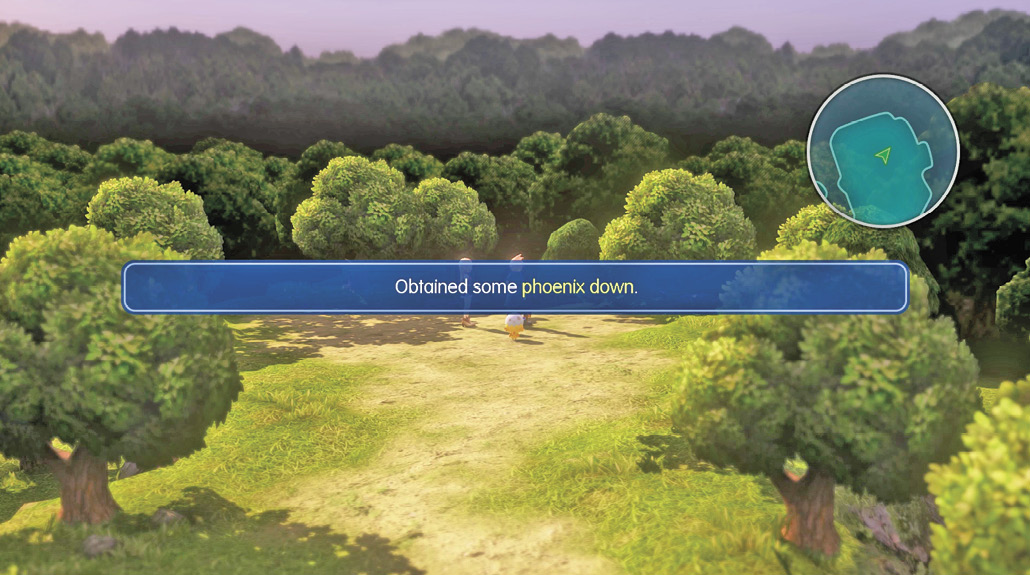
Turn around and continue east into another cul-de-sac with yet another treasure chest. Plunder the chest to obtain some phoenix down. As in other Final Fantasy titles, these iconic feathers resurrect your knocked-out party members during battle—and not just one of them, all of them!
Exit the alcove and take the north path instead. Here, you encounter what looks like a prismarium with a pair of red eyes inside. Looks dangerous! As Tama begins to explain its contents, Lann jumps in.
Before the battle begins, a text tutorial is displayed explaining how murkrifts generally contain extremely dangerous monsters that are usually above your power level. Thanks, Lann.
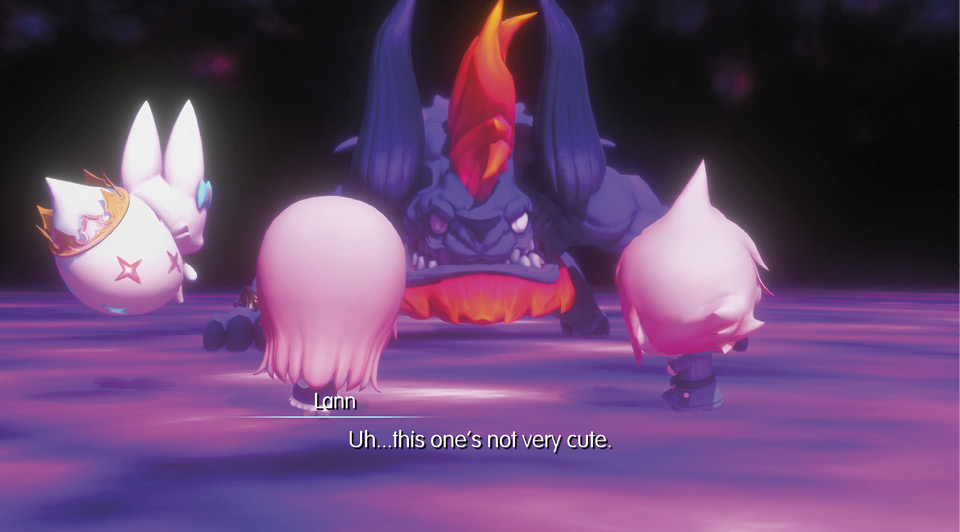
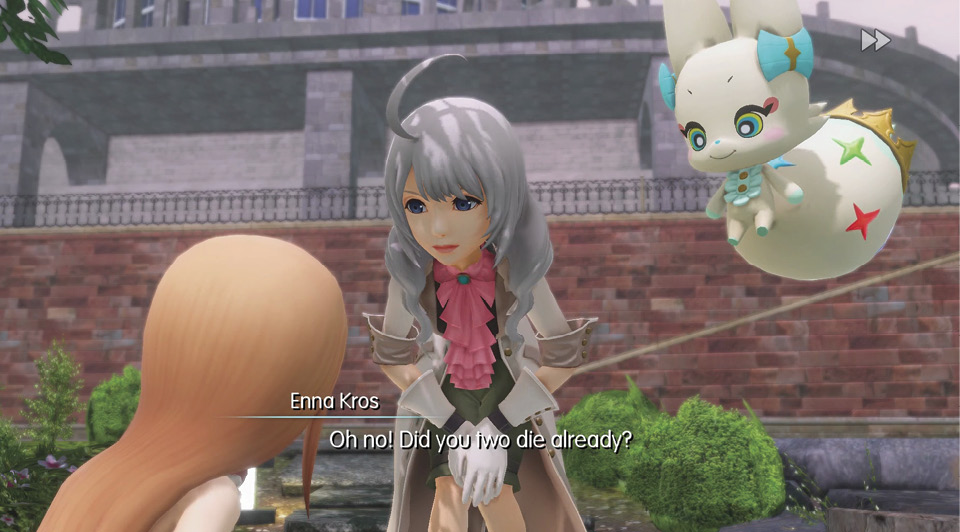
Fight the behemoth as you would any other Mirage, because frankly, it doesn’t matter what you do here. Eventually, the behemoth lands its devastating attacks on your characters to instantly kill them. When the party is slain by the vicious beast, a cutscene plays with Reynn and Lann returning to Sylver Park, where Enna Kros and Tama explain the rules of dying. Unlike most Final Fantasy titles, dying does not end the game (except inside the threshold of certain boss Mirages). The only downside is that you’re kicked out of Grymoire and returned back home to Nine Wood Hills.
After the text tip, Enna Kros mentions a guest residing in North Promenade. While you’re around, you might as well check to see who it is, so head on over there and meet your new items dealer.
Chocolatte Mart
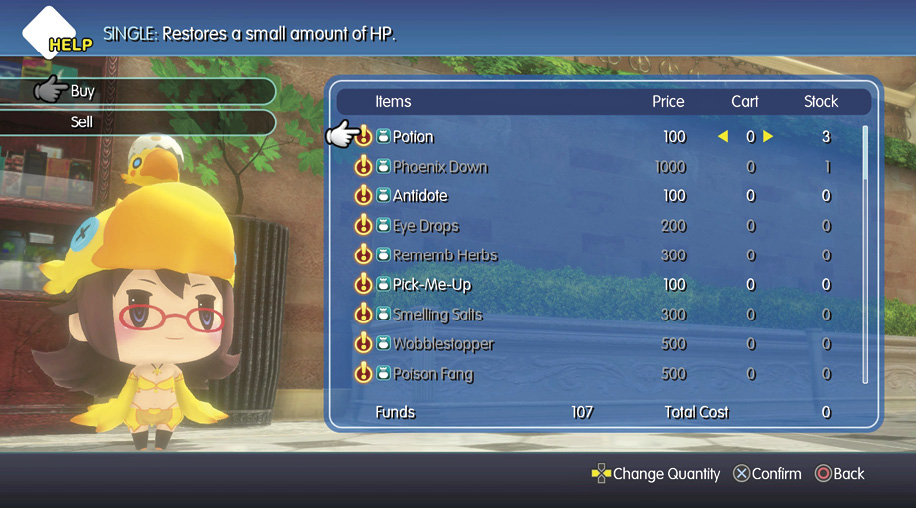
| Items | Price |
|---|---|
| Potion | 100 |
| Phoenix Down | 1000 |
| Antidote | 100 |
| Eye Drops | 200 |
| Rememb Herbs | 300 |
| Pick-Me-Up | 100 |
| Smelling Salts | 300 |
| Wobblestopper | 500 |
| Poison Fang | 500 |
| Dream Powder | 600 |
| Loco Weed | 800 |
| Flash Bomb | 600 |
| War Gong | 700 |
| Lethean Chime | 800 |
| Seraphone | 3000 |
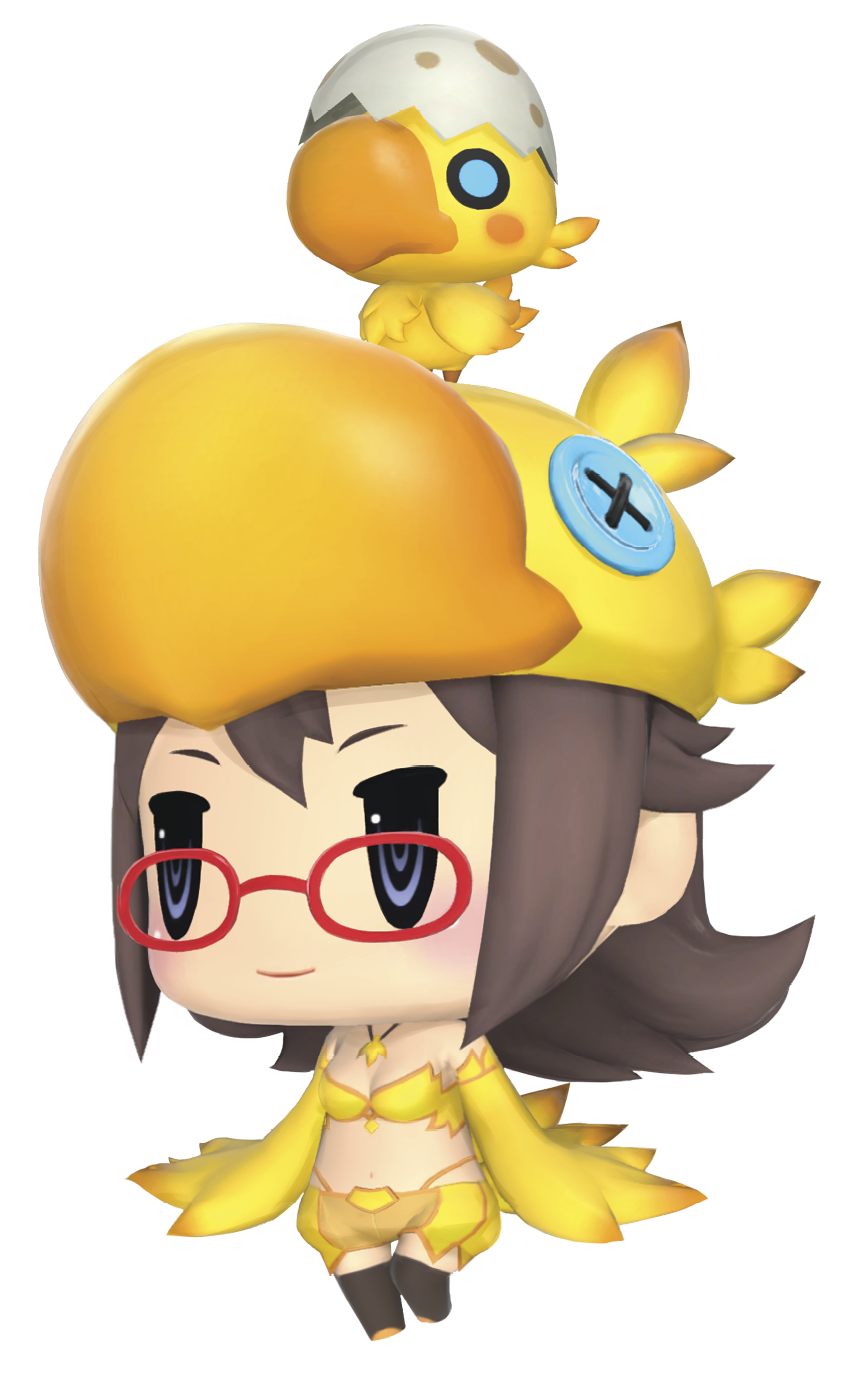
Talk to the chocobo attire-wearing Lilikin, who introduces herself as Chocolatte. Just like Chocolina from the Final Fantasy XIII series, she’s a reliable shopkeeper who conveniently keeps an updated inventory for the protagonists. Remember to check back with her regularly; she’s your one-stop shop for all sorts of useful items, including potions, restoratives, and ability seeds.
Meet Chocolatte and Serafie
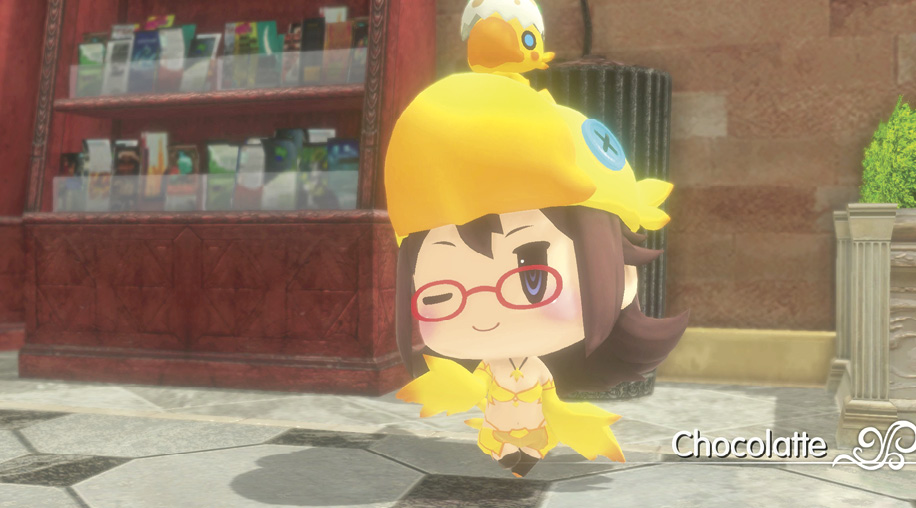
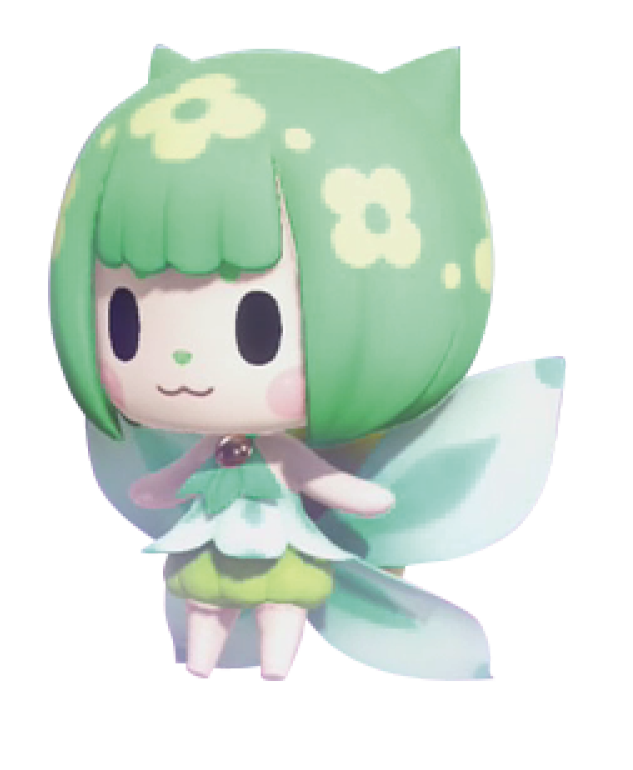
Now that have you have a reliable resource for restocking on consumables, make your way back to Sylver Park. As soon as you enter Plaza 99, a cutscene triggers and introduces the party to yet another new ally, Serafie. Serafie is a “special” sylph with a penchant for hoarding, so she’s your designated Prism Case handler, as explained in the popup text tutorial.
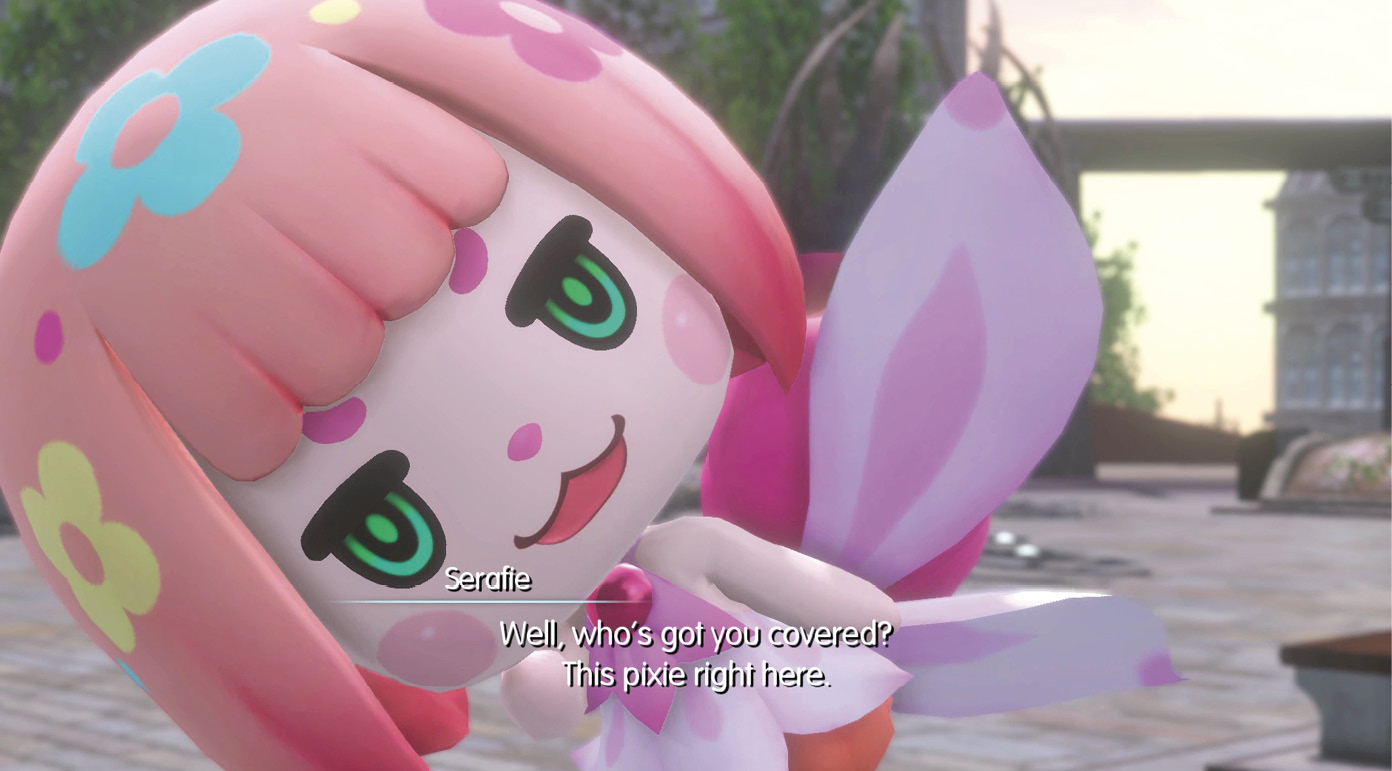
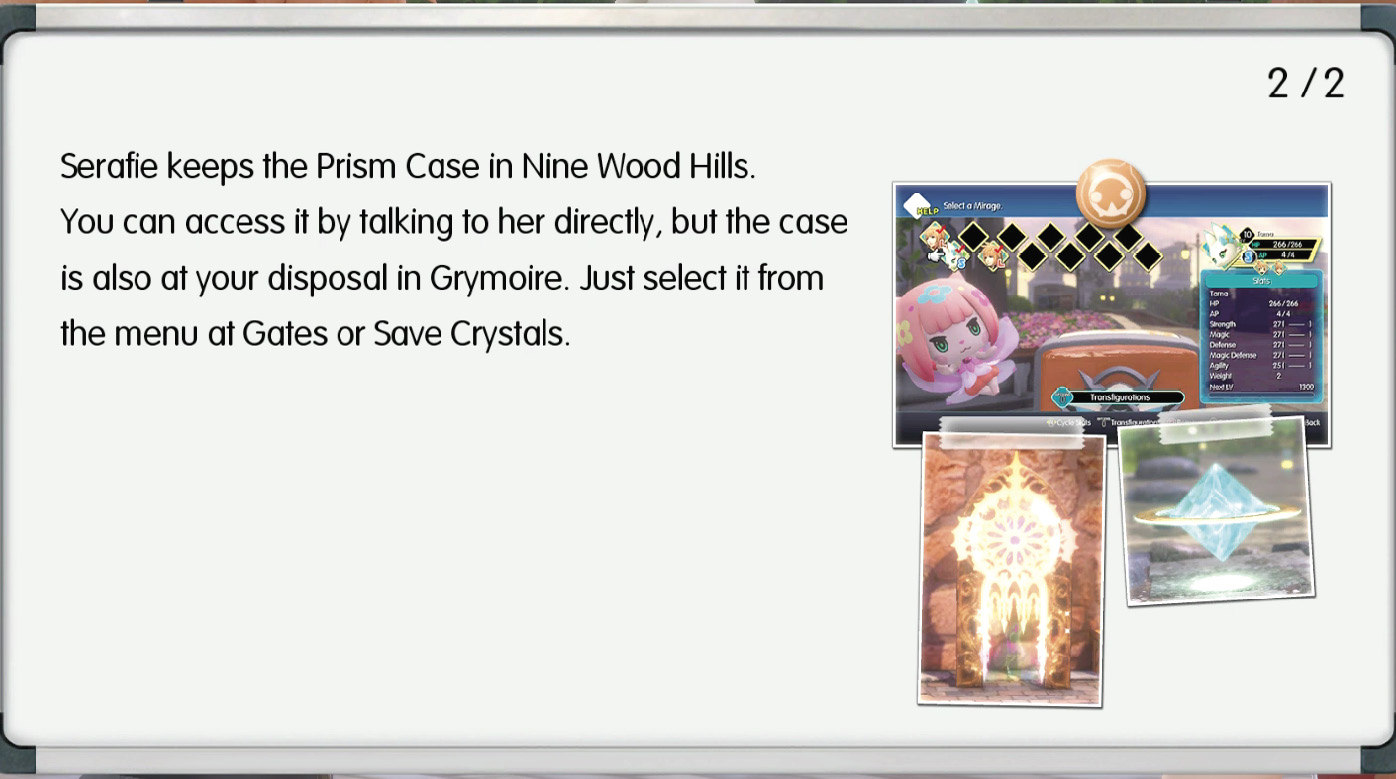
The Prism Case is essentially where all of your inactive Mirages are held, since you can only carry a finite amount on your adventure. You won’t have to worry about managing your Prism Case until later, however, because you only have a handful of Mirages at this point. You can access the Prism Case by talking to Serafie in Plaza 99 or by interacting with either a Save Crystal or a Gate. Additionally, you can use a consumable item called a Seraphone anywhere in Grymoire to access the Prism Case in case of an emergency. However, they can be pricey in the earlier stages of the game when gil is more difficult to amass.
Complementary Mirage: Sylph
As a bonus, Serafie gives you a sylph prismarium. You should have around three to four small-sized Mirages with you now, so take some time to browse their abilities and stats through the Mirage Board menu.
Now that you are finished here, it’s time to resume your adventure in Grymoire. Return to Sylver Park to trigger a cutscene with Enna Kros. It seems her work with the twins is done for the time being, as she leaves her trust with Serafie and Tama. A text tip regarding skipping cutscenes is displayed as the cutscene ends.
Now is a good time to learn about Save Crystals. Interacting with the Save Crystal by the Gate activates a text tip (if it’s the first Save Crystal you’ve activated). Save Crystals not only allow you to save your progress, but they instantly restore all of your HP and AP when touched. (You don’t have to interact with the Save Crystal for the restoration; you only have to move onto it briefly.)
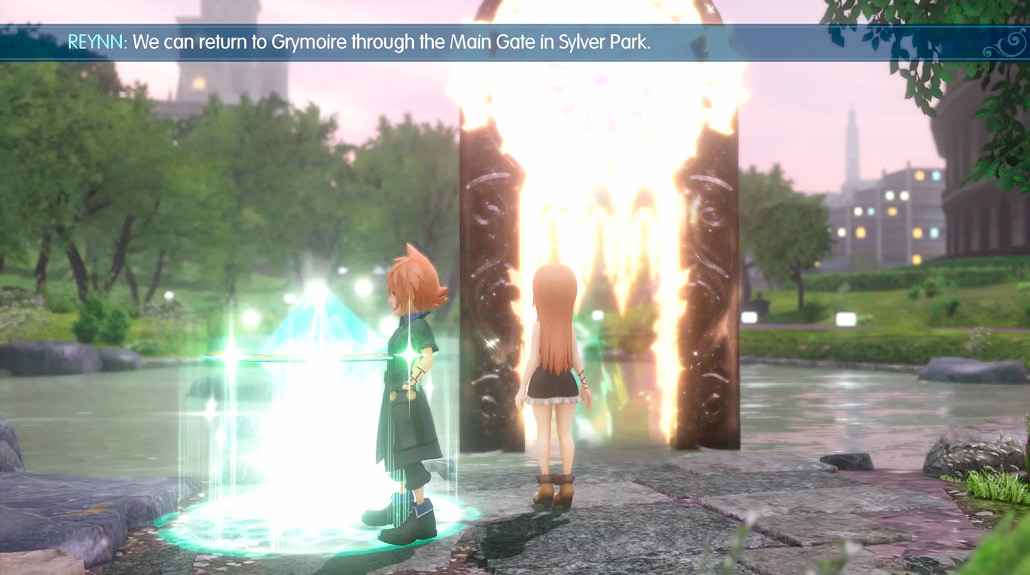
Return to Wellspring Woods
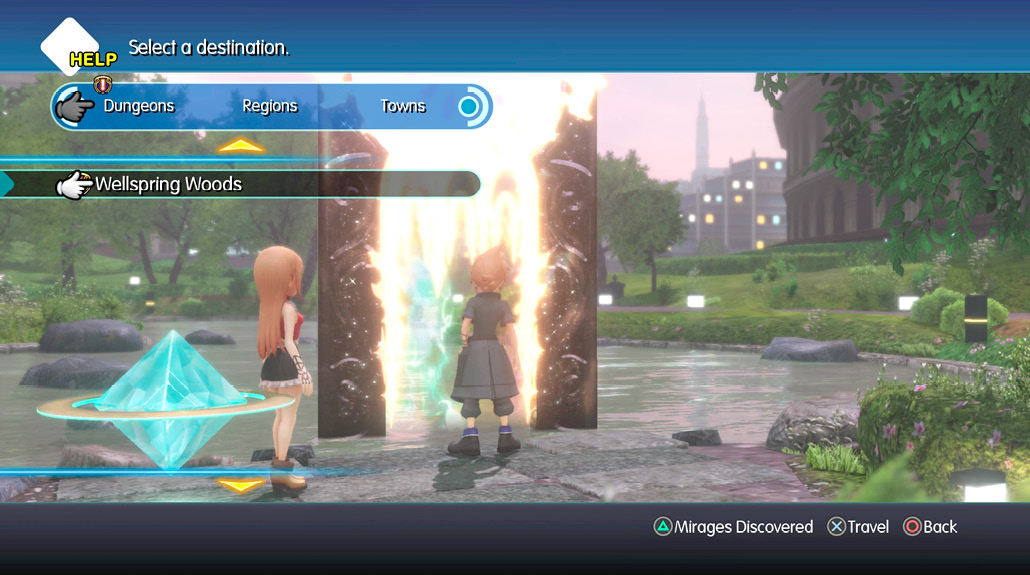
Activate the Gate in Sylver Park. From the interface here, you can travel to any location that you’ve visited during your adventures. Since you’ve only been to Wellspring Woods at this point in time, select it under the Dungeons category to transport your party there.
As soon as you enter Wellspring Woods, a minor text tip regarding changing party leaders is presented. Pressing R1 while in the field changes the active party leader. Although this is purely a cosmetic change for most of the game, there are a few particular characters you meet who have a certain bias in which of the twins they talk to.
Make your way back to the murkrift that Lann recklessly jumped into earlier in the northern section of the map. On your way there, you might randomly encounter enemy Mirages, which trigger another text tip about fast-forwarding combat. An additional tip about EXP gain is displayed after a battle here. EXP is divided between all active (and alive) party members evenly. Mirages and characters with you that aren’t participating in battle gain 8% of the total EXP, while Mirages in your Prism Case don’t gain any.
As you approach the murkrift, Tama explains how murkrift information works. If you’ve faced the Mirage inside already, its information is displayed above the murkrift. Most important is its level, and since this behemoth is Level 26, there’s no way you can defeat it now. You can return later to imprism this Mirage when you possess a sufficient power level. For now, continue on north into Bridge Overlook. This ends Chapter 1 of the main storyline and signals the beginning of an epic adventure.