
World of Final Fantasy Guide Main Story Walkthrough
Chapter 11: Crimson and Azure
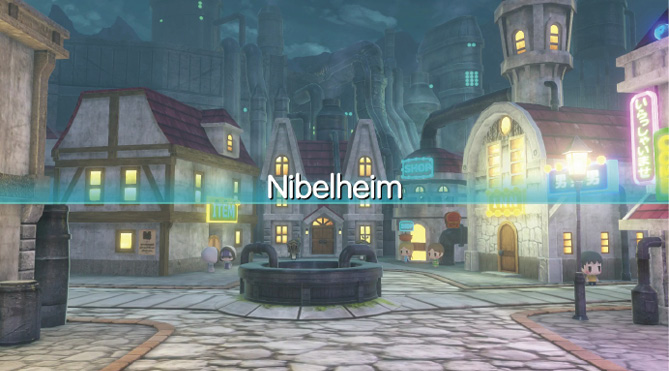
Reynn and Lann take up Tifa on her offer and visit her hometown of Nibelheim. There, they meet another summoner, Rydia, who informs them that there are actually two prophecies: one Azure and one Crimson. What does it all mean? Which, if any, are true? Although Rydia appears reluctant, she accompanies the two Mirage Keepers into the infernal depths of Valley Seven.
| Action Checklist |
|---|
|
1. Enter Valley Seven |
|
2. Rescue Rydia |
|
3. (Optional) Obtain a phoenix prismarium |
|
3. Defeat the King Bomb |
New Miniventures
- The Birthday Present
- Needle for Speedle
Rydia’s Fear of Fire
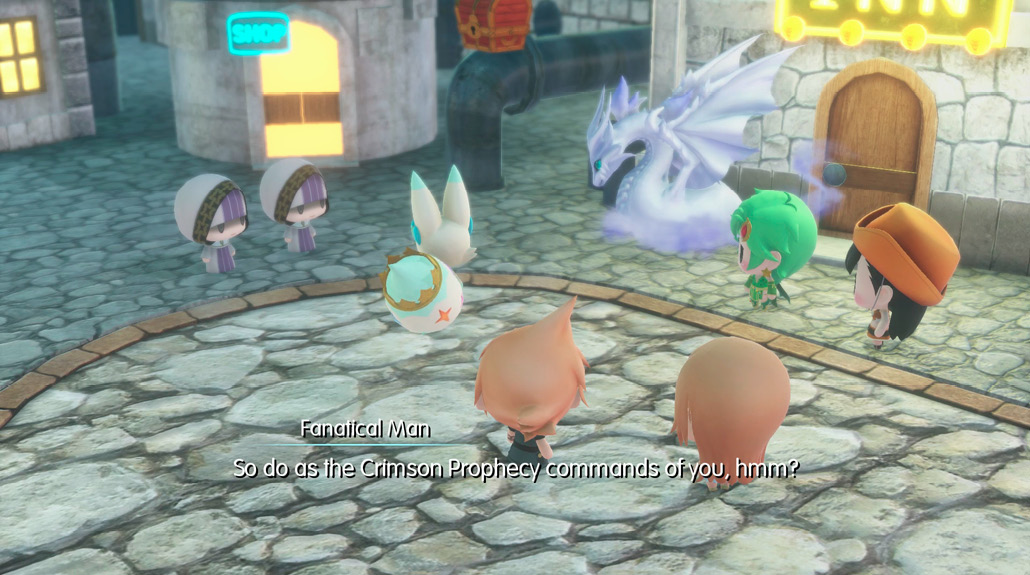
The chapter starts with a conversation between the twins and Rydia, a summoner similar to Lady Yuna. She tells of another more abstract prophecy set apart from the Crimson Prophecy. This one is known as the Azure Prophecy, although the Crimson Prophecy is what most of the common folk believe in. After speaking to her, Rydia volunteers to escort the twins through Valley Seven, where one of the four keys is rumored to be.
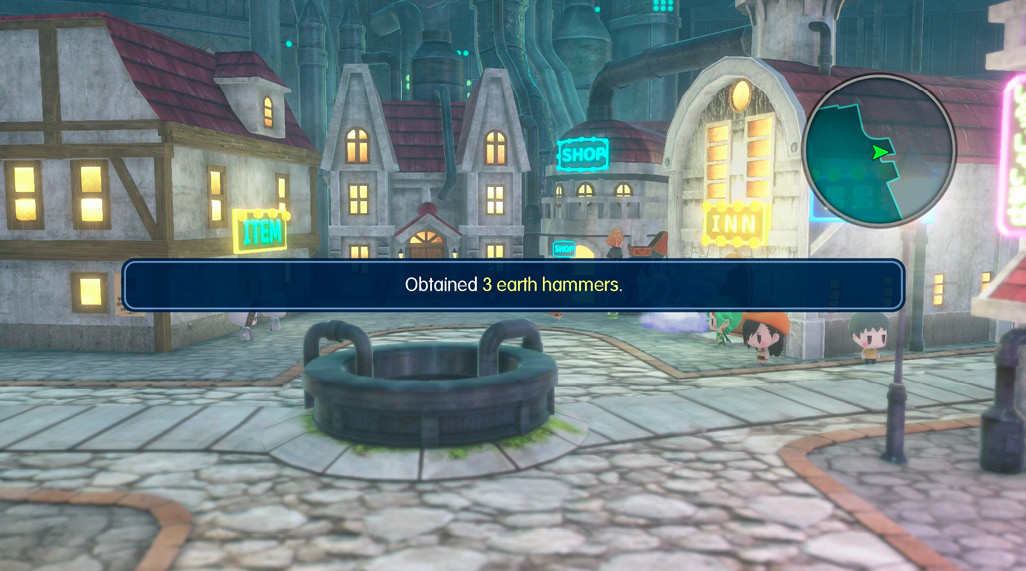
After the cutscene with Rydia, you can accept and fulfill The Birthday Present Miniventure quest from the woman standing nearby. If you’ve opened all of the treasure chests in the dungeons at this point, you should have the three dragon scales required. Speak to her again to turn in the quest and receive a Berserk seed.You can also speak to Rydia again for extra background story regarding the differences between Mirage Keepers and summoners. Before you leave for Valley Seven, open the treasure chest containing three earth hammers sitting on top of a large pipe, just behind Rydia’s Mist Dragon. To reach it, your party leader needs to be in Jiant form.
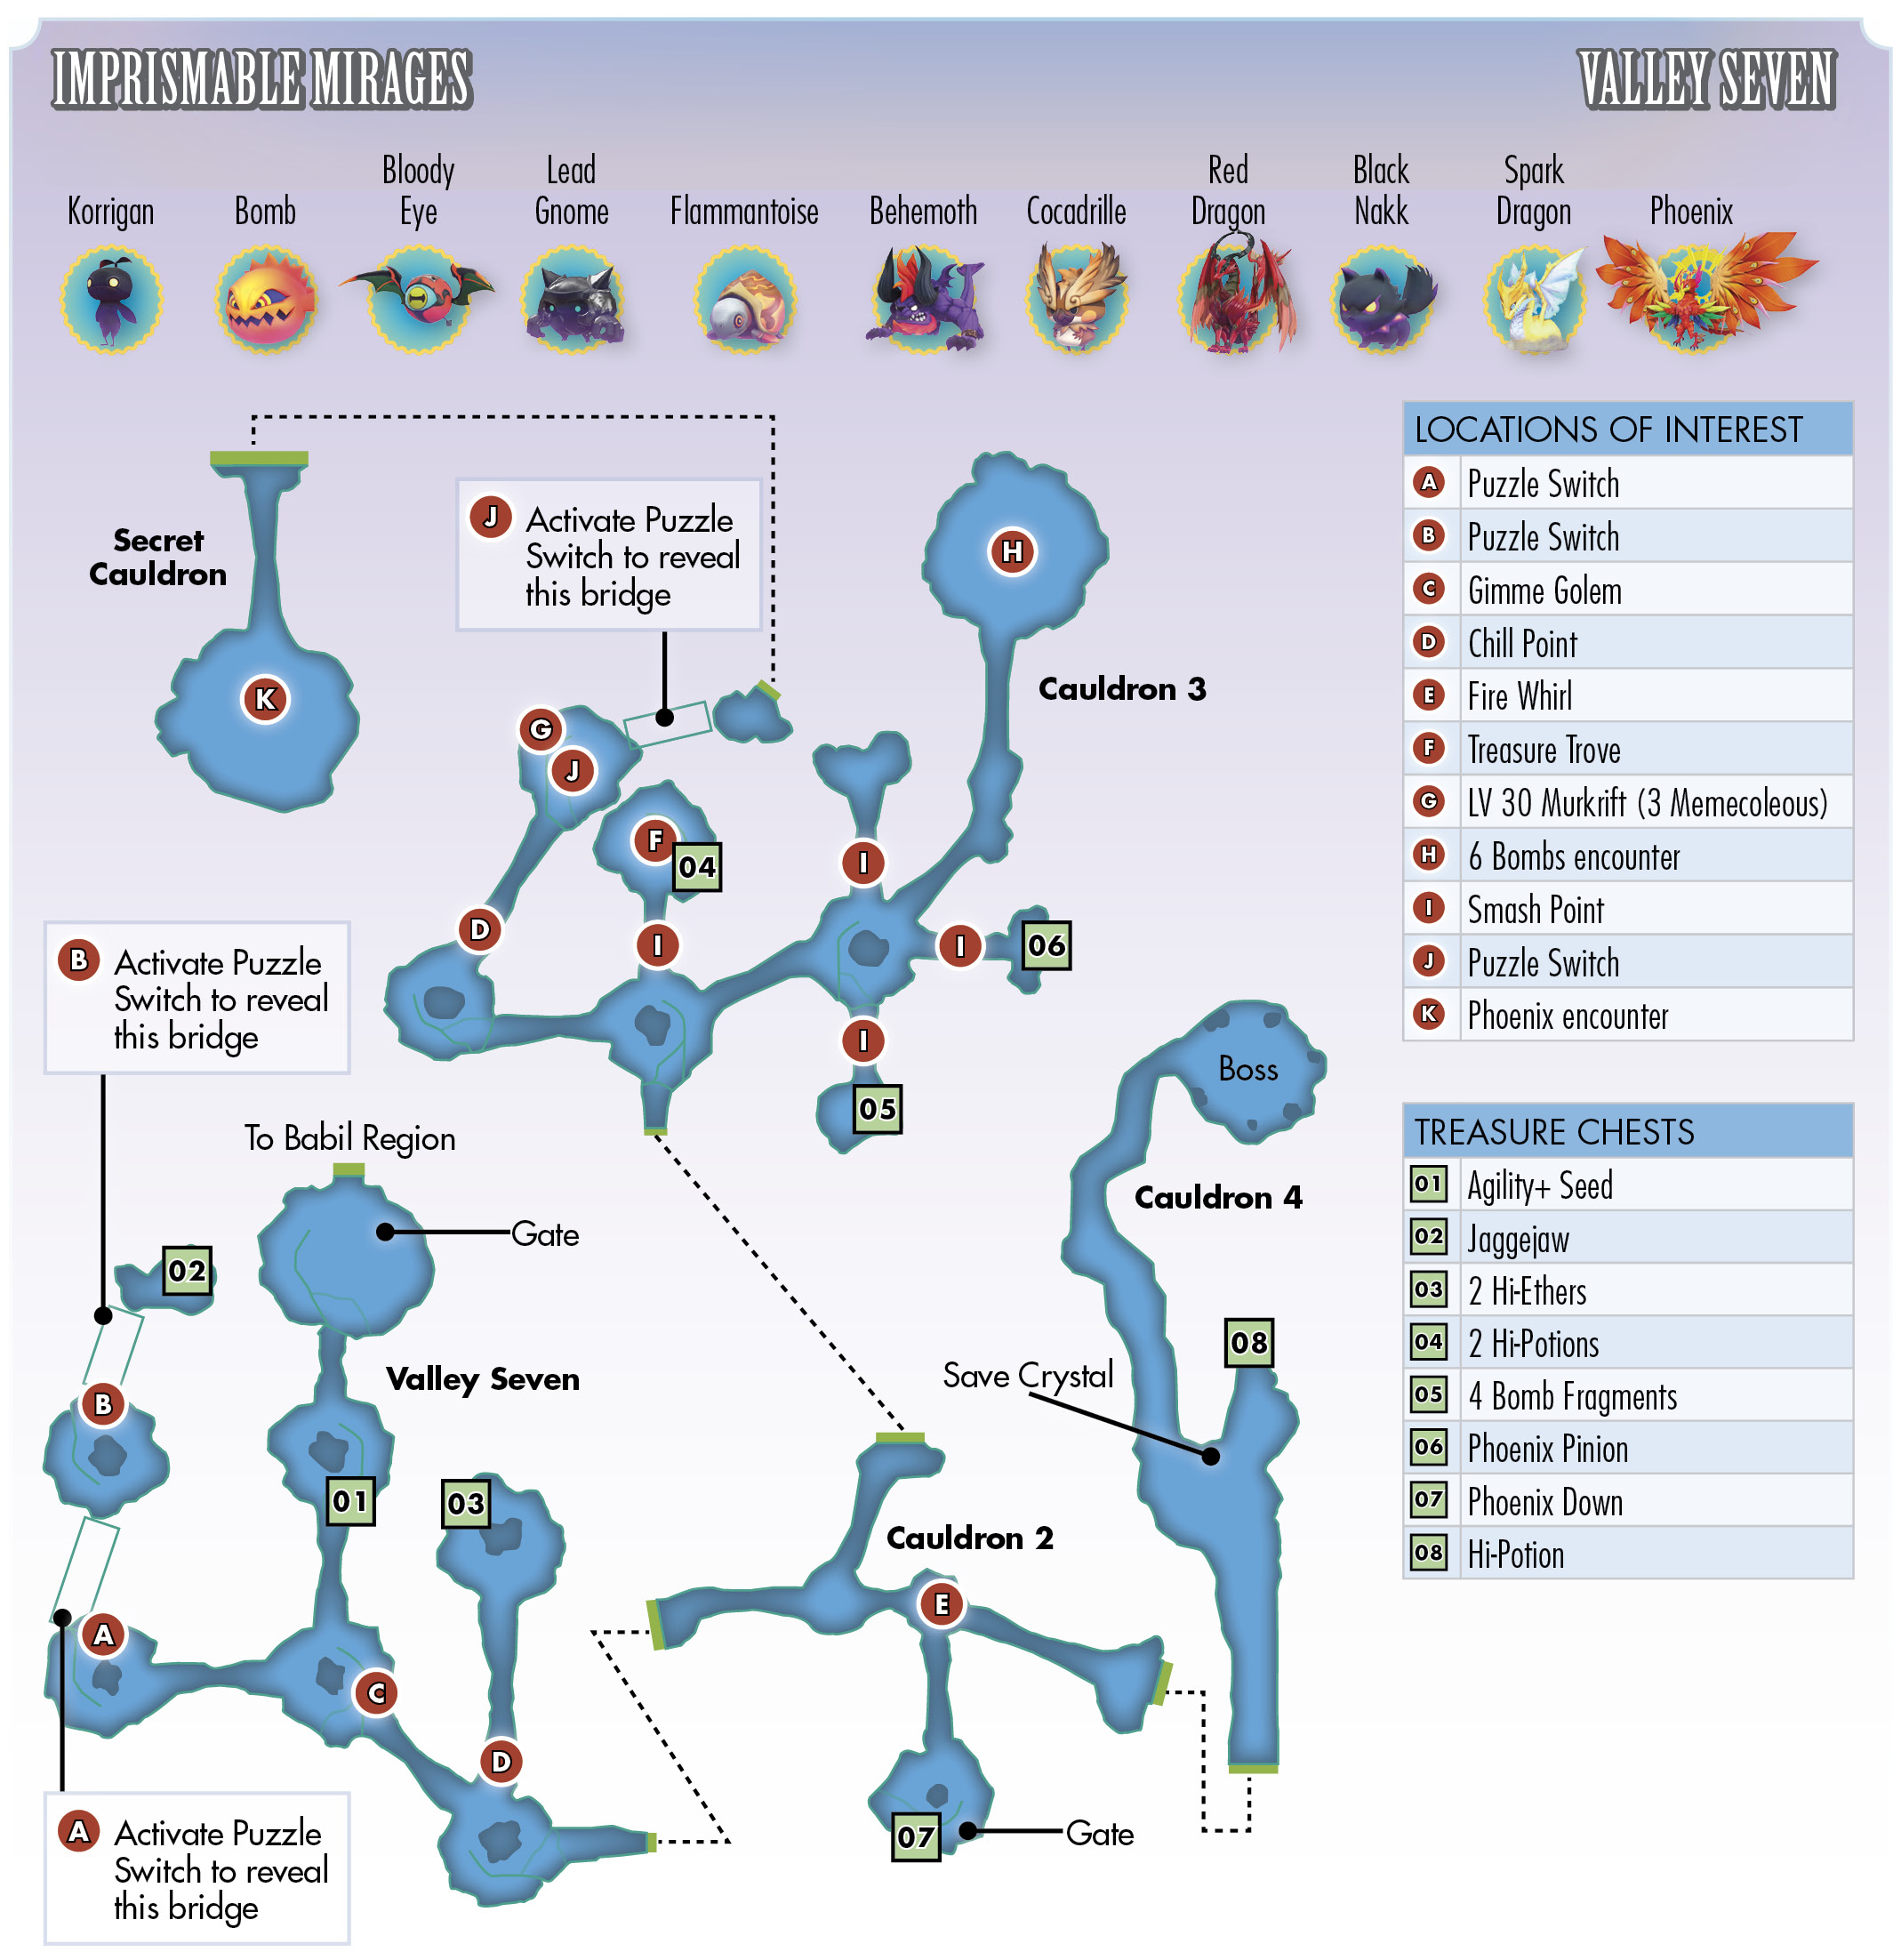
Enter Valley Seven from the Babil region, east of Nibelheim. As you might have guessed, this place is filled with fire-based Mirages, similar to the Dragon Scars. Your stacks should have a high fire resistance rating. Water-based abilities are also extremely effective here, so if you need to, you can buy Water seeds from Chocolatte or make a return trip to Saronia Docks to imprism water-based Mirages (this is a good time to obtain the secret kupicaroon Mirage).
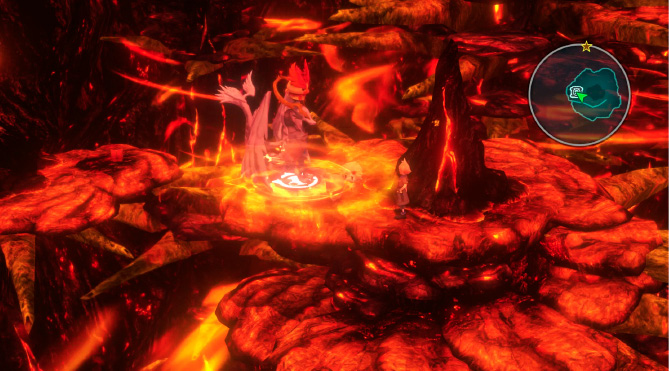
Start off by traveling south, crossing a molten bridge. There’s a treasure chest tucked under this platform off of a downward ramp to the east. Open the hidden chest to obtain an Agility+ seed. Your destination is to the east of this platform, but a Gimme Golem (that wants a jaggejaw) blocks the way and halts your progress. Take the west road to reach a puzzle switch requiring a stack of at least 4 weight and 50 fire resistance. You should easily fulfill this if you’ve imprismed Mirages from the Dragon Scars. Otherwise, find and imprism fire-resistant Mirages here (such as a bomb) to satisfy the puzzle conditions. Complete the first puzzle to unlock the second puzzle, which requires a 5-weight stack instead of 4.
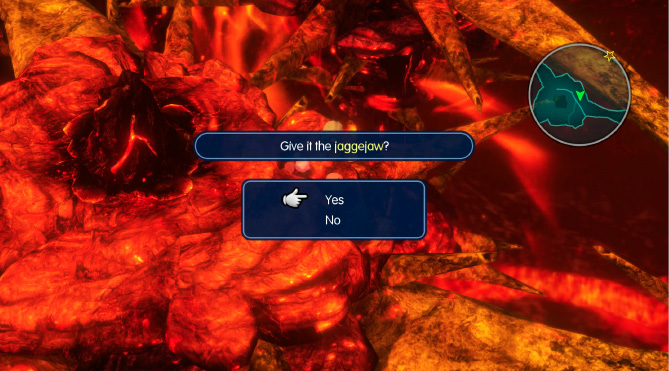
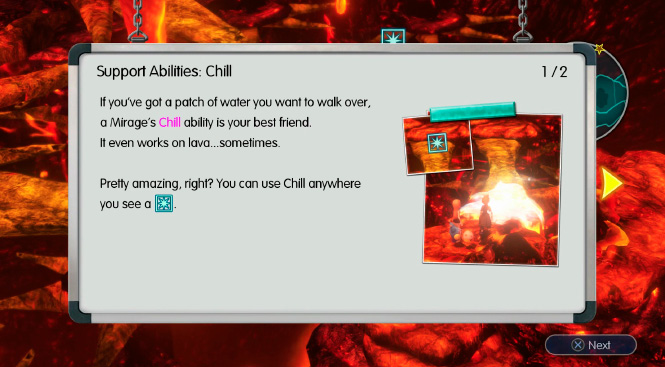
Completing the two puzzles grants you access to the northwest platform. Open the chest on the platform to obtain a jaggejaw. Return to the Gimme Golem to appease it, then cross over to the next area, Cauldron 2, to the east. There’s a molten bridge to the north that you can pass if you have the Chill support ability, which you can find on certain ice-based Mirages (such as the quachacho from Icicle Ridge). Chill the bridge, then cross it to pick up two hi-ethers in the chest. If you don’t have the support ability yet, you can come back with it later since these access points are optional.
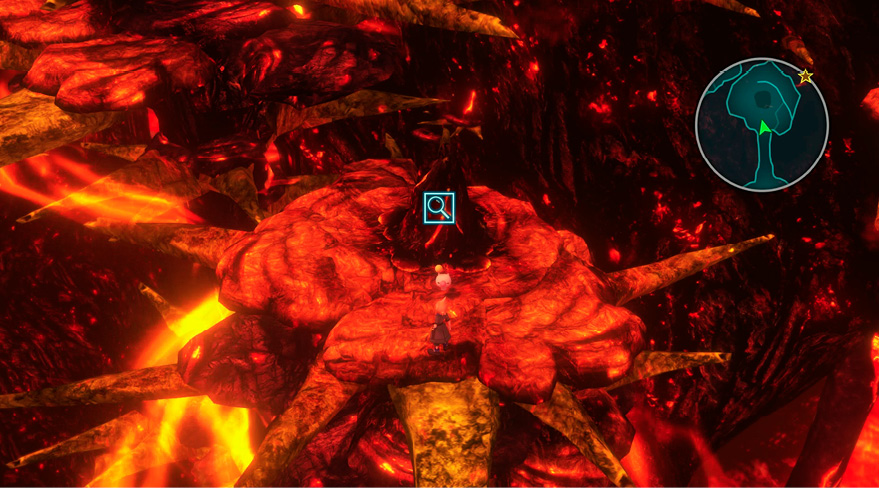
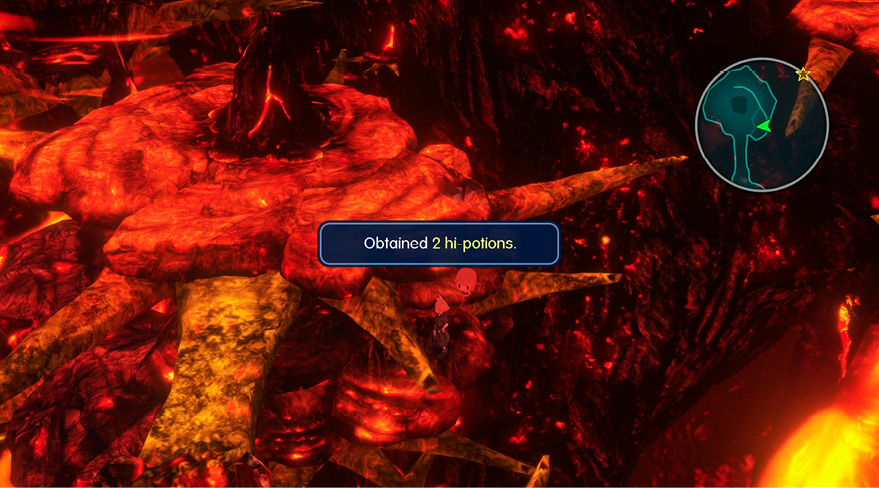
Proceed east into Cauldron 2. Here, a wall of fire erupts, blocking the path. Rydia is triggered by it and runs off. Follow her into the third area to the north into Valley Seven—Cauldron 3. This area contains several optional barred paths that you can bypass with either the Smash or Chill support abilities. If you have Smash (accessible on the red dragon, holy dragon, or mythril giant), you can get to a Treasure Trove on a platform to the north of the starting point of the area. There’s also a hidden treasure chest underneath the platform here with two hi-potions inside.
The west path leads to the valley’s secret area, which you can tackle now, provided you can fulfill the requirements.
Valley Seven’s Secret AreaTo unlock Valley Seven’s secret area, the Secret Cauldron, you need the Chill ability to freeze a molten bridge on the west side of the third area (the area Rydia runs off to). 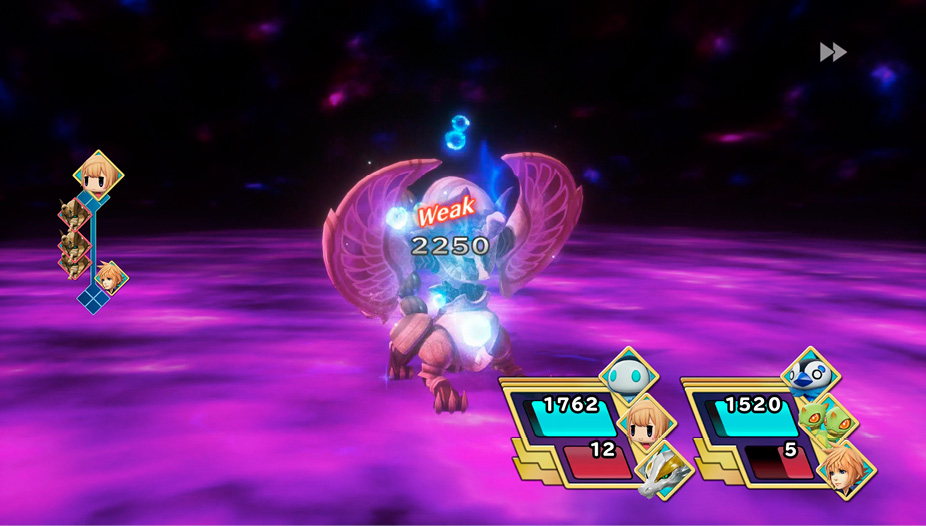
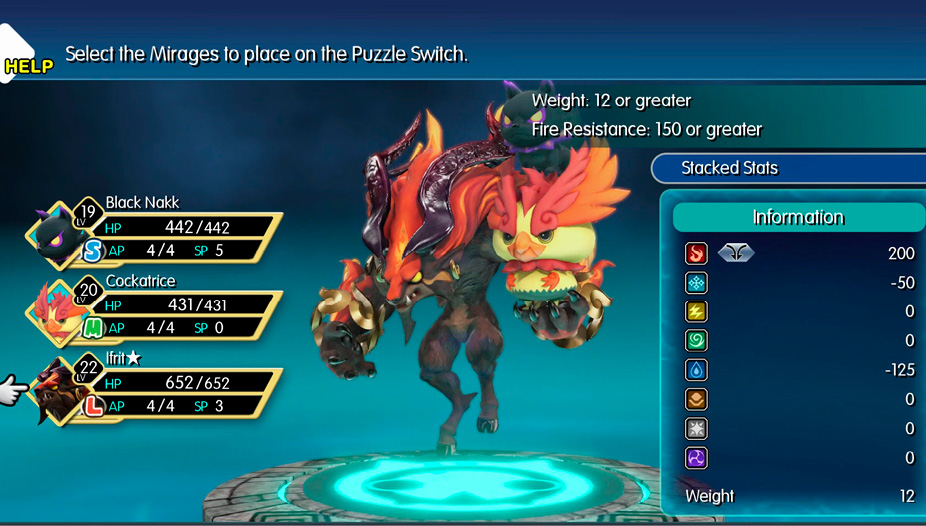
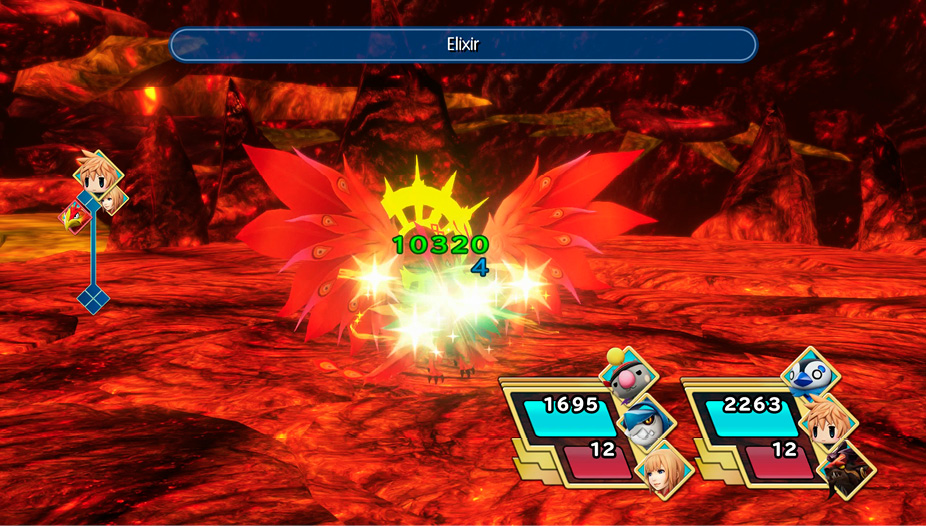
Then, there’s a LV 30 murkrift that needs to be dealt with (three memecoleous). This fight is manageable at around an average party level of 25 with some preparation. You can use poison fangs or utilize a poison ability to create a prismtunity on one of the murkrift Mirages. Defeat the other two with wind or water-based abilities. Be warned, as these Mirages can cast Doom, which automatically knocks out one of your stacks (or a single Mirage if unstacked) after a countdown. Doom can be cured with a remedy+, elixir, megalixir, or by casting Refia’s Champion Medal. Dragon scales are extremely beneficial for dealing damage here, too. After the murkrift is cleared, there’s a puzzle switch here with some steep requirements. You need to create a Mirage stack with at least 12 weight and 150 fire resistance. A red dragon or ifrit, paired with a cockatrice or bomb, is enough to fulfill the fire resistance portion. Then, add on any small Mirage (as long as it doesn’t have a negative fire resistance rating) to fulfill the weight requirement. Completing the puzzle builds a bridge leading to the secret area. The secret area here houses a rare phoenix Mirage. You can defeat the Mirage conventionally to obtain a phoenix memento (although you won’t have a use for it for a very long time). It’s best to imprism the phoenix so you can obtain its prismarium immediately. Its prismtunity condition states that you need to “Recover a lot of HP at once.” The best way to accomplish this is by using an x-potion or elixir on the phoenix, since these items always restore a character’s maximum HP. Because the phoenix has more than 10,000 hit points, this fulfills its prismtunity. You don’t have to damage the phoenix before healing it, either; just use your x-potion or elixir on it immediately. If you don’t have one of these max-healing items, return later when you do. 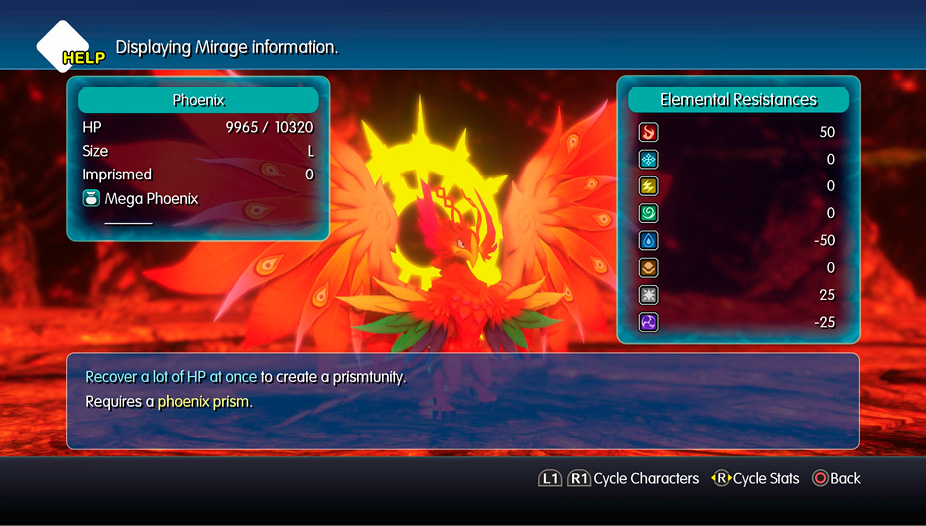
|
Continue your search for Rydia by heading to the east platform of the area. There are four paths that branch off of this platform, three of which are unlocked (and optional) with the Smash ability. The path east leads to a treasure chest containing a phoenix pinion, while the south path takes you to a chest with four bomb fragments inside. When you’re ready to save the summoner, take the northeast path for a fight with six bomb Mirages.
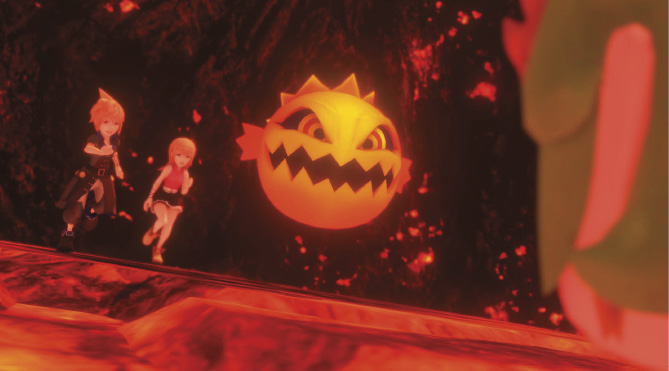
Defeat the bombs quickly with water-based abilities or dragon scales, or with area-of-effect attacks. These bombs tend to use Self-Destruct when they’re injured, which inflicts their remaining hit points as damage, so when you hit them, hit them hard. You should also have a stack with a high fire resistance rating to reduce damage taken from their elemental attacks.
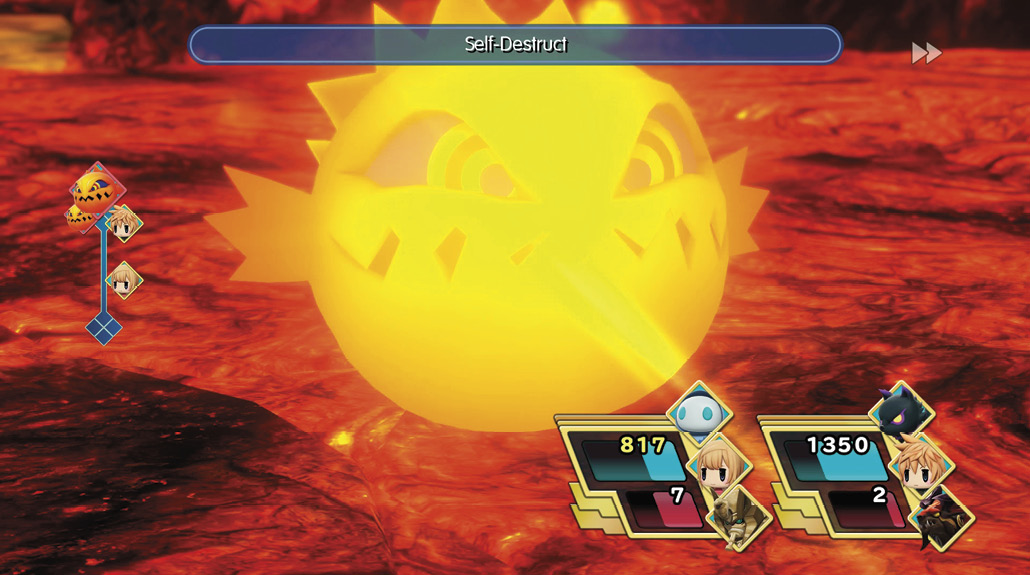
Once you’ve defeated the bombs, Rydia explains her fear of fire and promises to help extinguish the wall of flames blocking the path in the previous area.
Return to the wall of flame to trigger another cutscene in which Rydia’s Mist Dragon douses the torrent of fire.
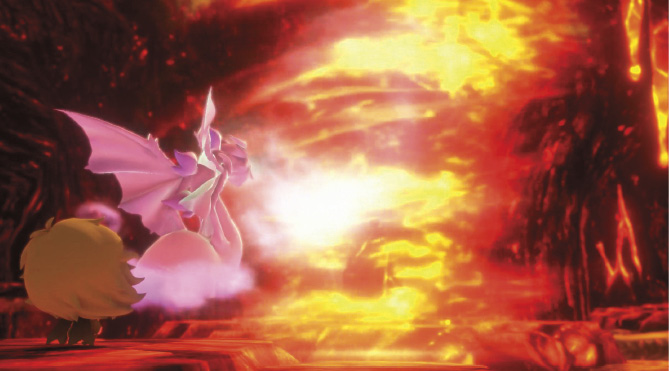
Continue east, then south to a platform with a chest underneath. Open the chest to obtain some phoenix down. Now, take the east exit into the last area of Valley Seven, Cauldron 4. Pick up the hi-potion from the chest northeast of the Save Crystal, save your progress, then get ready for a boss fight. Climb the path leading north. The key you’re looking for is here—but first, a boss fight with a king bomb.
Boss Battle: King Bomb
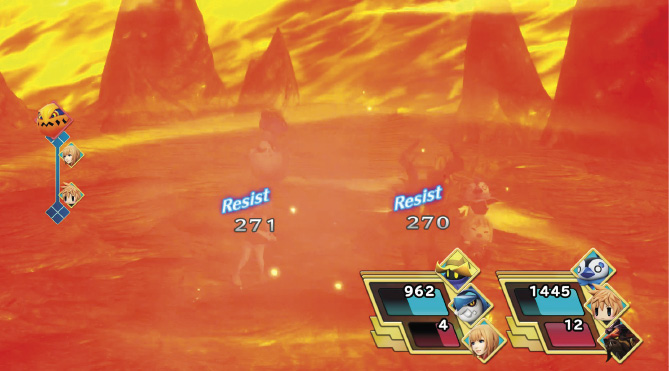
Like the other bomb Mirages, the king bomb is weak to water. However, unlike a normal bomb, this boss grows with the more damage it takes, and the larger it grows, the more powerful it becomes. For instance, when it’s at critical levels of health, it starts to use Firaga instead of Fira. Keep your party members healthy as you take down its HP. Of course, having a high fire resistance on your stacks helps tremendously.
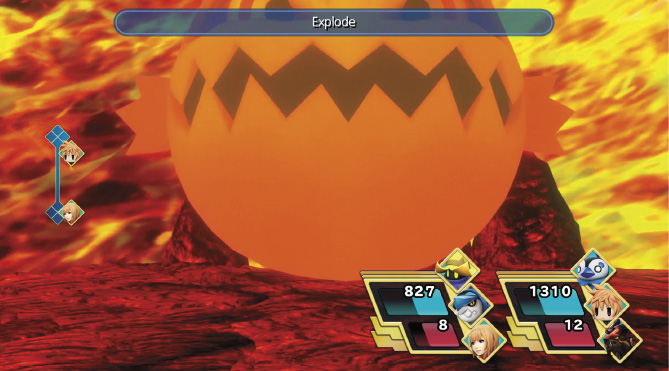
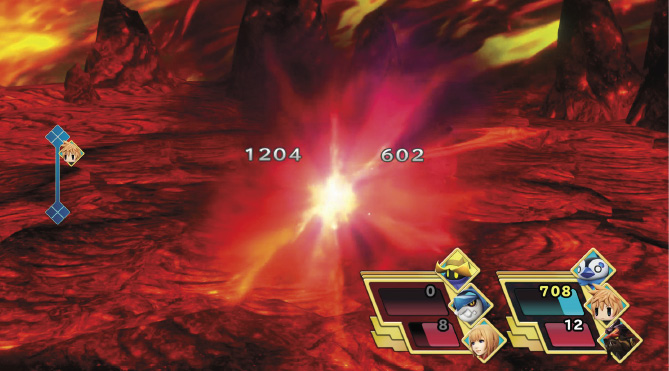
Before you finish off the king bomb, heal up your party members—its death triggers a final unavoidable attack called Explode, dealing a large amount of damage to your entire party. You’re victorious as long as one of your members survives this final explosion.
After the battle, the twins are whisked away by a flood, concluding the chapter. You can save your progress here.