
World of Final Fantasy Guide The Mechanics of Grymoire
Adventure Mechanics
Your time playing World of Final Fantasy is broken up into five main game phases: Story, World Exploration, Dungeon Exploration, Battles, and Side Quests.
Story
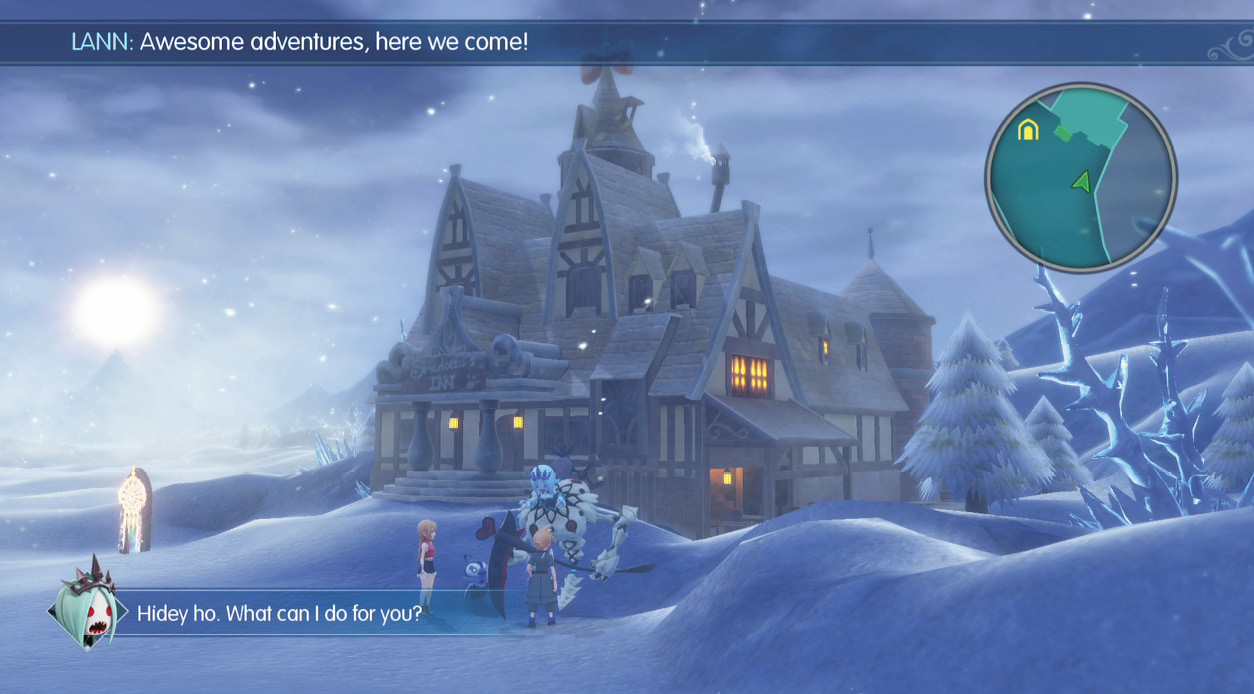
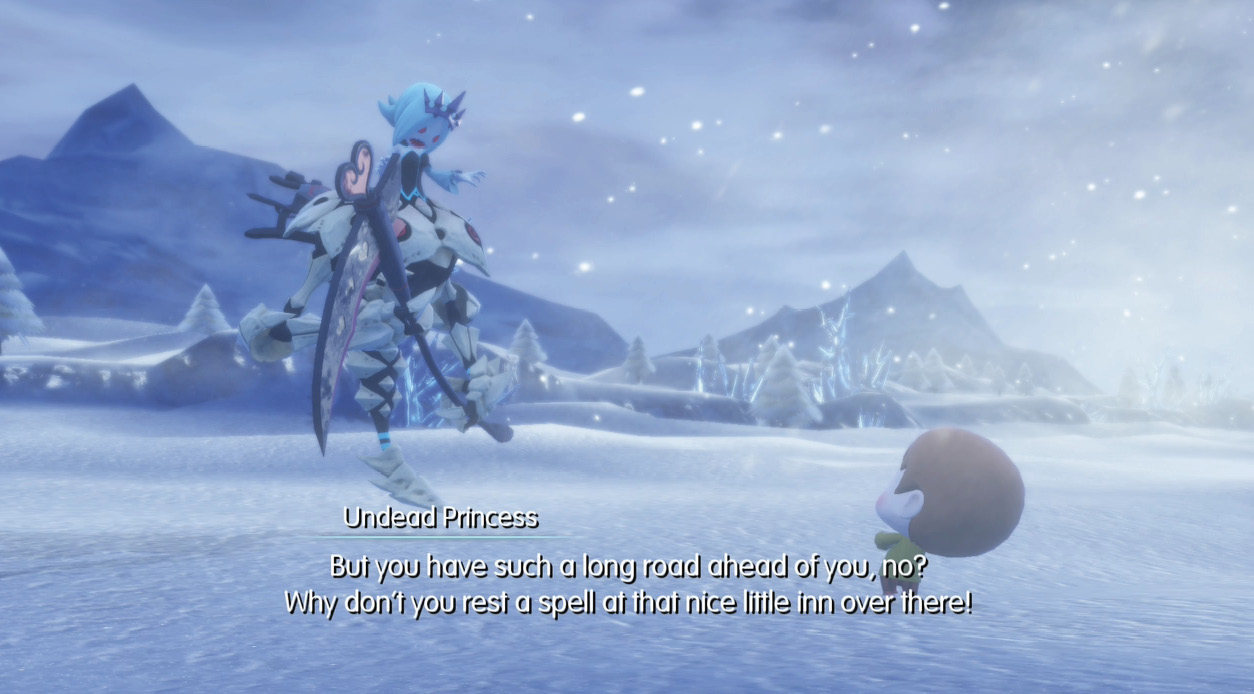
This is anything involving dialogue (characters talking to one another, etc.) and cutscenes (cinematic events). If you’re playing for the first time or just want to relive the excitement, simply sit back and watch the narrative unfold during this phase.
All About the Adventure Log
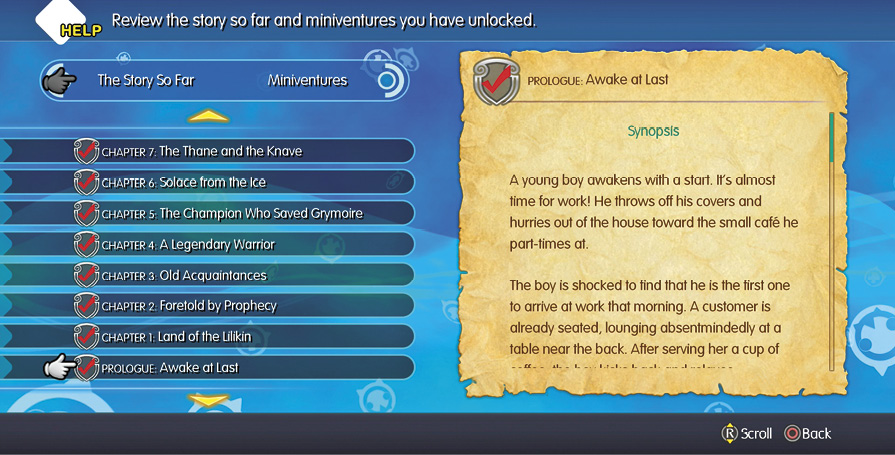
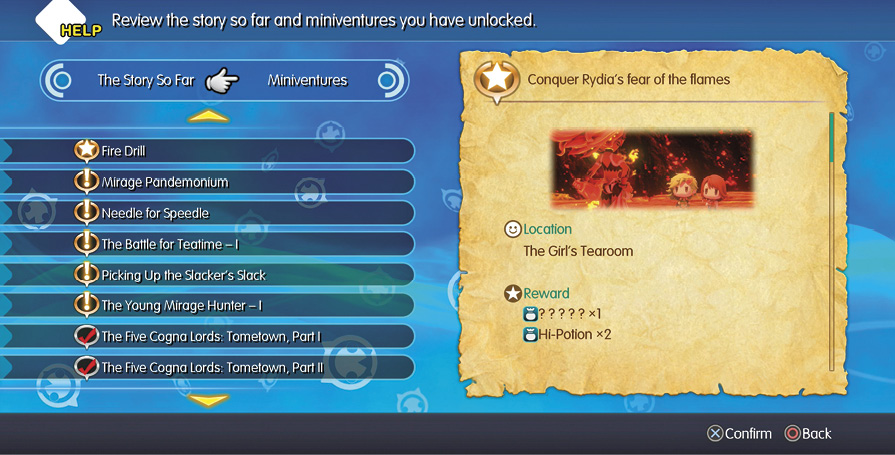
The Adventure Log, found in the game menu, is your one-stop shop for keeping track of your narrative exploits. The tab on the left labeled “The Story So Far” lets you see where you are in the main story. It’s great for catching yourself up if you’ve been away from the game for a while. Meanwhile, the Miniventures tab lets you keep track of your progress in any side quests.
The Miniventures tab has one more feature: you can accept rewards for completed side quests from it. Just highlight any quest you’ve completed that has a reward waiting, and press  to receive the reward.
World Exploration
World Exploration counts as moving around anywhere in Grymoire that isn’t a dungeon—towns, regions, or the World Map itself.
Towns and Regions
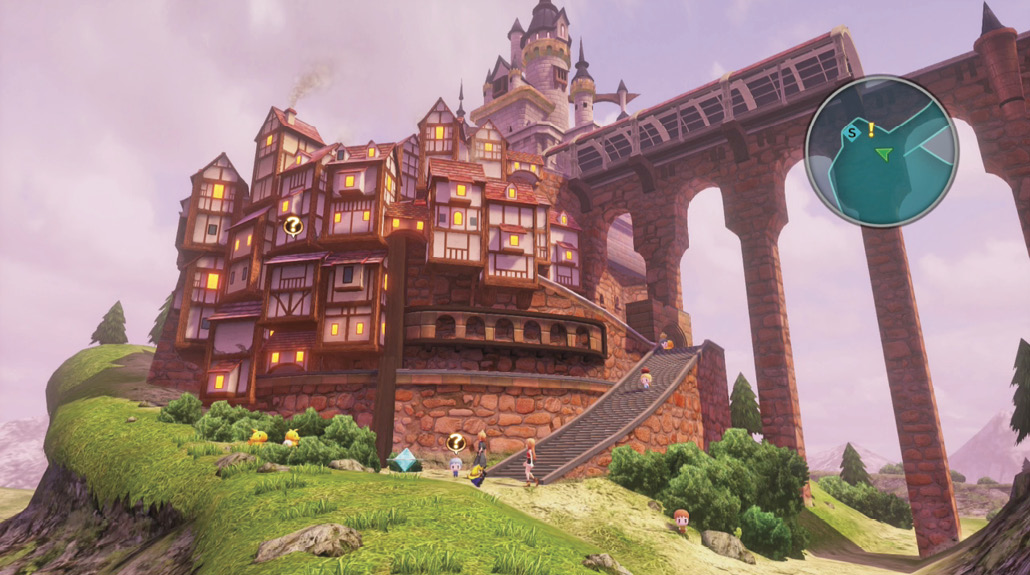
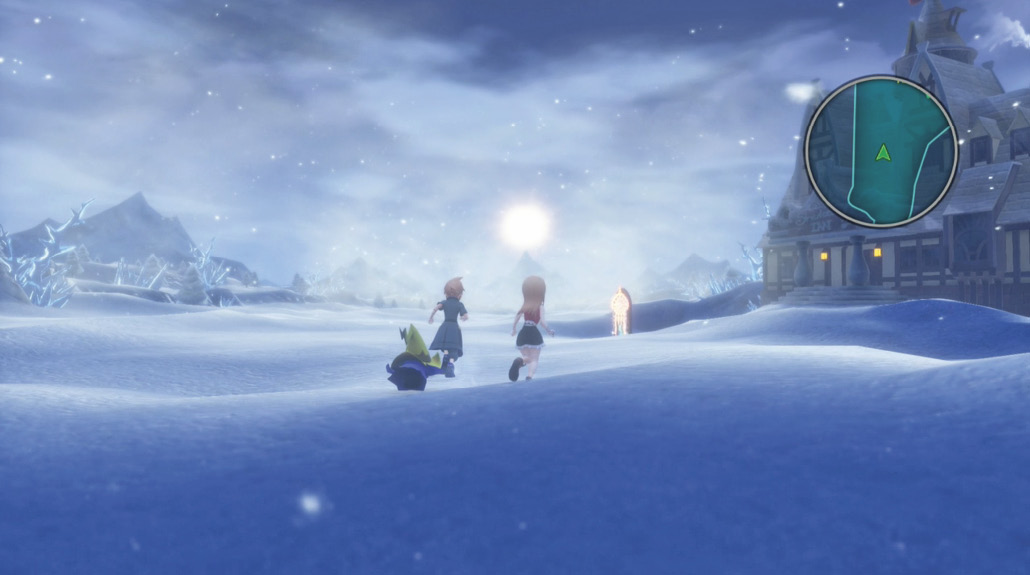
Towns and regions are neutral areas where you’ll be able to discover new territories, advance the story, find side quests to undertake, and search for hidden rewards. When in a town or region, you won’t usually need to have your guard up for battles. But sometimes, the story can put you in situations you didn’t expect, so don’t completely rest on your laurels, either
Leader Switch
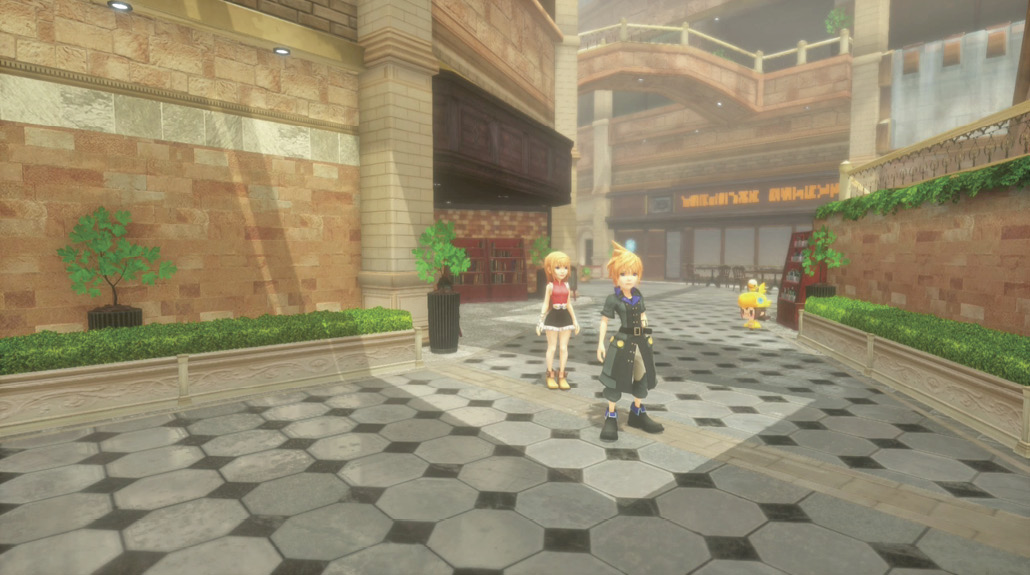
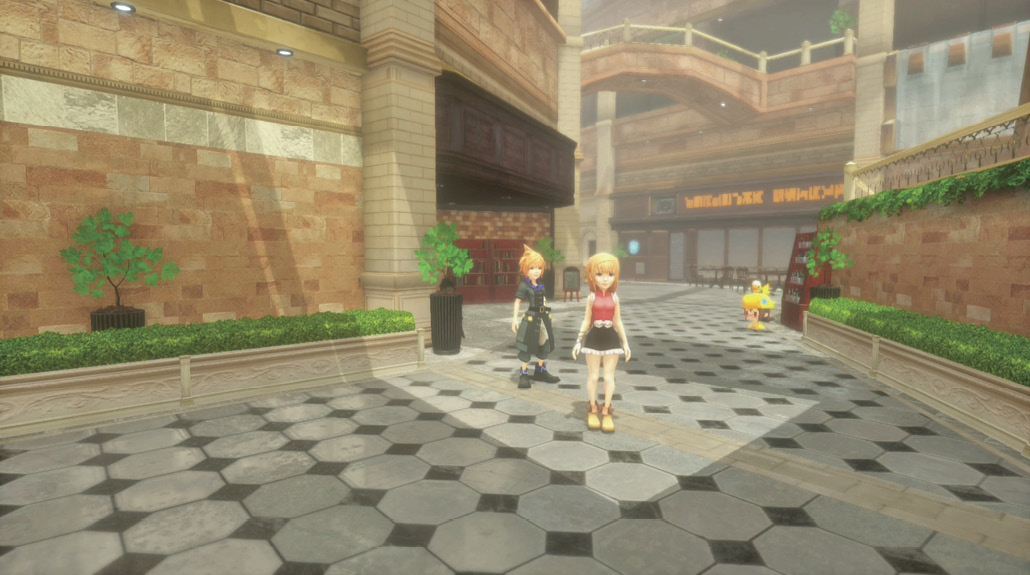
While traveling, you can press R1 to switch who’s in front: Reynn or Lann. Honestly, this is really just for fun, but it’s hardly fair to leave one sibling in the spotlight all the time, is it?
Save Crystals
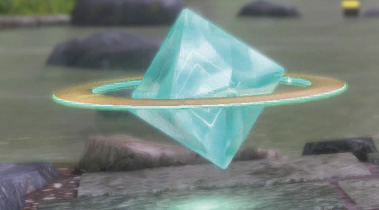
Save Crystals (also found in dungeons!) restore your HP and AP, allow you to save your progress, and let you access the Prism Case. Note that World of Final Fantasy only has one save file, so be sure you don’t have any actions you want to redo before saving at one of these.
Gates
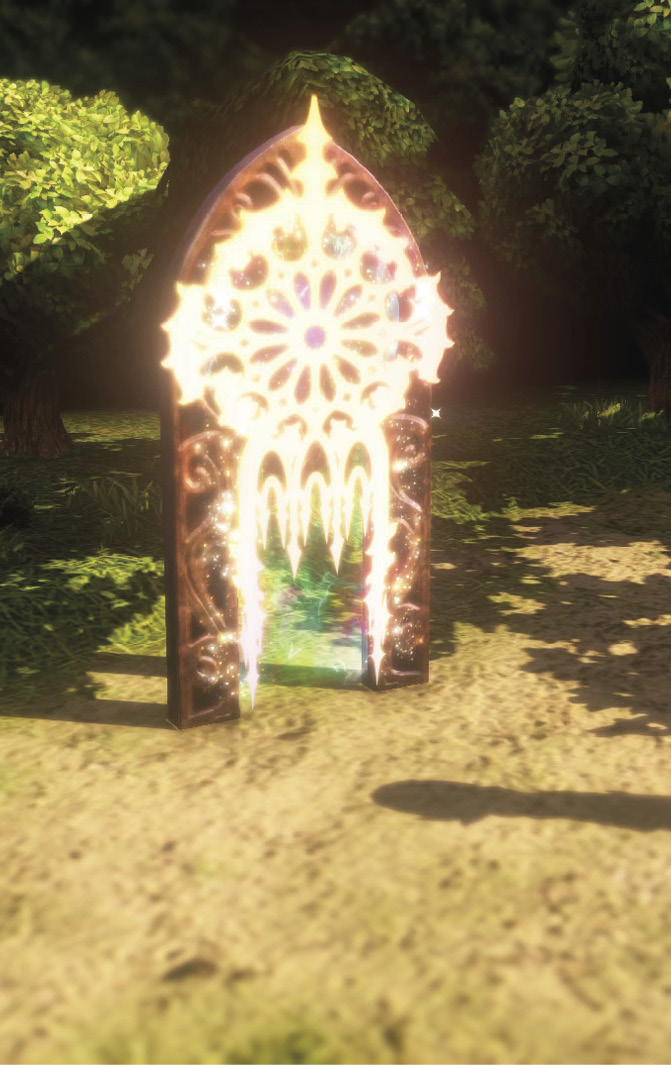
Gates can also be found absolutely everywhere in Grymoire—in dungeons, in towns, and in regions. Any Gate is capable of transporting you back to Nine Wood Hills. The Gate in Nine Wood Hills is capable of transporting you to any place you’ve explored previously.
The only exceptions are Exit Gates, which are red Gates that can be seen in some dungeons. These only leave dungeons one-way.
Fast-Travel
Shortly into the game, you’re given the option to fast-travel to places you’re already visited—and in the case of Nine Wood Hills, anywhere currently accessible within that territory except for the Coliseum. Here’s how to save yourself a whole bunch of time.
Windways
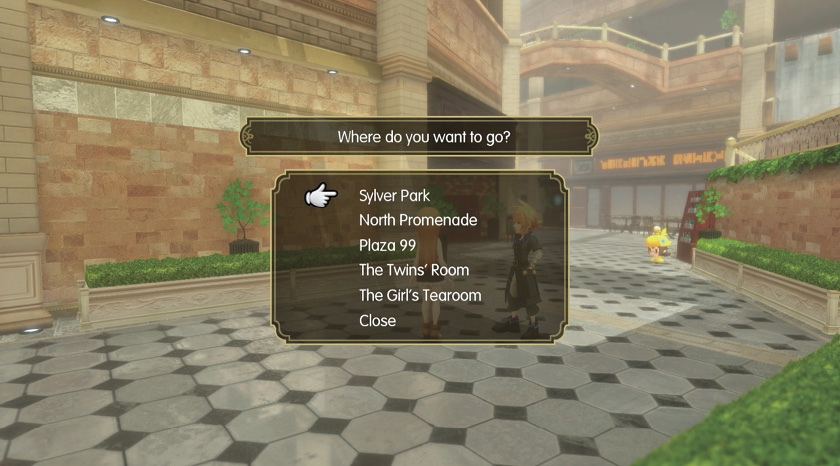
Windways are shown to you early in the main storyline. These are the list of shortcuts accessible by pressing  in Nine Wood Hills. You can use these to go anywhere around Nine Wood Hills in a hurry.
Airship
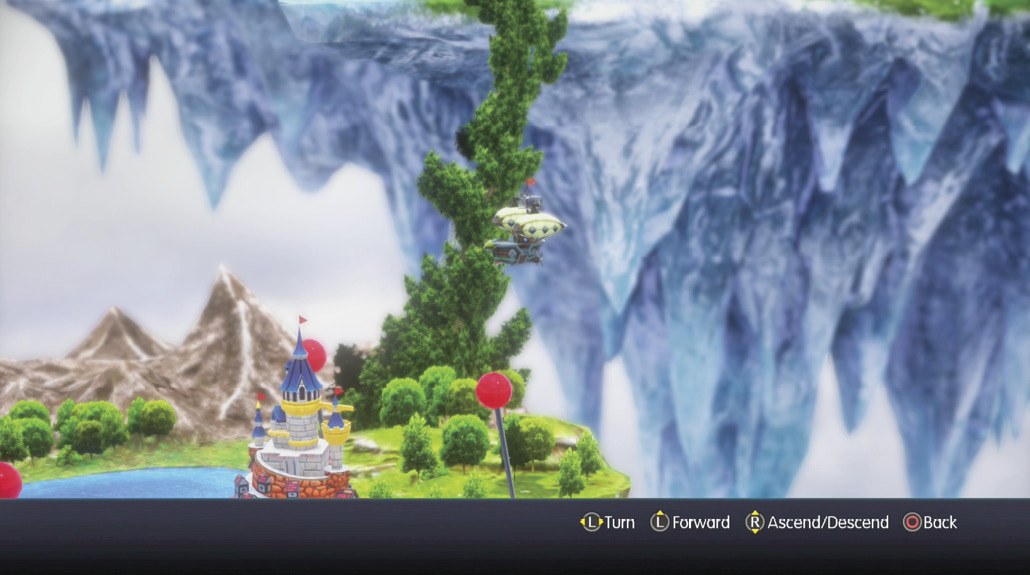
Late in the main storyline, you’ll gain access to the airship, which lets you fly around the World Map by pressing  on the location menu screen. This is less of a mode of fast-travel and more of a way of surveying the world and finding secrets, however.
Airship Fast Travel
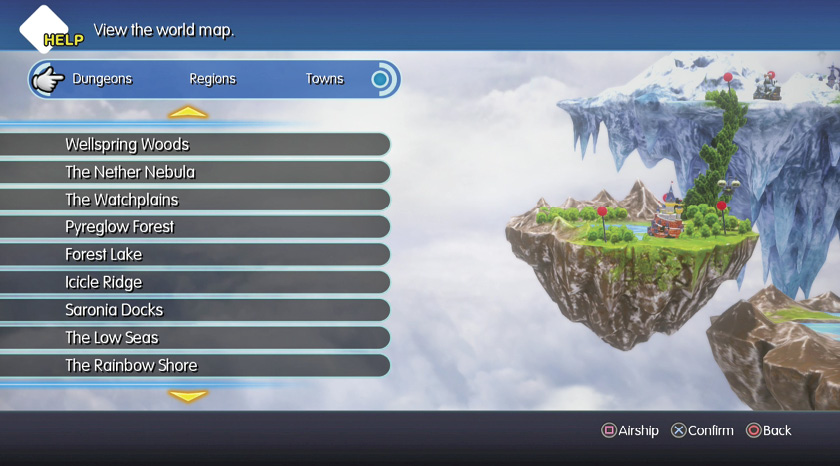
Now this is what we’re talking about! Once you get the airship, you can access the area map by pressing TOUCHPAD, then press  to bring up the World Map menu. From here you can access Towns, Regions and Dungeons. You can also fast-travel to the Coliseum using this method (it’ll be listed in the Town section).
Map Screens
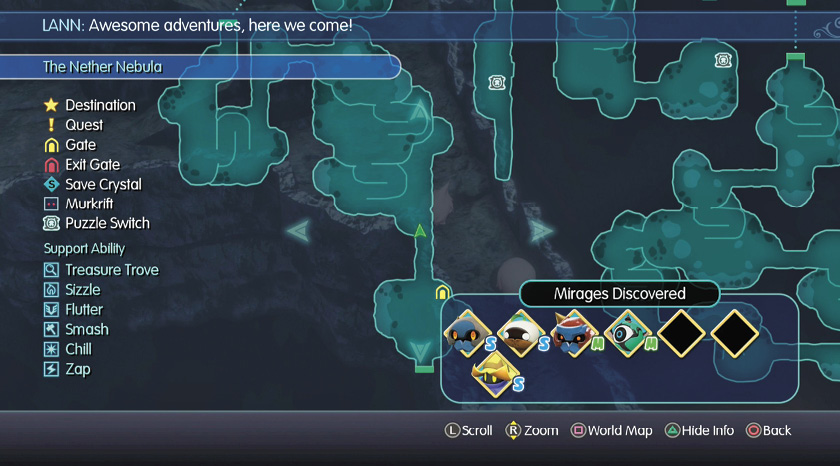
As mentioned earlier, during your travels, you can press TOUCHPAD anywhere in the game (be it a dungeon, region, or town) to open up the map screen. Pressing  while in the map screen will open up an icons legend that points out places and things of note.
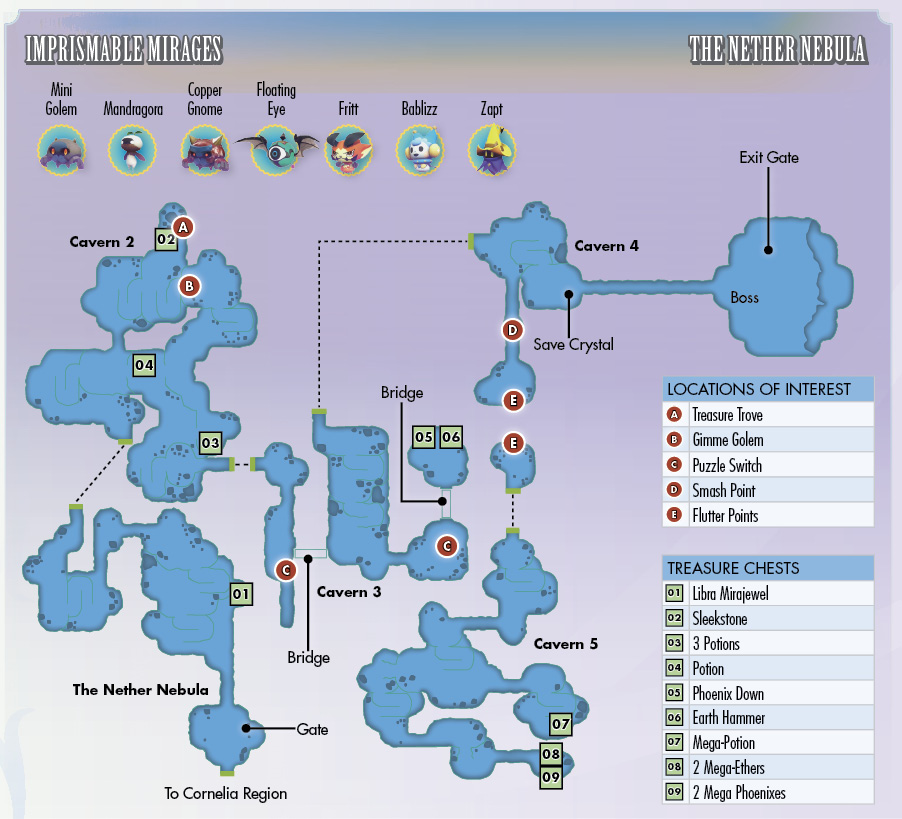
In this guide’s walkthrough, the maps are reproduced, and you will be able to use the icons legend to find notable items and locations, just like in the game.
Chocolatte Mart
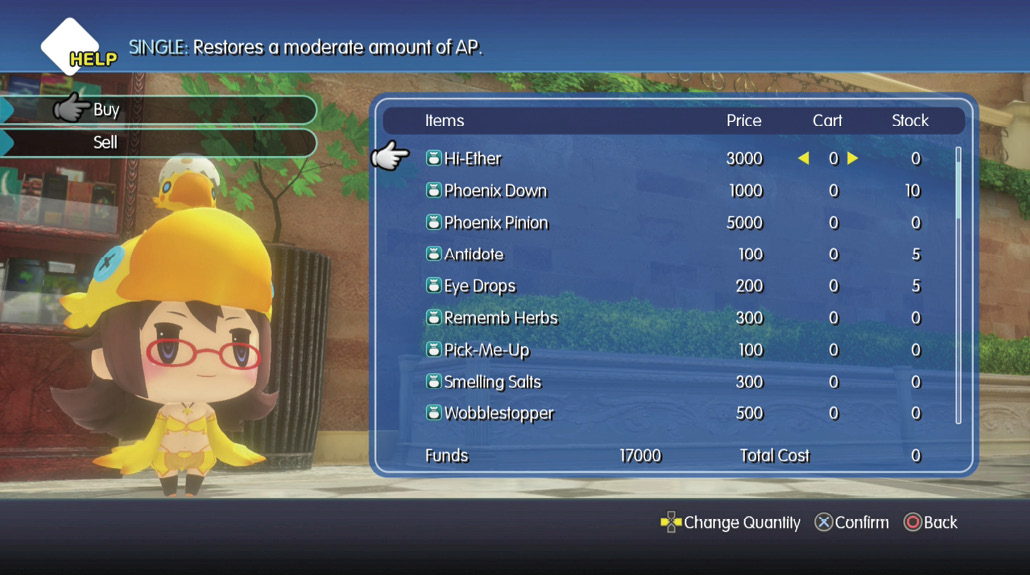
The Chocolatte Mart can be found in the North Promenade in Nine Wood Hills. Chocolatte will be glad to sell you all of the supplies you need for your adventure, so long as you have enough gil. Her shop updates as you progress through your adventure, so come back often! For a complete listing of what Chocolatte ends up selling, check the Encyclopedia chapter at the end of this guide.
Dungeon Exploration
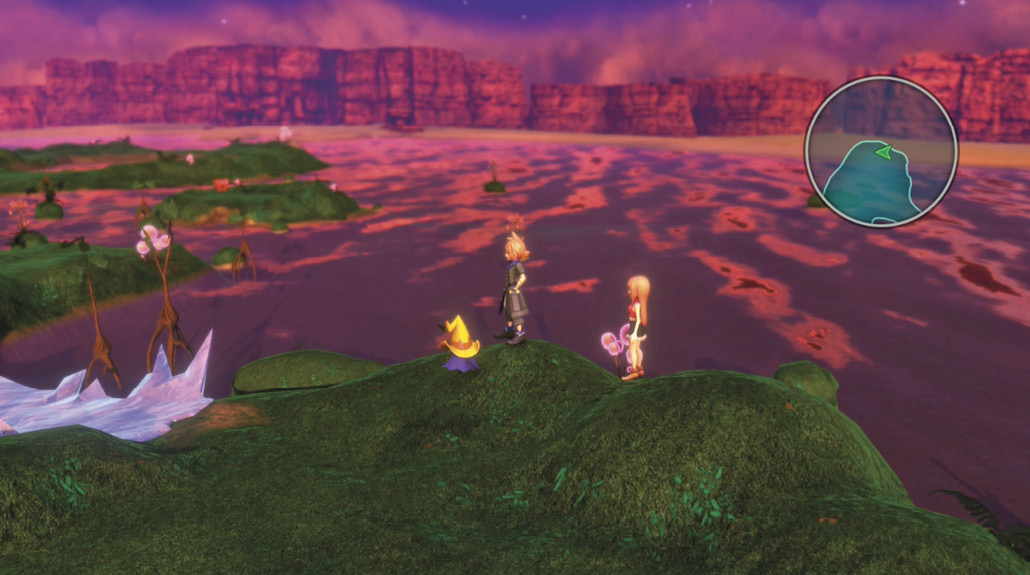
Dungeons are the true trials of the game. You’ll explore several of these areas to find items and secrets, fight enemies, and battle bosses.
Not all dungeons are spooky and scary—many in Grymoire are sunny and colorful. However, the sunny ones are no less dangerous, as enemies inhabit absolutely all of them!
Treasure Chests and Other Interactibles
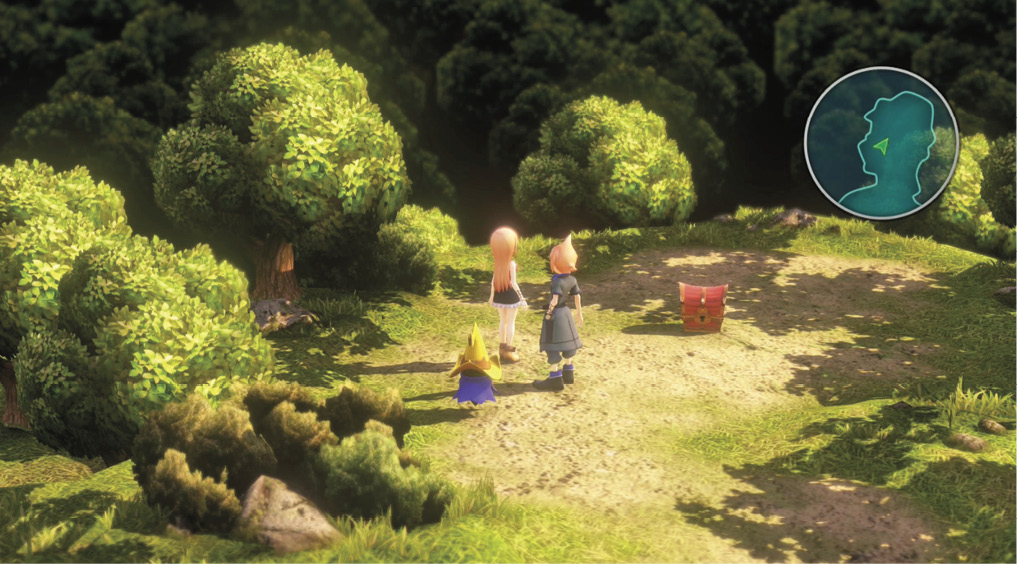
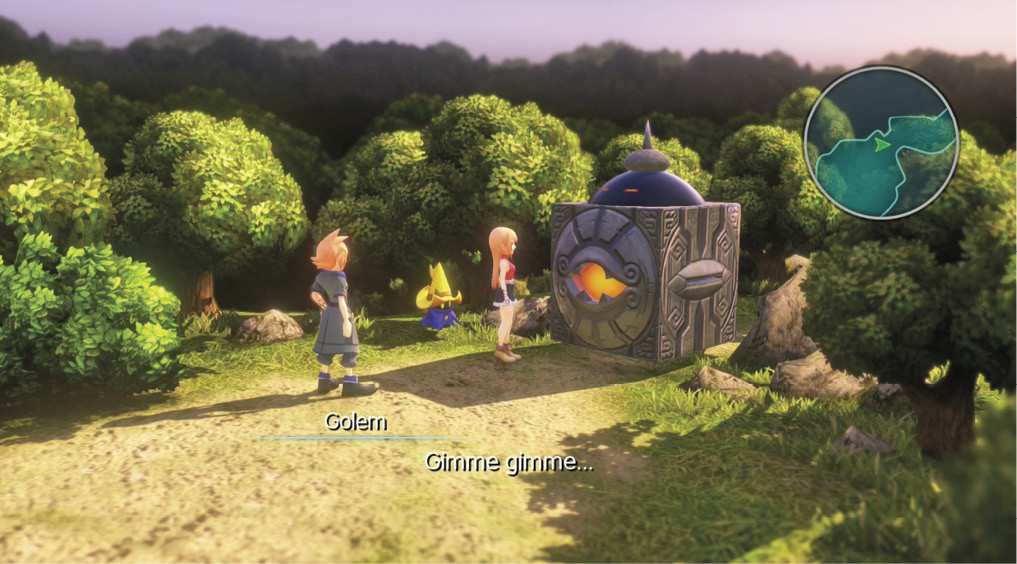
Interactible objects are all over the place in dungeons. To use one, just walk up to it, press  , and go with its reaction.
The most notable interactibles you’ll find in dungeons are treasure chests. Usually, opening a treasure chest will yield a useful item. Sometimes, though, it’ll be a mimic Mirage that’ll instantly trigger a battle (which is an opportunity in disguise since mimics are imprismable).
Other interactible objects exist, as well, such as buttons, switches, and the notorious Gimme Golem, whose sole job is to sit there blocking your path unless you give it an item that’s usually hidden nearby.
Support Abilities
There are seven particular abilities that you should keep track of quite independently of anything else. Six of the seven support abilities are used to help Reynn and Lann circumvent various obstacles on the field (while Joyride simply gets you around faster). Fortunately, Support Abilities are typically the first or second nodes on a Mirage’s board, and as such, they can be unlocked within seconds of imprisment.
| Icon | Ability Name | Description | Mirages |
|---|---|---|---|

|
Chill | SUPPORT: Cool hot areas or freeze water. | Bablizz, Brrblizz, Quachacho, Mindflayer, Squidraken |

|
Flutter | SUPPORT: Fly Reynn and Lann a short distance. | Floating Eye, Blood Eye, Moogle, Master Moogle |

|
Sizzle | SUPPORT: Burn obstacles or light fuses. | Red Captain, Fritt, Weeglee, Black Nakk, Cockatrice, Bomb |

|
Smash | SUPPORT: Remove obstacles through brute strength. | Mythril Giant, Chrome Giant, Red Dragon, Holy Dragon, Minotaur, Asterius |

|
Zap | SUPPORT: Activate machinery by charging it with electricity. | Zapt, Joult, Searcher, Security Eye, Death Searcher, Entom Guard |
| Ability Name | Description | Mirages |
|---|---|---|
| Joyride | SUPPORT: Serve as a mode of transportation for Reynn and Lann. | Tamamohimé, Chocobo, Mecha Chocobo, Hyperion, Malboro, Malboro Menace, Fenrir, Elefenrir, Behemoth, Right Claw, Flan, Sharqual, Kyubi, Kuza Beast, Nightsqual, Magitek Armor, Magitek Armor A, Magna Roaders (all three types), Omega, Omega Bane, Mecha Chocobo |
| Stroll | SUPPORT: Walk alongside Reynn and Lann in the field. | Tama, Yurugu, Chocochick, Black Chocochick, Mu, Reaver Mu, Mandragora, Korrigan, Fritt, Weeglee, Bablizz, Brrblizz, Zapt, Joult, White Nakk, Black Nakk, Moogle, Cactuar, Cactrot, Quacho, Quachacho, Baby Tonberry, Baby Paleberry, Bombino, Water Toad, Lucky Toad, Wind Toad, Searcher, Security Eye, Death Searcher, Master Moogle, Master Cactuar |
Support Abilities do not typically transfer between Mirages’ transfigurations, as you might notice from the above list. This doesn’t mean that you can get yourself stuck by transfiguring a necessary Mirage, however; you can always change a Mirage back to its prior forms for free from the Prism Case menu. Remember that the Prism Case menu is accessible through the Seraphone, Gates back to Nine Wood Hills, or Save Crystals, so you’re never far from options.
Failing that, if you absolutely must have a specific Support Ability in order to keep going through the dungeon, there’s typically at least one Mirage on the local random encounter table that has that ability. Since Support Abilities are always cheap and easily accessed, you can reach and acquire them with the first 3 points you get upon imprisming it.
Secret Areas
Nearly every dungeon has a secret area accessible by using a combination of the right Support Ability and your wits. It’s a good idea to find these because you can score yourself some rare Mirages and/or loot.
All of the maps in this guide’s Walkthrough contain locations and how-tos for reaching these hidden places, so take advantage!
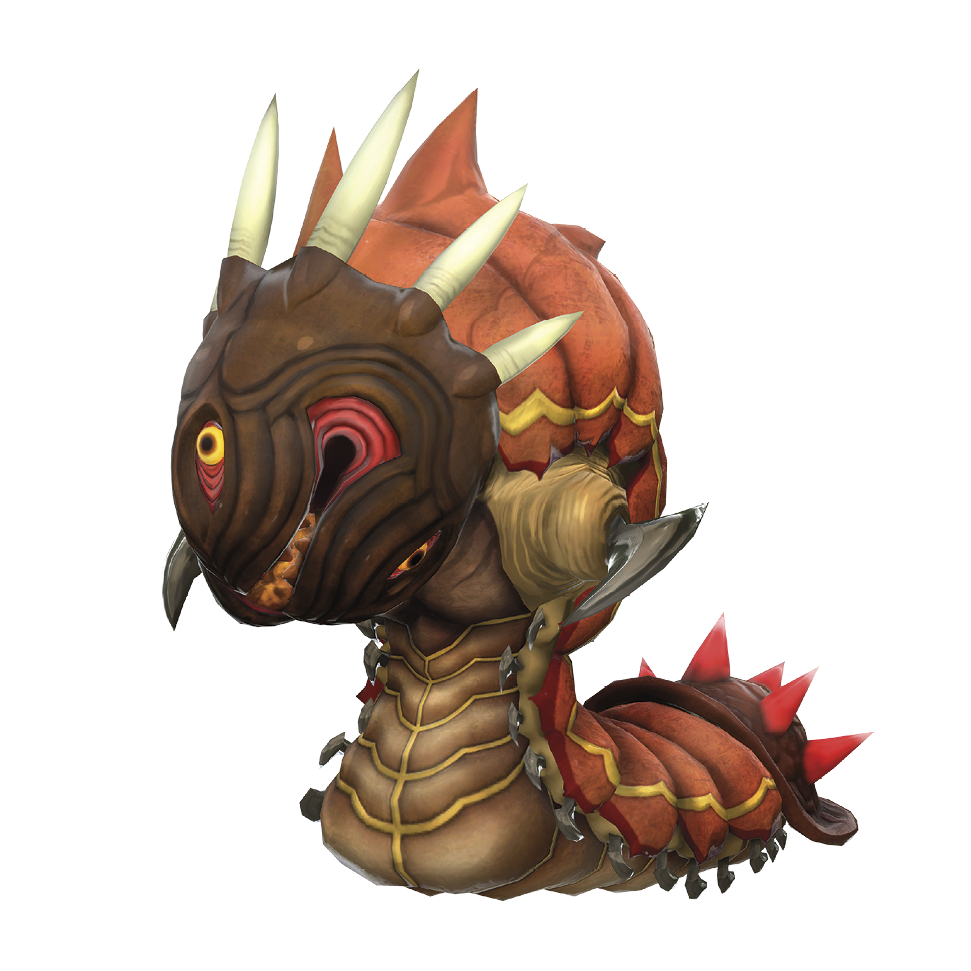
Murkrifts
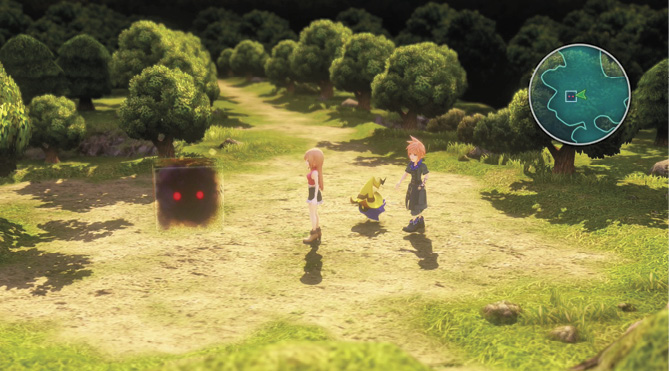
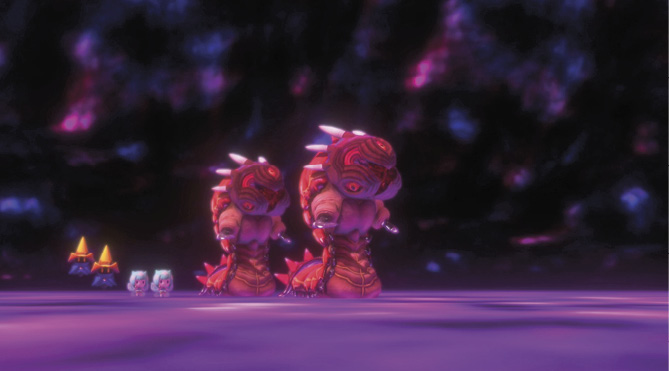
Murkrifts are dark places that can be home to rare and dangerous Mirages. However, great imprisming opportunities can be found here, if you survive the battle within.
If you see a murkrift, you’ll have to decide whether or not you’re in good enough shape to take on a surprise challenge. If you think you can handle it, press  to start the fight!
Puzzle Switches
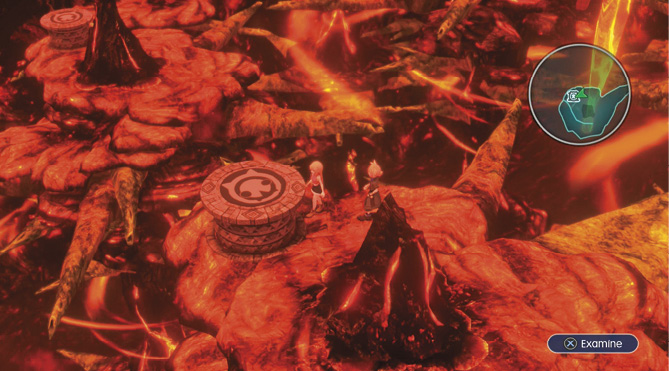
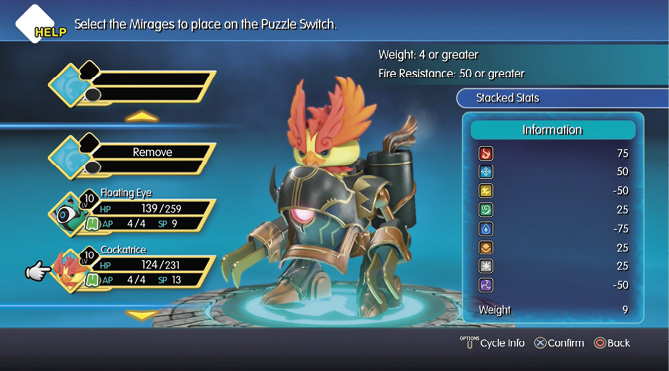
Puzzle switches lie in dungeons, waiting for just the right combination of Mirages to trigger them. You’ll need to combine Mirages to achieve certain weights and elemental resistances to solve them. It’s a good idea to solve these, as they’ll usually lead the way to secret bounties.
Battles
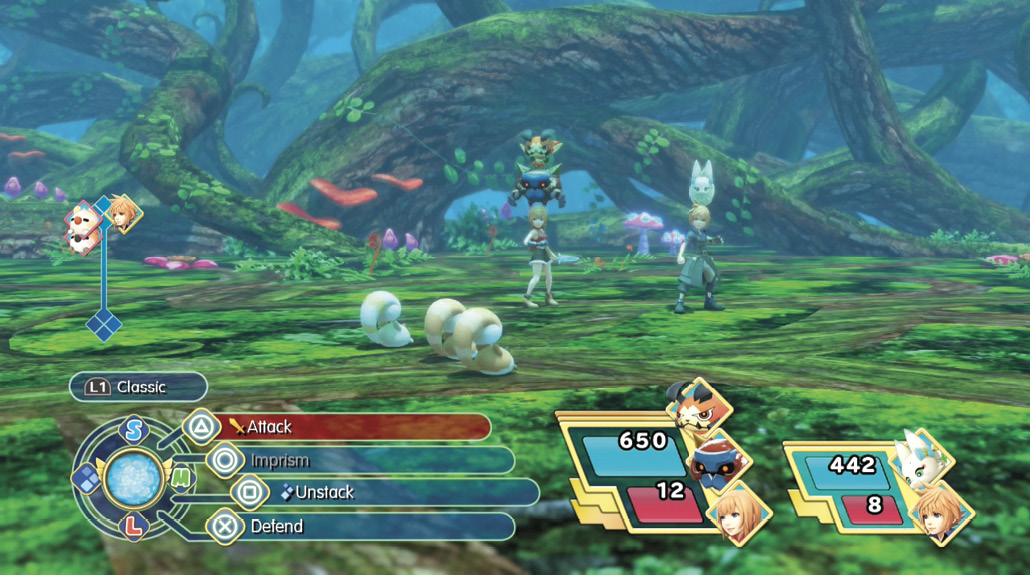
The nitty-gritty, down-and-dirty showdowns of the game! This is where you match your wits and might against the Mirages of Grymoire. If you want to learn all about battles and how to survive them, look no further than the next section of this chapter.
Side Quests
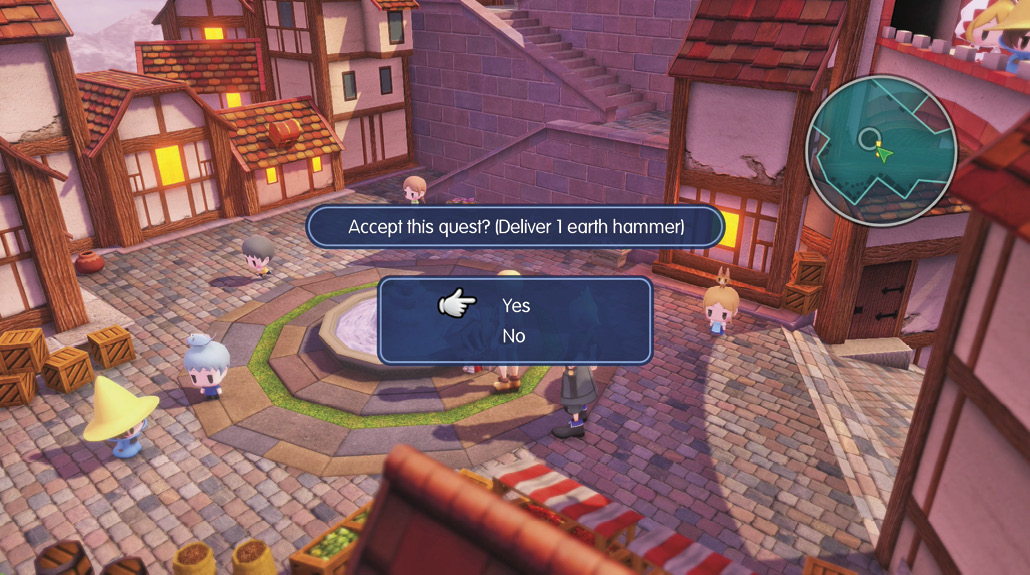
Side quests can be made up of any or all of the above phases. What’s more, there are three types of them: Town Quests, Intervention Quests, and Coliseum Battles. For everything you could possibly want to know about side quests, visit the Side Quests chapter.