World of Final Fantasy Guide Main Story Walkthrough
Chapter 18: The Fell Spell and the Quacho Queen
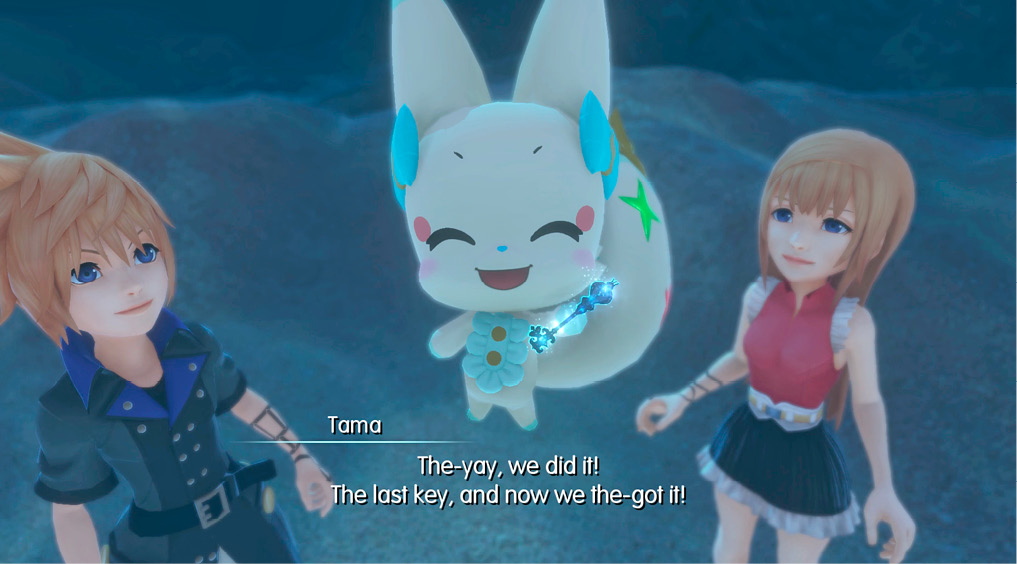
With three of the four keys in their possession, Reynn and Lann are off to travel to the continent above the Eclipsed Region to retrieve the final key. They see a brightly lit train station off in the distance, northeast of Tometown. Tama figures that the train there may be able to take them to where they need to go. But… Besaid is, quite literally, up above…
| Action Checklist |
|---|
|
1. Enter the train station northeast of Tometown of the Ancients |
|
2. Board the train to Port Besaid |
|
3. Inquire about the Sunken Temple and speak to the pantologist |
|
4. Obtain a quacho ruby |
|
5. Obtain the Key of Tides |
New Intervention Quests
- Two Different Conversations
New Miniventures
- A Dancer’s Dilemma
- Scaling the Walls of Love
Up and Under the Sea
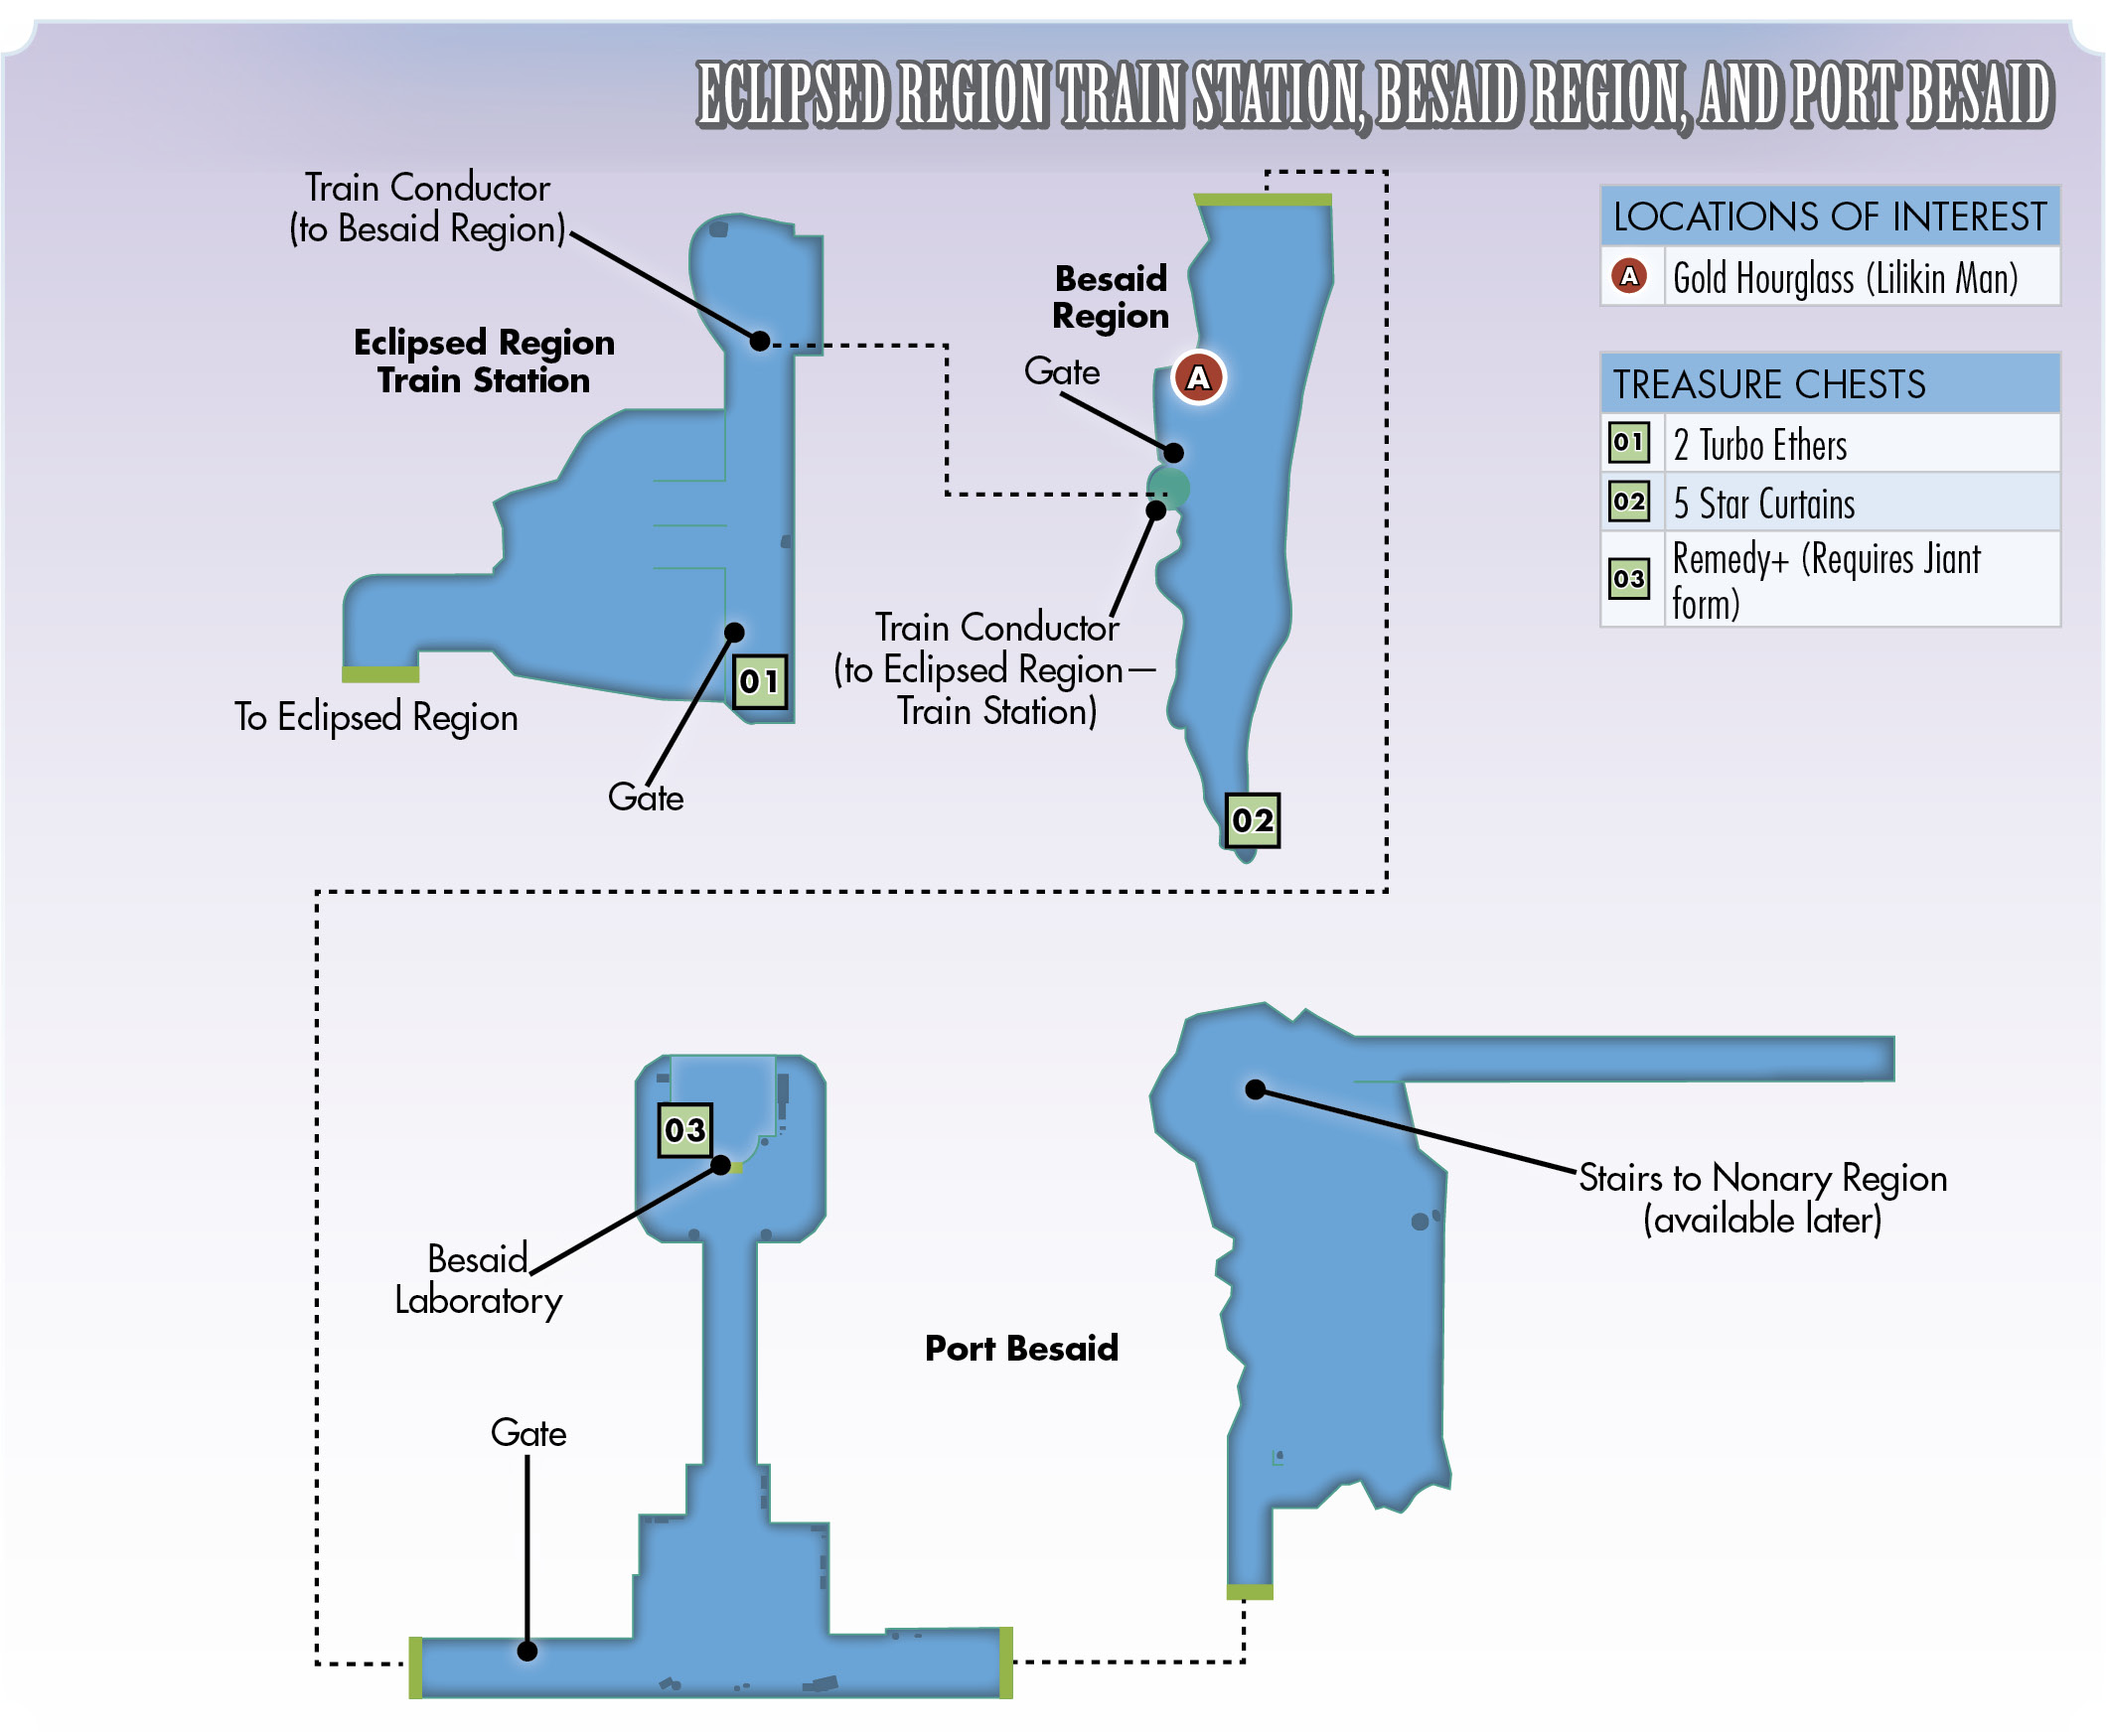
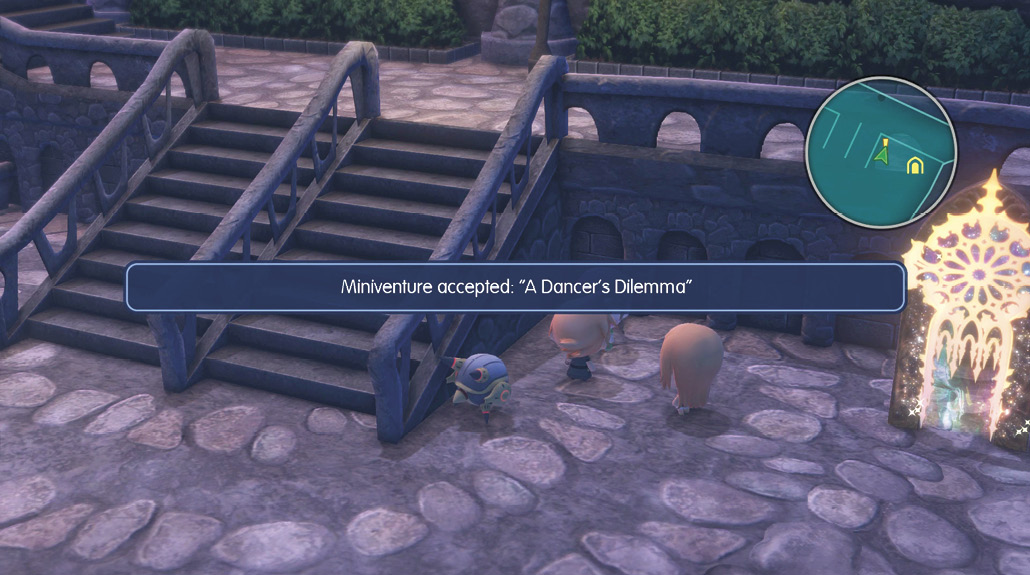
The chapter begins in the Eclipsed Region, with a new waypoint to the northeast of Tometown of the Ancients. Enter the station to trigger a cutscene with the Cactuar Conductor. Here, you can pick up a new Miniventure called “A Dancer’s Dilemma” from a Lilikin woman next to the Gate. All that’s required to complete the objective for the quest is to imprism a female Mirage, which you most likely have done by now (Tama fulfills this quest if you have her with you). You can turn it in immediately here to obtain an Accuracy+ seed.
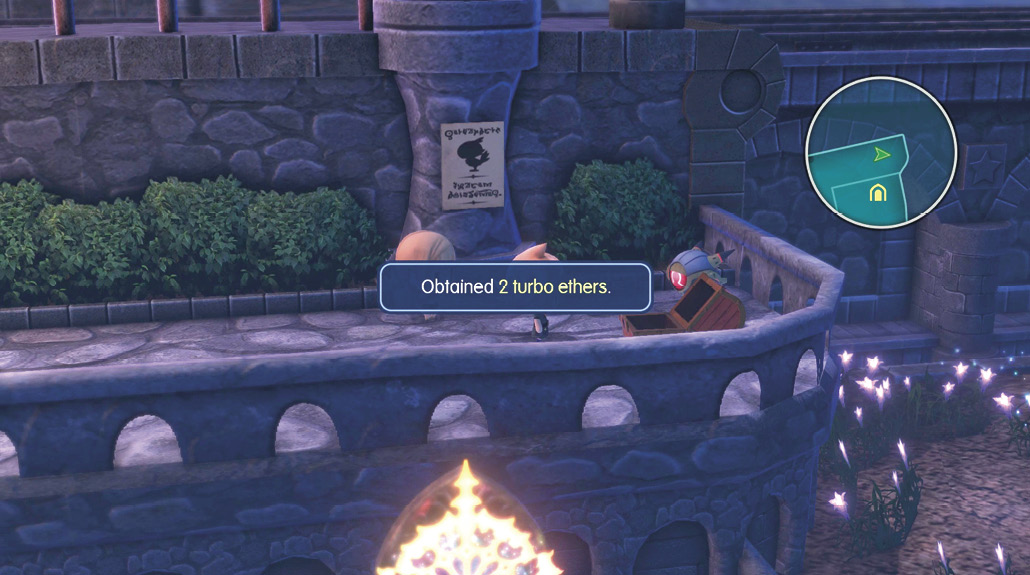
Before you board the train, grab the two turbo ethers in the chest up the stairs (just above the Gate).
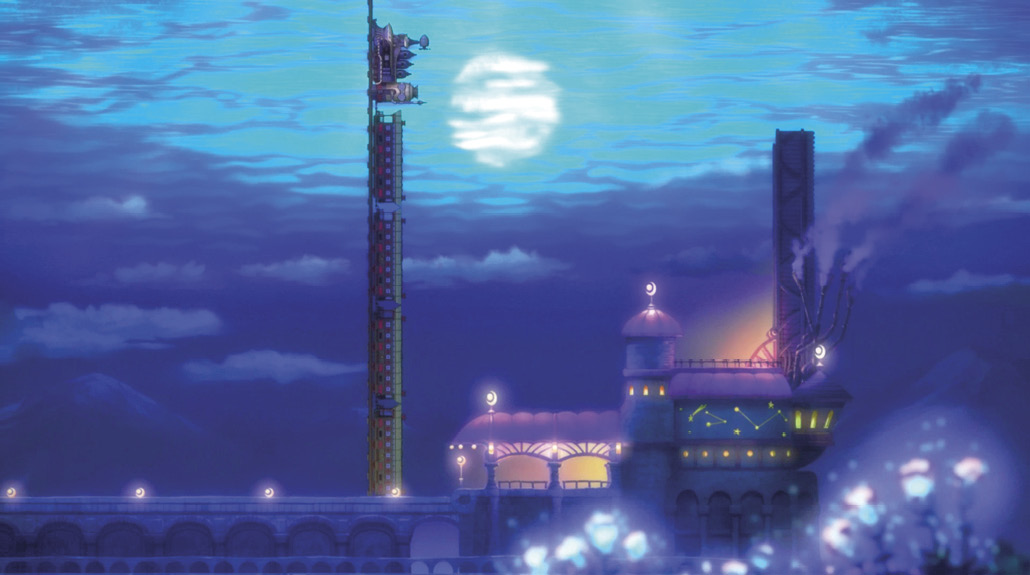
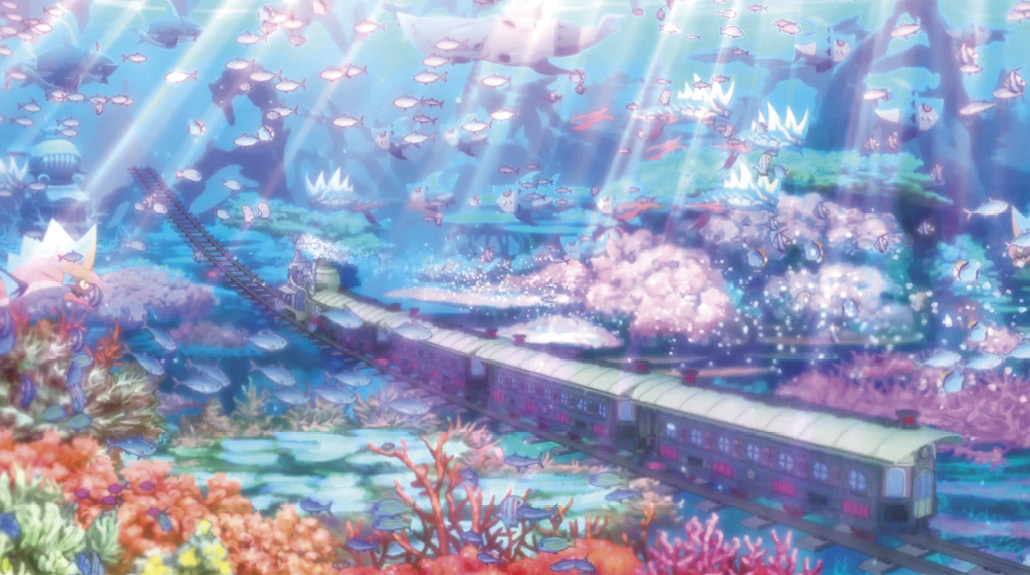
Talk to the Cactuar Conductor to board the train, triggering an animated cutscene. With an amazing defiance of gravity, the train and its tracks stand perpendicular to the ground before ascending. The train eventually enters the “continent above” through an ocean floor and docks near Port Besaid in the Besaid Region.
When you arrive at the beautiful beach, travel south down the sandy shore to get to a treasure chest. Open it to pick up five star curtains, then on your way north, talk to the Lilikin man next to the Gate. He gives you advice regarding the Slow status ailment and a complimentary gold hourglass. Now, enter Port Besaid to begin your inquiry about the “temple in the deep.”
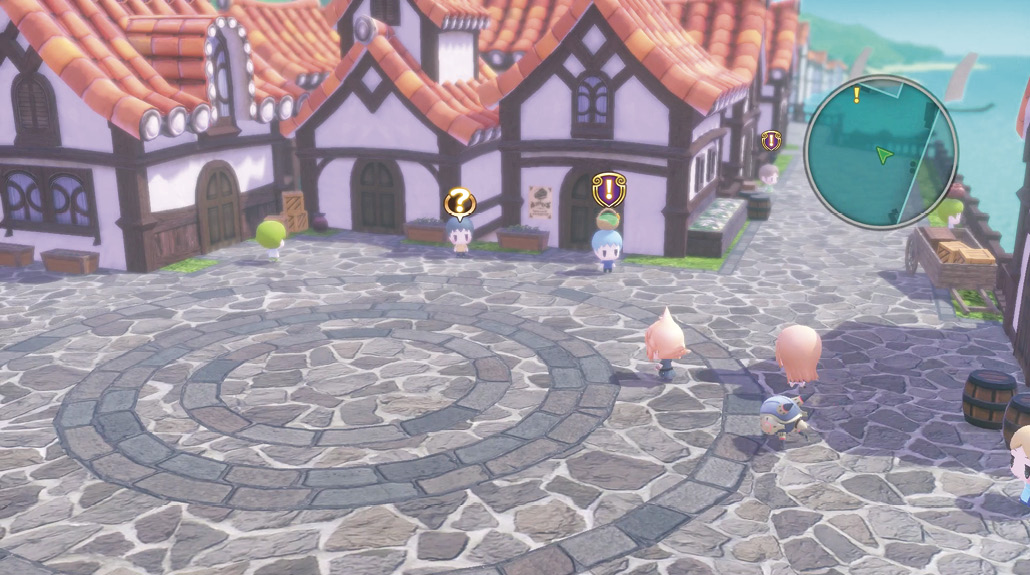
To progress the main quest, start by talking to the locals here (indicated by exclamation point quest markers). You can also accept the “Scaling the Walls of Love” Miniventure quest from one of the Lilikin near the center of town. If you don’t already have the five fish scales required for the quest, you can purchase them from the Chocolatte Mart.
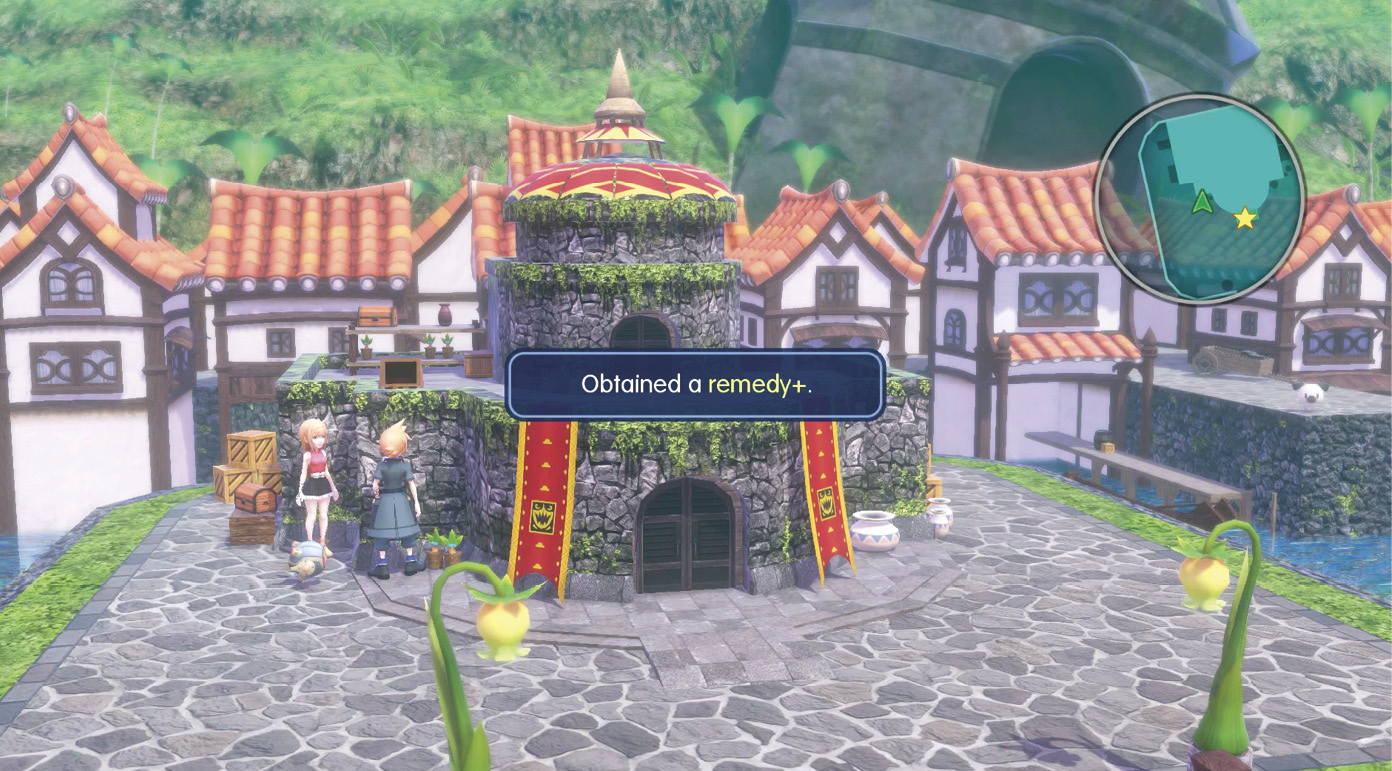
Once you’ve spoken with everyone, Lann notices an advertisement for a “pantologist” in the area. Unlike the townsfolk, maybe this pantologist can help the twins find the Sunken Temple. You can find the pantologist in the Besaid Laboratory at the north side of town. Before you enter the laboratory, open up the chest sitting on top of the left side of the building. You need to be able to reach it, so change your party leader to their Jiant form to obtain the remedy+ inside.
Deep Sea Diving
Enter the laboratory to meet the aforementioned pantologist, Shantotto. The twins ask her for help finding the Sunken Temple, and she’s happy to oblige, taking away Lann’s ability to breathe normally. Reynn accuses her of being a murderer, which Shantotto doesn’t respond kindly to, so you’re forced into an unwinnable encounter.
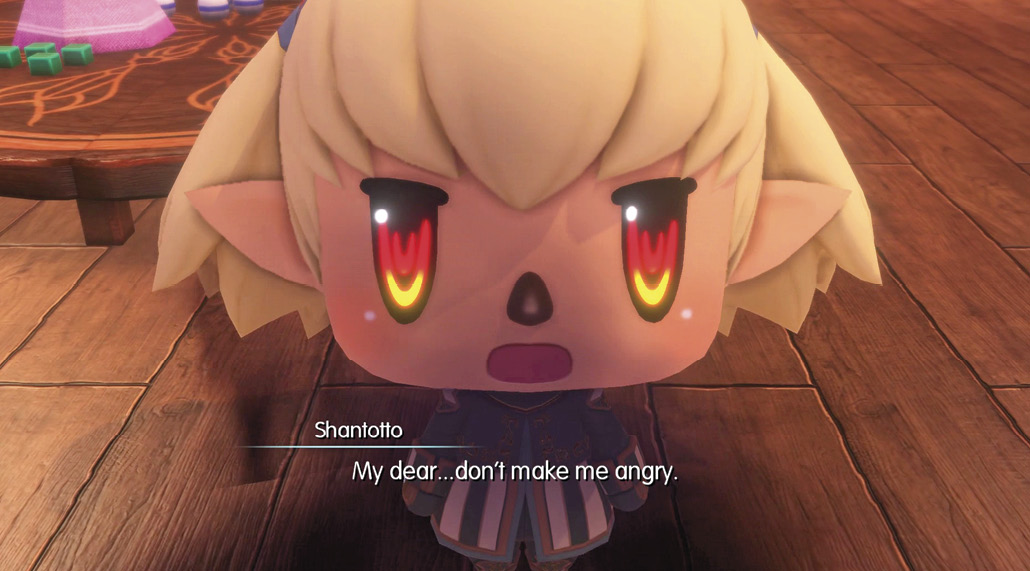
After Shantotto promptly destroys you (don’t worry, it’s not game over), the cutscene continues with Reynn and Lann alive and well.
Although her methods are questionable, Shantotto helps Reynn and Lann with their voyage to the temple by granting them both the ability to breathe underwater. They’re also joined by Tidus, another Champion who serves as their navigator to the temple.
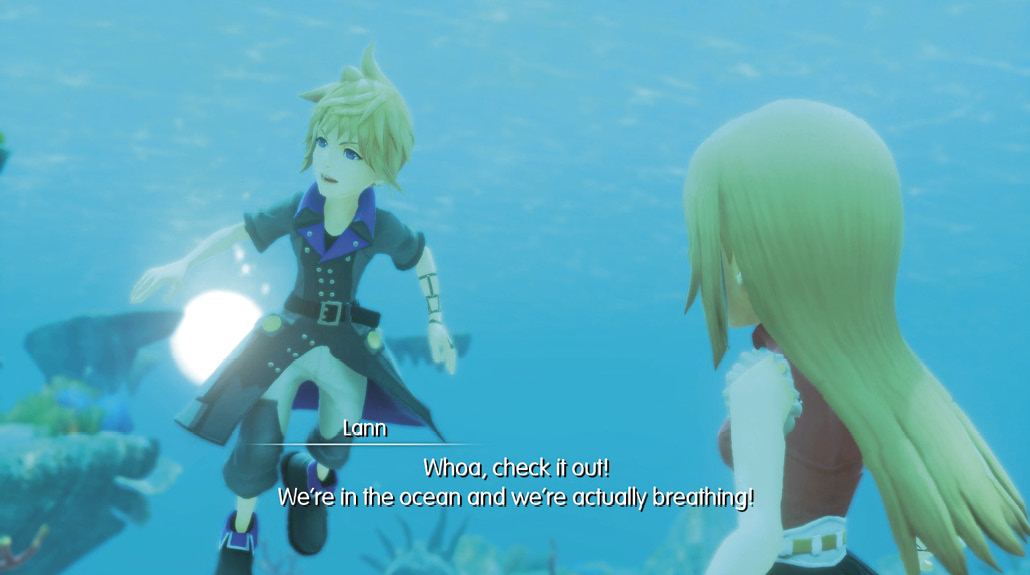
After the cutscene, you start in an area called the Sea. Here, the path to the Sunken Temple is linear. Simply swim forward while collecting the floating orbs along the way until you finally reach the Sunken Temple. Collecting all of the orbs nets you four ethers, four hi-potions, two water spellstones, and five Shell stones.
The Sunken Temple
Upon entering the Sunken Temple, there’s a Gate you can use to teleport back to Nine Wood Hills in case you need to resupply at the Chocolatte Mart or visit the Girl’s Tearoom. However, until you complete the Sunken Temple, you won’t be able to travel to any other location in Grymoire.
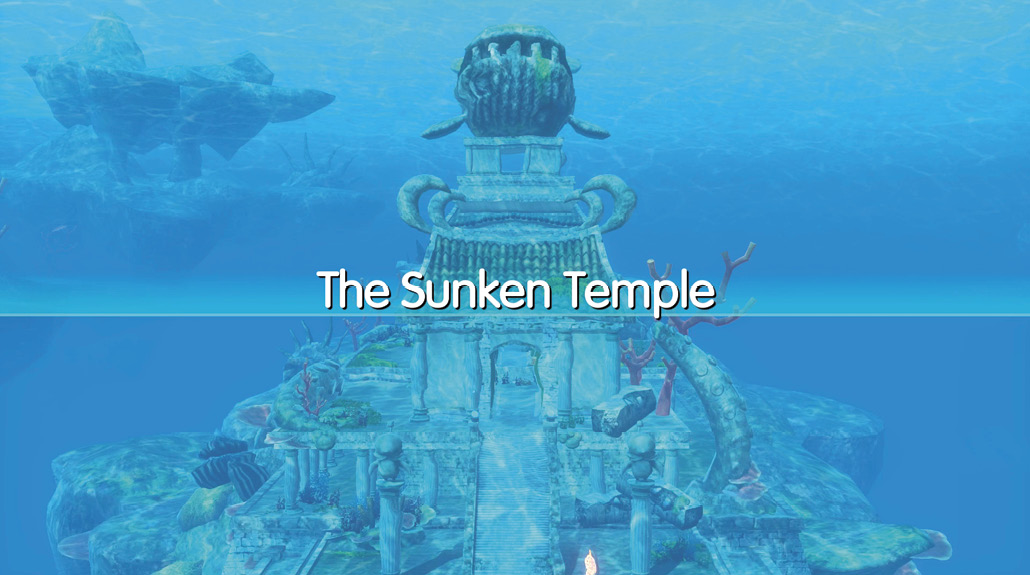
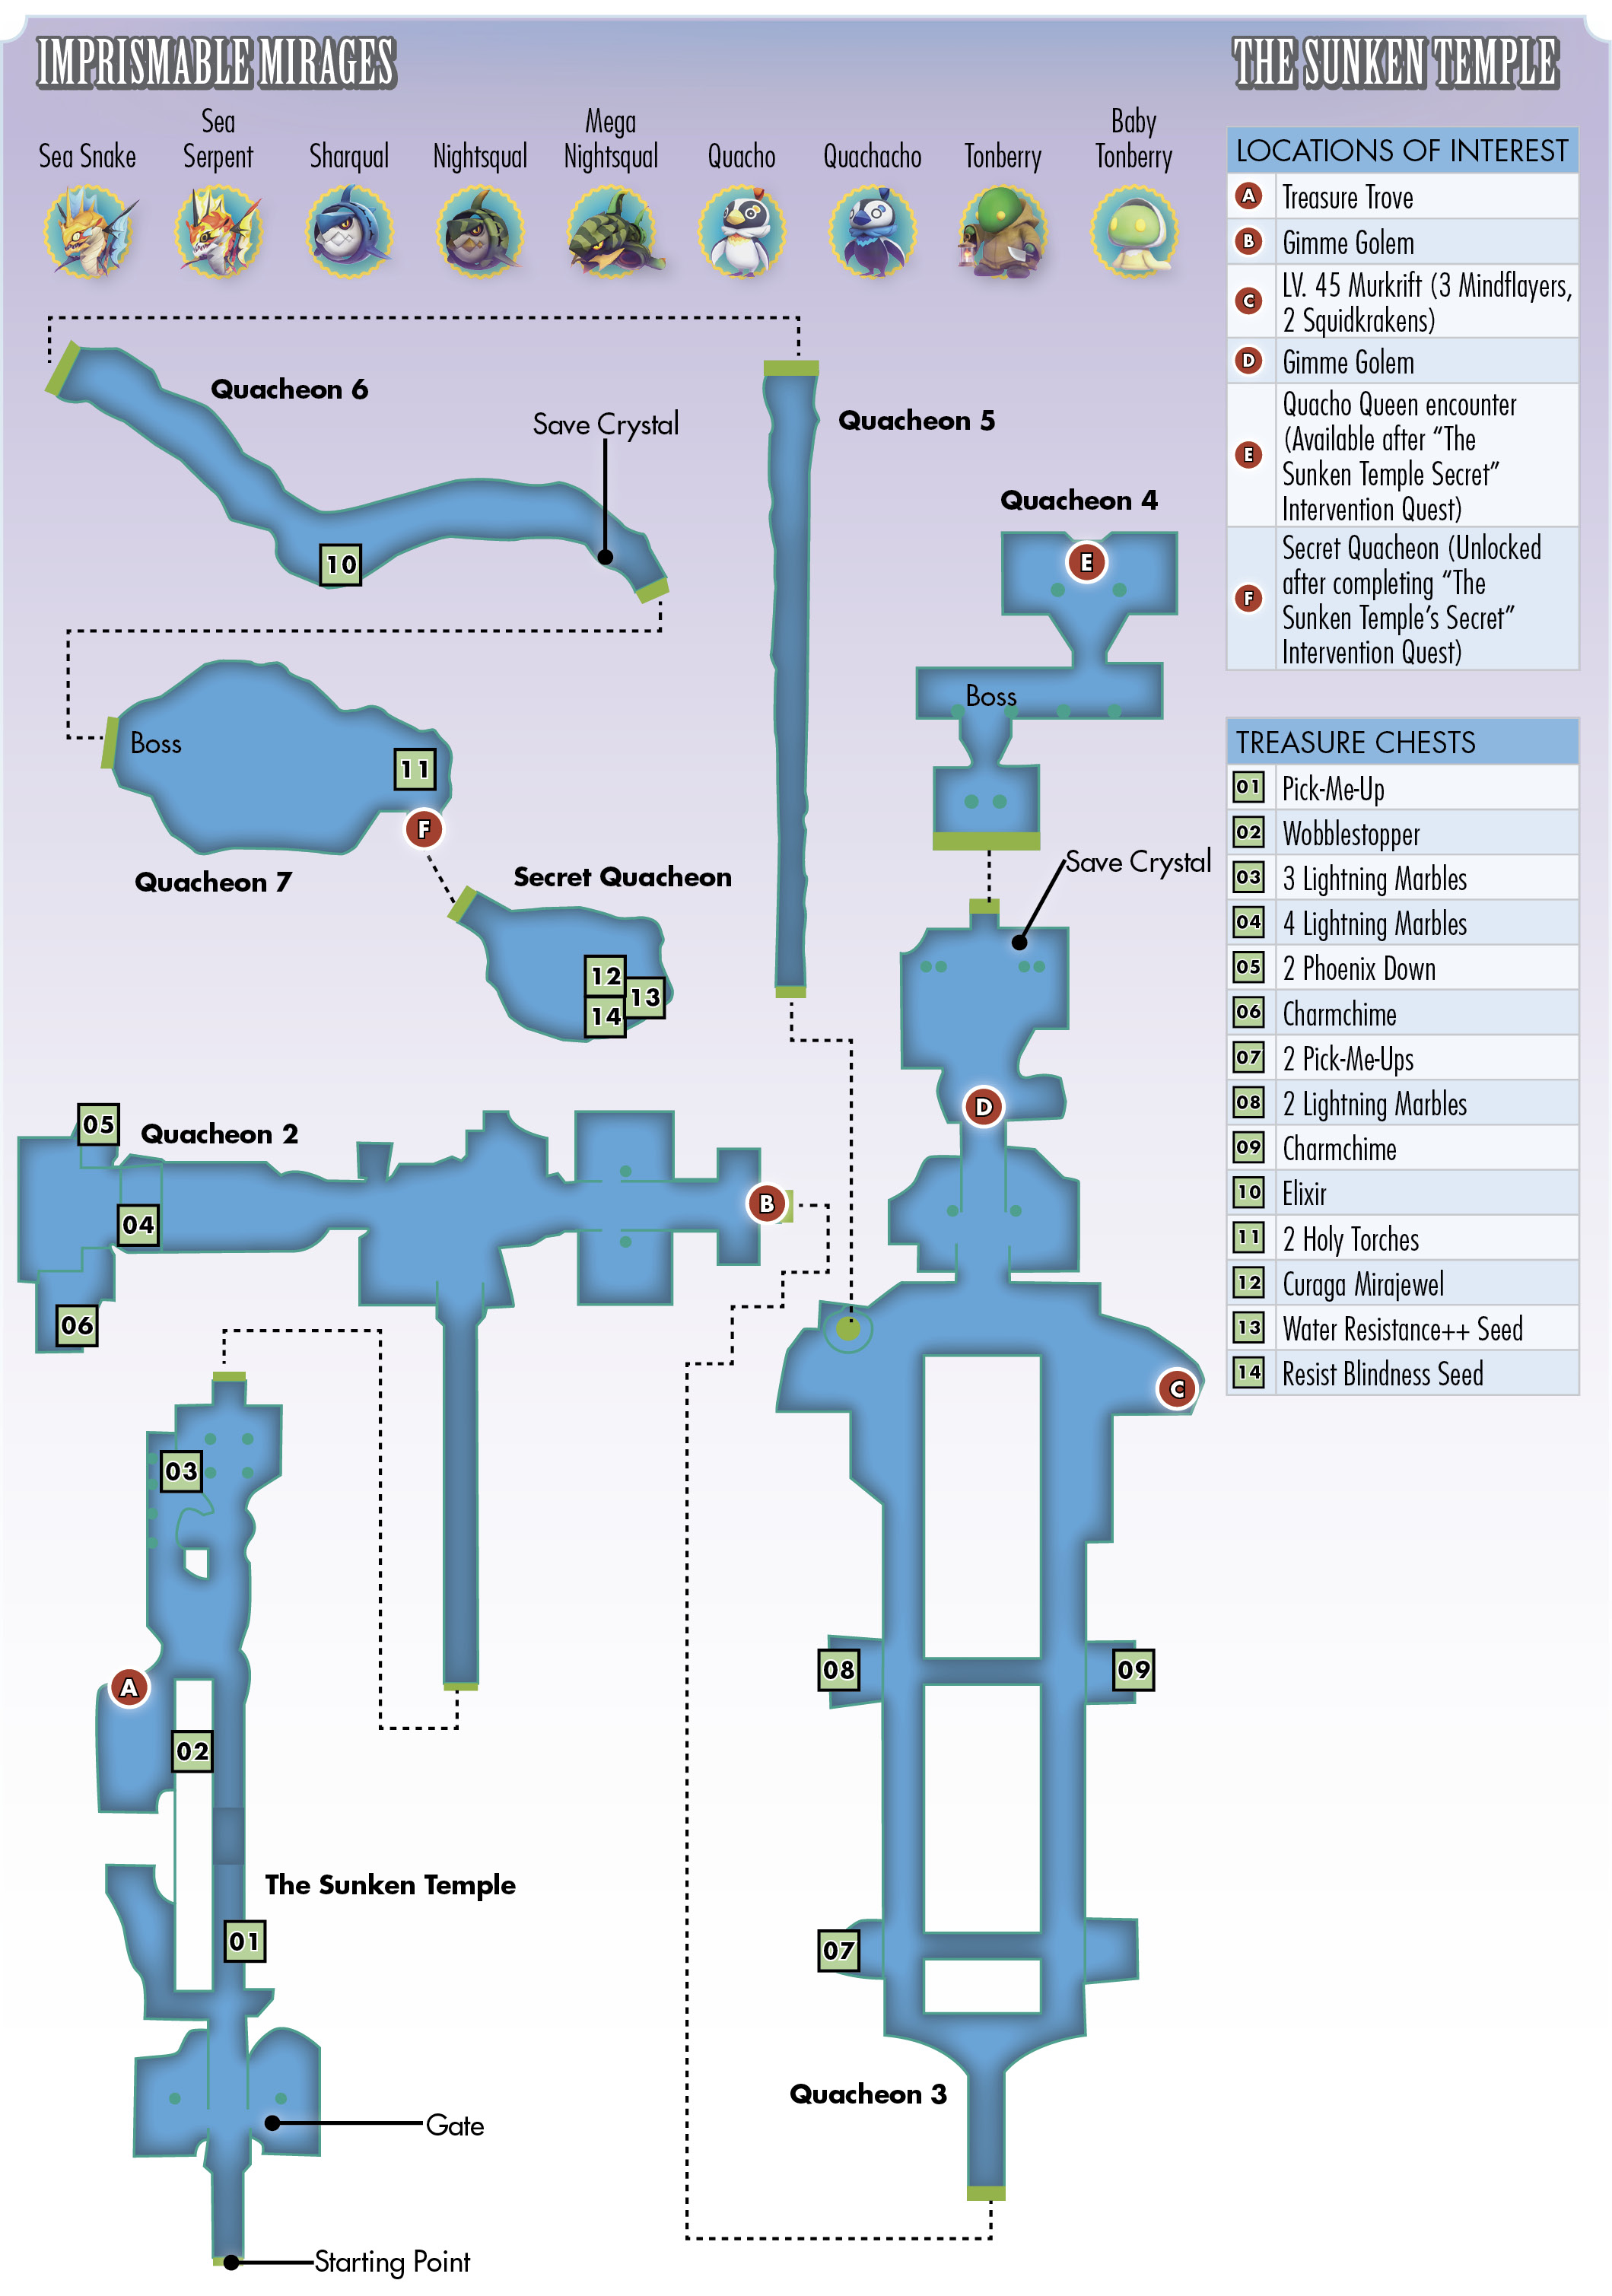
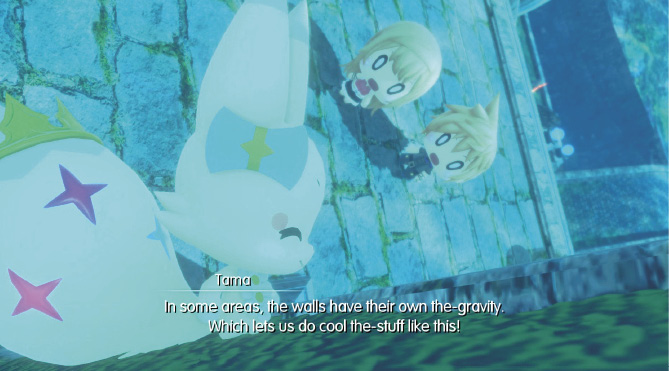
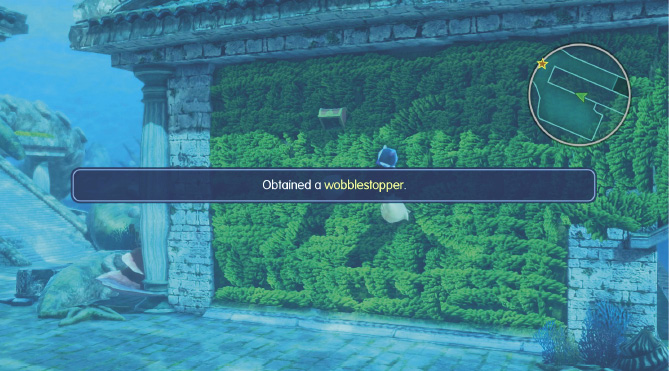
From the starting point, head north for a scene with Tama explaining the special walls inside the Sunken Temple. These walls covered in seagrass allow you to defy gravity and walk along them in order to reach certain areas of the map. Up the middle hallway, there’s a treasure chest along the right side of the wall containing a pick-me-up. Pick it up, then continue north while traveling along the wall. On the west side of the map after crossing the center gap, there’s another chest mounted against the wall that holds a wobblestopper. Proceed slightly northwest of there on ground level to discover a Treasure Trove if you have a strolling Mirage with you.
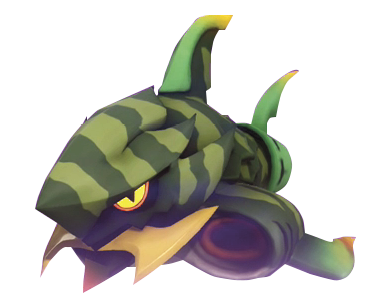
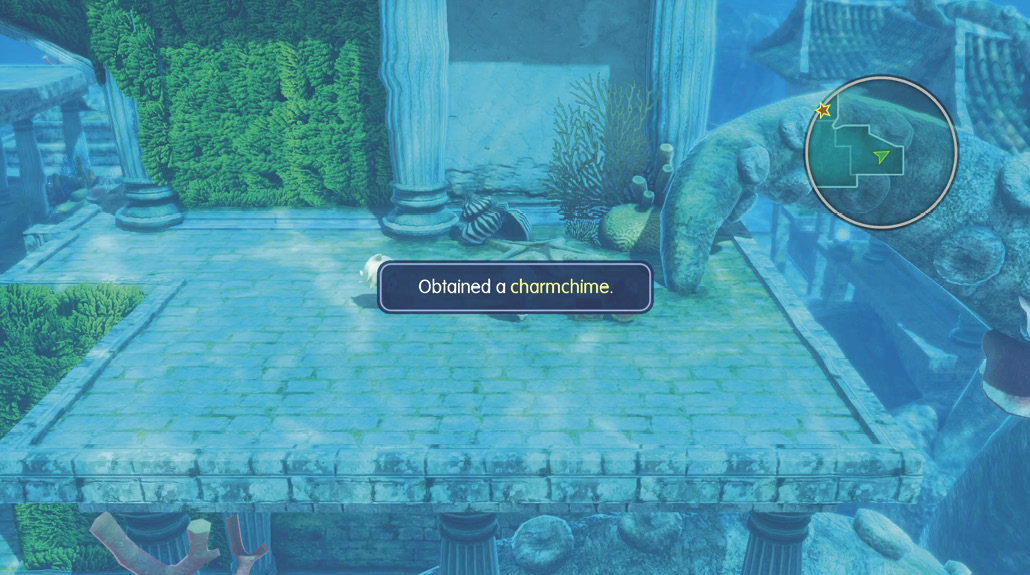
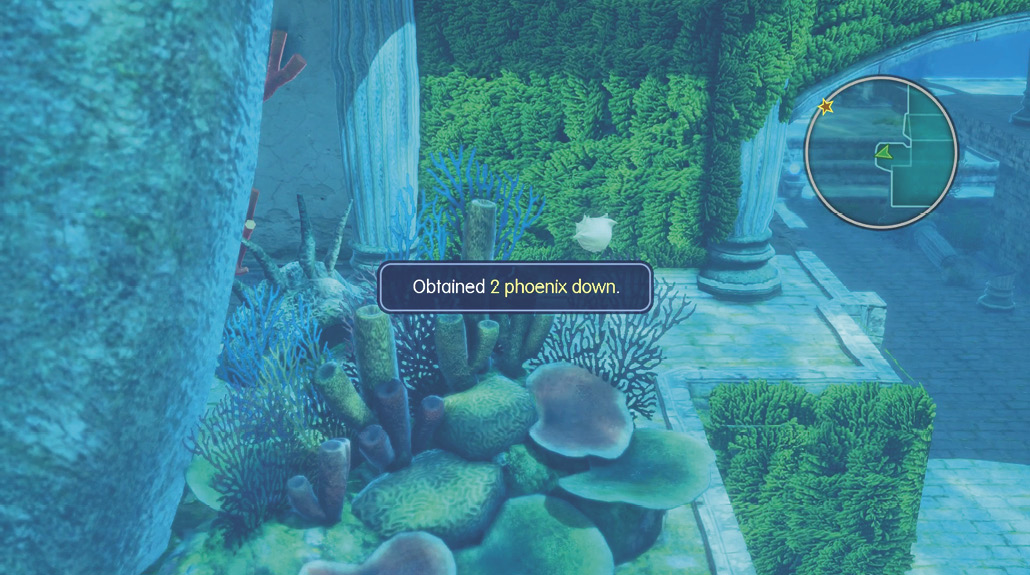
Next, head to the northwest portion of the map and pick up the three lightning marbles from the treasure chest. Then, enter the Sunken Temple—Quacheon 2. Your destination is through the northeast exit, but there’s a Gimme Golem in the way. To appease it, head to the northwest portion of the map and climb the seagrass wall to the upper floor. Find and open the treasure chest on the ledge containing a charmchime. Then, climb across to the other end and open a semi-hidden treasure chest with two phoenix down inside.
There’s one more chest in the area on the roof above. Climb the seagrass to the highest point to open the chest up there for four lightning marbles. You can now return and take the east path at the divergence to hand over the charmchime to the Gimme Golem in the way and proceed to Quacheon 3.
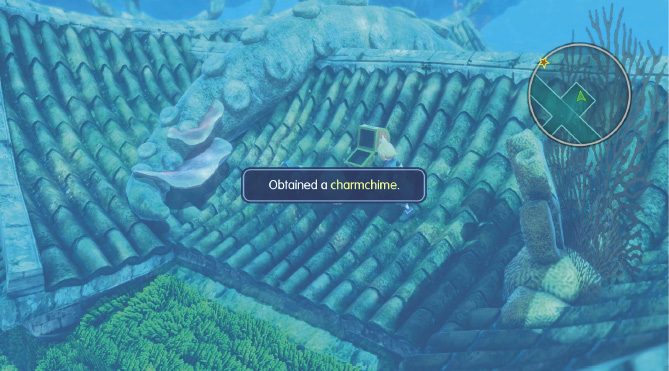
From the entrance of Quacheon 3, climb the left wall to the west to reach a chest containing two pick-me-ups. Open it, then climb down and continue north to the next seagrass wall. On the roof here, pick up two lightning marbles from the chest before crossing to the opposite side across the small bridge to grab the required charmchime on the eastern roof.
Continue north up the center. There’s a Level 45 murkrift to the right-hand side that you can clear out now if you’re strong enough. It’s recommended that you save your progress first at the Save Crystal up ahead before attempting it, though. Hopefully, you’ve saved the five star curtains picked up from the treasure chest on the Besaid shore (or you have access to a Mirage’s Reflect spell).
A Lesson on ReflectReflect is a powerful and unique ability. It provides a buff that not only protects you from spells, but redirects those spells back to your enemies. However, this also applies to restorative spells, meaning that if you attempt to cast Cure on one of your Reflect-enhanced stacks, you’re actually curing the enemy. You can get around this by using items like potions to heal your party since items are not affected by Reflect. Defeating the Mindflayers and SquidrakenThe Level 45 murkrift in the Sunken Temple is completely optional, but you can clear it during your first visit to the temple as long as you’re prepared. Make sure to have the Reflect ability available, either from a Mirage (such as a left claw) or the star curtain item (ideally you have two on you). Since you won’t be able to cast Cure spells on your party members while they’re buffed with Reflect, make sure to have potions and hi-potions stocked in your inventory. 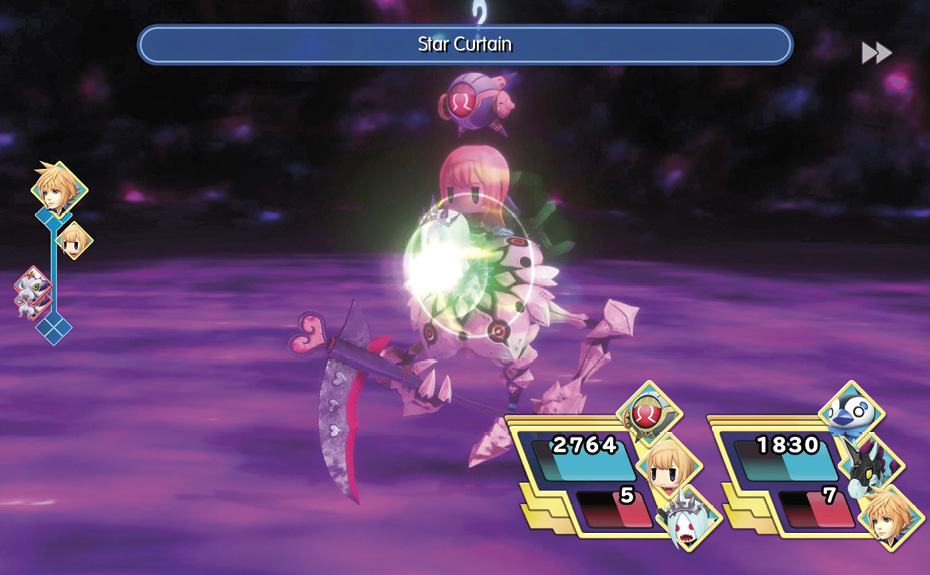
These enemies primarily attack with magic, so you should be protected from almost everything they have to throw at you. Additionally, the prismtunity condition for both the squidraken and mindflayer Mirages is reflecting their spells, so you can easily imprism one of each, leaving only three enemies to defeat. |
Continue north and appease the Gimme Golem with the charmchime, then save your progress at the Save Crystal and prepare for a boss encounter up ahead.
Enter the next area through the north for a cutscene, followed by a fight with the Quacho Queen.
Boss Battle: Quacho Queen, Miney, and Mo
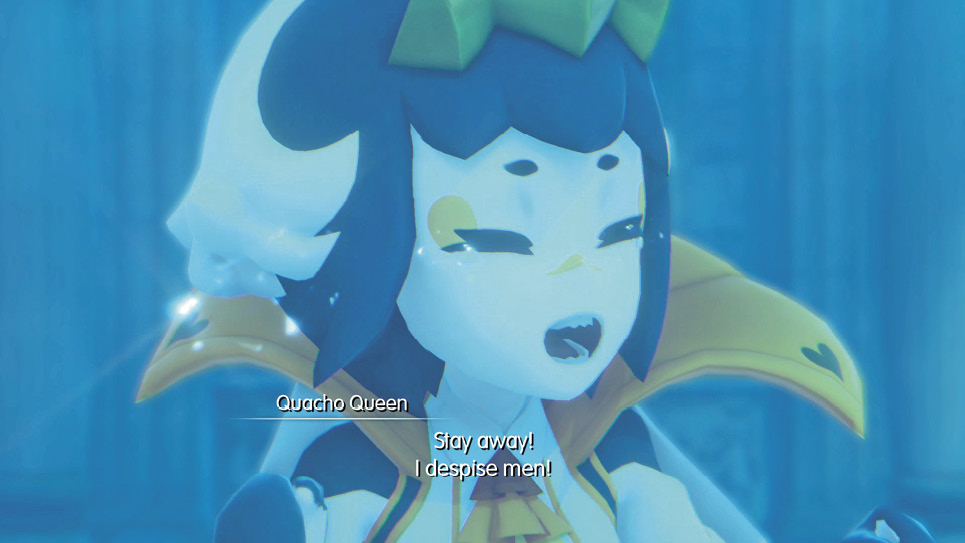
If you haven’t noticed yet, most of the enemies under the sea are weak to thunder, and these three are no exception. You can mitigate damage from the Quacho Queen and her minions by using water-resistant Mirages in your stacks, as well. The Quacho Queen can use an ability called Sweet Breath, inflicting the Sleep status effect on your party (her minions also cast Yawn, a similar ability). Use pick-me-ups to wake sleeping party members (alternatively, you can attack your own stacks to wake them, although it’s not recommended).
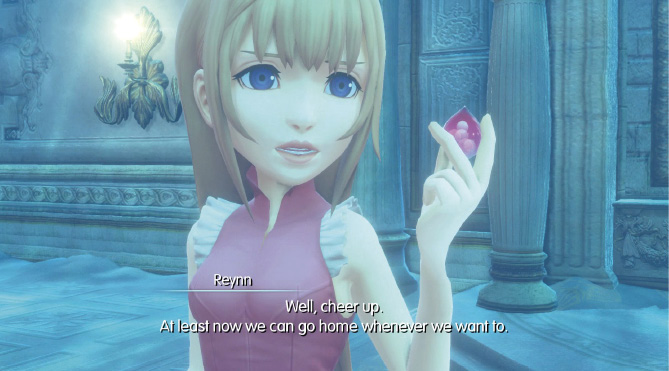
Defeating the queen rewards you with a quacho ruby, the jewel Shantotto demands in return for lifting the twins’ breathing curse.
Need to Go Deeper
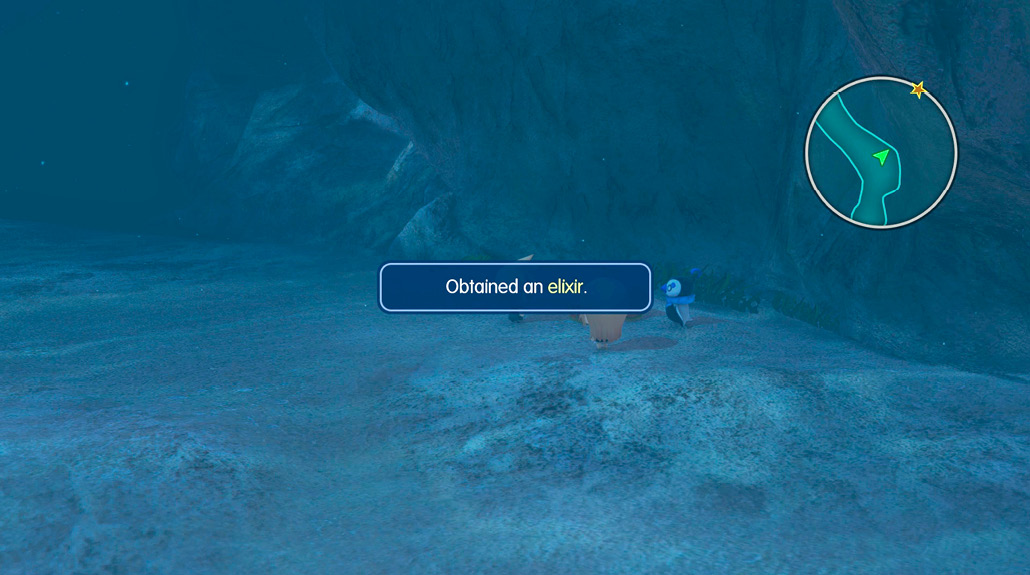
Leave the queen’s throne room and reenter Quacheon 3. Save your progress at the Save Crystal, then go south for a scene with the Quacho Queen opening a large clamshell. Follow the queen down the new entrance into Quacheon 5, going down the long linear tunnel into the next area. In Quacheon 6, continue along the narrow passageway until you reach a treasure chest off to the side. Open it for an elixir, then save your progress at the Save Crystal near the end of the tunnel.
Boss Battle: Tonberry King
When you’re ready to take on another boss, you can trigger a cutscene by entering the next area to the southeast of the Save Crystal. Here, you have to defeat a tonberry king and three of his underlings. Fortunately, like most Mirages in the Sunken Temple, these are weak to thunder. You may need to set up your elemental resistances differently here, though. The tonberry king uses one of the most potentially devastating attacks in the game called Everyone’s Grudge. It’s a dark-based spell that deals damage proportional to damage taken by the user’s party. The more damage you inflict on the king and his minions, the more damage Everyone’s Grudge deals, potentially killing your entire party in one shot.
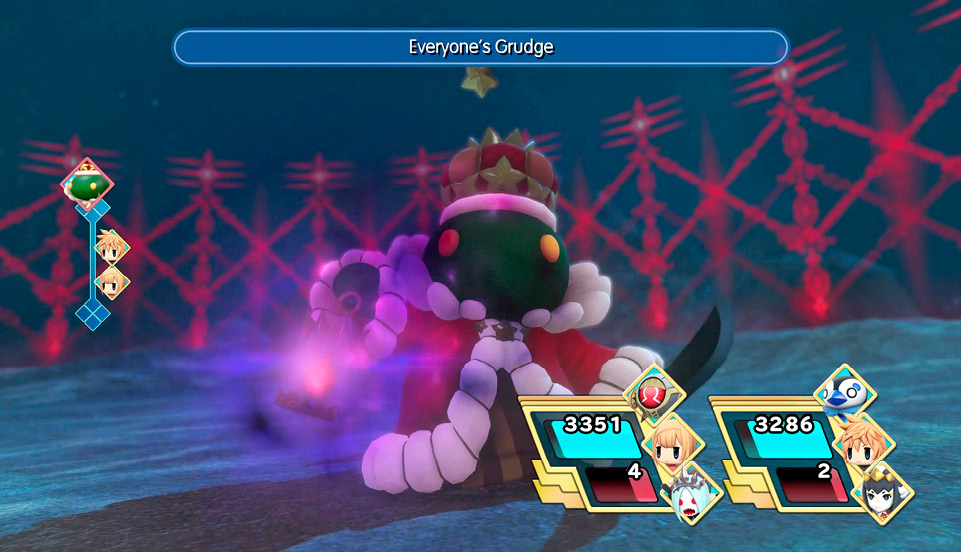
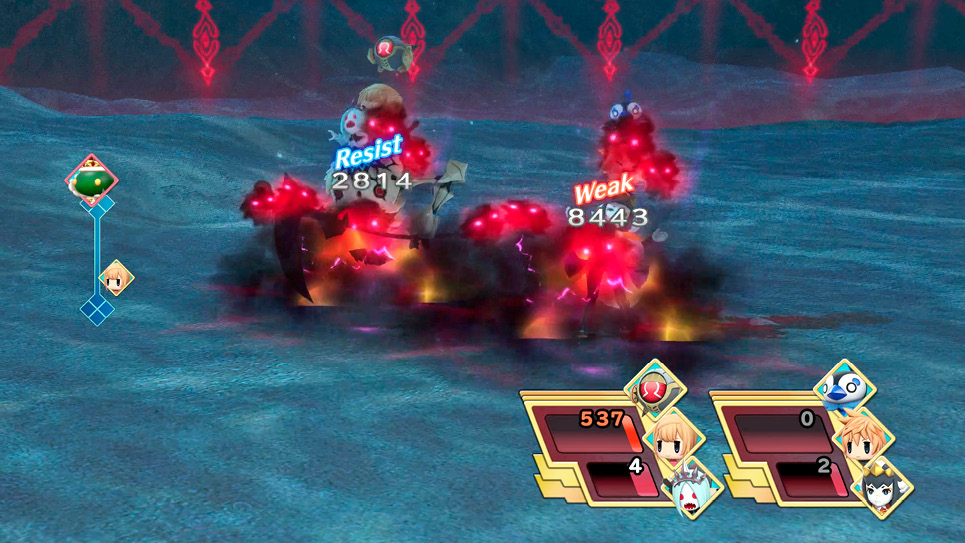
There are a couple of ways to deal with this attack. Defensively, build your stacks with high dark resistance ratings so that the damage taken from Everyone’s Grudge is minimal. If you manage to raise your dark resistance to at least 100, you can completely nullify the attack, regardless of how much grudge is accrued. Example Mirages with a high dark resistance include the floating eye, undead princess, mordskull, deathskull, and werebat.
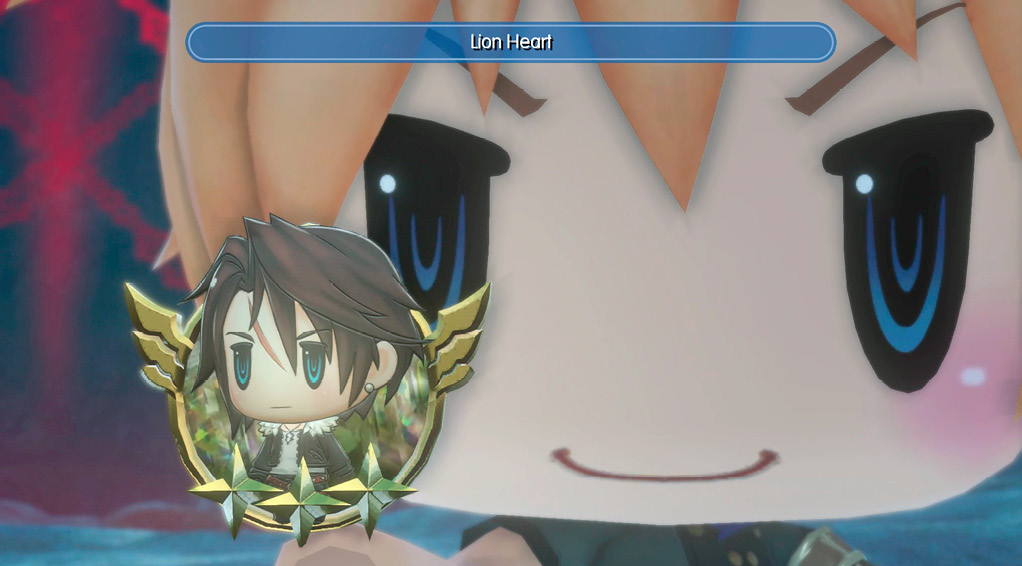
Alternatively, you can go for a more offensive strategy by defeating the tonberry king quickly before a dangerous amount of grudge is accrued. Prioritize all of your high-damage attacks and spells on him before defeating the smaller tonberries (to minimize grudge build-up in case he decides to unleash Everyone’s Grudge). You can do this by saving three stocks of your Champion Gauge and using all three on Tifa’s Final Heaven, for instance.
Defeating the tonberry king rewards you with the final key, the Key of Tides, and now that you have a quacho ruby, you can get the antidote for Shantotto’s curse. Before leaving through the Exit Gate, open the chest at the opposite end of the room to pick up two holy torches. Now you can return to Tidus on the other side of the Exit Gate. The twins can breathe the air normally again (and underwater if you plan to return to the Sunken Temple, thanks to the poxyale gifted by Tidus). The plot thickens as the Plumed Knight kidnaps Yuna. Before the chapter concludes, the four keys collected summon a spiral staircase to the prophesied Crystal Tower.