
World of Final Fantasy Guide Main Story Walkthrough
Chapter 19: The Other Nine Wood Hills
Having collected the four keys, Reynn and Lann unlock a path to the Crystal Tower. The Masked Woman appears, encouraging the twins to make the climb up the tower for answers regarding their mother, Lusse Farna. While Lann is eager to fulfill the prophecy, Reynn is reluctant.
| Action Checklist |
|---|
|
1. (Optional) Begin “The Young Mirage Hunter” line of quests |
|
2. Pass through the Nonary Region |
|
3. Climb the Crystal Tower |
|
4. (Optional) Defeat the titan Mirage |
|
5. Break down the quadrelemence barrier |
The Other Nine Wood Hills—Nonary Region
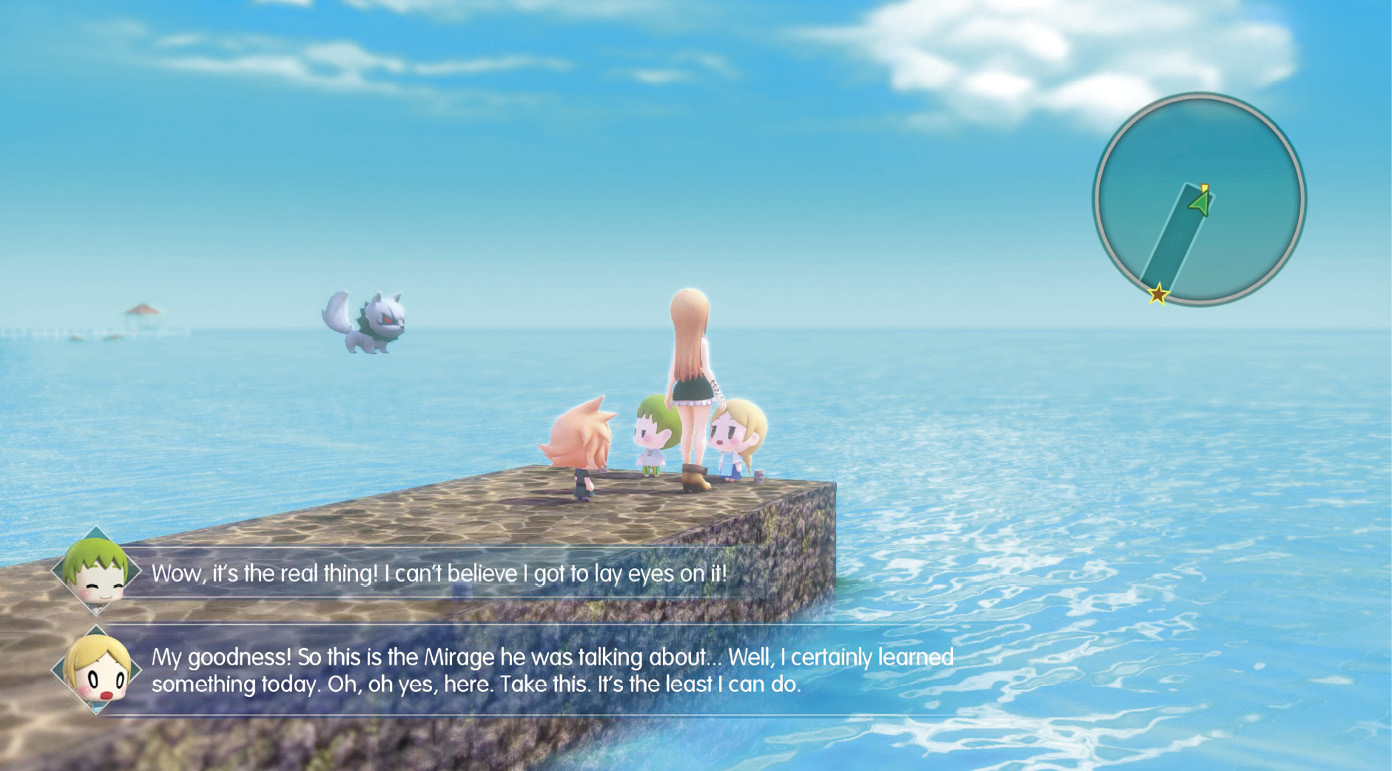
The Nonary Region is now accessible from the Port Besaid shore (up the spiral staircase). There’s also a long line of Miniventure you can start here down at the end of the pier to the east. These quests are called “The Young Mirage Hunter” and involve finding specific Mirages for a little boy. See the Sidequests section (under Town Subquests) of this guide for the list of Mirages required to complete this series of quests, as well as reward details. You can turn in several of them at this point if you’ve been diligently collecting Mirages. You can receive credit for these quests, as long as the specified Mirage is in one of your stacks or in your reserves (i.e., not in the Prism Case).
When you’re ready to make the climb through the Crystal Tower, enter the Nonary Region at the top of the spiral staircase. This region is a small ghost town that acts as a hub between Port Besaid’s shore and the Crystal Tower. Make your way across until you reach a Gate in the center of the area. You can take this Gate back to Nine Wood Hills if you need to resupply or want to take a breather from the main story to complete optional tasks. It’s highly recommended that you buy several potions and hi-potions before tackling the Crystal Tower. From the Nonary Region Gate, head west to trigger a cutscene introducing you to Terra and Maduin. Terra attempts to warn the twins to stay away and then becomes compelled to attack them, beginning a boss encounter.
Boss Battle: Terra and Maduin
This fight consists of two stacks: a Magitek armor B stack with Terra as its pilot, and her guardian maduin, a powerful Mirage. It’s recommended that you have access to strong water, thunder, and dark-based spells, a high-strength toppling attack, and decent healing resources (like Cura, Curaga, and hi-potions).
Both the Magitek armor B stack and maduin possess devastating attacks; for the most part, Terra uses a variety of spells, whereas maduin uses mostly physical attacks like Riot Blow. Focusing one down at a time is preferable. They have similar HP totals, although the Magitek armor B stack can be toppled (causing a Stun effect on Terra and the armor). One approach is to take maduin down first by using the Abyss spell (unlocked by having a Dark + Dark combination within a stack). Alternatively, you can deal a massive amount of damage to him with earth spellstones and earth hammers. Although Terra’s stack is resistant to it, the earth spellstone still deals a respectable amount of damage to her.

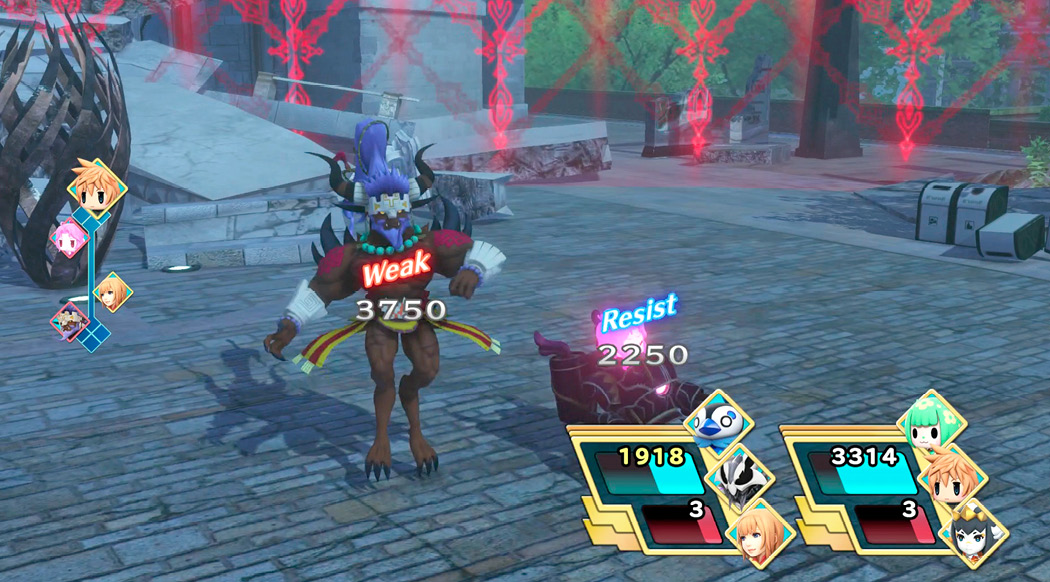
Once maduin is knocked out, you can opt to topple Terra’s stack, causing a Stun effect and giving you some breathing room. However, it might be wiser to keep them stacked since Terra herself isn’t weak to any particular element (whereas the Magitek armor is weak to water and thunder). Either way, you can destroy the Magitek armor quickly with water-based abilities like Tsunami and Watera. Winning the encounter rewards you with several arma gems.
Now that Terra and maduin are out of commission, the twins can continue their journey through the Crystal Tower.
Climb the Crystal Tower
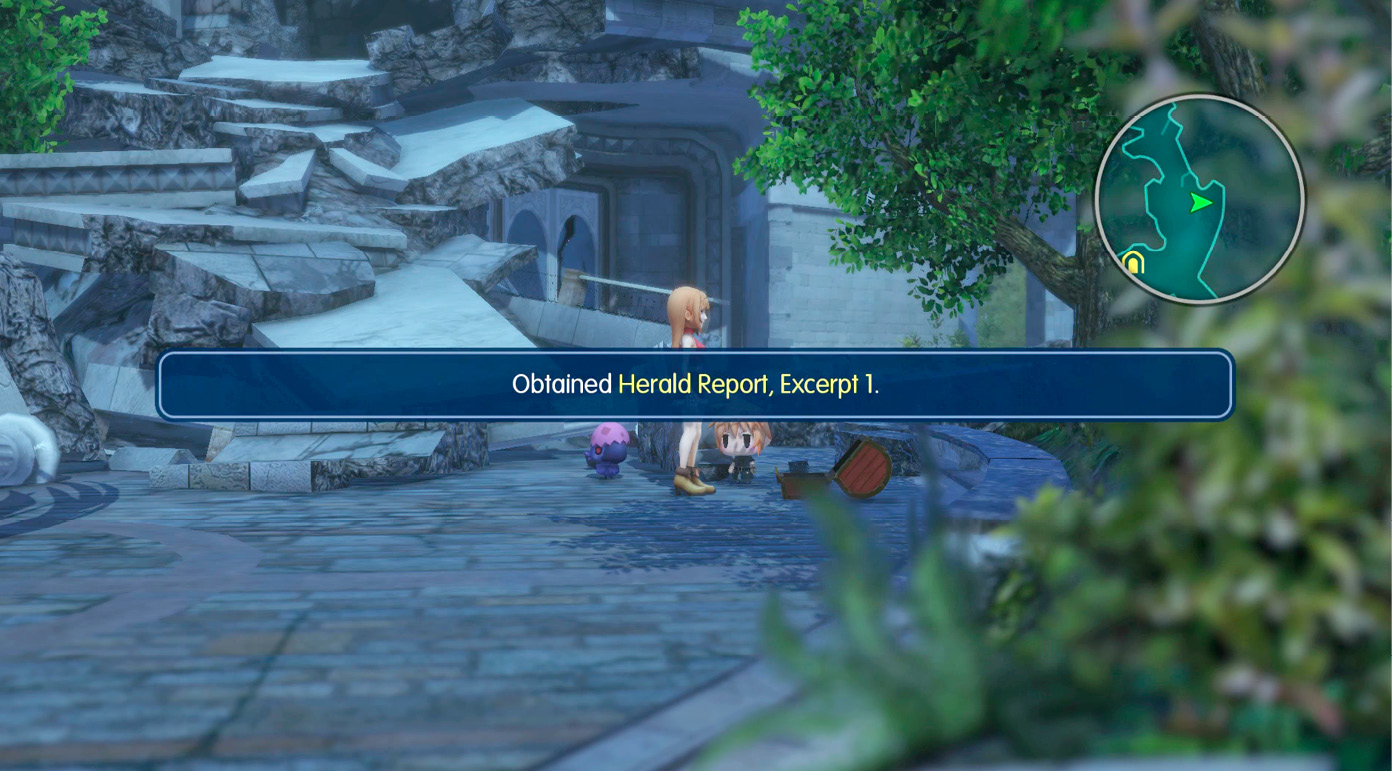
After defeating Terra and maduin, you start at the Crystal Tower entrance. You can backtrack to the Nonary Region to open a chest near the Gate there and obtain Herald Report, Excerpt 1. Otherwise, you can always return later to grab it.
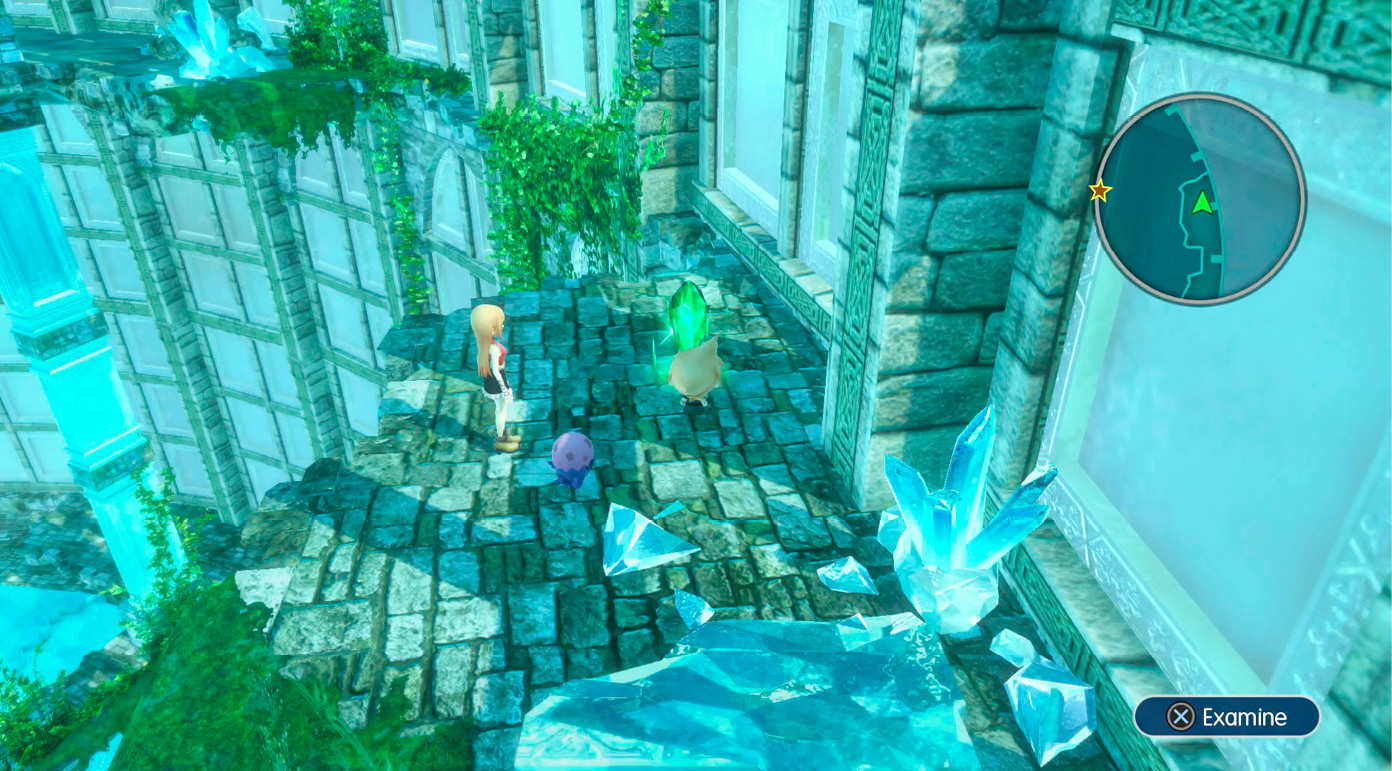
Now to make the arduous climb up the tower. The first thing to note upon entering the Crystal Tower is the two unlit crystals near the Gate. These can become activated and warp you to key points into the dungeon, which saves you time. However, they need to be activated at their remote crystals first. Finally, before you make the climb, make sure to bring along a Mirage with the Flutter ability, as well as one with the Smash ability (preferably a mythril giant, since you can use it for a puzzle switch later).
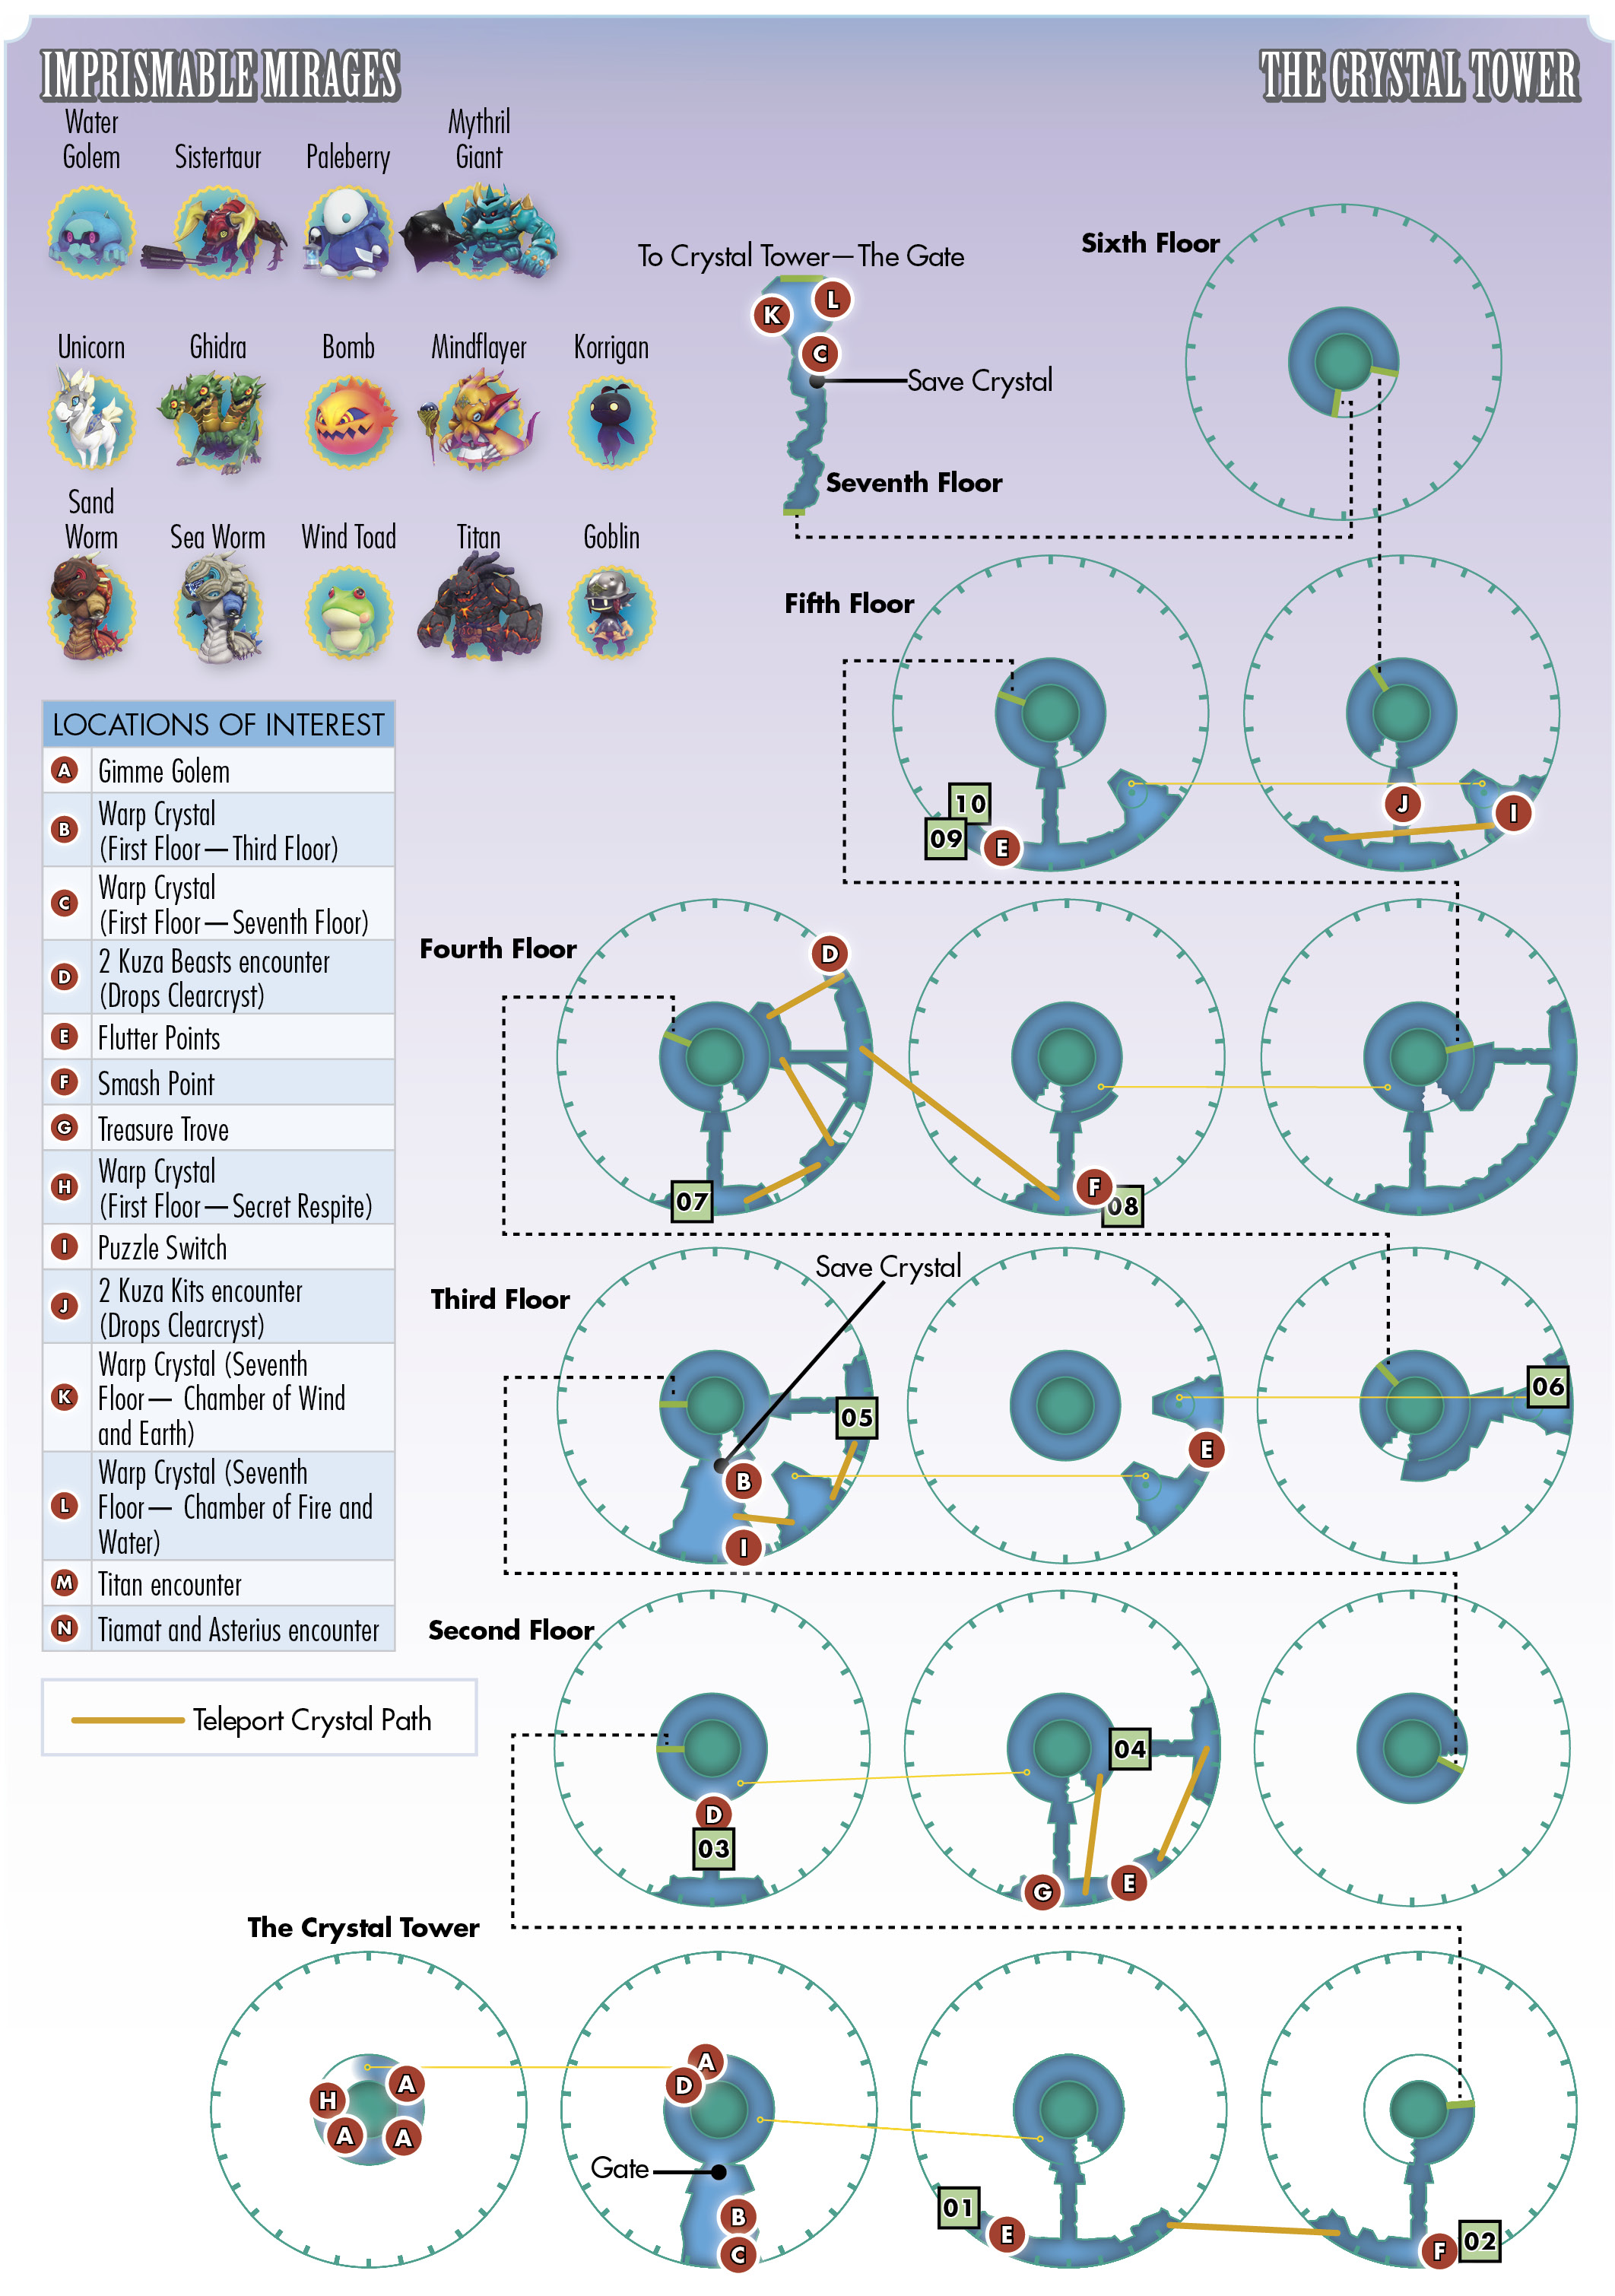
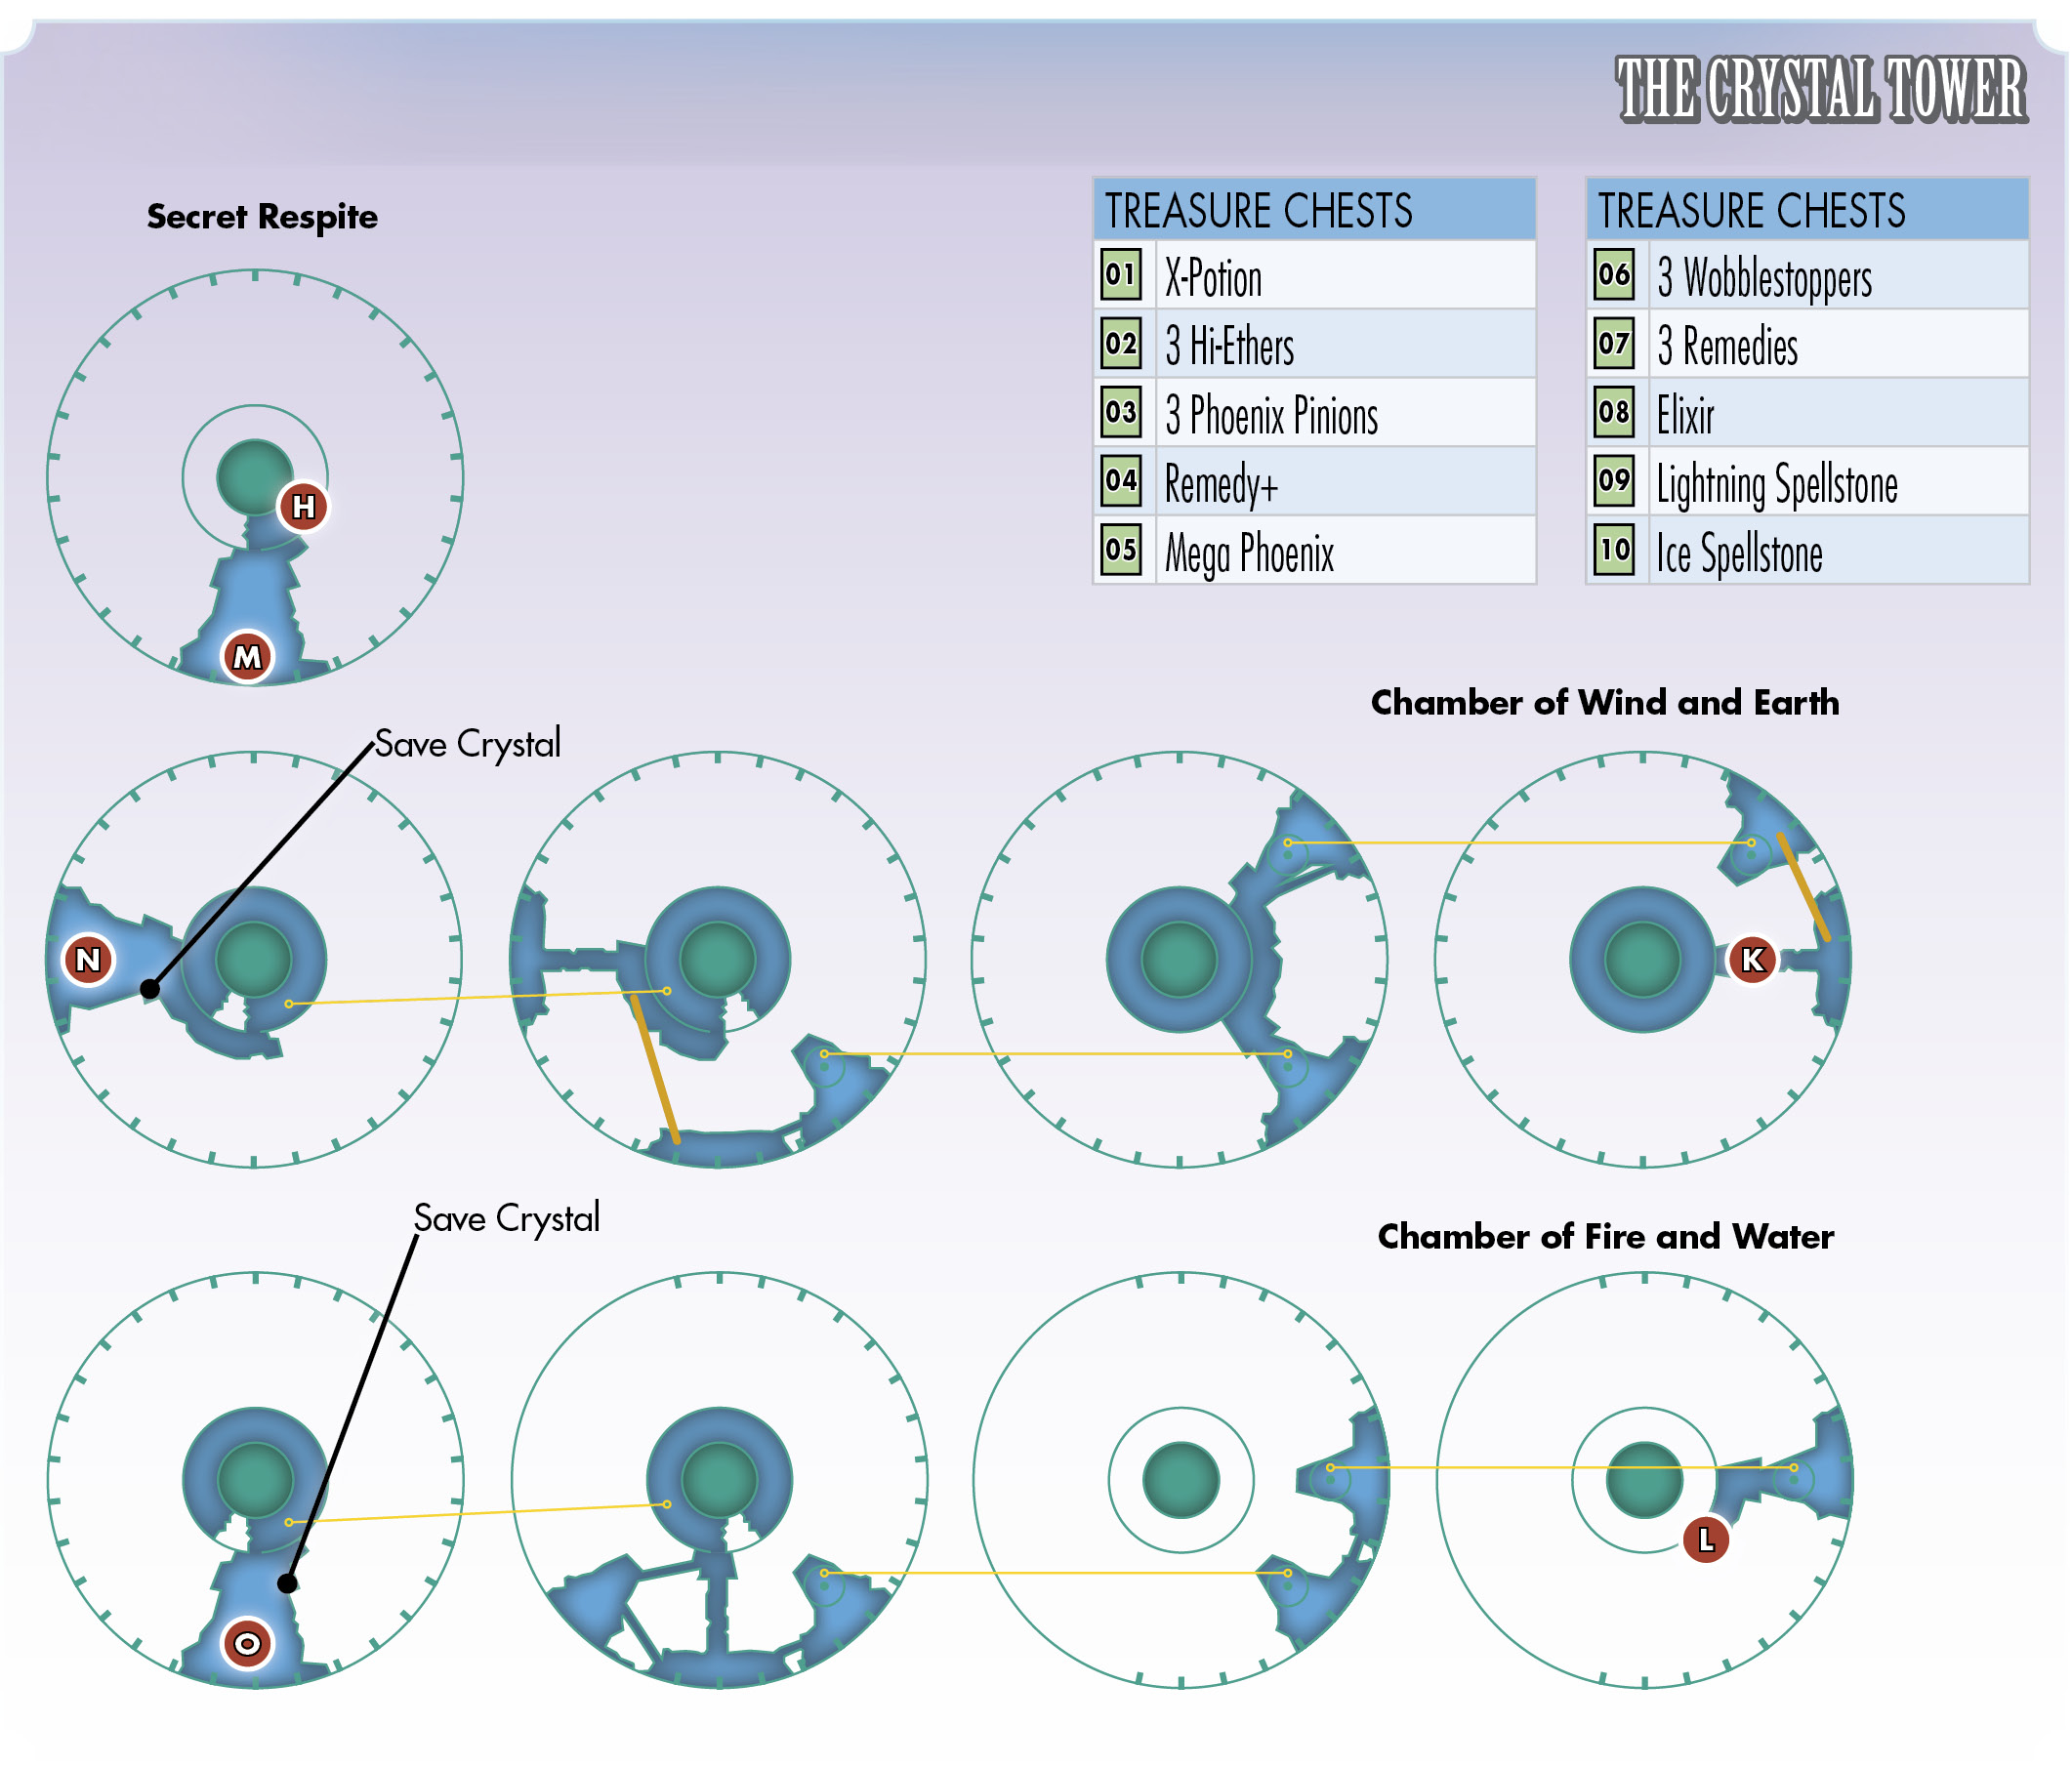
Note that the tower is divided by floors (with specific names, such as “The Crystal Tower—Second Floor”), which are then divided by smaller segmented levels. If necessary, refer to both the in-game map and the map provided preceding this text to get your bearings.
You start on the second level of “floor one” of the Crystal Tower (the first level is a secret basement area that you can access later).
To begin, climb the first set of stairs in the center of the tower to reach the next level of the first floor. Then, cross the bridge to the south leading to an outer platform. There’s a Flutter point to the west here. Fly over and open the treasure chest to obtain an x-potion. Return and go east until you reach an activated green crystal. Activate the crystal to teleport to the southwest quadrant of the fourth level of floor one.
To the east is a Smash point. Activate it with one of your large-sized dragons (or a mythril giant), then open the revealed treasure chest to collect three hi-ethers. Proceed to the center of the level, and climb the stairs to the Crystal Tower—Second Floor.
Climb the stairs on the second floor until you reach a large kuza beast blocking the way south. This encounter is optional, but clearing it gives you access to a treasure chest and one of four clearcrysts required to unlock the Crystal Tower’s secret area.
Although kuza beasts are weak to earth and dark elements, they have a passive ability called Heavy Magic Counter, which gives them a chance of counterattacking your spells. As long as you focus them down one at a time with attacks like Throw Stone and Cross Slash, you shouldn’t have too much trouble burning through their deep HP pools.
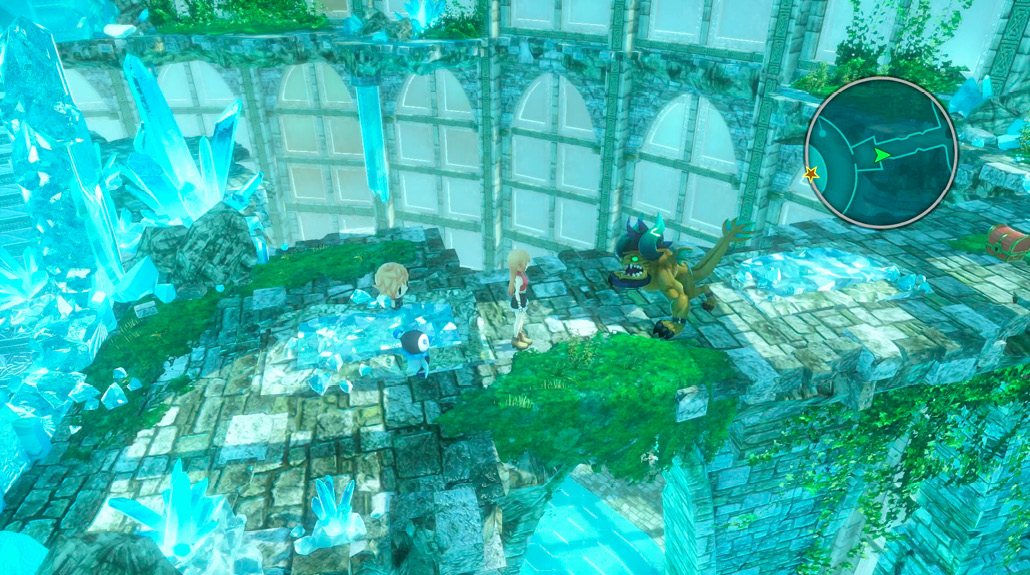
Defeat the kuza beast, then open the chest it was guarding for three phoenix pinions. Keep climbing the center stairs to get to the next level of the second floor. Cross the bridge to the south. If you have a strolling Mirage with you, you can discover a Treasure Trove here.
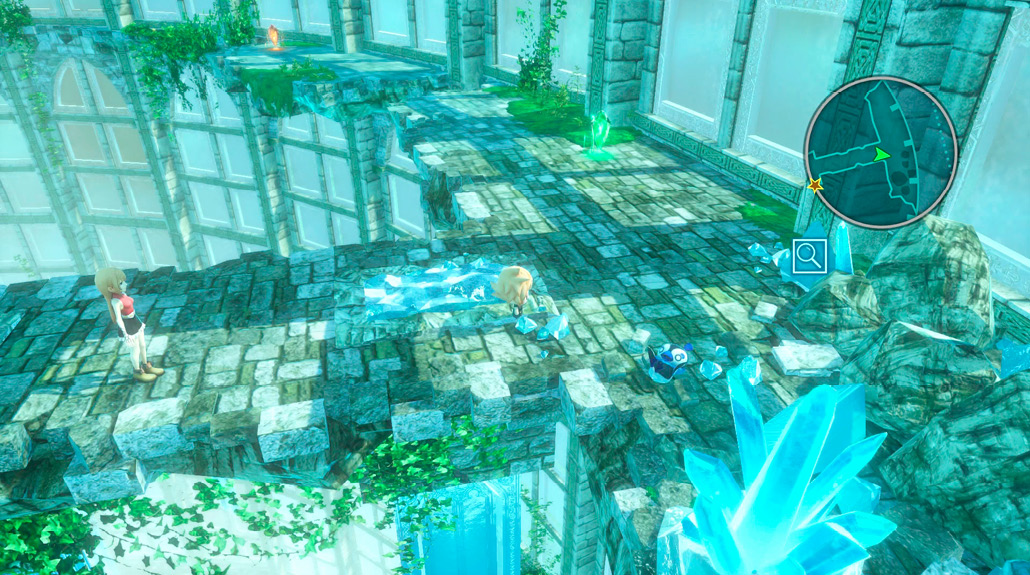
With the Flutter ability, you can ferry across to the southeast platform to access a warp crystal. Activate the crystal, and open the treasure chest on the nearby bridge to collect a remedy+.
Now, backtrack to the Flutter point and activate the green crystal there to continue climbing the stairs of the tower.
You should be on the Crystal Tower—Third Floor now. There’s a Save Crystal nearby. Use it, then activate the blue warp crystal next to it. This opens up a shortcut to and from the first floor in case you need to teleport out to resupply or to simply take a break from the main story.
To continue climbing the tower from the third floor, you need to complete a puzzle switch south of the Save Crystal. To activate the switch, you need to create a Mirage stack with a weight of at least 9 and a wind resistance of at least 75. With the Save Crystal nearby, you can access your Prism Case to create a viable combination. If you need to imprism a wind-based Mirage, you can find wind toads (50 wind resistance) on the floor below (The Crystal Tower—Second Floor). Then, you only need 25 more wind resistance and 6 more weight, which should be manageable for you at this point in the game. Consider bringing along additional earth-resistant Mirages while you have access to your Prism Case here, since there’s another puzzle switch higher up that requires a stack of at least 75 earth resistance.
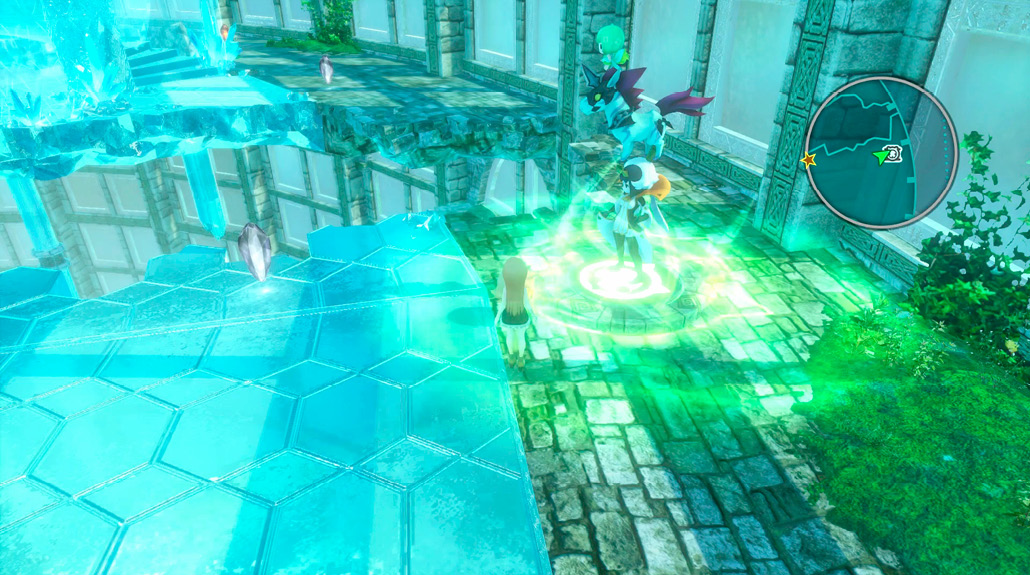
Successfully activating the switch enables the nearby crystal, which teleports you across to the southeast platform. From there, activate the orange crystal to get to the easternmost platform, where there’s a treasure chest with a mega phoenix inside. Pick it up, then take the crystal back to the previous platform and climb the nearby spiral staircase up to the next level of the third floor. There’s a Flutter point here, so you’re going to need a moogle or floating eye to ferry you across to the next staircase. Go up the next flight of stairs. At the top of the stairs to the right, there’s a chest with three wobblestoppers inside. Open it, then continue climbing up the main central stairs to the Crystal Tower—Fourth Floor.
From here, cross the bridge and open the treasure chest to pick up three remedies, then activate the blue warp crystal to the east. If you want to pick up a second clearcryst, head to the northeast portion of the area. Next to a green crystal, there is a kuza beast encounter. Defeat it, then activate the red crystal to the east of the area to get to the next level of the fourth floor (activating the green crystal doesn’t accomplish much here). Here, there’s a Smash point nearby. Trigger and smash it to reveal a treasure chest containing an elixir.
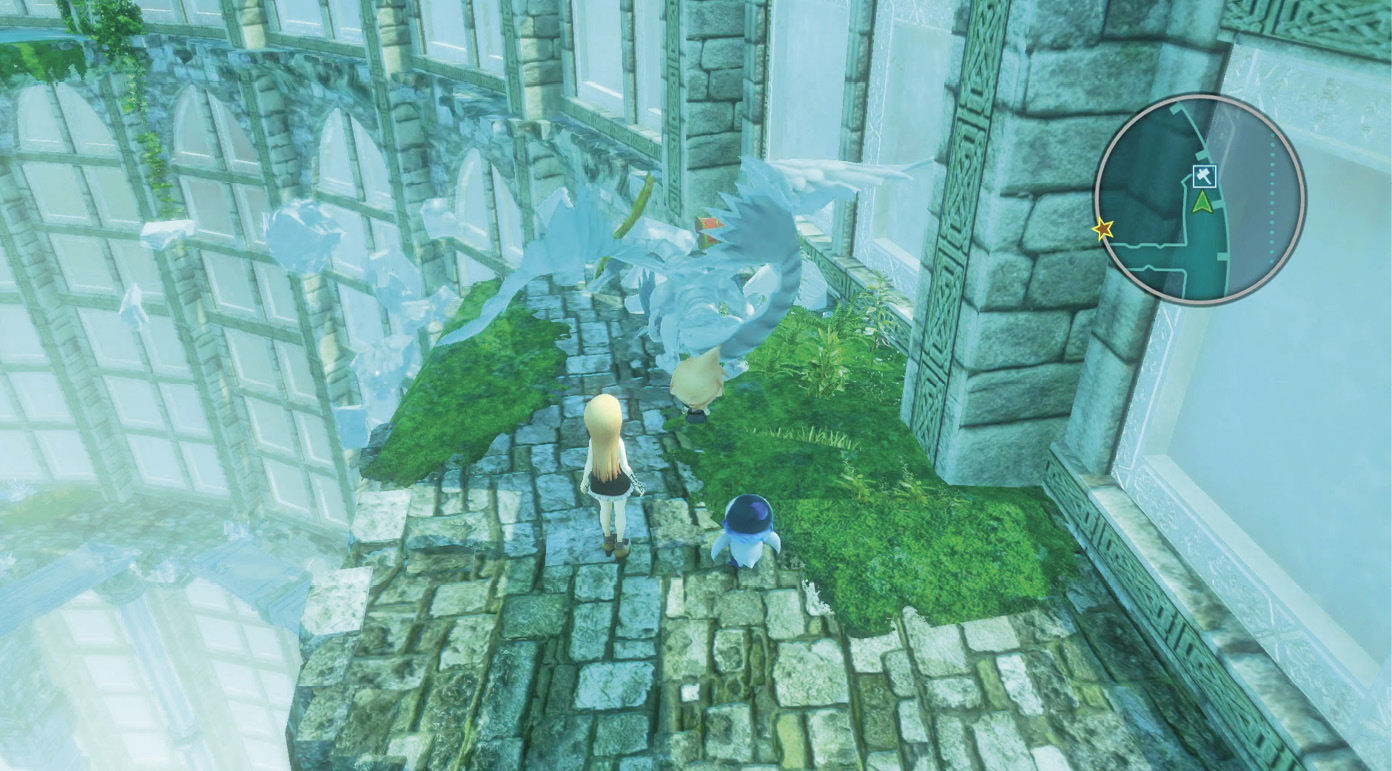
Open it, then continue climbing the central staircase. Follow the path, wrapping around to the east then back into the central staircase again to climb to the Crystal Tower—Fifth Floor. Cross the bridge here to the south to get to a Flutter point near the southwest area. Ferry across to find two treasure chests: one containing a lightning spellstone and the other containing an ice spellstone. Flutter back, then climb the small staircase in the southeast area of the level to get to another puzzle switch.
Here, you need to create a Mirage stack with a weight of 10 or greater and with an earth resistance of 75 or greater. You can imprism a large-sized mythril giant Mirage here (50 earth resistance). Then, you only need 25 more earth resistance and 3 more weight. If you need to, use a Seraphone to access your Prism Case remotely to fill in the rest of the switch’s requirements.
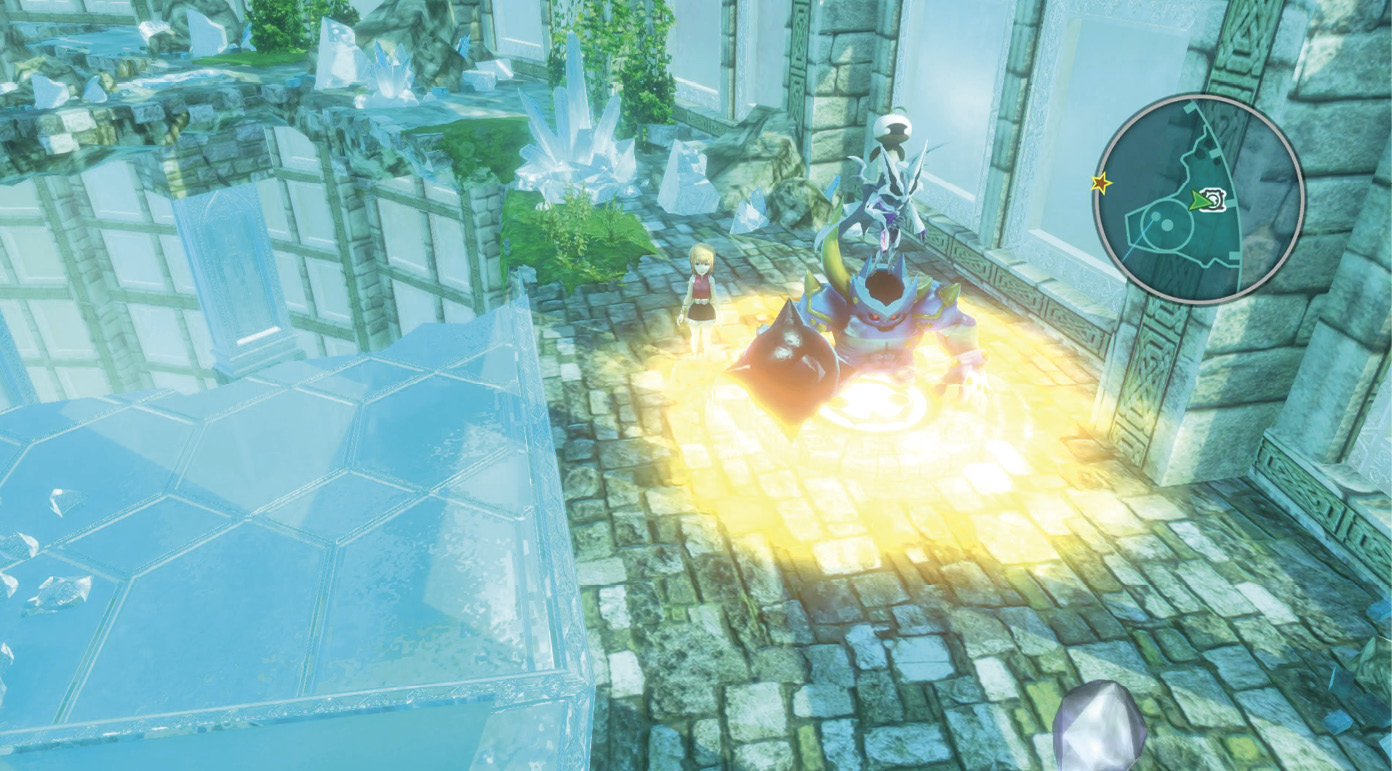
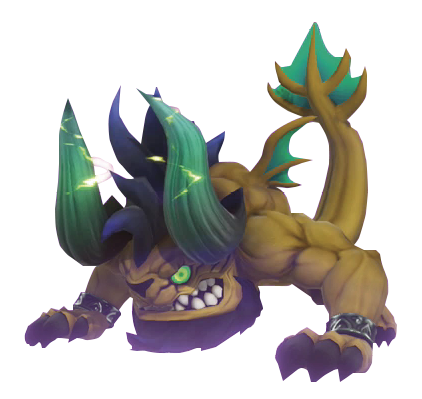
Once you’ve completed the puzzle switch, the nearby warp crystal becomes active. Use it to get to the southern platform of the level, which connects to the central tower staircase. There’s a forced encounter with a couple of kuza kit Mirages on the bridge here. Unlike the kuza beast encounters, this one is not optional since they’re blocking your path. Defeating these kuza kits rewards you with a third clearcryst (if you’ve collected the other two on the way up).
Now, climb the staircase to get to the sixth floor, consisting solely of stairs. Head up the stairs to get to the seventh and final floor. Save your progress at the Save Crystal up ahead, then activate the nearby warp crystal to unlock the shortcut to the first floor of the tower. At this point, you can return to the first floor if you want to access the tower’s secret area (if you’ve collected the three clearcrysts on the way up).
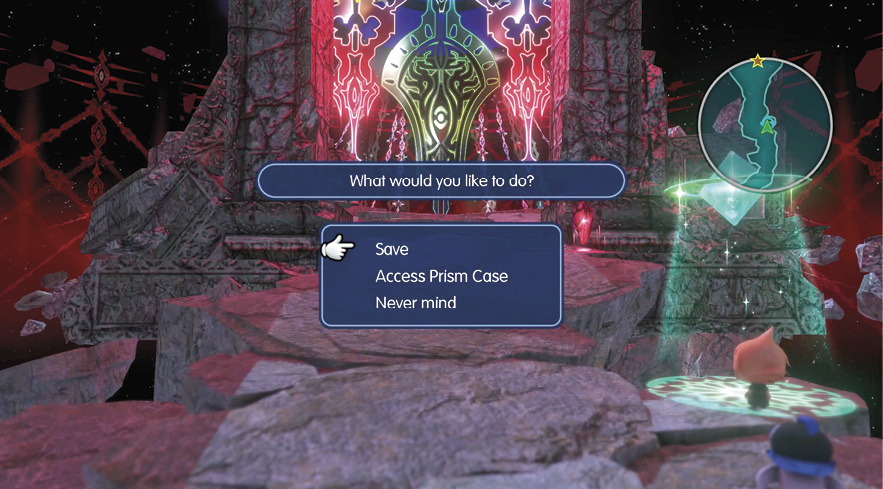
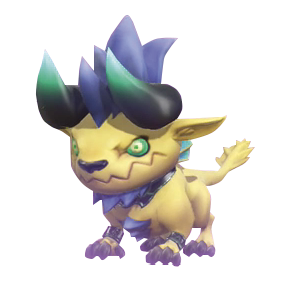
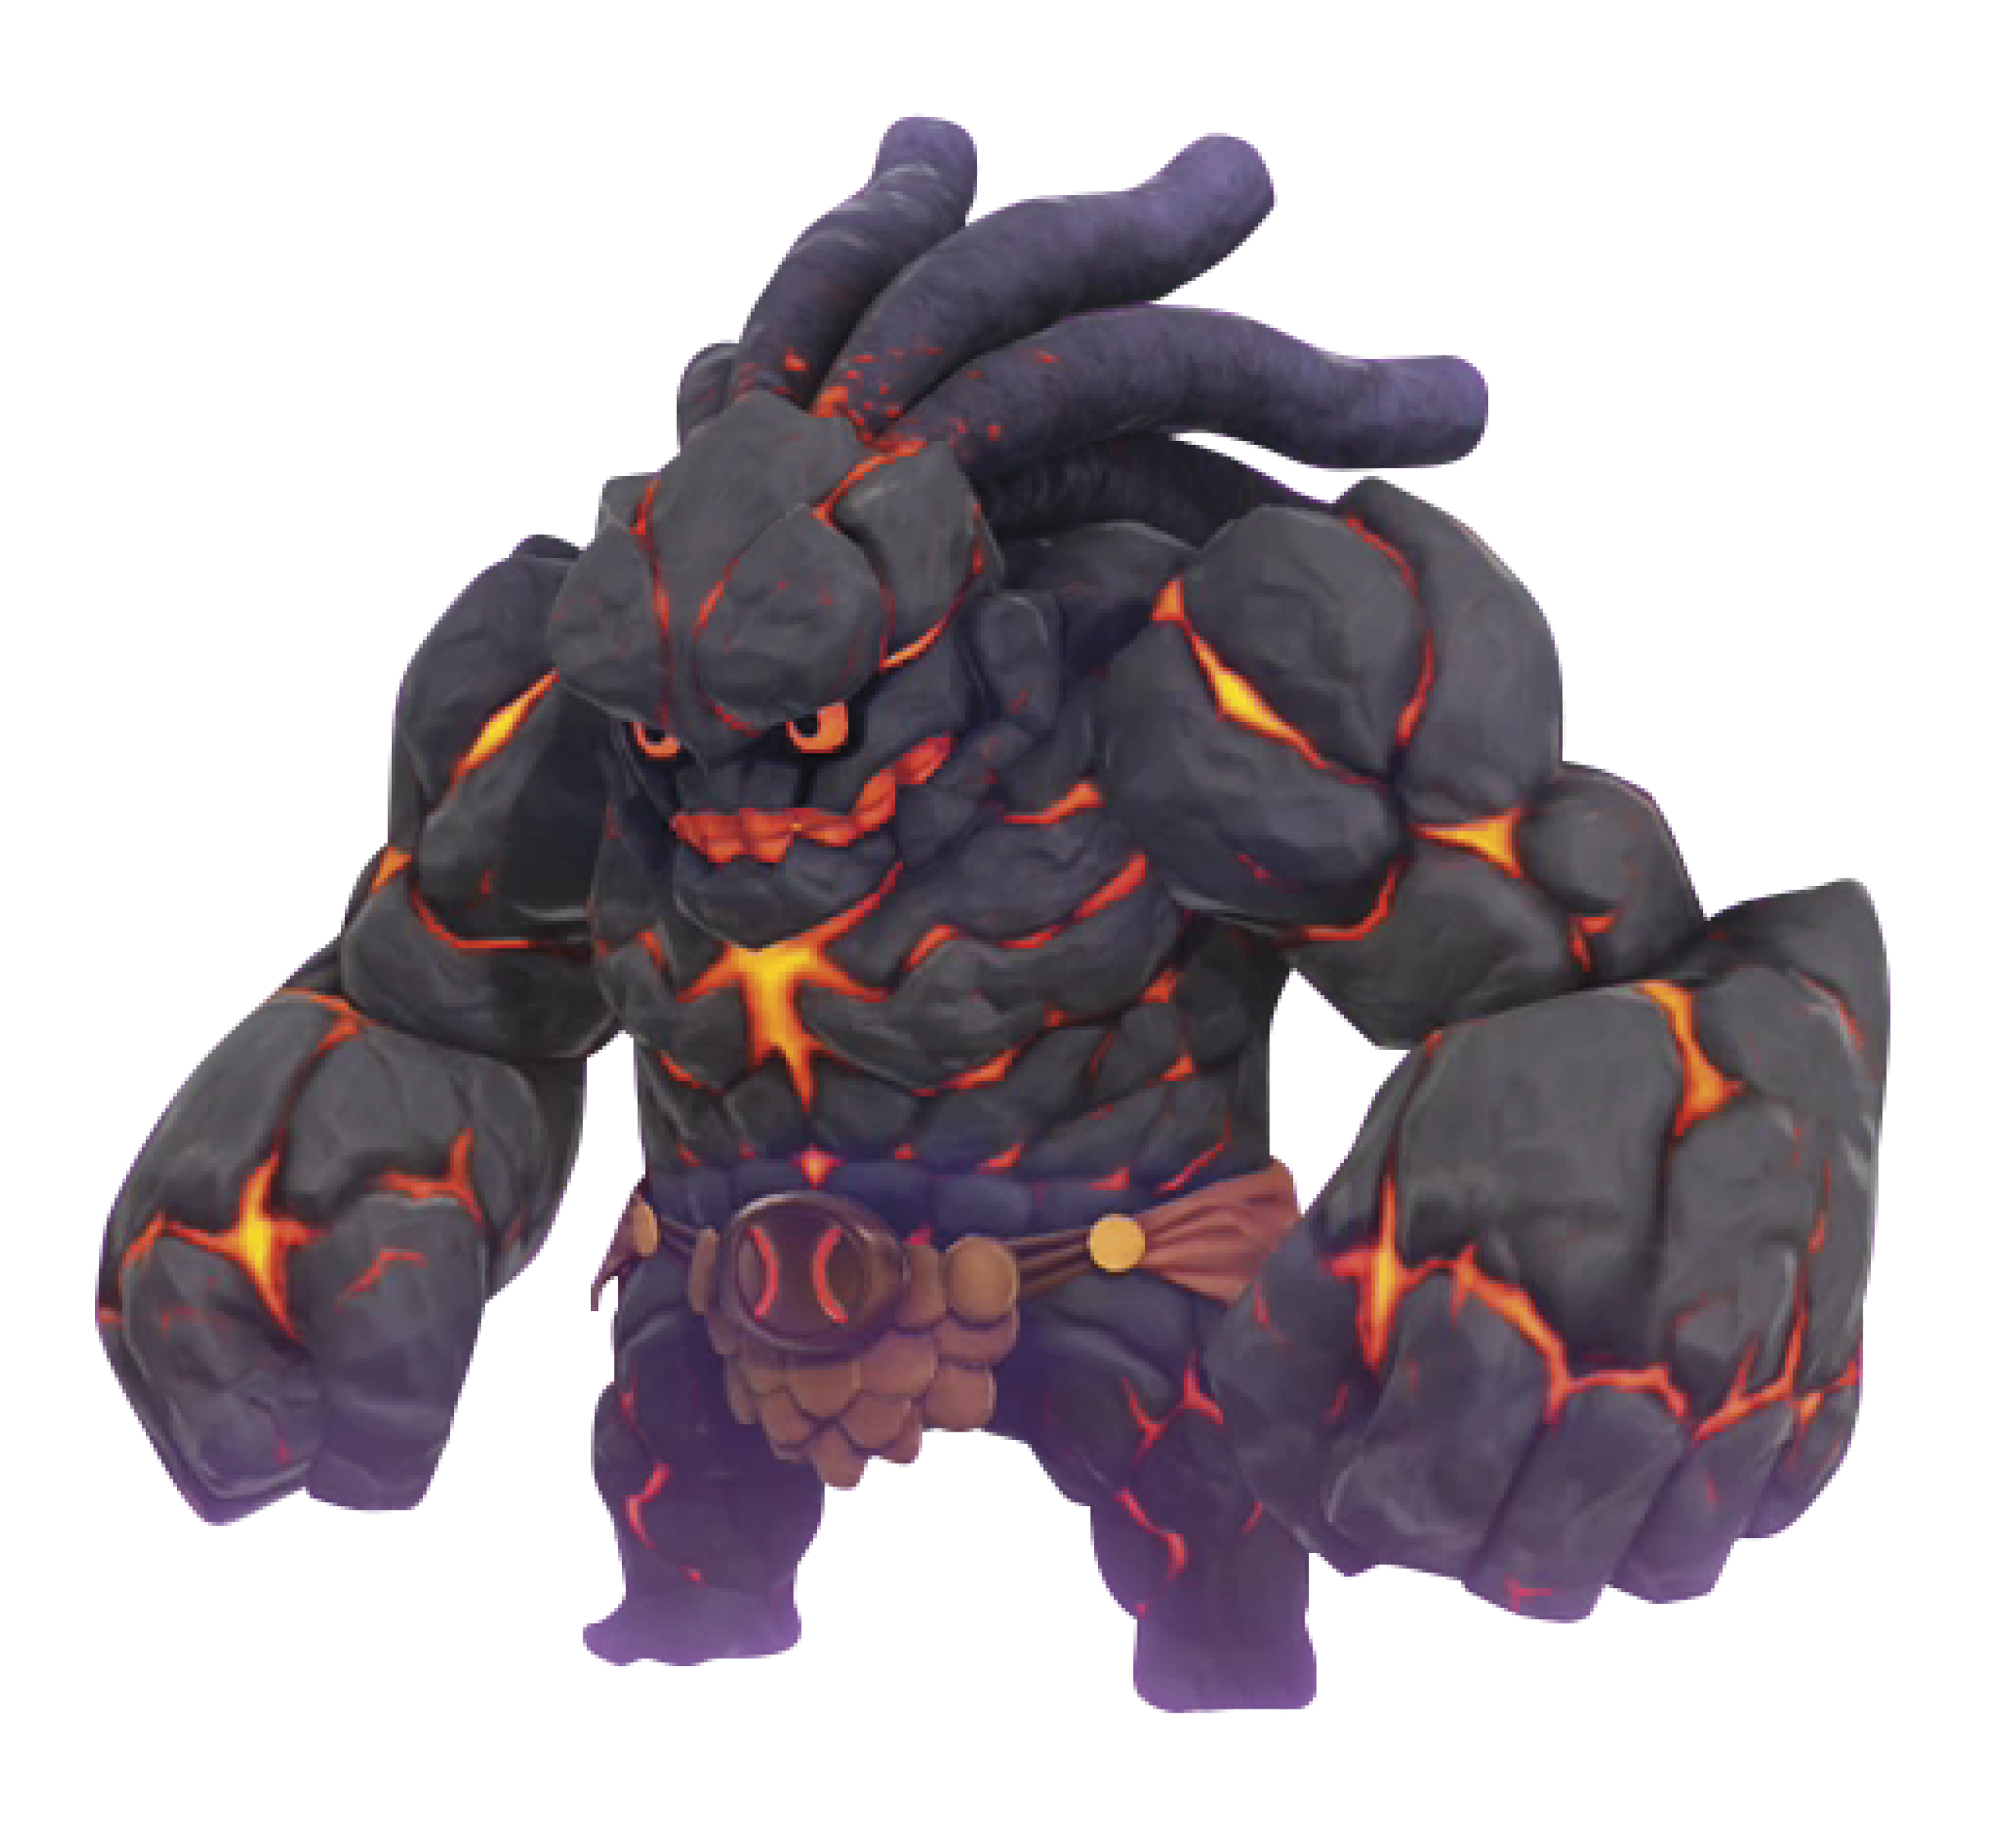
The Crystal Tower’s Secret AreaTo access the tower’s secret area, you need to collect a total of four clearcrysts. These are rewarded for defeating the static kuza beast encounters scattered across the Crystal Tower. You find three while climbing to the top of the tower (one is required to progress through the main story), and one is on the stairs leading down from the first floor of the tower. If you followed the walkthrough preceding this text, you should have three clearcrysts by the time you get to the seventh floor. From the Crystal Tower’s first floor, descend the tower’s main staircase. Defeat the kuza beasts guarding the staircase for the fourth and final clearcryst, then proceed down the stairs. Appease the four Gimme Golems on your way down, then activate the warp crystal at the end of the stairwell. Like the other dungeons, this secret area houses a rare Mirage for you to defeat or imprism. Here, you find a titan Mirage. It’s highly recommended that you enter the fight prepared to imprism it; its defense ratings and HP are extremely high, making it difficult to defeat by conventional means. 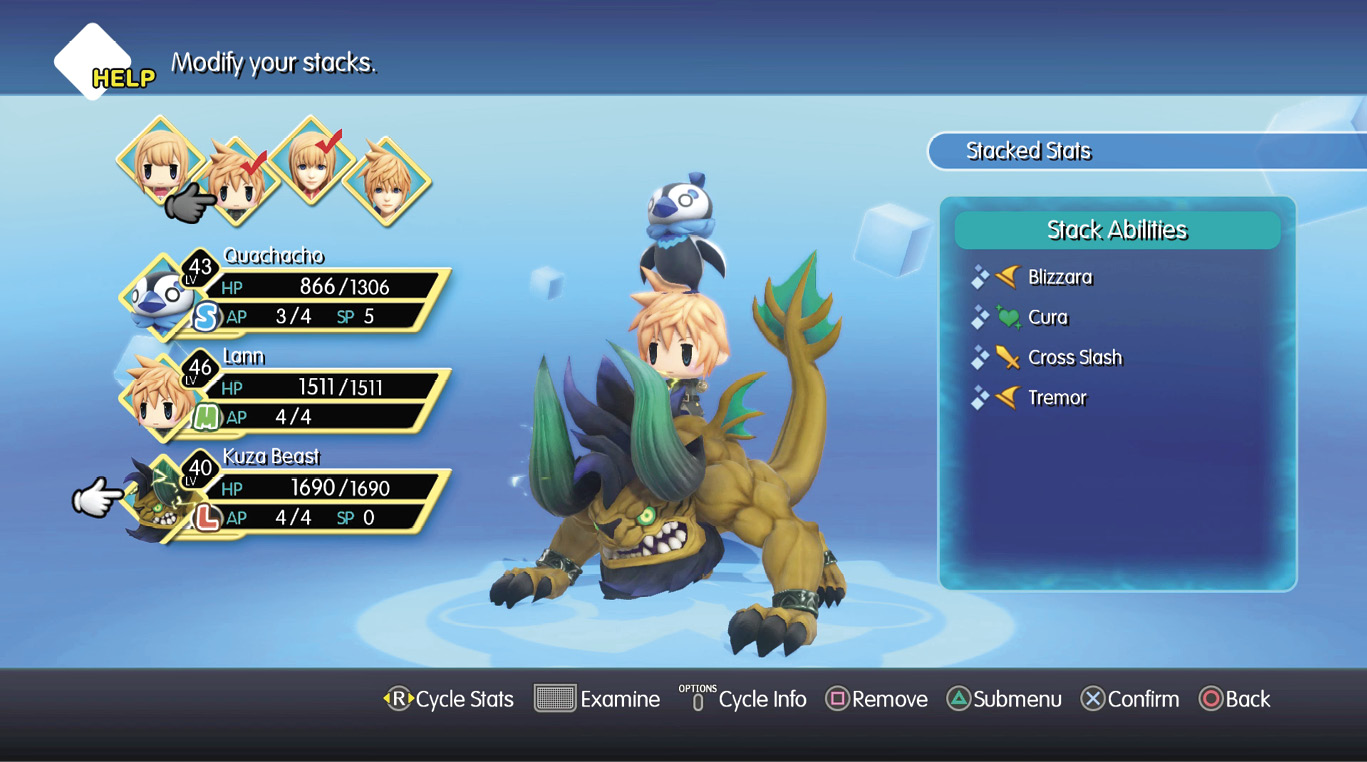
In order to trigger its prismtunity, you only need to land a critical hit. To prepare, make sure that you have access to an ability with a high critical hit chance, such as Cross Slash or Helldiver. If you’ve imprismed one of the many kuza beasts you fought to get to this point, you can easily create Cross Slash by adding the kuza beast to one of your Lilikin stacks. Fortunately, even if your critical hits deal meager amounts of damage, they still count toward the prismtunity condition. Trigger the prismtunity two or three times, then imprism the titan Mirage. Titan uses devastating earth-based attacks, so it’s advisable that you use at least one large floating Mirage in one of your stacks to completely evade attacks like Gaia’s Wrath. 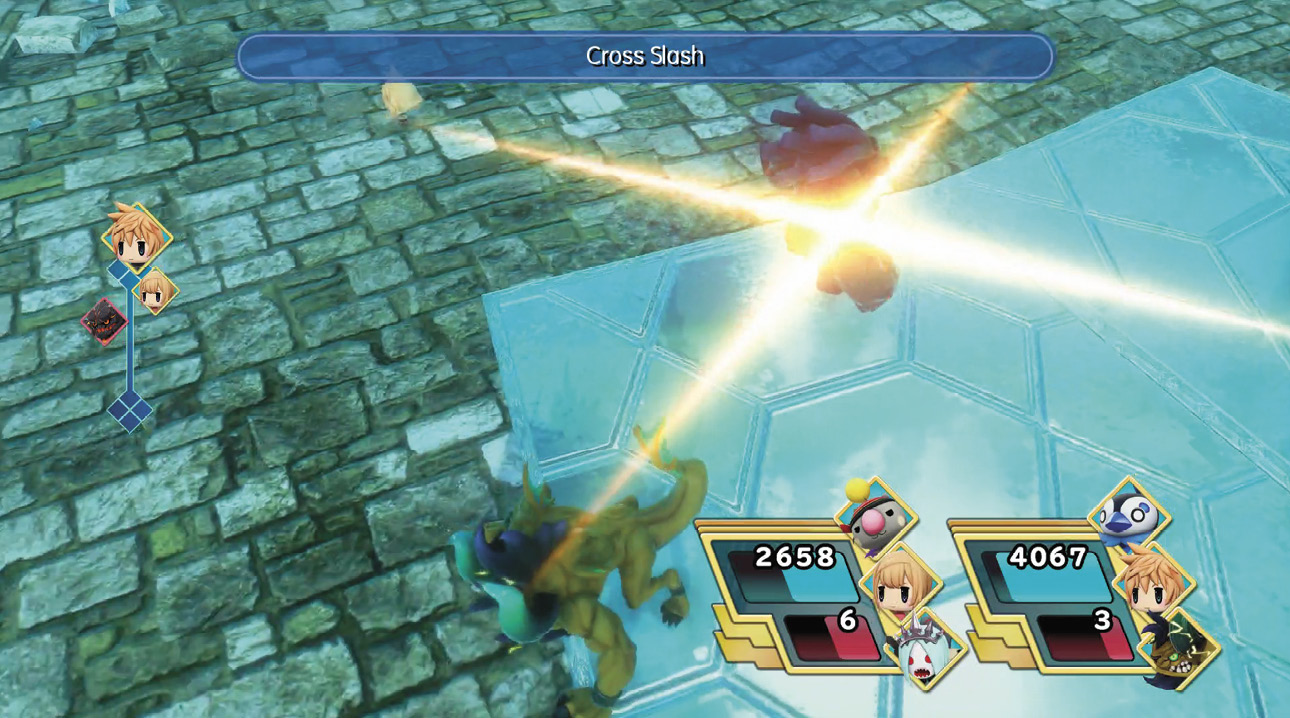
|
Bypassing the Quadrelemence Barrier
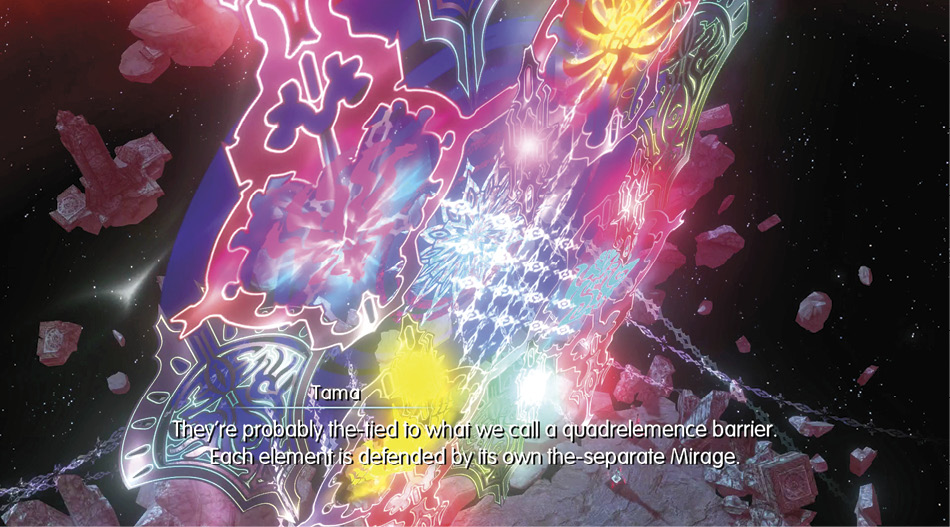
On the final floor of the Crystal Tower, head toward the giant door to trigger a cutscene. It appears that the door is locked by four elements, and to unlock it, you must defeat four Mirages—one per associated element.
You can find these bosses through the warp crystals near the giant door. Activating the left crystal teleports you to the Chamber of Wind and Earth, whereas activating the right one teleports you to the Chamber of Fire and Water. Although there are four unique Mirages to defeat, this task is rather straightforward. Each chamber consists of a linear climb with a boss encounter at the end. There are no treasure chests or optional tasks to complete in either path, but the Mirages you encounter are of a different variety than ones in the lower floors of the Crystal Tower. As you would expect, you can find Mirages with the associated elemental resistances in their respective chambers.
Boss Battle: Tiamat and Asterius
At the end of the Chamber of Wind and Earth is an encounter with a tiamat, a wind-based dragon, and an asterius, an earth-based minotaur. Although it can cast Quake, the asterius’s attacks are primarily physical. The most devastating attack it has at its disposal is the high-strength toppling Bulldozer attack, so make sure to have wobblestoppers available.
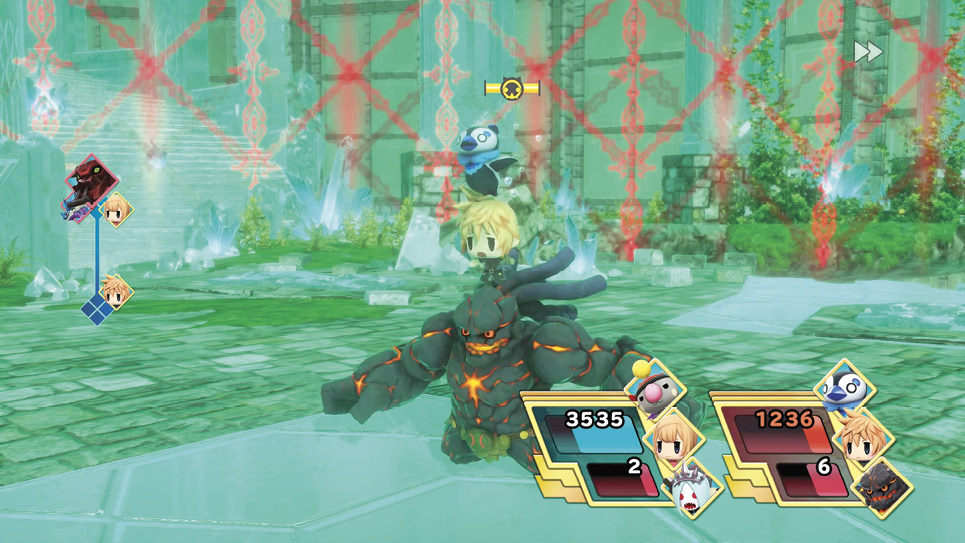
The tiamat uses an ability called Jet Fire, which deals magical wind damage. Ideally, you have a wind-heavy Mirage stack for this encounter (such as one with a wind toad, sylph, moogle, or dualizard). Not only do these Mirages offer strong wind-based abilities for defeating the asterius, but they also provide resistance against the tiamat’s Jet Fire ability.
The tiamat is weak to ice and water, so having a Blizzara or Watera mirajewel equipped on one of the twins helps a great deal here. Alternatively, you can use ice and water spellstones to dish out massive damage. The asterius has around 18500 HP and the tiamat has around 17000, so focusing on the tiamat first may be more efficient, depending on which offensive abilities you have available.
Defeating this pair of Mirages rewards you with several arma gems, along with a tiamat memento (hydra family transfiguration) and an asterius memento (minotaur family transfiguration).
Boss Battle: Buer and Kraken
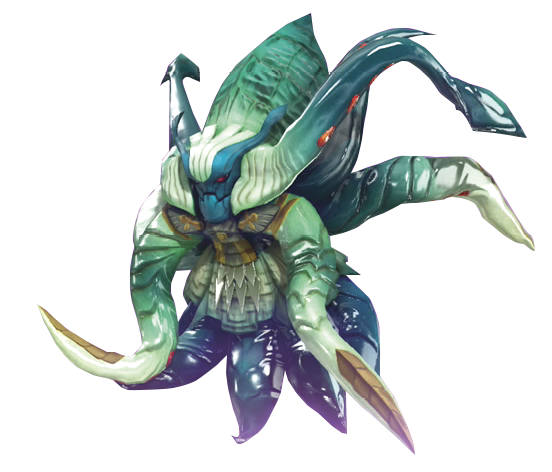
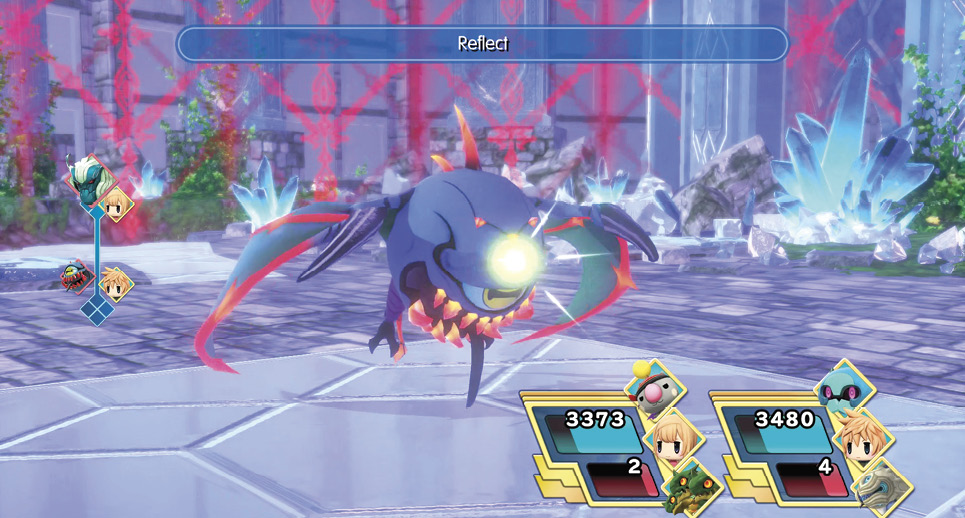
The Mirage encounter found in the Chamber of Fire and Water consists of a kraken and a buer. The kraken is a water-based Mirage that’s extremely weak to thunder and has the ability to cast Reflect, along with water-based abilities like Tsunami and Evil Mist. The buer is a floating eye-type Mirage that’s very weak to water and casts fire-based spells like Fira and Firaga. Like the kraken, the buer can also cast Reflect.
There are a few ways that you can tackle this encounter. If you have the Dispel mirajewel unlocked, you can equip it to one of the twins so you can remove the Reflect effect from the enemy Mirages. Alternatively, you can use water and thunder spellstones to deal damage because these items are not affected by Reflect. Physical attacks work well, too, along with light-based spells such as Banishra and Holy (and may be more convenient since both Mirages are weak to light).
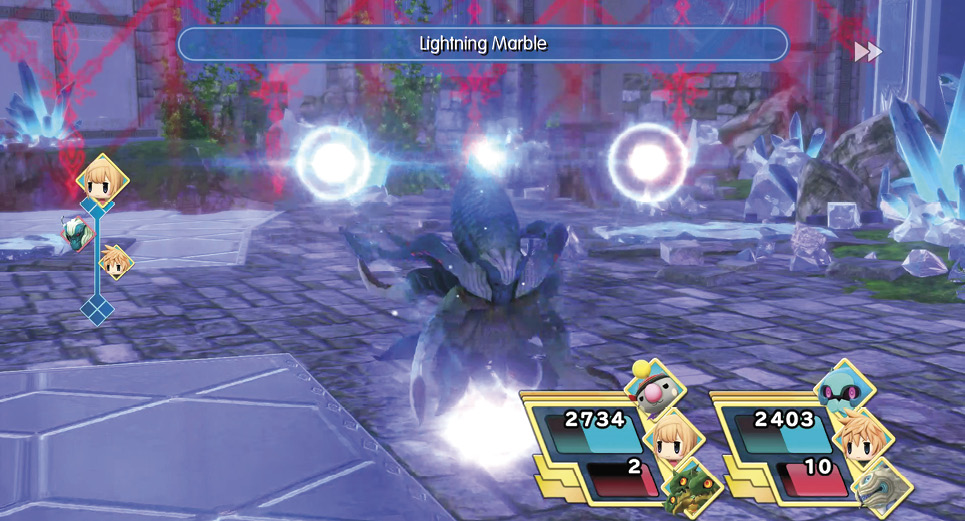
Defensively, you can set up your stacks with high fire and water resistances, along with a high Magic Defense rating. Having the Shell ability is also a huge boon against these enemies. Additionally, the buer can inflict Blindness on your party with the Flash spell, so be ready to use an eye drop if you’re using physical attacks.
Defeating these Mirages rewards you with a buer memento (floating eye family transfiguration) and a kraken memento (ultros family transfiguration).
Once you’ve completed both chambers, you can save your progress at the Save Crystal in front of the quadrelemence barrier. Then, approach the barrier for a cutscene, concluding the story chapter.