
World of Final Fantasy Guide Main Story Walkthrough
Chapter 12: Ribbit Jiggle Panic
After Reynn and Lann are suddenly flushed away from the fiery pits of Valley Seven, they end up stranded on the Windswept Mire. Here, they meet another Champion, although it’s in the form of a toad.
| Action Checklist |
|---|
|
1. Uncurse Snow |
|
2. Explore the fen |
|
3. Defeat the golden flan |
Lift Snow’s Curse
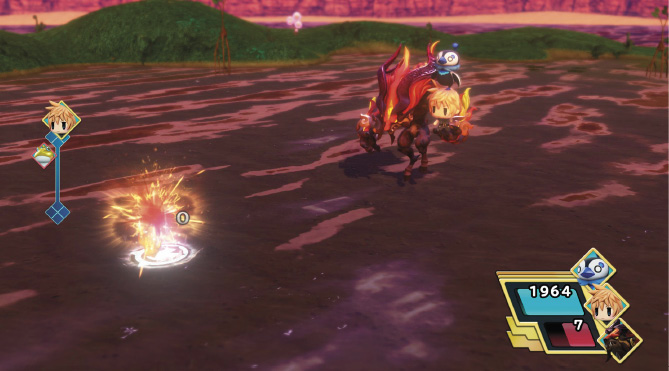
Proceed east from where you’re washed ashore for a cutscene introducing you to an apparently cursed toad. Lift the curse by imprisming the golden toad just ahead. Although you only have access to one stack, it shouldn’t be too much of a problem. Talk to the golden toad to initiate an encounter with it. You can’t kill this toad even if you deplete its entire HP pool because it must be imprismed to progress the story.
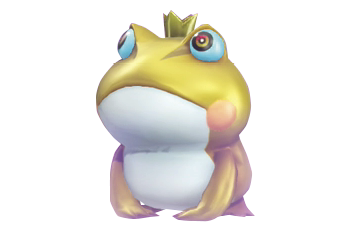
Imprisming the lucky toad uncurses the special toad from before, and you’re introduced to Snow, another Champion. He shows his gratitude by calling down his Eidolon, Shiva-Ixion, who forms a glacial path off of the swamp island. Snow joins the twins to help them find their way out of the Windswept Mire.
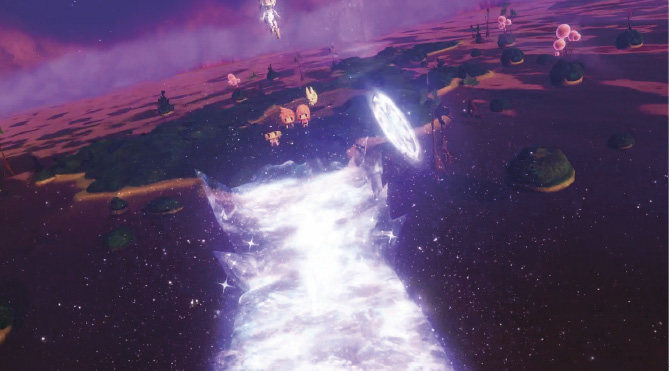
After the cutscene, a Gate appears. From here, you can take a break from the main story to visit previous dungeons or to restock on items from the Chocolatte Mart.
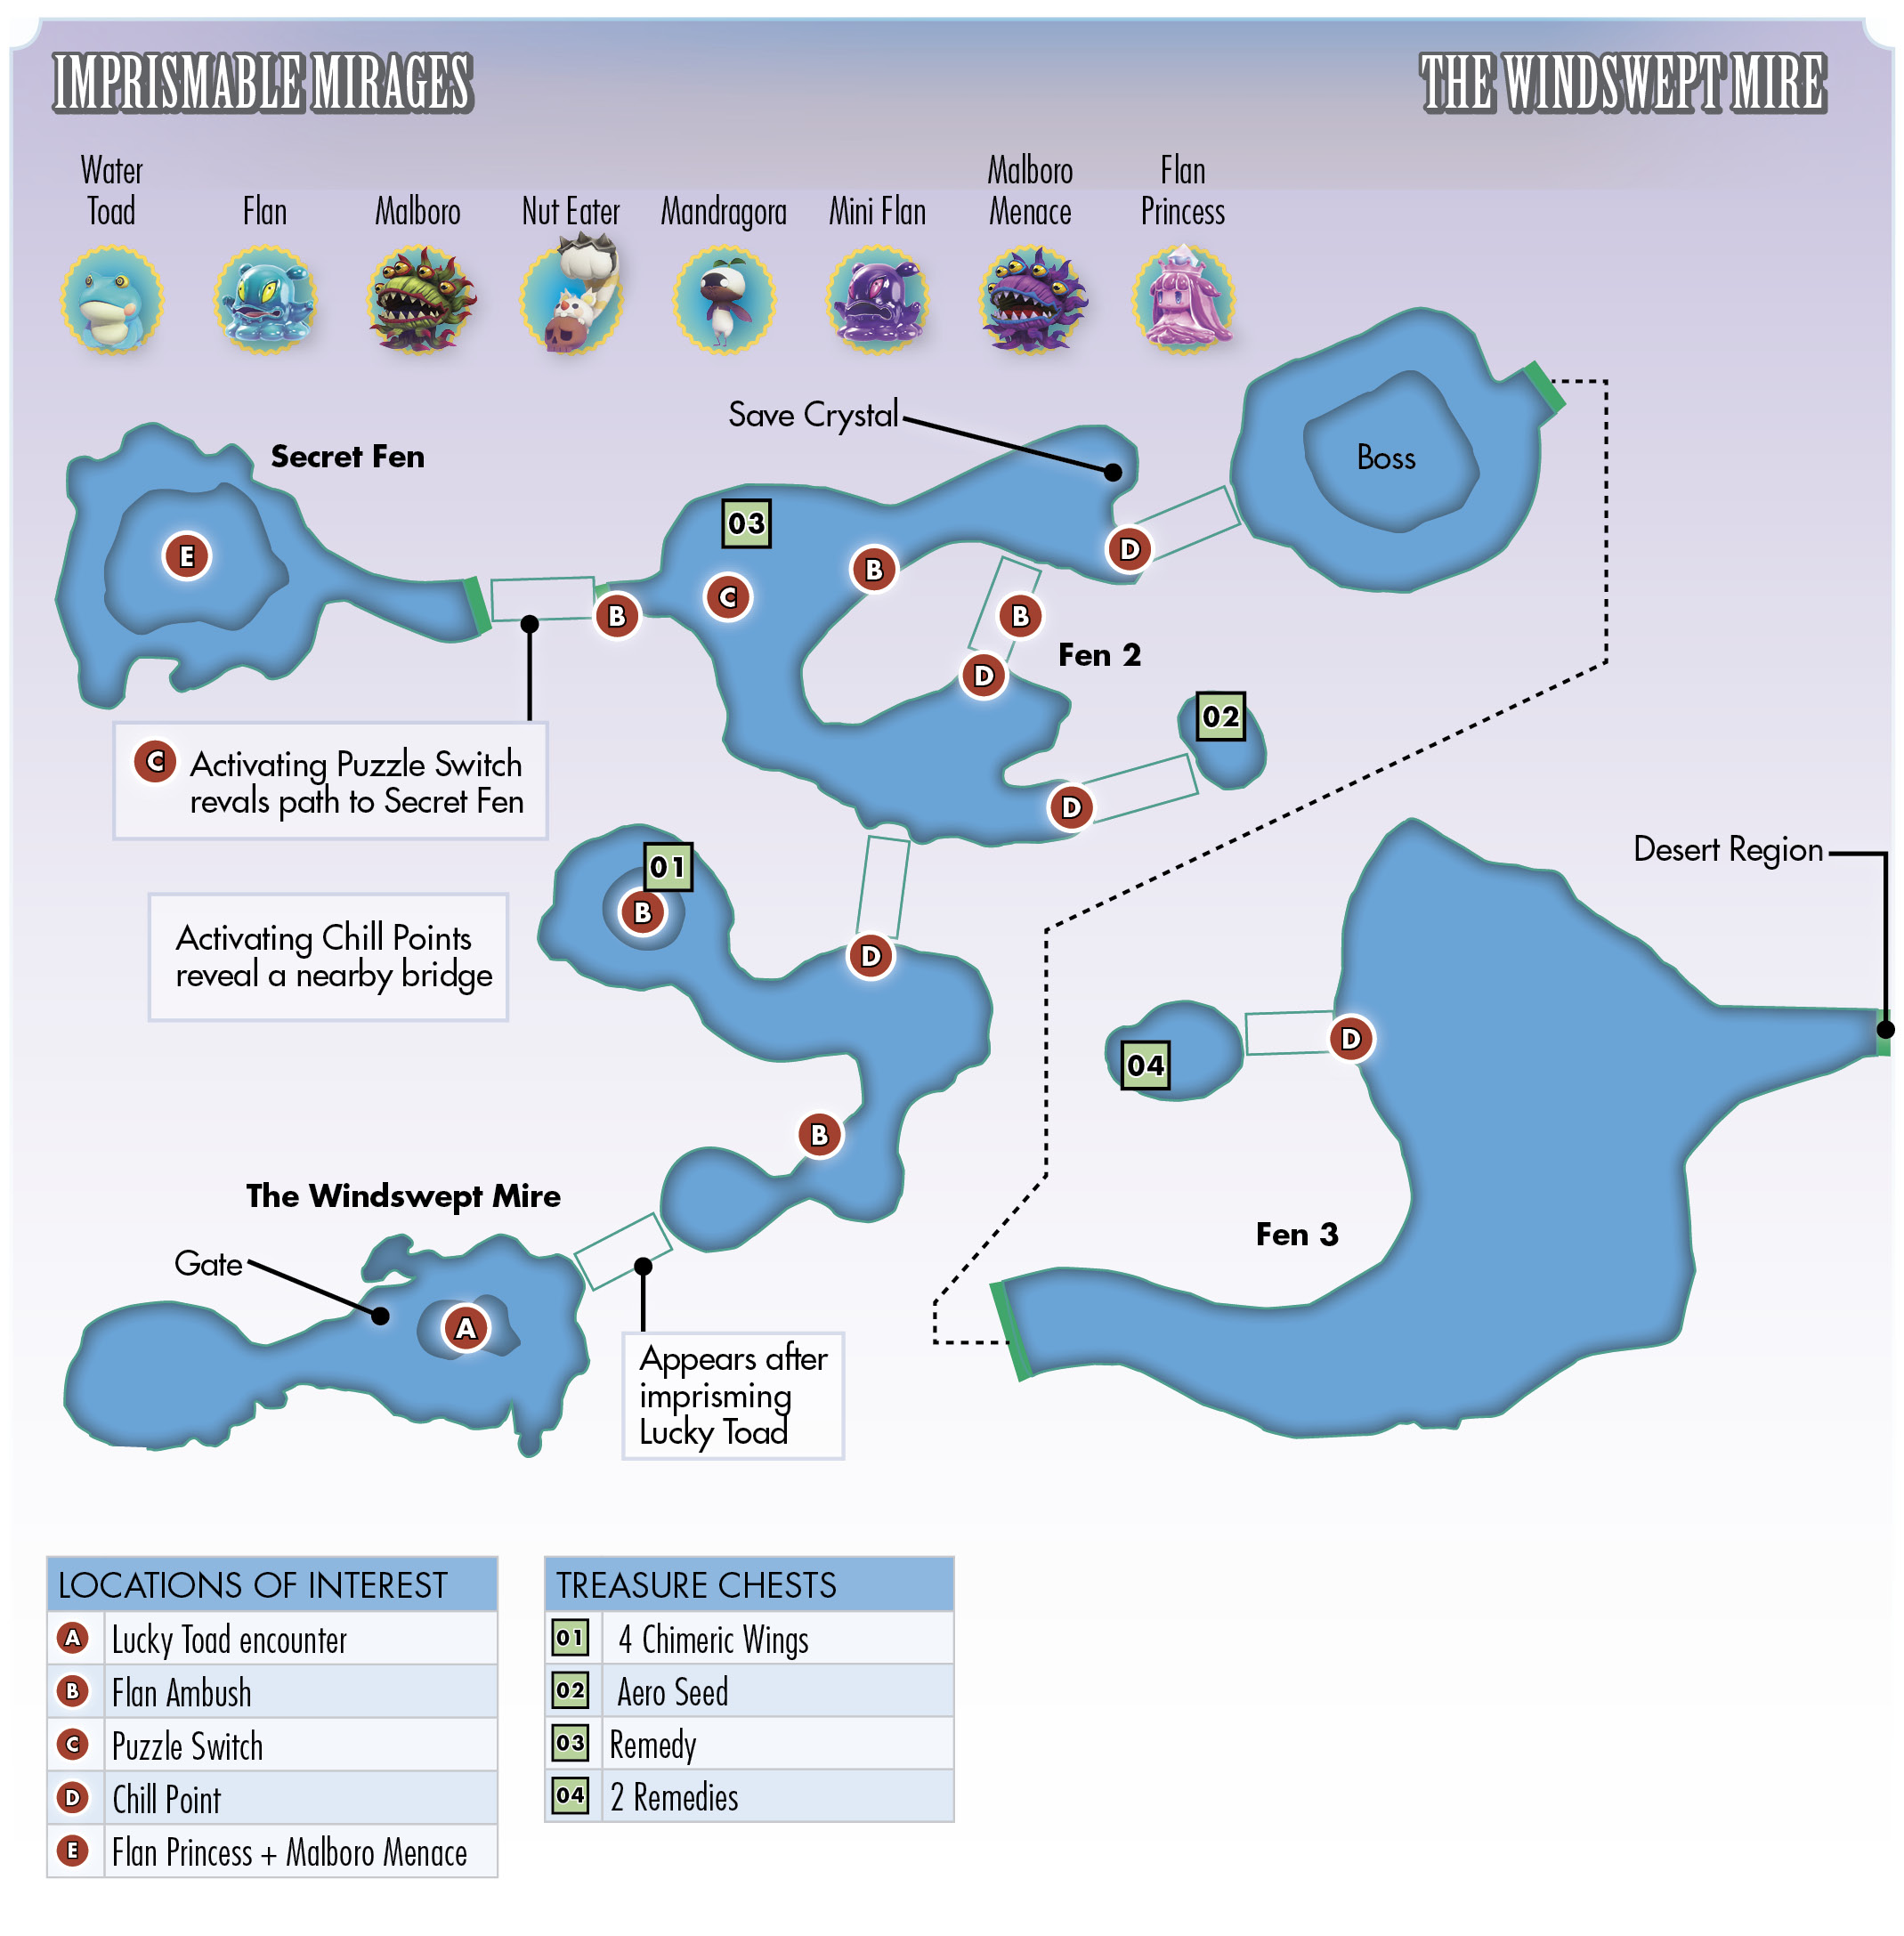
When you’re ready to traverse the swamps, take the east exit from the Gate to enter Fen 2 of the Windswept Mire. Continue northeast from the starting point of Fen 2 until you reach a Chill icon. Having Snow with you gives you access to the Chill support ability as Shiva-Ixion conveniently freezes the path over for you.
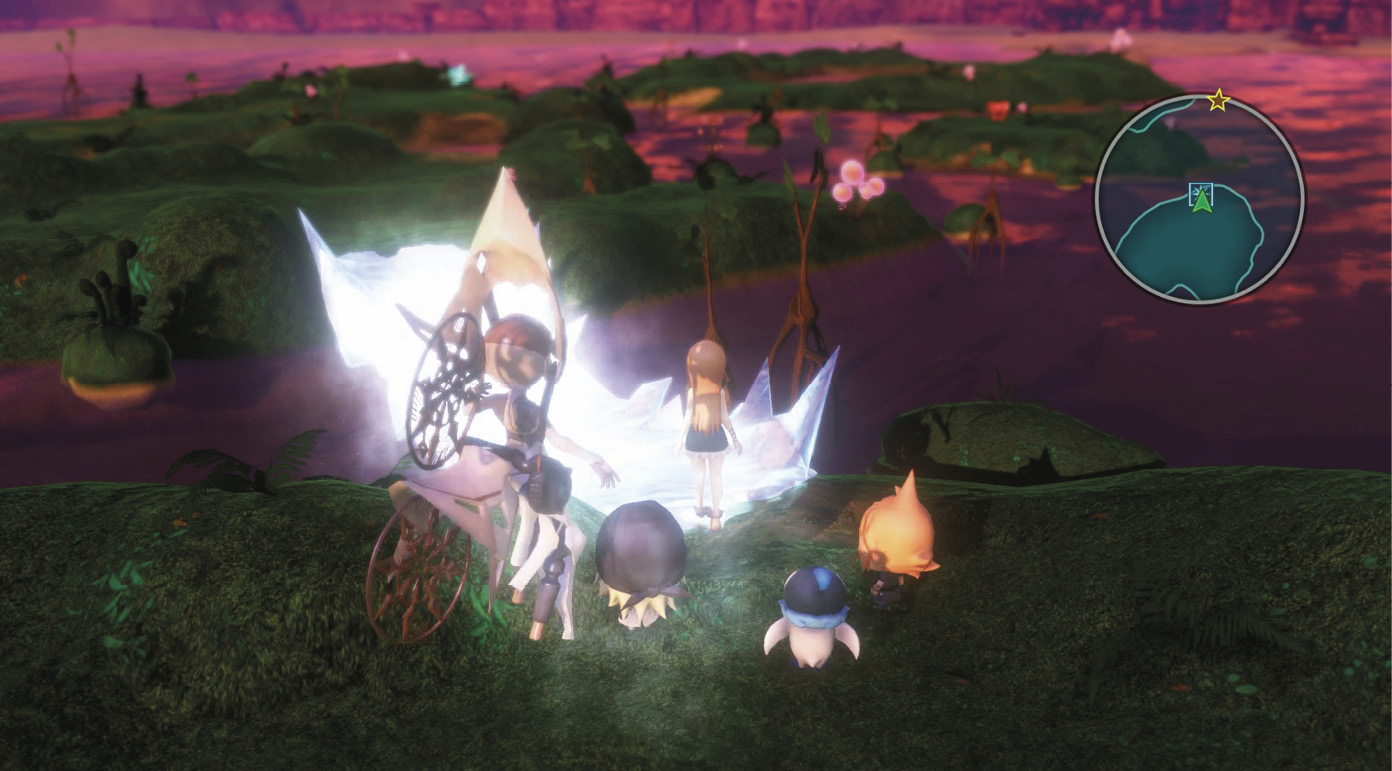
Before crossing the ice bridge, there’s a treasure chest near a swamp to the west. Head over there and open it to obtain four chimeric wings. Note that there are specific points on the map here where flan enemies can ambush you (such as in front of this treasure chest).
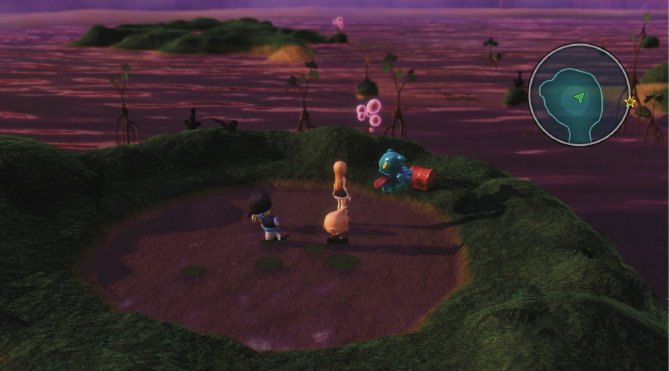
Cross the bridge, then turn right (heading east) to another Chill point, forming an ice bridge to a small island containing a treasure chest. Open the chest to obtain an Aero seed. Return to the center of the area; to the north, there’s another Chill point you can access. Create a bridge here and cross it (there’s a flan ambush here), then save your progress at the Save Crystal up ahead.
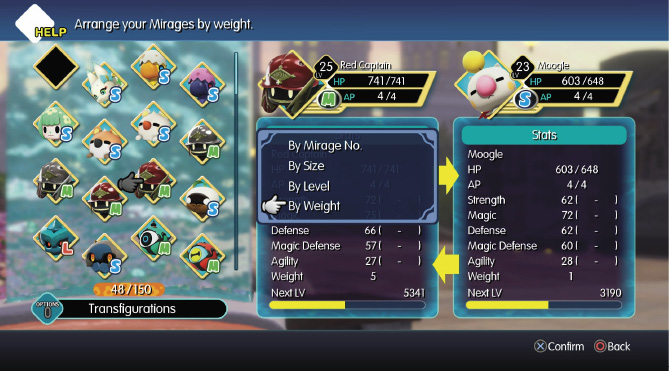
To the west of the Save Crystal, you find a switch puzzle and a treasure chest. Open the chest to pick up a remedy. This puzzle involves creating a hefty Mirage stack of at least 14 weight and 25 water resistance. You need your heavy Mirages for this, so you may need to access your Prism Case from the Save Crystal and sort your Mirages by weight (by pressing the TOUCHPAD button on the PS4 when swapping a Mirage out—this is the SELECT button on the PS Vita). Complete the switch puzzle to open a path to the secret area.
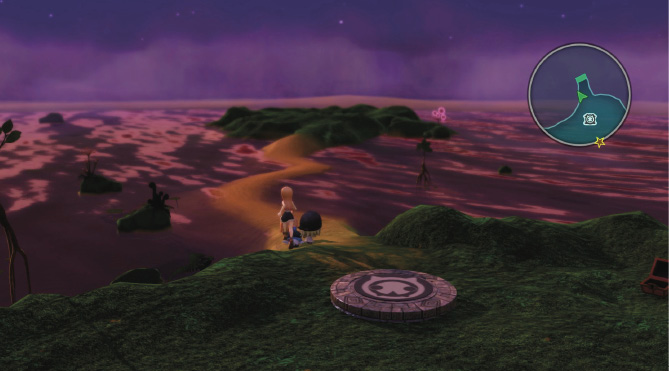
Be warned, though—the secret area here contains a Mirage stack that you probably can’t deal with now, so come back later when you’re much stronger (around level 40 to 45)! For now, leave the swamp by taking the northeast path from the Save Crystal. A cutscene triggers slightly past the last ice bridge.
Boss Battle: Golden Flan
By now, you might have noticed that flan Mirages are resilient against physical attacks and vulnerable to magic attacks. This giant golden flan is no different. It’s technically weak to all elemental-based spells, so prepare your stacks by equipping and unlocking the strongest spells you can (for instance, Fira and Blizzara). As long as both of your stacks have access to these tier two spells, you can make quick work of the boss.
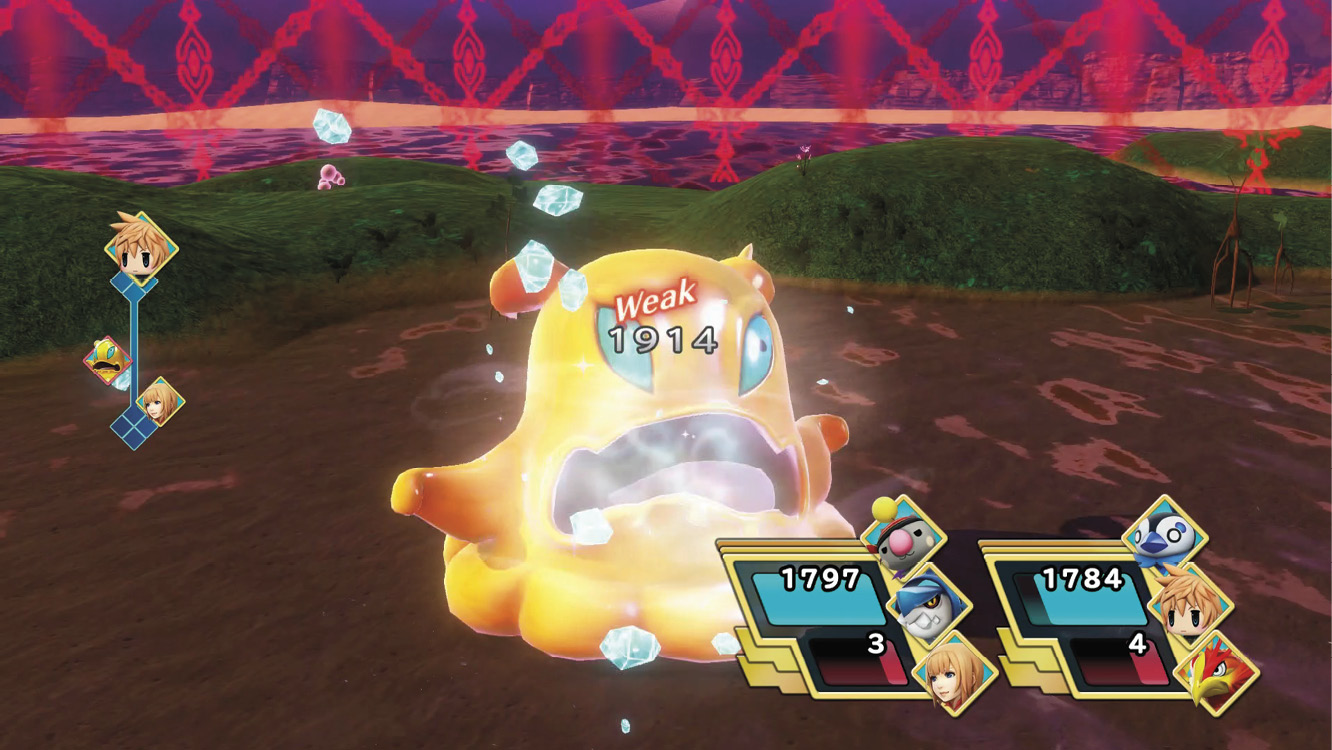
You shouldn’t have to worry about setting up elemental resistances for this fight since the boss’s primary damage comes from physical attacks. Heal up if you need to while bombarding it with your magic. Once you’ve eliminated it, Snow departs from the party (although you can now purchase his Champion Medal from The Girl Who Forgot Her Name). Save your progress after the cutscene, and continue on through the swamp.
Continue to the next area by taking the northeast exit. Your destination is to the east, but before you leave the Windswept Mire, there’s one more Chill point near the west end of the map. This one actually requires you to have the Chill support ability because Snow has left. Cross the bridge to open a chest containing two remedies. Now you can exit the swamp and proceed into the desert, concluding the story chapter.
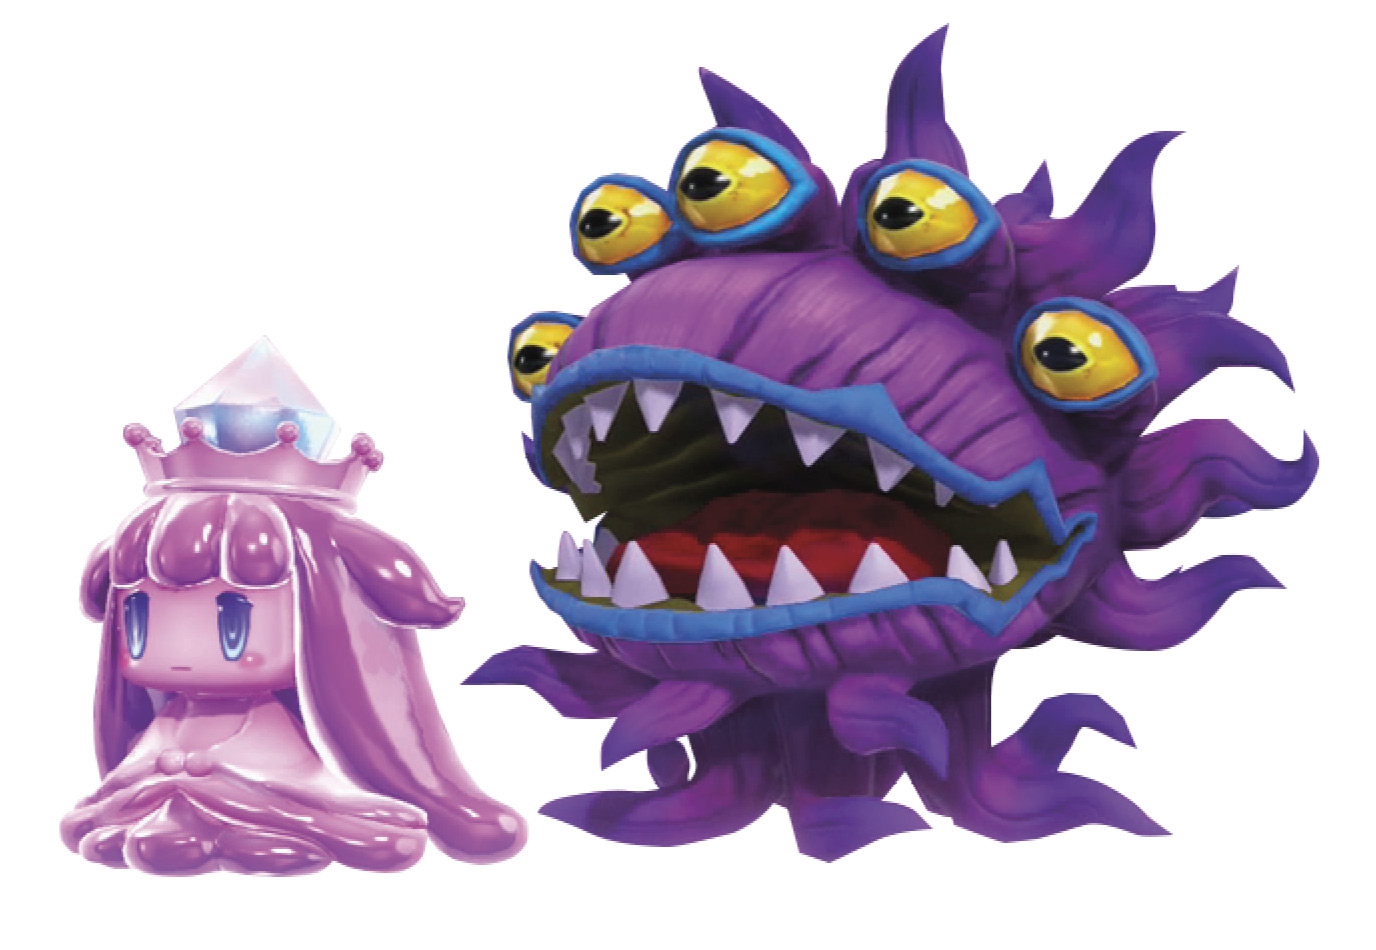
The Windswept Mire’s Secret AreaWhen your average party level is at least 40 to 45, you can return to the Windswept Mire—Secret Fen to take on the malboro menace and princess flan boss stack found here. Defeating it rewards you with mementos of each, which allow you to transfigure your korrigan into a malboro menace and your flan into a princess flan. You can also directly imprism these two Mirages, although it may take some preparation and multiple attempts (the Mirage stack respawns if you exit the Windswept Mire and return). The flan princess’s prismtunity is to whittle your party down to one character. The malboro menace’s prismtunity is triggered by inflicting a status ailment on it. These are both tough to fulfill at once, so you should only take on one task at a time. To imprism the flan princess, topple the Mirage stack with a high-strength topple ability like Balancing Act or Misdirection, then defeat the malboro menace normally. When it’s just the flan princess left, unstack both of your stacks and attack your own party members until all but one are slain, leaving only either Reynn or Lann left alive. This triggers the flan princess’s prismtunity. Beware of the flan princess’s Berserk-inflicting “Dance with Me!” attack (you may need to bring tranquilizers for this encounter). 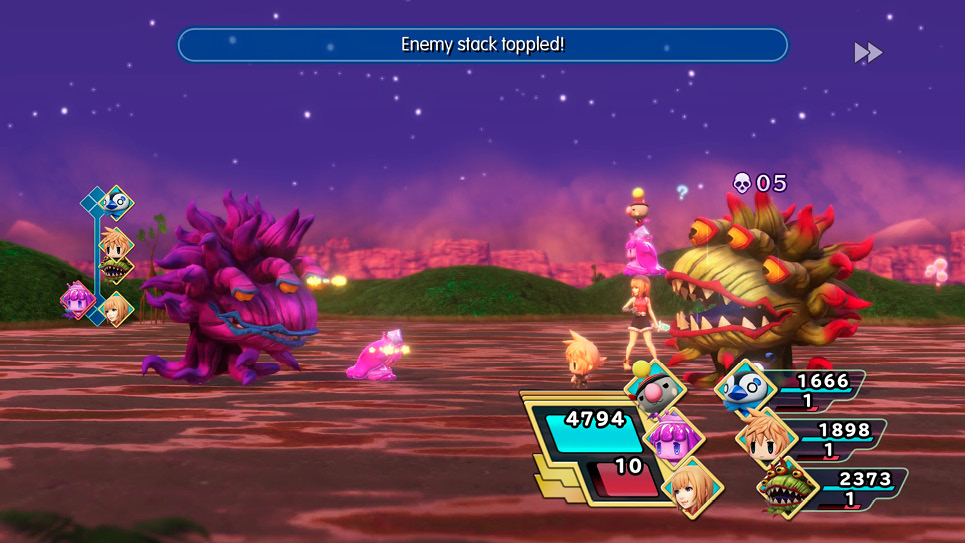
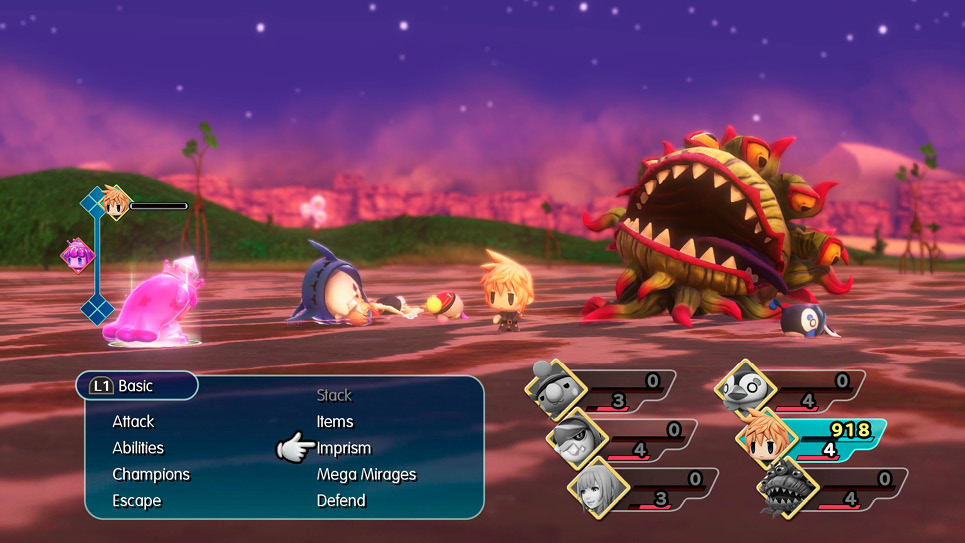
To imprism the malboro menace, follow the steps above, except defeat the princess normally, then inflict Oblivion on the malboro menace by using lethean chimes (since it’s more susceptible to Oblivion than other status ailments). 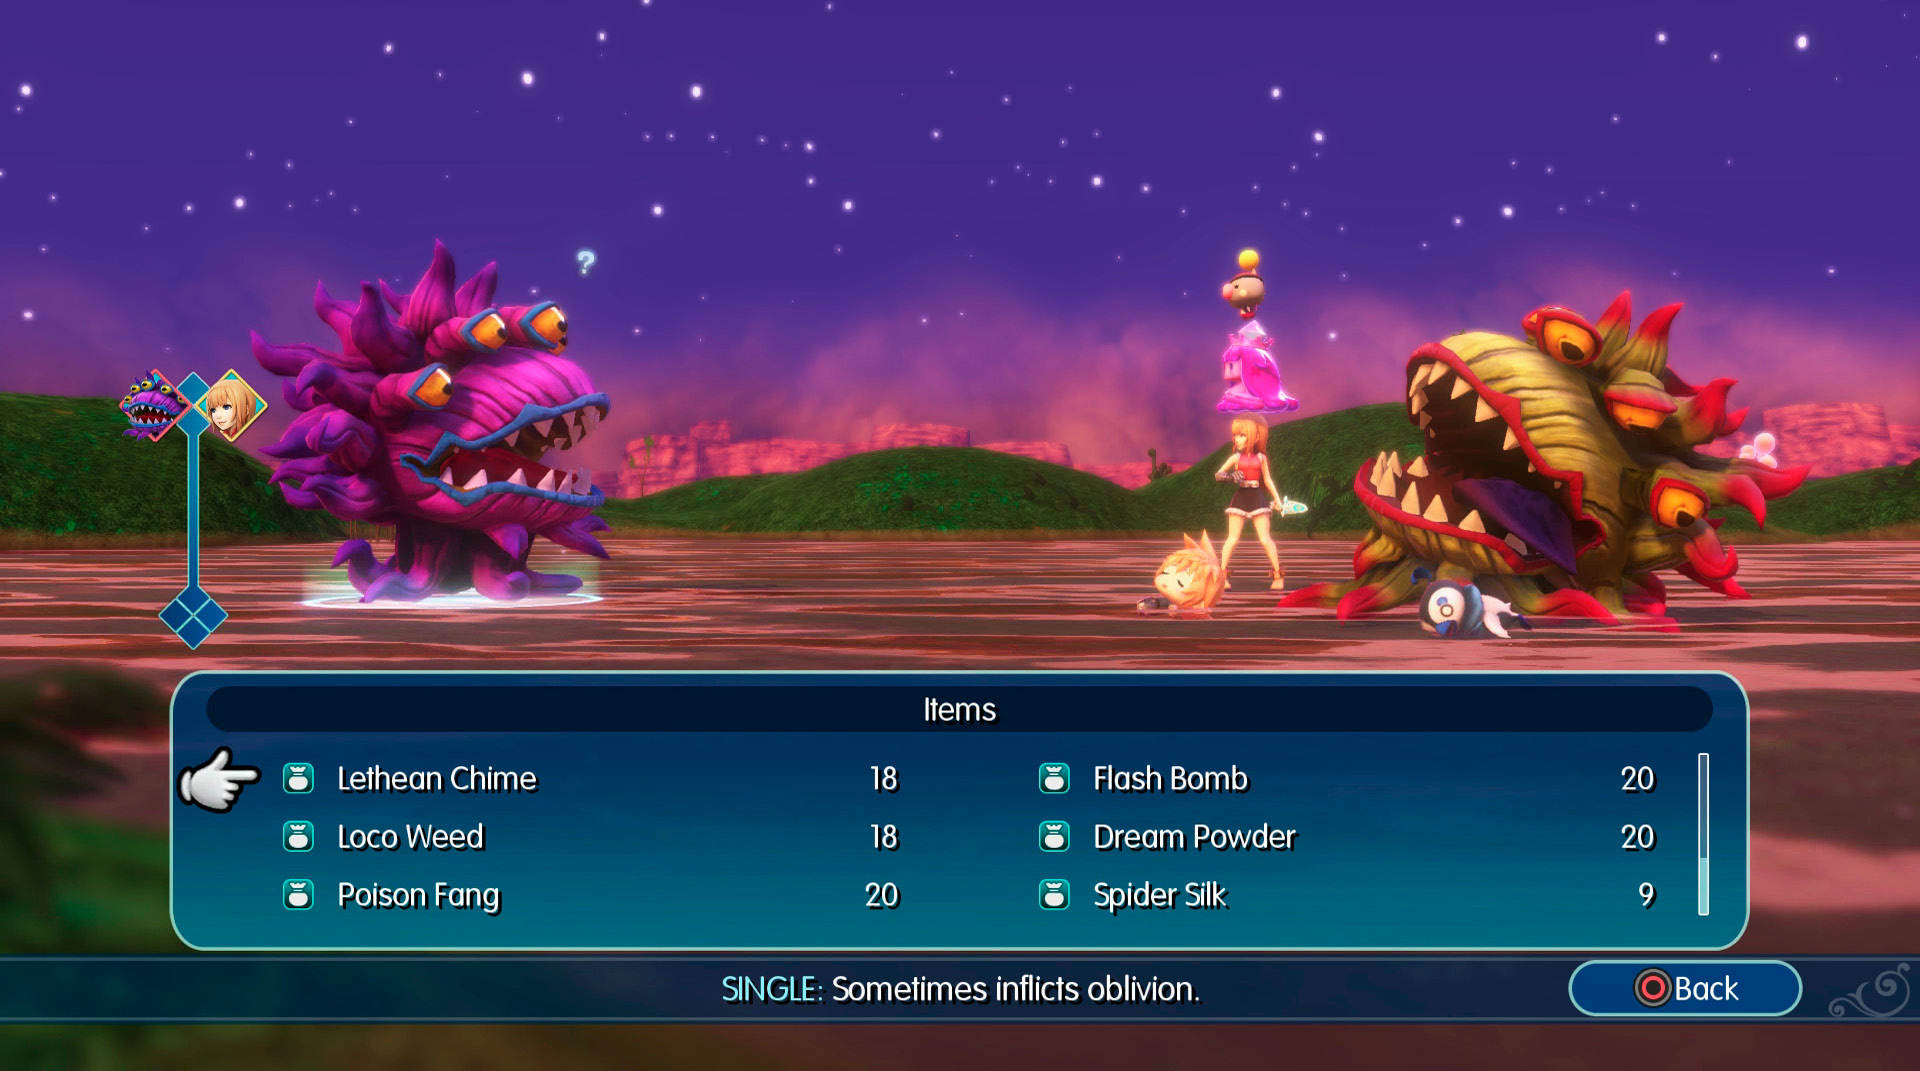
The flan princess is an exceptionally powerful Mirage to have in your lineup; she has access to Celestriad, which occasionally prevents AP usage when casting abilities. |