
World of Final Fantasy Guide Main Story Walkthrough
Castle Exnine
| Action Checklist |
|---|
|
1. Climb Castle Exnine |
|
2. Defeat carbuncle Mirages |
|
3. Activate the warp crystals |
|
4. Defeat the Exnine Knights |
Castle Exnine
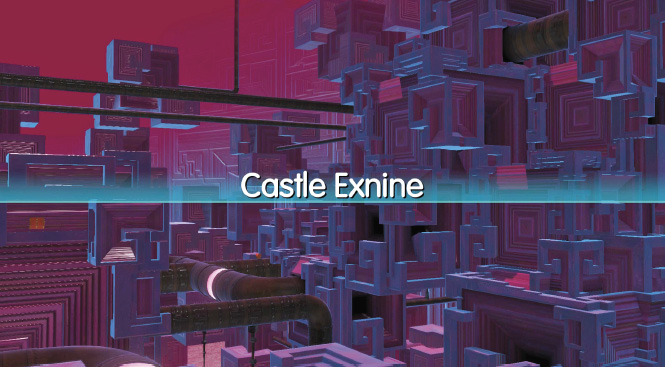
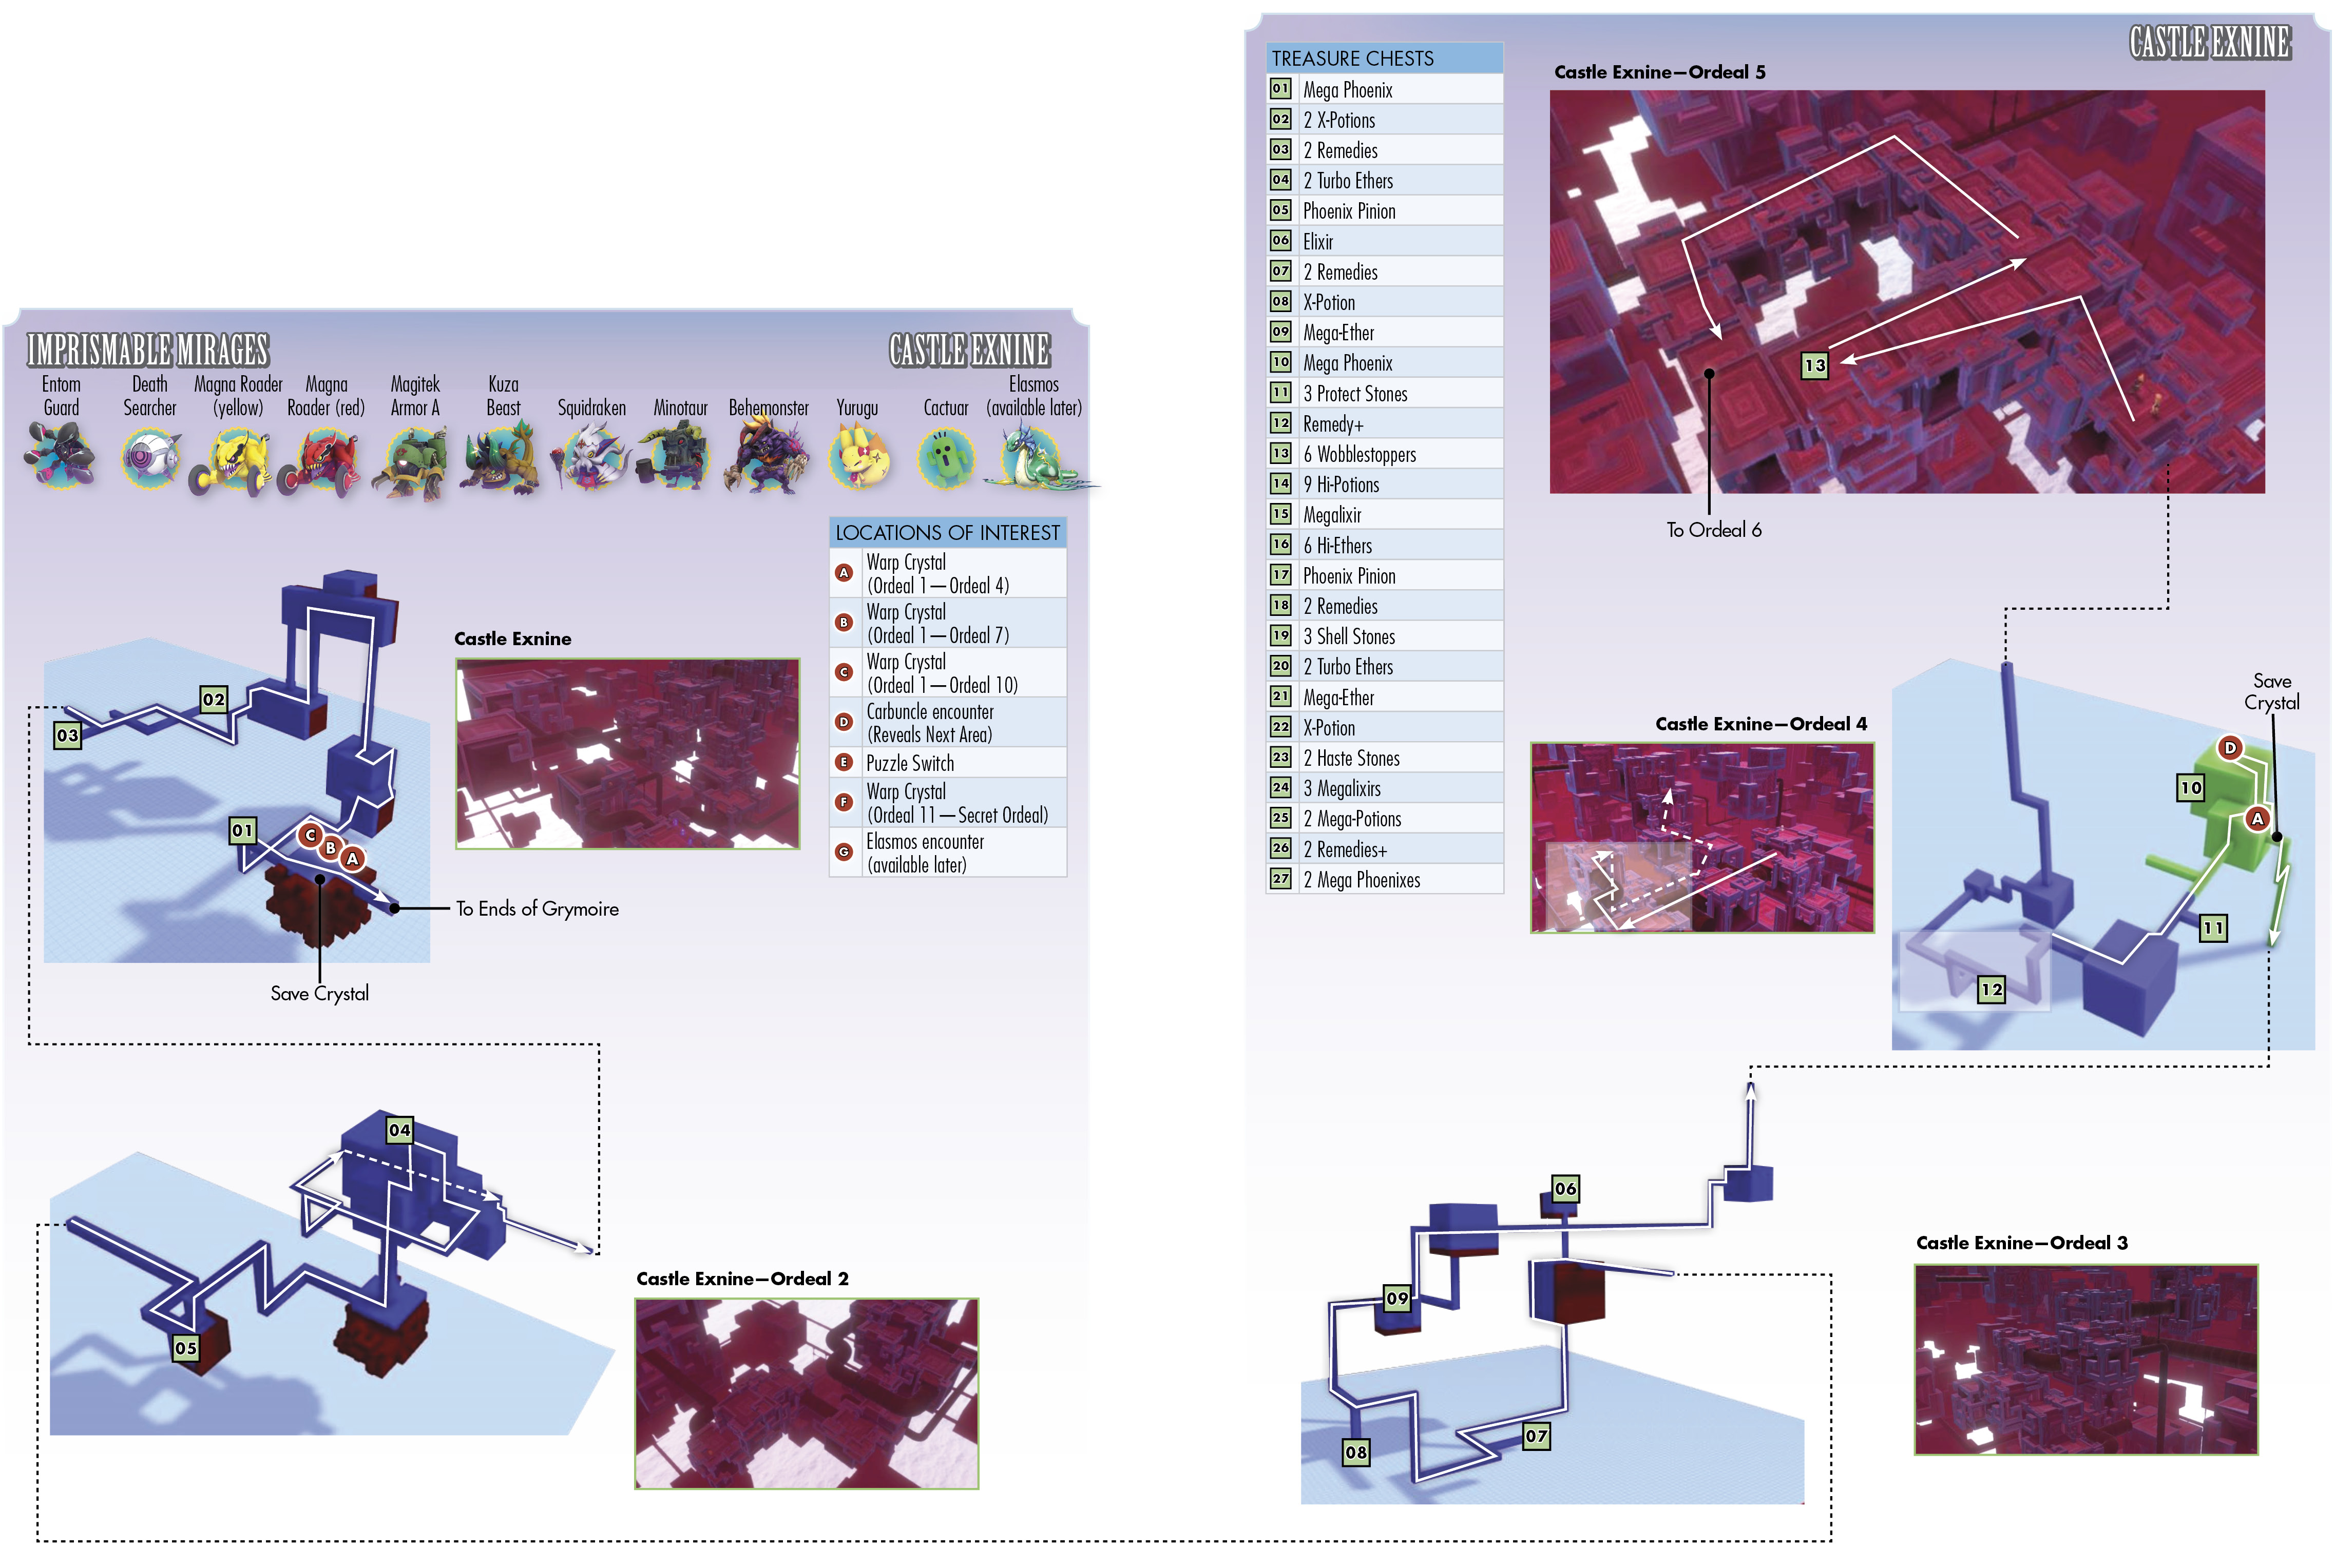
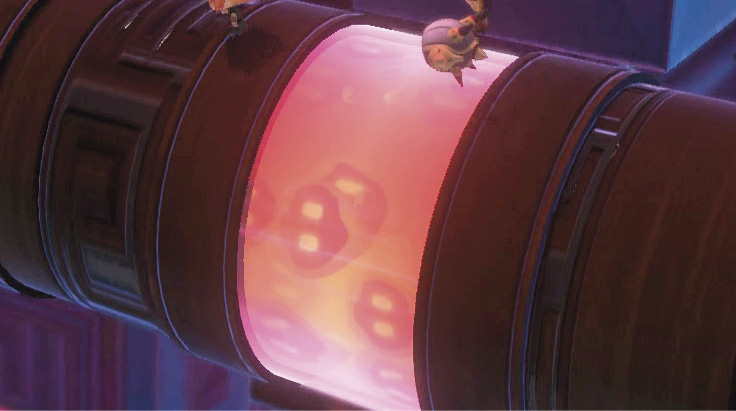
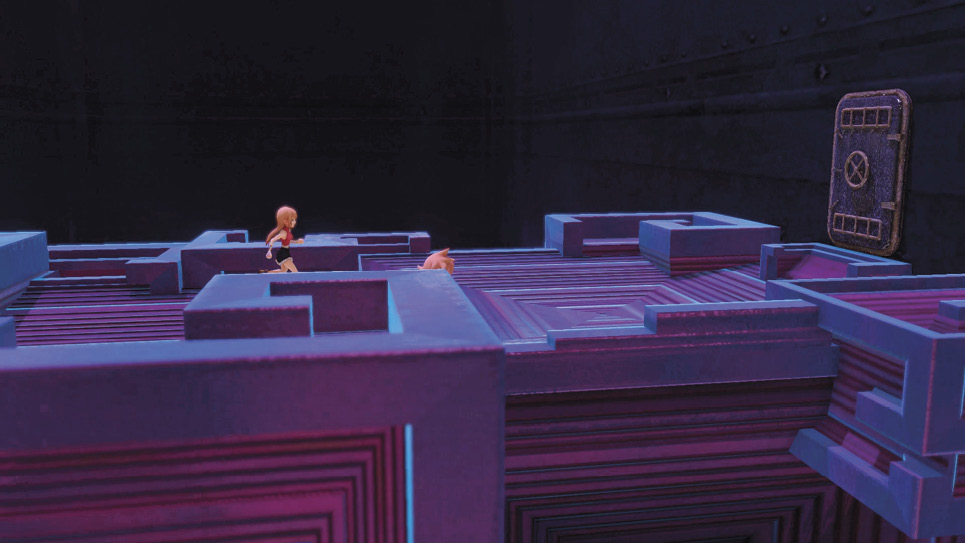
There are a couple of key points to note here in this final dungeon. First, there’s no in-game map to help guide you, and second, much of the terrain involves traversing three-dimensional objects (you can walk along most walls, similar to the Sunken Temple’s seaweed walls). Although this sounds intimidating, most of the paths here are somewhat linear (with the occasional branch off to treasure chests). As long as you’re mindful of where you’re coming from and where you’re headed, climbing Castle Exnine should be manageable. Additionally, the pipes you walk on in here are a big clue—you can see the souls being harvested from Grymoire in several of the pipe windows. Follow the souls!
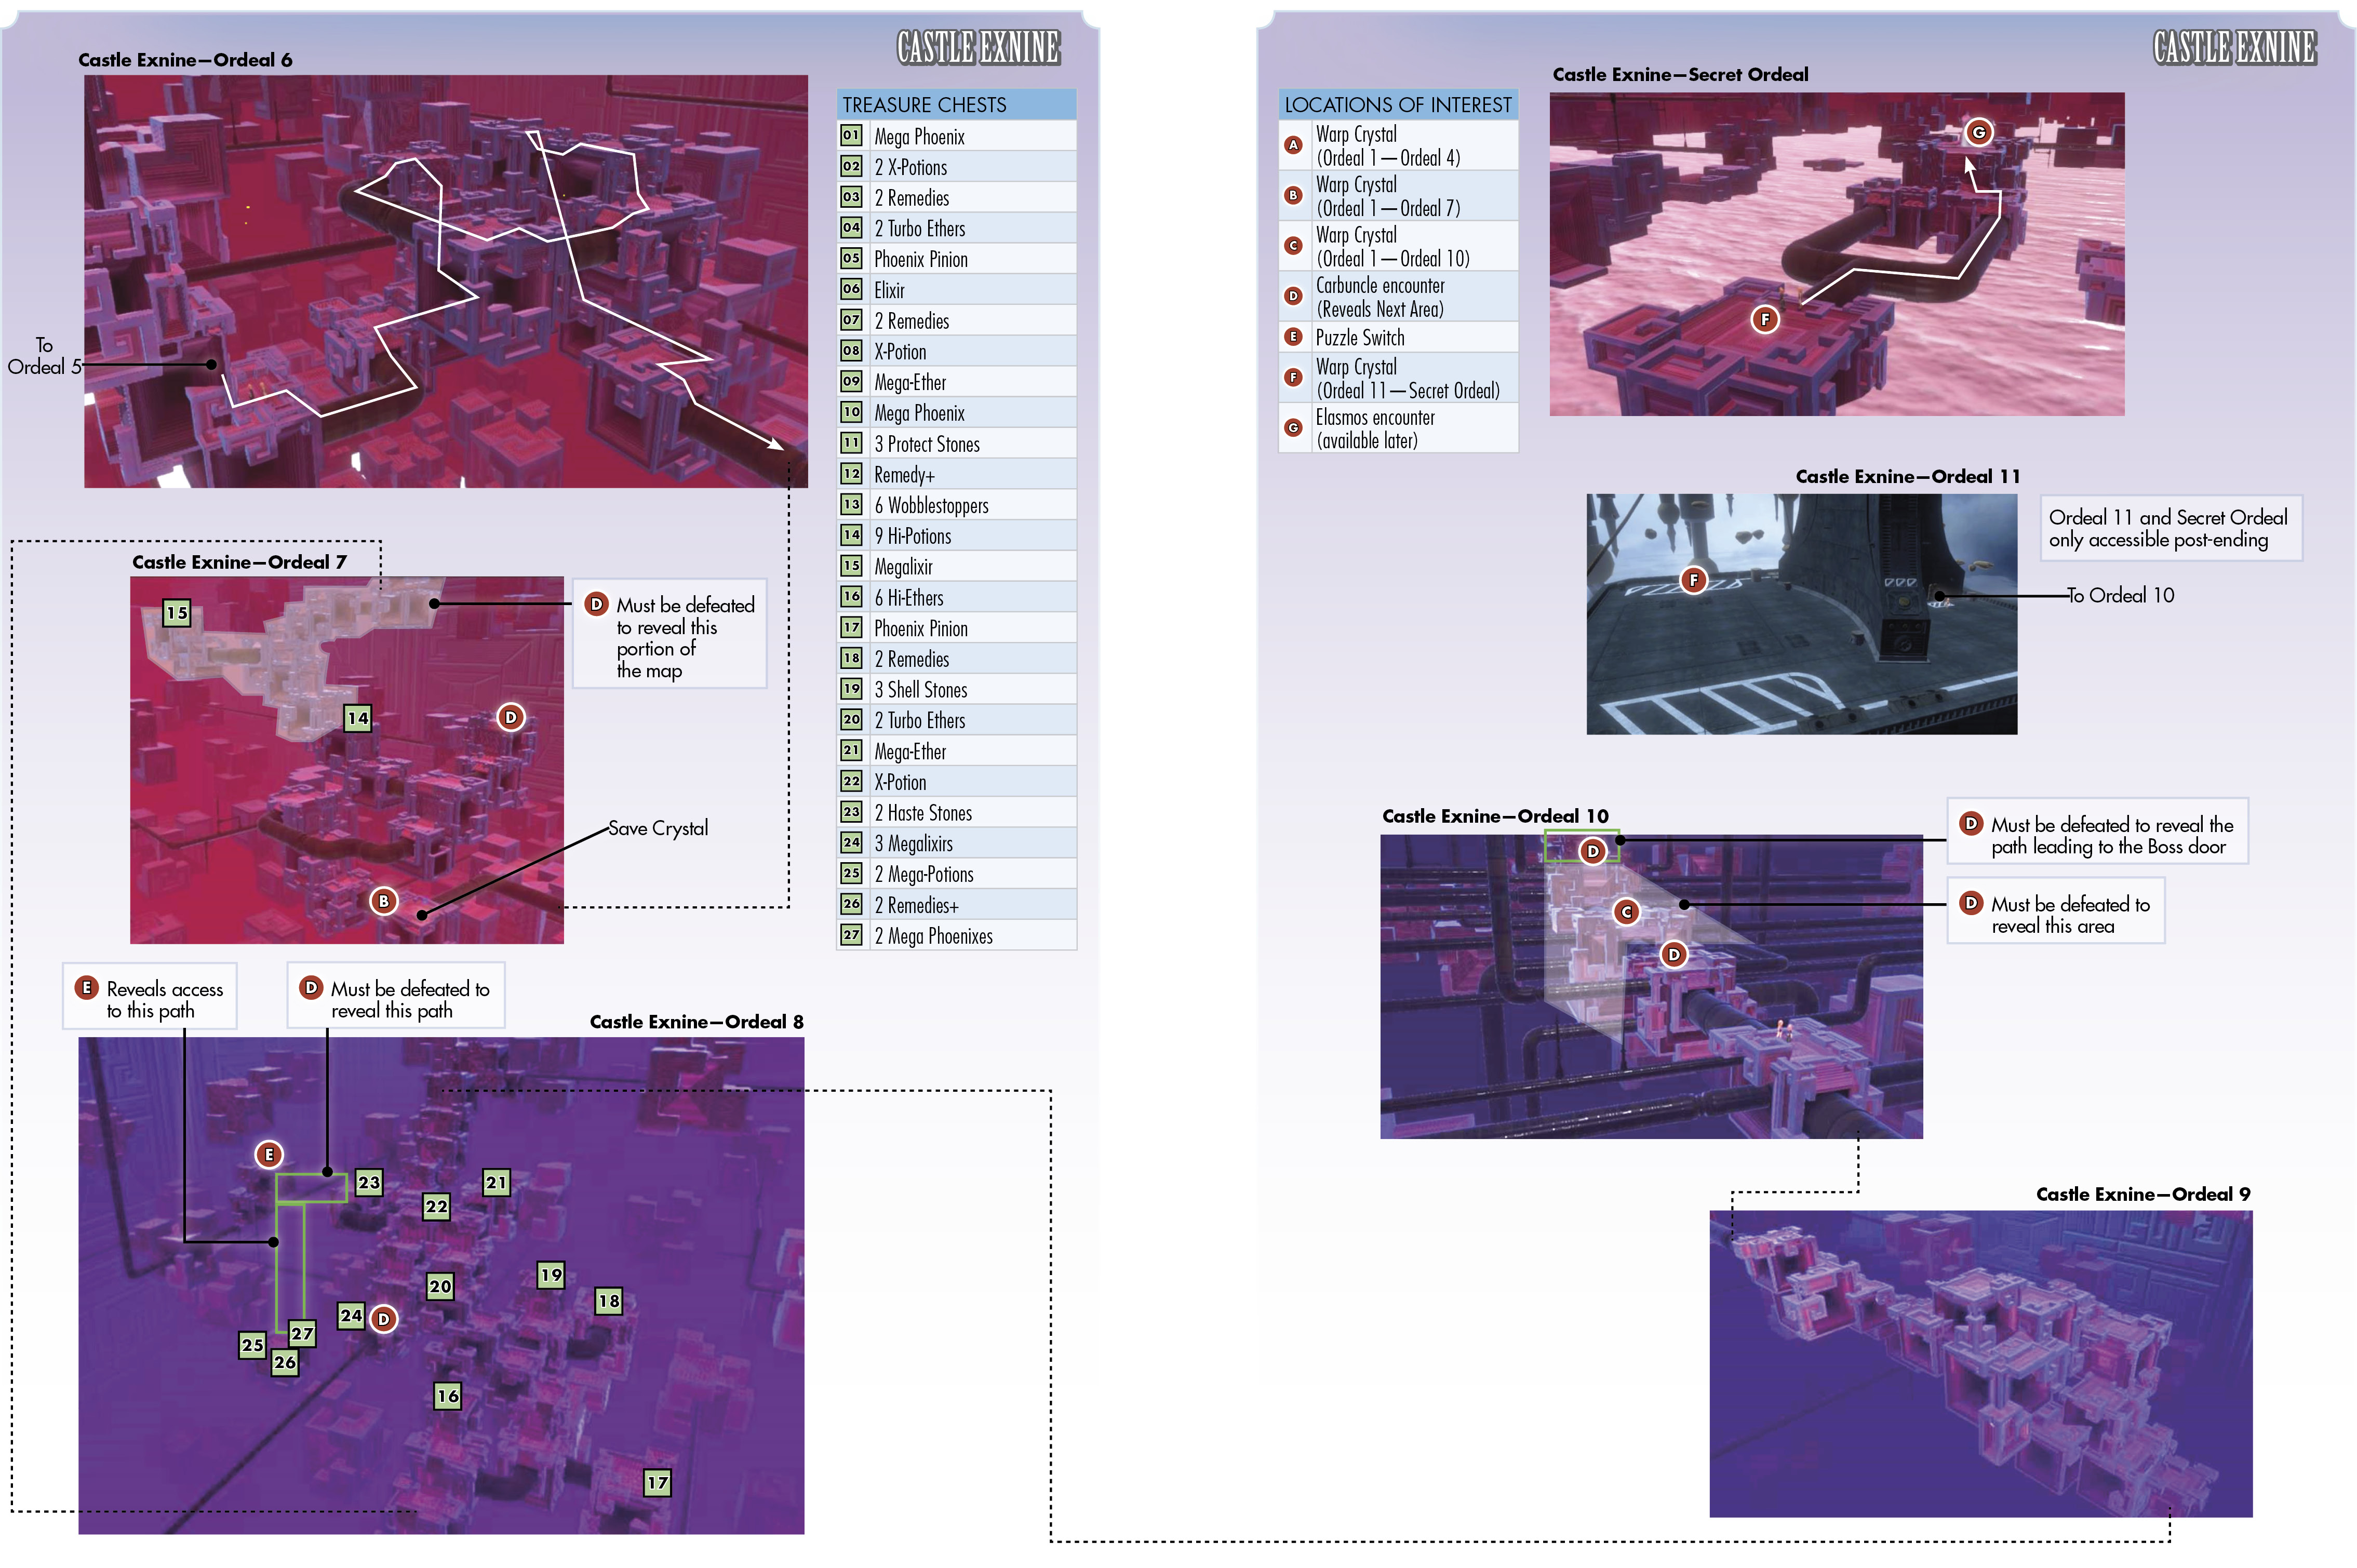
The castle consists of 12 areas: 10 large areas, one boss area, and a secret area. There are three potential warp crystals you can unlock here, as well, so you should try to reach one of these checkpoints before returning back home to Nine Wood Hills. Since you won’t have access to an in-game map throughout this dungeon, directions in this guide reference the provided maps that precede this text. In conjunction with longitudinal directions (for ascending and descending), cardinal directions are used in relation to these three-dimensional maps.
You begin the first area in Castle Exnine in the southeast portion of the map, working your way toward the “west” (although it can be seen as going toward the “back”). Ahead of the entrance is a pipe leading to a climbable wall. Walk up the wall and open the chest to obtain a mega phoenix. Next, climb down the right side of the wall to get to another traversable platform. Most of the platforms follow this pattern—there are specific spots on them you can “walk off of,” allowing you to defy gravity and walk down the side to reach another area.
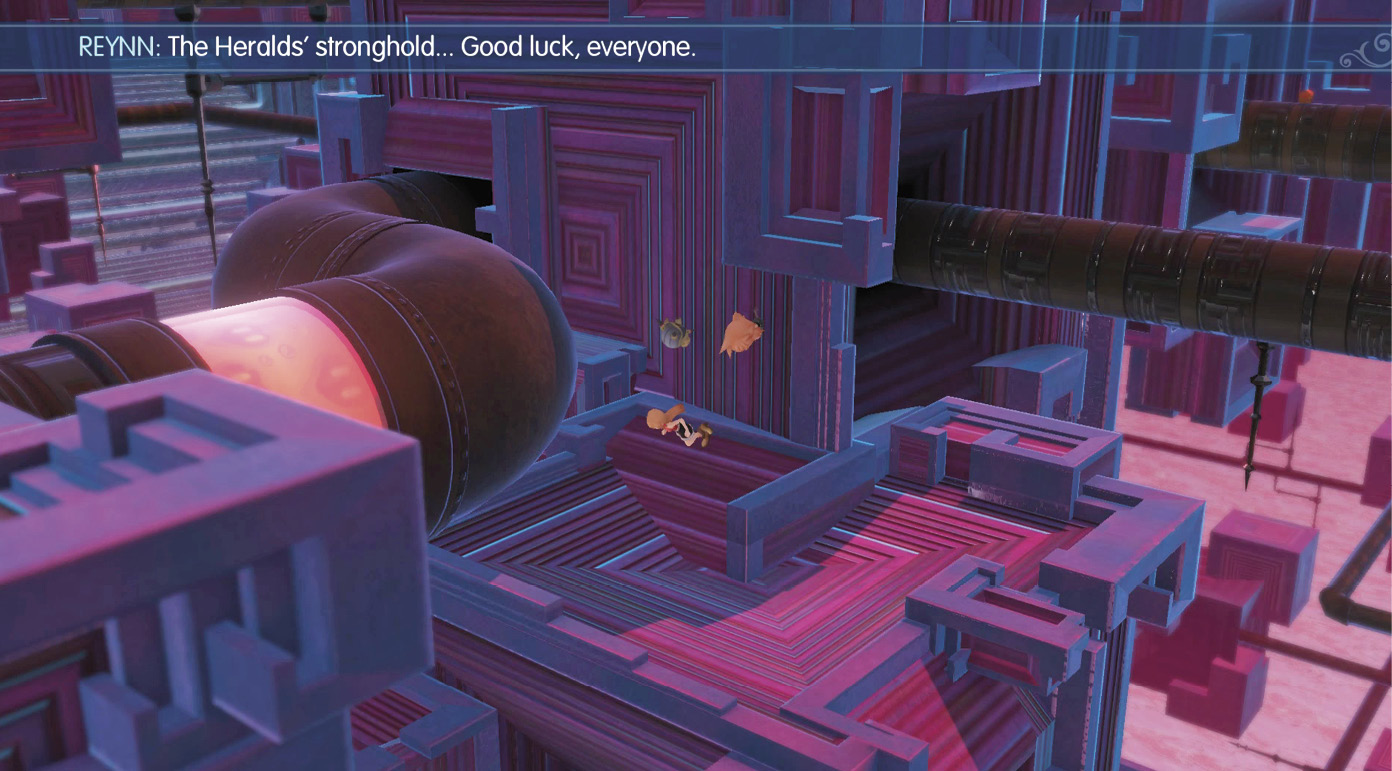
If you’re ever stuck, try to find the spot you can walk off of and get your bearings that way. Continue down the path, leading to another pipe and another climbable wall. You should be running along sideways at the pinnacle of the area, where there’s another pipe you can traverse. Cross the small pipe, then make your descent down the other side of this structure.
When you reach the lowest point, go left onto the pipes and into an intersection. Open the treasure chest to the right of the intersection (in the background) for two x-potions, then keep following the pipes down to the west.
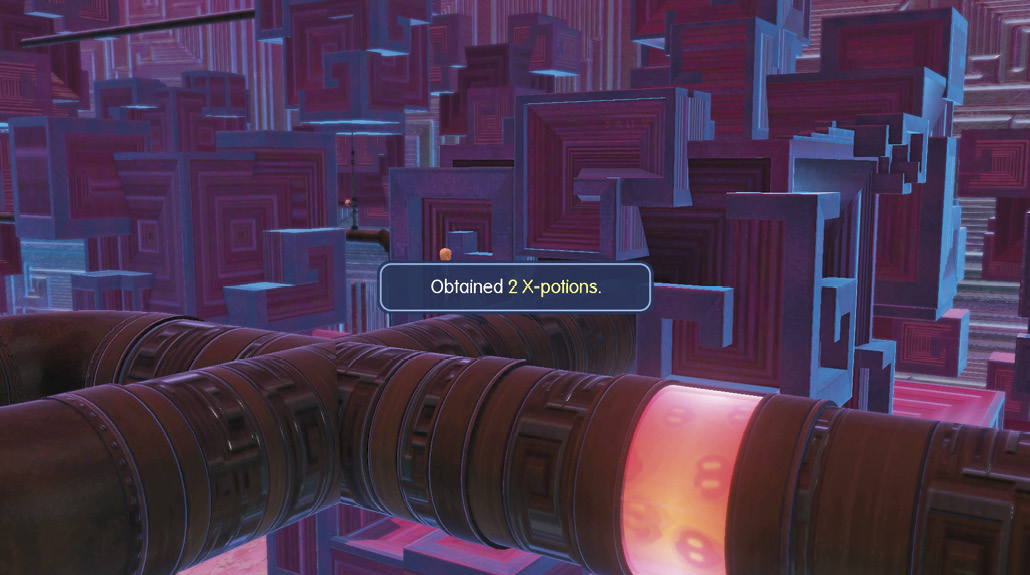
There’s one more chest in this area near the exit. Open it for two remedies, then walk down the pipe toward the background to enter Castle Exnine—Ordeal 2.
In Ordeal 2, you begin on the east side of the map, with your destination to the west. Follow the pipe up ahead, and then climb to the top of the large structure near the center of the map. There’s a treasure chest on the other side of the “building.” You can get there by walking down the southern wall, then wrapping around to the western part of the structure.
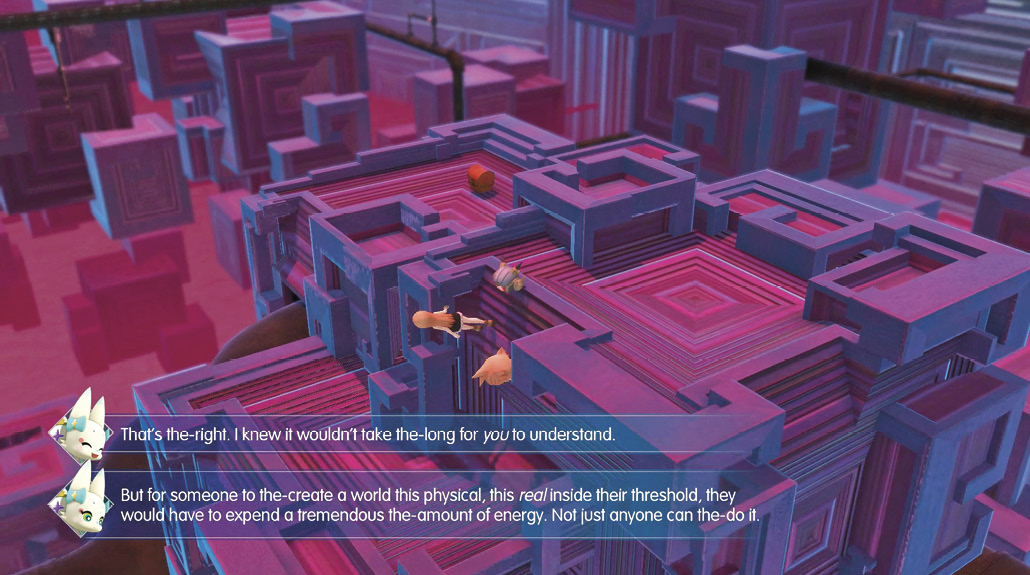
Open the chest for two turbo ethers, then continue down the west/southwest side until you reach the bottom of the area. Keep following the path until you reach another treasure chest with a phoenix pinion inside. Pick it up, then proceed to Ordeal 3 over the pipe walkway to the northwest.
Continue west on the pipe and climb up two more blocks near the center of the map. Open the treasure chest to obtain an elixir, then backtrack down and take the southwest path down the side of the structure, leading straight down to the bottom of the area.
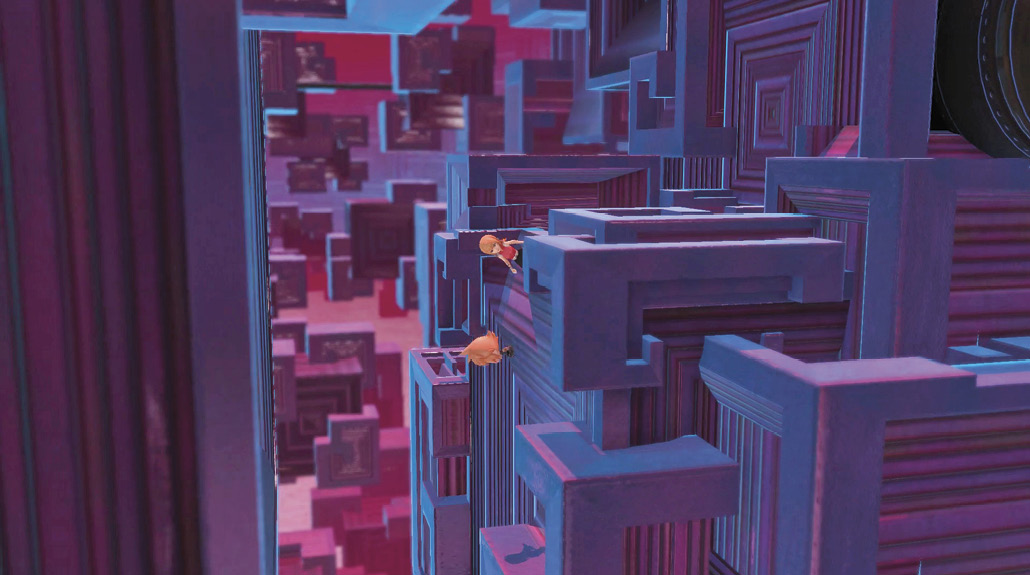
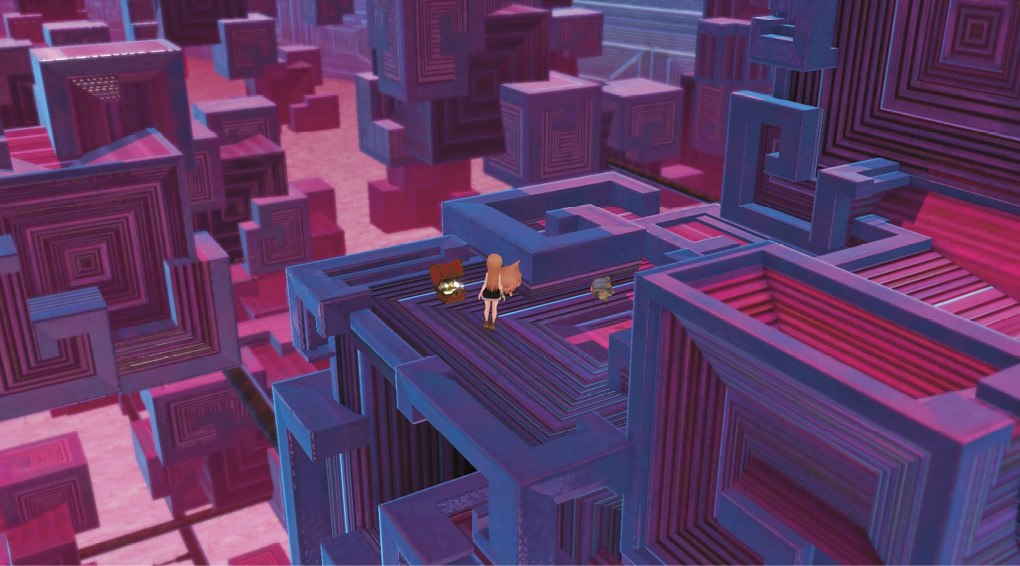
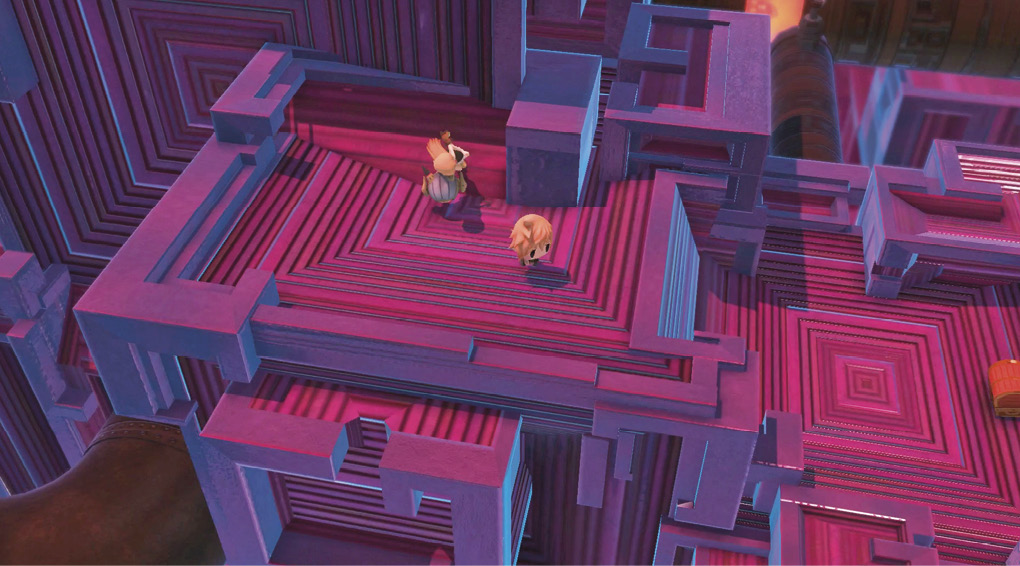
When you reach the bottom of the area, grab the two remedies in the chest off to the right, then continue following the pipe to the southwest portion of the map. Climb two “blocks” up, then find and open the treasure chest in the left corner here for an x-potion. Now, climb the nearby wall up to another pipe walkway. As the pipe ends, walk up the wall in front of you partway, then get on the ledge to your right here to get to another chest containing a mega-ether.
Turn around and continue climbing up. This leads you to a lengthy pipe walkway taking you across to the northeast section of the map, where you can proceed to Ordeal 4.
Finally, you can save your progress at the Save Crystal here at the start of the area. There’s also a checkpoint here in the form of a purple warp crystal. Activate it to return to the first area, revealing the other end of the warp crystal pair near the entrance of Castle Exnine. If you want to take a break, you can return to Nine Wood Hills by activating the hand-scanning device (the alien-like apparatus), then interacting with the Gate in the Ends of Grymoire.
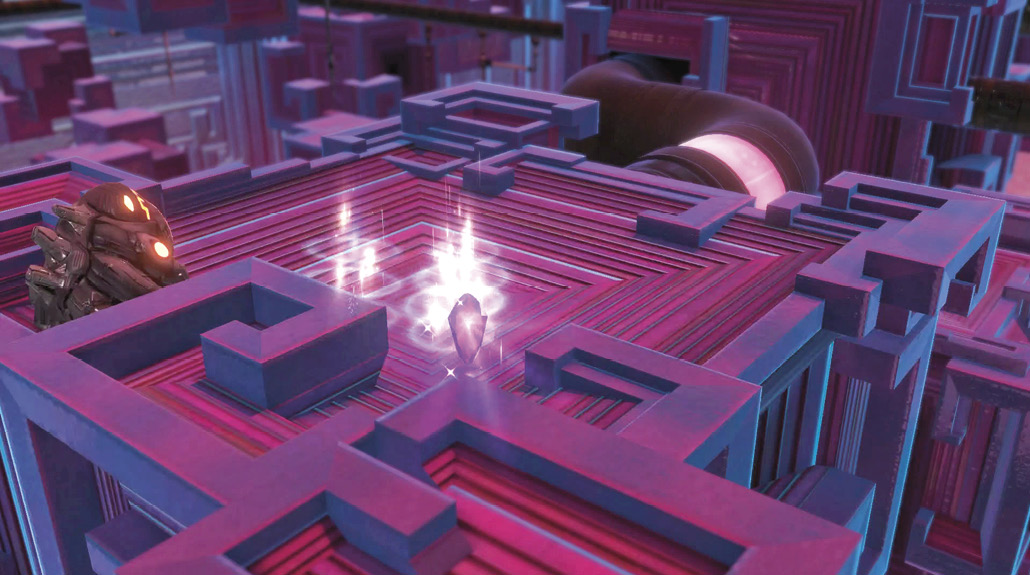
When you’re ready to take on the next section, activate the checkpoint crystal at the entrance of Castle Exnine to warp to Ordeal 4. One of the main mechanics in this castle is an ongoing battle with the carbuncle, Ywain. Defeating these carbuncles displays portions of the map (revealing their illusions).
Climb up the nearby block structure from the warp crystal on Ordeal 4 to reach a carbuncle in the field. Approaching it initiates an encounter. Unfortunately, the carbuncle is unimprismable for now, so you must defeat it normally. It has about 5,700 HP and is weak to dark-based elements while being strong to light-based ones. You can make short work of it with abilities like Eclipse Bite (a dark-based elefenrir ability). However, carbuncles have a permanent Reflect buff on them, so don’t bother casting spells on them. Fortunately, they aren’t particularly resistant to physical attacks.
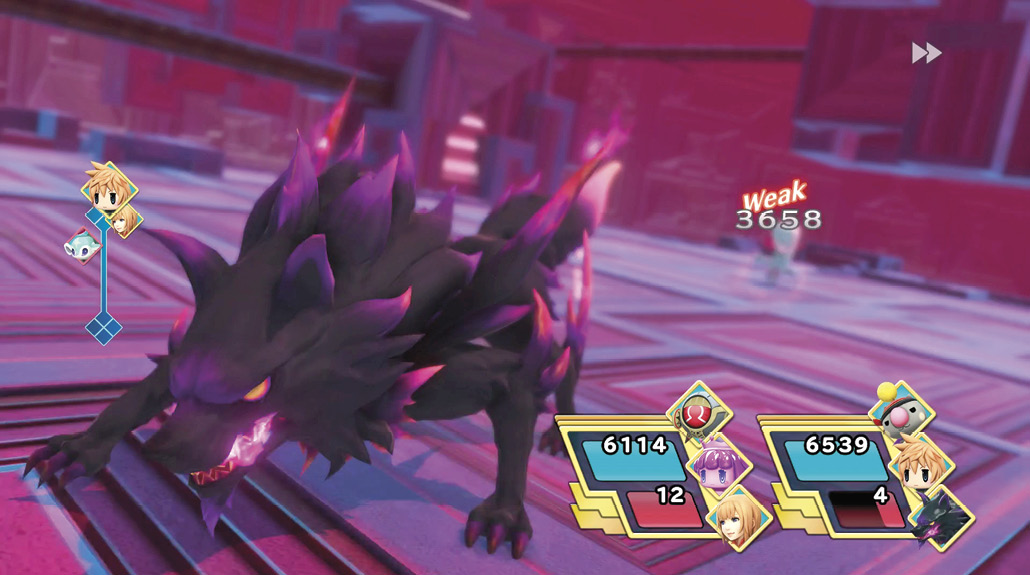
Aside from the spell-usage limitation, carbuncle encounters aren’t too complicated, especially since they primarily use normal attacks to deal damage. Defeating this first carbuncle reveals a hidden section of the area, allowing you to traverse to the western portion of the map. But before you climb down this block, walk down the left side (behind where the carbuncle was) to open a hidden chest containing a mega phoenix.
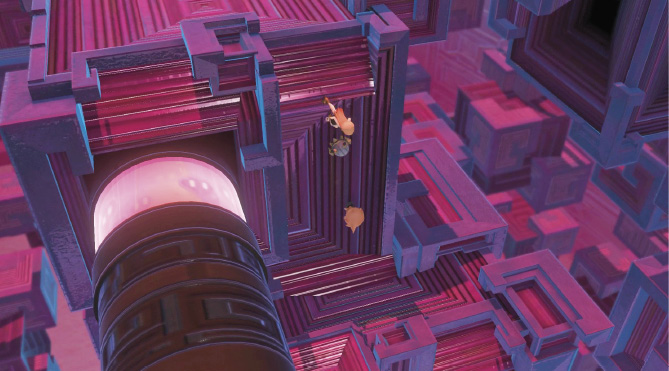
Return to the warp crystal to find a new path to the left. Take this path, heading toward the southwest portion of the map. On the way, open the chest slightly off the pipe path to pick up three Protect stones. Next, get on the platform to the left, then cross the pipes toward the background to another structure. From here right next to the pipe walkway, you can descend a climbable wall.
Down at the base of the area, there’s a chest in the foreground on the pipe walkway. Open it for a remedy+, and then you can continue to the right and up the structure. Keep following this path until you enter Ordeal 5. Ordeal 5 is a much simpler area, especially with the camera being situated for a top-down view of most of the zone. Grab the six wobblestoppers to the southwest before looping around to the north and going down the pseudo-stairs to Ordeal 6.
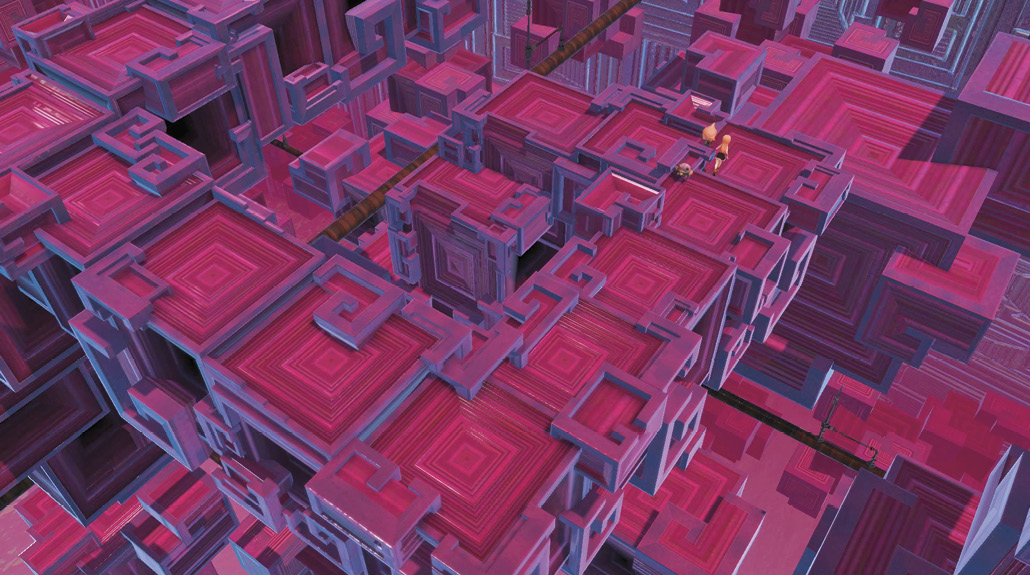
There’s a checkpoint on Ordeal 7, so you only need to get past this area. Fortunately, it’s a linear path without tangents (no treasure chests to loot), so simply follow the only traversable paths you can take (pipes and unblocked structures). You start in the western portion (in the map provided by this guide), with your destination at the southeast end. Remember that after enemy encounters, your party leader faces the same direction you were moving prior to the encounter, so use that fact to get your bearings if you become disoriented after a fight. Otherwise, follow the souls being trafficked inside the pipes.
When you get to Castle Exnine—Ordeal 7, save your progress at the Save Crystal, and activate the nearby warp crystal to return to the first floor. If you need to resupply at the Chocolatte Mart, now is a good time to head back to Nine Wood Hills to do so. Additionally, you can prepare for an upcoming puzzle switch by bringing a combination of ice-based Mirages, like a bablizz and a paleberry king (or have a Seraphone handy).

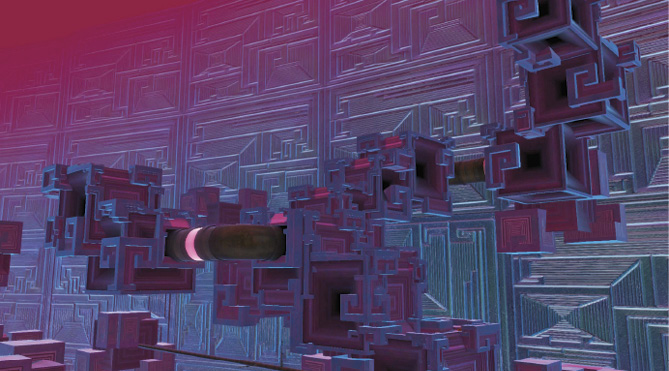
Once you’re ready, return to Ordeal 7 and prepare for more carbuncle encounters. You start at the southern section of the map, and your goal is to get to the very north section (which is also the top). From Ordeal 7’s Save Crystal, climb to the top of the structure on your left. At the top, follow the southwest pipe, which leads to another ascending structure going northeast. Run up the walls of this structure, and defeat the carbuncle at its pinnacle. This carbuncle is identical to the one you fought before, so you shouldn’t have an issue taking it down. Defeating it reveals a large portion of the map to the northwest.
.png)
Descend two blocks, then clamber over a small pipe. The newly revealed area is to the northwest (toward the center of the map), so make your way across another pipe and start climbing several blocks up the structure until you reach a chest on one of the center blocks. Open the chest for nine hi-potions, then continue your ascent. At the top, take a left across a pipe walkway to another chest containing a megalixir. Open it, then return and go the opposite direction, to the northeast. Follow the path and keep climbing to eventually enter Ordeal 8.
There is a plethora of treasure chests to open on Ordeal 8, as well as a puzzle switch to activate.
In relation to the map provided, you begin at the south (and bottom) portion of the Ordeal 8. Go north until you reach a block with a chest on it. Pop it open for six hi-ethers, climb down, and continue two “blocks” over to the east, with a treasure chest in a dead end. Open the chest to obtain two phoenix pinions, and return back to the center structure. Climb up the wall here until you reach two platforms with treasure chests on them to the northeast.
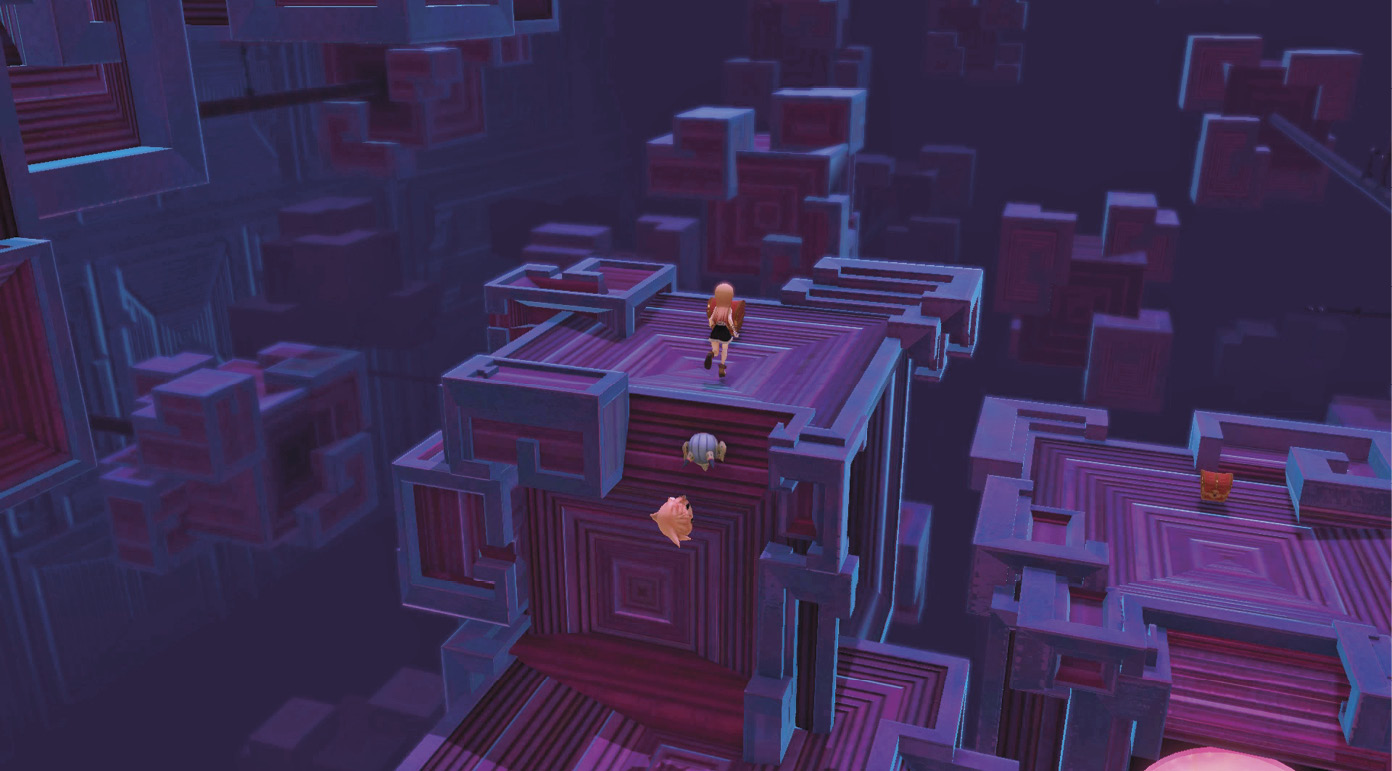
Open both chests for threeShell stones and two remedies, then return to the central area and climb the northwest structure to access yet another chest, which contains two turbo ethers. Loot it, then proceed north (up). Pick up an x-potion in the treasure chest on the way, and then in the northeast platform, get the mega-ether from the chest there. There are still several more chests to open in this area, so return to the x-potion chest and descend the western side of the wall (for reference, you came up the eastern side). At the bottom is a carbuncle encounter. Defeat it to reveal several structures to the west, then open the nearby chest for a whopping three megalixirs.
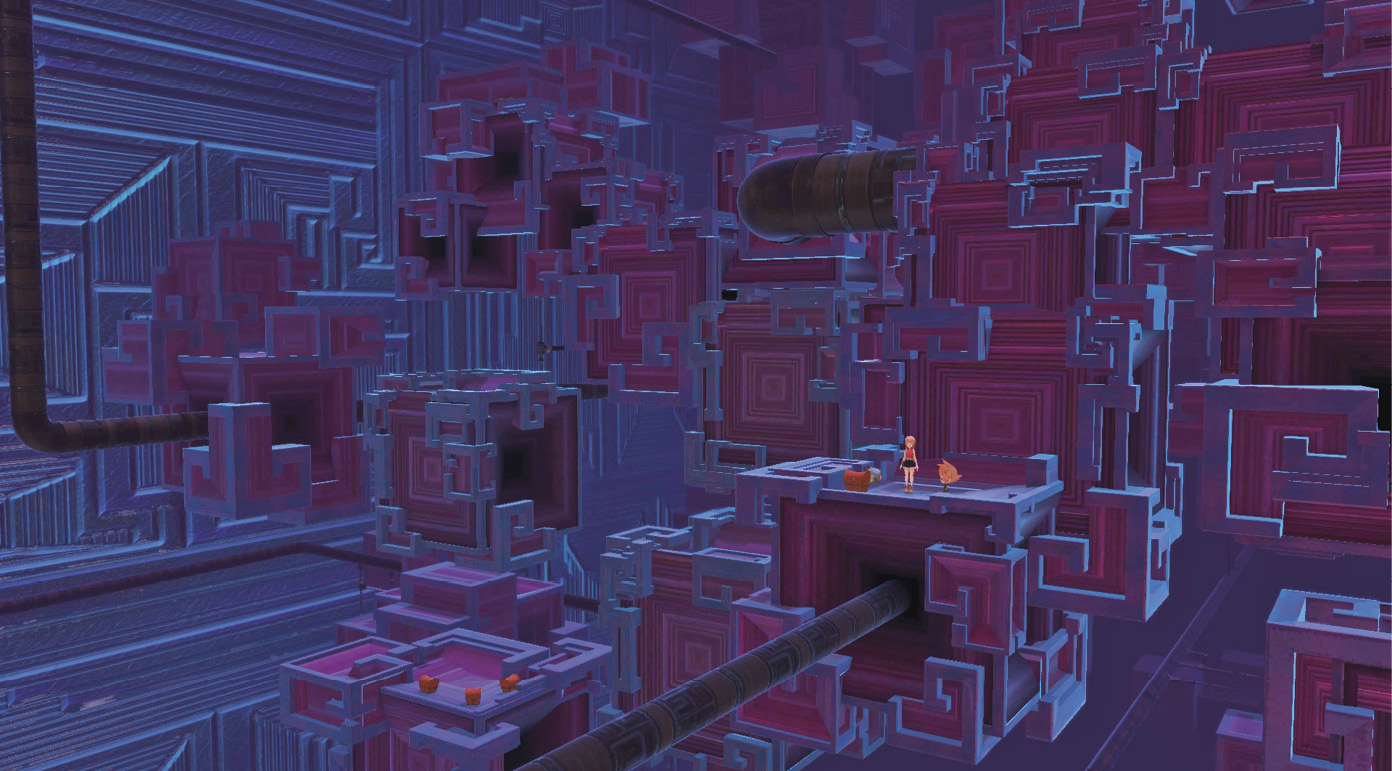
Climb back up to the chest where you got the x-potion, and continue west across the pipe walkway until you run into another chest. Open the chest for two Haste stones, then keep going west. At the end, there’s a puzzle switch. To activate it, create a stack of at least 11 weight and 125 ice resistance. Bablizzes and their transfigurations easily supply 100 ice resistance (and can be imprismed from the airship murkrifts). You can also get 50 ice resistance from squidrakens, also imprismable here in Castle Exnine. Alternatives include paleberries, quachachos, and magic jars. If you need to access your Prism Case, use a Seraphone or return to the Save Crystal on Ordeal 7. When you’ve successfully activated this puzzle switch, a central pathway leading south is revealed (slightly east of the puzzle switch).
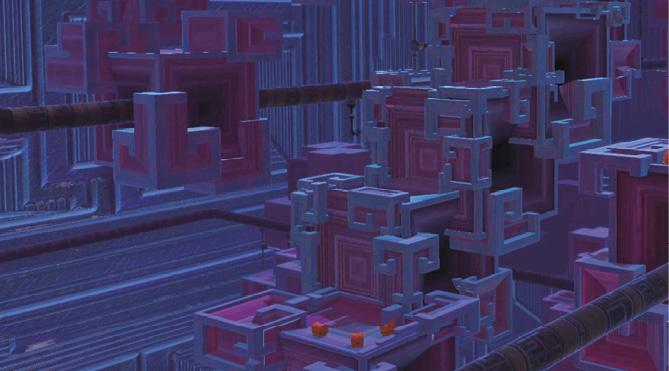
Climb all the way down to reap your rewards across three treasure chests: twomega-potions, two remedies+, and two mega phoenixes. Now that you’ve done and looted everything in the area, make your way back up. Get to Ordeal 9 by following the pipe leading north and upward (indicated by the glowing crystal souls).
The path here is linear, without treasure chests, so make your way to the western end of the map while fighting off Mirages in your way. Around the halfway point to your destination, a cutscene triggers that involves Tama warning of the dangers that lie ahead. It looks like you’re close to the end… so continue climbing the structures on Ordeal 9.
The entrance to Ordeal 10 is across a pipe leading northwest. On Ordeal 10, a few carbuncles block your path to the topmost area. Defeat the first one in your way as you’ve done before. This reveals a hidden section nearby, along with a warp crystal.

Head across to the revealed section and activate the warp crystal to return to the entrance of the castle. It’s highly recommended that you save your progress at this point. Either return to Nine Wood Hills to resupply and save, or warp to Ordeal 4 or 7 to save your progress at one of those Save Crystals. Once you’re ready to take on the Exnine Knights, return to Ordeal 10 through the warp crystal, and proceed north to take out one more carbuncle.
This last carbuncle has much more HP than the previous ones (around 9,500) but similar strengths and weaknesses, as well as the permanent Reflect buff. Your strategy should largely remain the same. When you’ve defeated it, this one rewards a carbuncle memento, which you’ve probably been waiting for. Save your progress again, then prepare for a challenging battle with the Exnine Knights.

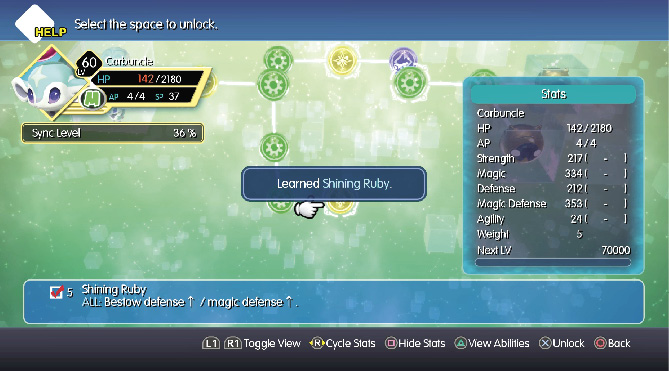
To prepare for a final battle with the Exnine Knights, you should have an average party level of at least 50 to 55. You should also have access to Banishra or Holy, a Poison-inflicting ability, a Slow-inflicting ability (or spider silk items), and ice-resistant stacks. These aren’t entirely necessary, but they help considerably against the Exnine Knights.
If you need to level up some more, there is no shortage of tough enemies to slay in Castle Exnine, thanks to the three convenient warp crystal pairs.
Once you’re ready to face the knights, climb up the newly revealed portion of Ordeal 10 (behind the last carbuncle), and go through the door at the area’s pinnacle to trigger a cutscene.
Boss Battle: The Exnine Knights
Knight in the Golden Mask
| HP | Size | Drops | Abilities |
|---|---|---|---|
| 23159 | L | Mega Phoenix | Magic Shield (ALL: Bestow Shell / magic defense  ), Eerie Soundwave (SINGLE: Inflict neutral magical damage / Oblivion), Blast Wave (SINGLE: Inflict neutral physical damage. TOPPLE STRENGTH: High), Slash ), Eerie Soundwave (SINGLE: Inflict neutral magical damage / Oblivion), Blast Wave (SINGLE: Inflict neutral physical damage. TOPPLE STRENGTH: High), Slash |
| Fire Resistance | Ice Resistance | Thunder Resistance | Wind Resistance | Water Resistance | Earth Resistance | Light Resistance | Dark Resistance |
|---|---|---|---|---|---|---|---|
| 0 | 0 | 0 | 0 | 0 | 0 | -50 | 50 |
| Poison Resistance | Confuse Resistance | Sleep Resistance | Blind Resistance | Oblivion Resistance | Berserk Resistance | Slow Resistance | Death Resistance |
|---|---|---|---|---|---|---|---|
| 0 | 100 | 100 | 100 | 100 | 100 | 100 | 100 |
Plumed Knight
| HP | Size | Drops | Abilities |
|---|---|---|---|
| 22930 | L | Mega Phoenix | Freezing Dust (ALL: Inflict magical ice damage / Slow.), Thundara, Fira |
| Fire Resistance | Ice Resistance | Thunder Resistance | Wind Resistance | Water Resistance | Earth Resistance | Light Resistance | Dark Resistance |
|---|---|---|---|---|---|---|---|
| 25 | 50 | 25 | 0 | -50 | 0 | 0 | -50 |
| Poison Resistance | Confuse Resistance | Sleep Resistance | Blind Resistance | Oblivion Resistance | Berserk Resistance | Slow Resistance | Death Resistance |
|---|---|---|---|---|---|---|---|
| 100 | 100 | 100 | 0 | 100 | 100 | 100 | 100 |
King of Bahamut
| HP | Size | Drops | Abilities |
|---|---|---|---|
| 23610 | L | — | Impulse (ALL: Inflict neutral magical damage.), Quake, Blizzaga, Aeroga, Abyss, Dispelga |
| Fire Resistance | Ice Resistance | Thunder Resistance | Wind Resistance | Water Resistance | Earth Resistance | Light Resistance | Dark Resistance |
|---|---|---|---|---|---|---|---|
| 0 | 0 | 0 | 0 | 0 | 0 | 0 | 0 |
| Poison Resistance | Confuse Resistance | Sleep Resistance | Blind Resistance | Oblivion Resistance | Berserk Resistance | Slow Resistance | Death Resistance |
|---|---|---|---|---|---|---|---|
| 100 | 100 | 100 | 100 | 100 | 100 | 0 | 100 |
Like most epic Final Fantasy final battles, you must defeat multiple bosses. The first encounter is with the Plumed Knight and Segwarides, the Knight in the Golden Mask. Unlike many of the bosses in World of Final Fantasy, these two have definite weaknesses. The Plumed Knight is vulnerable to dark and water elements, whereas the Knight in the Golden Mask is vulnerable to light. Additionally, they have specific ailment weaknesses: the Knight in the Golden Mask can be poisoned, and the Plumed Knight can be blinded. Blinding the Plumed Knight isn’t that effective, though, since many of her attacks are spell-based.
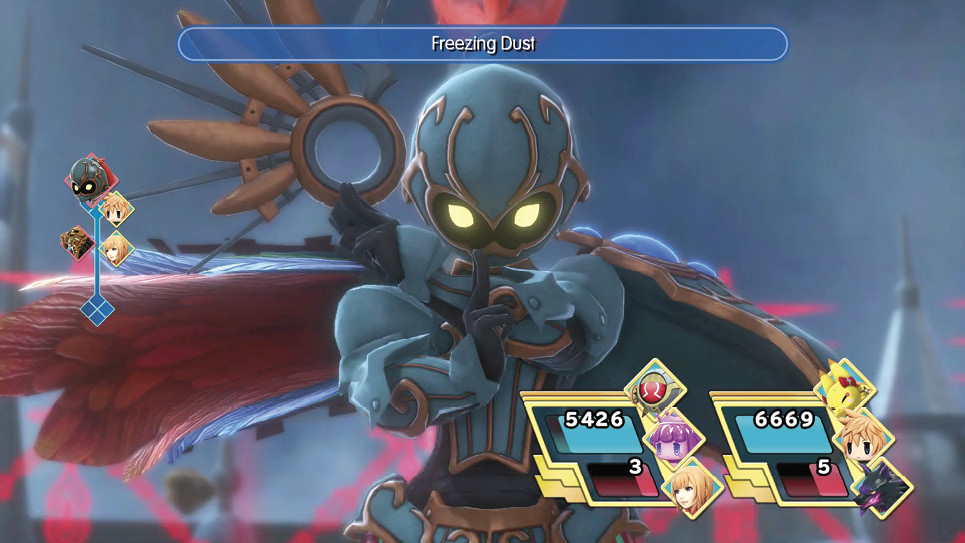
An ideal approach is to begin the battle by casting Shell and Haste on your party members and casting Dispel if the Knight in the Golden Mask casts Magic Shield (enemy party-wide Shell). Then, start nailing the enemy with their weaknesses. If your stack can cast Holy or Banishra, use it on the Golden Knight. If you have access to Eclipse Bite, Watera, or Abyss, use it on the Plumed Knight. The two knights have similar HP totals, around 23,000 each. Alternatively, you can focus one down early on with the help of a Mega Mirage or a Champion Medal (which you should have a complete collection of, considering all of the arma gems rewarded by defeating the carbuncles). The Plumed Knight has an ALL-targeting ice ability called Deep Freeze, but the Knight in the Golden Mask can inflict an annoying Oblivion effect (use Rememb Herbs immediately!). Ideally, you should focus down the enemy whose vulnerability you can take advantage of most.
Once you’ve taken out one of the knights, the rest of the battle should be manageable as long as you’re healing up appropriately. There aren’t any particularly devastating attacks in the knights’ repertoire, so keep it up until you’re victorious. It’s advisable to heal up and restore any missing HP and AP before you finish off the remaining knight, since there’s another battle ahead.
Defeating the two knights triggers a cutscene disclosing the Mirage Keepers’ tragic secret…
However, there’s no time for grieving, as Brandelis interrupts the twins for a final confrontation.
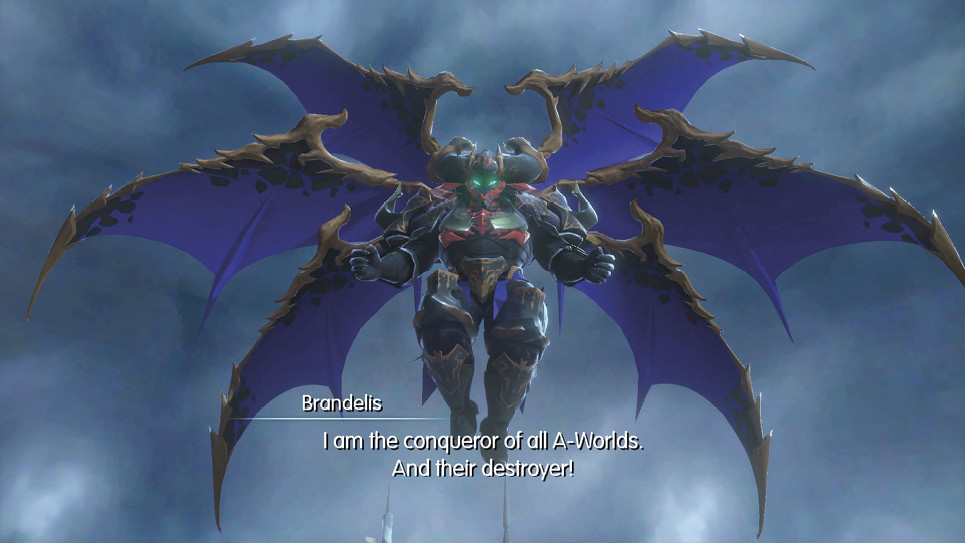
This encounter with Brandelis is similar to when you fought him in the Crystal Tower. He’s not vulnerable or strong to any particular element, but he’s very susceptible to the Slow effect. Hopefully, you’ve brought a Slow-inflicting ability or several spider silks as suggested.
Start the battle by slowing him while buffing your own party with Haste and Shell (although Brandelis can dispel these with Dispelga). While it may seem like a pointless endeavor, magically enhancing your party is still effective because it essentially ties up one of Brandelis’s turns, since he has to commit it to casting Dispelga.
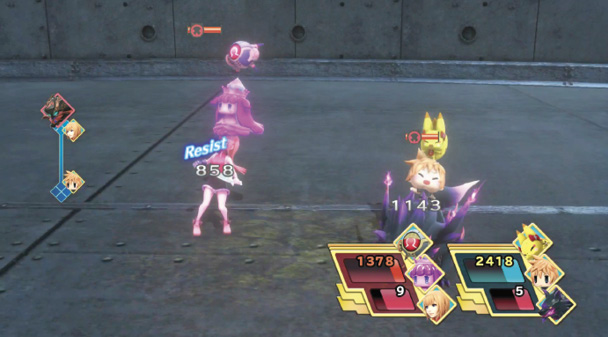

His arsenal includes the ALL-targeting versions of elemental-based spells (like Quake and Aeroga), so you can’t practically prepare your elemental resistances ahead of time. As long as you have Shell on or are ready to heal up with Curaga or a hi-potion, you shouldn’t be in danger of dying. Keep Brandelis slowed while hammering him with your most powerful attacks. To maintain your offensive pressure, don’t skimp on the hi-ether usage, either. If he hits your party with Quake, be sure to use wobblestoppers to relieve the wobbling effect. The situation can go south quickly if he successfully topples your stacks and follows it up with a “–ga” spell, so don’t get complacent! Use your restorative Champion Medals if you need to (Yuna’s is extremely useful for recovering HP while raising party members at the same time).
You must also be wary of his devastating Impulse attack and its ability to deal around 3,000 magic damage instantly. If you have a turn to spare, consider keeping Shell on your allies (although slowing down Brandelis is also a priority).
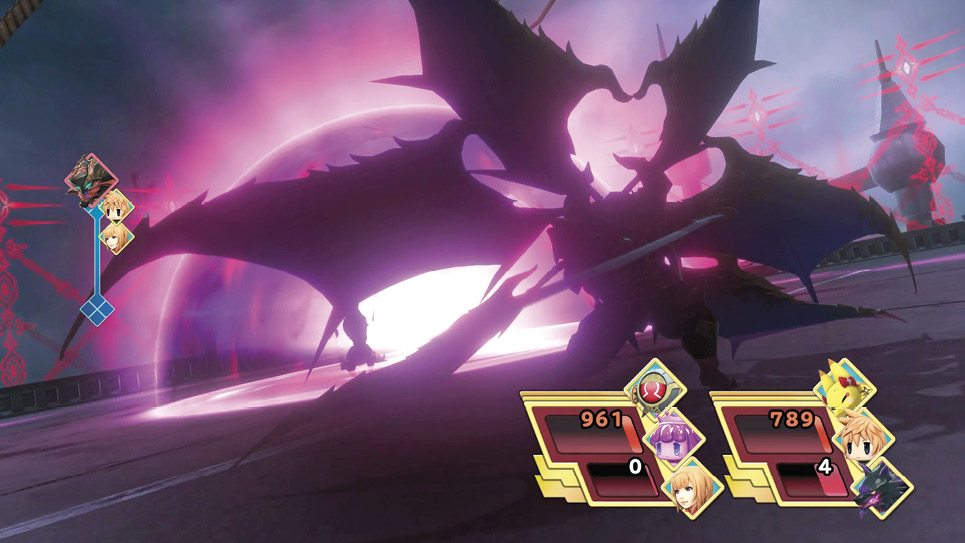
Eventually, the two Mirage Keepers should be able to overwhelm the king of Bahamut with their abilities, putting an end to him for good. Congratulations on completing the main story! Of course, make sure to watch the following cutscene and closing credits completely, then save your progress when prompted…