
World of Final Fantasy Guide Main Story Walkthrough
Chapter 16: Clash on Big Bridge
Edgar’s elaborate scheme of capturing and using Reynn and Lann to repair Figaro Castle’s mako reactor pays off in spades. In return, he compensates them with information regarding their next destination—“a land of naught but night,” located across Big Bridge. With two keys in their collection, the Jiants from the hills must find two more in order to complete the prophesied set.
| Action Checklist |
|---|
|
1. Enter Big Bridge and meet Eiko |
|
2. Learn how to use jump pads with Bartz and Boko |
|
3. (Optional) Obtain the Stealth mirajewel |
|
4. (Optional) Imprism the iron giant |
|
5. Defeat Gilgamesh |
New Miniventures
- A Friendship Forged in Figaro
Chocolatte Mart—New Wares
| Items | Price |
|---|---|
| Fira Seed | 20000 |
| Blizzara Seed | 20000 |
| Thundara Seed | 20000 |
| Watera Seed | 20000 |
| Aerora Seed | 20000 |
| Cura Seed | 20000 |
| Esuna Seed | 20000 |
| Raise Seed | 20000 |
| Protect Seed | 20000 |
| Shell Seed | 20000 |
| Berserk Seed | 20000 |
| Slow Seed | 20000 |
| Eldbox | 1000 |
Bartz, Boko, and the Battle on Big Bridge
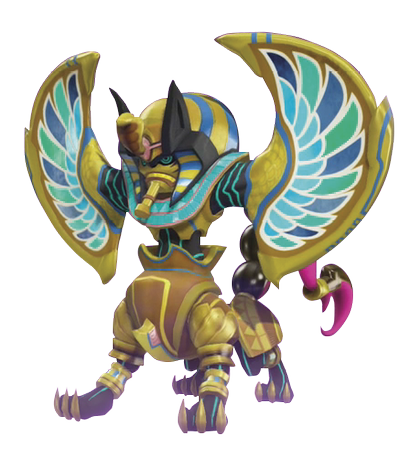
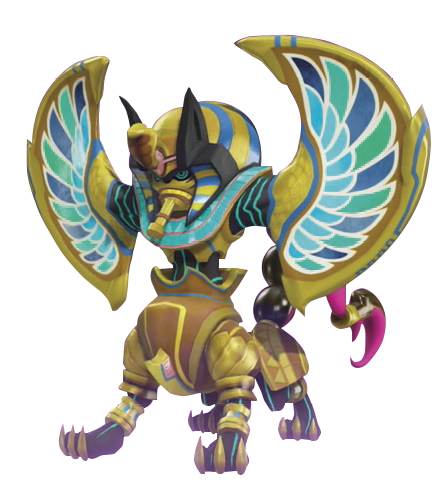
If you haven’t explored the secret area in Phantom Sands to obtain the sphinx Mirage, now is a convenient time to do so. You can also complete Miniventures back at Nine Wood Hills by taking one of the Gates nearby (from Figaro Castle or the Caravan).
Additionally, it’s recommended that you have access to some powerful thunder-based attacks for the next story mission. Consider buying a Thundara seed from Chocolatte and resupplying your restorative items. You have a long climb ahead of you.
Once you’re ready, make your way to Big Bridge, through the northwest exit of the Desert Region.
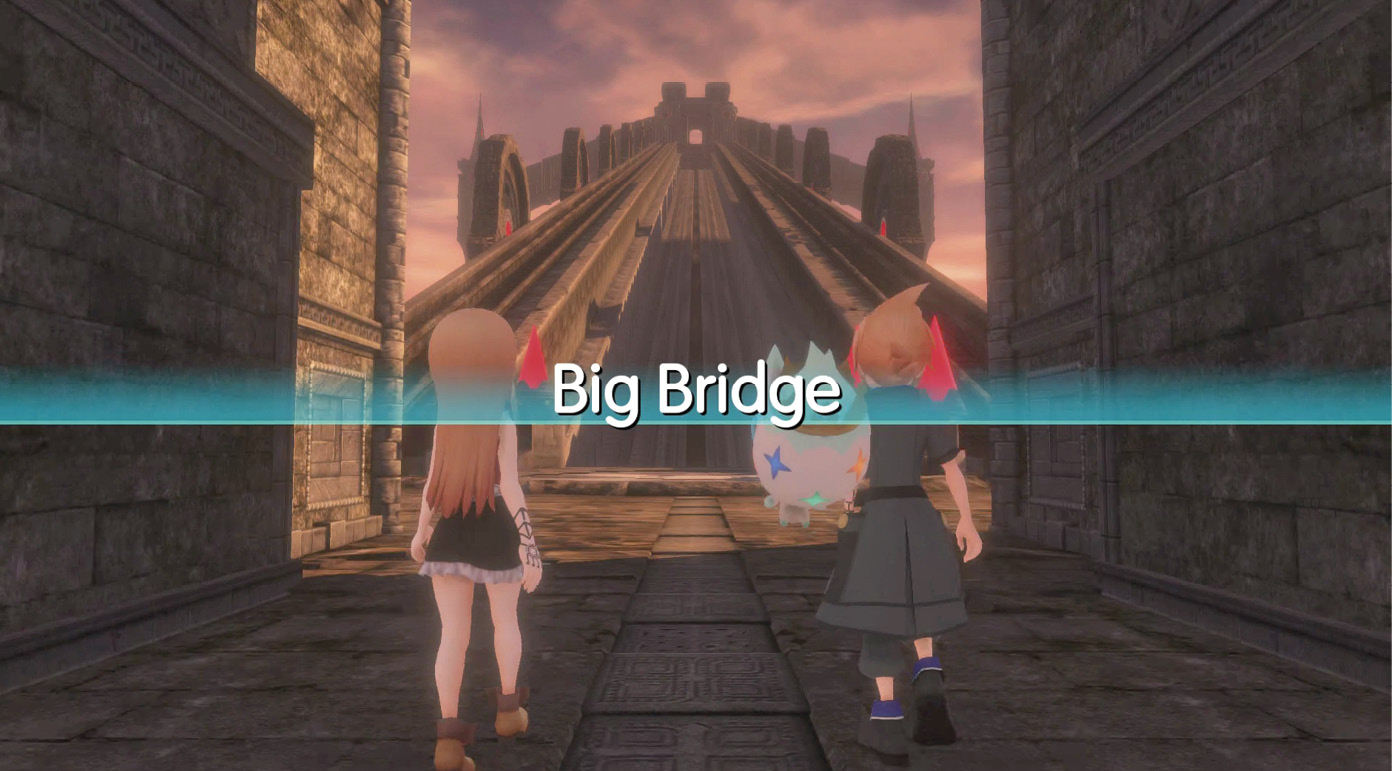
Upon stepping foot on Big Bridge, you meet a little girl named Eiko. She explains that the bridge is actually an enormous Mirage called Alexander. Eiko is reluctant in allowing the twins across the bridge, as she astutely reminds them of the ominous part of the Azure Prophecy in which the twins could actually bring destruction rather than salvation.
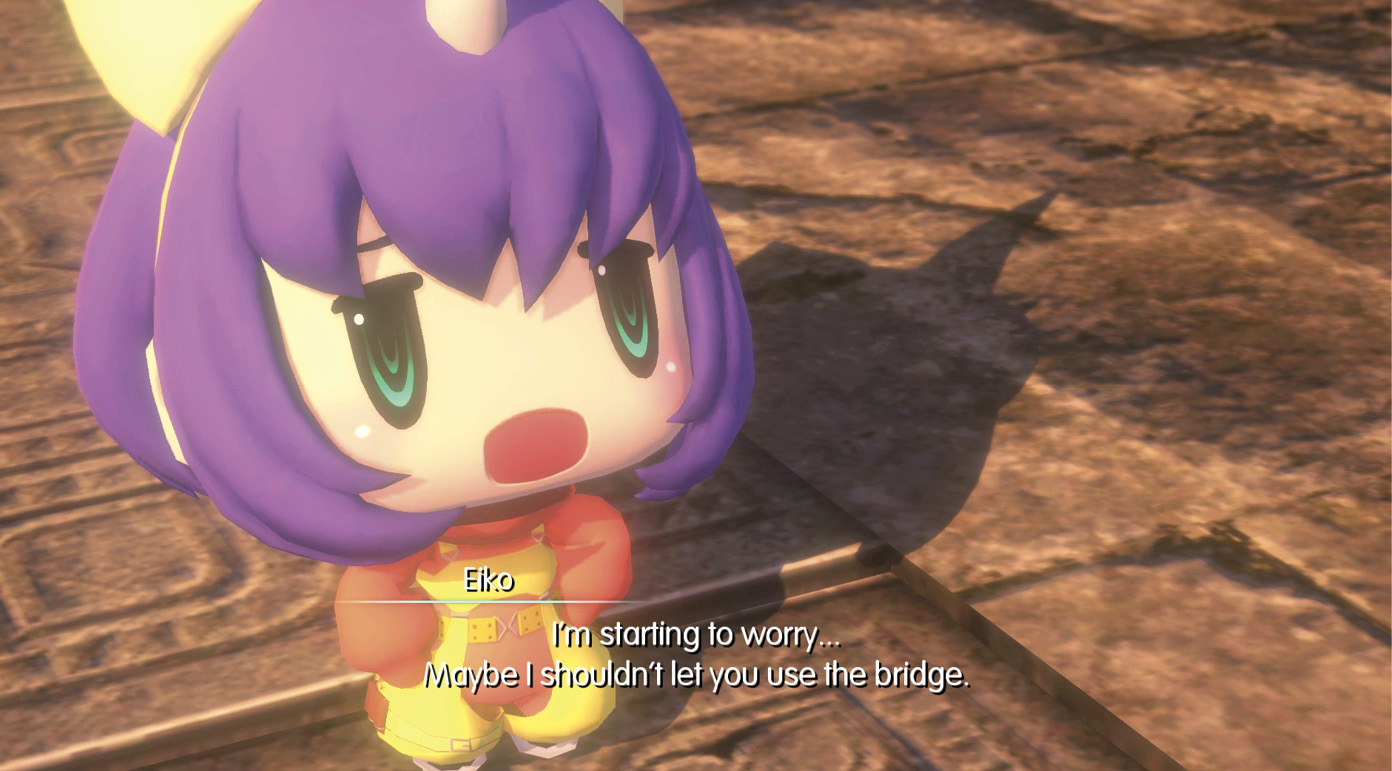
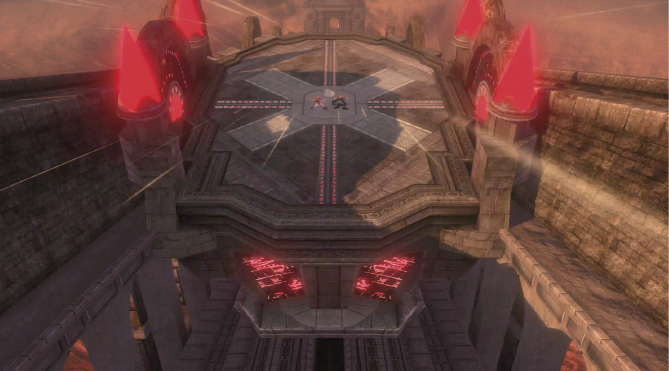
Nevertheless, she has no choice but to trust the Jiants. After the cutscene, make your way toward the platform at the base of the bridge. Eiko sends a signal to Alexander, and the platform takes the party for a ride to an extraordinary altitude before coming to an abrupt halt. Meanwhile, the Plumed Knight attacks Eiko.
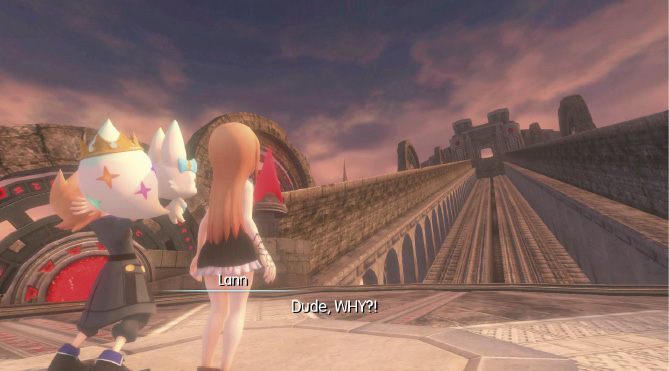
Unfortunately, you need to traverse the rest of the bridge’s distance by foot. Since there is a great deal of ground to cover here, prepare for several Mirage encounters.
If you still need to return to Nine Wood Hills for a breather, there’s a Gate in the middle of Big Bridge where you begin. All that’s left to do in this area is to climb and fight.
Fight your way north and enter Big Bridge—Segment 2. From here, go east from the starting point to trigger a cutscene introducing you to Bartz and his choco-buddy, Boko. Bartz and Boko give you a demonstration on using the distinctly marked floor panels to leap across the bridge.
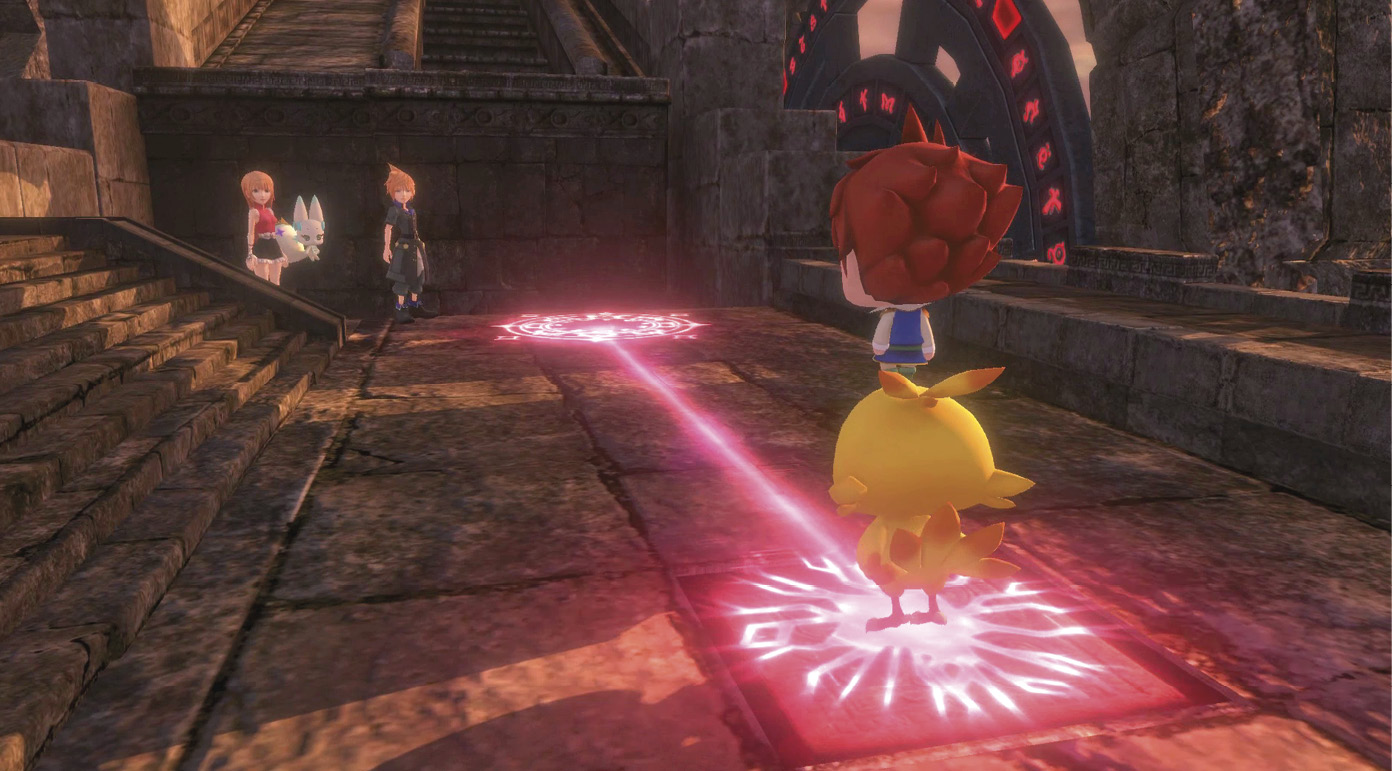
These distinct panels show up in several areas on Big Bridge. Interacting with these panels launches the party to otherwise inaccessible areas. From the first panel here, launch yourself up to the upper ledge for another cutscene with Bartz. It appears there’s someone hunting him, so he tags along with the twins.
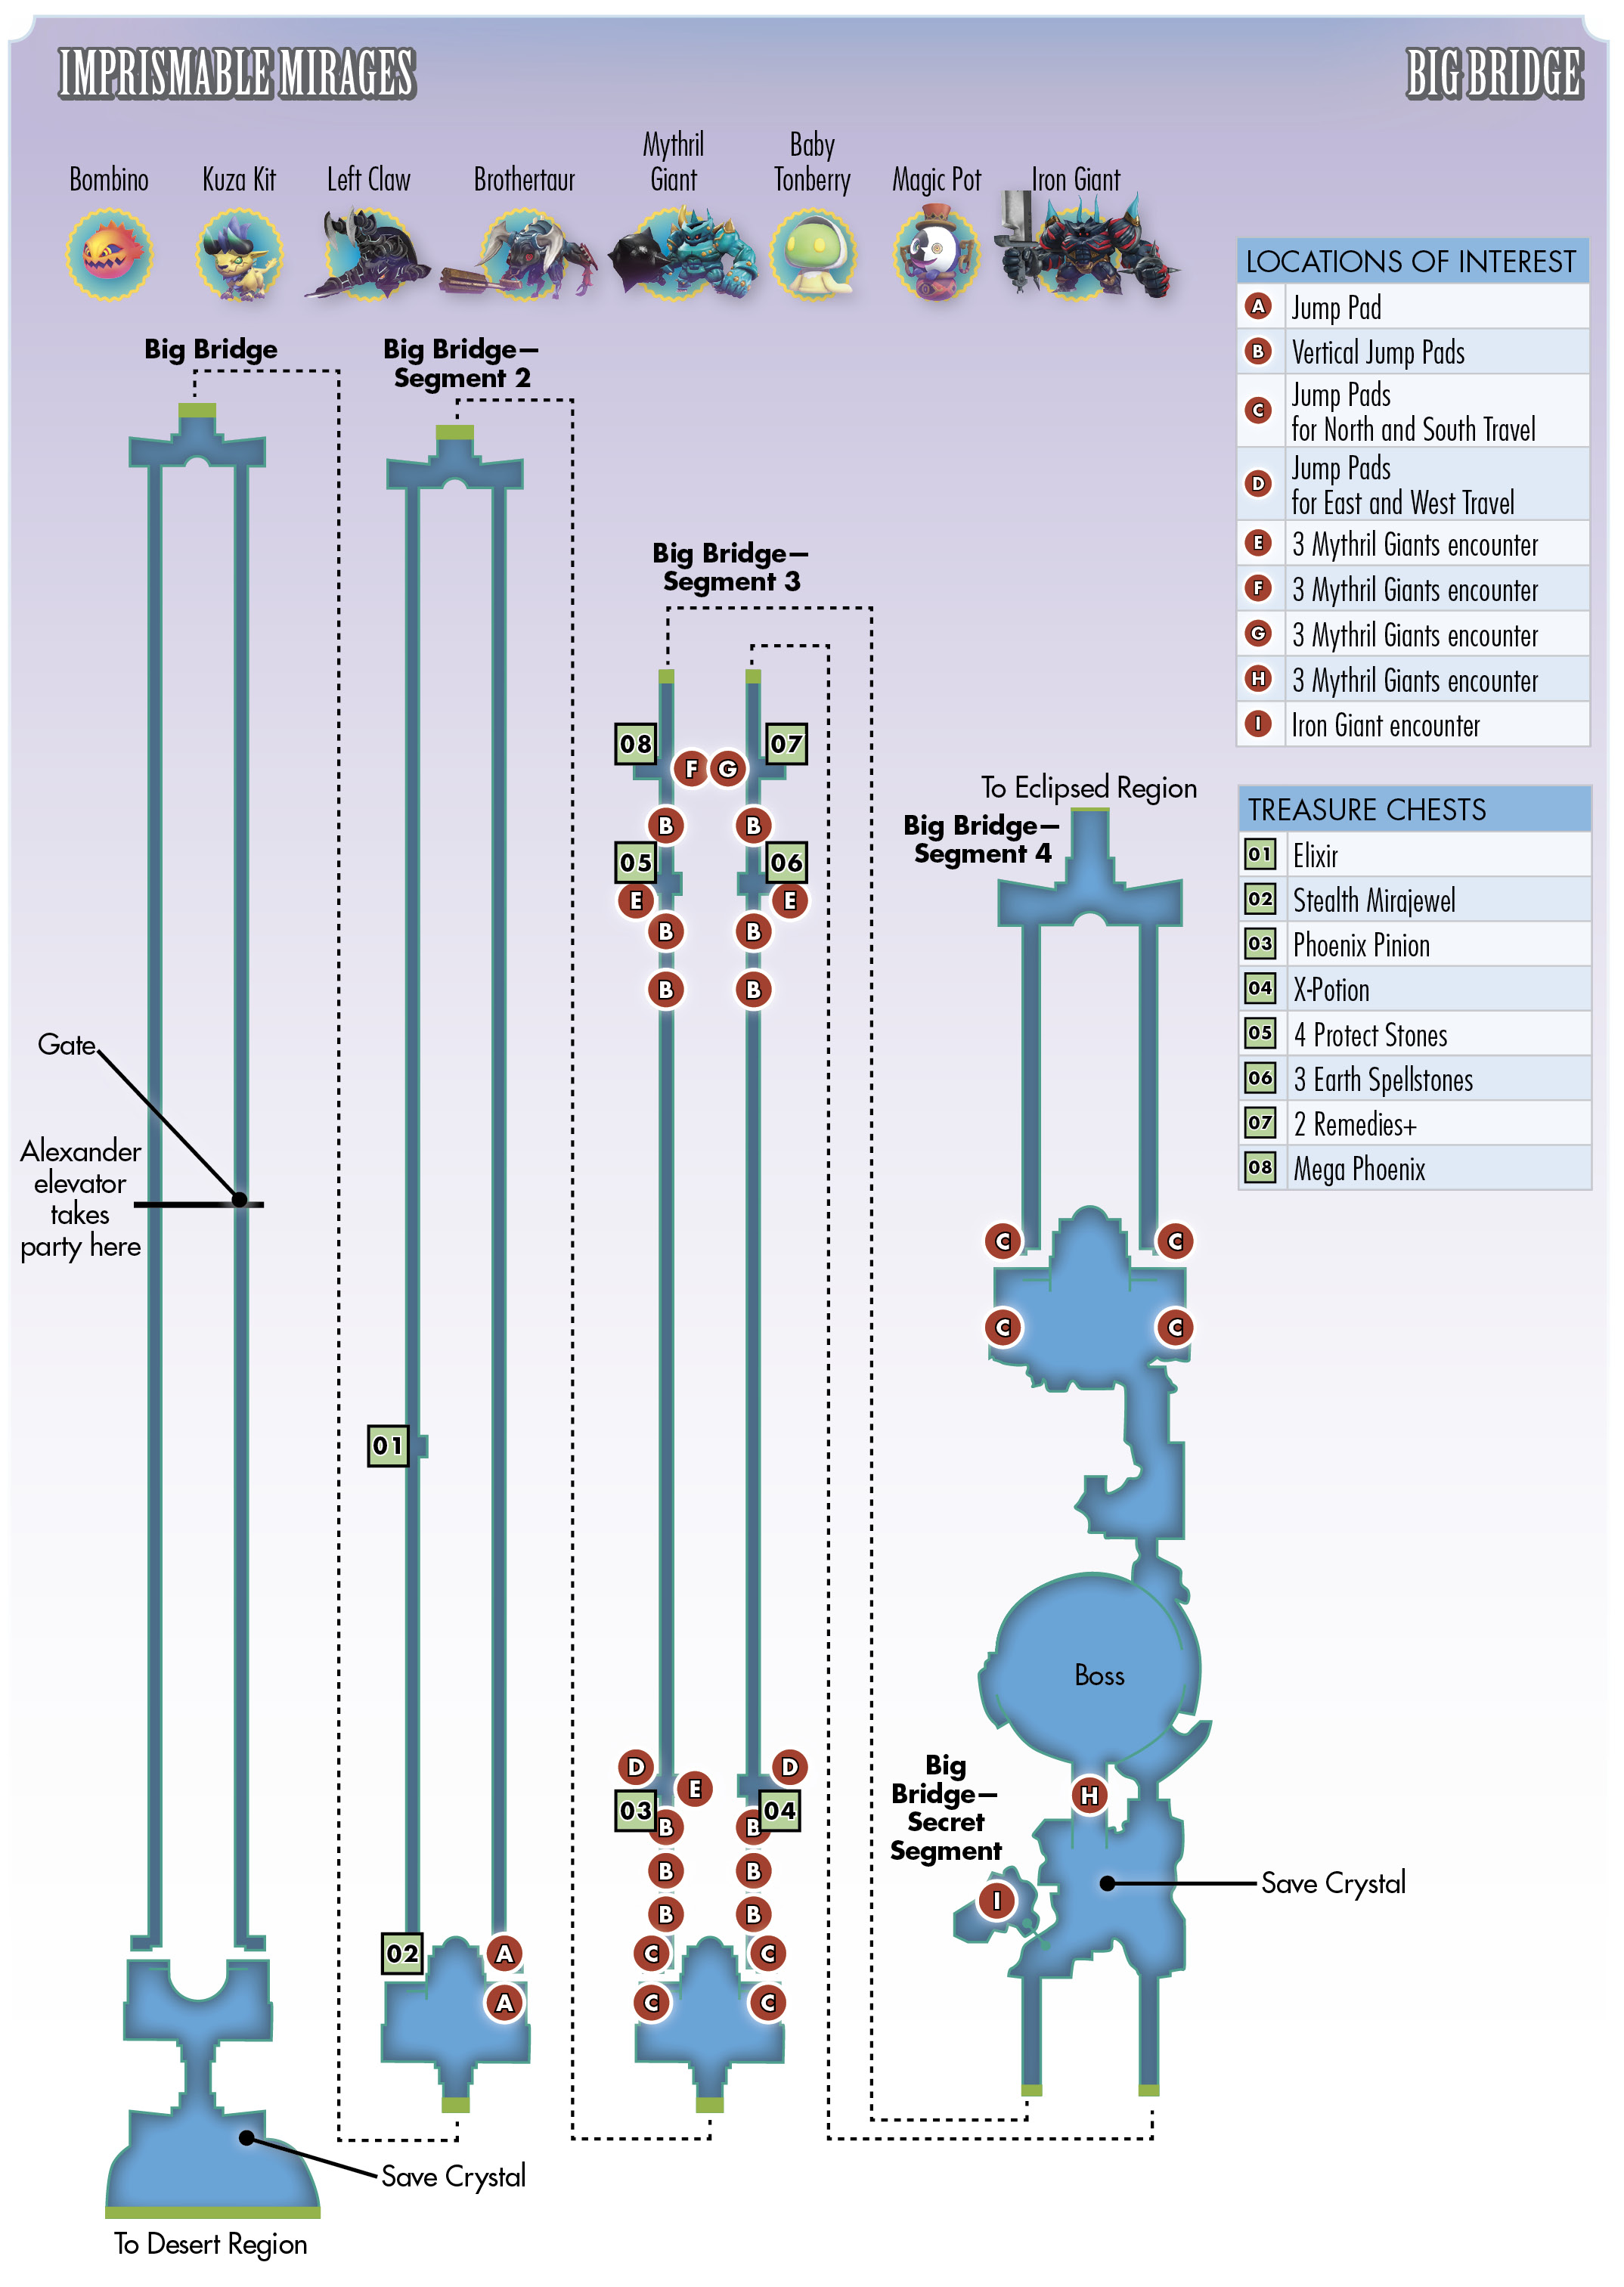
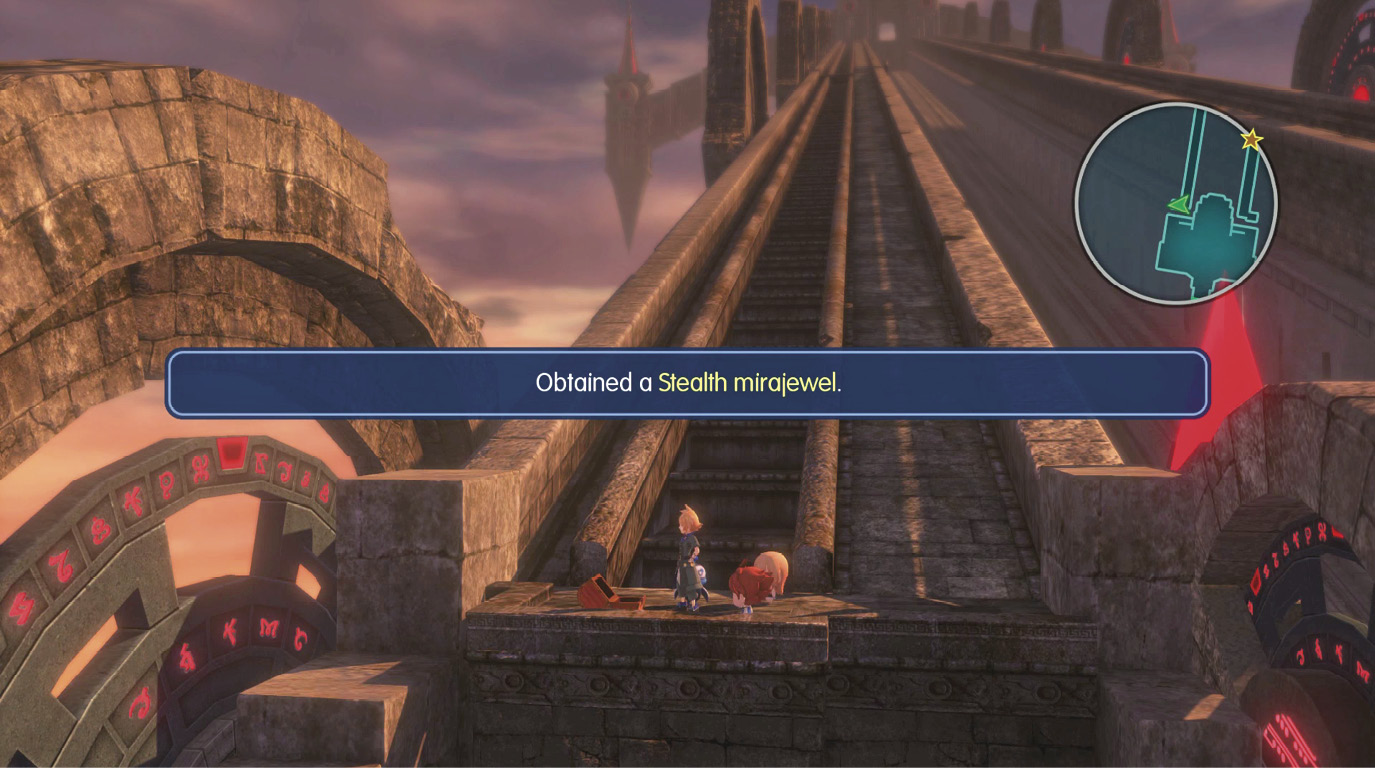
Climb and fight all the way to the top of the area. At the top, you can climb your way down the west side of the map. It’s an extremely long way down, but it’s worth the walk. Halfway down the bridge is a chest with an elixir inside. Open it, then continue your descent. At the bottom of the west path lies a treasure chest with an invaluable piece of loot inside: a Stealth mirajewel.
Slotting this into one of the twins’ mirajewel slots reduces the chances of encountering a random enemy on the field, so you’re probably ecstatic finding this here. Now, climb all the way back up to enter the third segment of the bridge.
Big Bridge—Segment 3 introduces a new field mechanic. Hop up either side of the bridge with one of the panels. A mythril giant stands guard on the bridge, shooting down Mirage-patterned symbols. Your goal is to avoid these symbols by either moving out of the way (when possible) or using the jump panels to hurdle over them. If the symbol touches you, you’re forced into an encounter with three mythril giants.
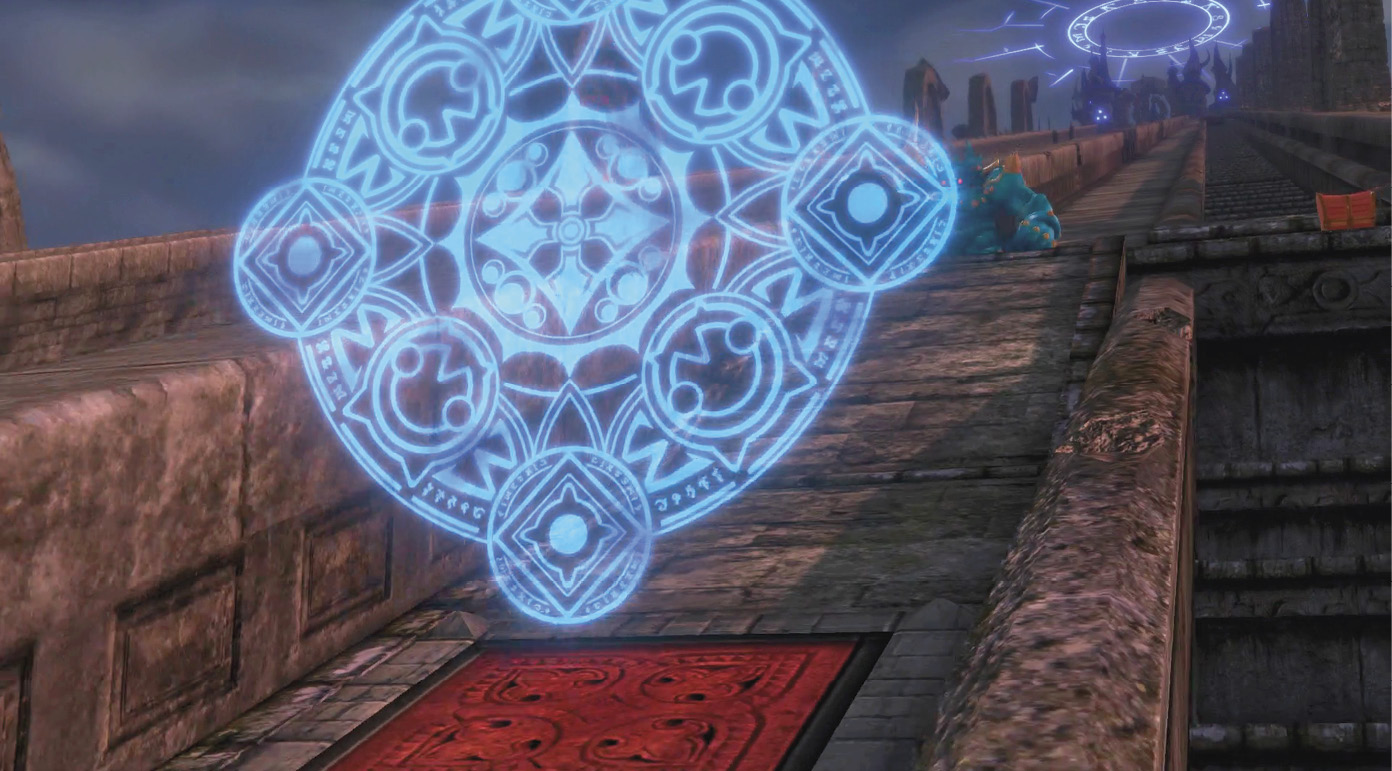
Make your way up while timing your movements and jumps to avoid the symbols as best as you can. If you do have to fight, defeat them quickly with thunder-based attacks. Touching the actual mythril giant triggers an encounter as well, so if you’re successful in avoiding all of the projectiles, you only have to deal with one encounter per mythril giant. Note that even though you can skip fighting some of the giants, you’re rewarded with access to the secret area of Big Bridge if you defeat all giants found on the field.
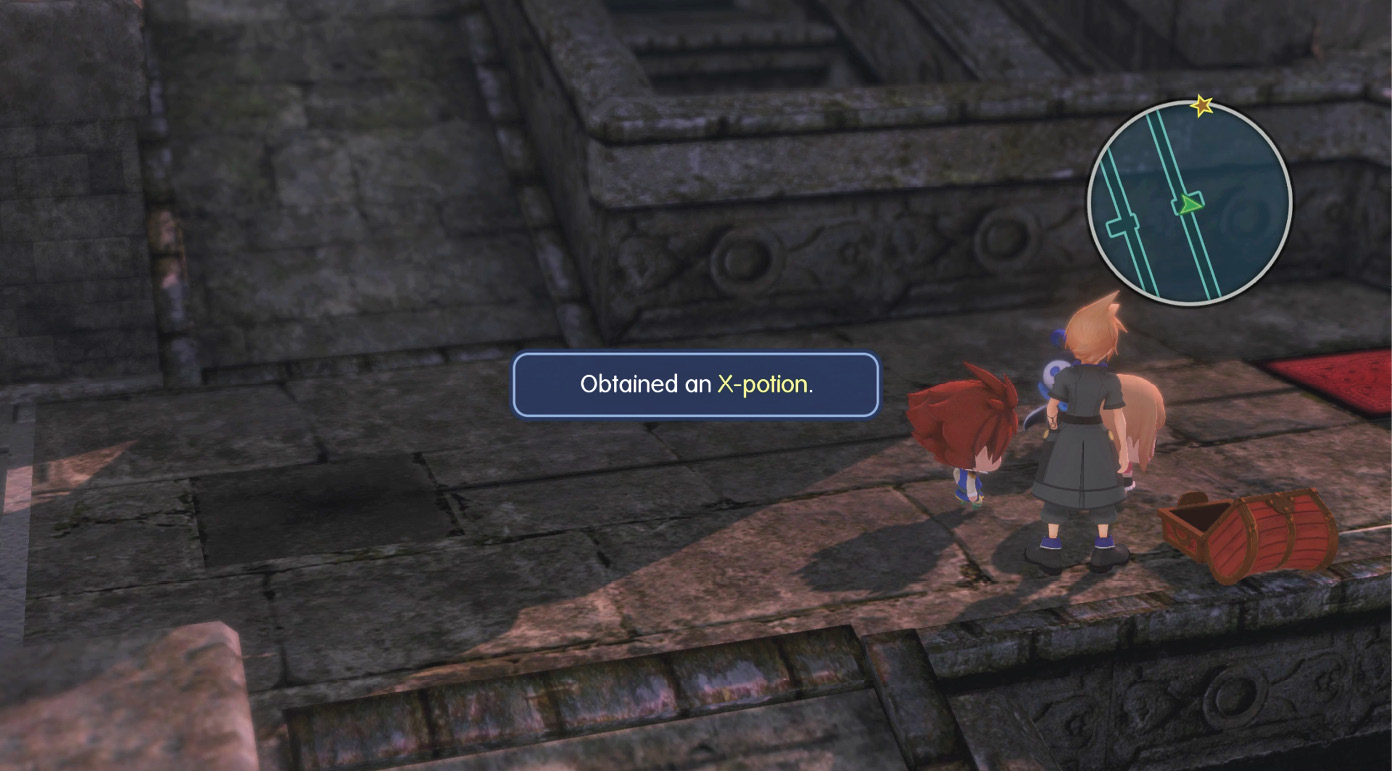
Partway up this section, there are two treasure chests (one on each side of the bridge), accompanied by a jump pad to the other side. The chest on the left contains a phoenix pinion, and the one on the right contains an x-potion. Grab them, then continue on up.
Near the top of this section of the bridge are two more symbol-chucking mythril giants. There are several jump pads placed on the path, so time your jumps and evasive maneuvers accordingly to avoid the oncoming projectiles. On the level before the final slope up, look for two treasure chests, one on each side of the bridge. Open them to obtain three earth spellstones and four Protect stones.
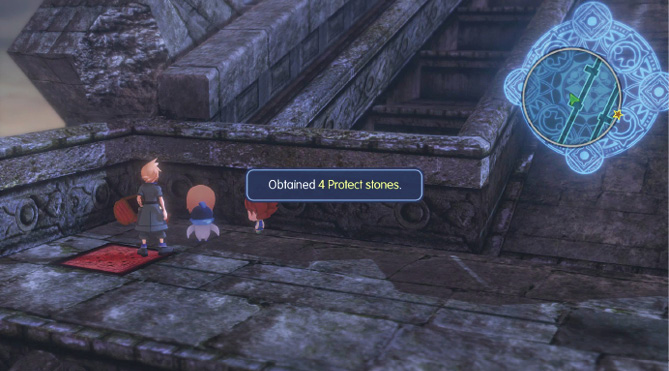
There are two chests and two mythril giants left up ahead. Make the last climb to defeat one side’s giant. Open the chest nearby, then jump over to the other side of the bridge to repeat the process. The chest on the west side contains a mega phoenix, and the one on the east holds two remedies+. Grab them, then exit north to the fourth and final segment of Big Bridge.
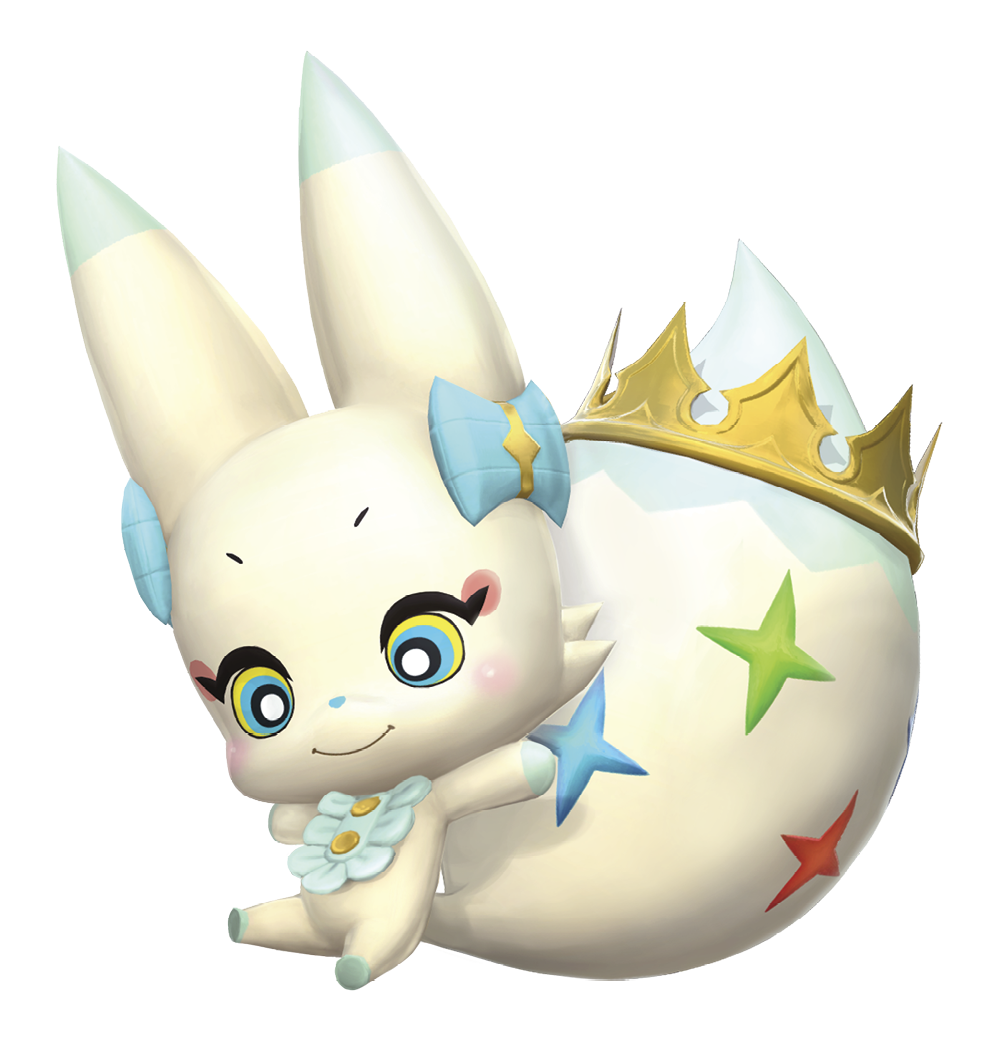
Save your progress at the Save Crystal, and then defeat the mythril giants guarding the central arena. This encounter is the same as all of the other mythril giant encounters, so have a thunder attack ready. Once you’ve defeated the mythril giants, an iron giant crashes down to your left, revealing Big Bridge’s secret area.
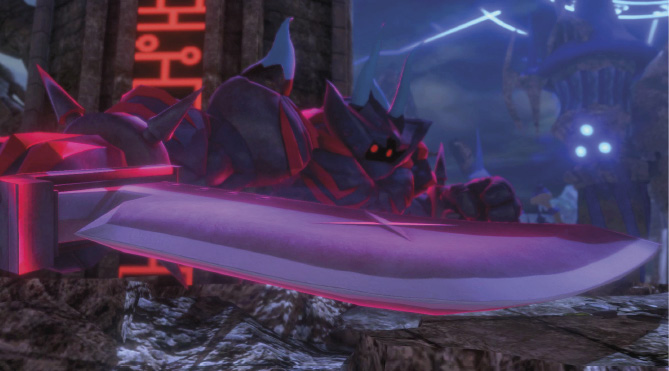
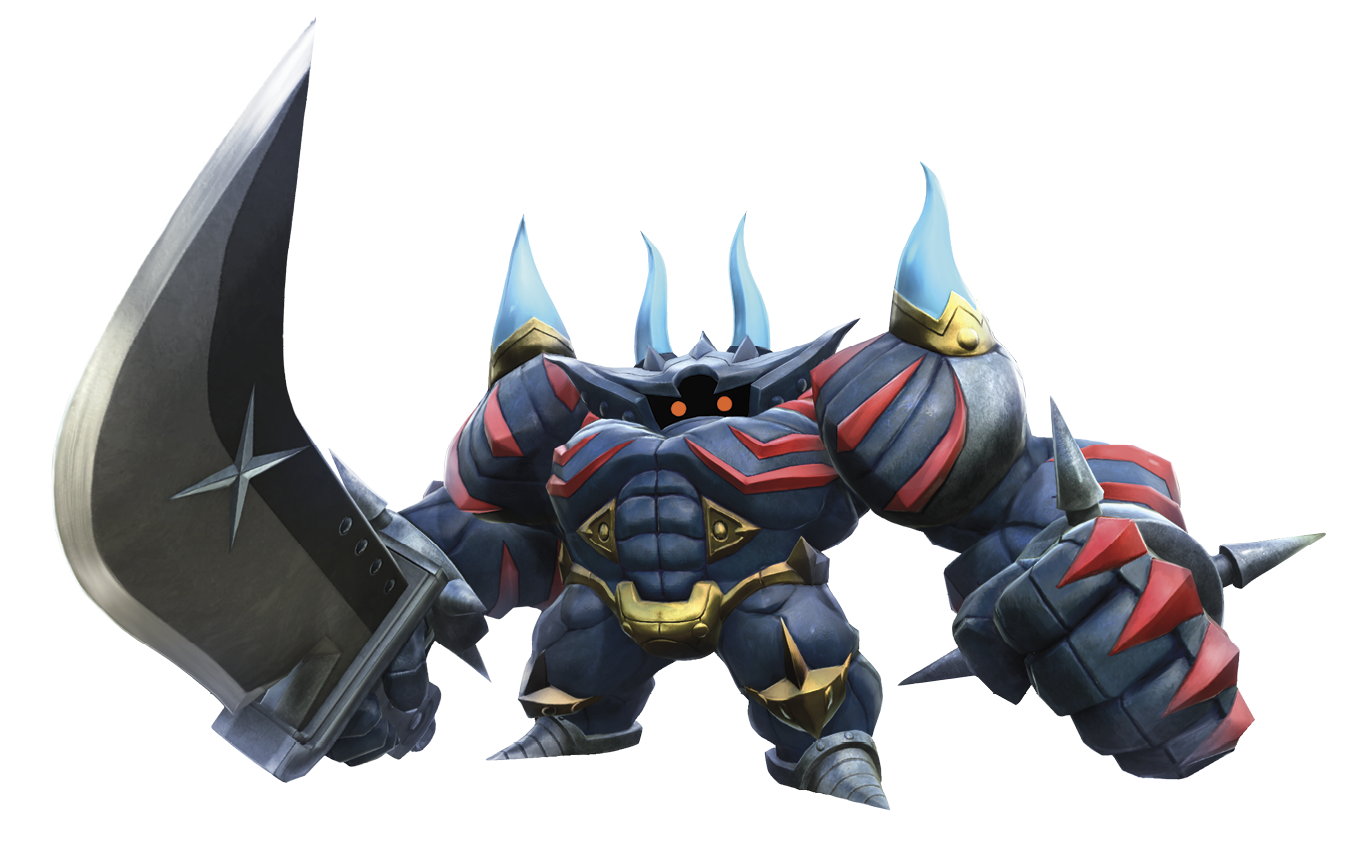
Boss Battle: Gilgamesh
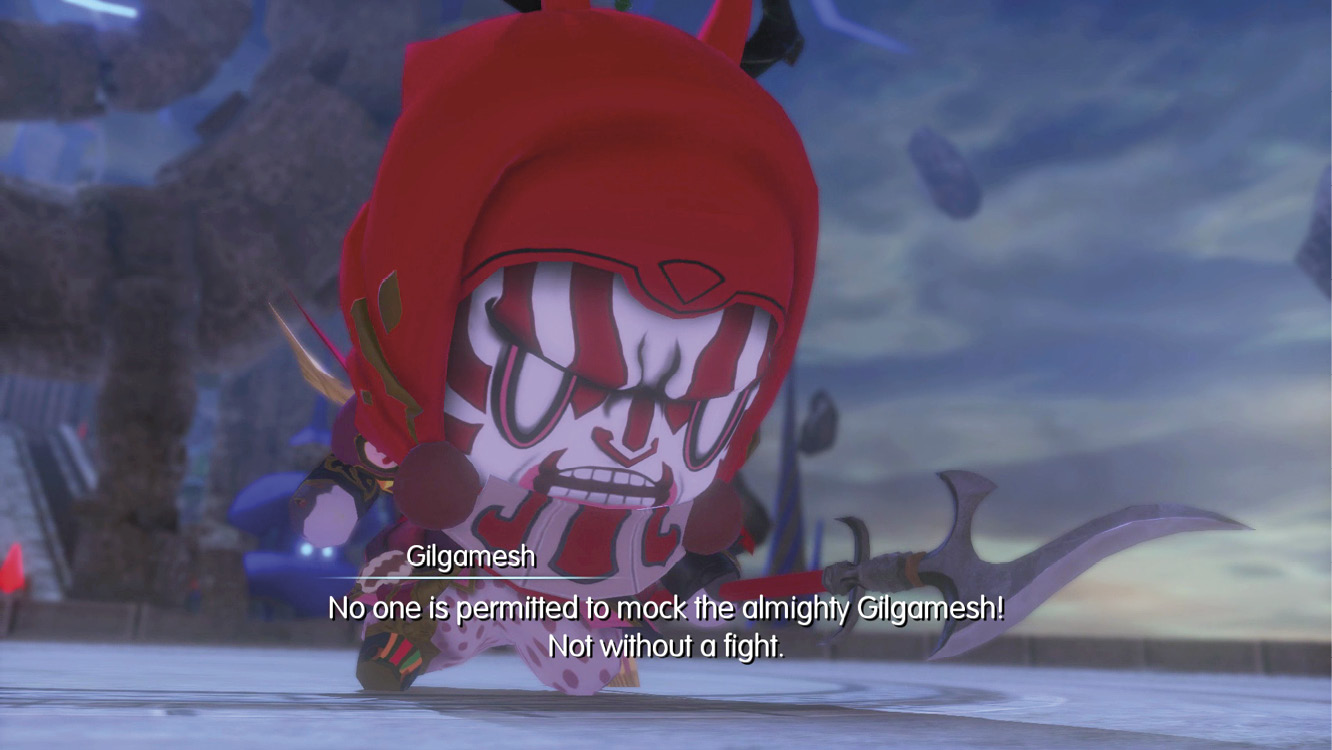
Enter the arena up ahead to confront Bartz’s stalker, Gilgamesh. After an amusing quarrel, Gilgamesh becomes fed up with the mockery and attacks the party.
Gilgamesh is primarily a strength-based warrior, so most of his damage comes from physical attacks. Protect helps tremendously against Gilgamesh, so use the Protect stones you picked up earlier as your first couple of actions. Additionally, Gilgamesh is immune to all status ailments except Blindness, so you can hit him with a blinding attack like Dark or Flash (a holy dragon ability), further hindering his offensive capabilities.
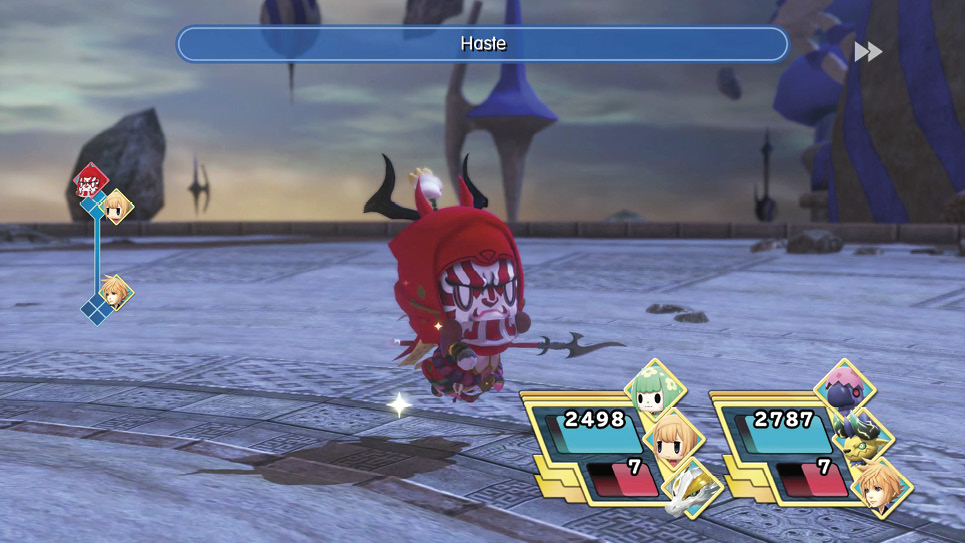
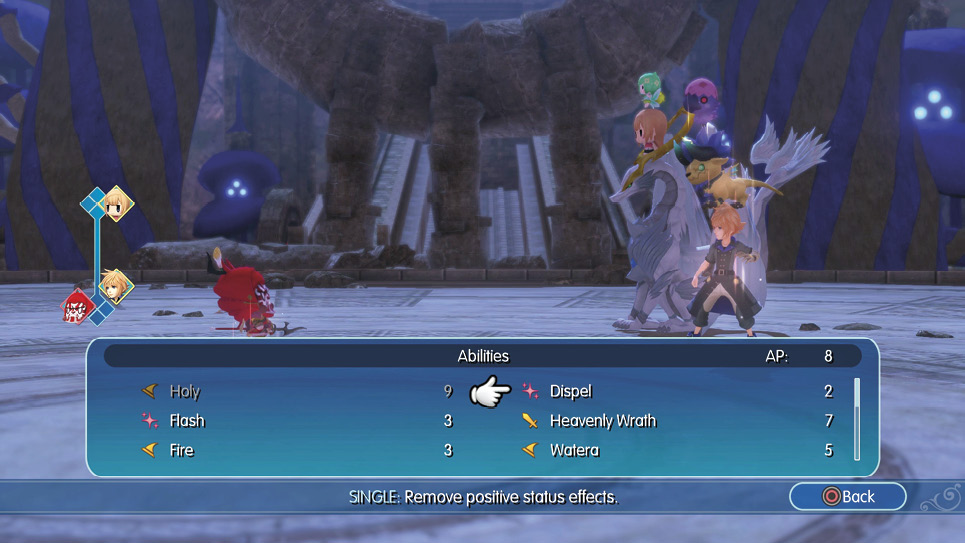
He’s not weak or strong to any particular element, so hammer away at him with your highest damage attacks and spells. He can cast the holy trinity of enhancements all at once (Haste, Protect, and Shell), so having Dispel here is a huge boon because it clears out all of these buffs. Dispel is accessible through the holy dragon’s Mirage Board, so if you haven’t noticed, the holy dragon is incredibly effective against this boss.
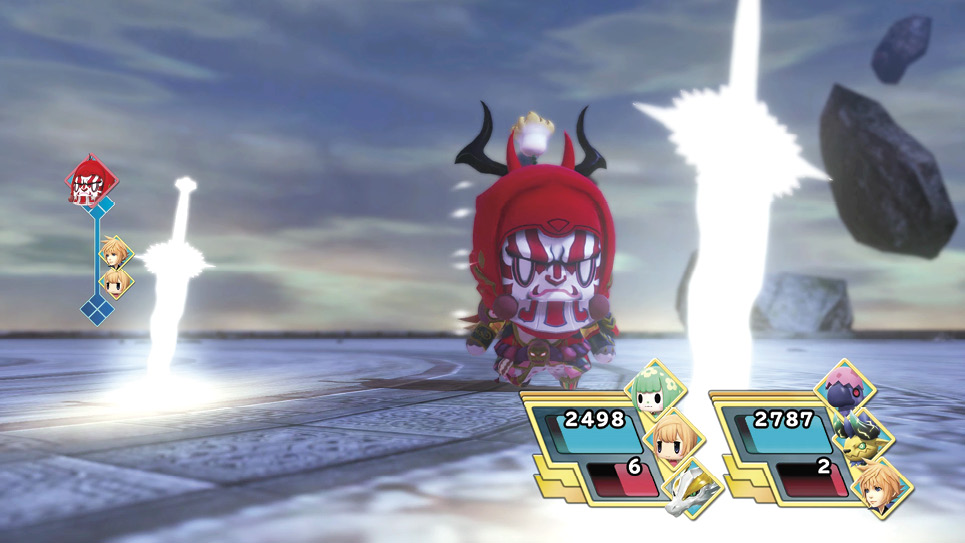
Gilgamesh’s signature attack is called “Mightiest of Swords,” where he summons two swords and picks one at random. One is the Excalibur, and the other is the Excalipoor. If he pulls the Excalibur, he deals a massive amount of damage. However, if he pulls the Excalipoor, he only deals 1 point of damage. Essentially, his ultimate ability is a coin flip.
The fight is fairly straightforward, so keep at it until you’re victorious. After sending Gilgamesh packing, Bartz bids farewell to the twins. Climb up the last stretch of the bridge and enter the Eclipsed Region to conclude this story chapter.