
World of Final Fantasy Guide Main Story Walkthrough
Chapter 10: Too Warm a Welcome
As prophesied, the twins survive the journey through the Low Seas and arrive at the Rainbow Shore unharmed thanks to their new friends, Rikku and adamantoise. The next task for the Mirage Keepers is to find a nearby town. However, a strenuous trek through the blistering mountains known as the Dragon Scars awaits.
| Action Checklist |
|---|
|
1. Enter the Dragon Scars from the Rainbow Shore |
|
2. (Optional) Imprism fire-based Mirages |
|
3. Climb The Dragon Scars and enter Nibelheim |
New Intervention Quests
- Underdog Day
- A Duo of Three
- Treasure Island, Ahoy!
- I Hate Lightning!
Here, There Be Dragons
If you haven’t returned to Nine Wood Hills to visit Chocolatte, you should do so now through the Gate here. If you have enough funds, purchase a couple of solid frigicite, bomb fragments, and electro marbles. Alternatively, you can prepare your Mirage loadout with the appropriate elementals (fire, ice, and thunder). They’re not required, but they do make one of the encounters in the next dungeon much easier. Additionally, several new Intervention Quests involving Rikku and adamantoise are available in the Girl’s Tearoom if you want to take a break to complete optional quests.
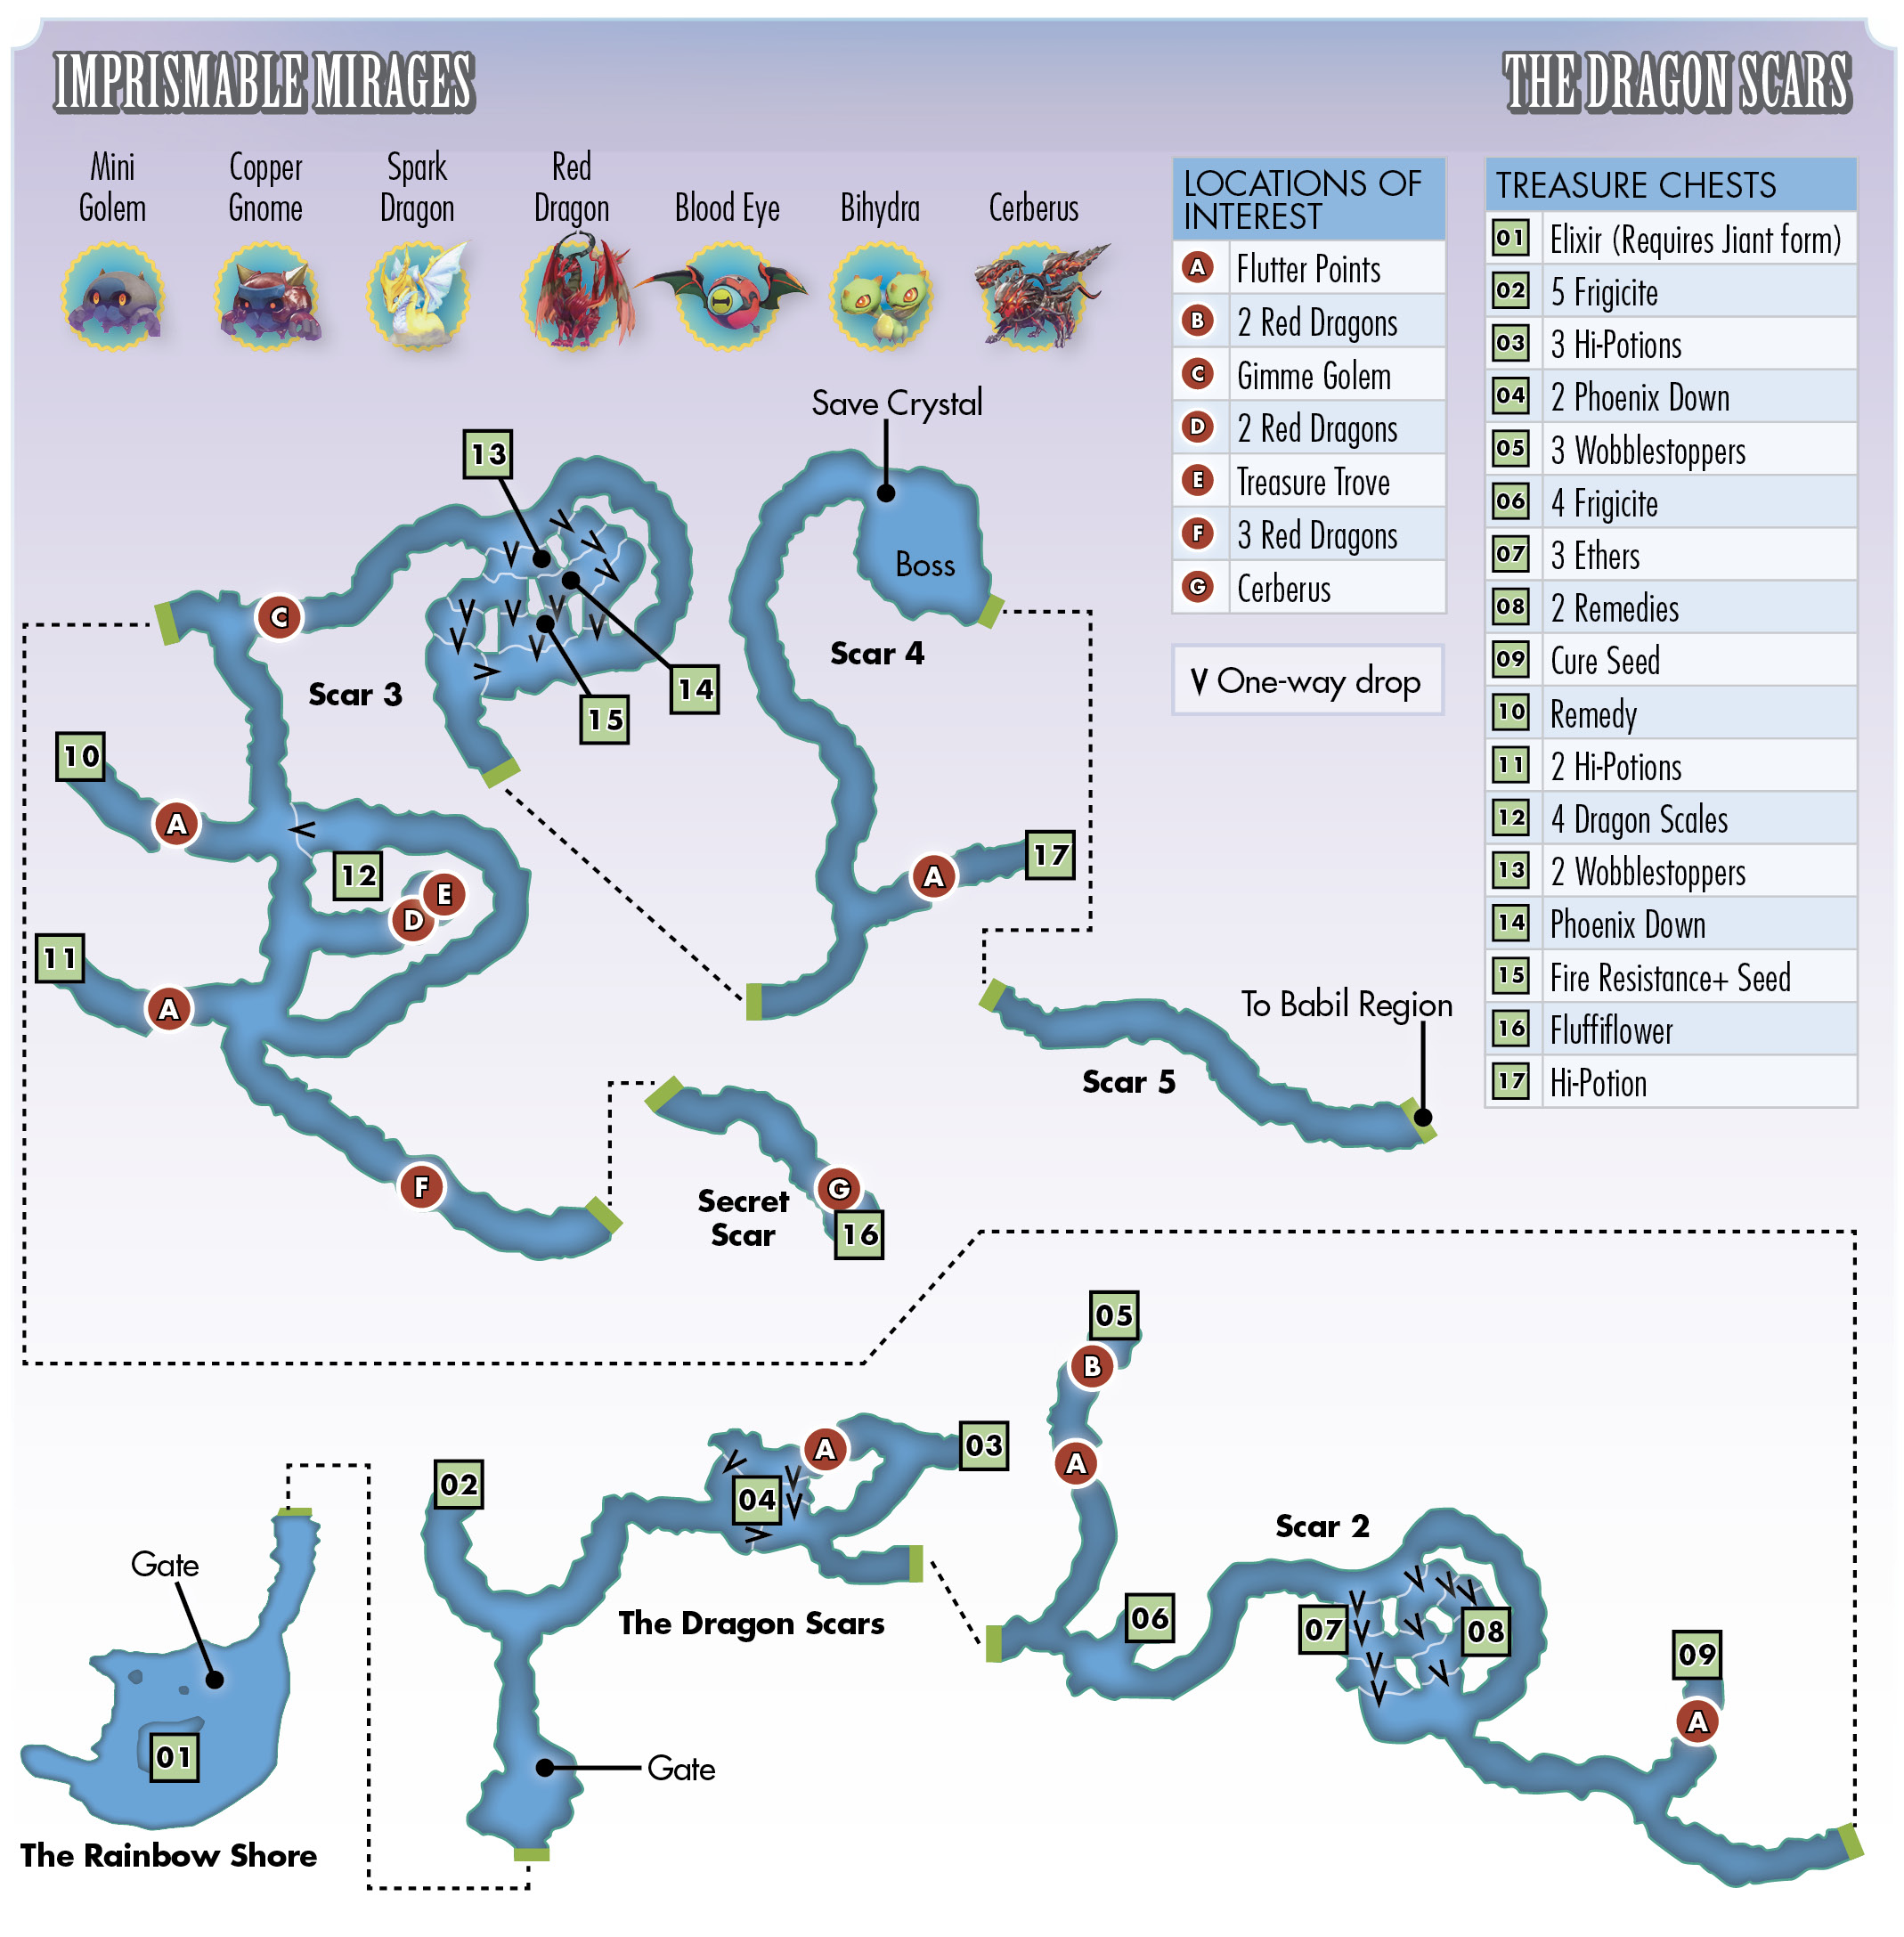
While you have access to your Prism Case, make sure to bring along a moogle or floating eye in order to loot all of the chests stored around the hard-to-reach places of the Dragon Scars. When you’re ready, return to the Rainbow Shore. In the middle of the area on a rock formation lies a treasure chest containing an elixir. You can reach it if your party leader is in Jiant form.
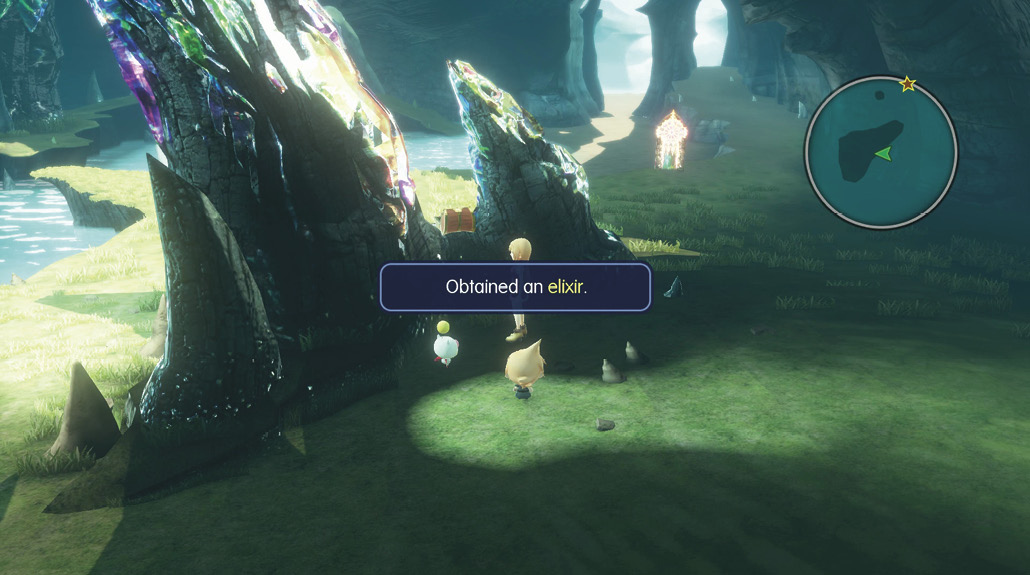
There’s nothing else to do here, so head to the northeast exit beyond the Gate to enter your next dungeon, the Dragon Scars.
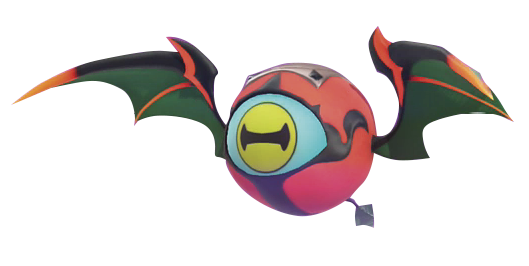
As you might’ve guessed, the enemies here are fire-based, so set up your stacks accordingly. Unlock the Blizzara spell by including at least two Mirages or characters with Blizzard in your stack. Water is effective here, too. Make sure to imprism fire-resistant Mirages here like the bloody eye and red dragon (especially if you don’t have access to Ifrit yet). Adding these Mirages to your stacks greatly increases your fire resistance, and consequently, your survivability against many of the foes encountered here.
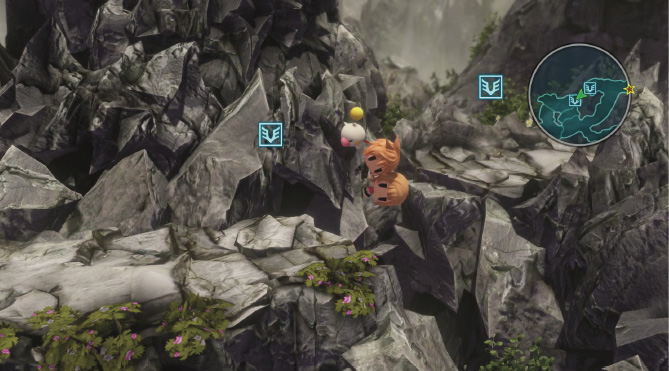
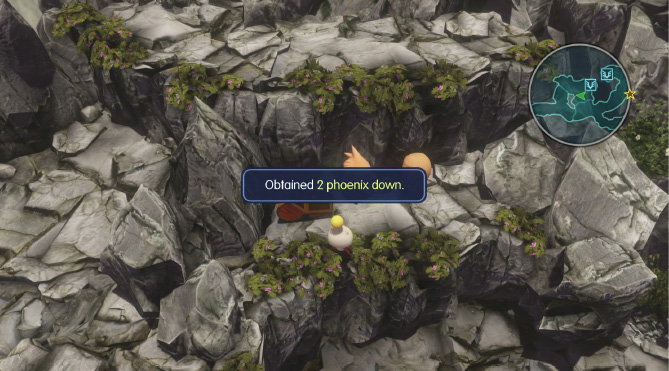
In the first area of the Dragon Scars, take the first left you see at a divergence to reach a treasure chest with five frigicite inside. Continue toward the east section of the area until you reach a ledge you can climb down. Hop down, then wrap around east and up to the north to an elevated area. Farther northeast is a treasure chest. Open it and pick up three hi-potions. From there, go west and fly over the Flutter point (hopefully you have moogle or a floating eye with you). Near the southeast of this upper ledge, drop down to a middle ledge below to open another chest with two phoenix down inside.
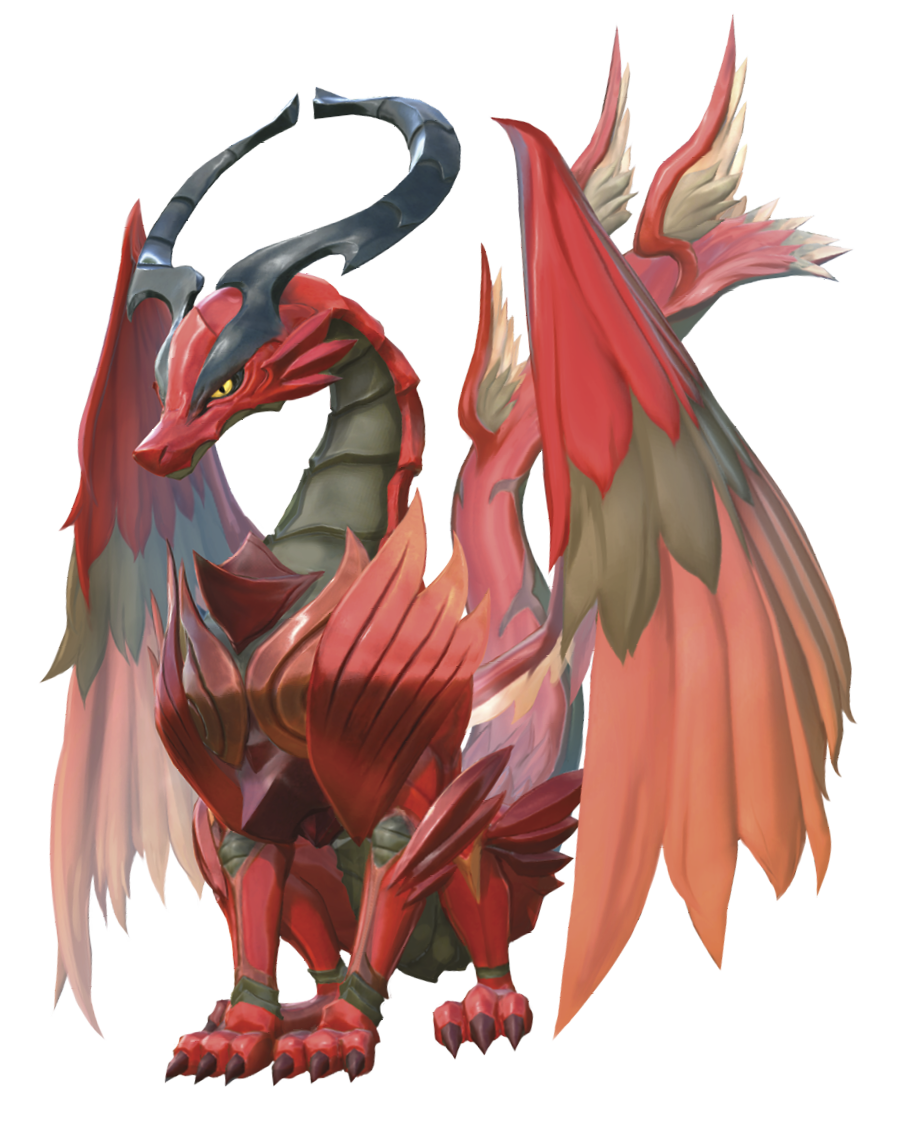
Now, drop down and enter the next area through the eastern exit. Here, Tama gives the twins some advice on exploiting elemental resistances. Take the left path (going north) to get to another Flutter point. Fly over to land on a ledge with a large red dragon roosting on a nest in front of a treasure chest. Now is a good time to heal up and prepare to imprism one of these large-sized Mirages. One of your stacks should have a high critical hit-chance ability (like Cross Slash).
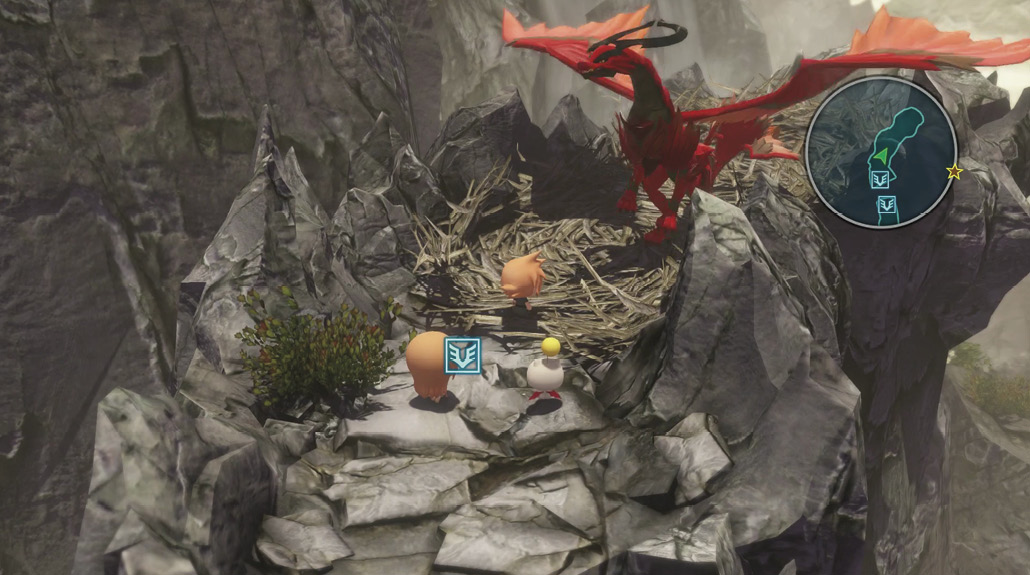
As you might have guessed, these dragons are fond of casting fire-based spells, so mind your resistances!
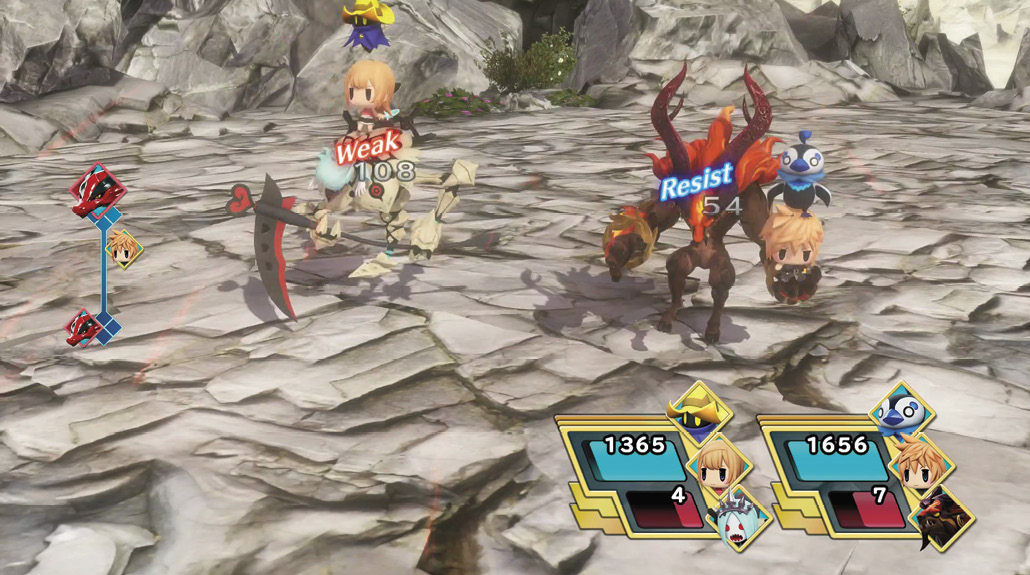
To imprism one of the dragons, trigger its prismtunity by scoring a successful critical hit. Cross Slash works well here. Slay the other dragon normally (they’re weak to water and ice attacks).
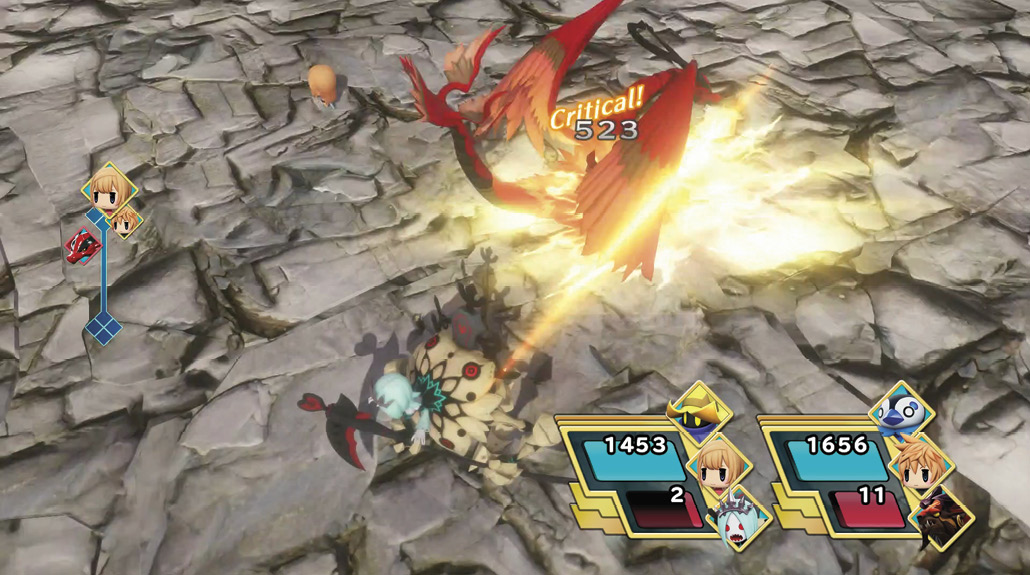
Then, open the chest on the dragon’s nest to obtain three wobblestoppers. Fly back to your starting point here, and take the east path instead. Along the way, enter the small cove to the north and pick up four frigicite in the treasure chest. Continue east up the mountain until you reach an area of layered cliffs. There are two treasure chests here, accessed by dropping down at certain points of the cliffs. You can get both in one pass, but if you need to, you can walk up the ramp to the east to try again. From the highest ledge, drop down to the left side, then drop down one more time to pick up three ethers from the chest there.
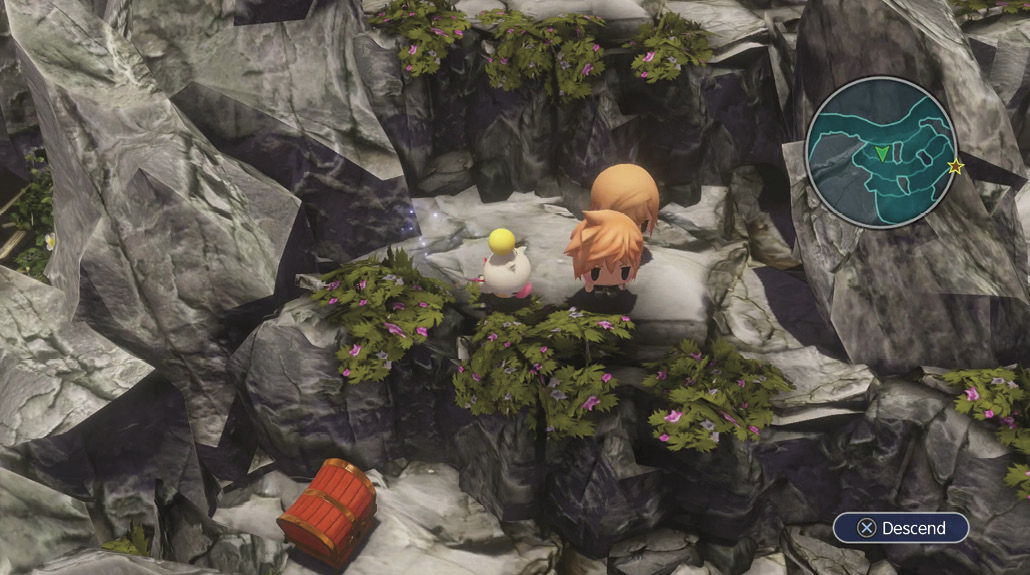
At the opposite end of this ledge, descend once to access the other treasure chest, containing two remedies. If you miss one, just climb back up the ramp and try again.
From the cliffs, take the southeast path and continue east until you get to another Flutter point. Fly over and pick up the Cure seed from the chest on the platform.
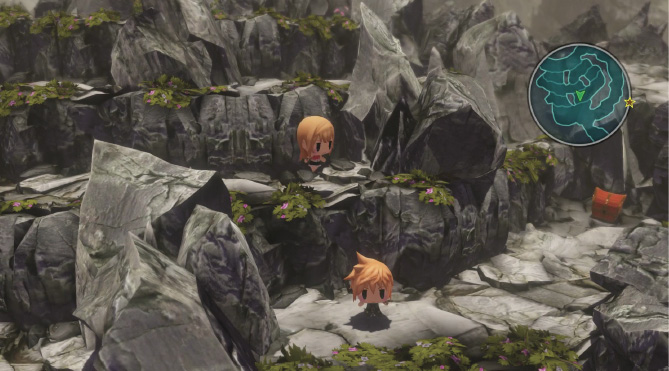
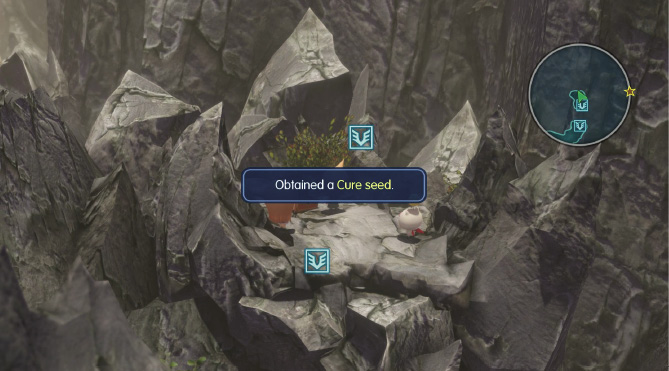
Proceed to the next area through the southeast exit. Near the starting point in this area is a Gimme Golem that wants a fluffiflower, which obviously means there’s one around here somewhere.
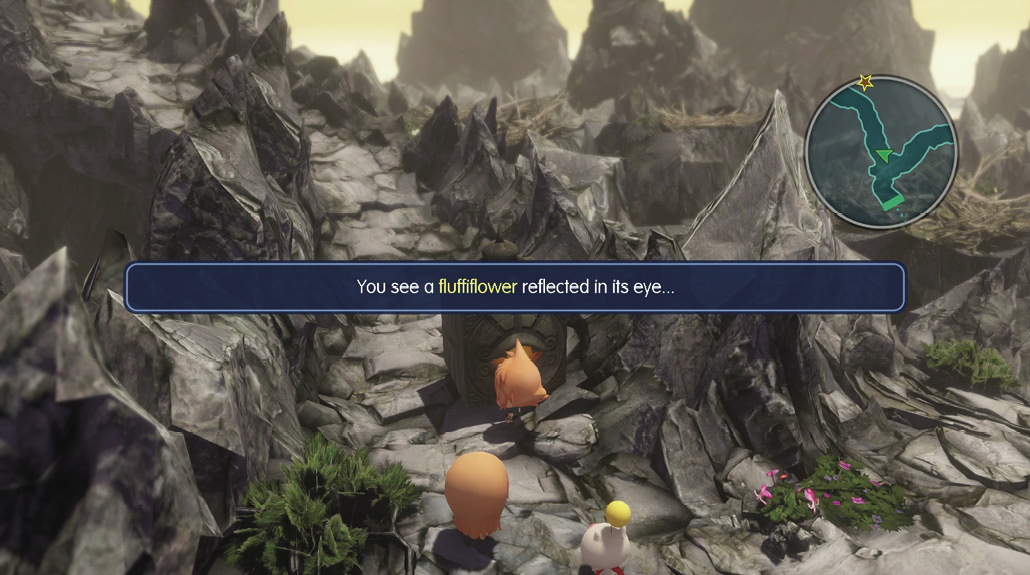
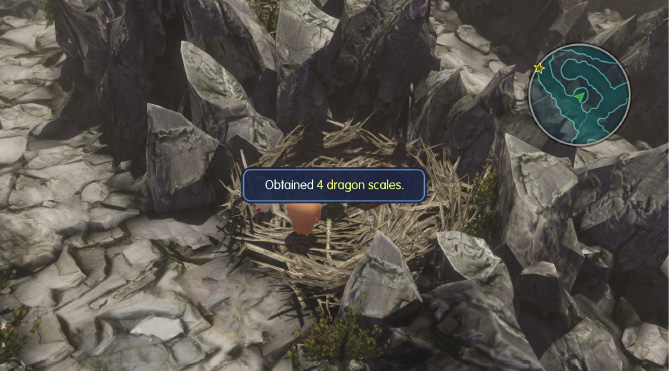
Travel south; along this path are two Flutter points branching off to the west that you can fly across for treasure chests. The first chest contains a remedy, and the second contains two hi-potions. Next, take the path east that wraps around a red dragon’s nest. In a nook here, there’s a chest with four dragon scales. Pick them up, then jump down the ledge just to the west of the chest.
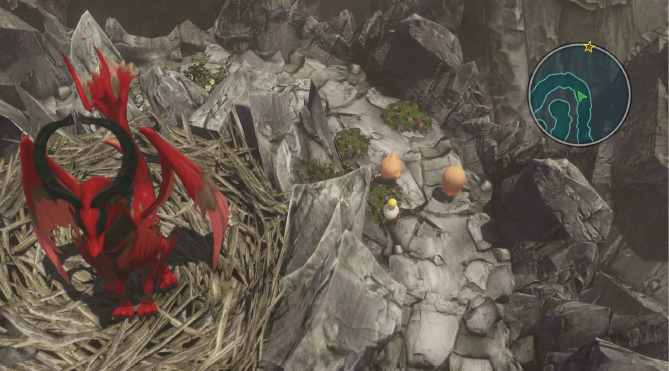
If you want to uncover an optional Treasure Trove with one of your strolling Mirages, defeat the red dragons nesting in the center here to get it out of the way.
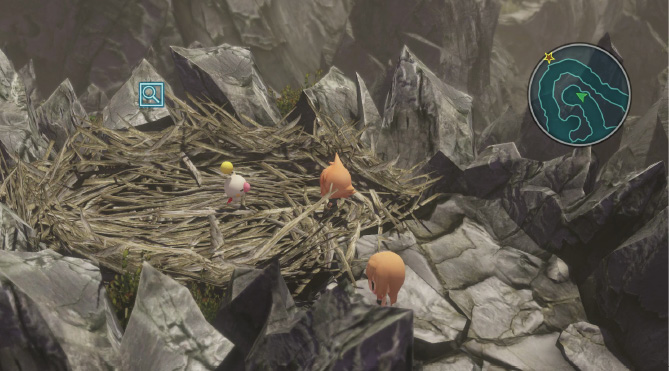
Now, head south through the path you haven’t been down yet. There’s yet another red dragon encounter to get past, except this one consists of three red dragons instead of two. Fortunately, you’ve had enough experience slaying them, and by now, you’ve collected several frigicite.
Take them down one by one with your ice- and water-based attacks. Alternatively, you can use frigicite and solid frigicite items to quickly dispose of the fire-based Mirages.
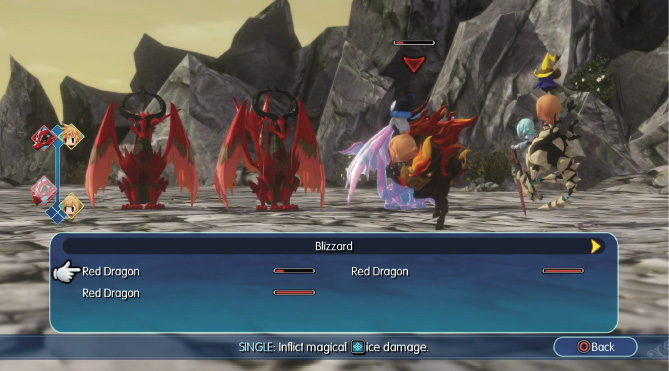
Defeating this group of red dragons unlocks a secret area (a non-optional one for this particular dungeon). Entering the secret area presents a relevant tutorial. Most dungeons have an optional area accessed either by having the appropriate support ability unlocked or solving a puzzle. These areas house unique imprismable Mirages that drop special mementos, as well.
In this secret area, you must defeat a cerberus in order to retrieve the fluffiflower needed to progress. It’s highly recommended that you imprism this Mirage rather than defeat it conventionally, especially considering its high HP pool. Prepare your stacks so that your party has access to each of the following types of spells: thunder, ice, and fire. Alternatively, you can use the elemental bombs like frigicite, bomb core, and electro marble. When you’re ready and healed up, approach the cerberus to start the encounter.
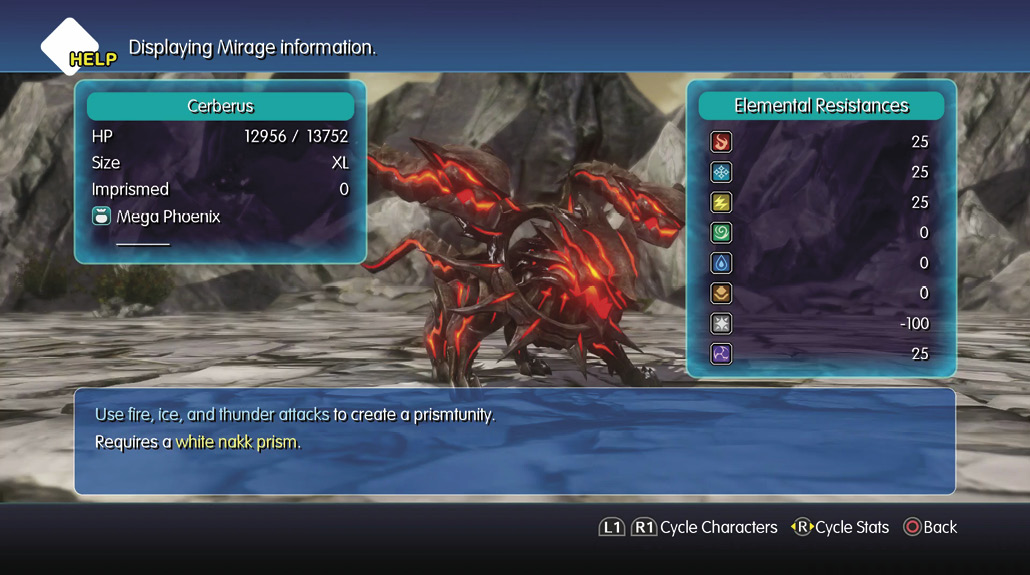
Casting Libra on the Mirage shows that it’s strong against fire, ice, and thunder. However, its prismtunity involves using attacks based on those three elements. It’s a good thing you’re prepared.
Hit the cerberus with one of each element until it’s imprismable. You should inflict its prismtunity at least twice (which means casting at least six spells on it) to ensure you can imprism it. In between spells, you may have to heal your party up with Cure spells or hi-potions, considering its attacks deal a considerable amount of damage. Refia’s Champion Medal is also useful here in a pinch. Successfully imprisming it ends the encounter, rewarding you with a cerberus prismarium, a cerberus memento, and the fluffiflower (in the treasure chest revealed behind cerberus).
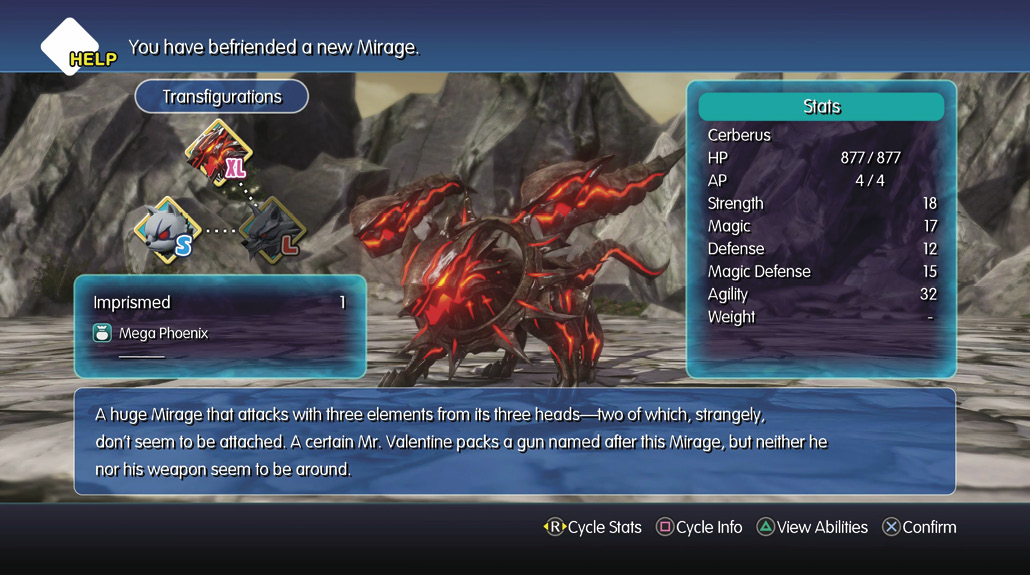
Take the fluffiflower back to the Gimme Golem in the previous area. You can now proceed to the northeast portion of the map with a series of ledges and treasure chests.
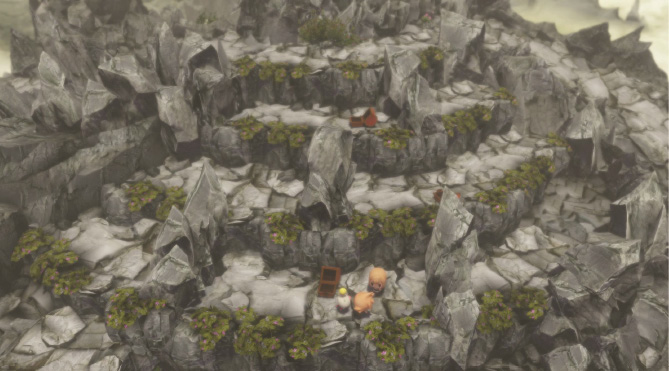
To get all three chests in one pass from the top, drop down the left ledge for the first chest (two wobblestoppers) and then drop down the ledge behind this chest (right side of the ledge).
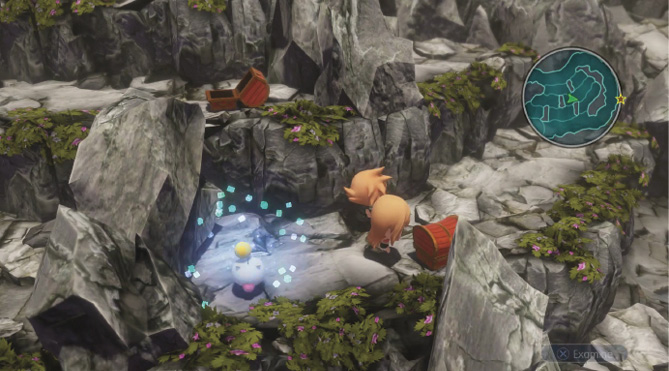
Open the chest here for some phoenix down. Finally, drop down the left side of this ledge to reach the last chest here containing a Fire Resistance+ seed.
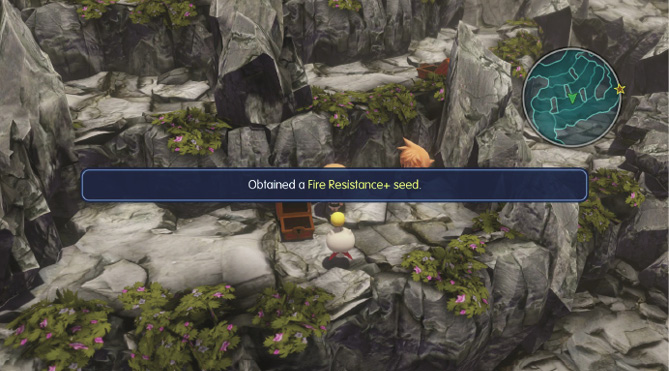
If you miss a chest, you can always climb back up to try again. When you’re ready to proceed, ascend to the top of the cliff and keep left while descending each tier. This path brings you to the boss area.
From here, if you take the first right, you can Flutter across to a ledge to open a chest with a hi-potion inside. Now, make the final climb up the mountain to a Save Crystal. Save your progress, and prepare for a boss fight up ahead.
Boss Battle: Mega Red Dragon
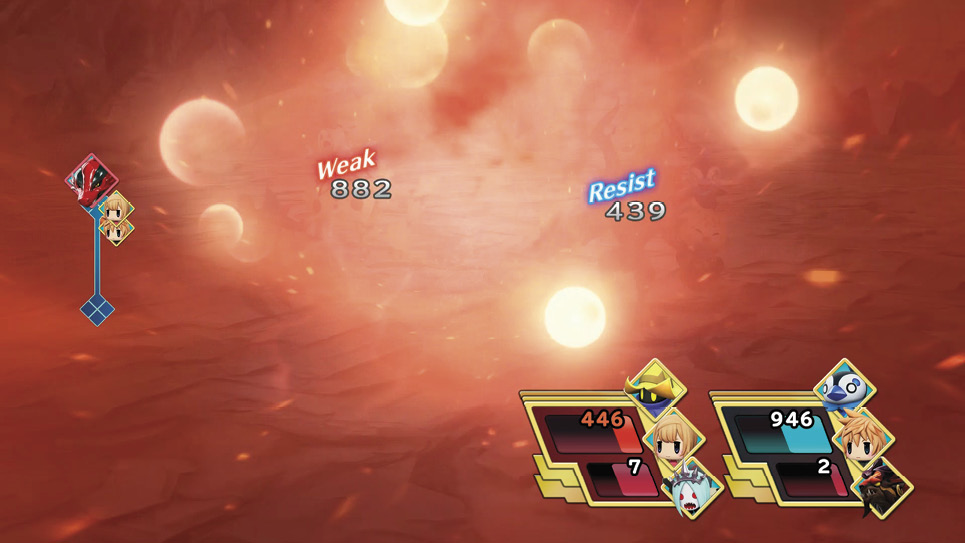
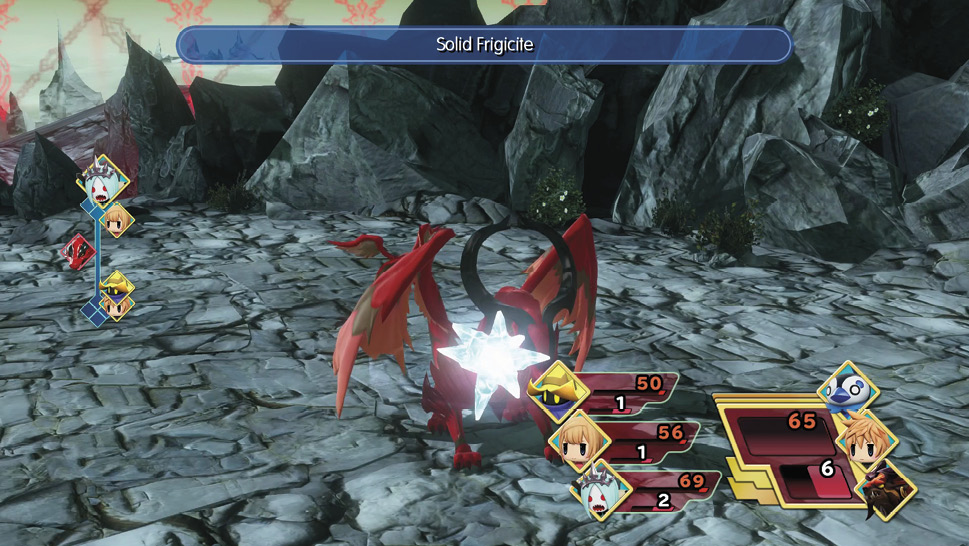
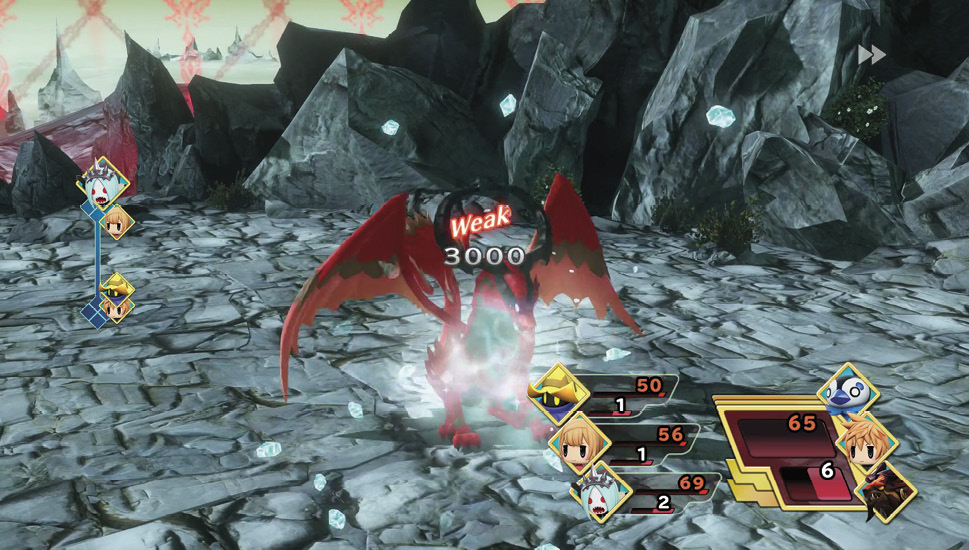
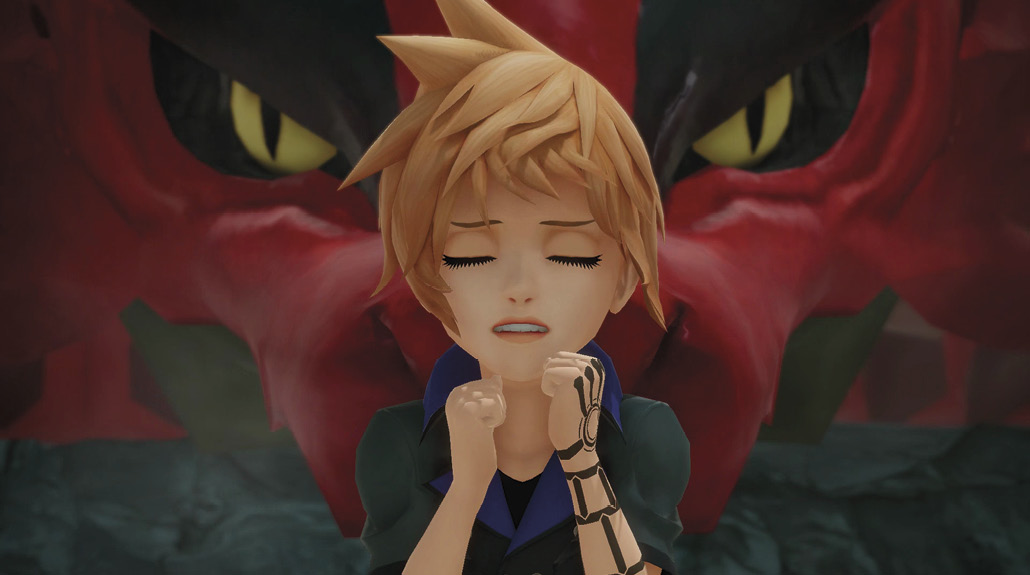
You should be familiar with fighting fire-based enemies by now, and the mega red dragon is no different. It’s just a beefier version of the red dragons that you defeated in the Dragon Scars. As long as your stacks aren’t weak to fire and you have access to ice or water spells, you should be able to take down the mega red dragon. As you’d expect, it casts stronger versions of the red dragon’s attack, so watch out for Flare Star+, and heal up and raise knocked-out party members accordingly.
An effective method of taking down the dragon is by throwing several solid frigicite at it. Each solid frigicite deals a whopping 3,000 damage each time (the mega red dragon has a total of around 10,000 HP)!
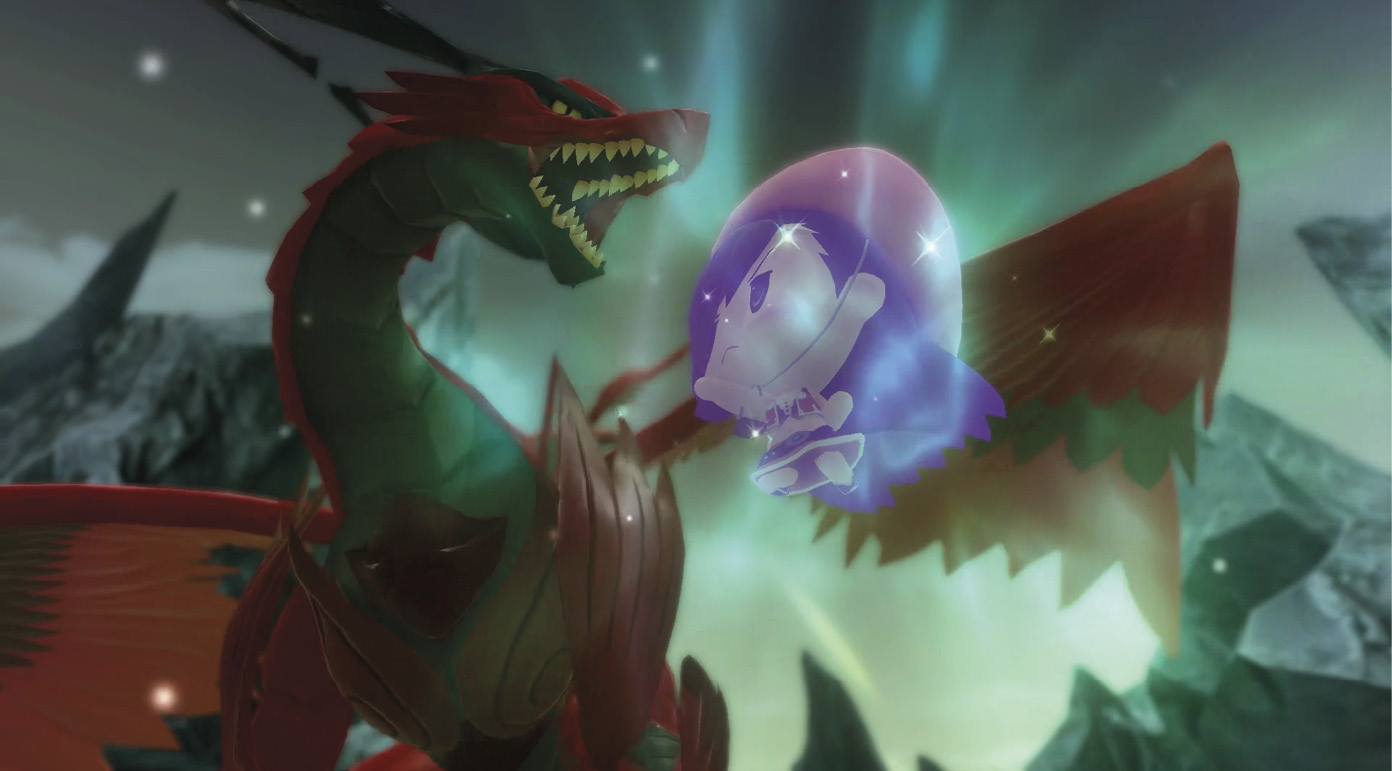
Once you’re victorious, a cutscene plays out introducing you to Tifa, who rescues the twins by executing her signature Final Heaven attack. She suggests that the twins stop by her hometown of Nibelheim, so save your progress and make your way out of the Dragon Scars and into the Babil region.
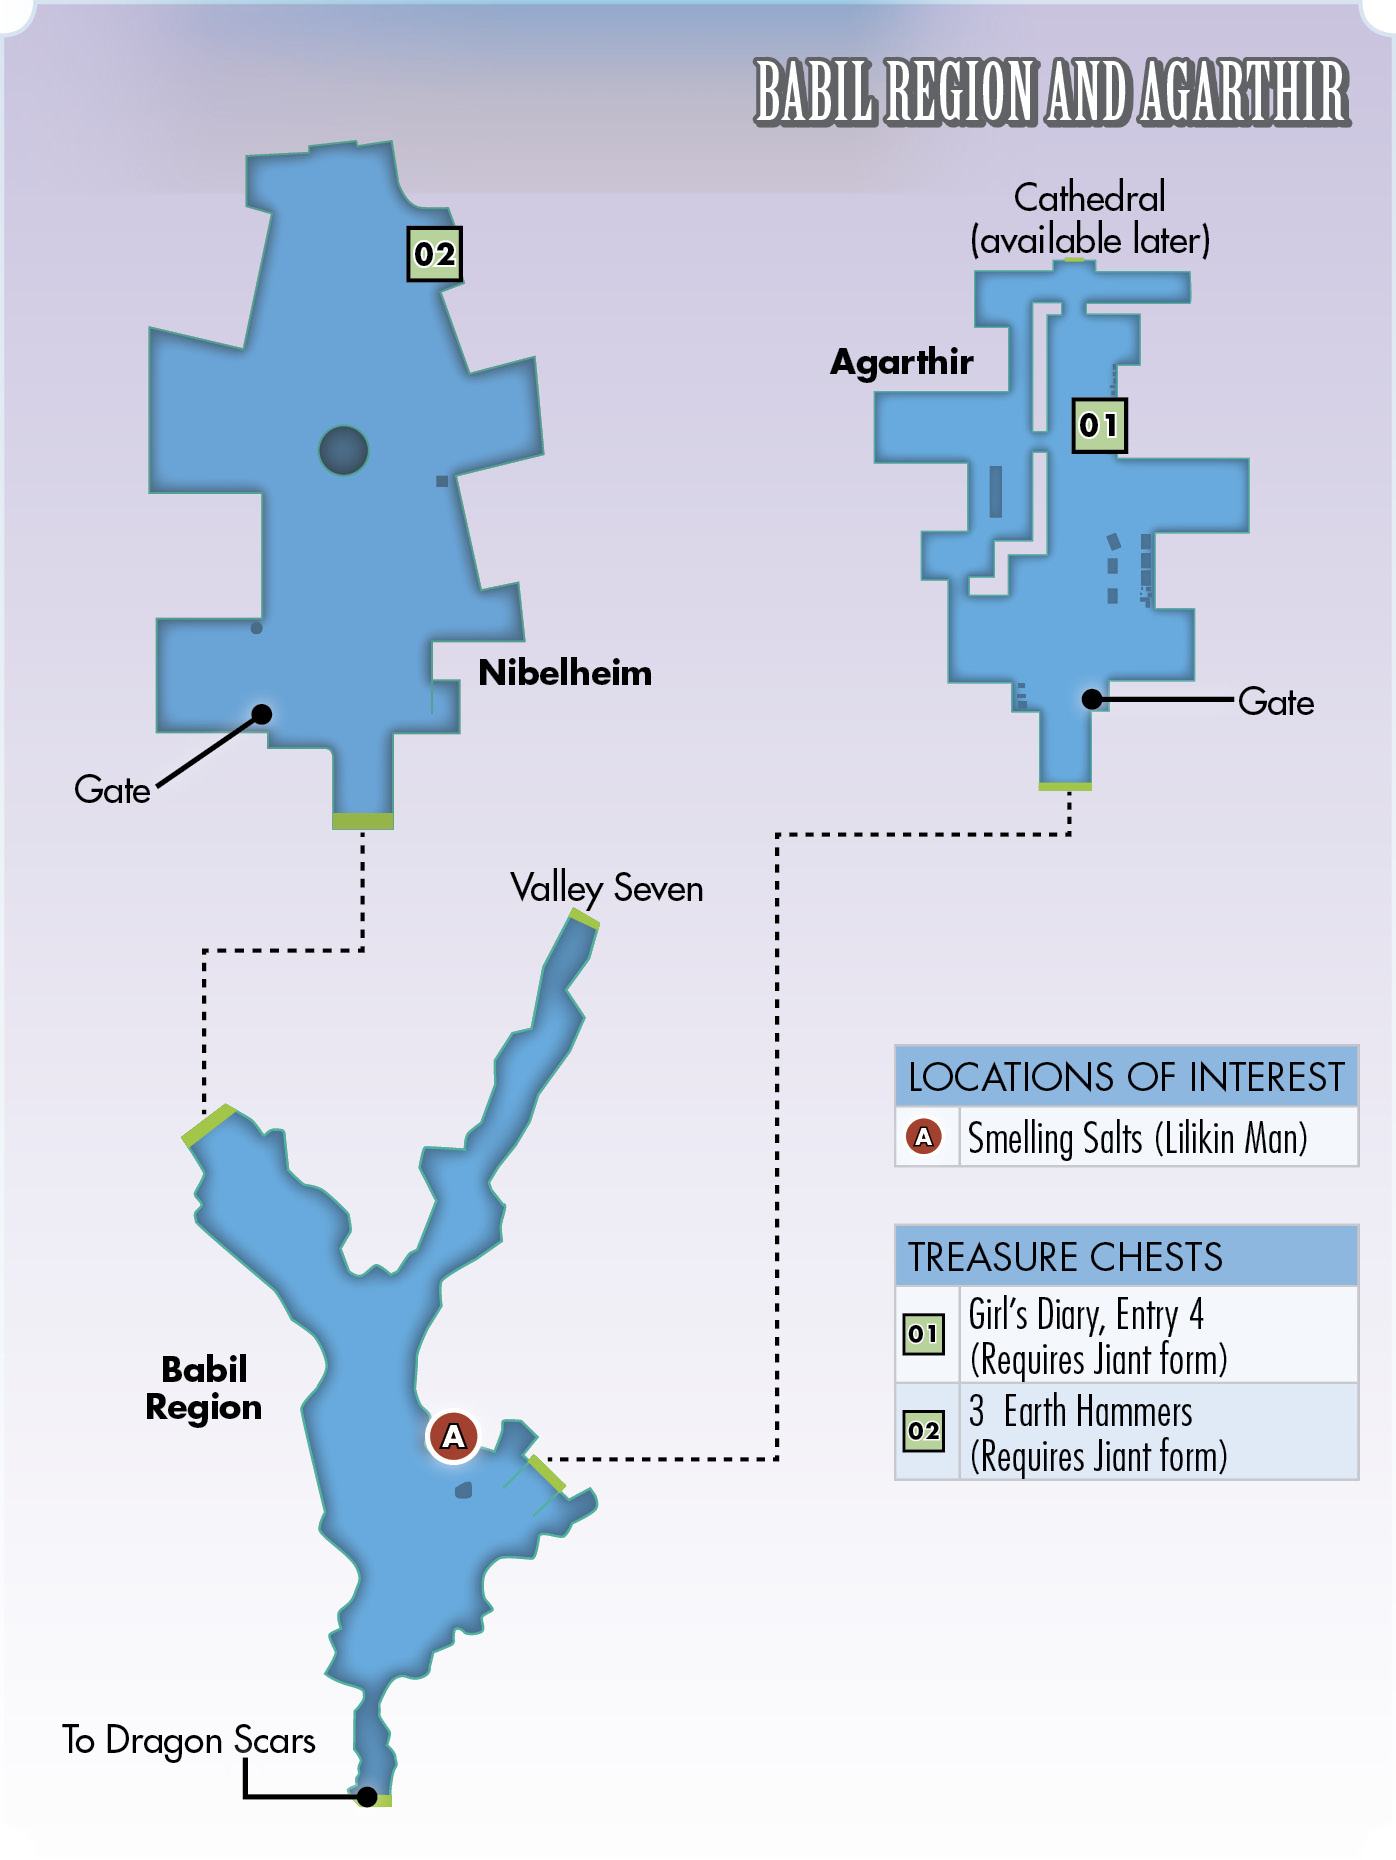
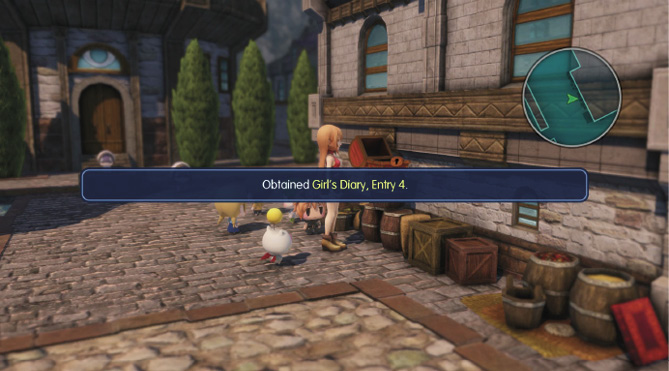
Before entering Nibelheim to the northwest, you can stop by the small town of Agarthir to the east. Here, you can pick up a Miniventure quest (Needle for Speedle) from one of the townsfolk. There’s also a treasure chest sitting on top of a stack of barrels near the center of town. With your leader in Jiant form, open it to obtain Girl’s Diary, Entry 4.
There’s not much else to do in Agarthir, so it’s time to see what’s in store for you in Nibelheim, the large city in the northern part of the Babil region. Before entering Nibelheim, talk to the Lilikin man in the center of the Babil region hub for some free smelling salts and advice on the Confusion ailment. Then, enter Tifa’s hometown to begin the next chapter of the story.